Kristine ID Wallet Week - Adding Some Bling
Michelle Burke
Although Kristine ID Wallet Week is almost over, we still have two days which means two more giveaways! More about the last two giveaways in a minute, but first the winner of yesterday's giveaway is Doris Moore - congratulations! Doris will get a free Uniquely Michelle pattern of her choice! Two more days and two more giveaways and I know that the last two giveaways are going to be favorites, so make sure you read about how to enter today's giveaway (and find out what it is) at the end of this post!

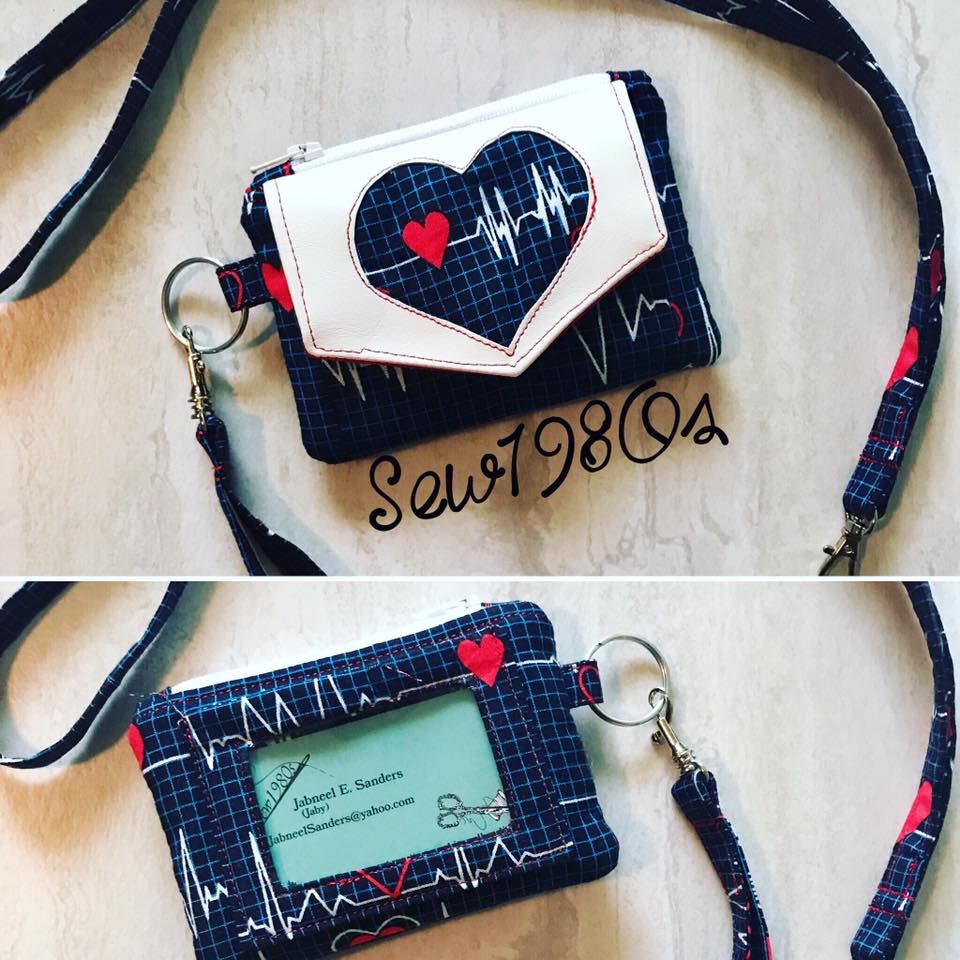
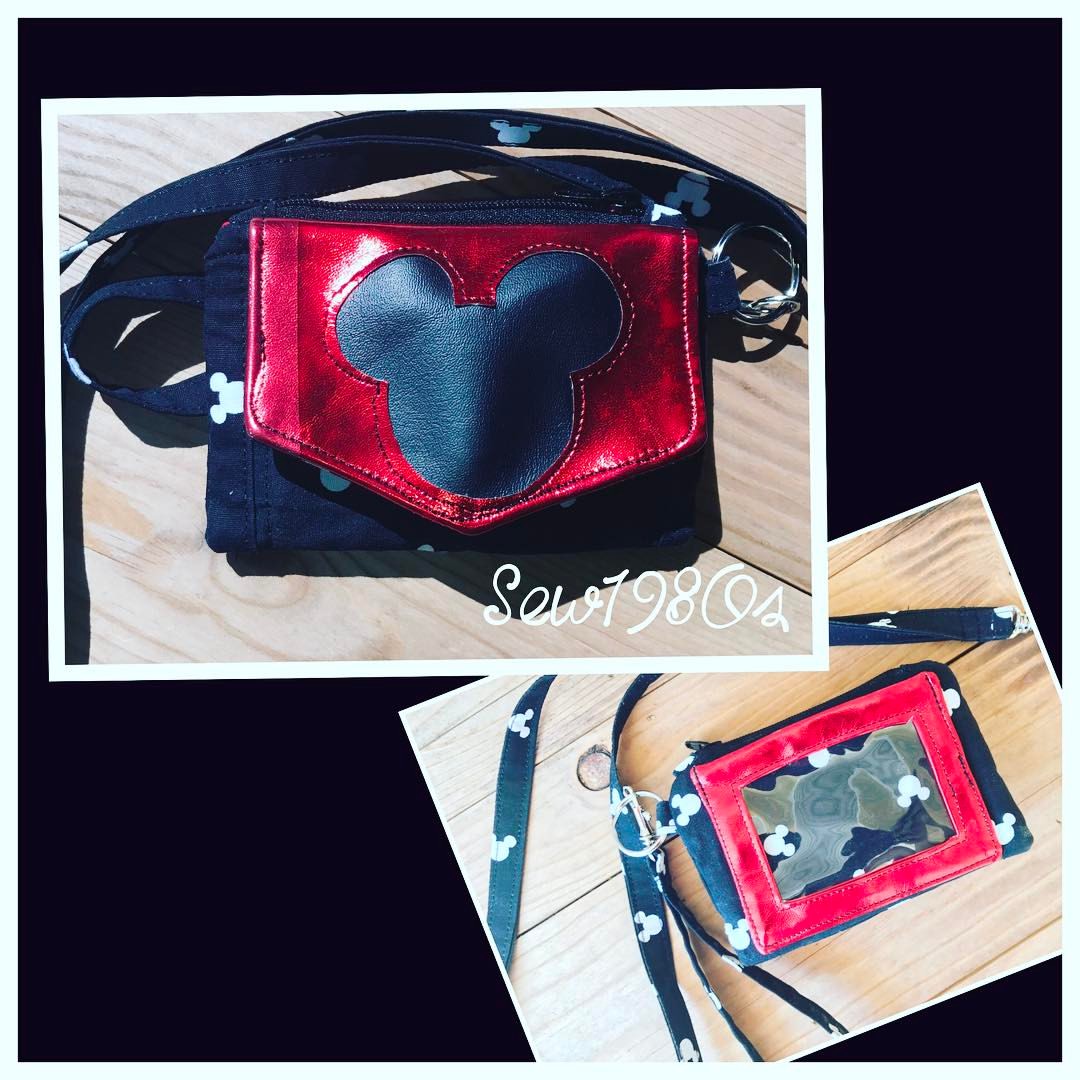
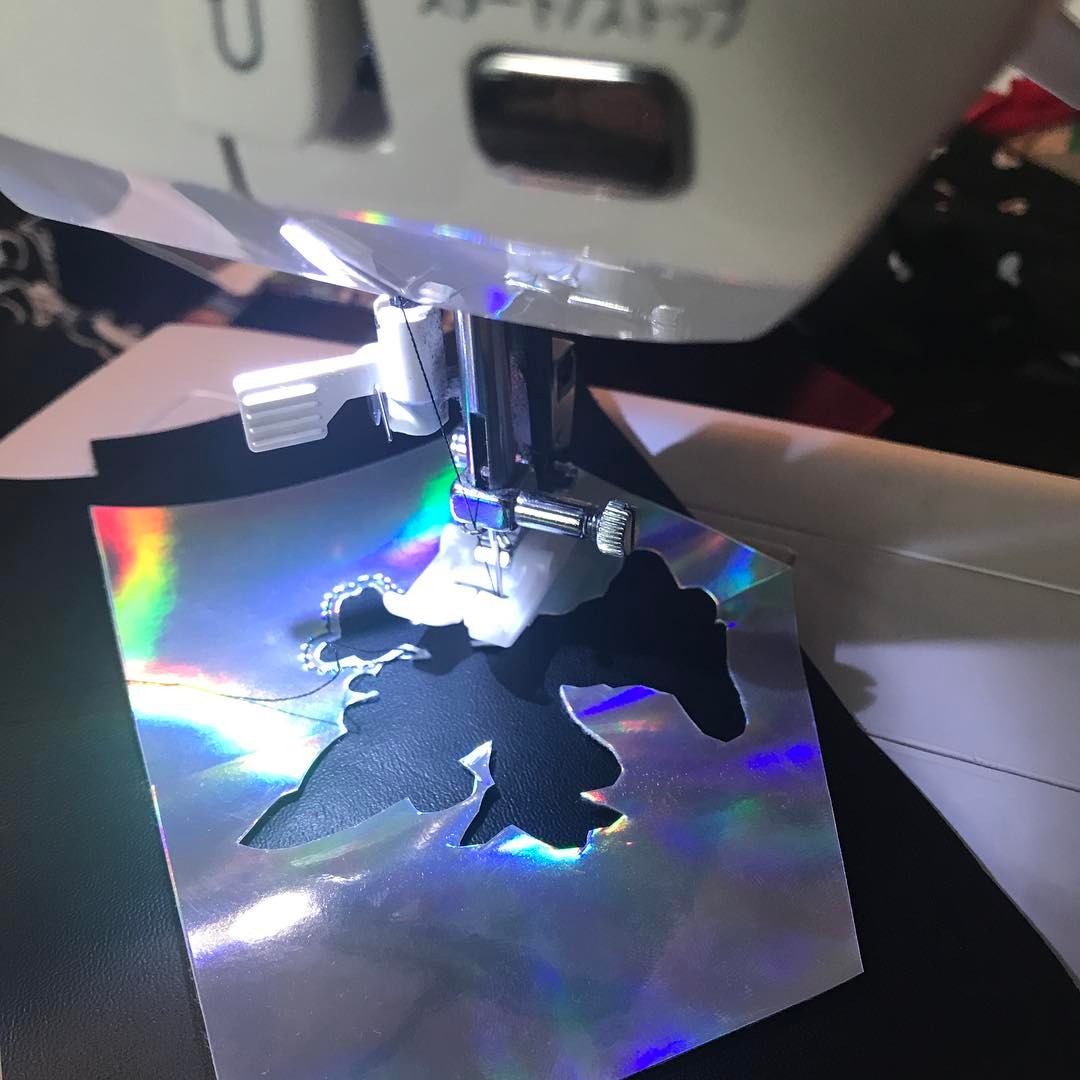
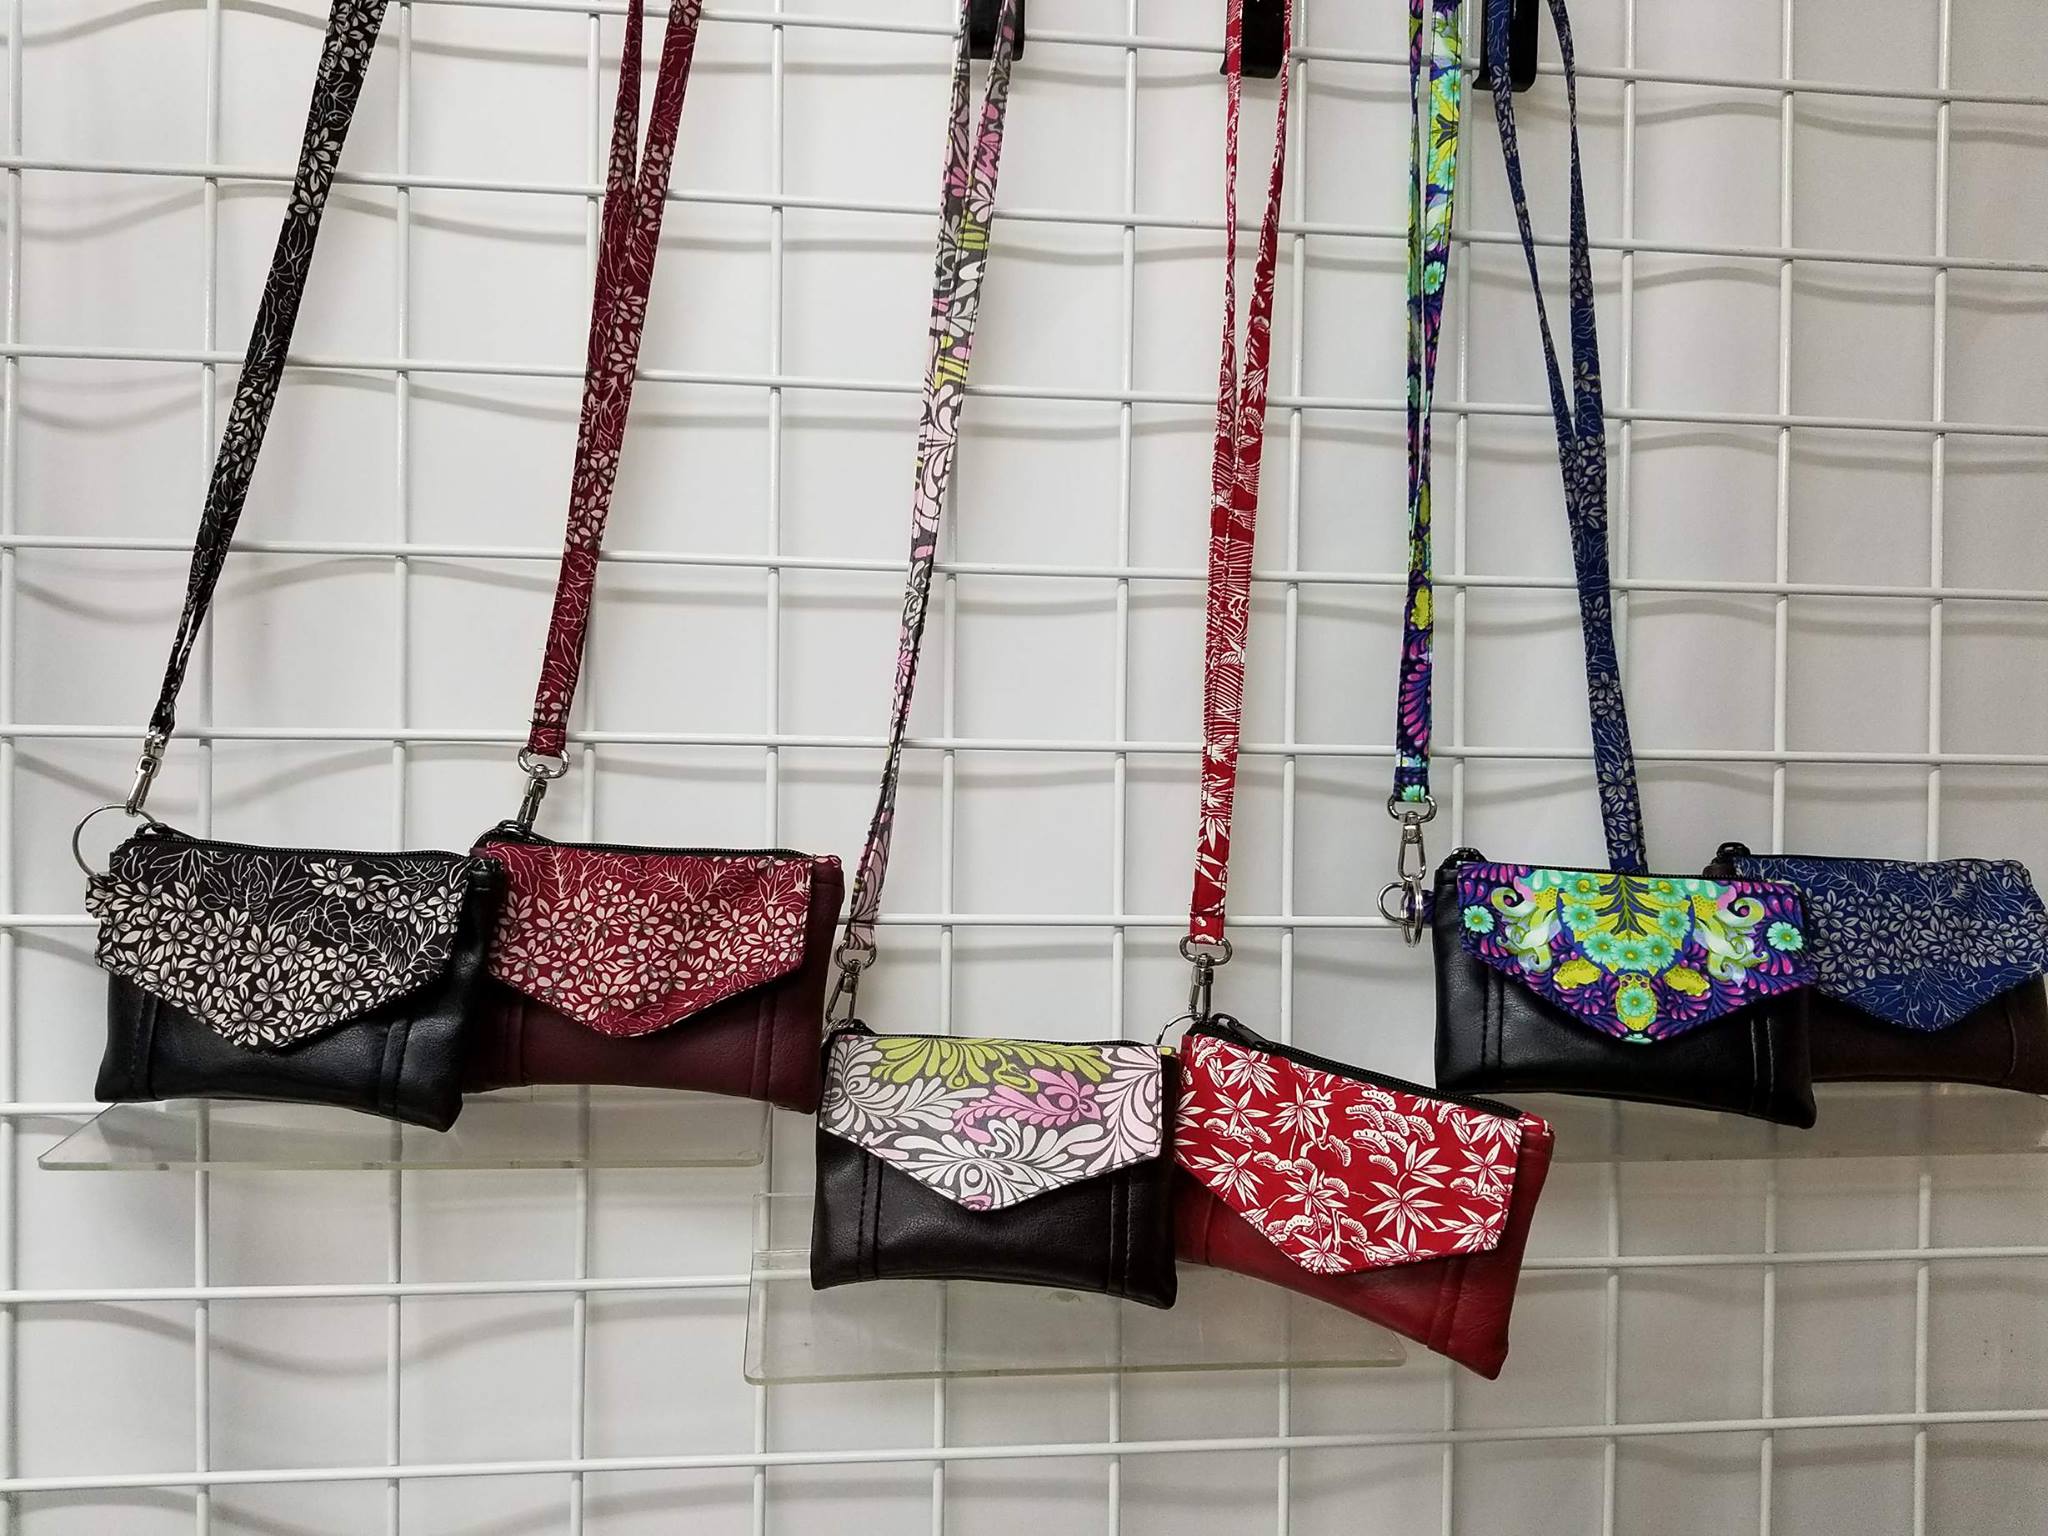
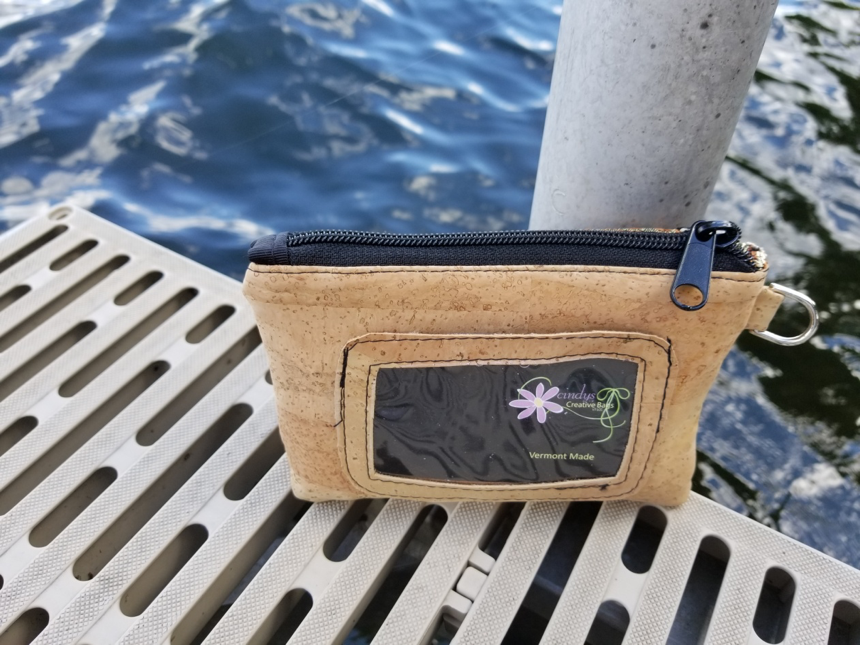
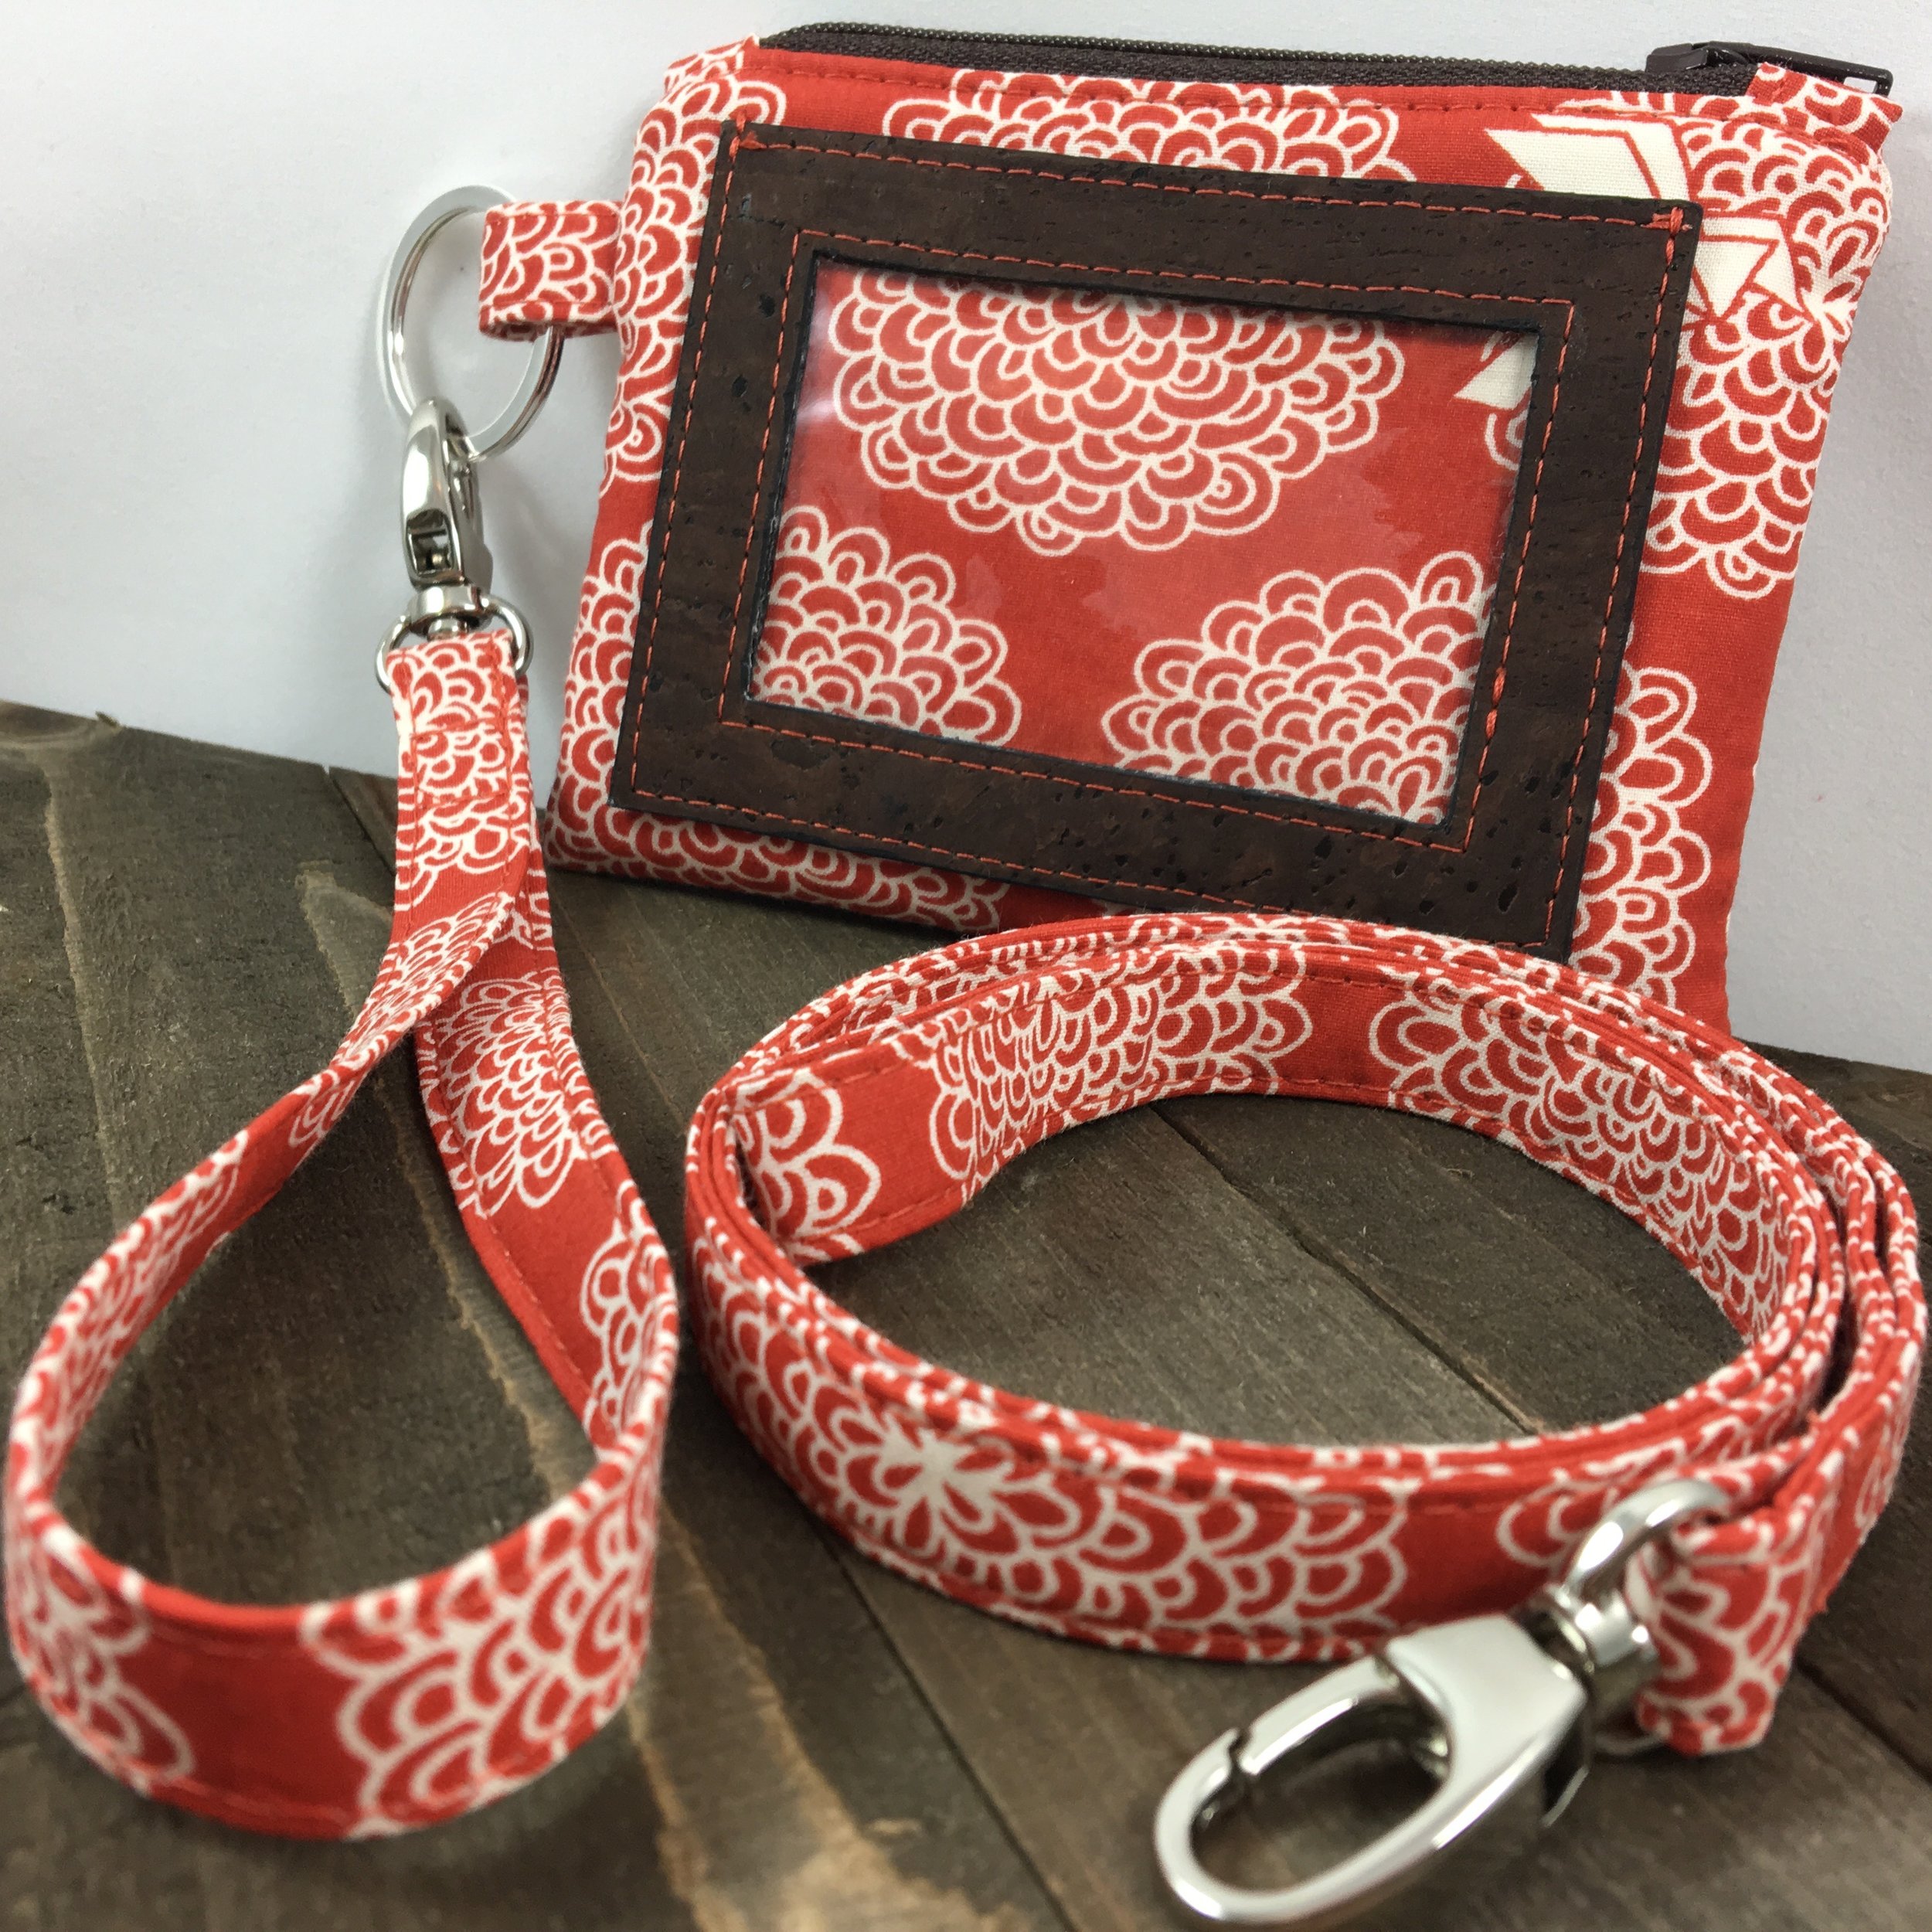
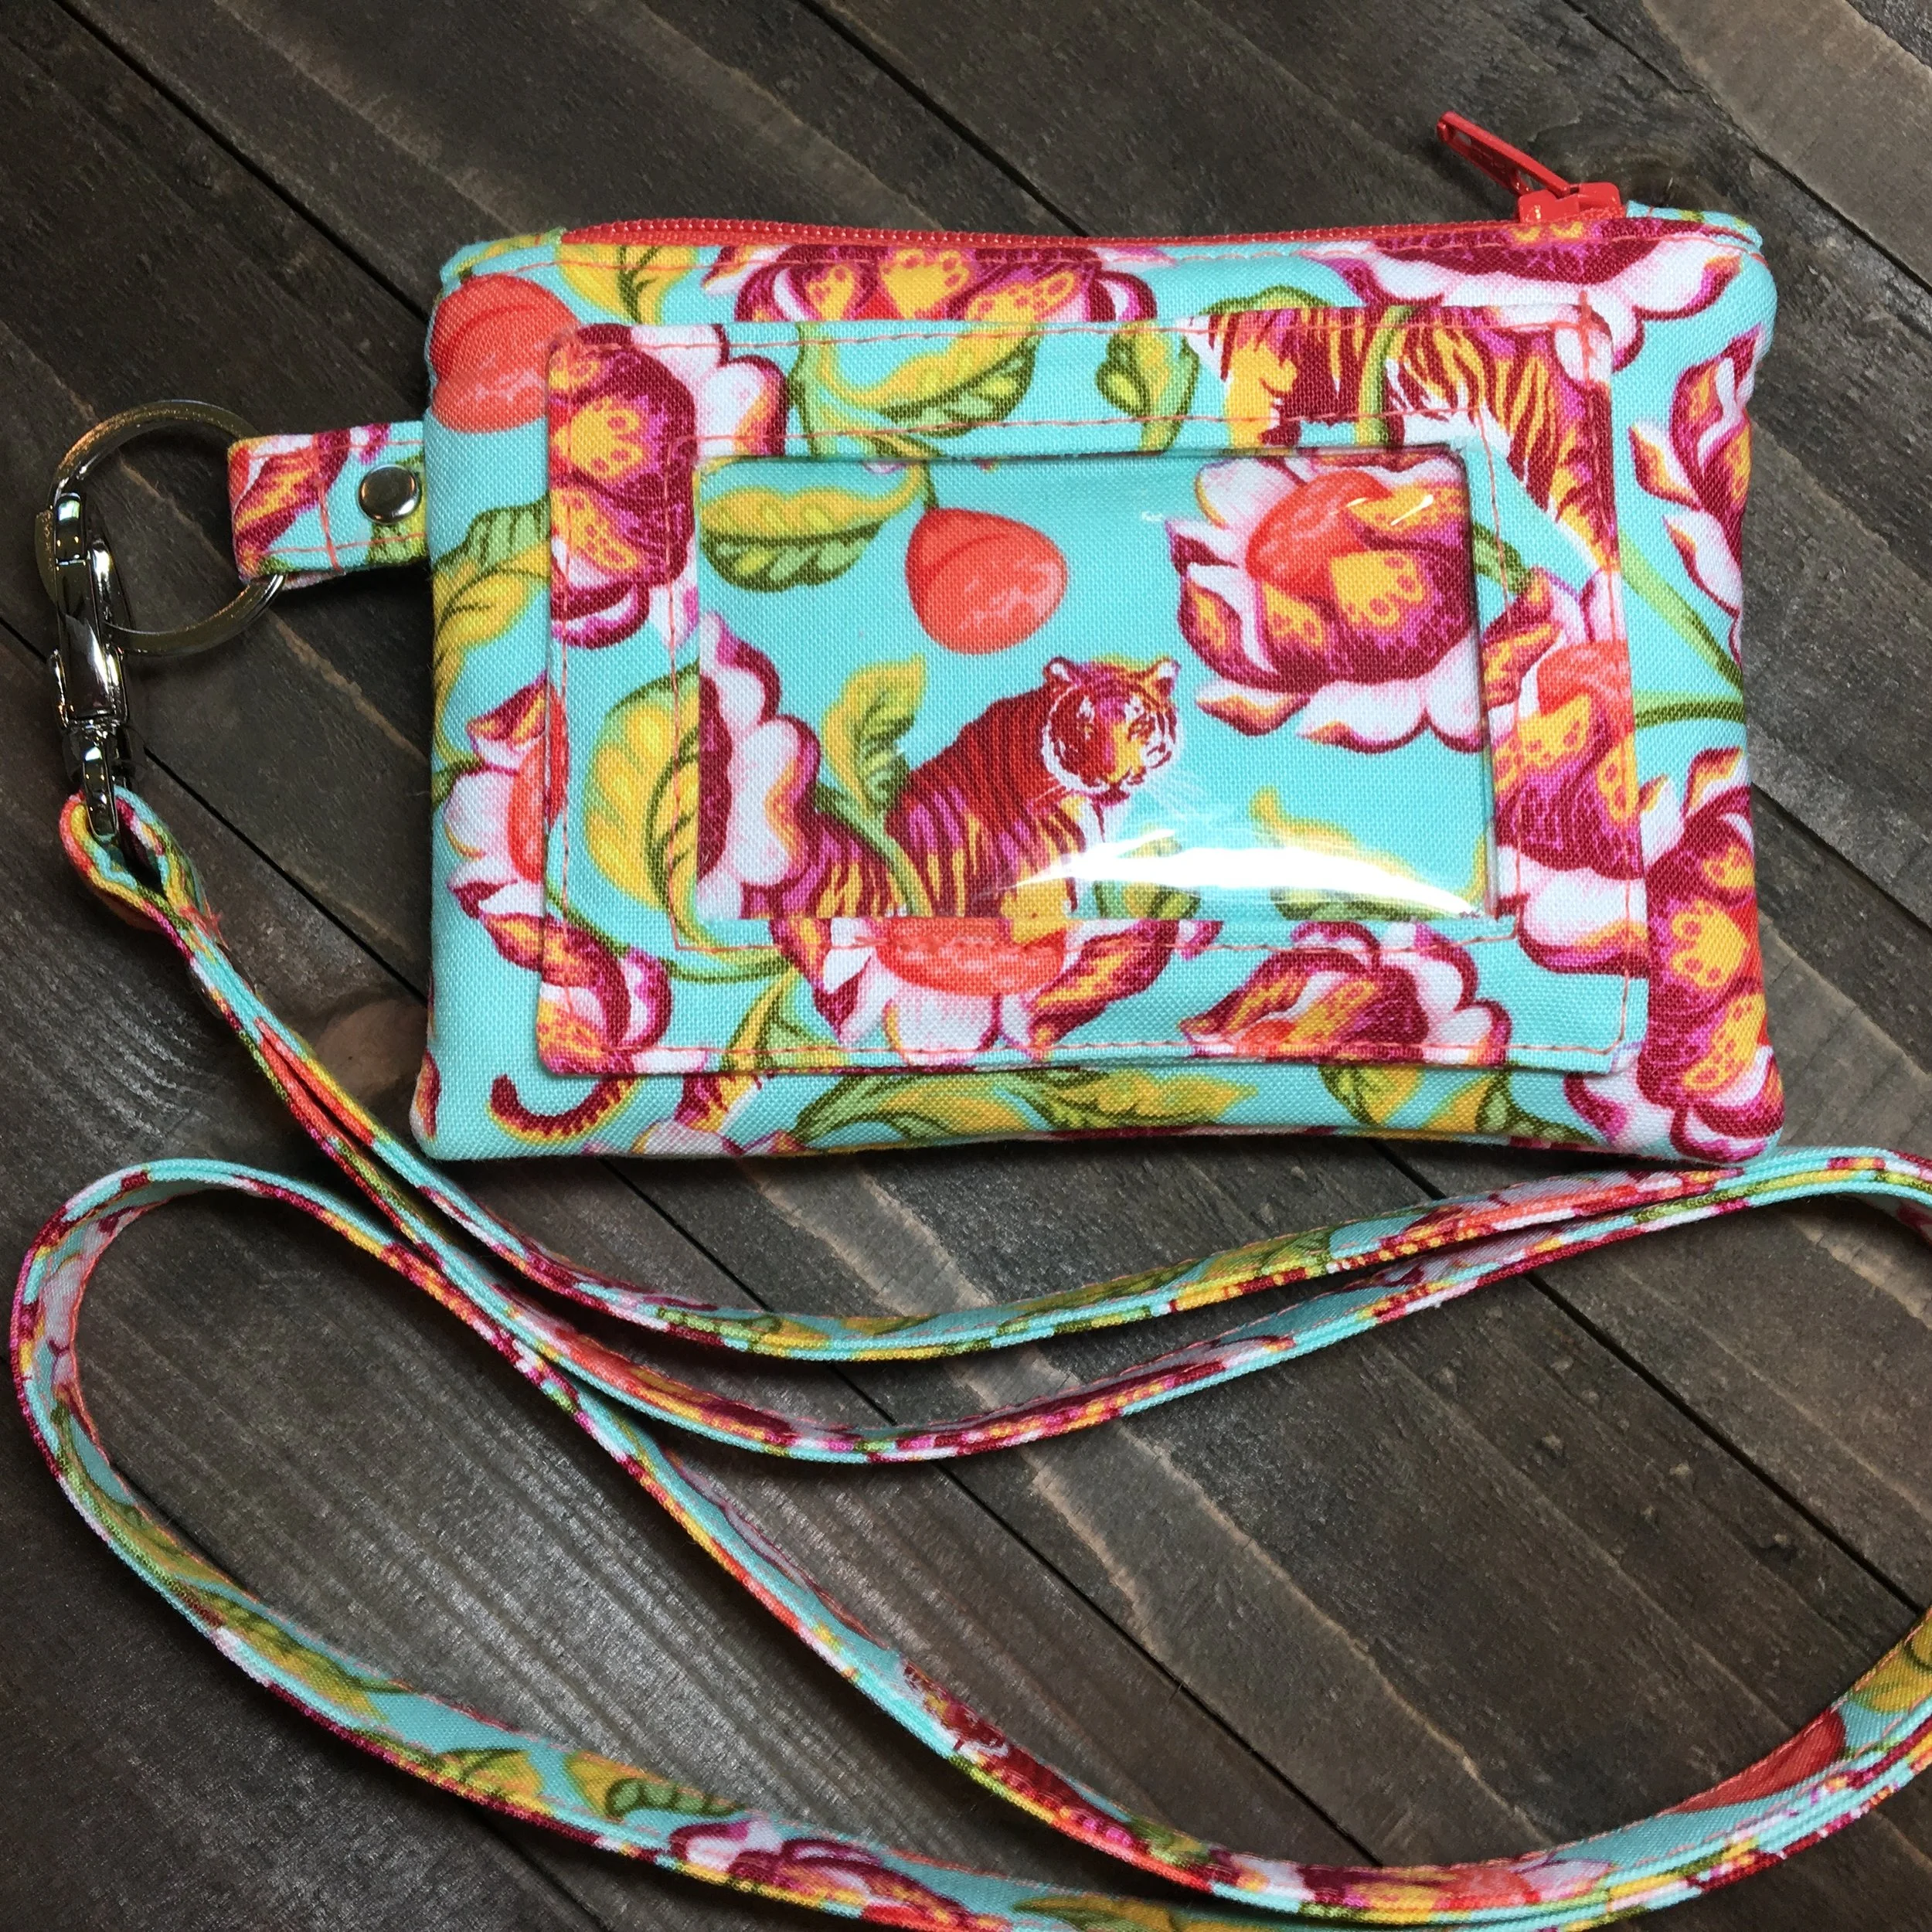
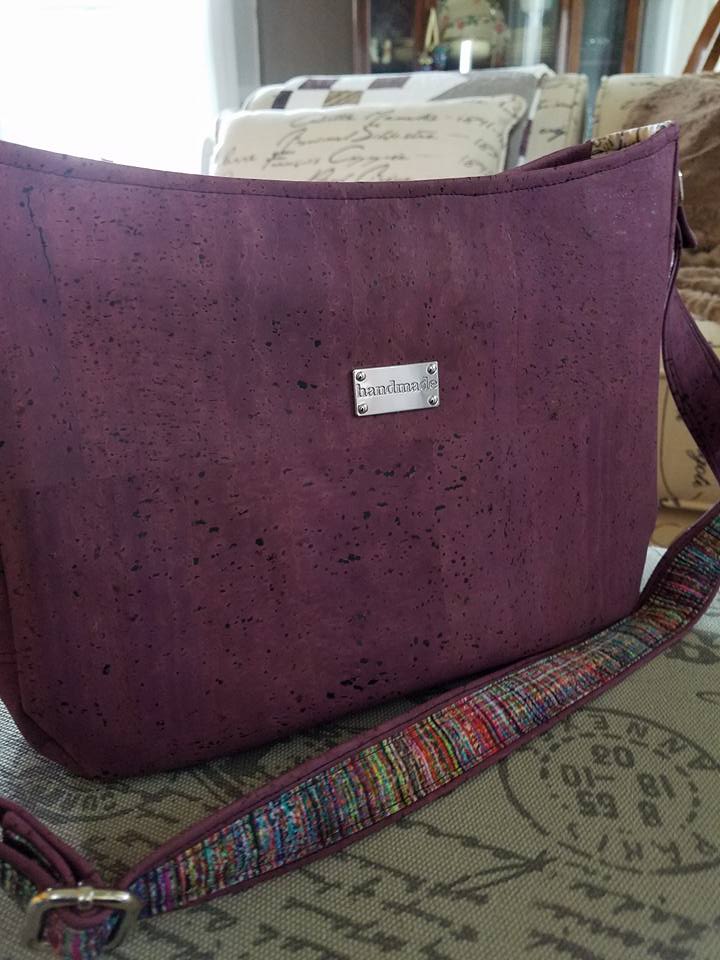
I don't know about you, but I love bag bling - the sparkle, the shine, the added bit of pizzazz it brings to a bag! I have struggled with the Kristine ID Wallet in the bag bling department though - it is a small wallet, making most bag bling look obnoxiously large on it. I found some beautiful bag bling though that looks perfect with the Kristine ID Wallet!

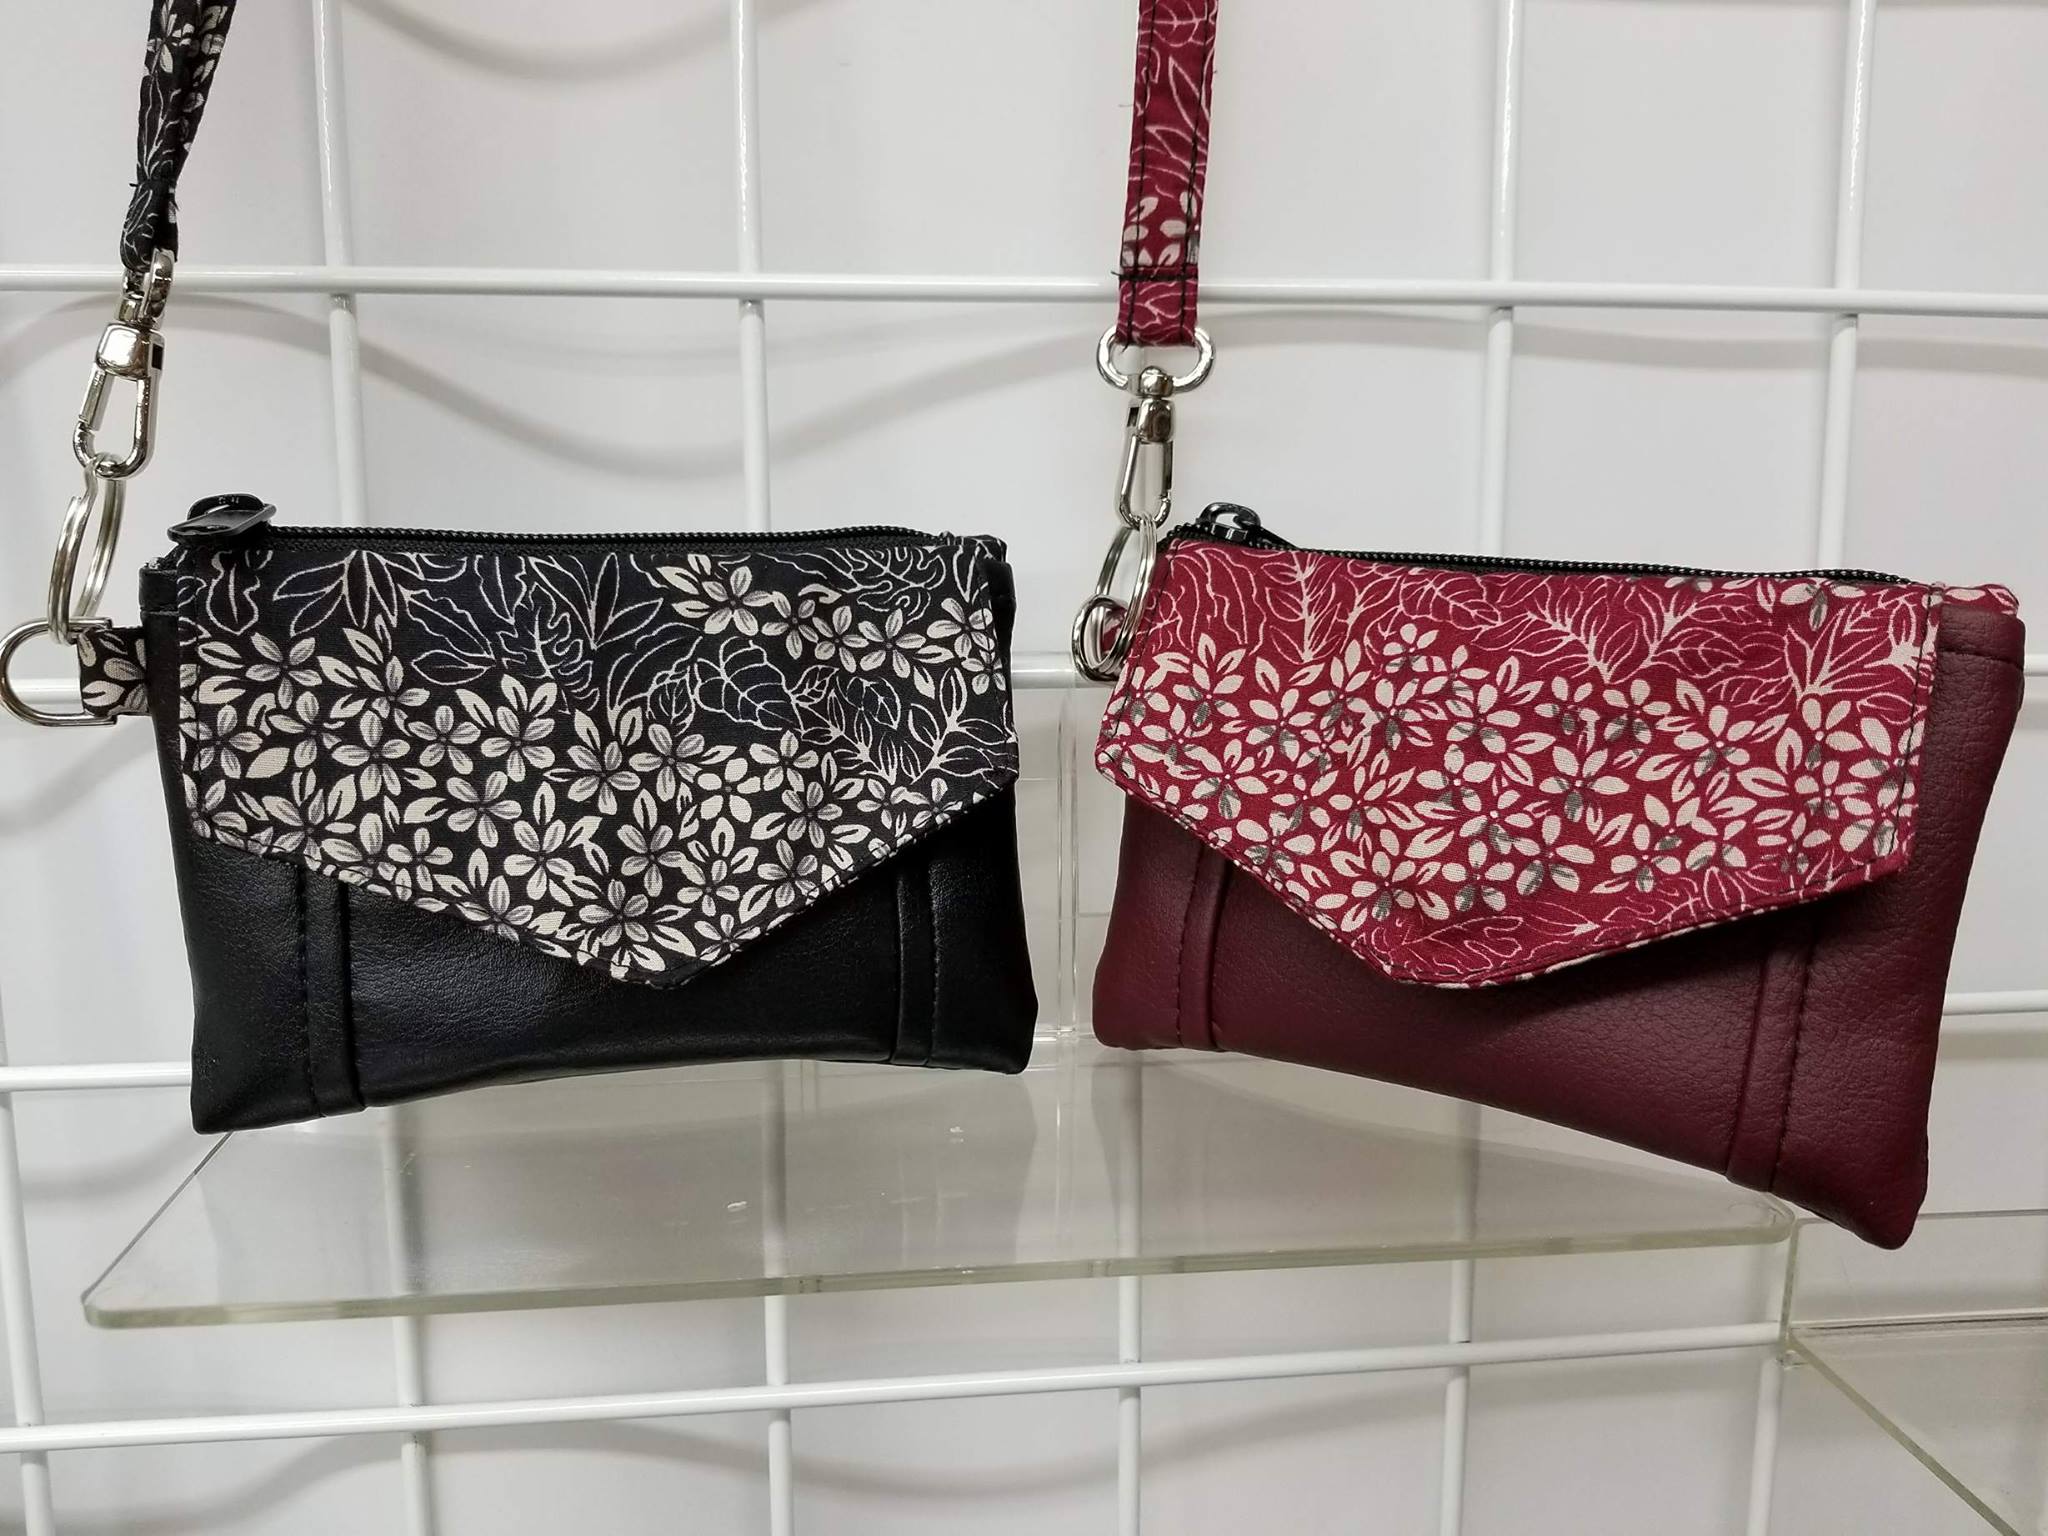
Recently Lisa of Andrie Designs started carrying a new line of colorful bag bling called, "Andrie Adornments." I think it is perfect for the Kristine ID Wallet! This bag bling isn't too large and with so many colors to coordinate, it adds bling without overpowering the petite Kristine ID Wallet.
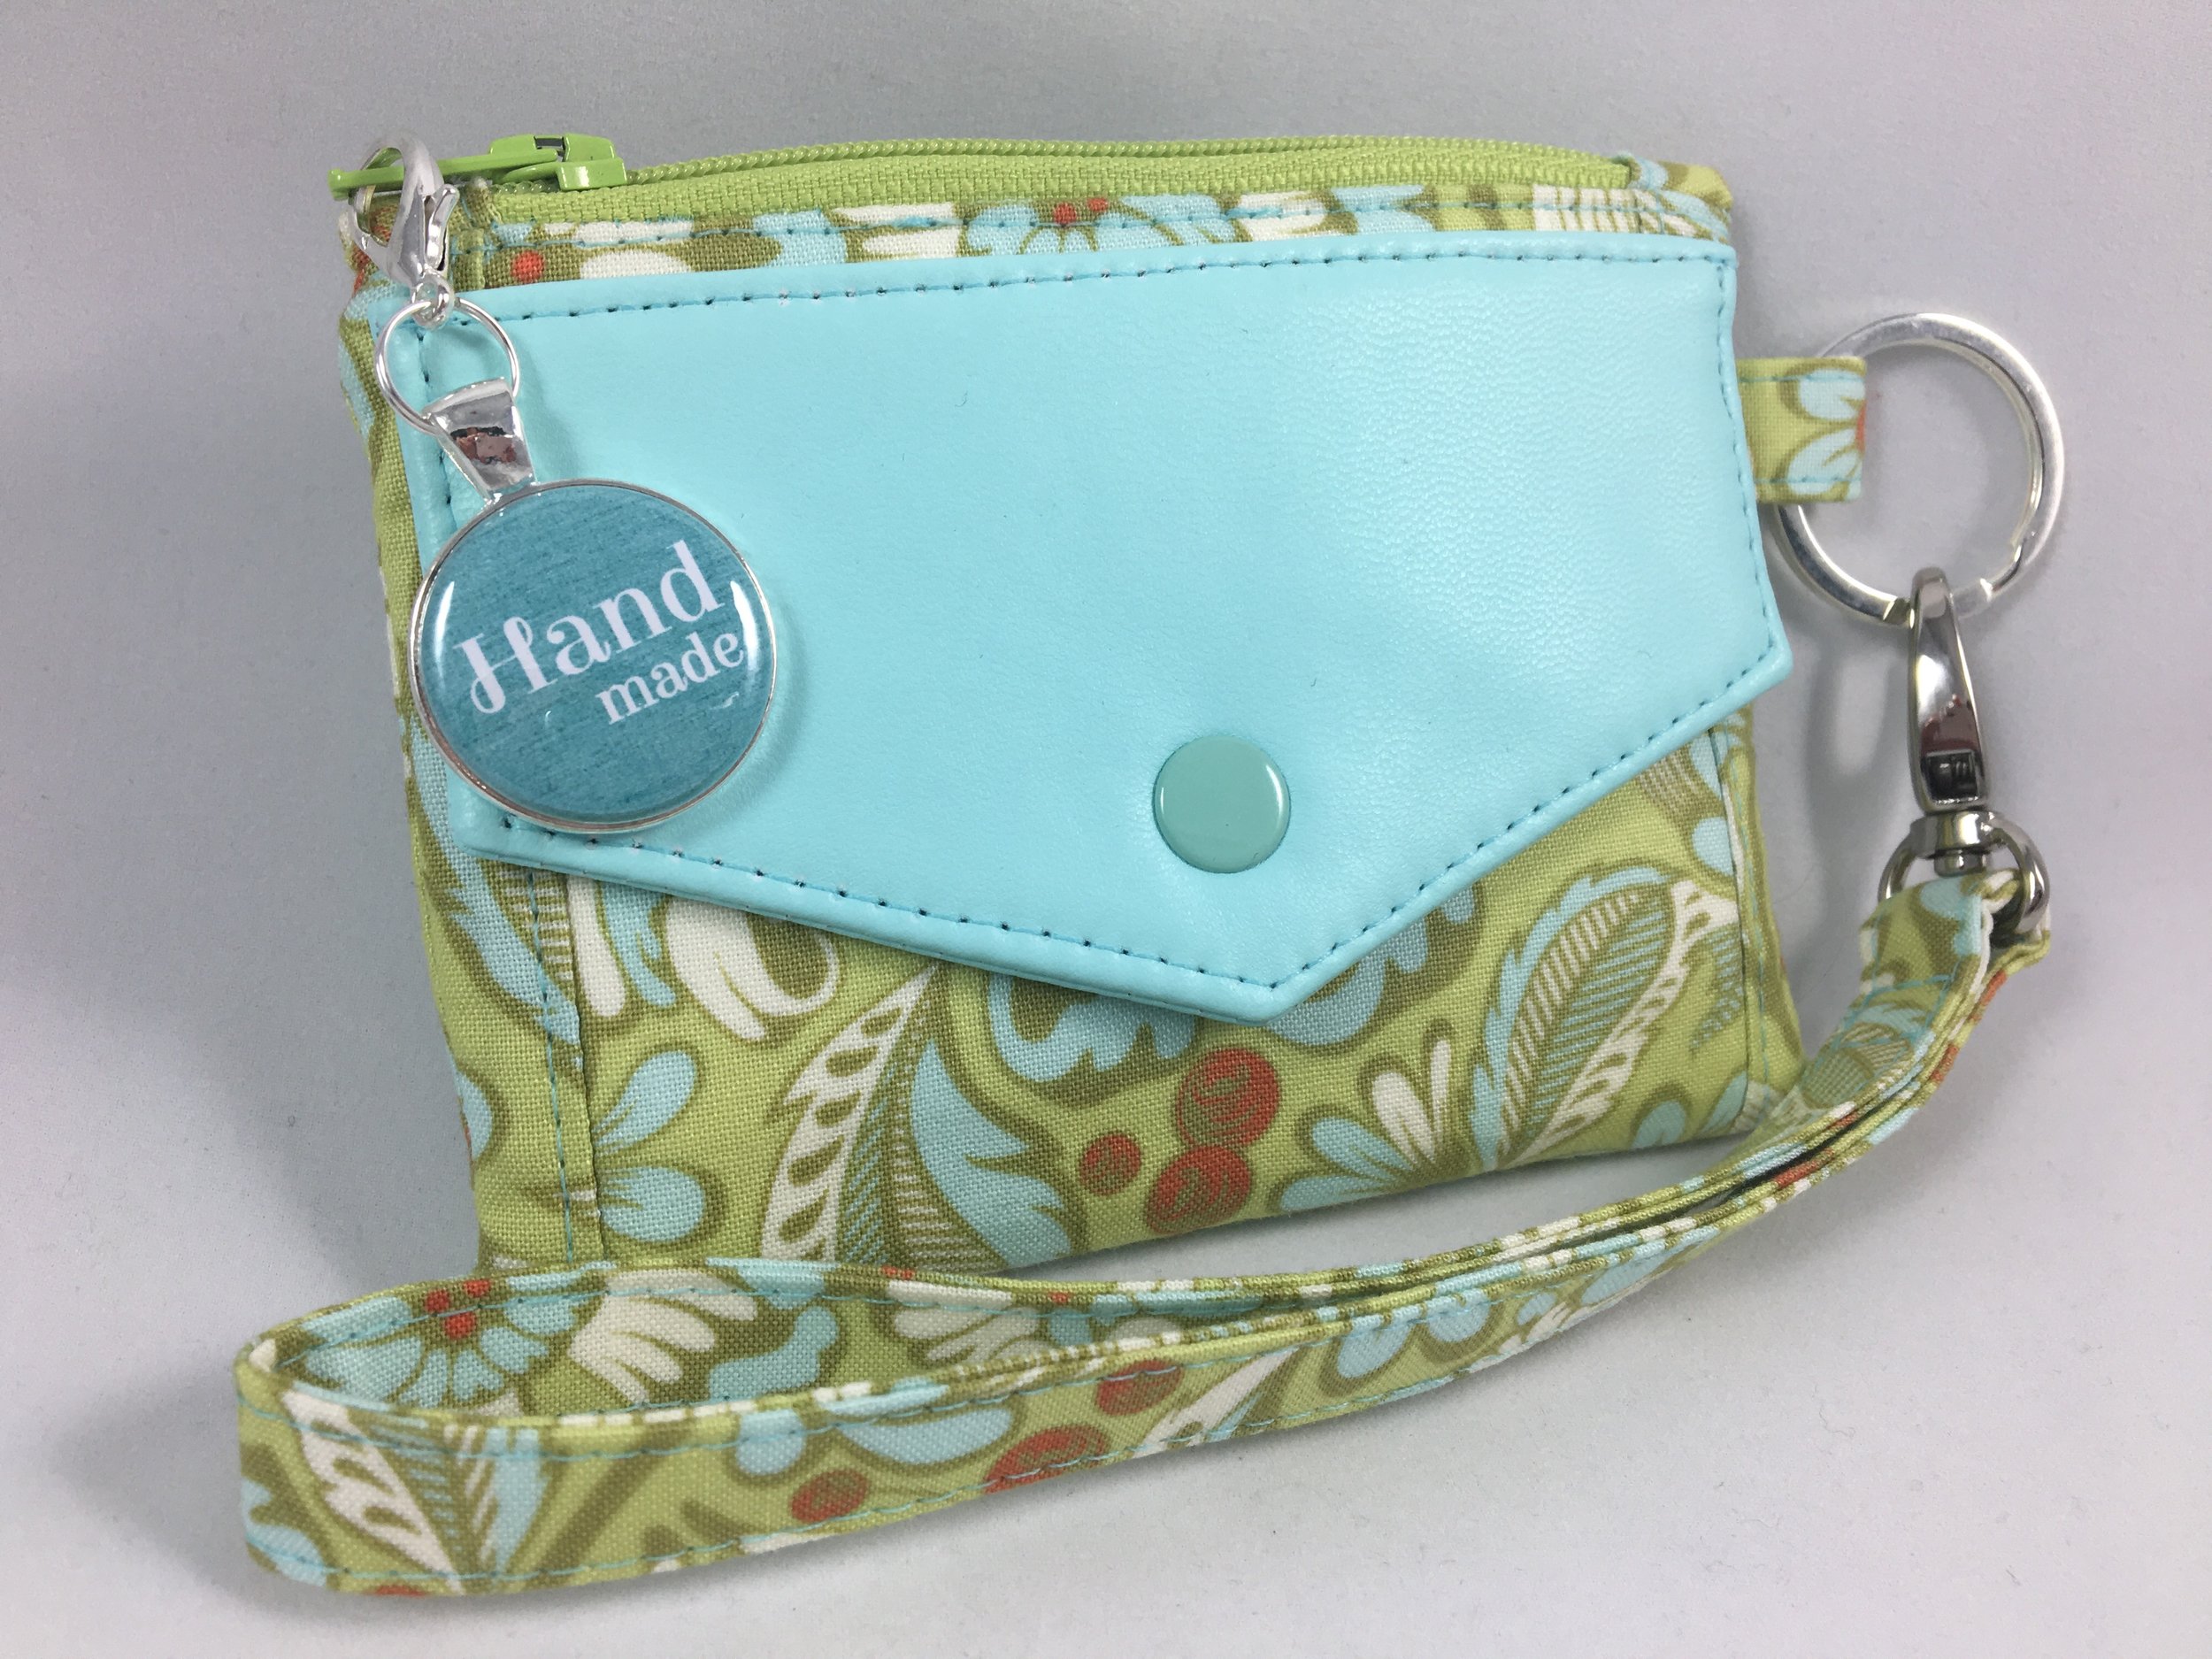
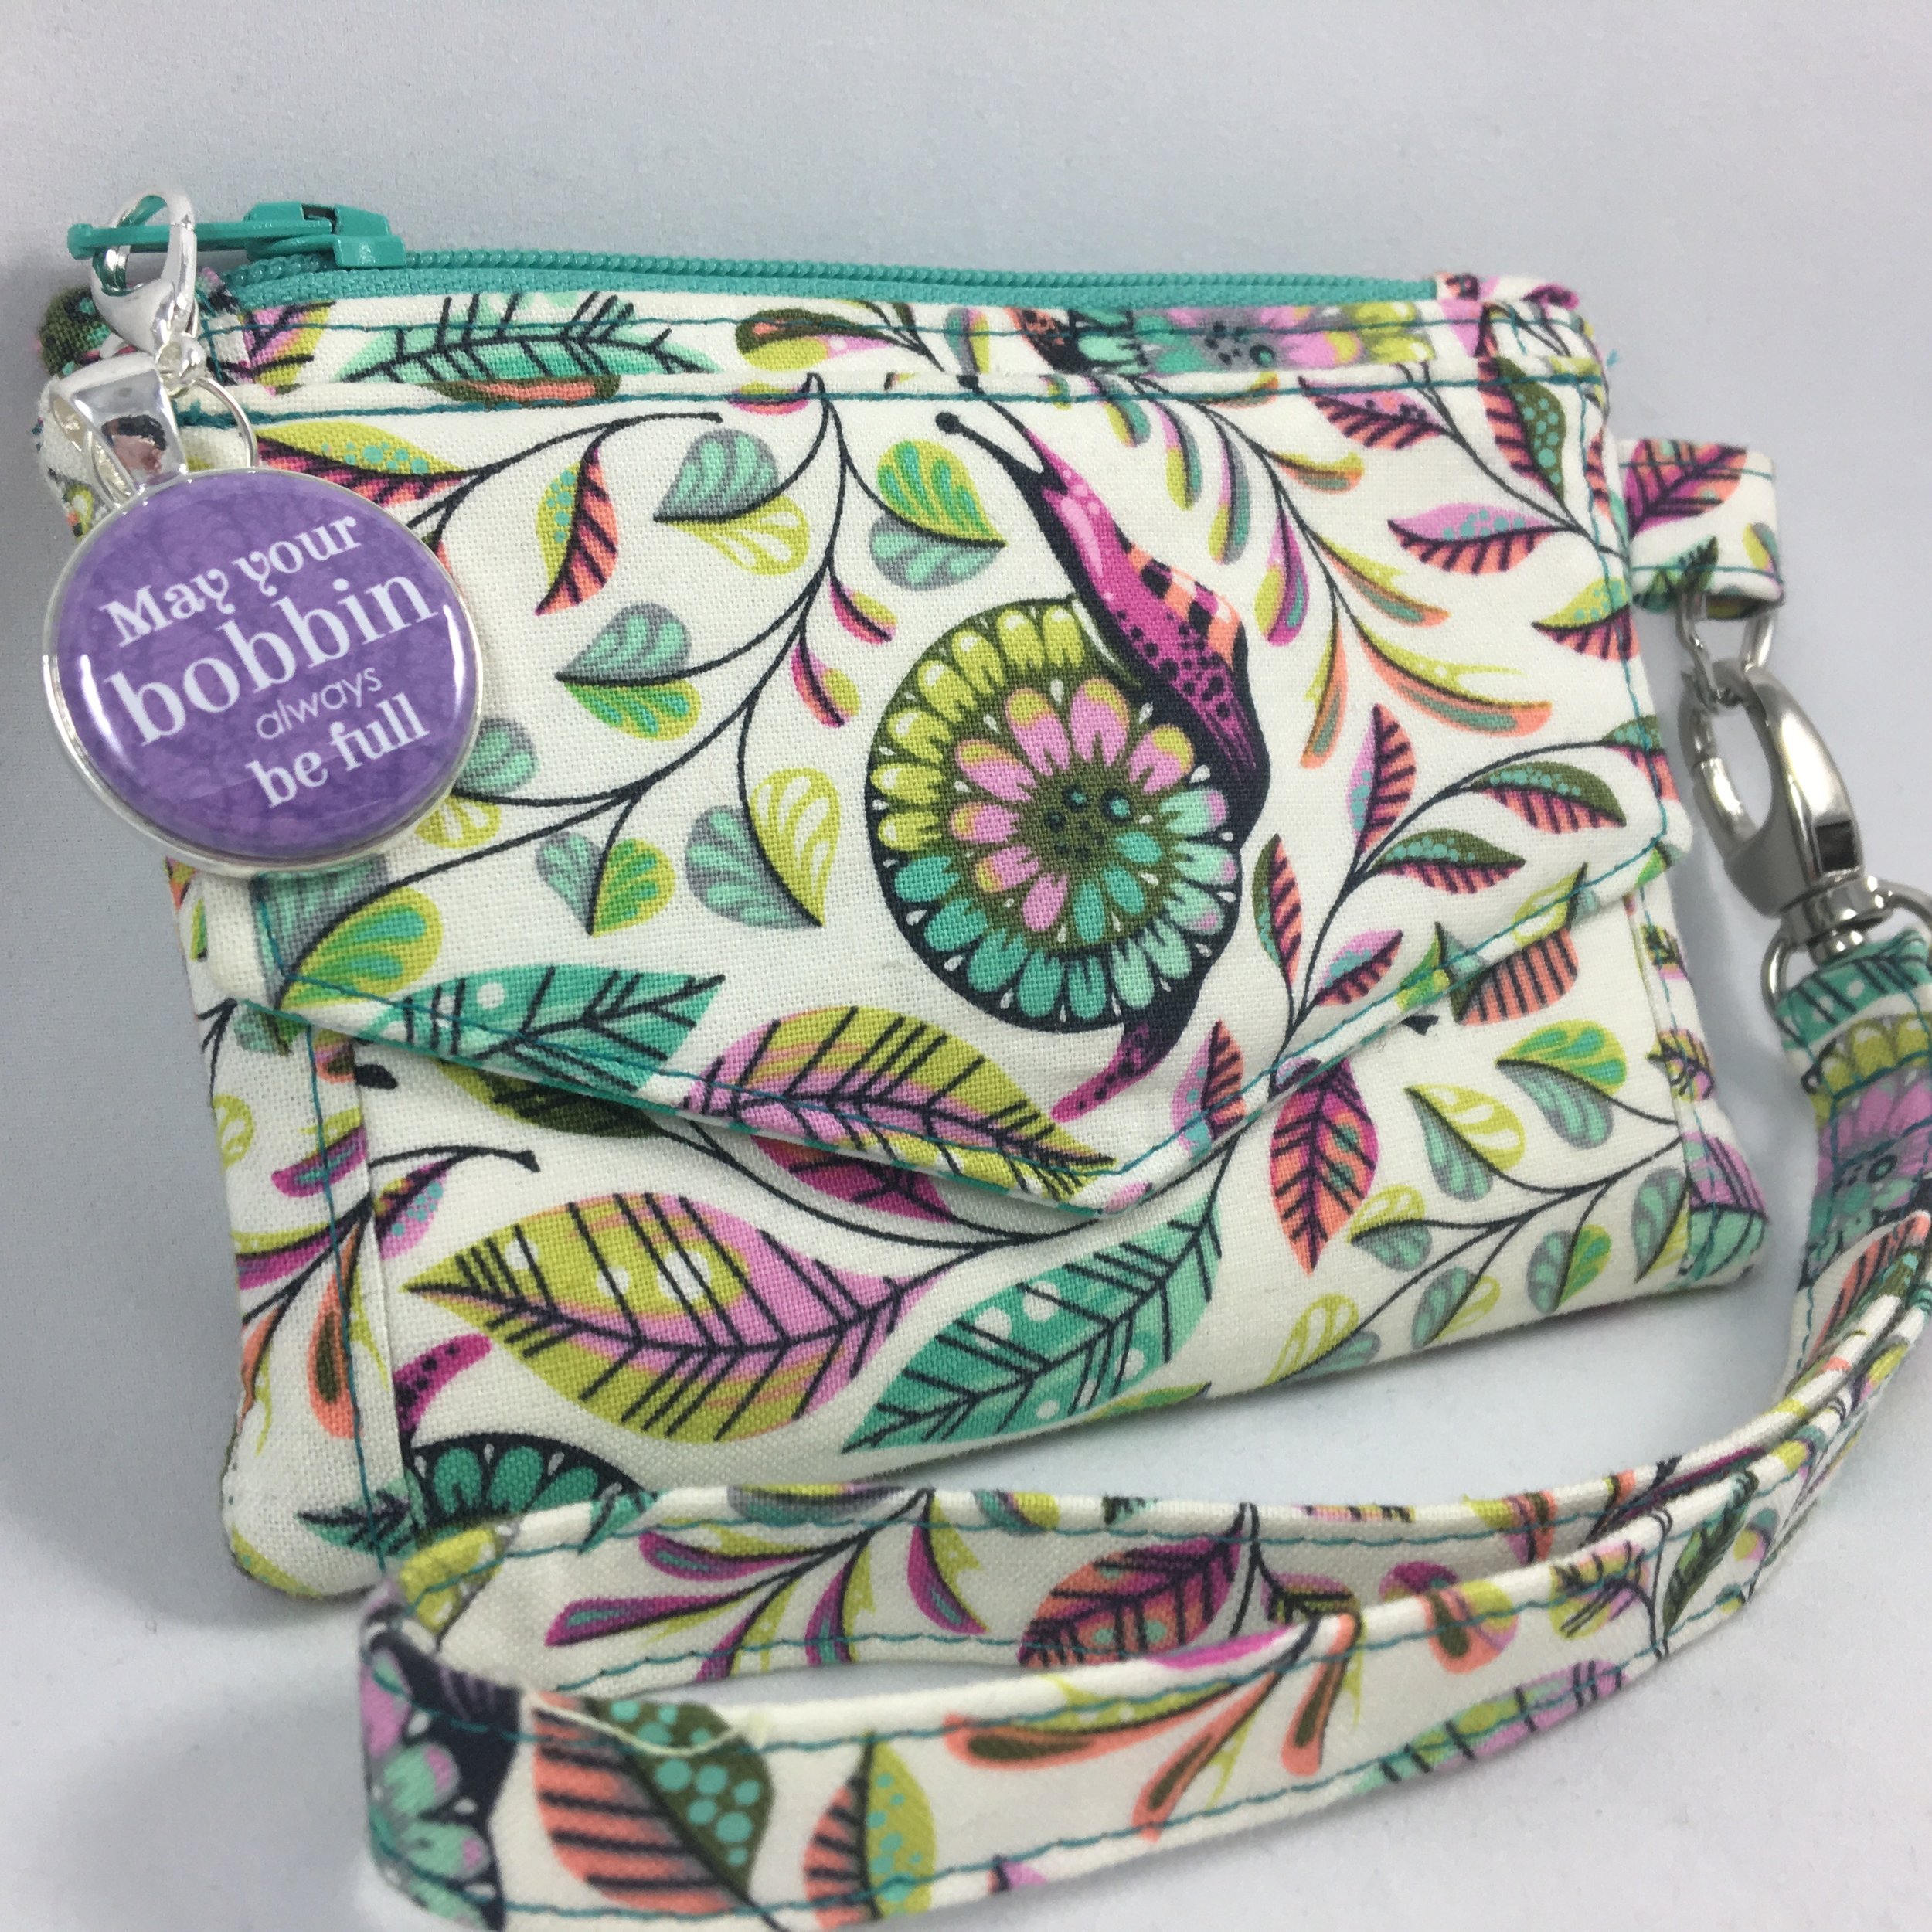
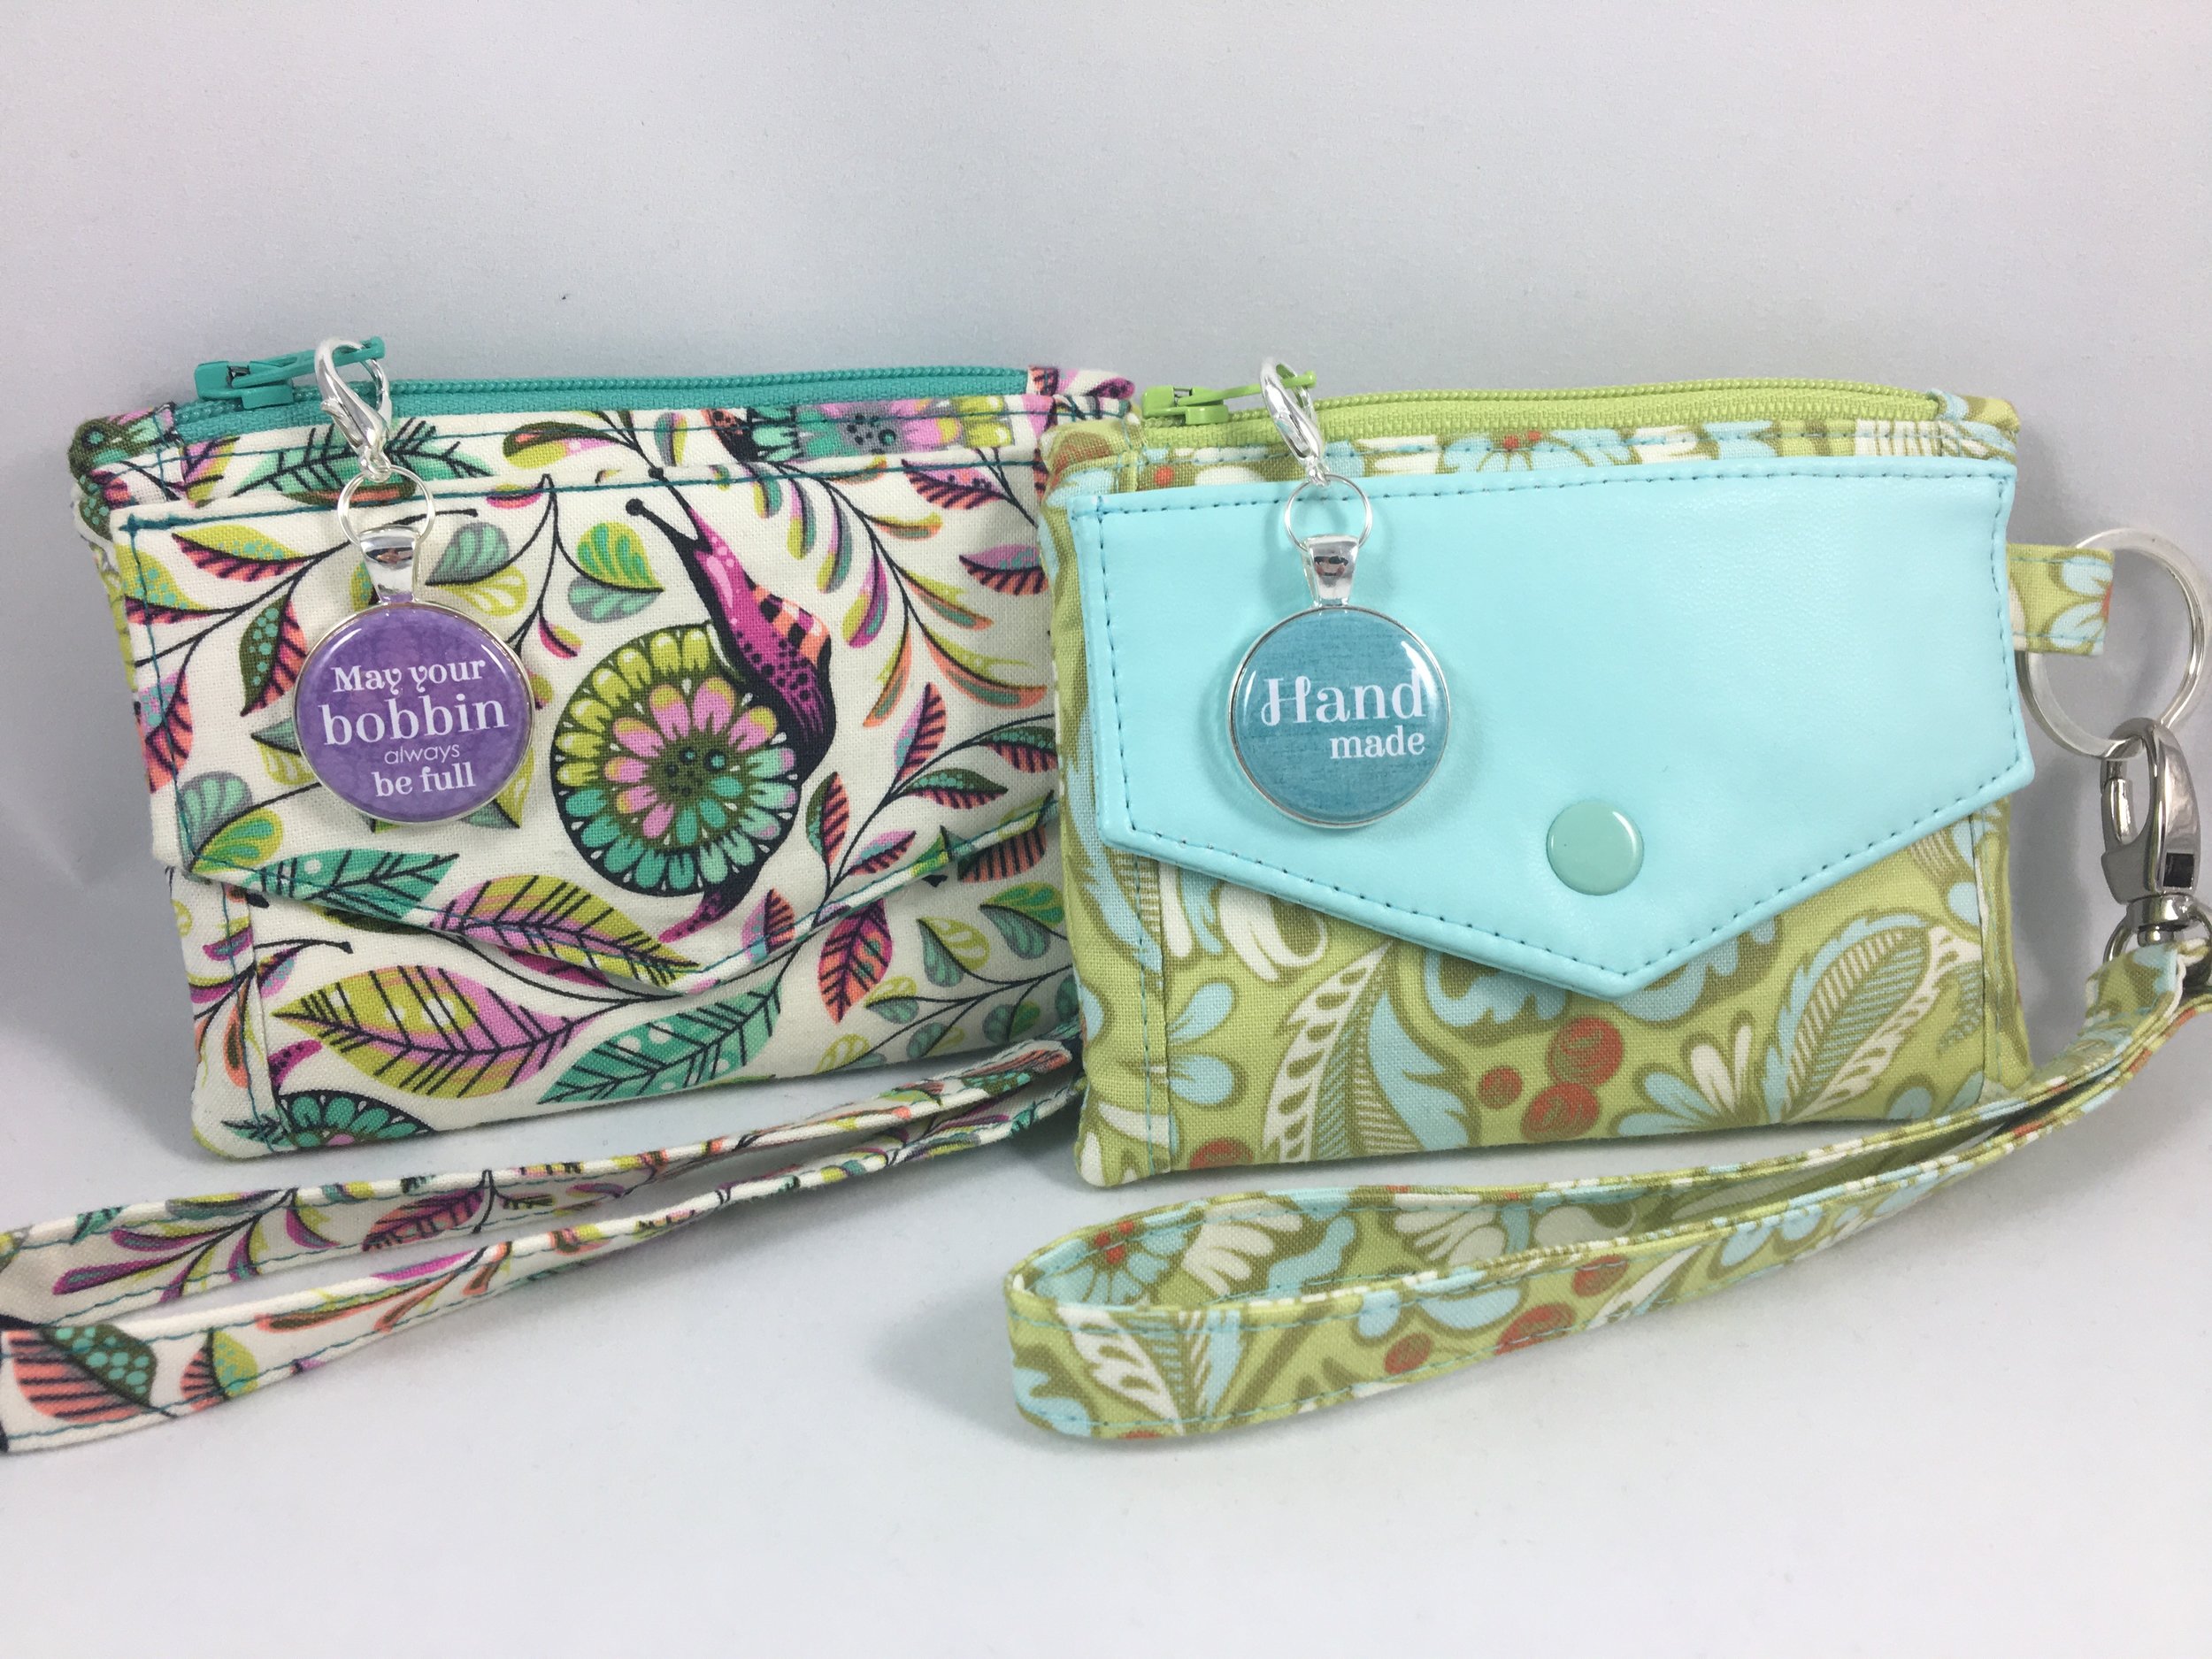
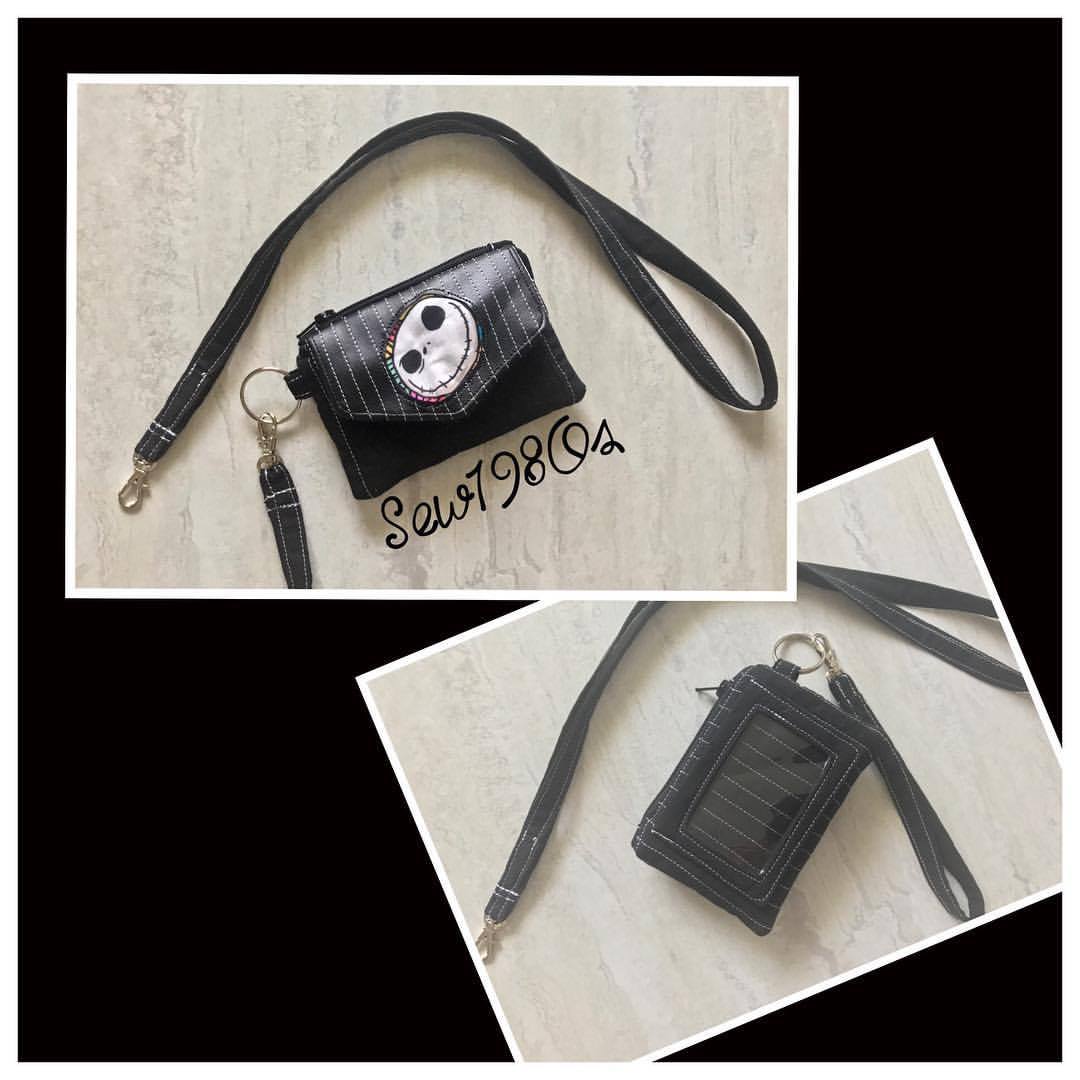
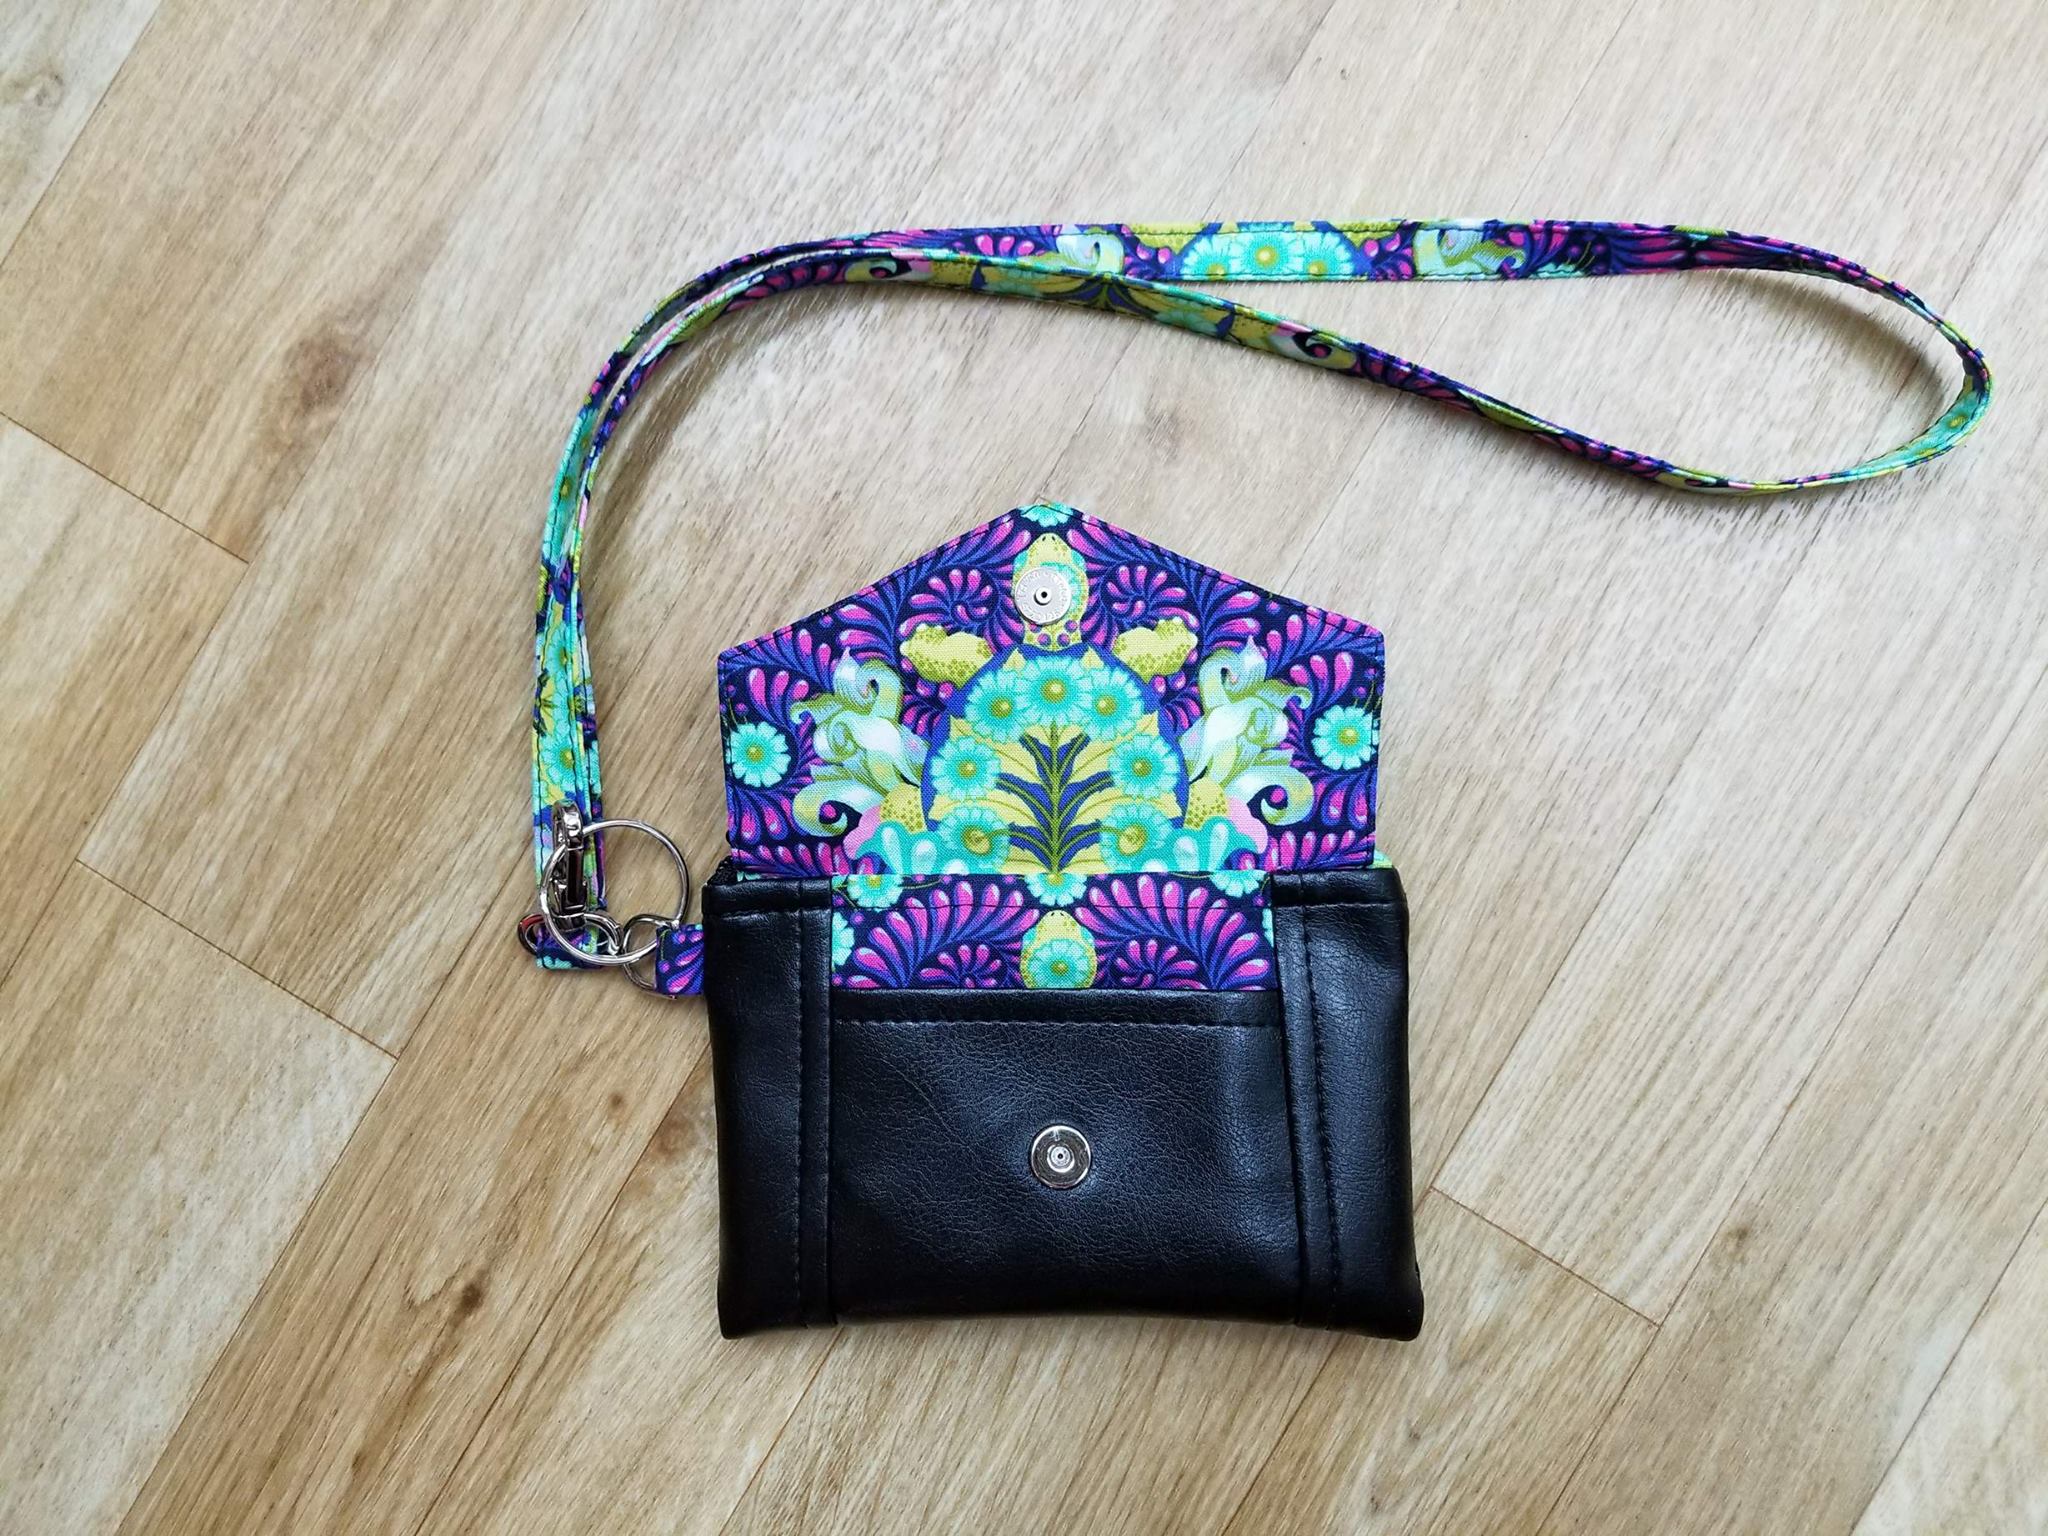
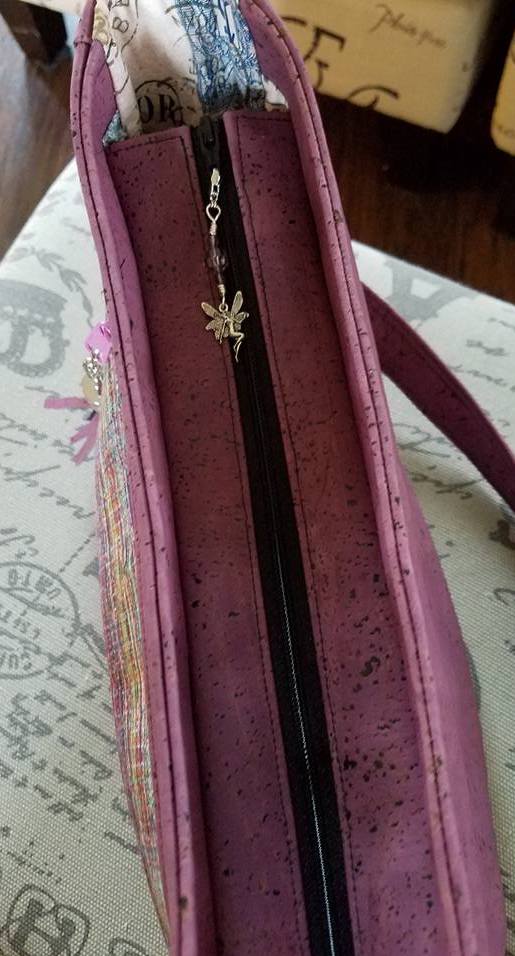
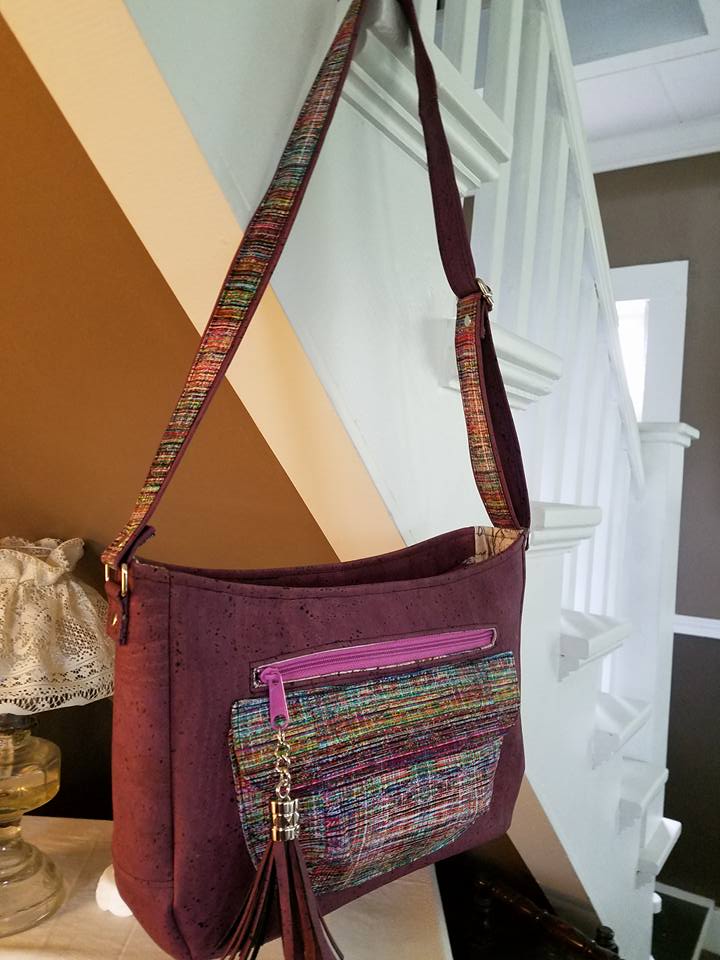
I bought a few different colors of the Andrie Adornments Zipper Pulls with a few different wording options hoping that they would work out well! I was so pleased when I got them in the mail to see that not only was the size perfect for the Kristine ID Wallet, but they are more pretty in person than they are in pictures.
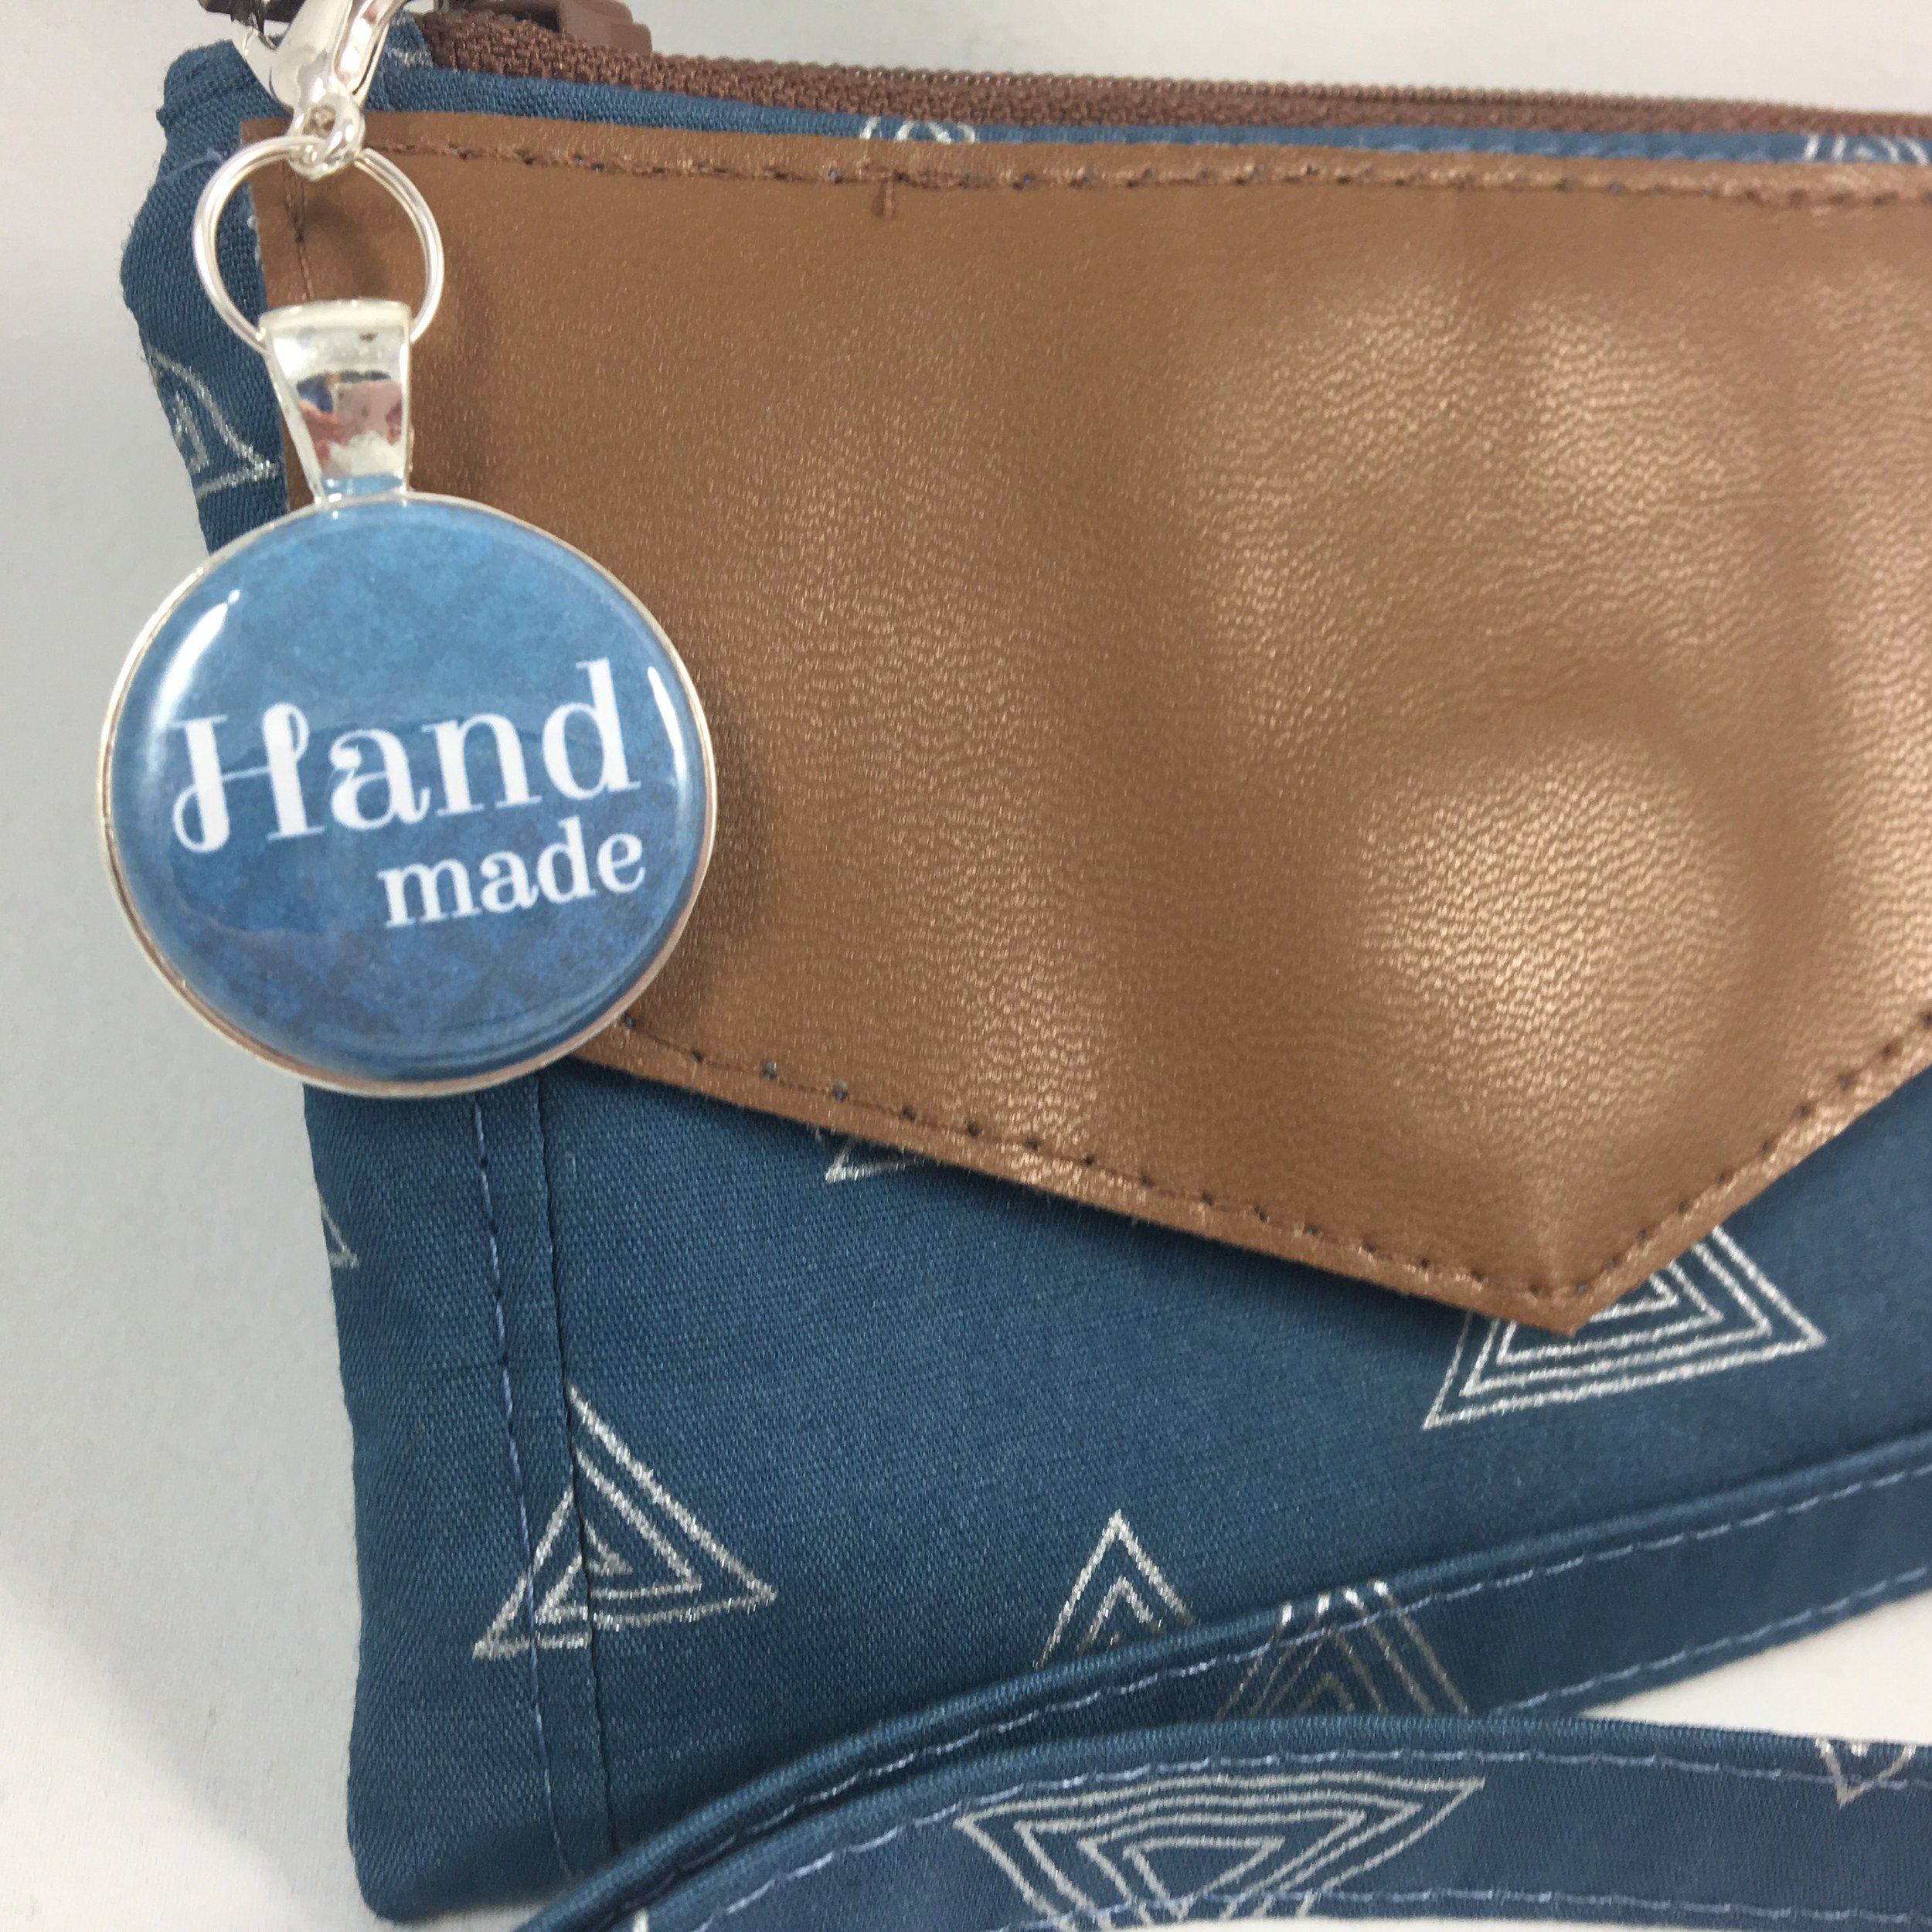
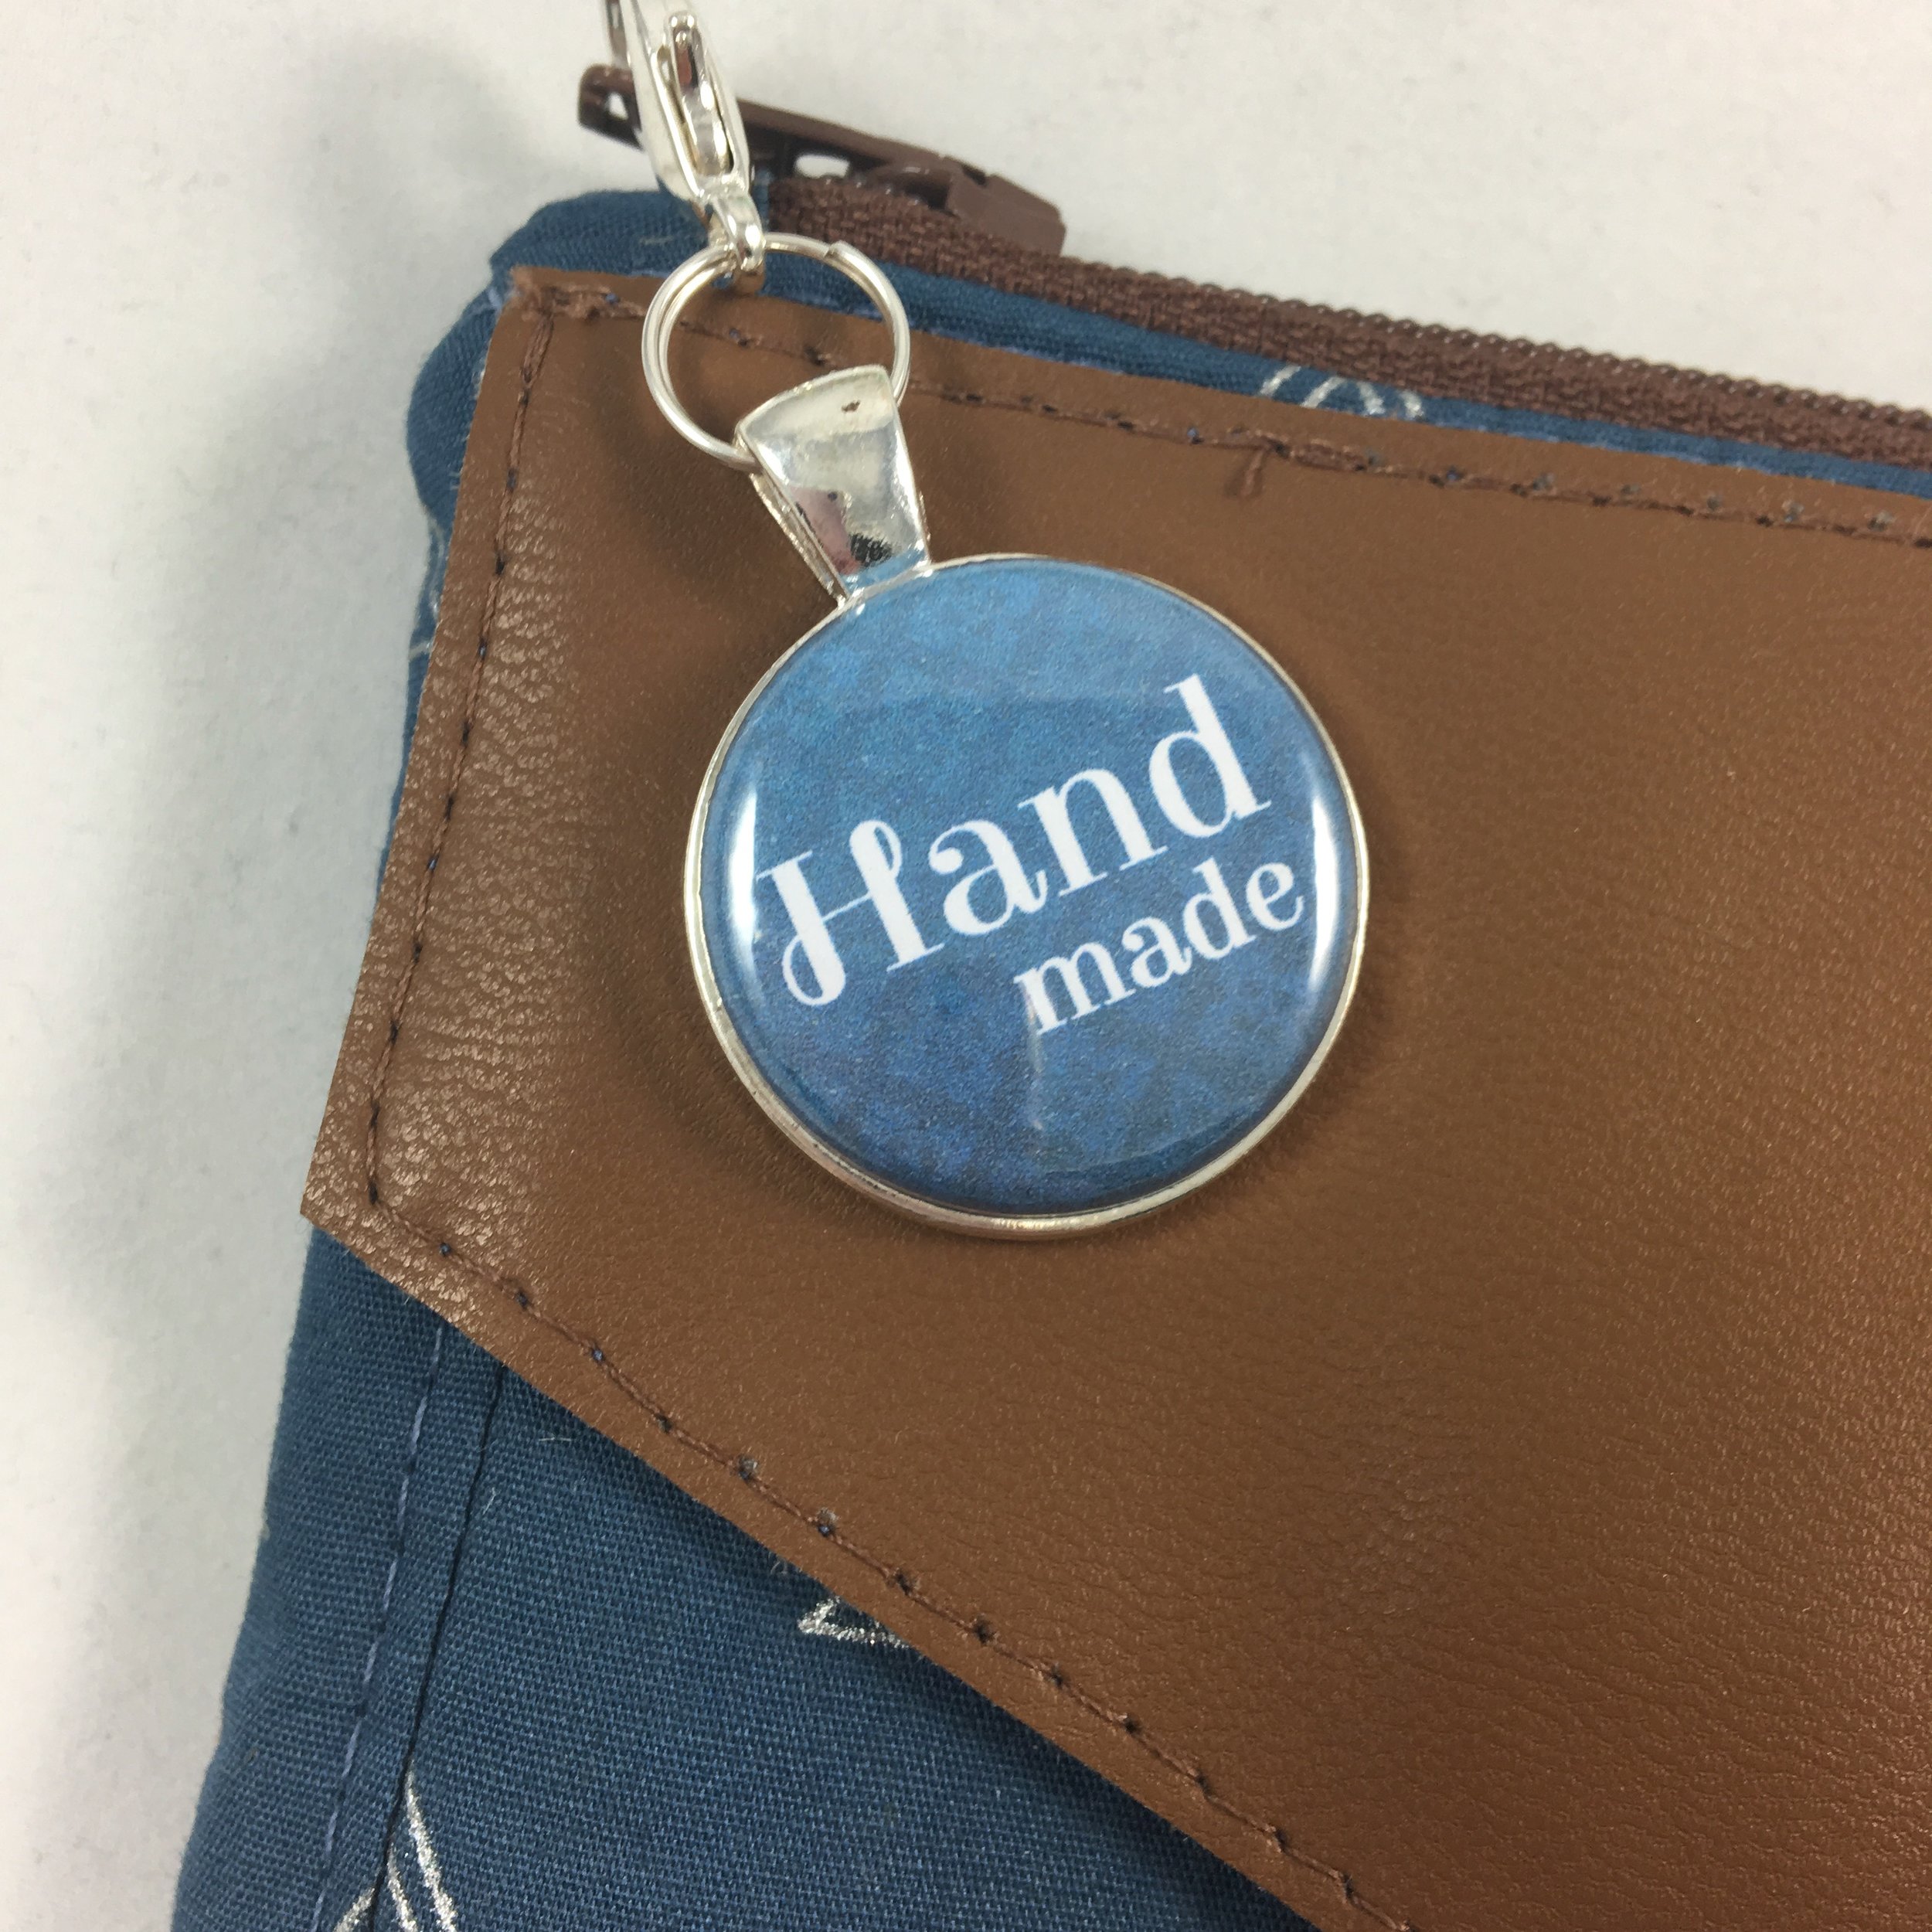
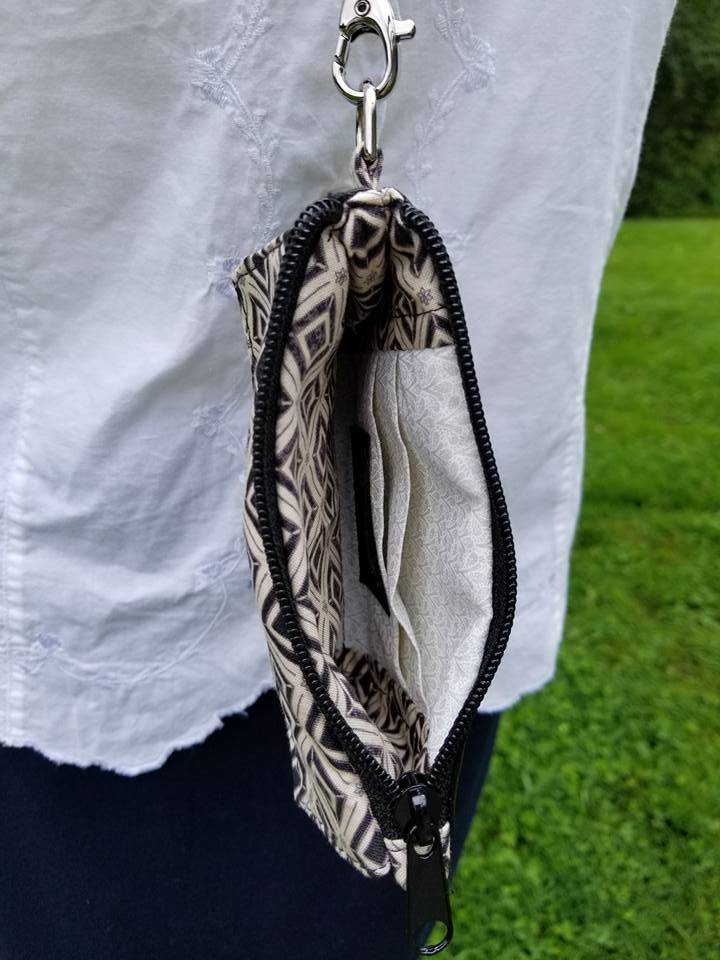
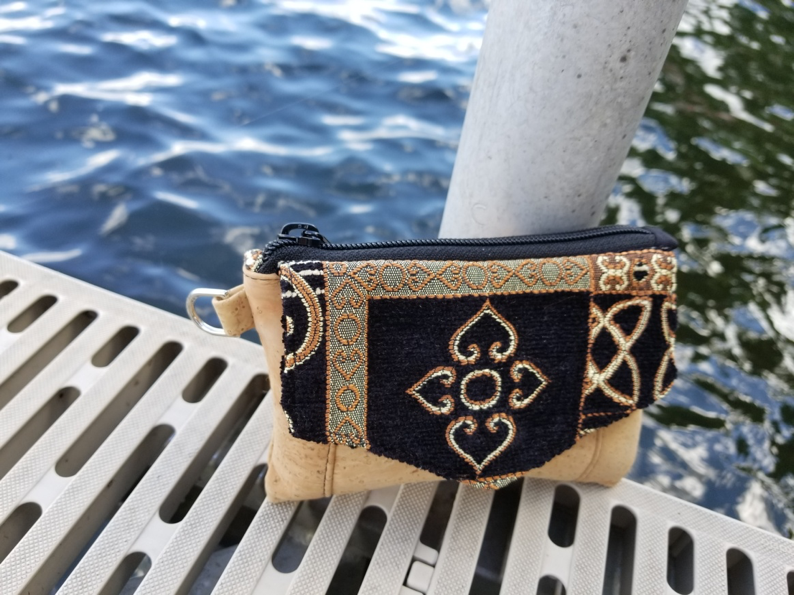
The Andrie Adornments Zipper Pulls work well as a zipper pull for the Kristine ID Wallet, but it also makes adorable charm to go on the key ring! I will use the Andrie Adornments Zipper Pulls on more than just Kristine ID Wallets of course, but I am really happy to have bag bling that compliments this wallet so well!

Kristine ID Wallet Week with wrap up tomorrow, so get your Uniquely Michelle patterns now while they are 15%. Use coupon code KIDWWEEK during check out at the Uniquely Michelle Etsy Shop or the Uniquely Michelle Website Shop. The prices in the Uniquely Michelle Craftsy Pattern Shop reflect the 15% discount.

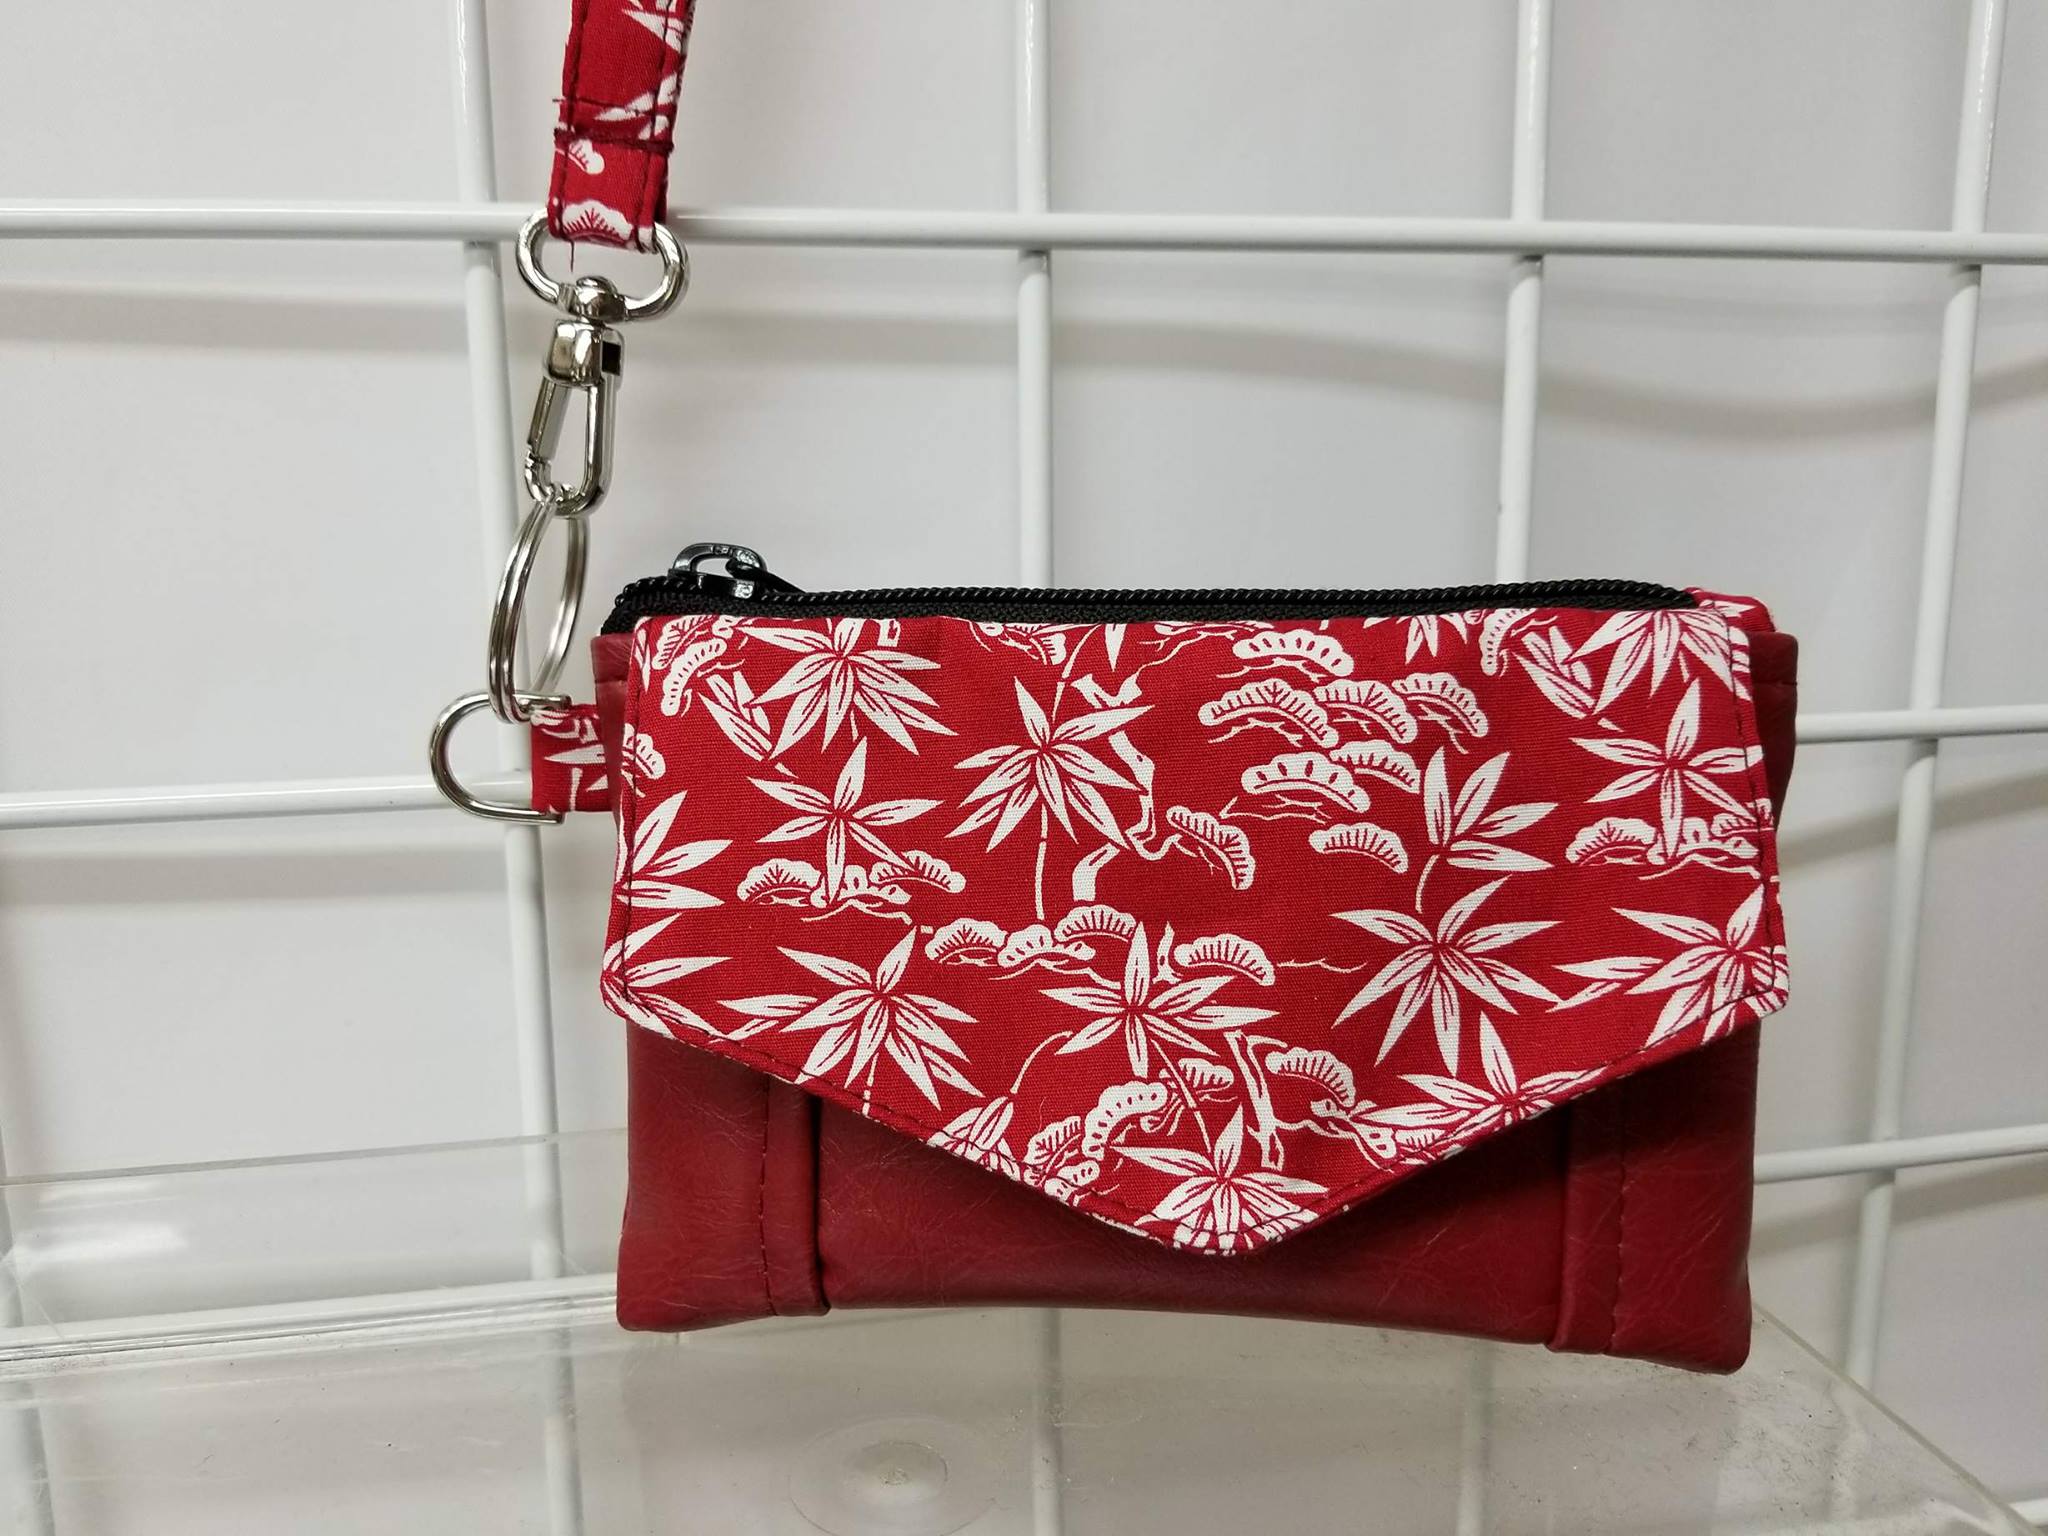
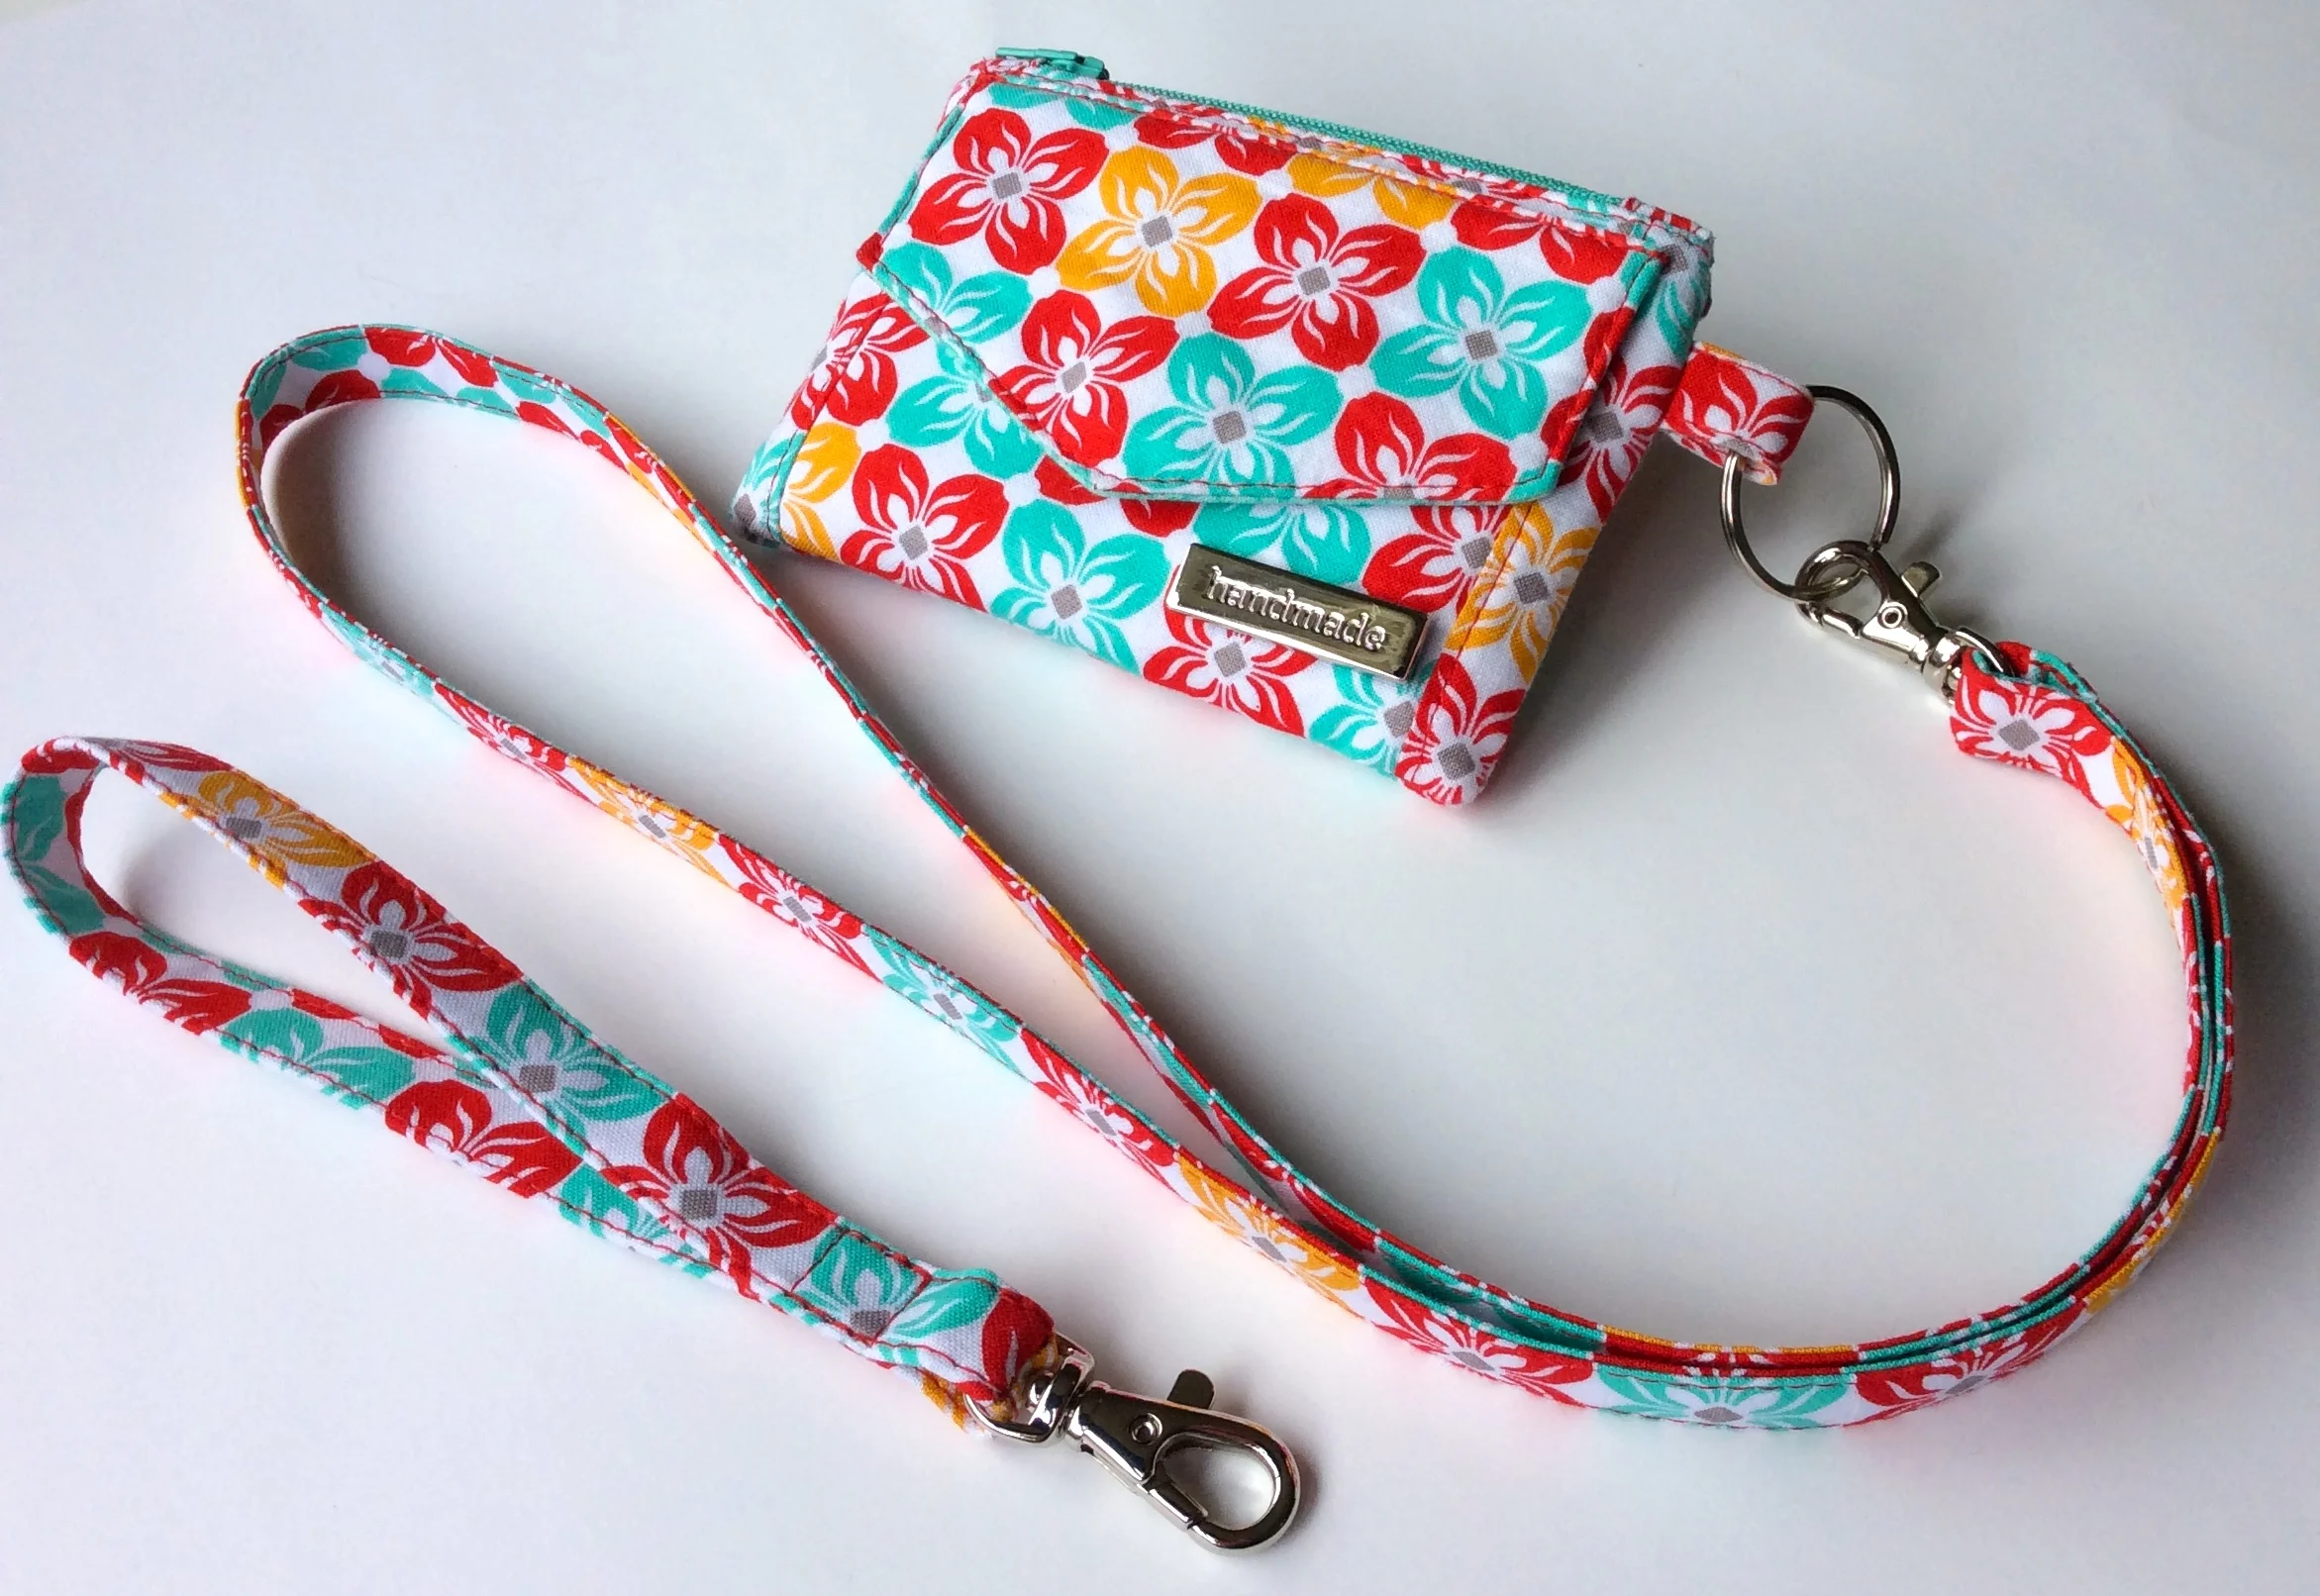
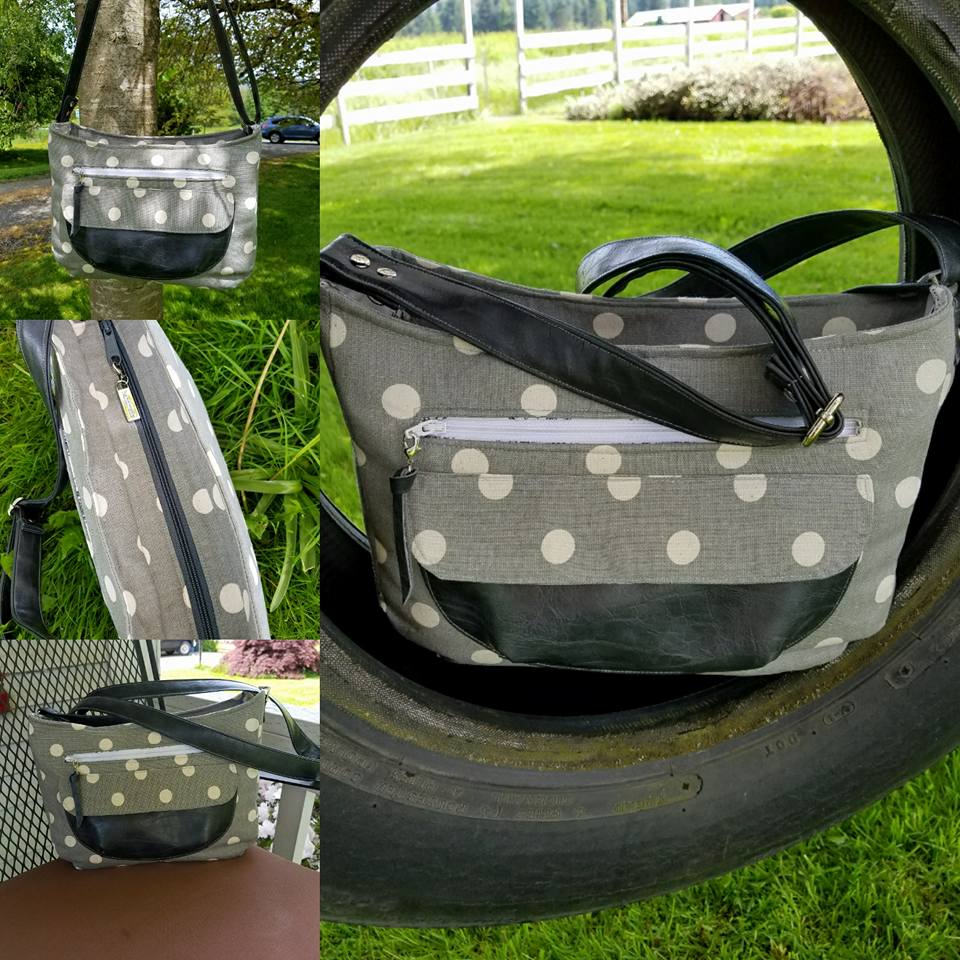
Make sure to comment on the post that has this picture on any Uniquely Michelle social media platform (links below) to be entered in today's giveaway!
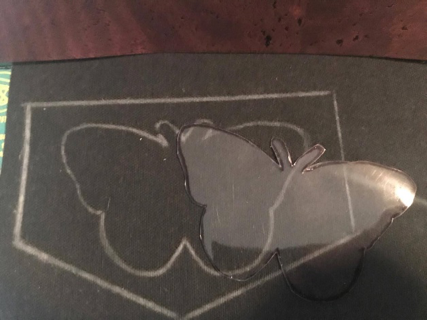
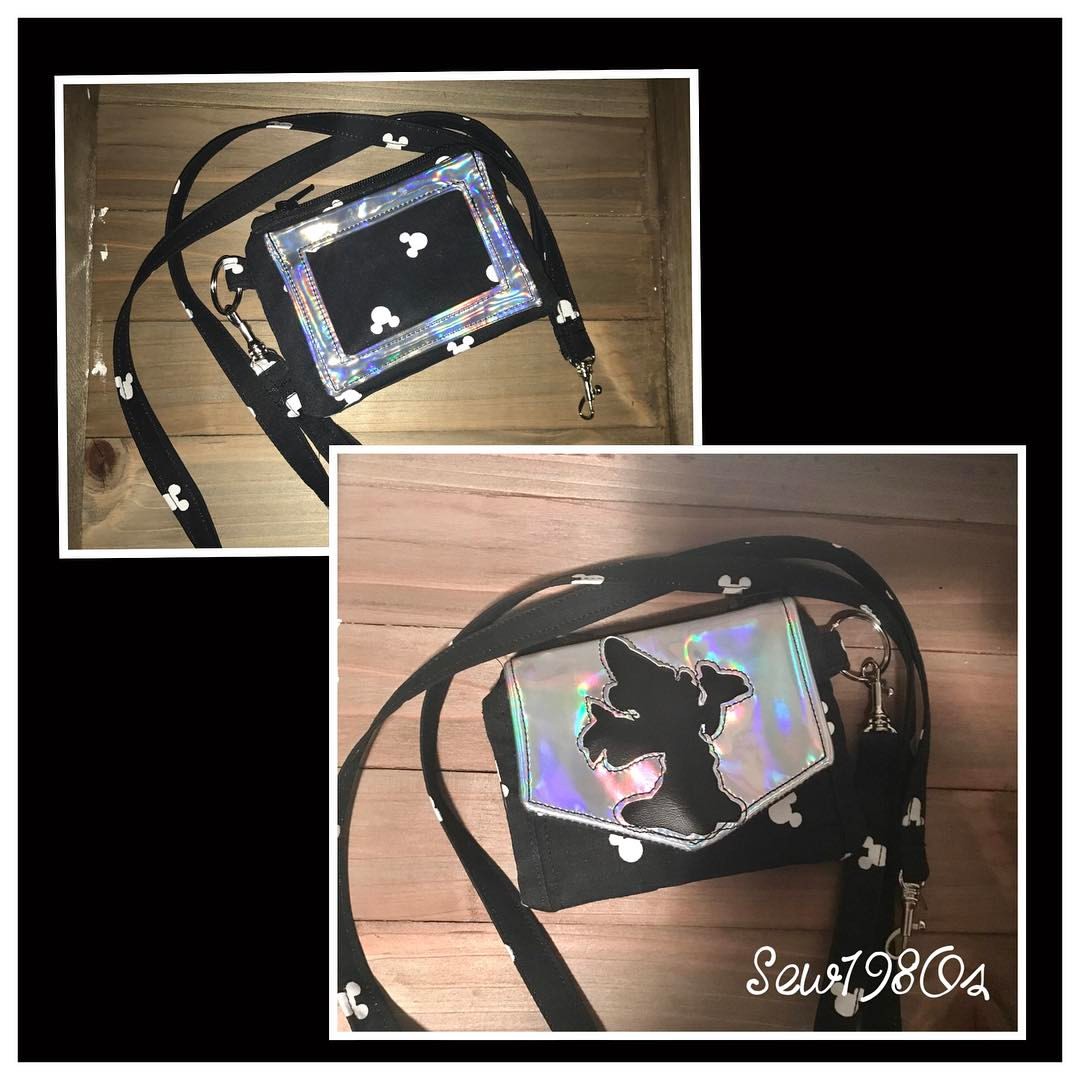
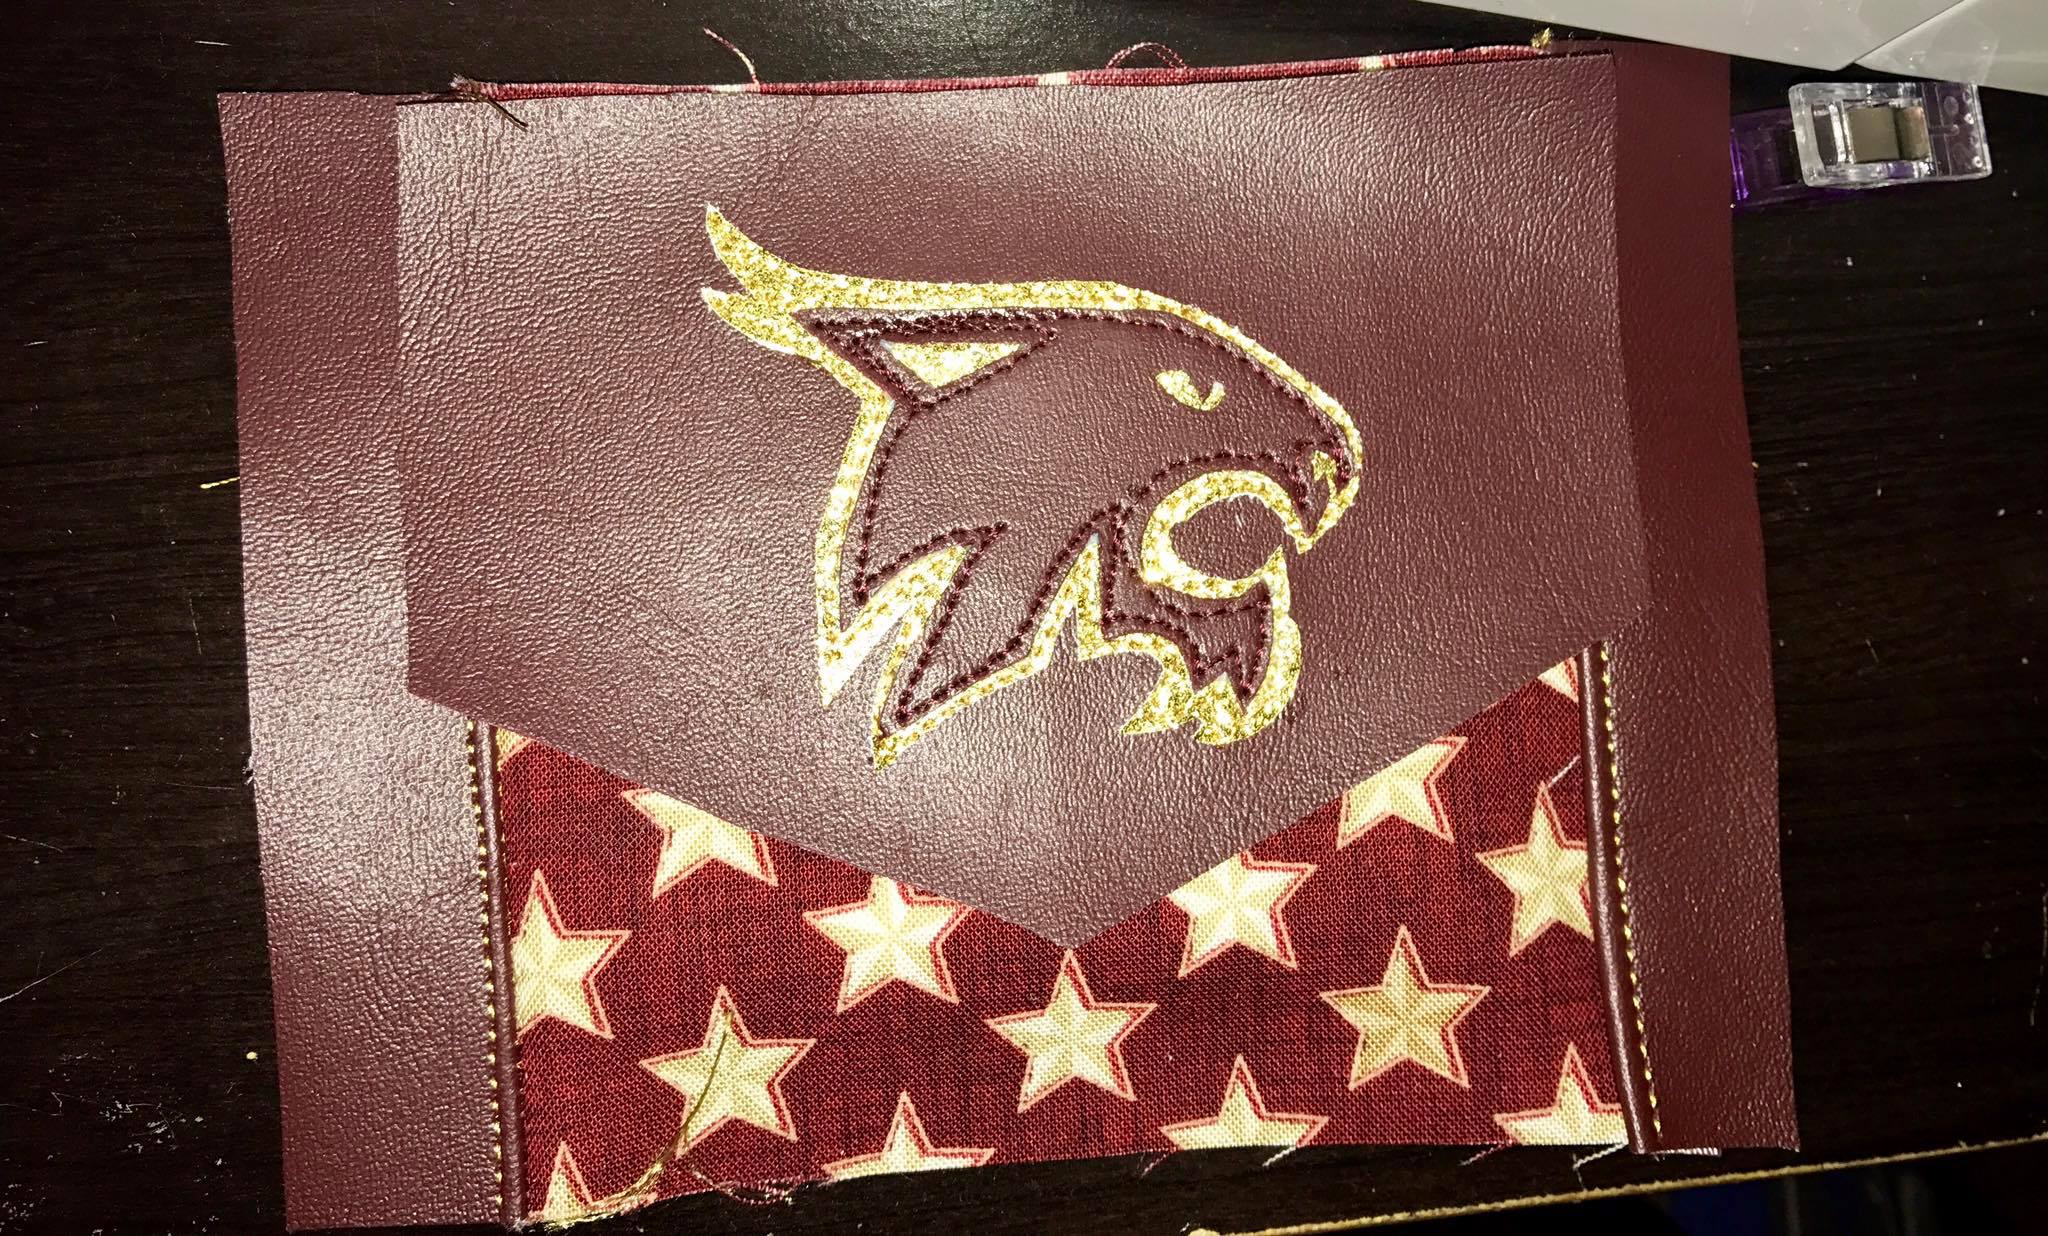
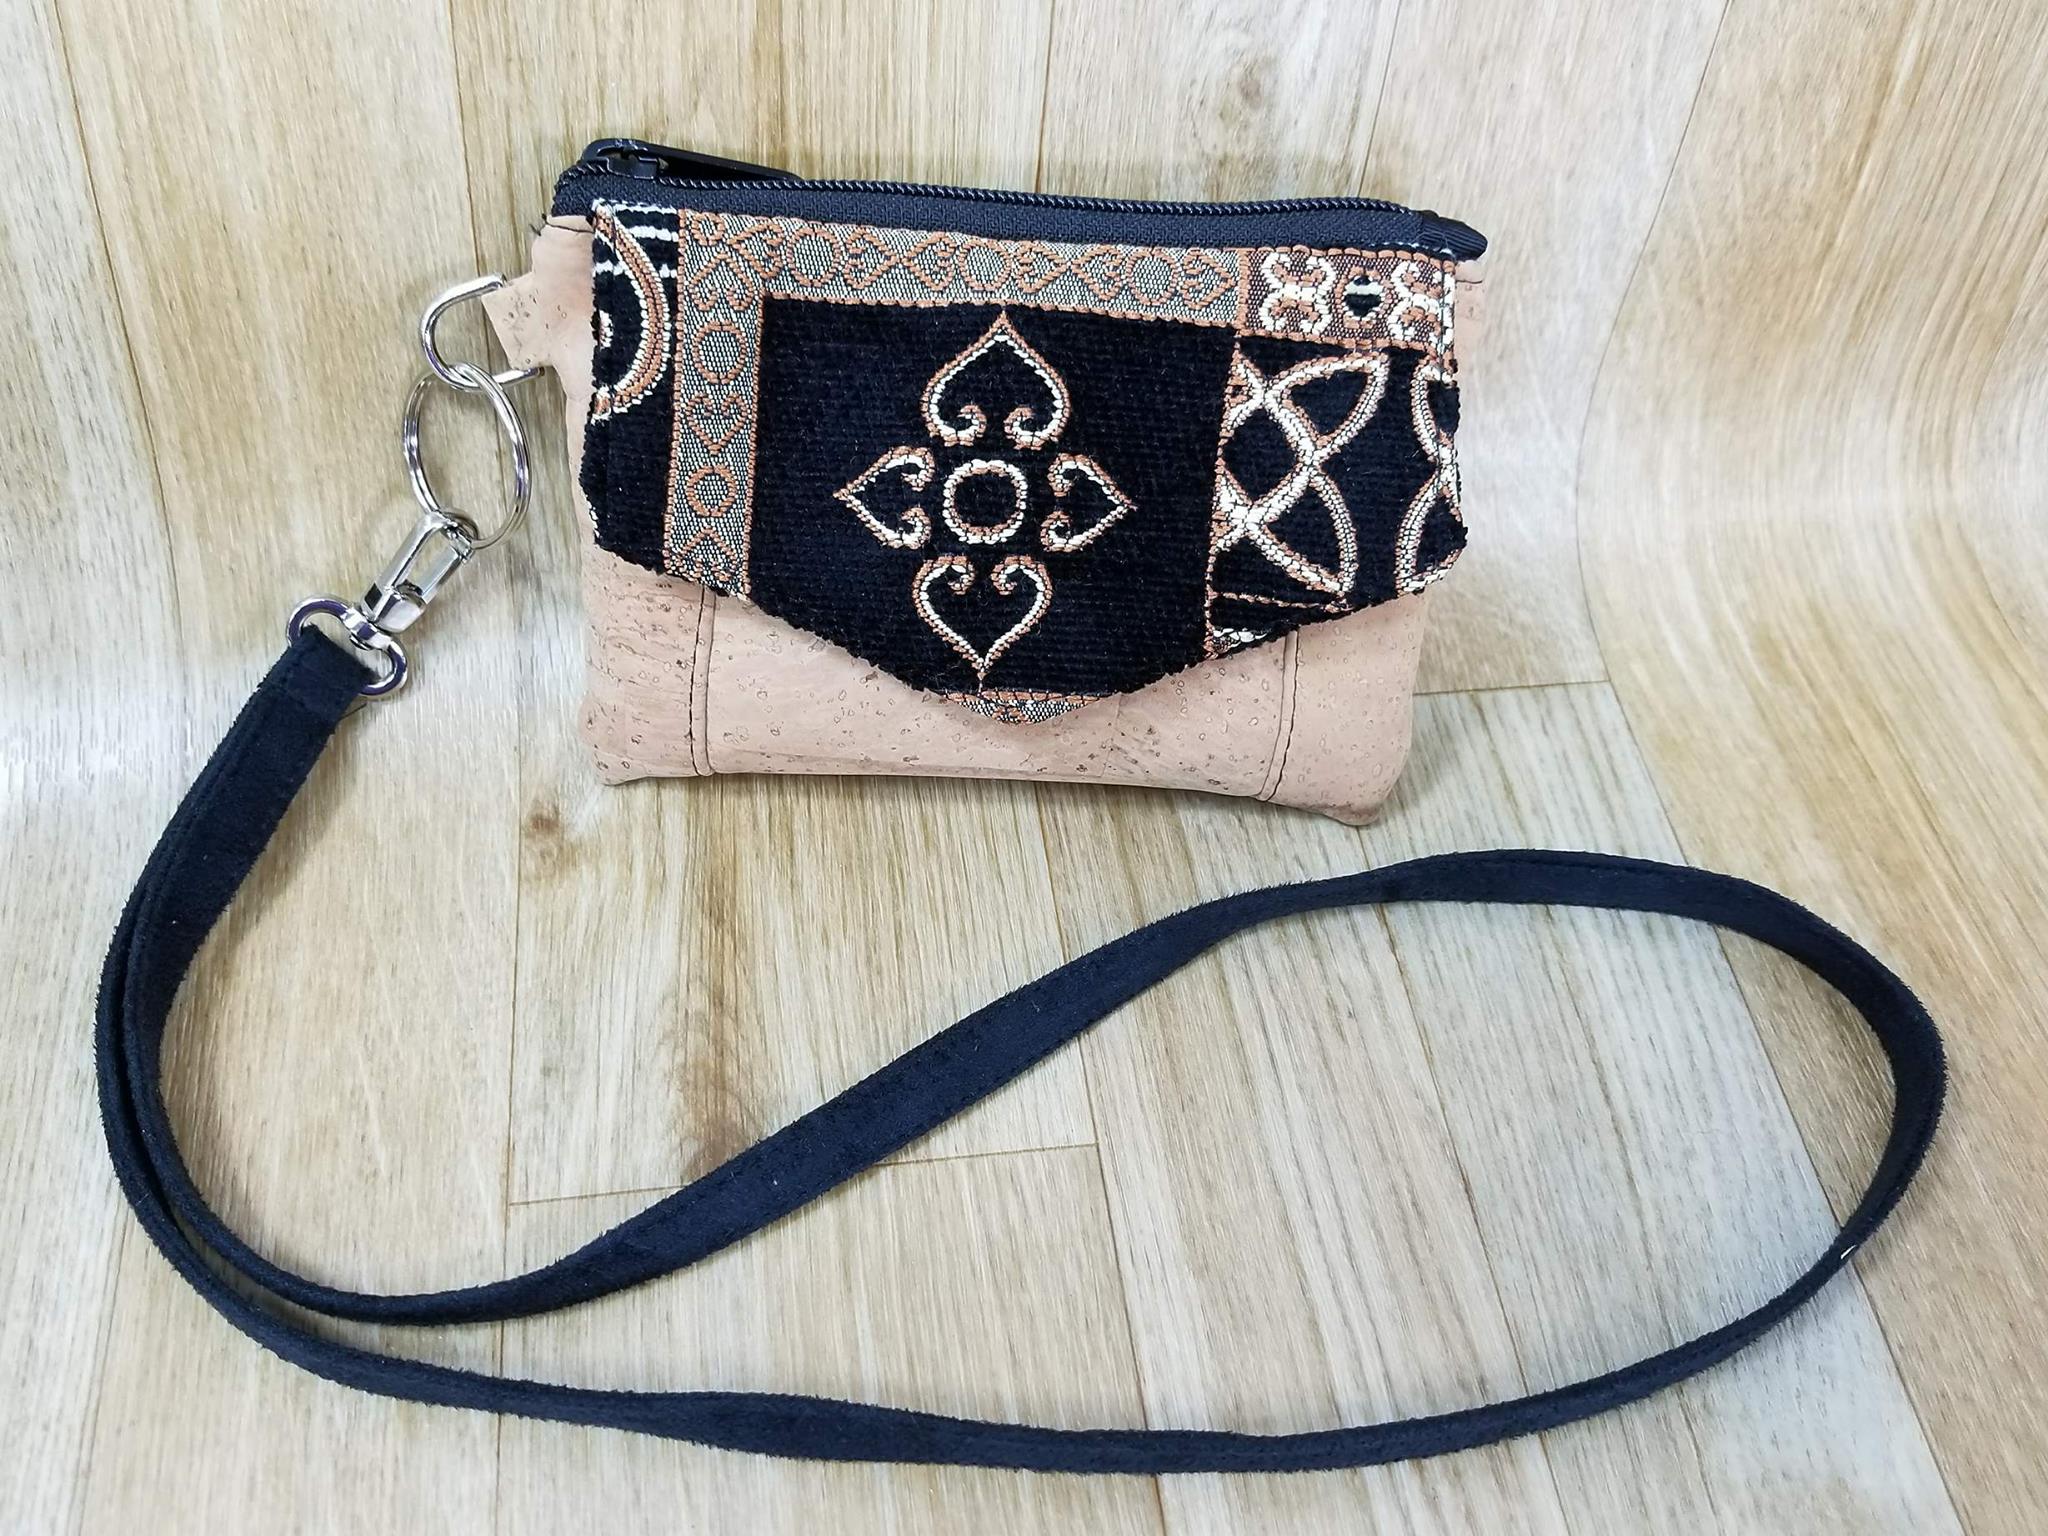
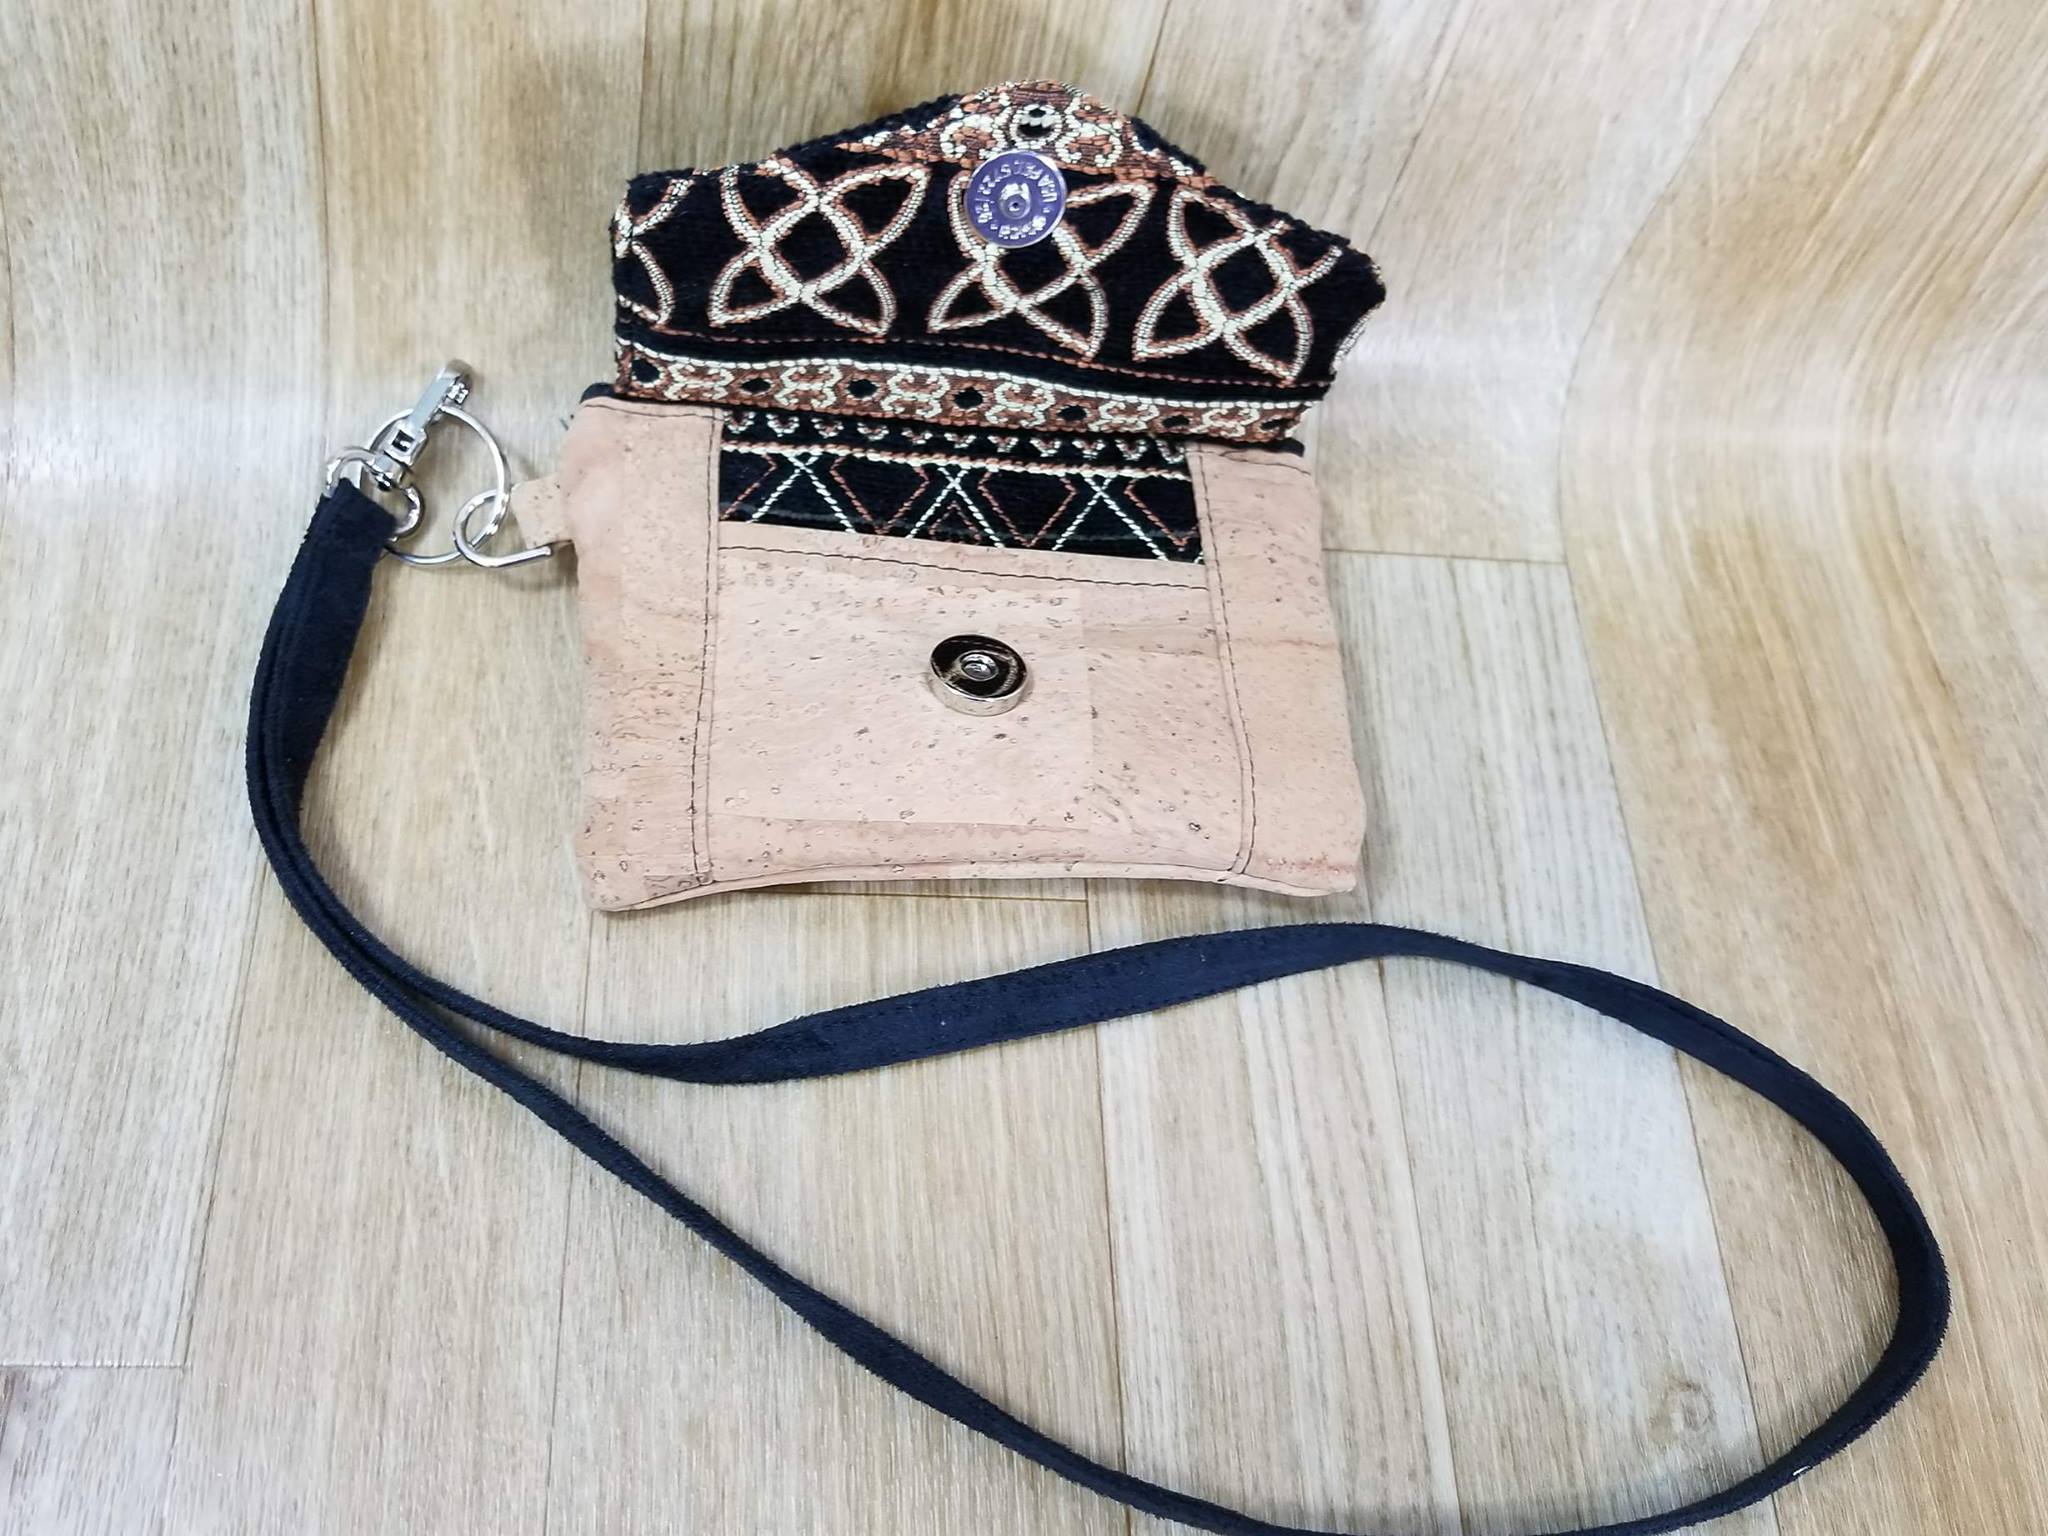
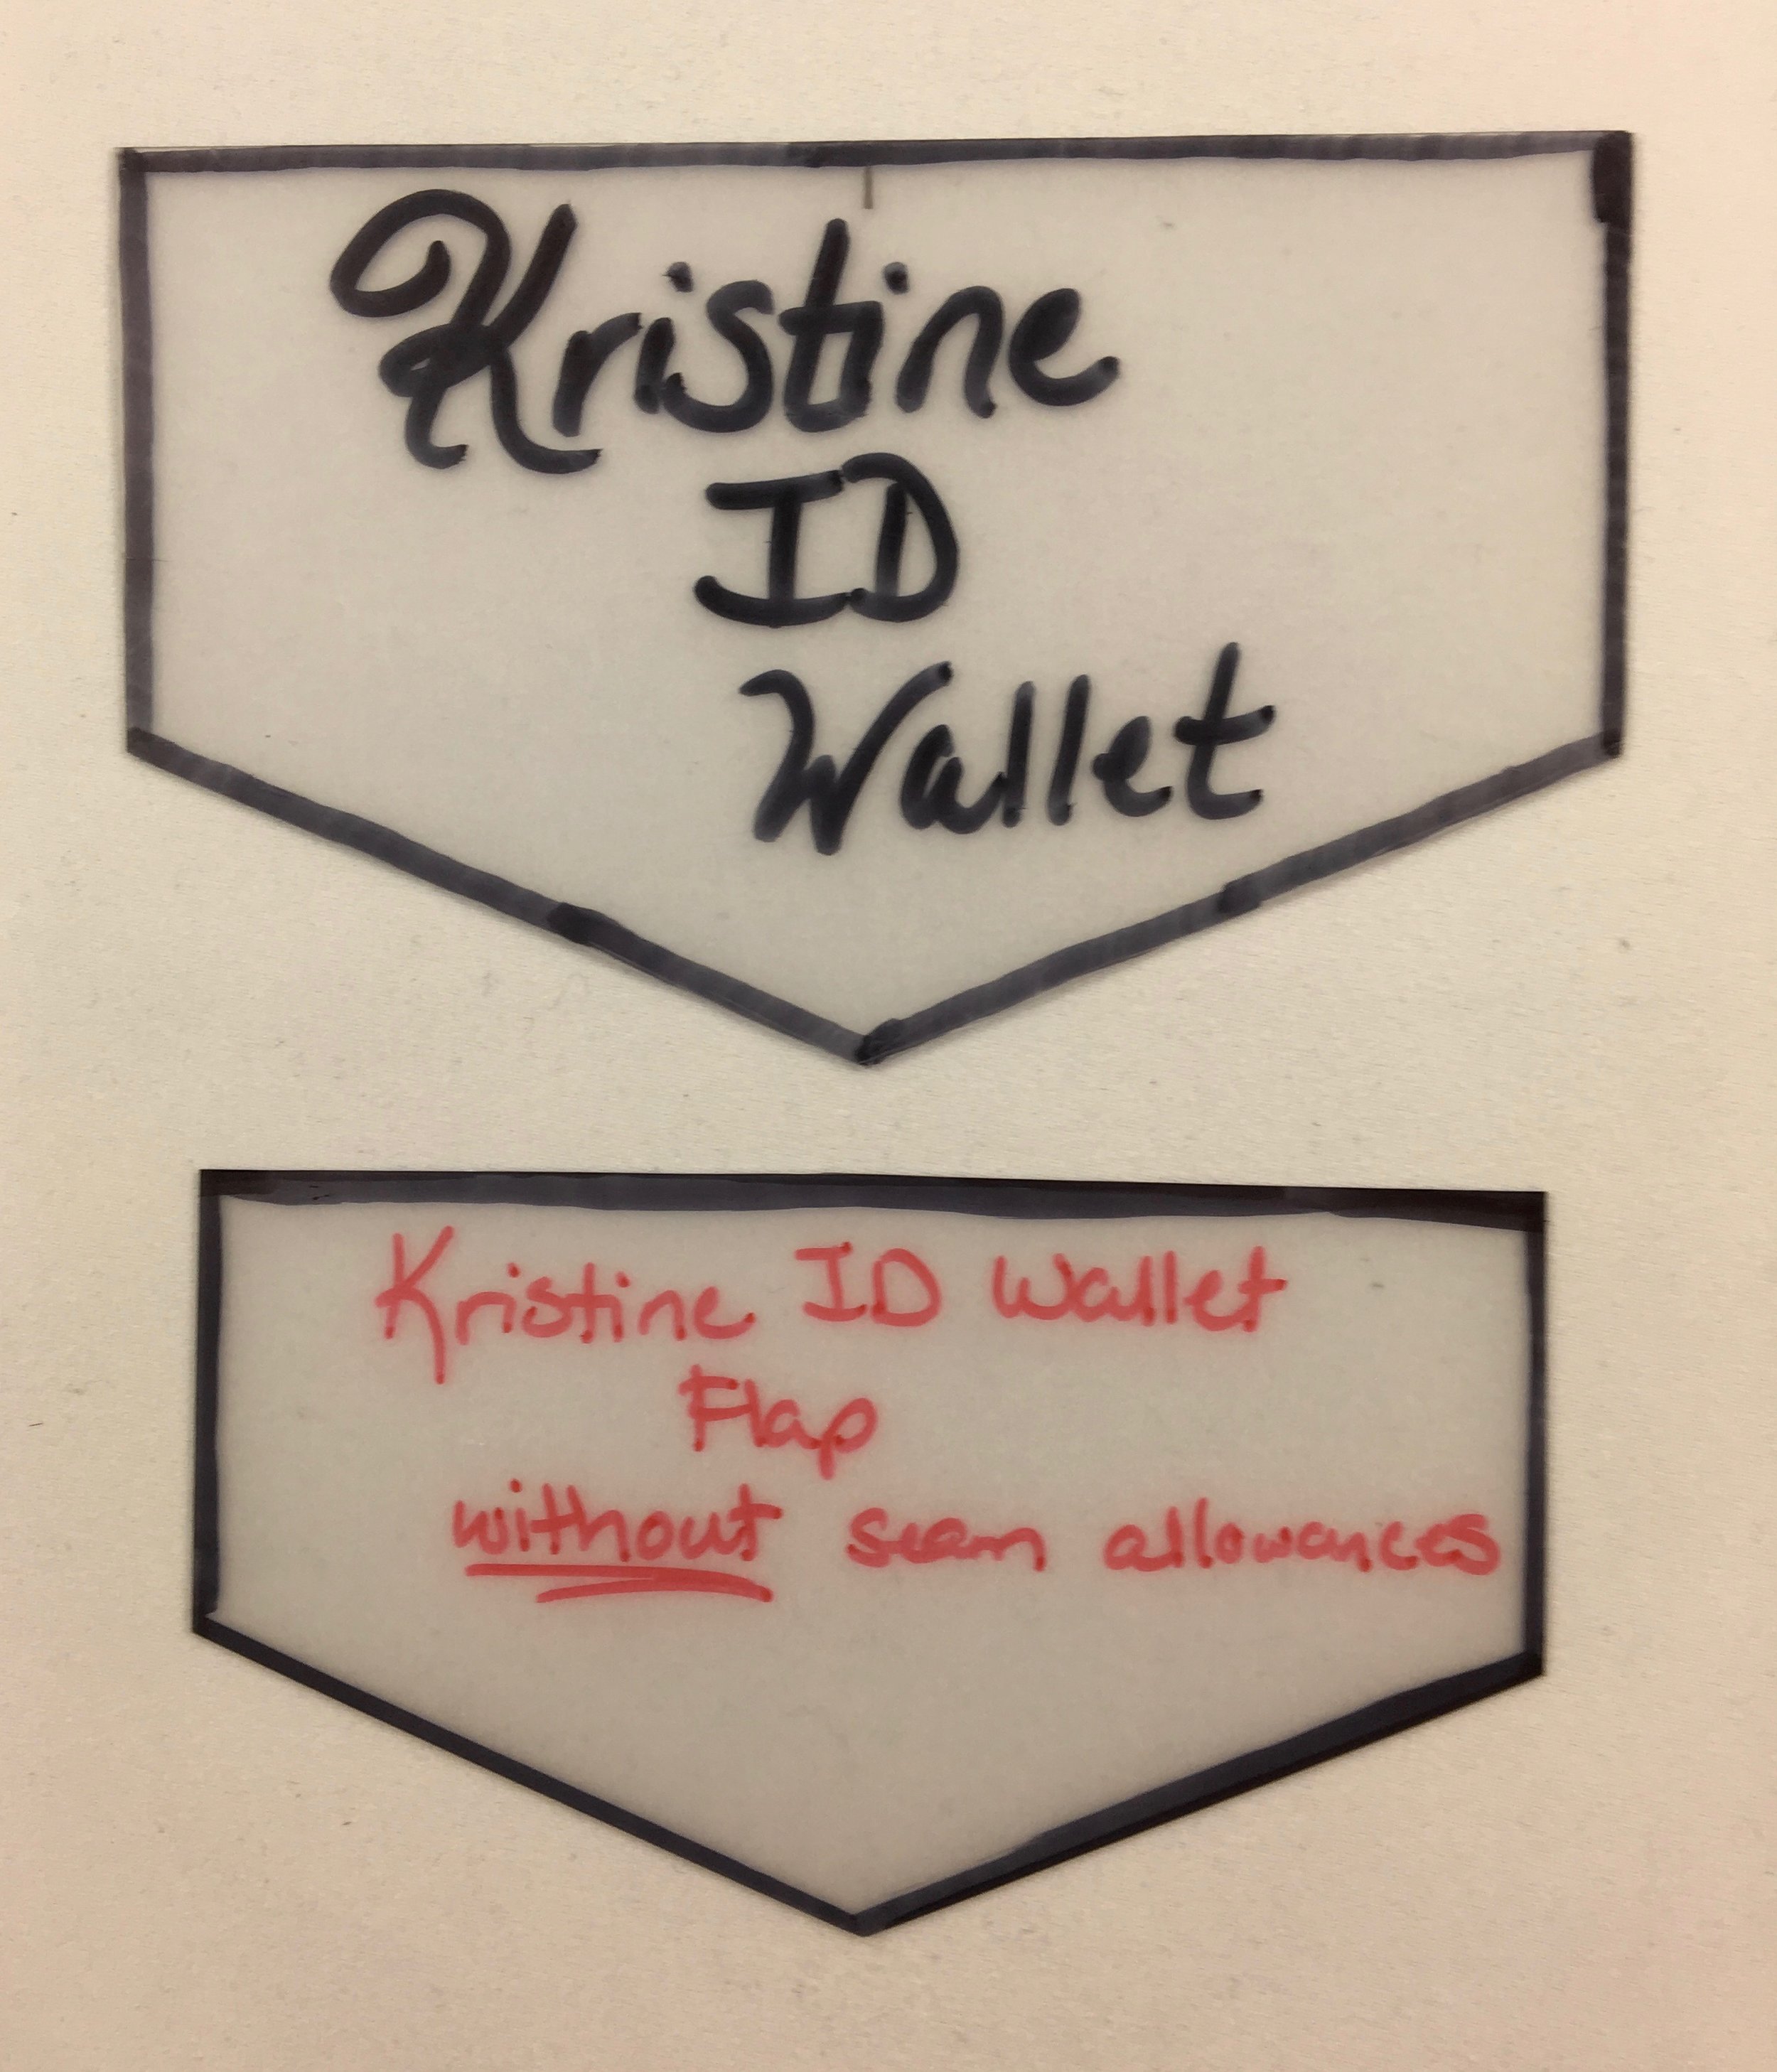
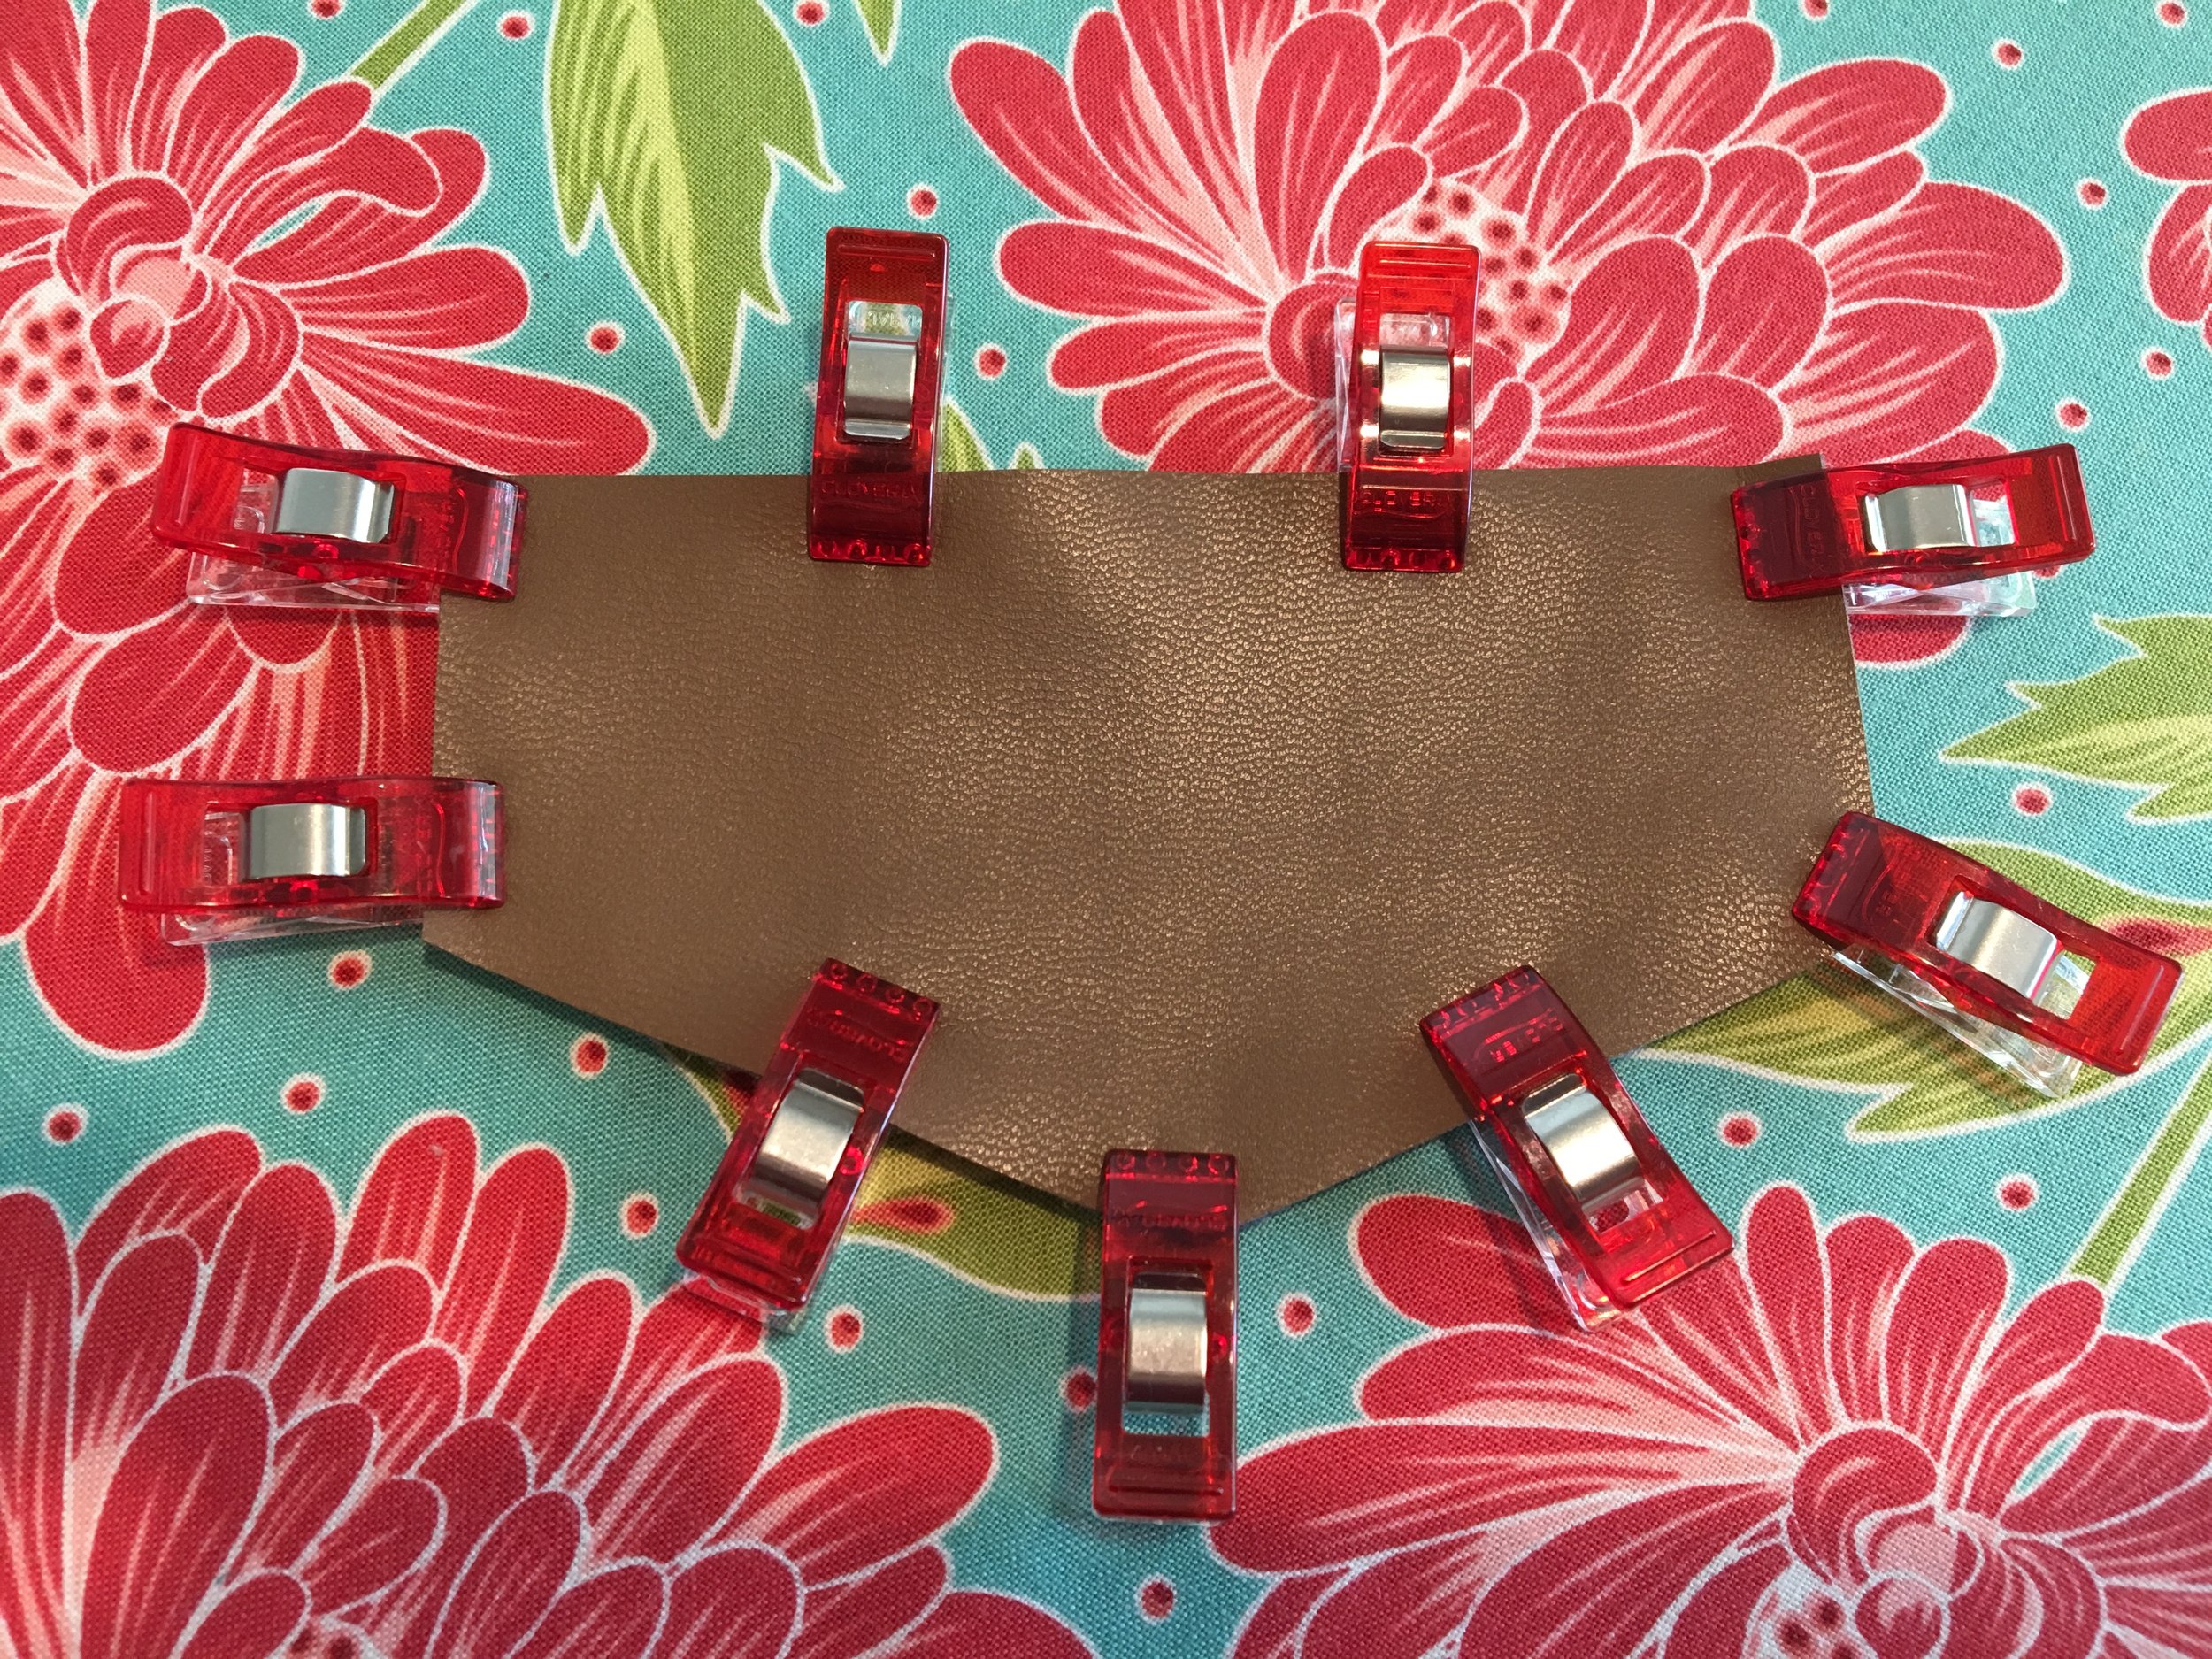
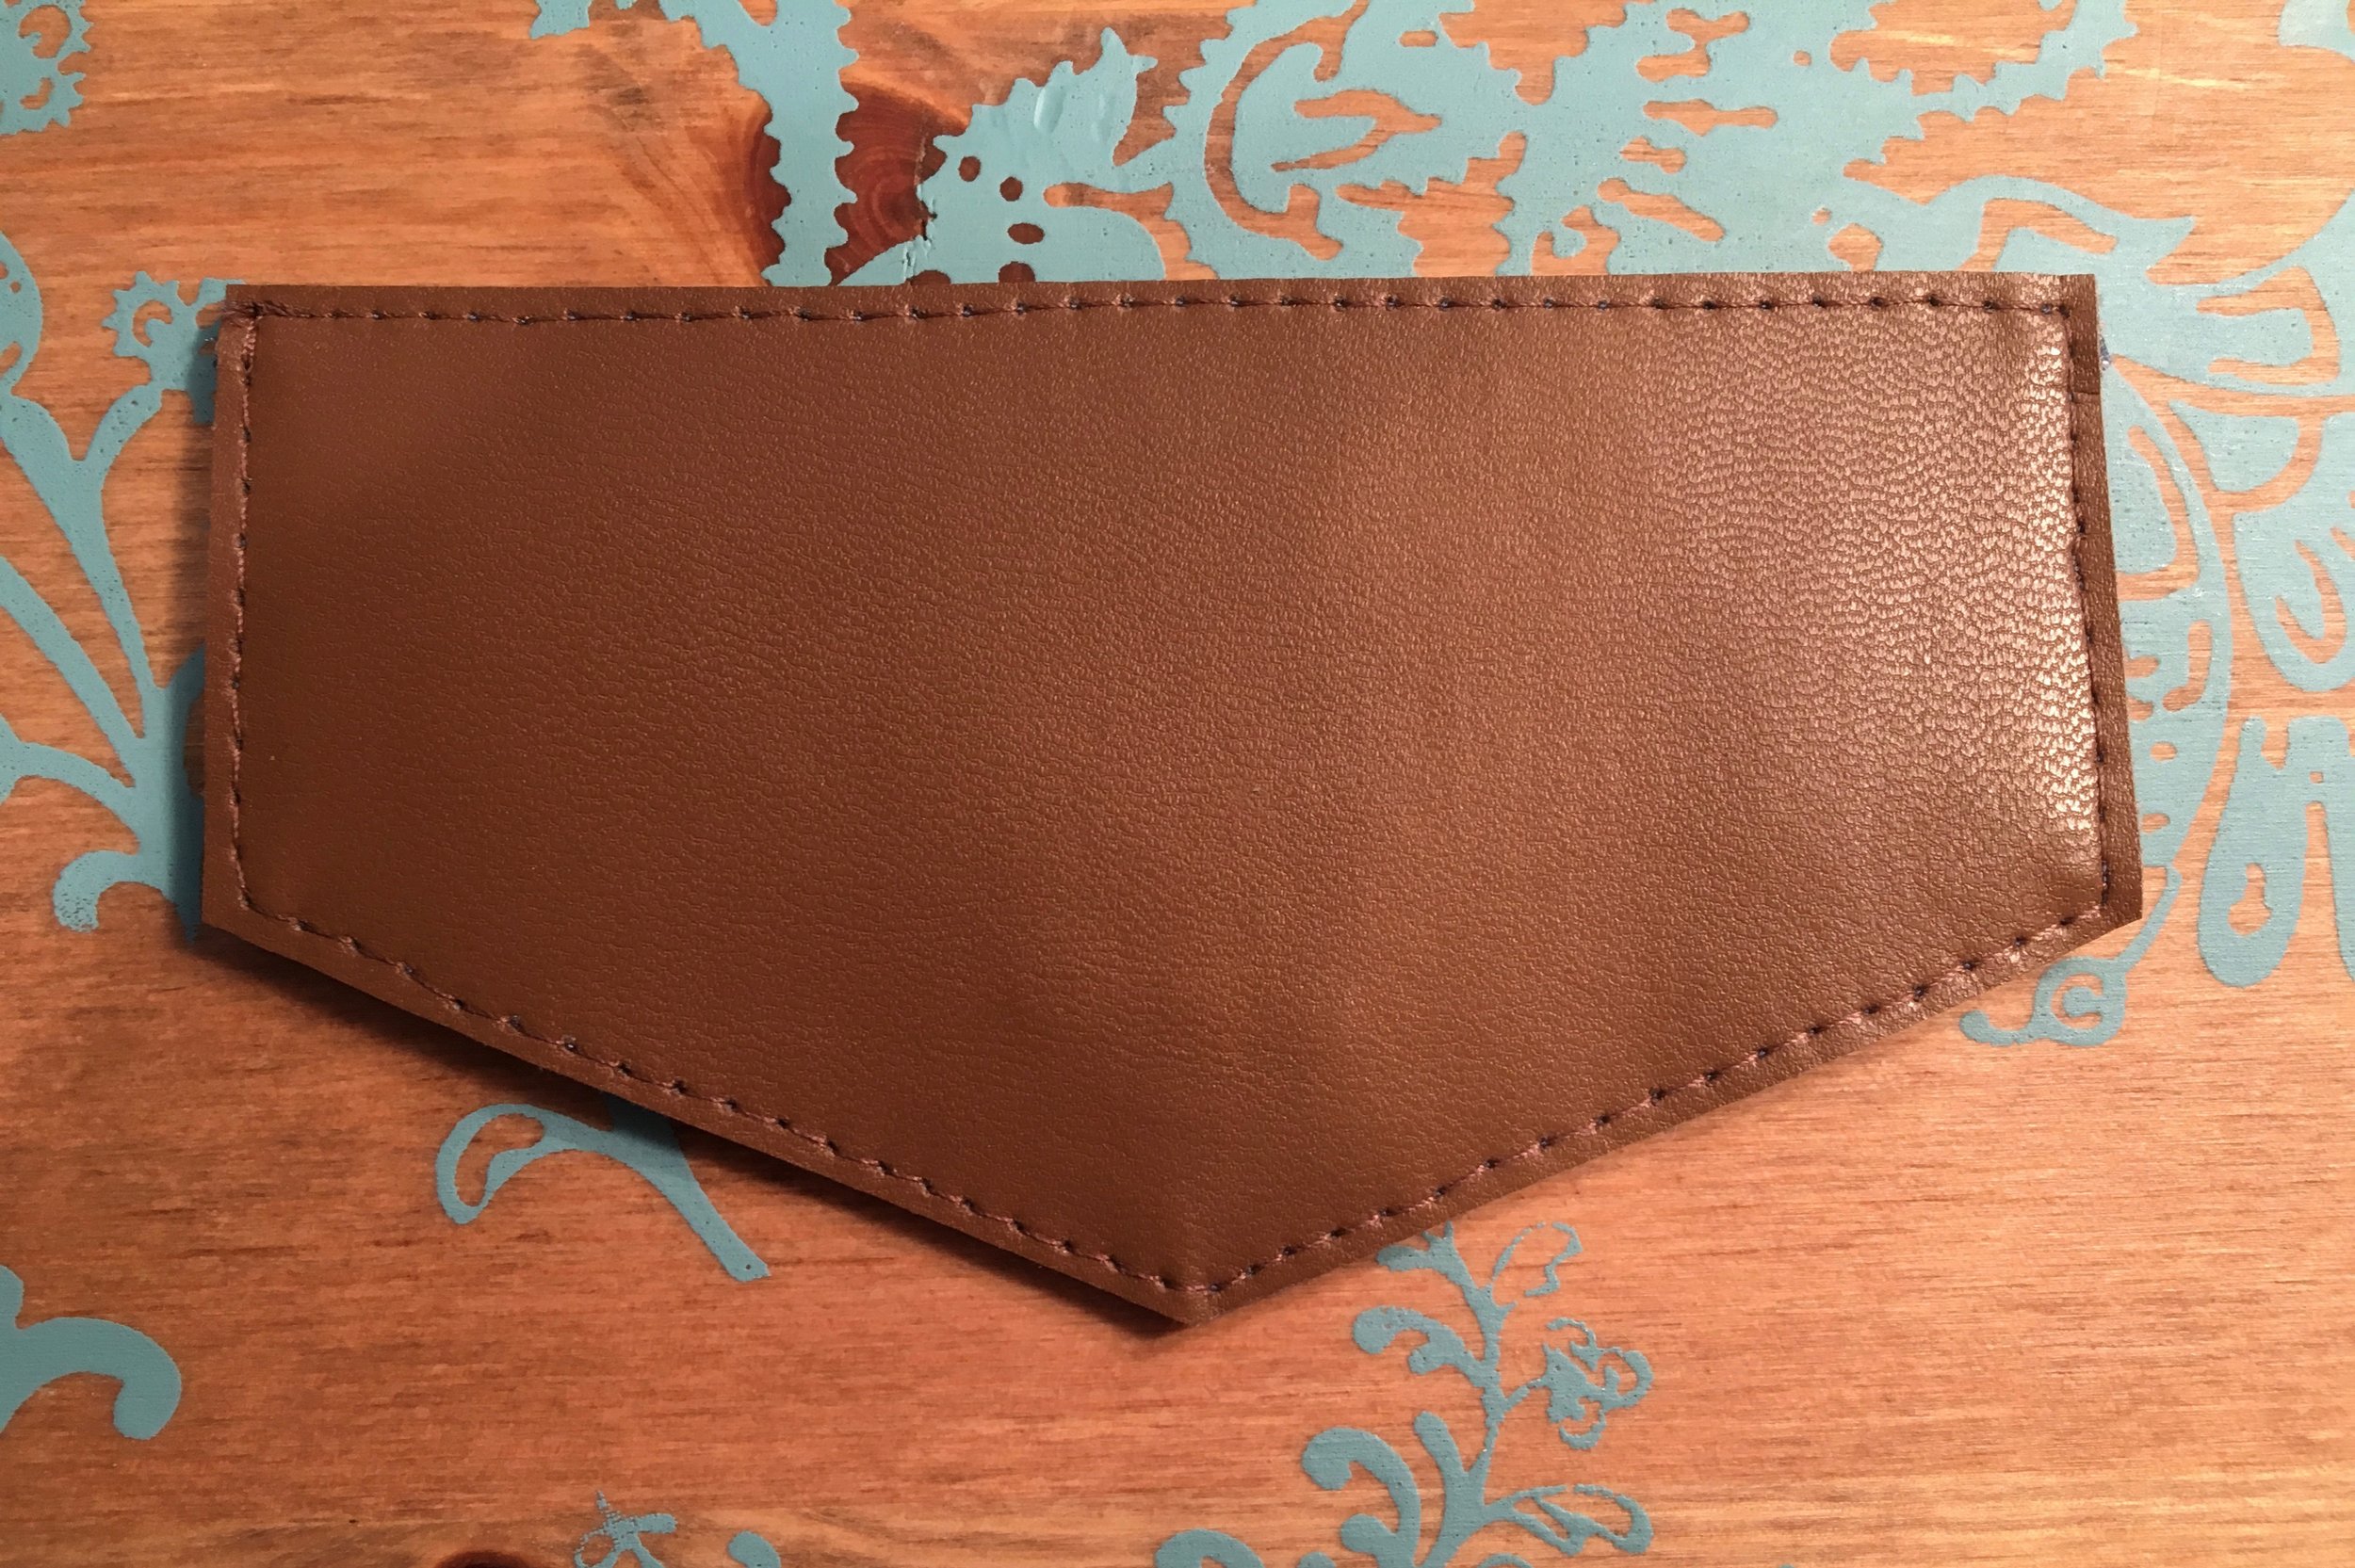
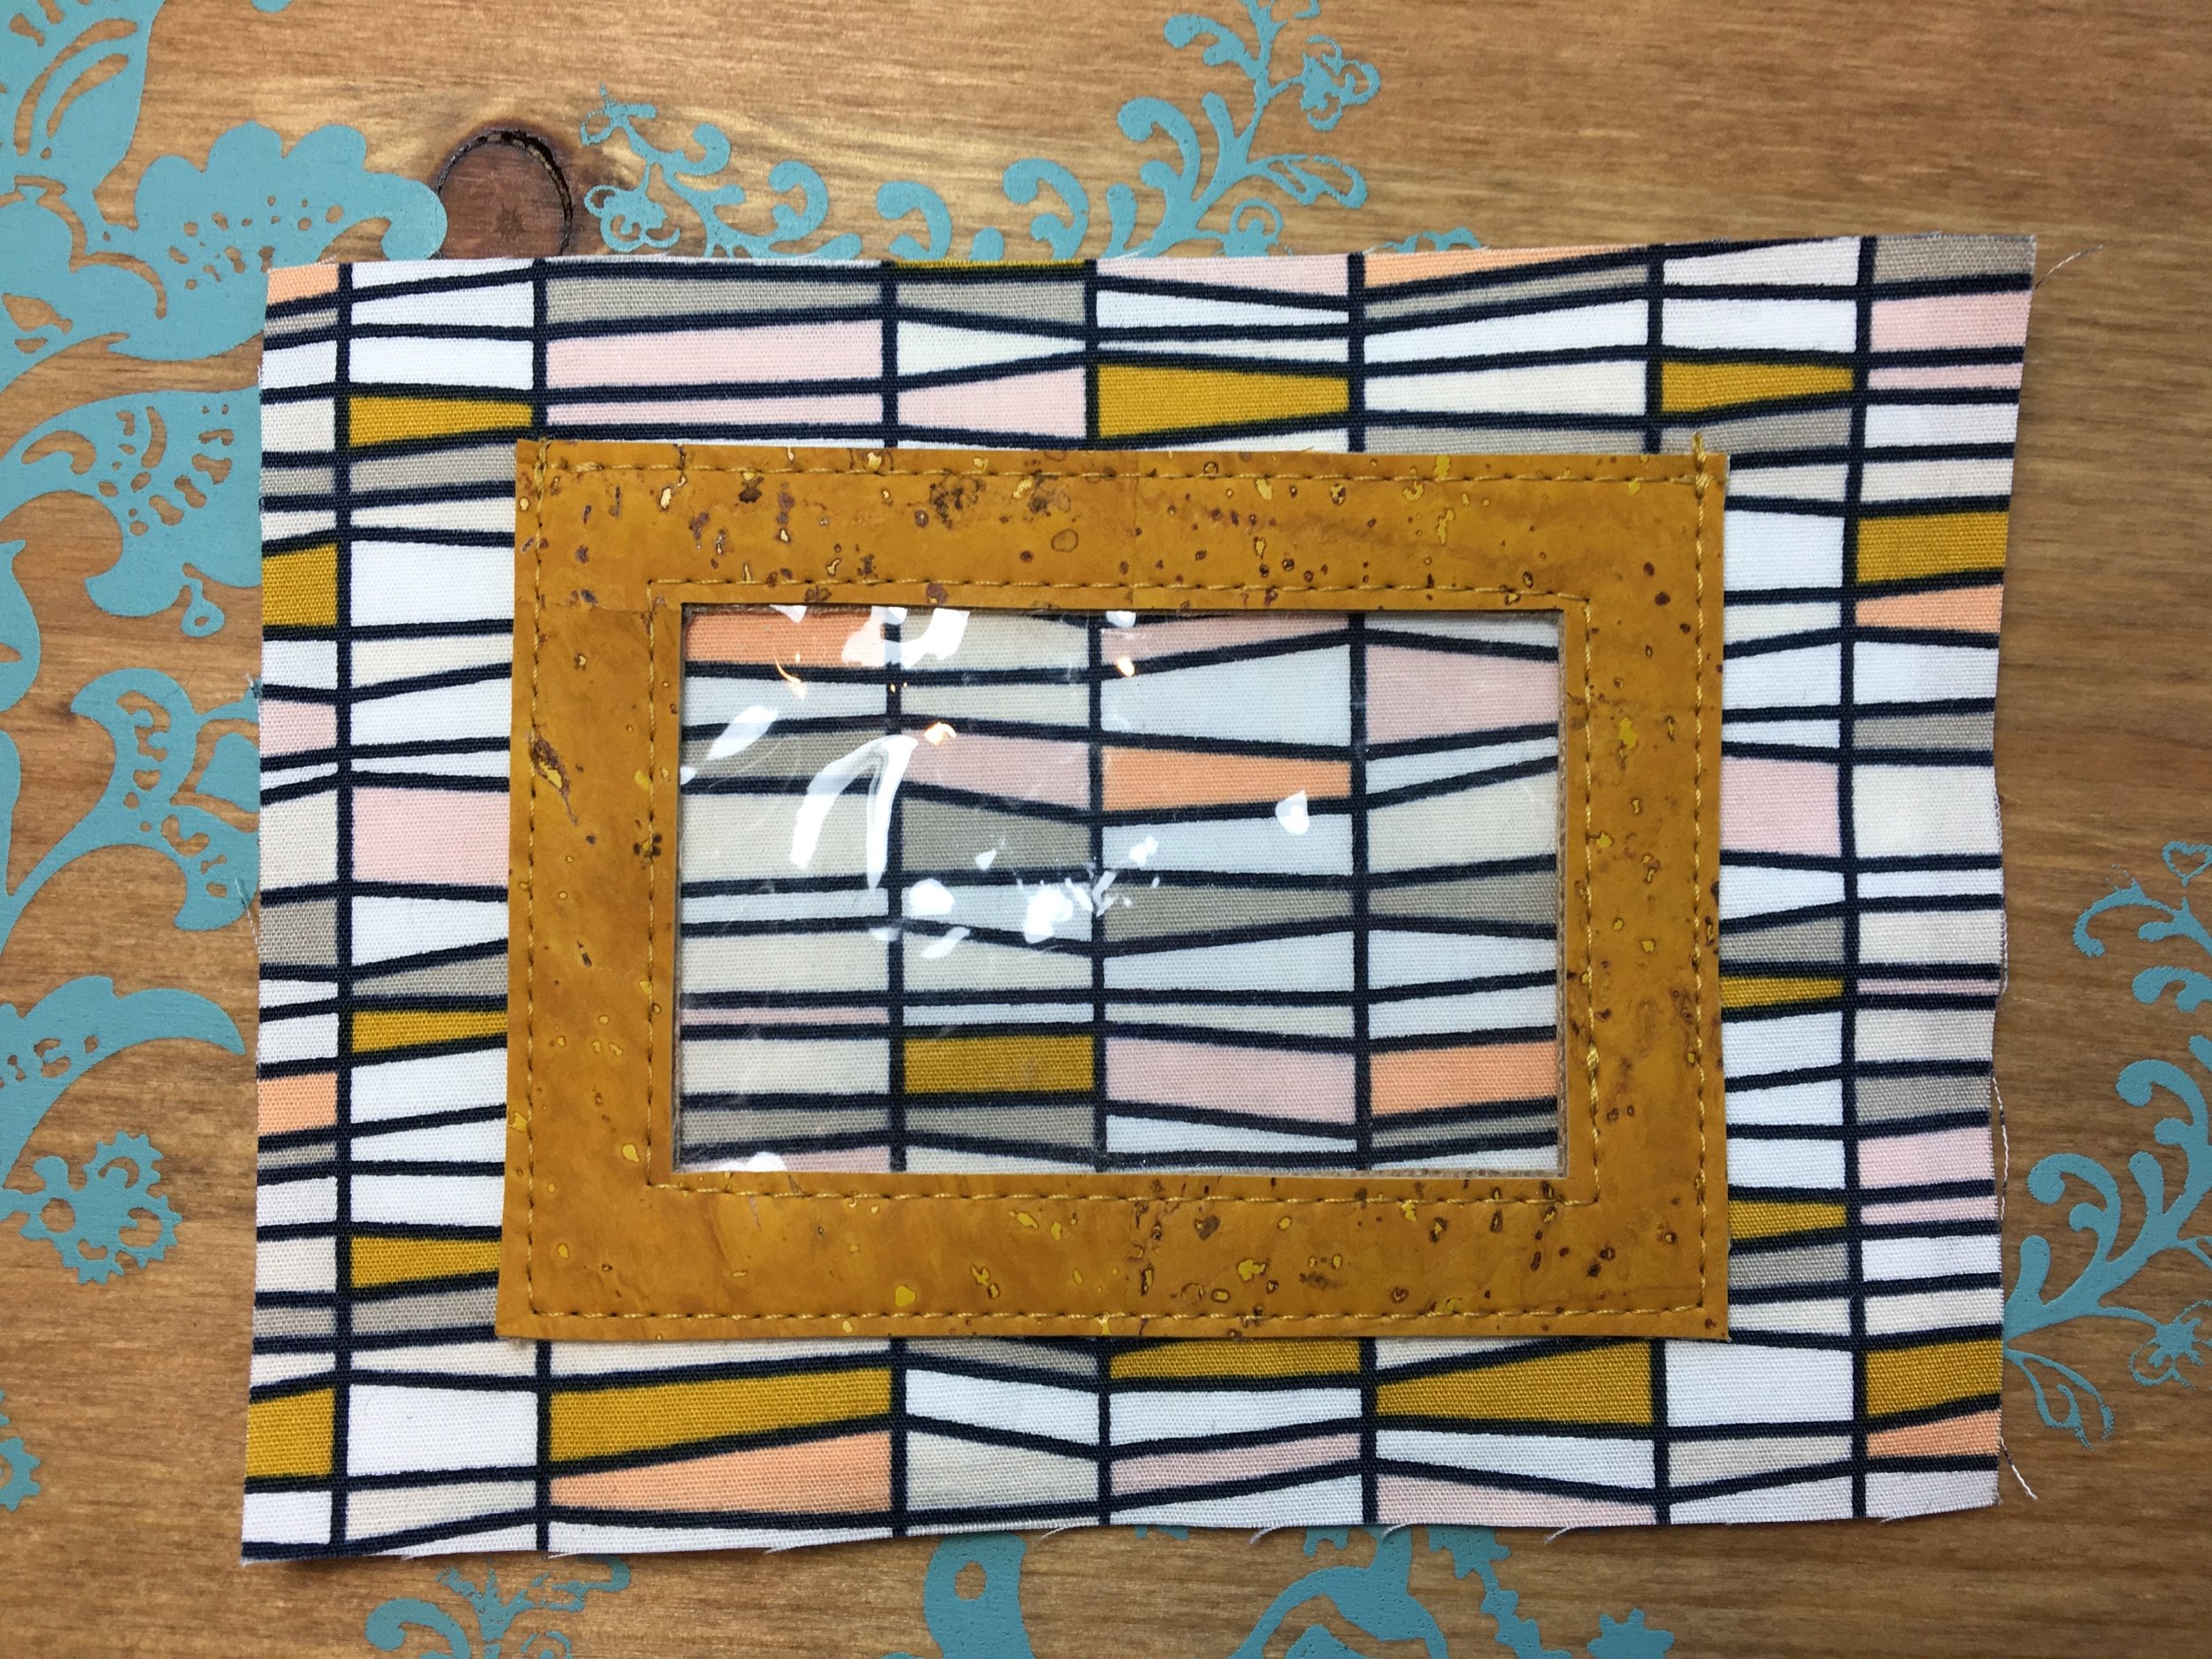
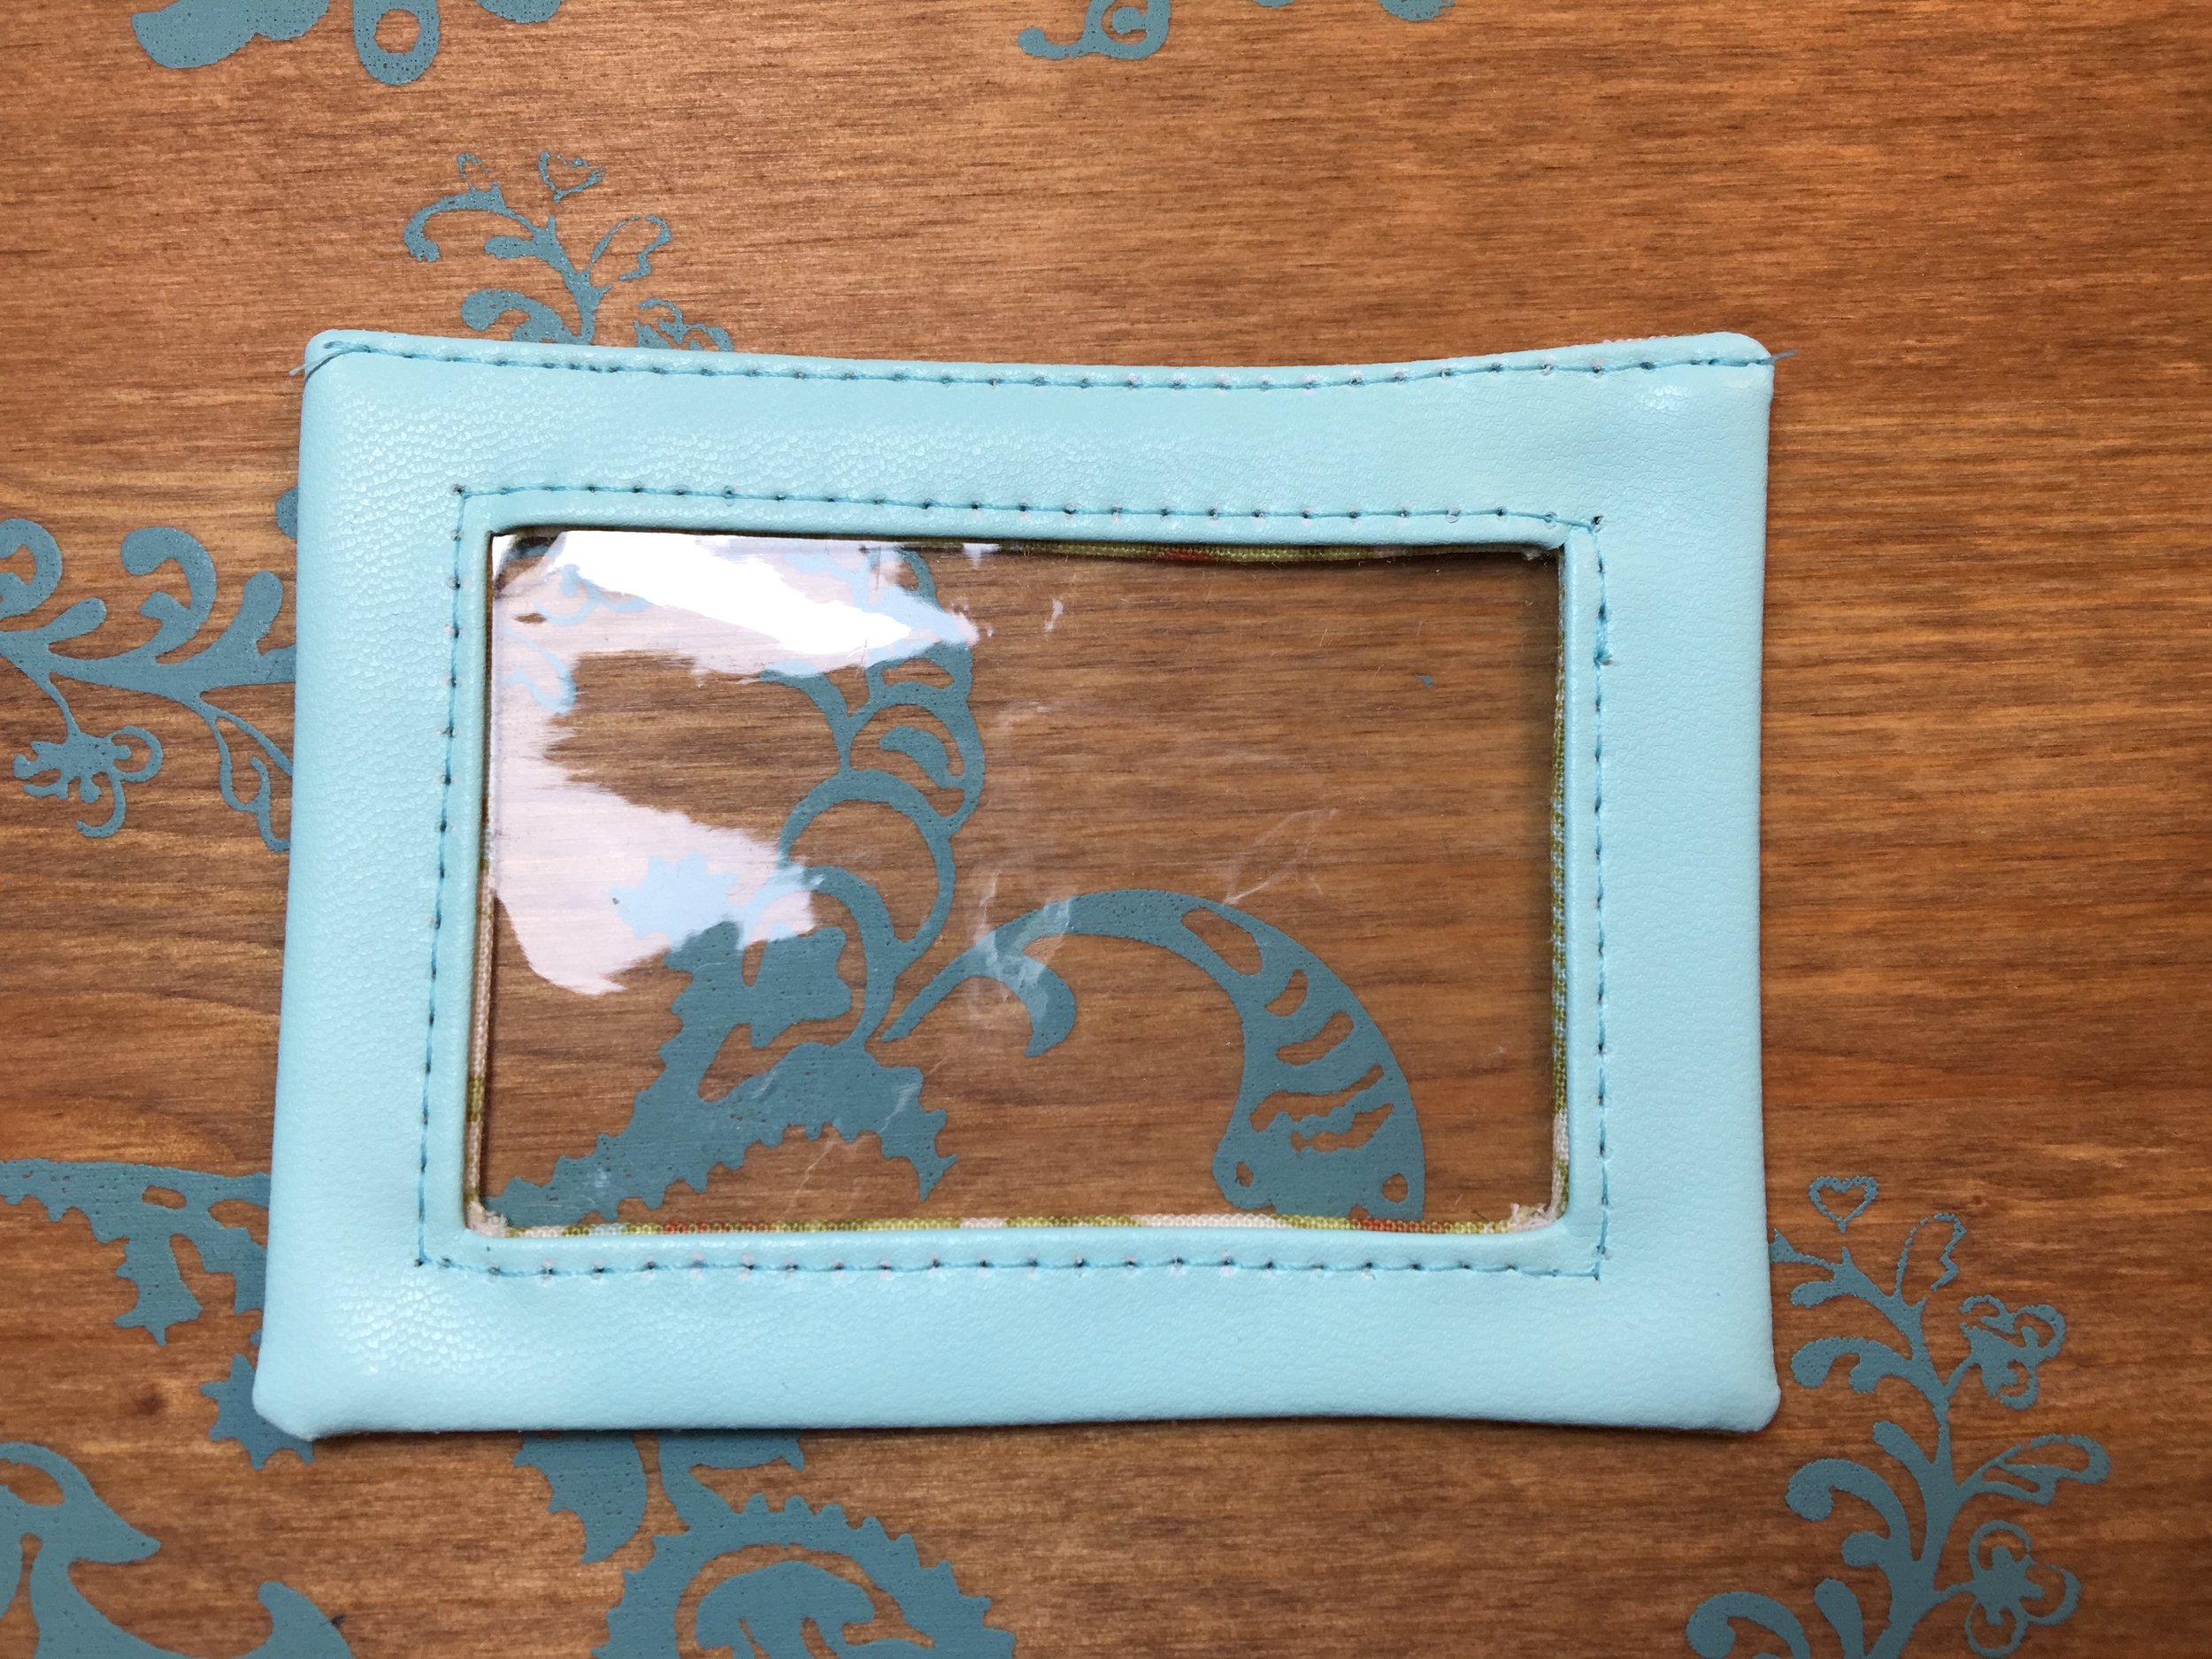
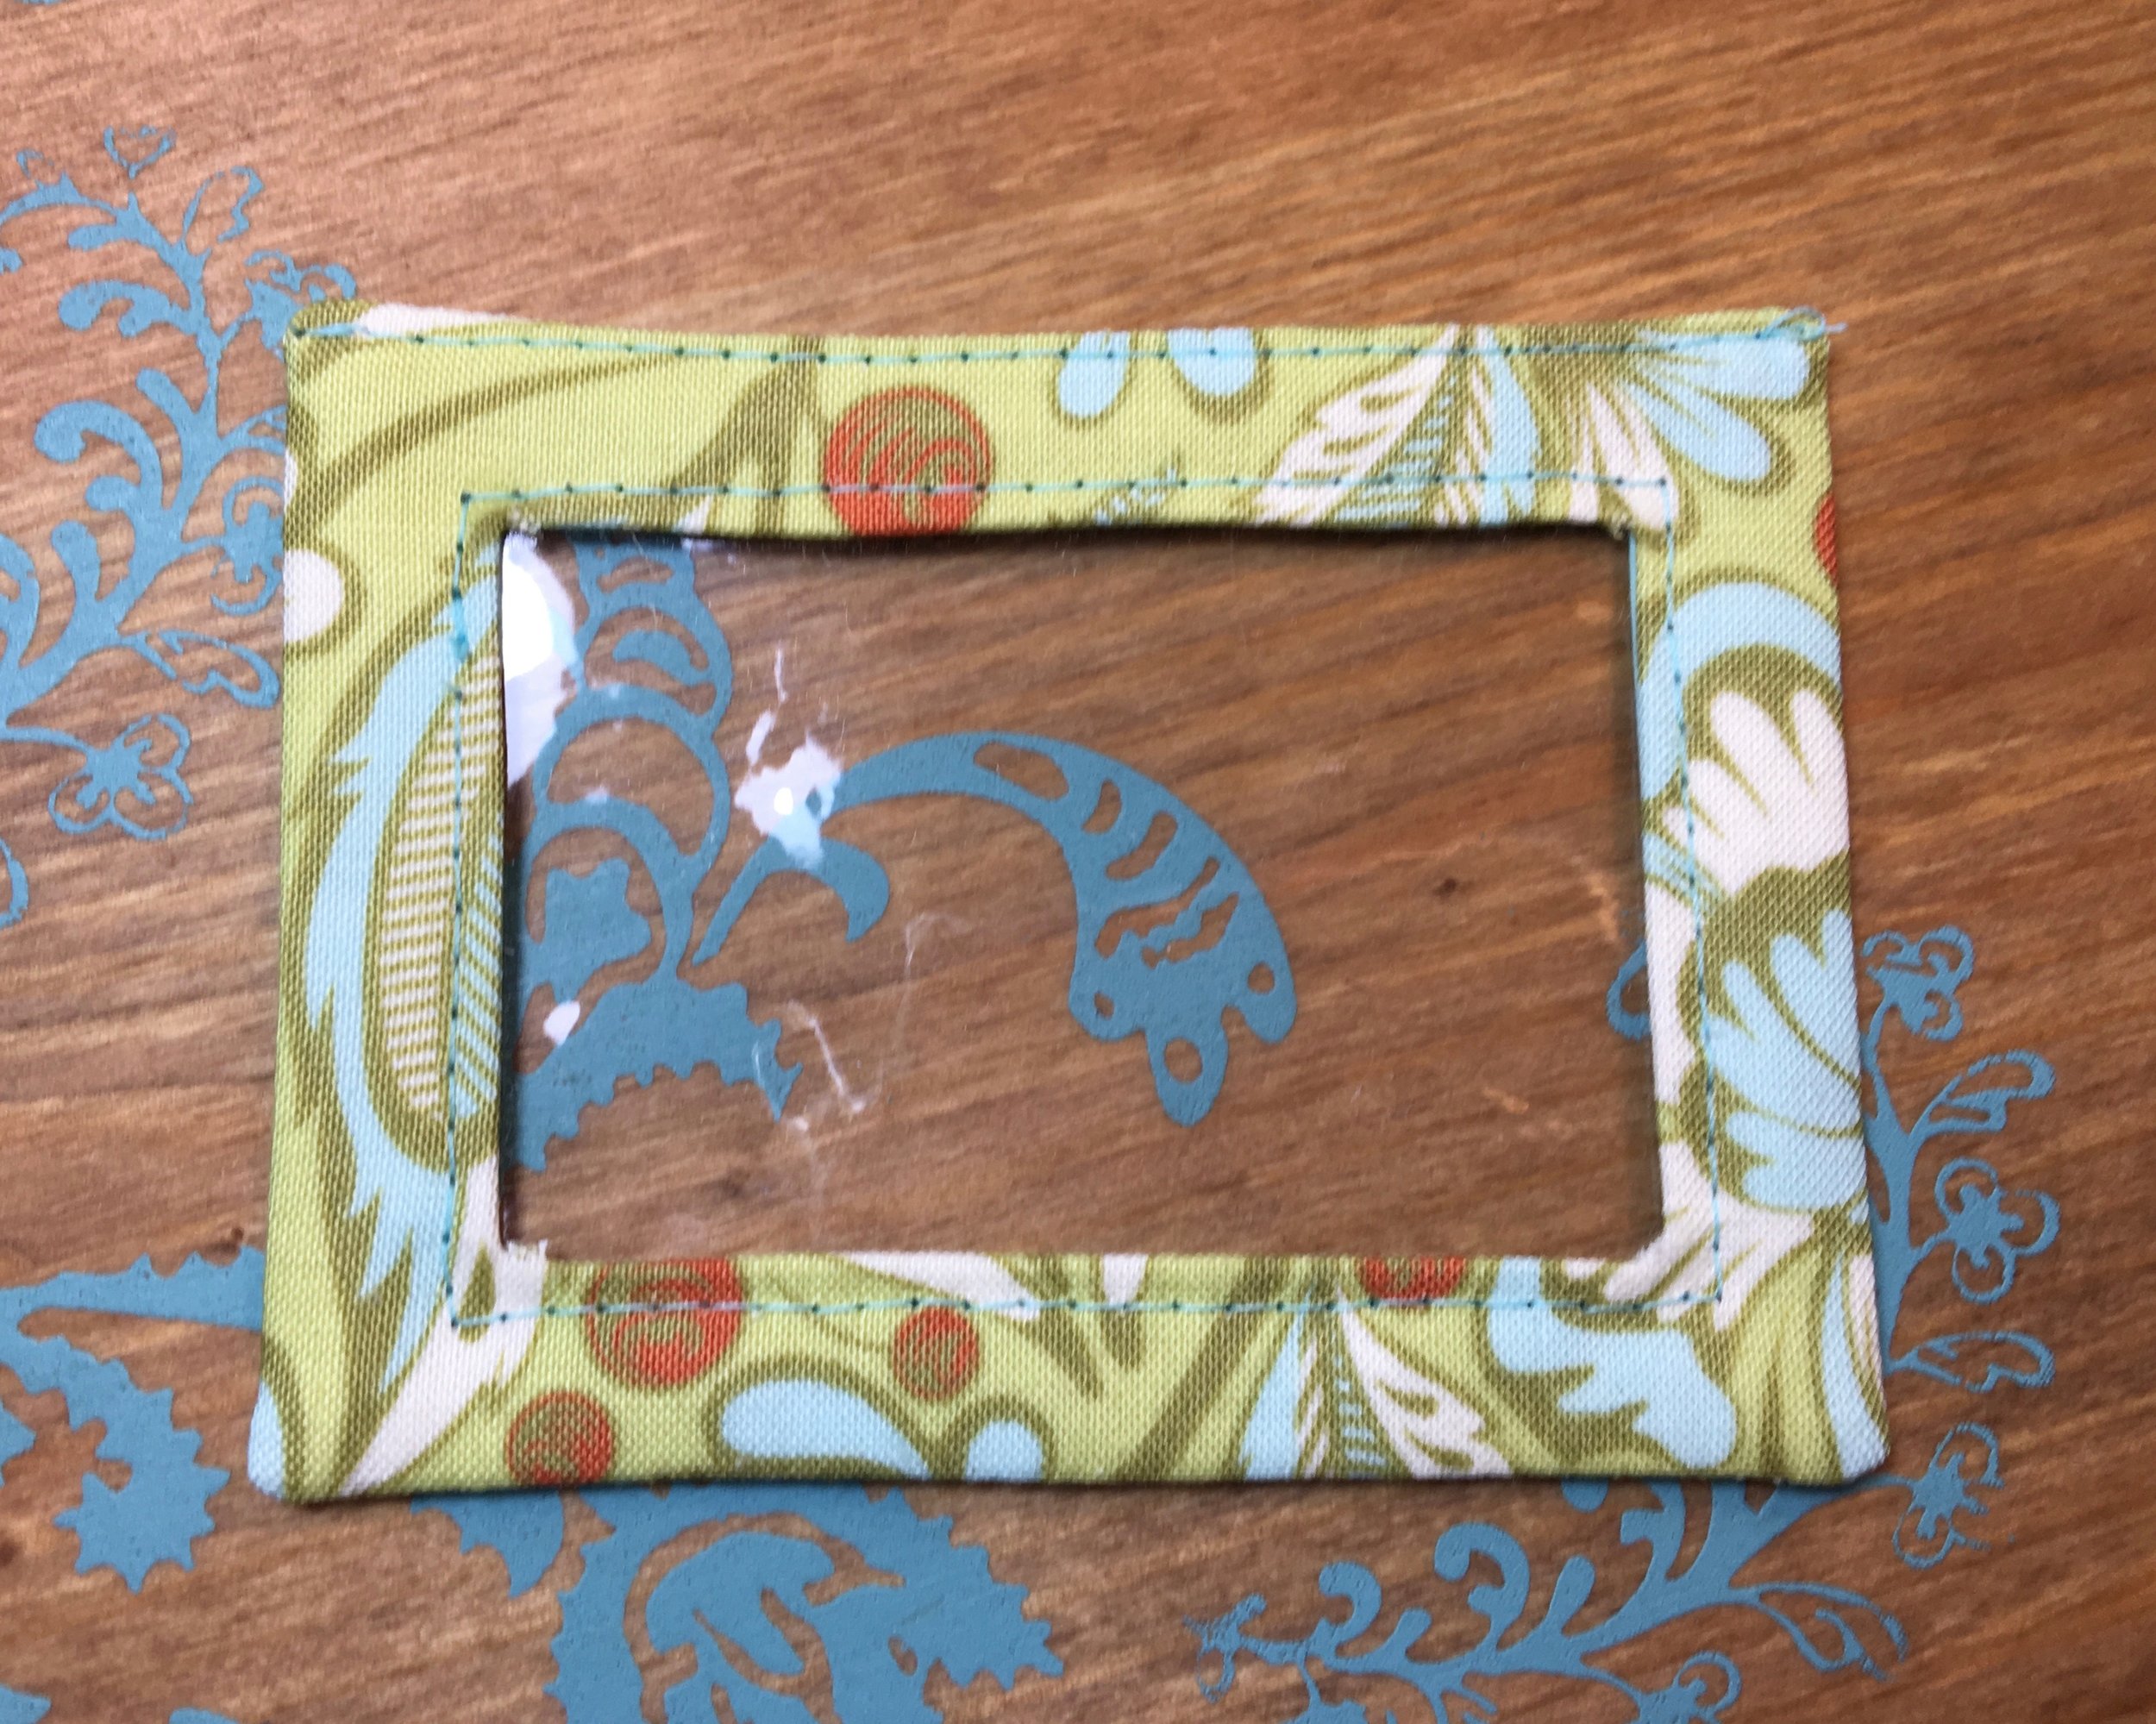
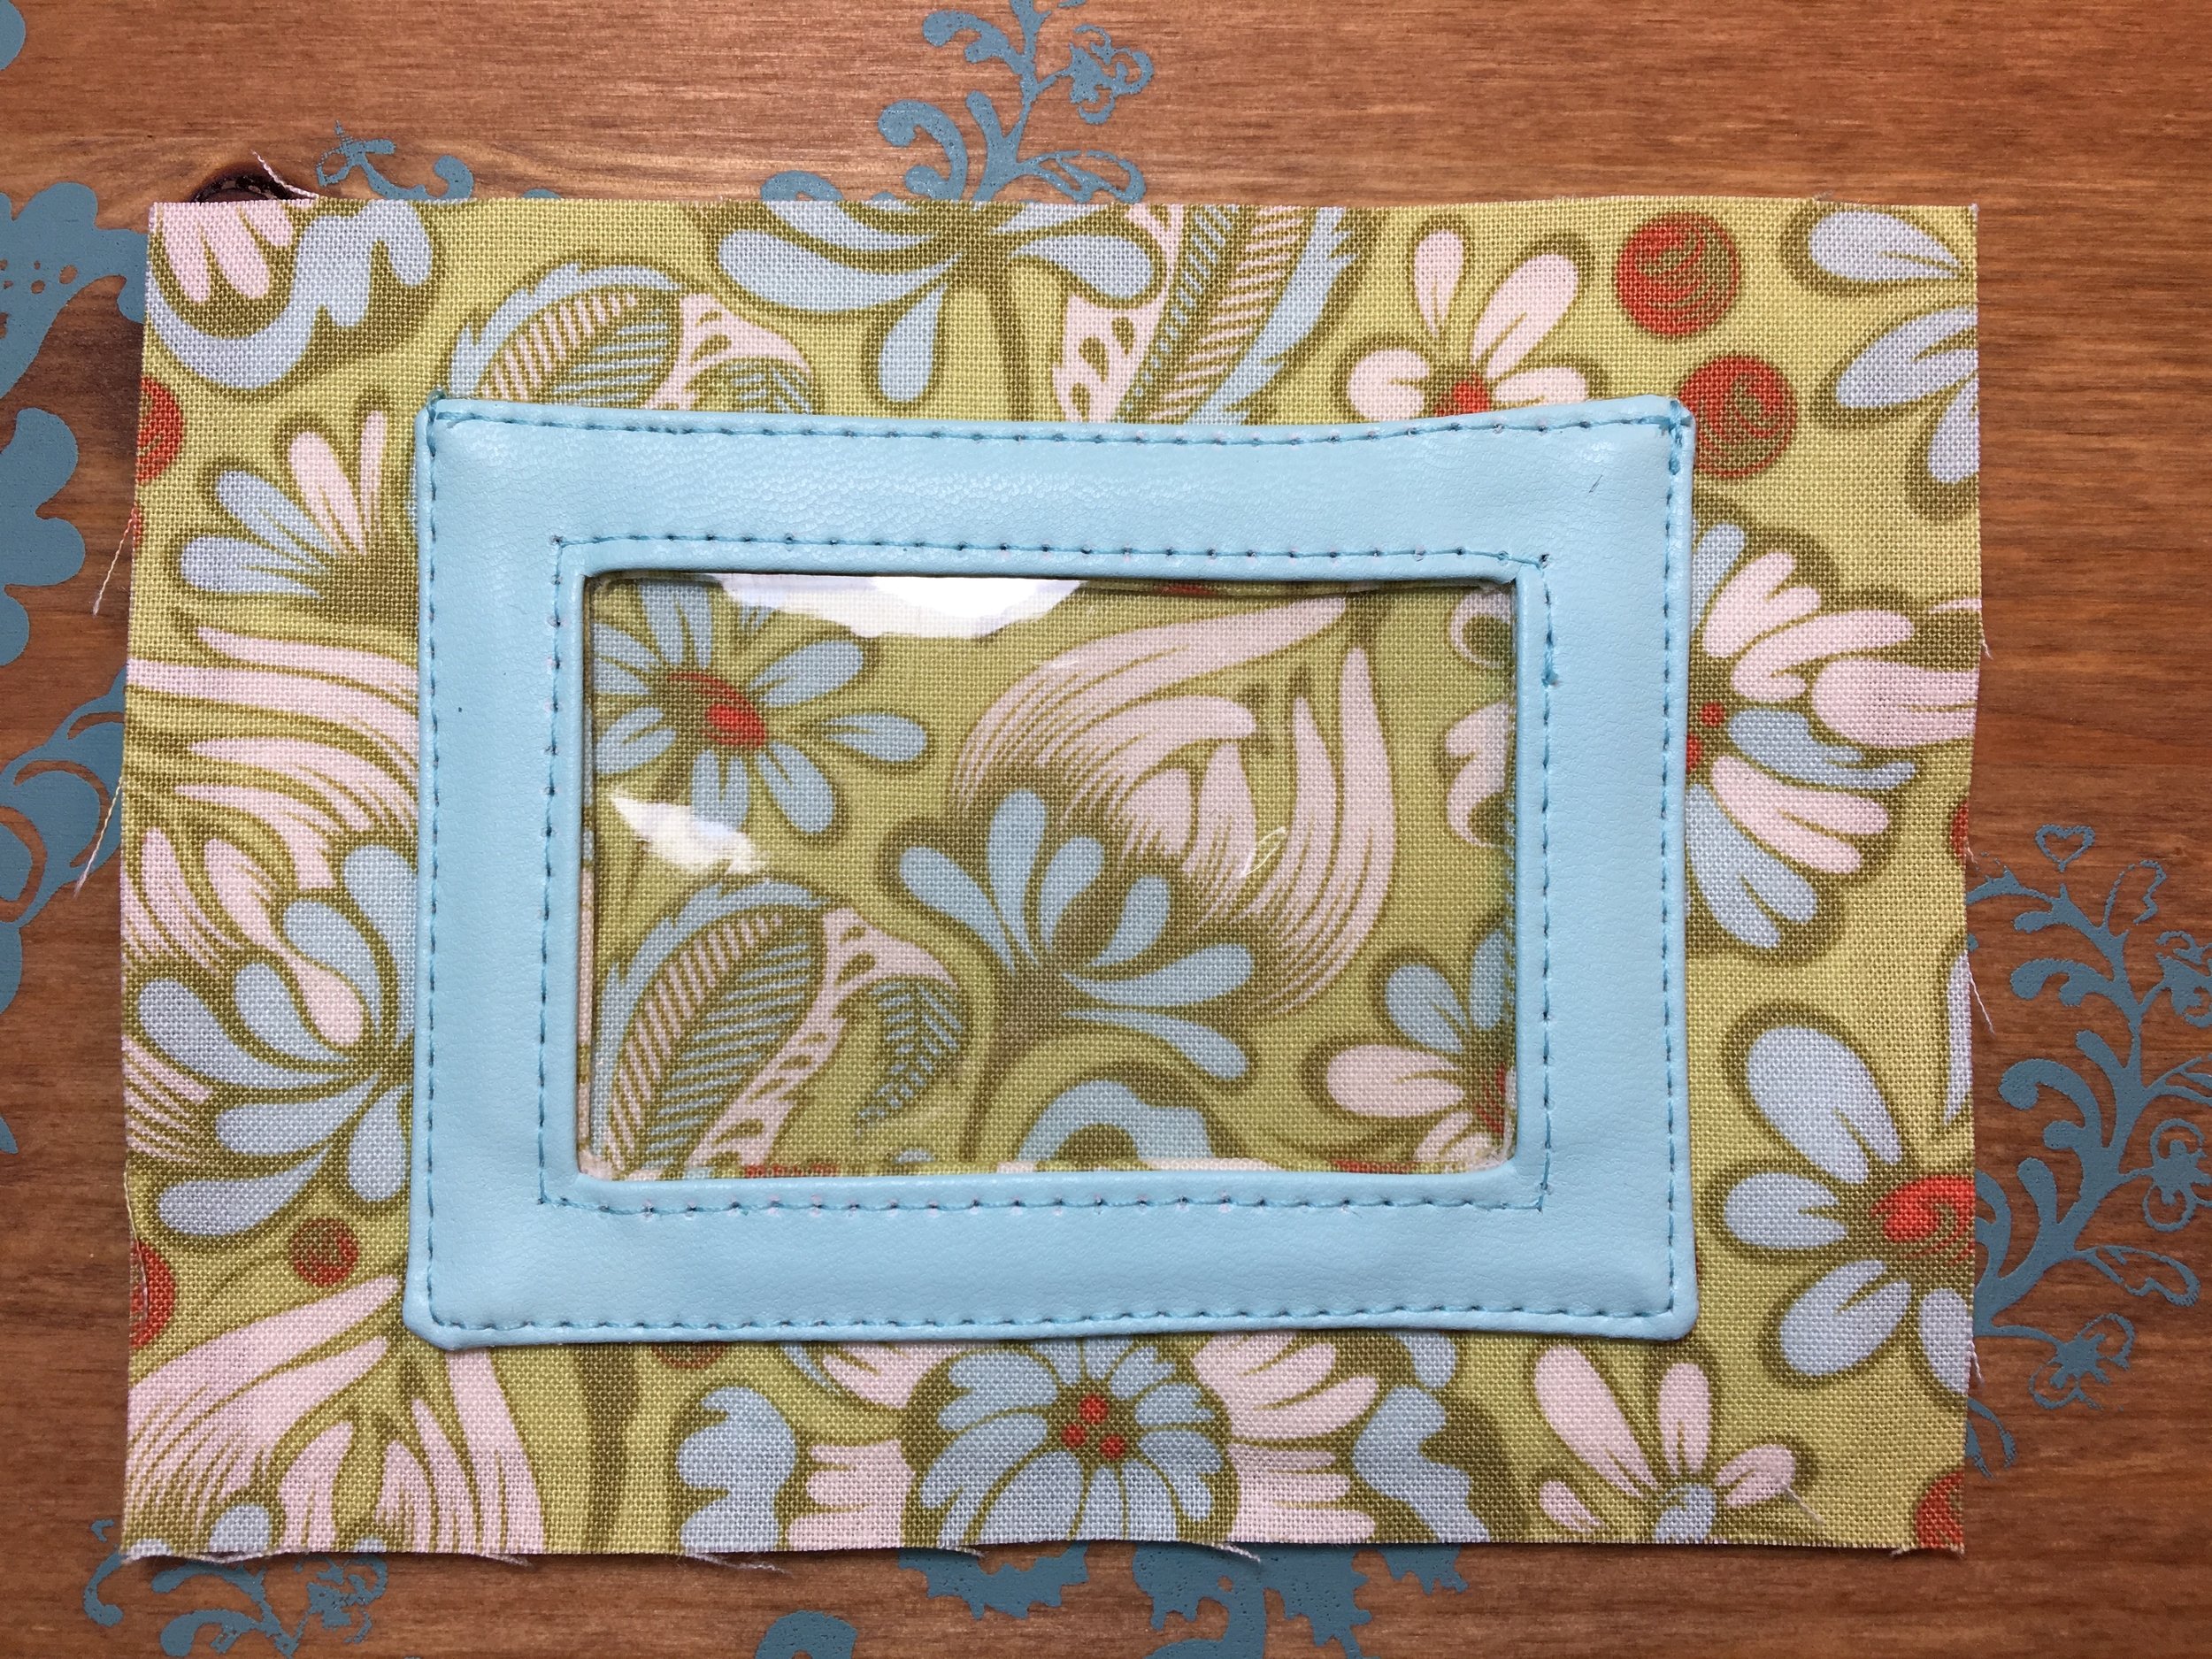
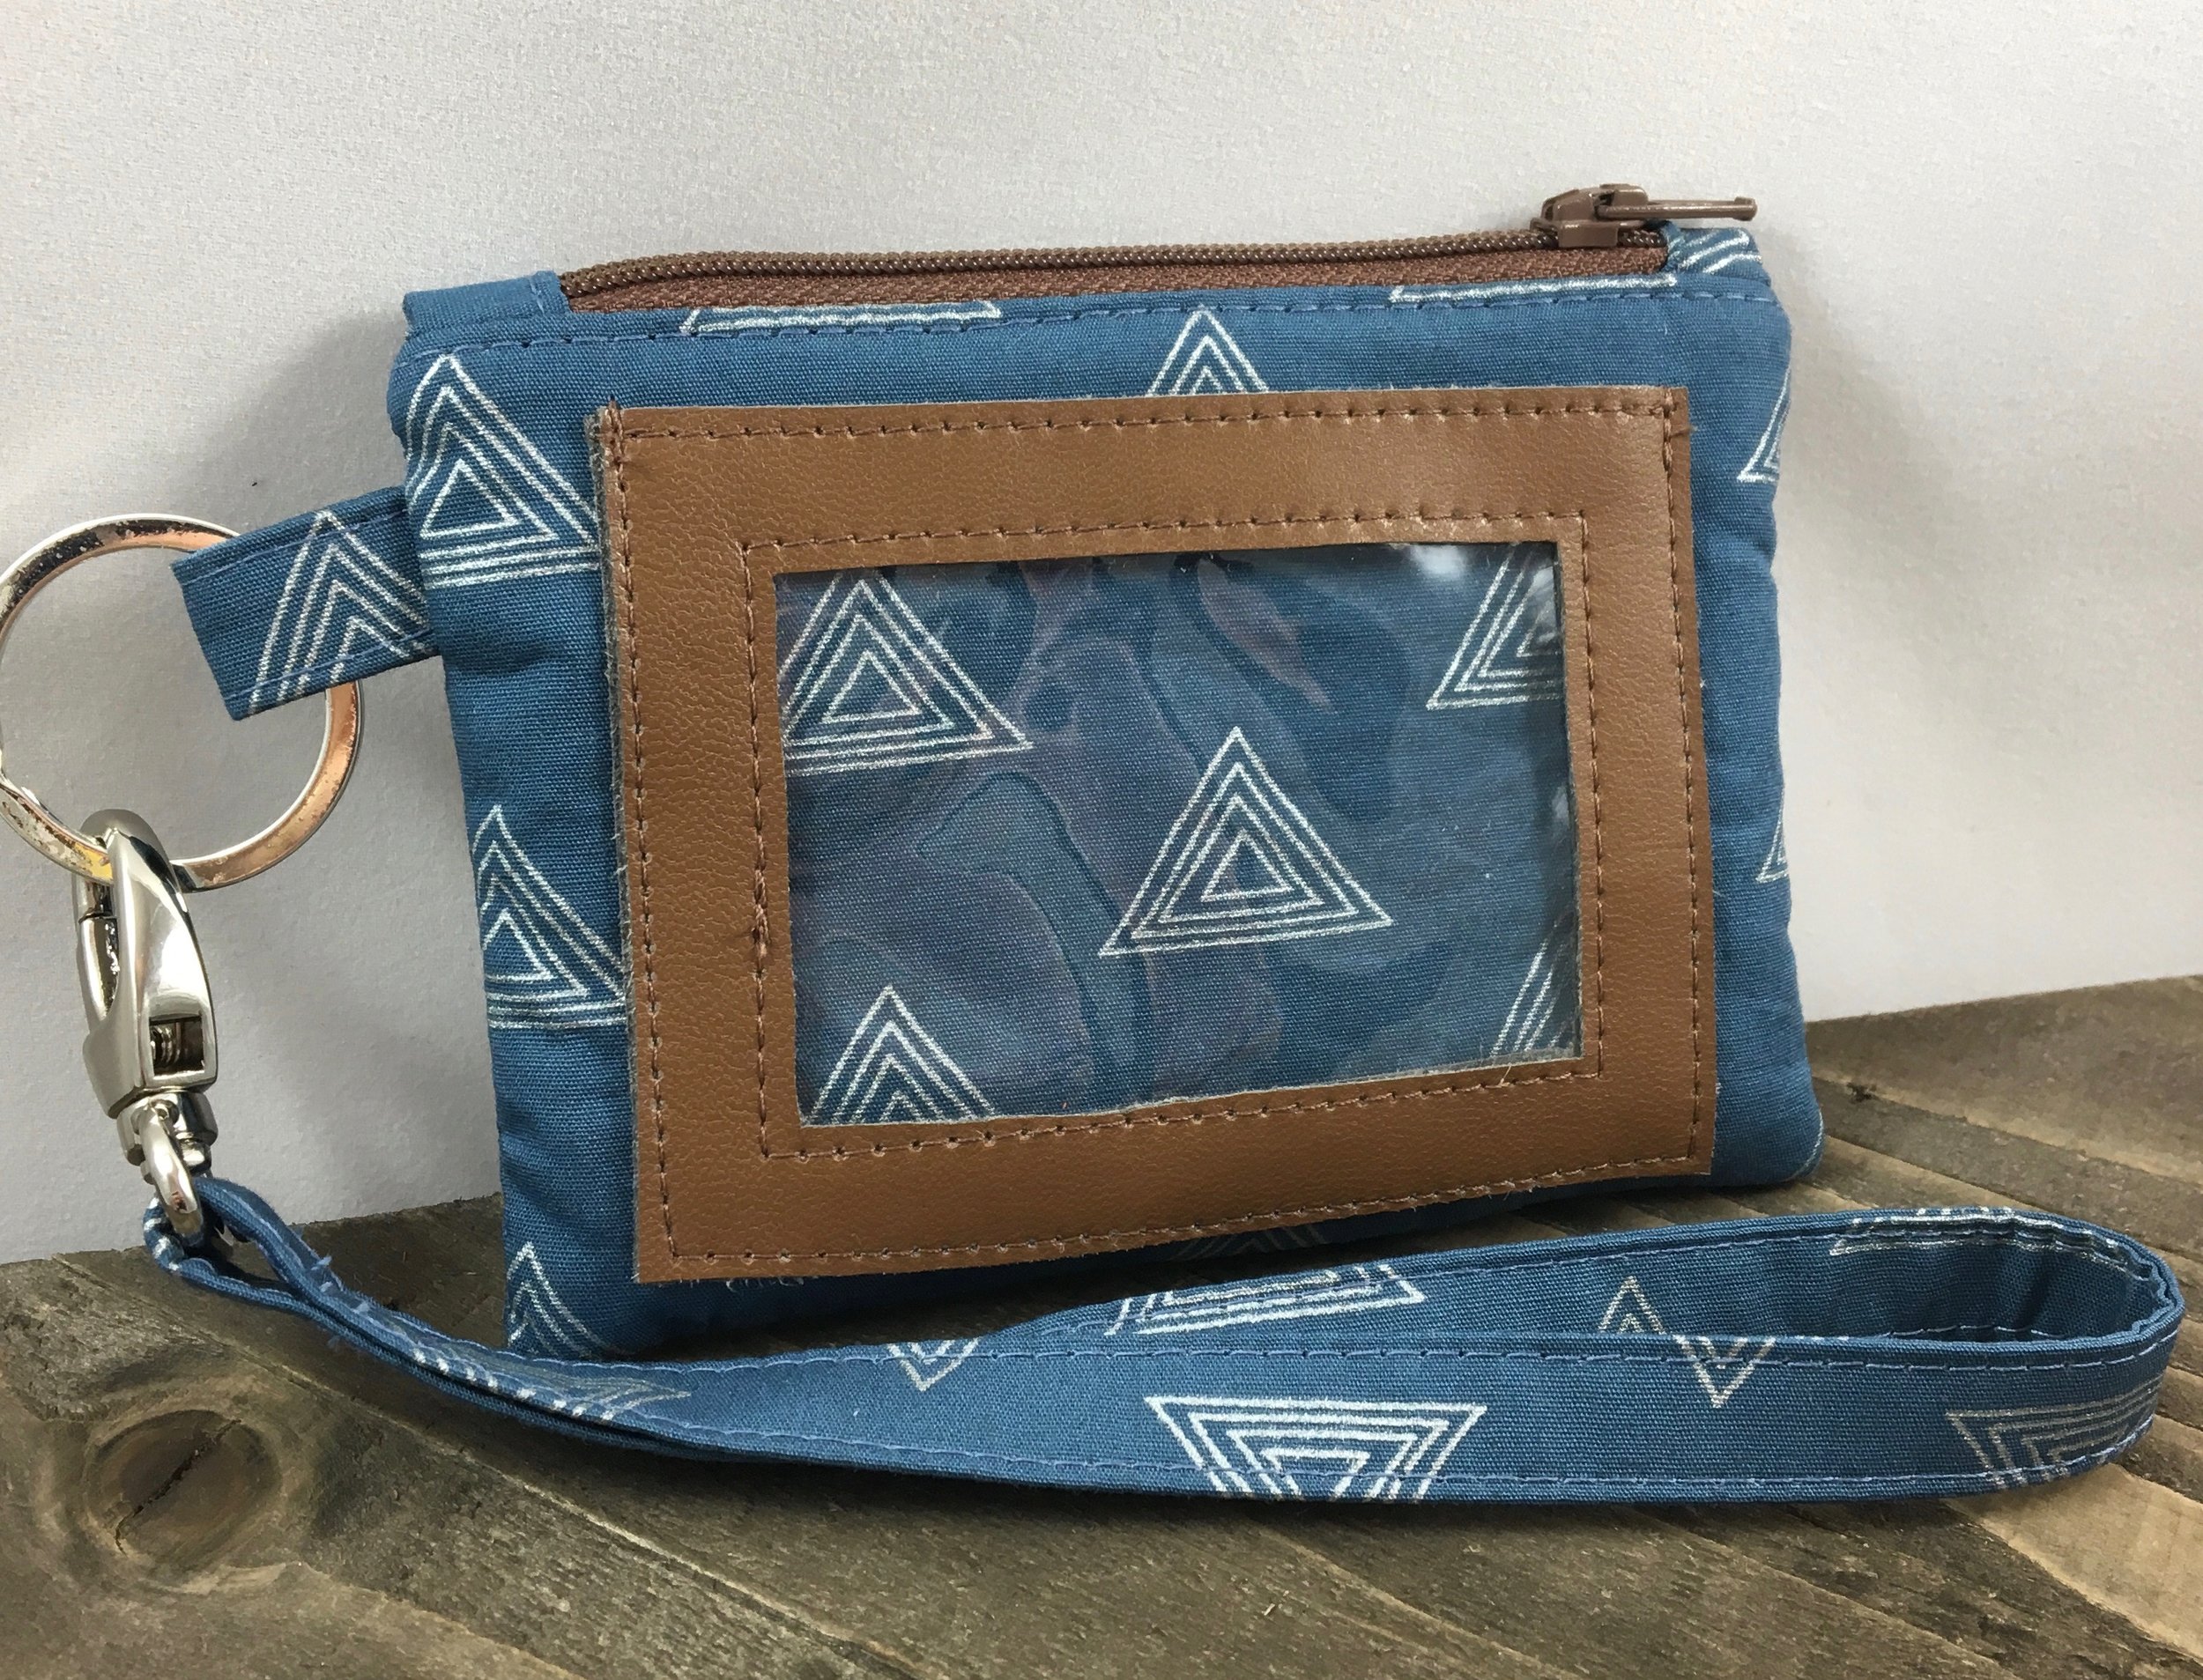
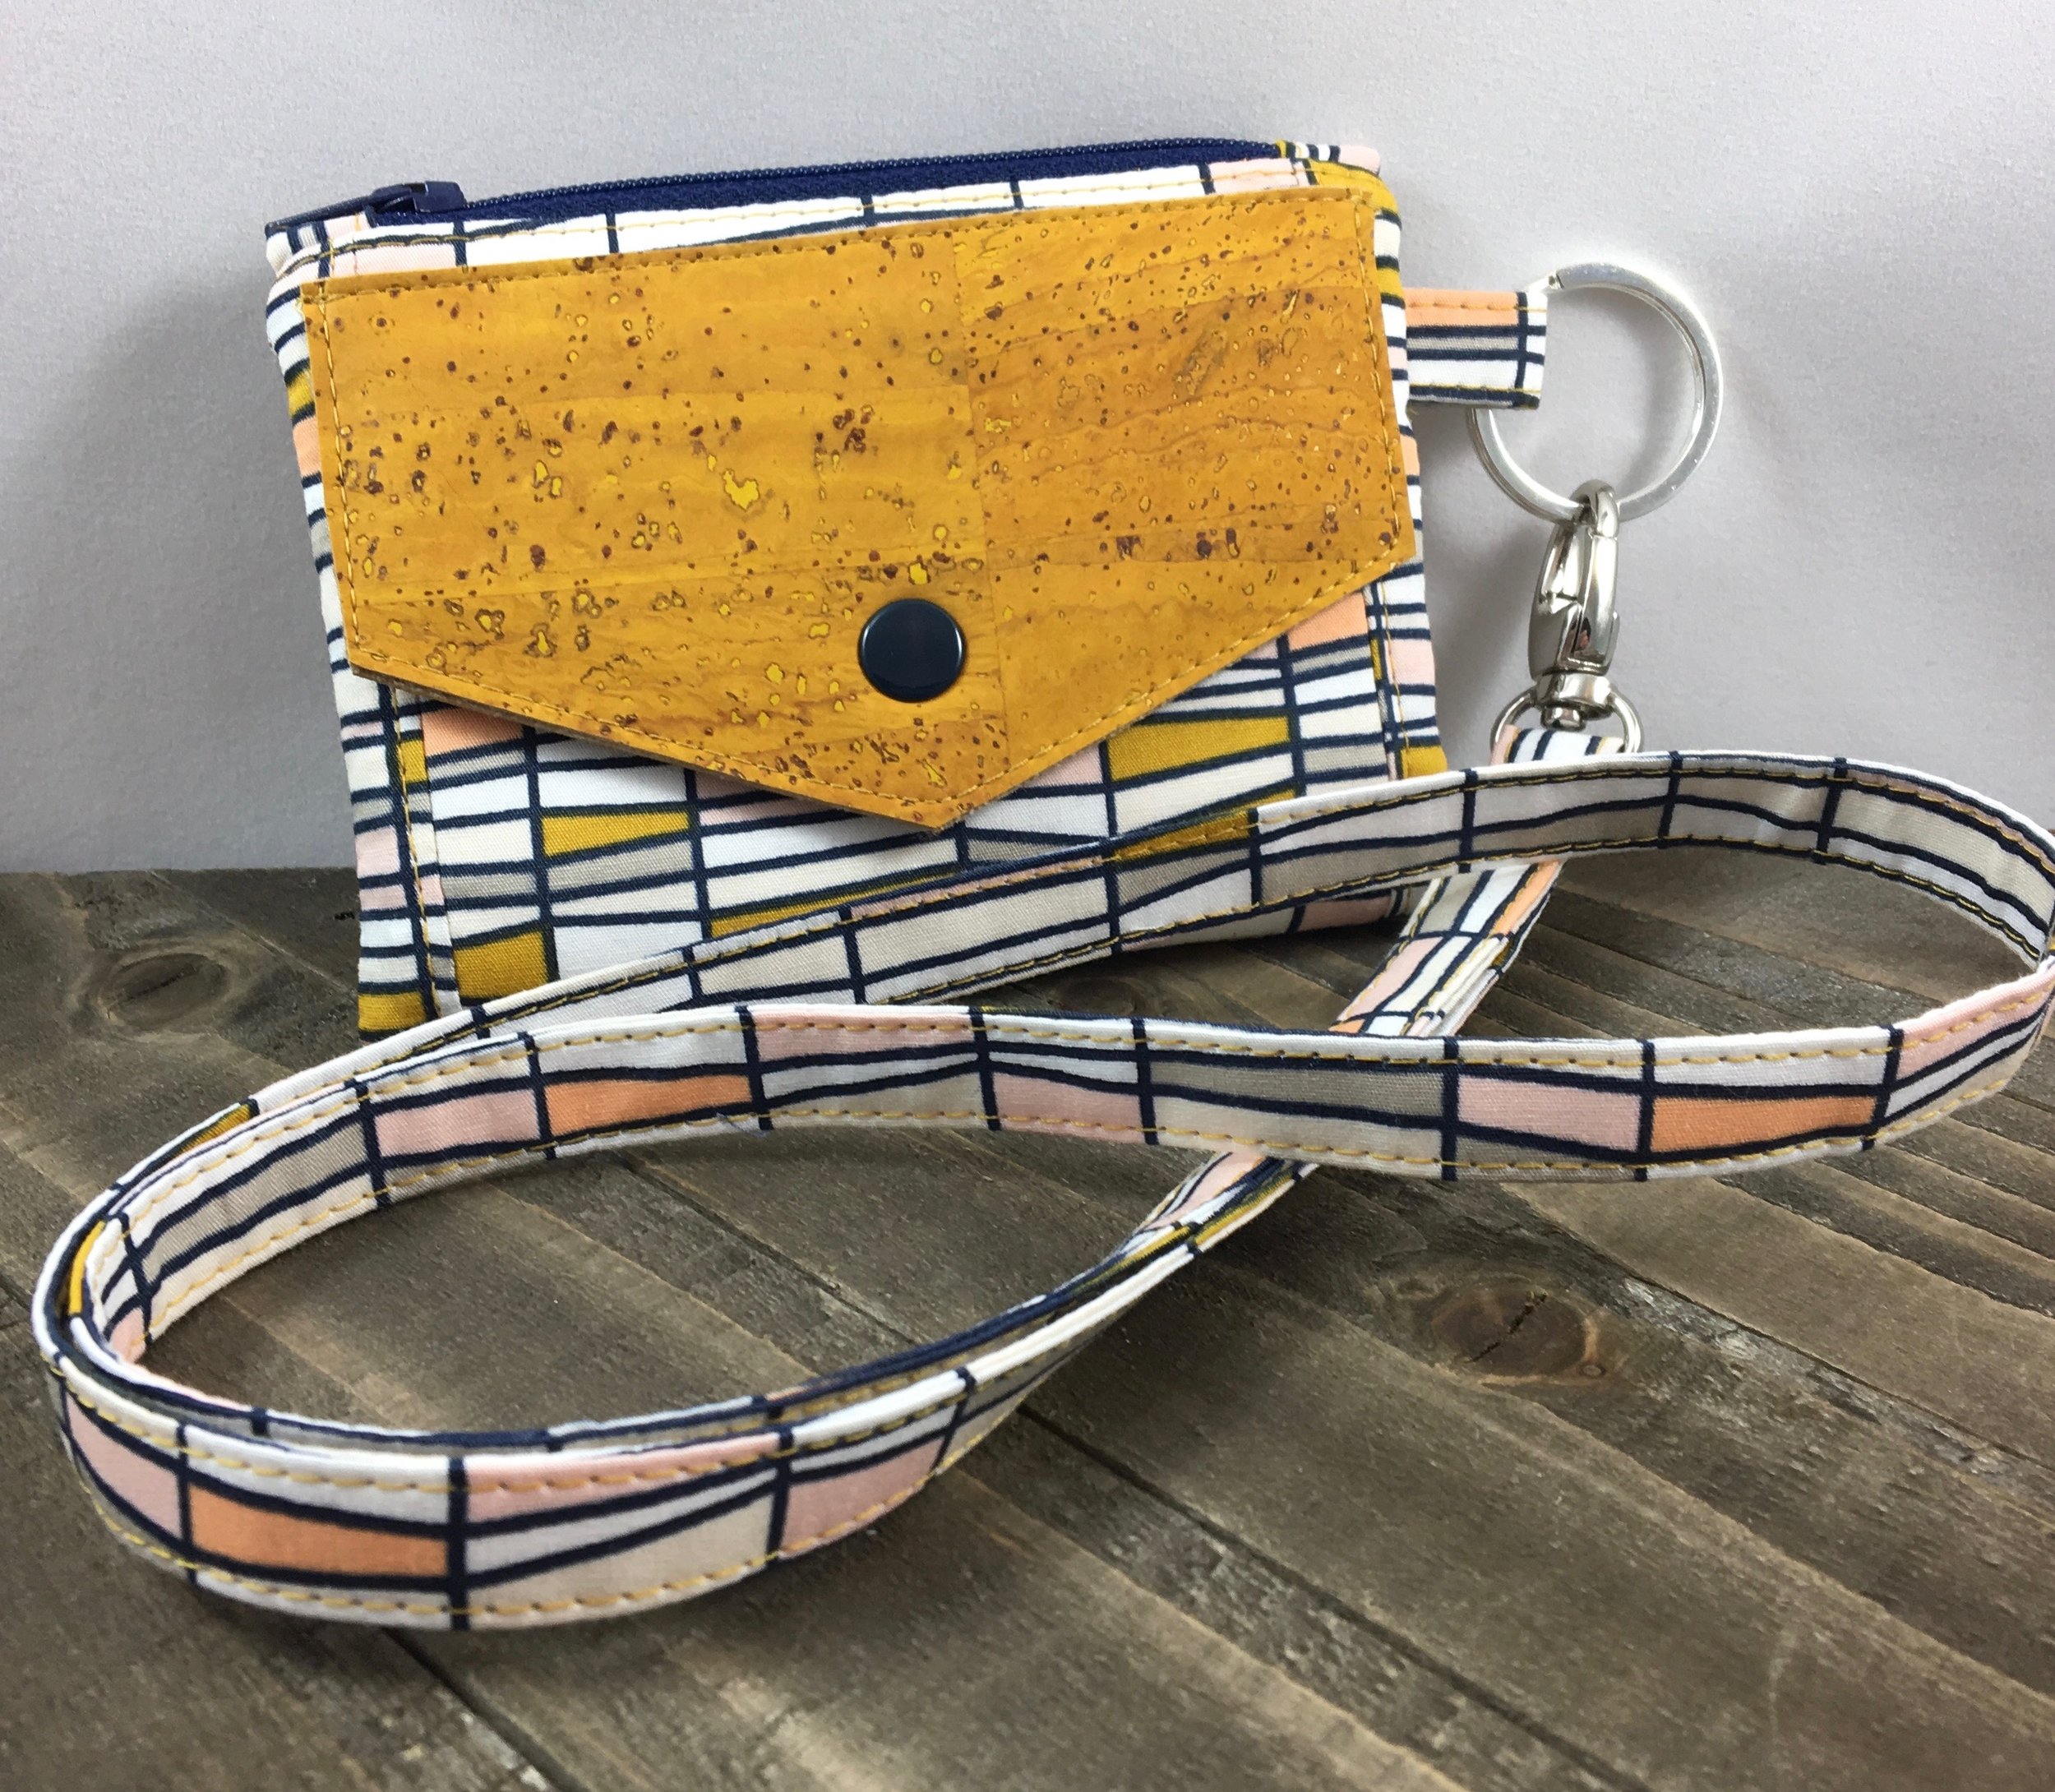
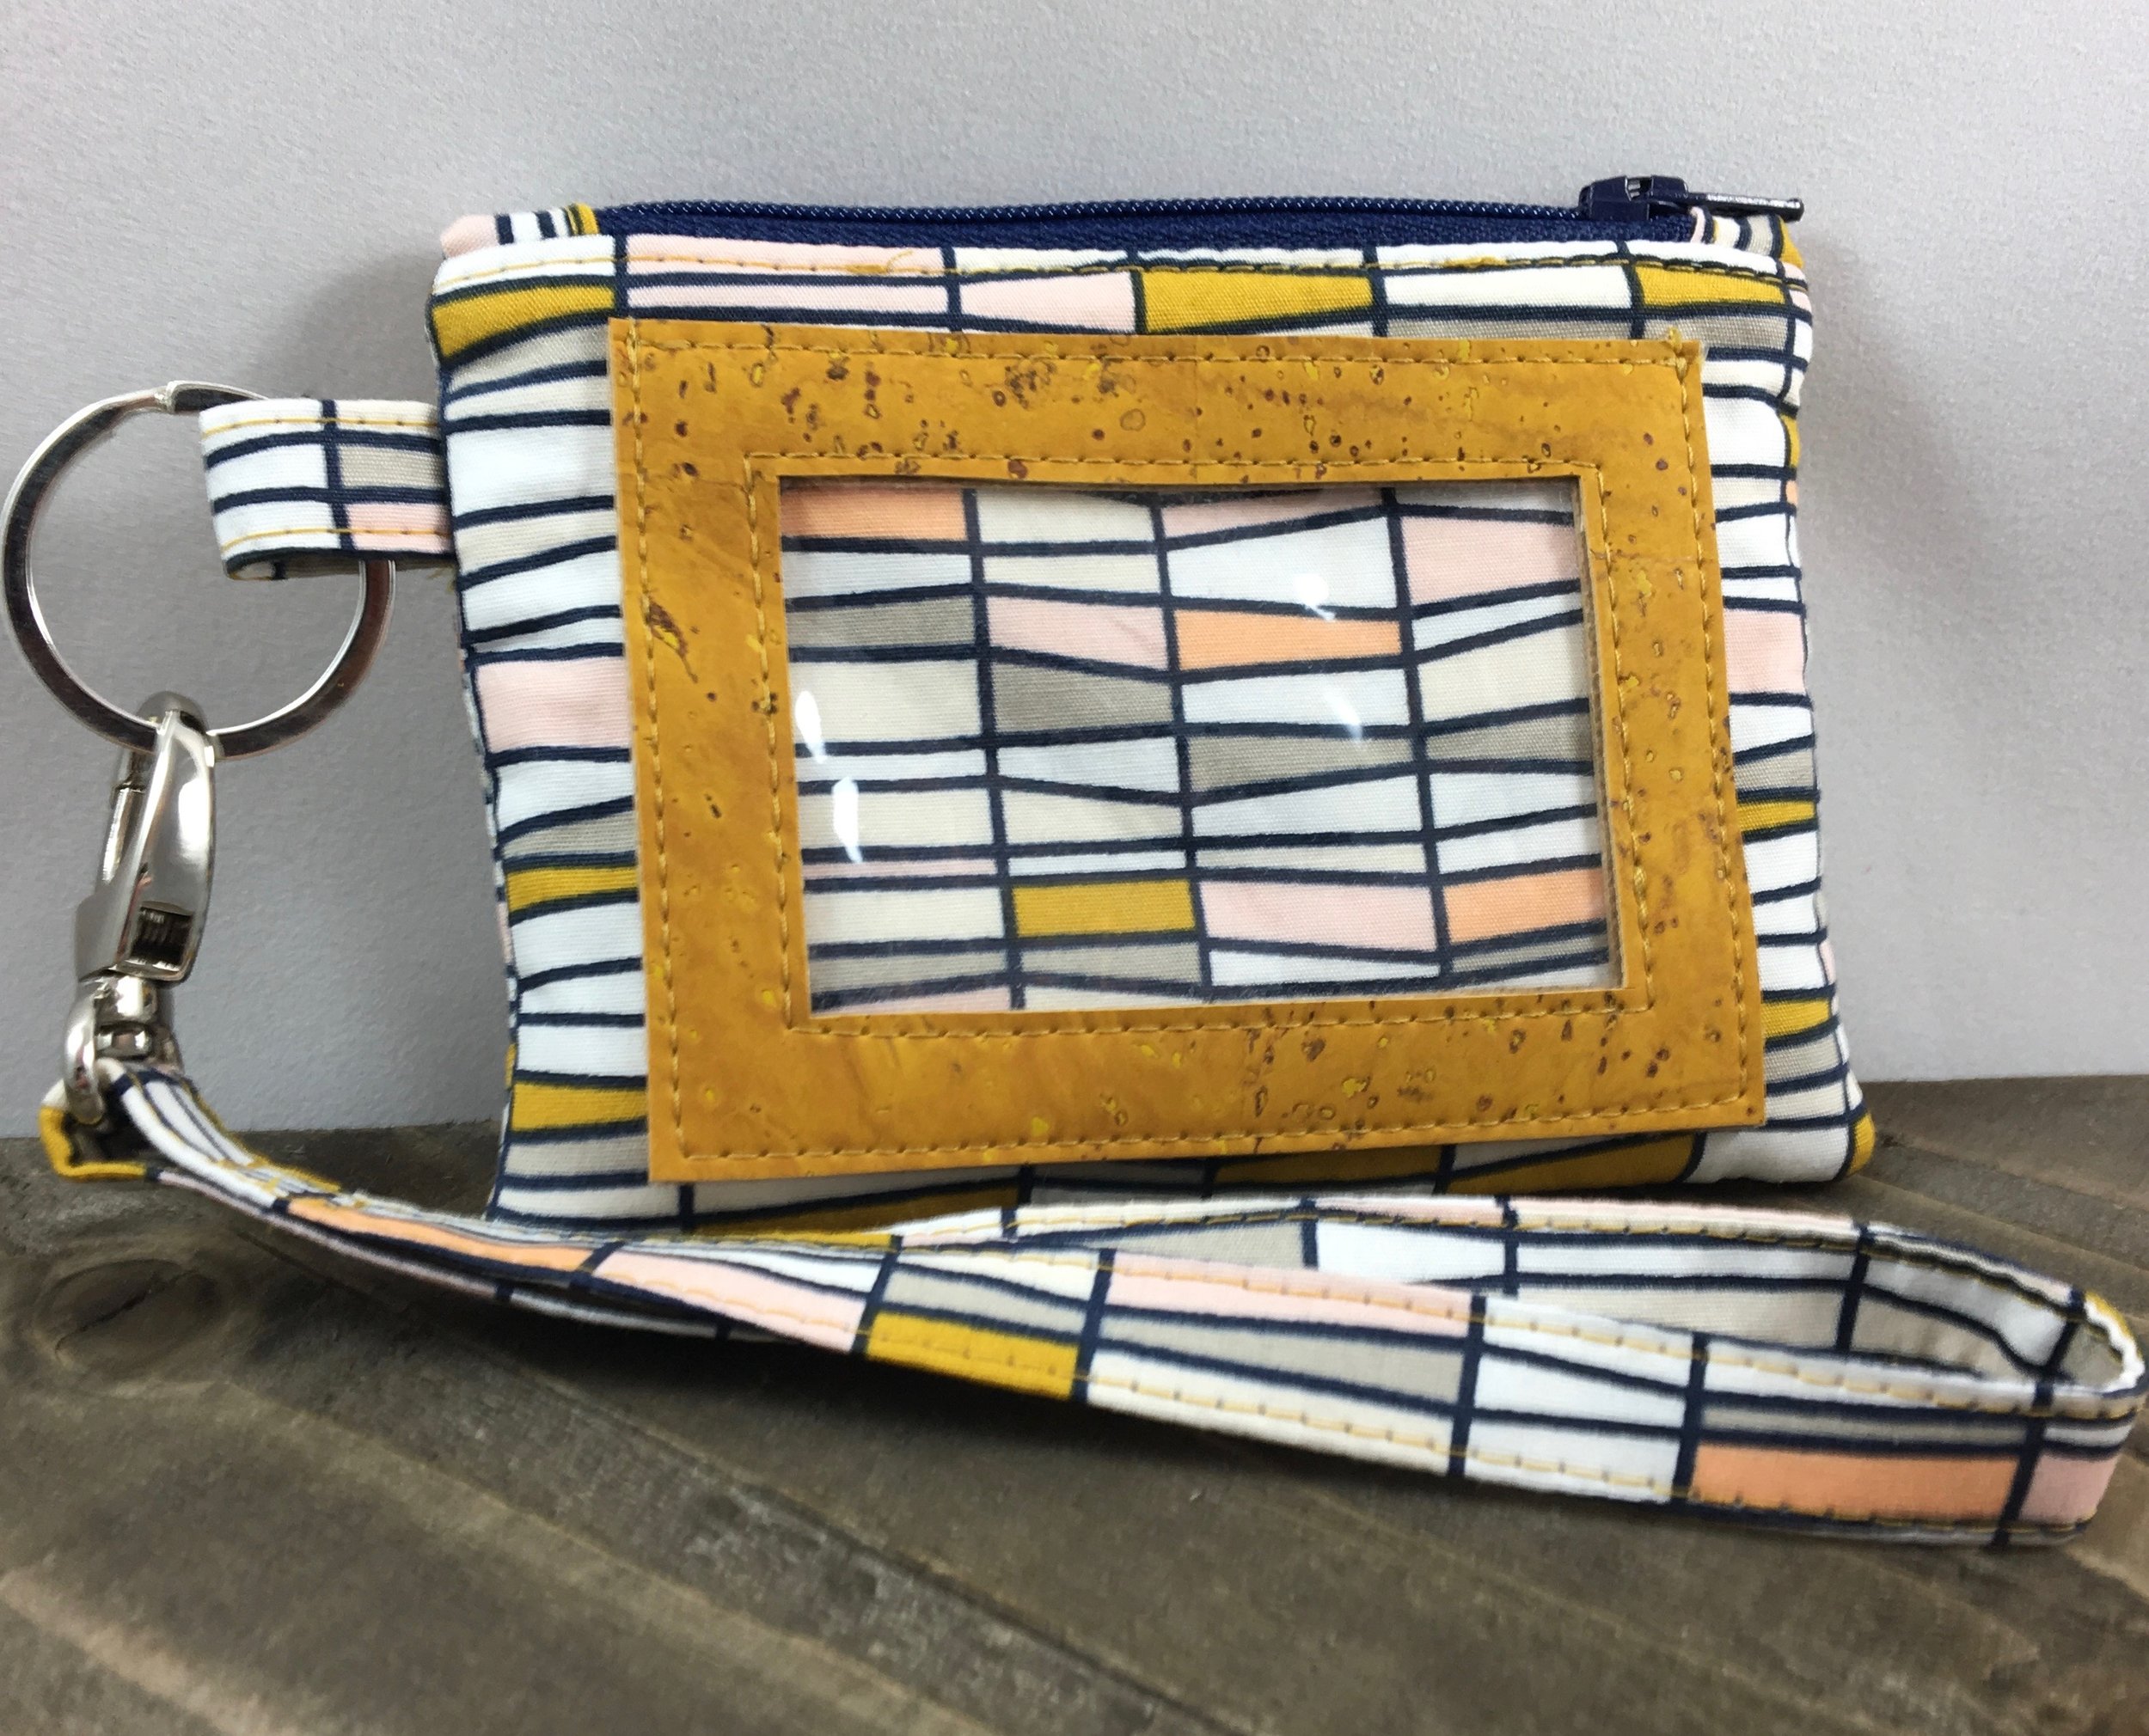
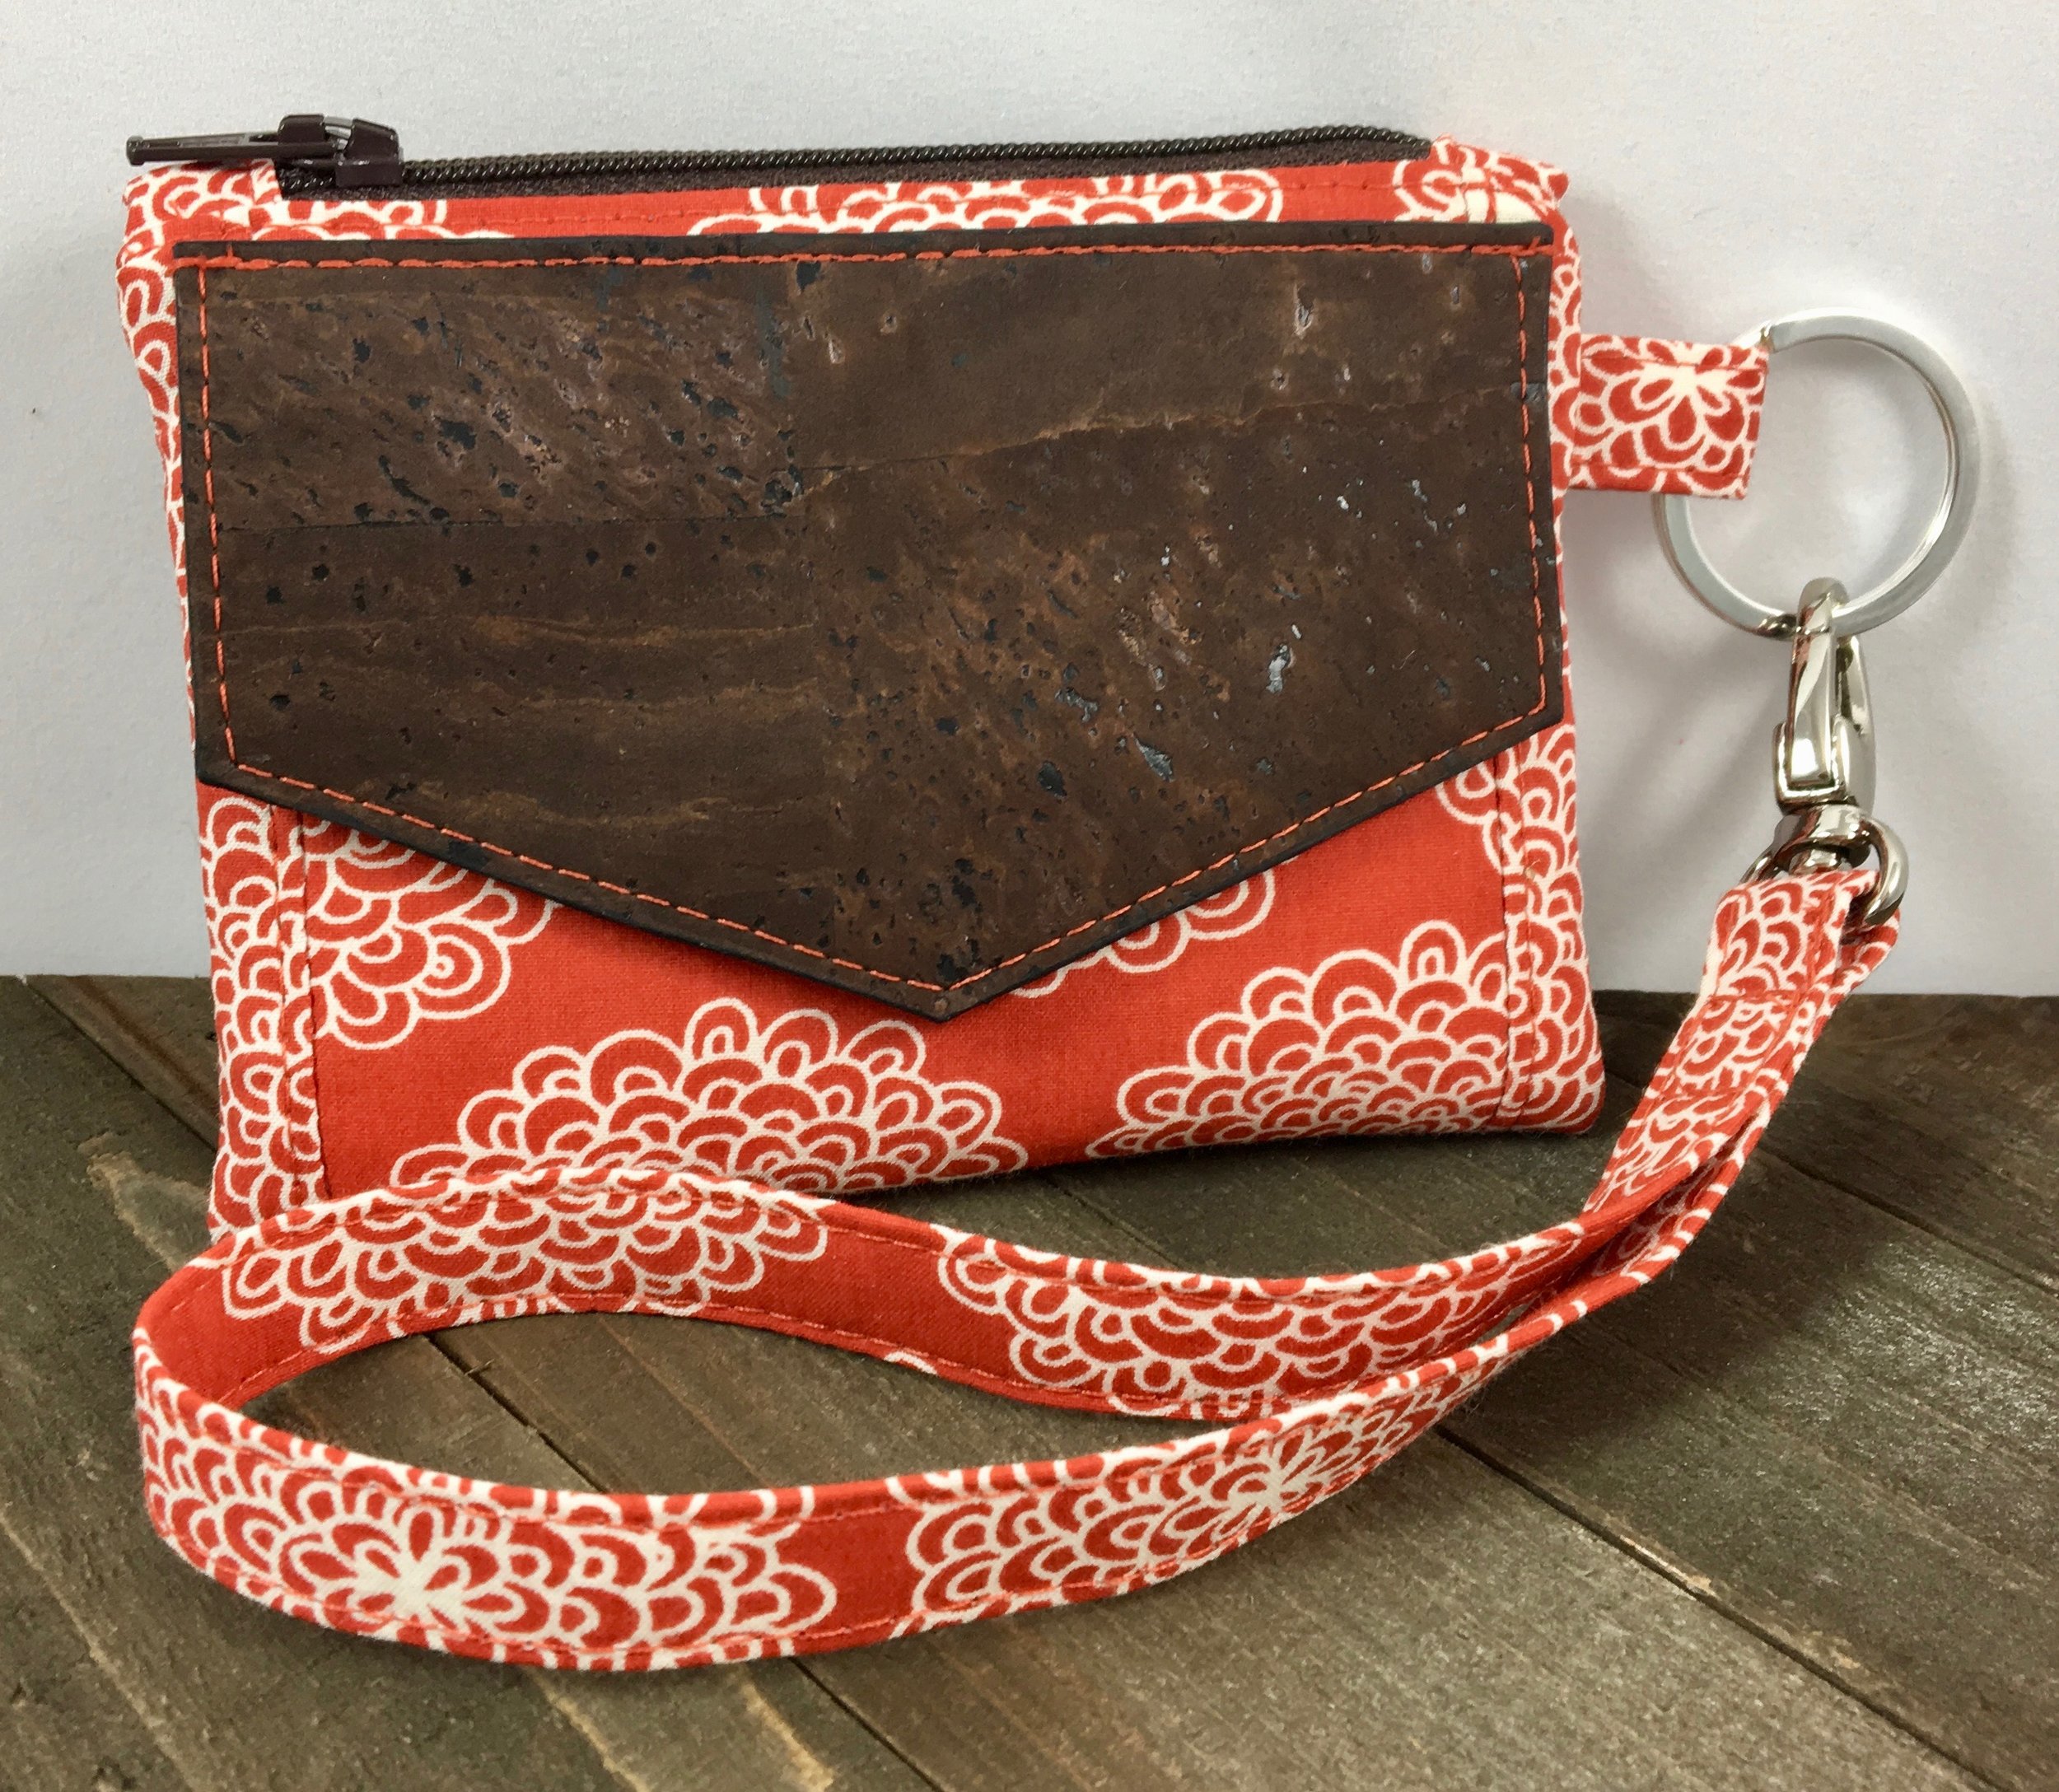
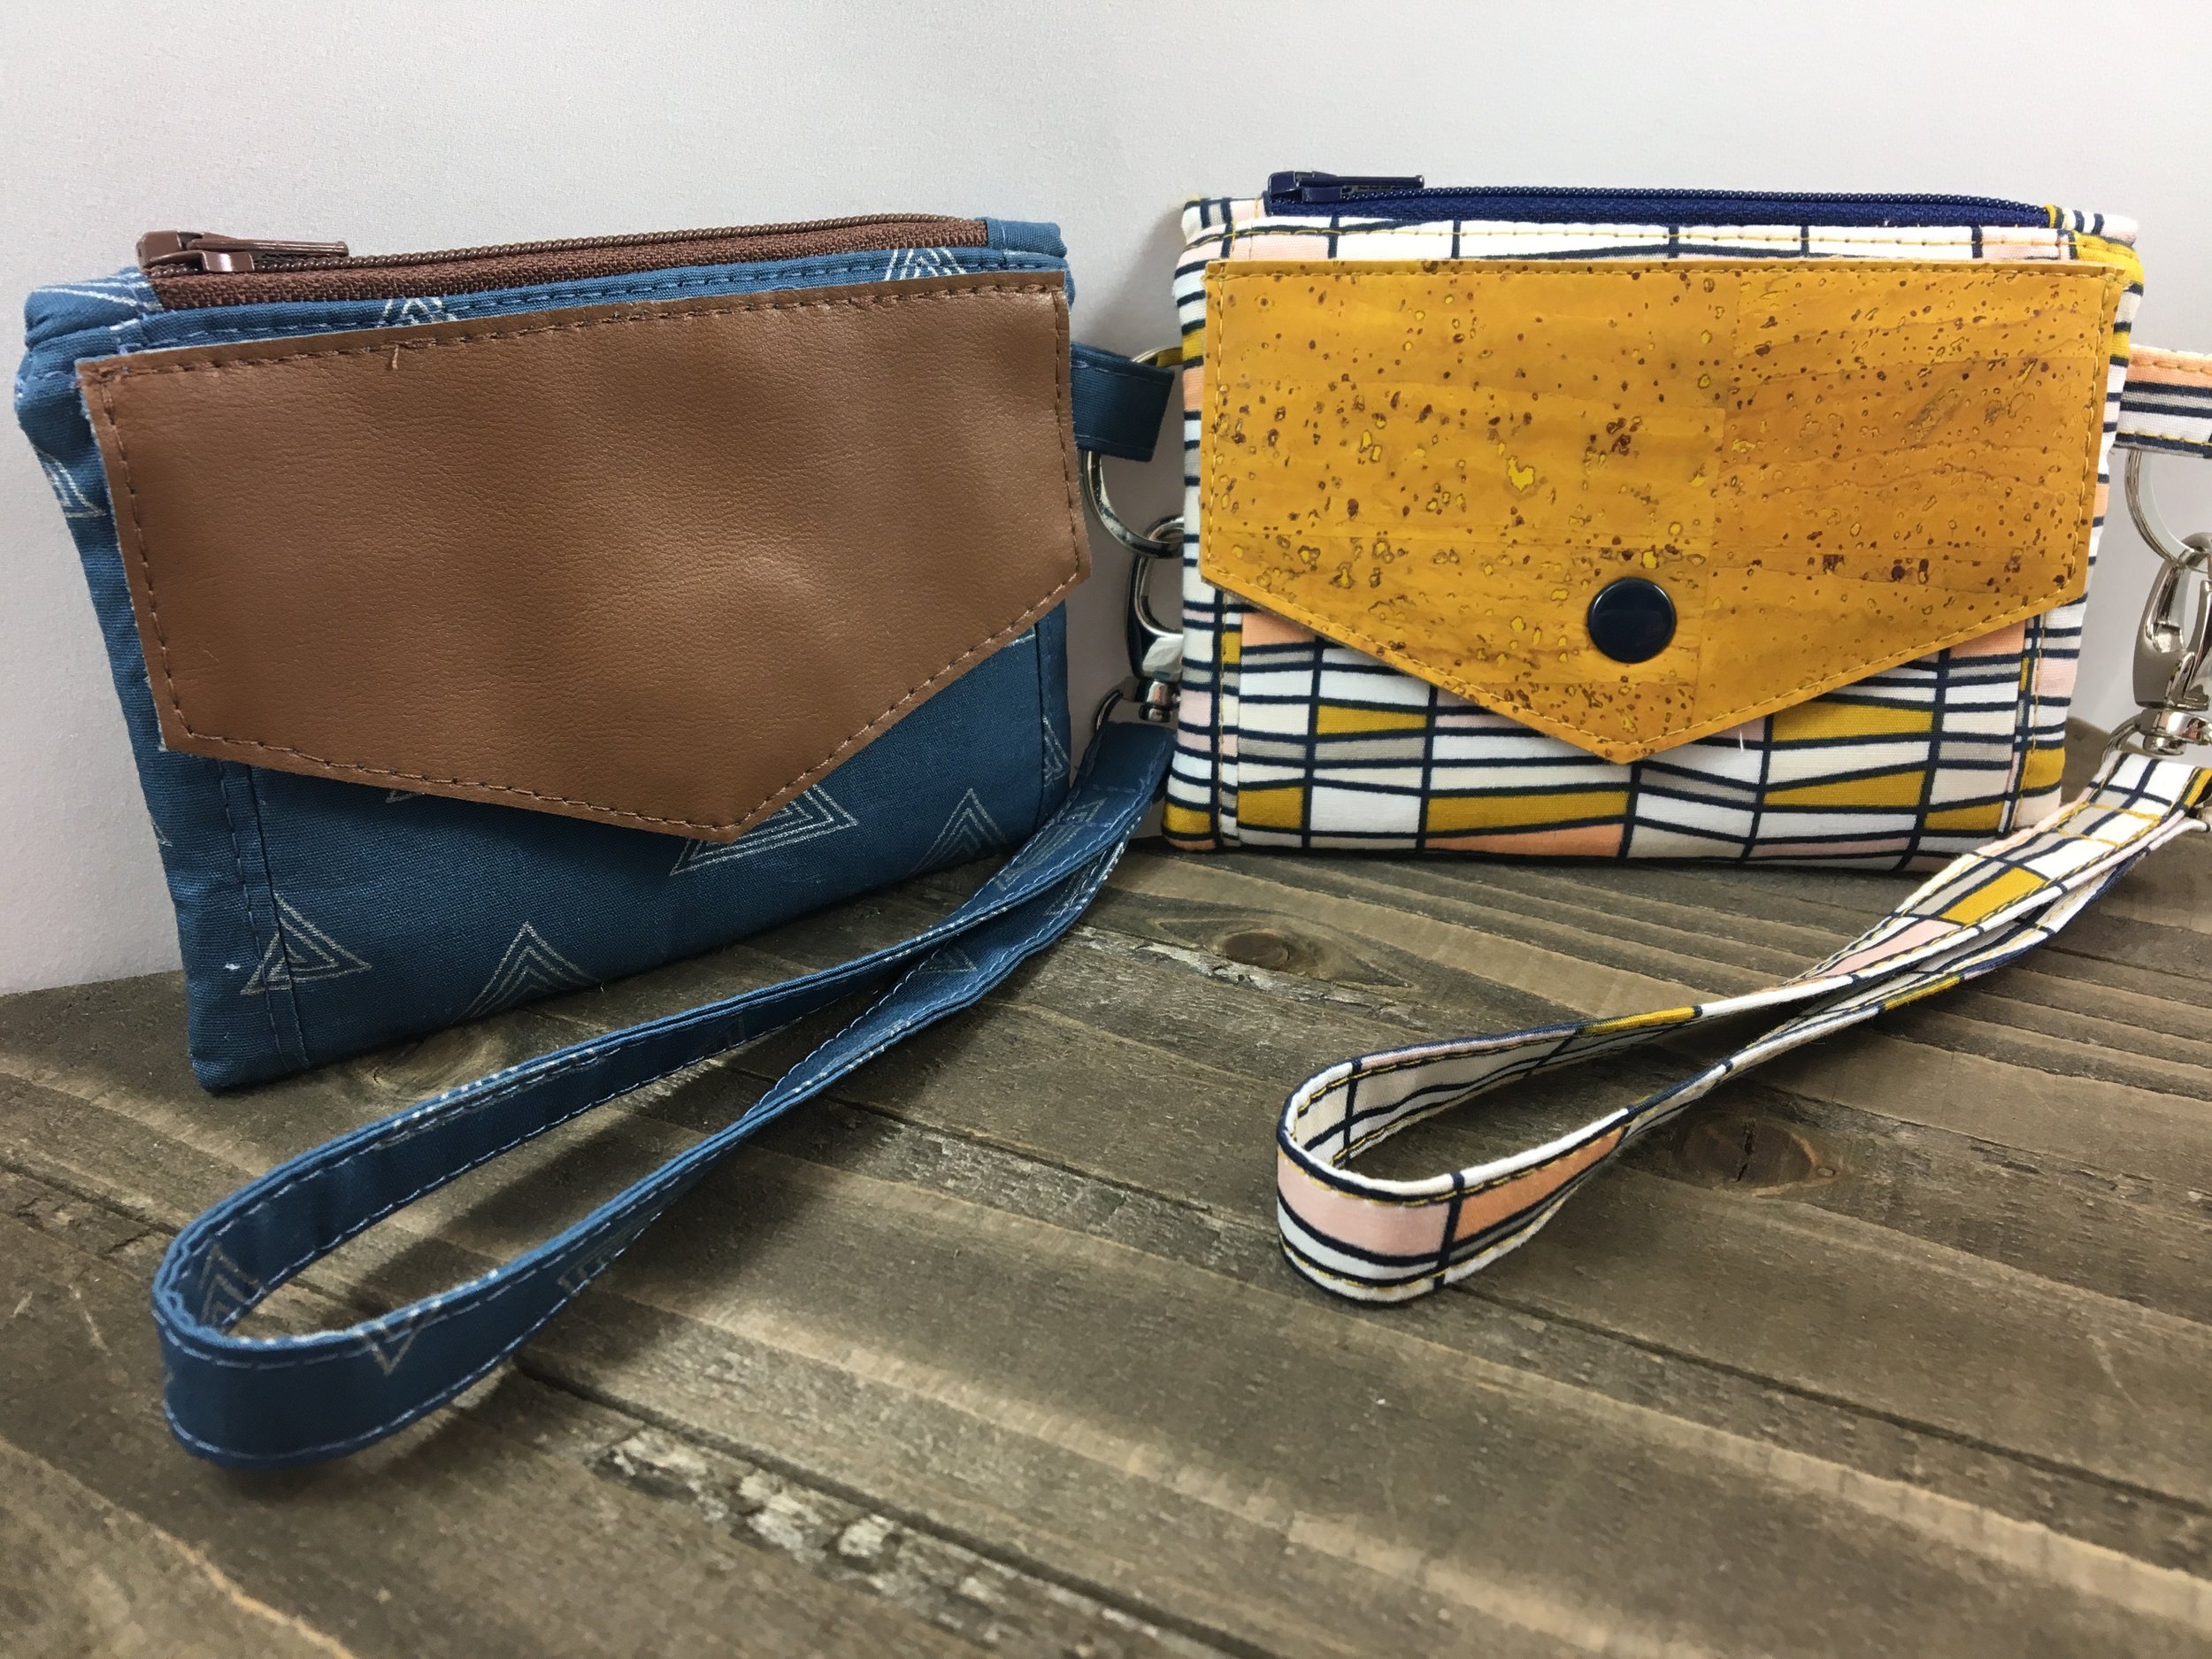
I know you're going to love this - today's giveaway is a Kristine ID Wallet Kit! The kit includes everything you need to make a Kristine ID Wallet with a wrist strap and either enough faux leather or cork to use to make the flap and the ID window pocket (see Monday's blog post for the tutorial on how to do this). To enter, just comment on one of the posts that has the photo above in any of the Uniquely Michelle social media platforms! Here are the places you can find the post and comment:
You can comment on more than one post to increase your chances of winning. The drawing will take place tomorrow (Sunday) morning at 9:00am MDT. I will announce the winner in tomorrow's blog post and Instagram and Facebook posts! Good Luck Everyone!!!
Sign up to receive email newsletters from Uniquely Michelle: