Kristine ID Wallet Sew Along Day #1 - Cutting and Fusing
Michelle Burke
Today is day #1 of the Kristine ID Wallet Sew Along! I am so excited and I hope you are too! Before we get started today, I want to share with you the schedule for the sew along and the details for the giveaway.
The Kristine ID Wallet Sew Along schedule looks like this:
- Day #1: Cutting and Fusing
- Day #2: ID Window Pocket/Back of KIDW
- Day #3: Envelope Flap and Card Pockets/Front of KIDW
- Day #4: Straps, Ring Loop and Zipper
- Day #5: Finishing It Up
This sew along will be five consecutive days starting today and ending this Friday, September 29th. If you miss a day don’t worry, the post will stay up indefinitely. I will also link to the previous posts in the following days so that you can easily find them.

Even though the sew along posts will finish up on Friday, you will still have a couple weeks to finish up your Kristine ID Wallet and enter the drawing for prizes. There will be three prizes, each will be a little different, but a free Uniquely Michelle sewing pattern of your choice, fabric, and one of Andrie Adornments zipper pulls are all in the mix for the prizes! To enter the drawing, you need to complete your Kristine ID Wallet by Monday, October 16th at 10:00pm MDT (this is when the random drawing will take place) and you must post a picture of your completed wallet in one of two places – in the Uniquely Michelle Sewing Patterns Facebook Group or in on Instagram with #KIDWSewAlong. Posting a picture of your completed Kristine ID Wallet in one those two places is required to be entered in the drawing for prizes, but if you post in both places that will increase your chances for winning! One more way to increase your chances for winning - post a progress picture in the Uniquely Michelle Sewing Patterns Facebook Group or on Instagram with #KIDWSewAlong or post in both places. Basically, the more you post, the better your chances of winning, but let’s keep the posts to one per day per person in each place – I don’t think anyone wants a stitch-by-stitch progress report. ;)
Are you ready to get started on the sew along? If you don’t have the pattern yet, you can purchase it from the Uniquely Michelle Website Shop, the Uniquely Michelle Etsy Shop, or the Uniquely Michelle Craftsy Pattern Shop. Remember to use the discount code "SEWKIDW" if you are purchasing from the website or Etsy. The price is already reduced on Craftsy. This sew along is not going to give you the step-by-step instructions that the pattern does, so you will need to refer to the pattern. To begin you will need to print out your pattern or you can just print out the pattern piece and refer to the instructions on your computer or mobile device as you go. There are important instructions in the pattern for printing out the pattern piece so that it is the correct size, so it’s best not to skip over that part!

Except for the one pattern piece, all the other pieces for the wallet are rectangles, so it is easy to cut them out with a rotary cutter and a plastic ruler. If you would rather, you can draw cut lines on your fabric and then cut the pieces out with scissors. I love to use a rotary cutter and so I drew the flap pattern piece on to some heavy-duty template plastic and cut it out (with scissors other than my sewing scissors). I find that I can use a rotary cutter to cut out the fabric and interfacing with this heavy-duty template plastic. I used a permanent marker around the edges of the pattern piece so that it is easier to see as I am cutting. Do you like my attempt at writing fancy on the pattern piece? :P

Here is my fabric!!!
One of my favorite parts of sewing anything is picking out the fabric! Do you like that part too? As you pick out your fabric for your Kristine ID Wallet, you will want to decide if you will make it as the pattern instructs with one exterior fabric and another fabric for the lining or if you want to use more than one fabric for the exterior.
Here are some options for the exterior:
o One fabric as suggested in the pattern
o One fabric for the main part of the wallet and a coordinating fabric for the flap and ID pocket
o One fabric for the main part of the wallet and a coordinating fabric for the flap and card pockets.
o And then there’s the straps, do you want those to be from the main fabric or a coordinating fabric. Do you want to make a wrist strap, a lanyard or both?
With all these options in mind, it is important to remember that the card pockets require the most fabric since the fabric cut for them is 12” high.

This is my exterior fabric, so I have my flap pattern piece positioned so it is right side up, but . . .
Once you have figured out what fabrics you are using for the different parts of the Kristine ID Wallet, it is time to start cutting! Another reason I like using the heavy-duty template plastic for the flap pieces is that I can see the fabric through the plastic so I can decide what part of the fabric I want on my flap.
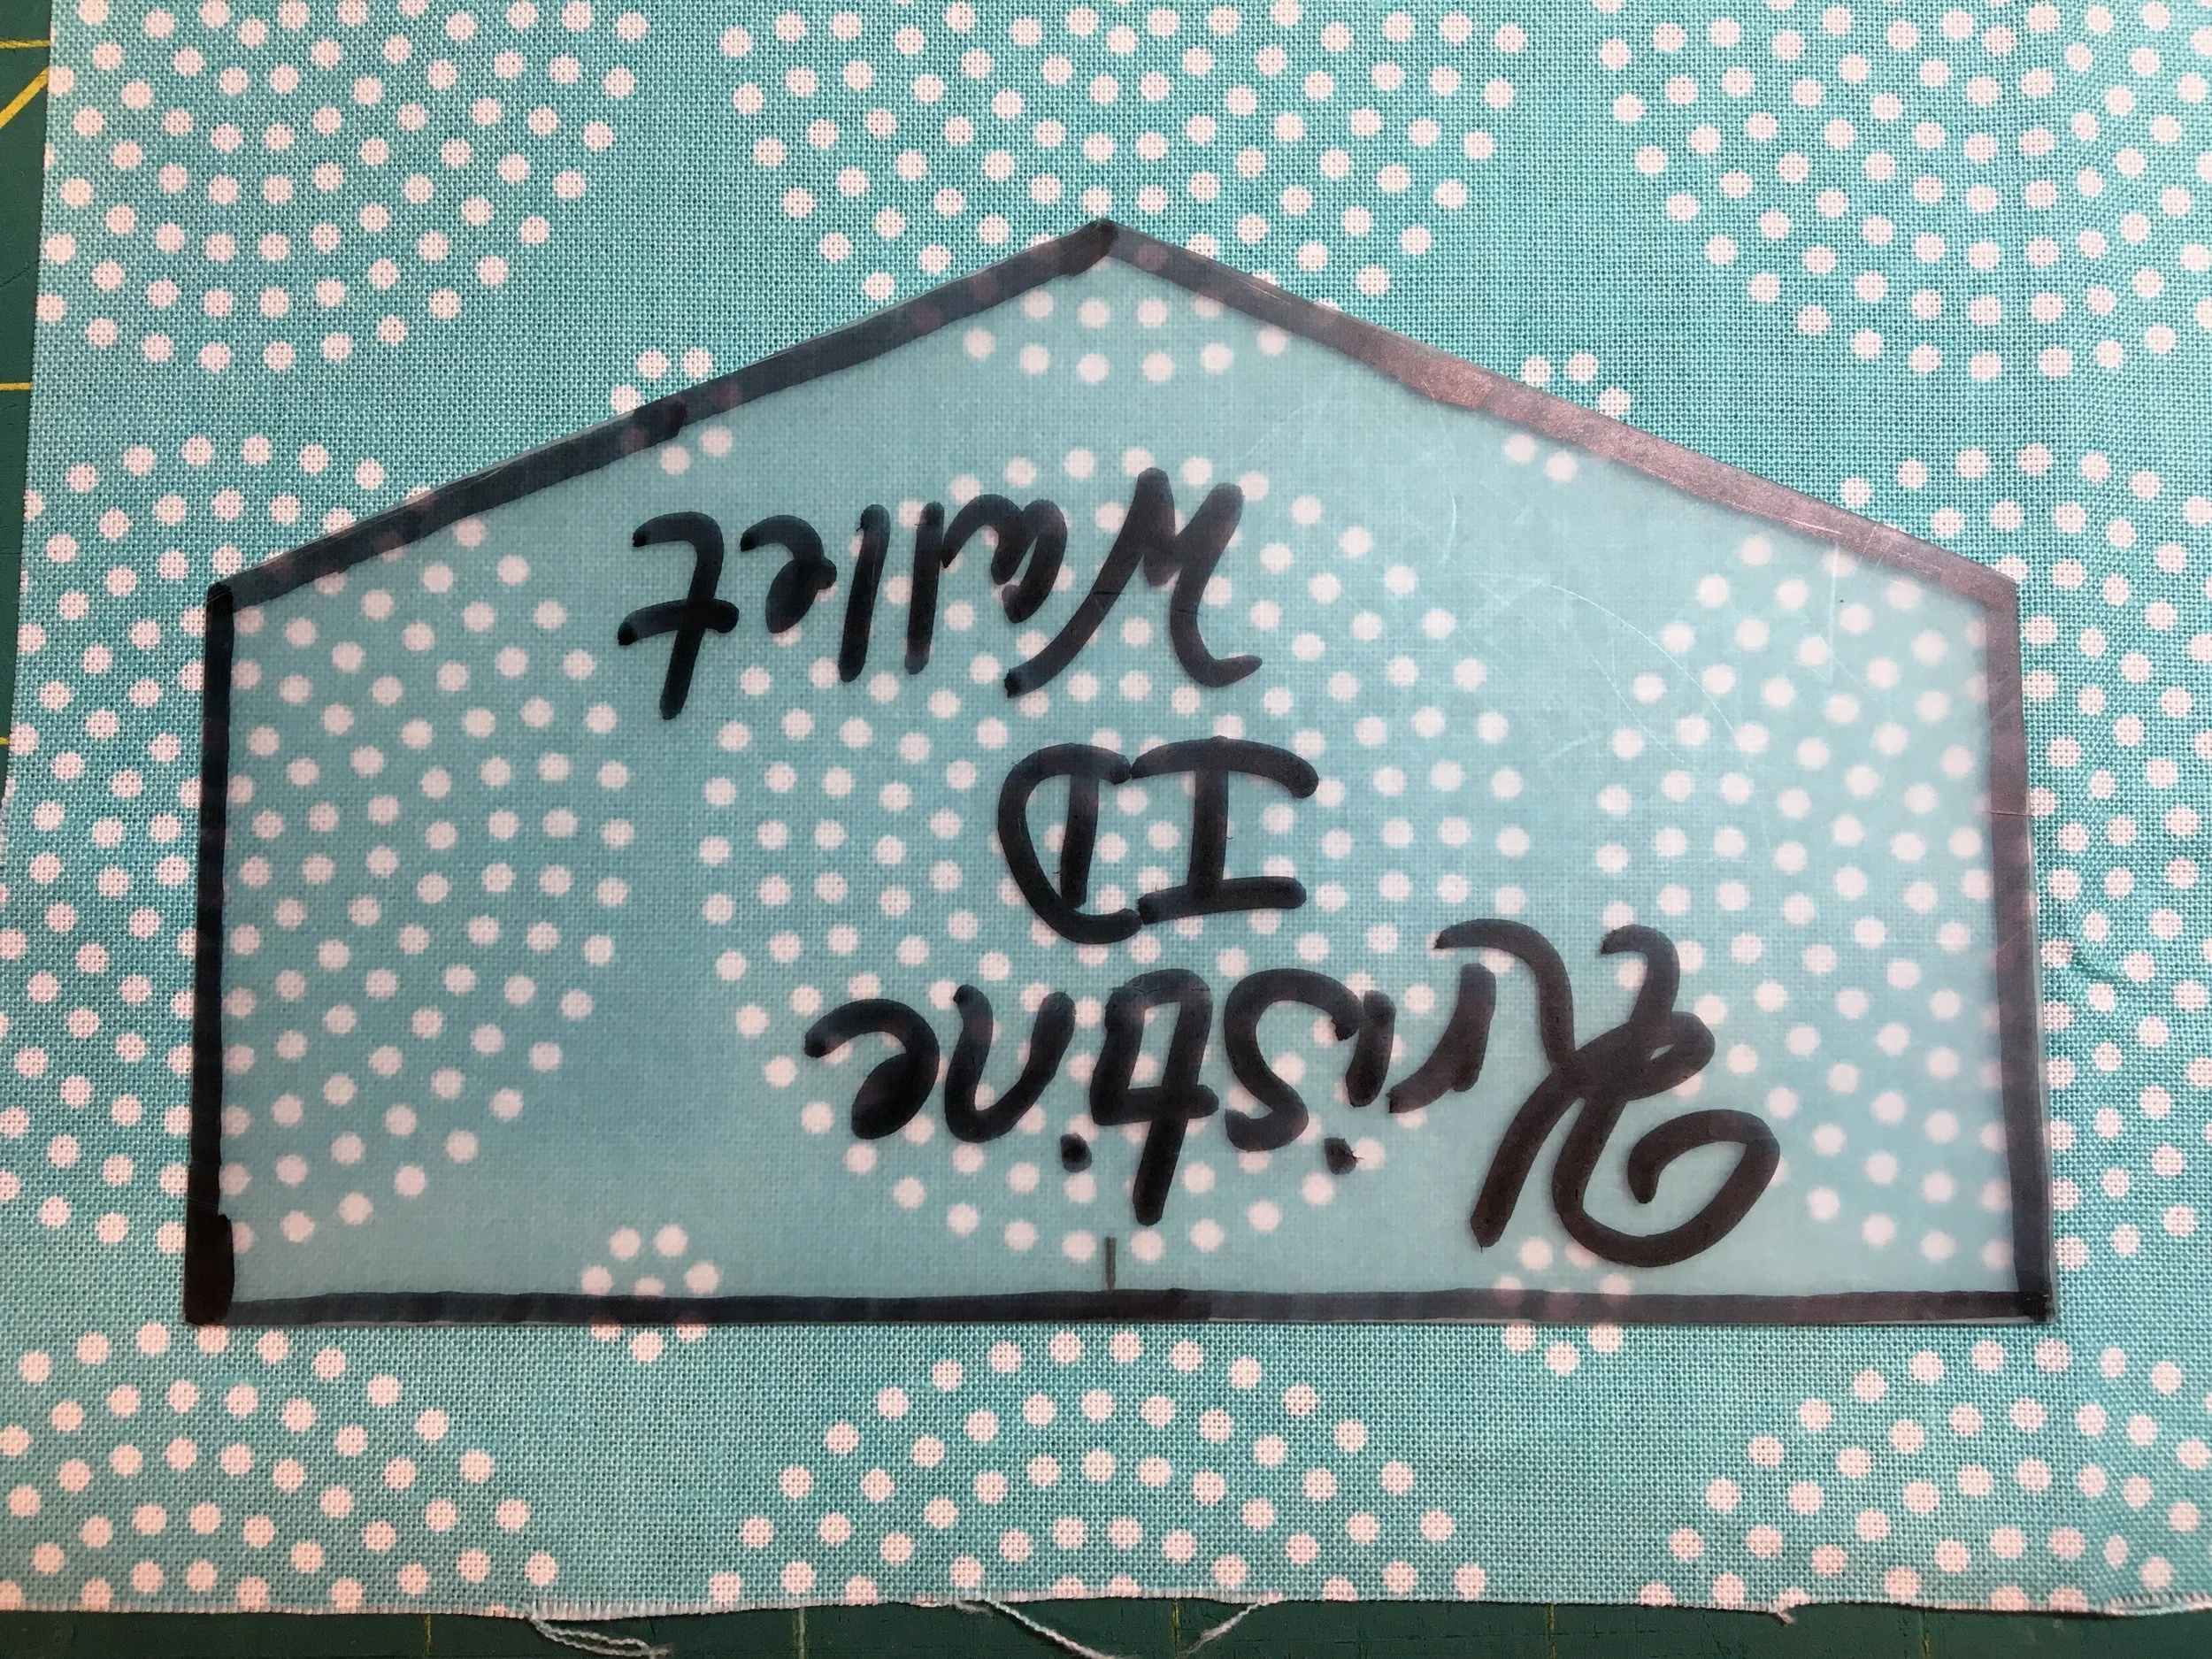
. . . when I am cutting my lining fabric, I position my flap pattern piece upside down. No, this is not directional fabric, so it doesn't make any difference, but I thought a visual would help us remember to do this! ;)
It is important with the flap to remember that if you are using a directional exterior fabric, the long edge of the flap should be up. But when you are cutting out directional fabric for the lining of the flap, the point of the flap should be up.

Here is all my interfacing, cut and ready to fuse!
Fuse your interfacing to the backs of all the fabric pieces EXCEPT the fusible fleece for the front of the Kristine ID Wallet will be fused on after we assemble the front of the wallet (the card pockets). Make sure the interfacing pieces are centered on the back of the fabric pieces. The best way to fuse the fleece onto the fabric is to place it on the wrong side of the fabric, flip it over carefully to keep in in place, spray it with a little water and then press down firmly with your iron for several seconds. If it isn’t fused in place, spray it with a little more water and press it firmly again with your iron until the fleece is fused to the fabric.
For day 2 of the sew along, you will need the clear vinyl piece. If you are still trying to figure that part out, it may help you to read the Some Information About Clear Vinyl blog post. I would love to see what fabrics you have chosen for your Kristine ID Wallet! Please share them in the Uniquely Michelle Sewing Patterns Facebook Group and/or on Instagram with #KIDWSewAlong. Posting your fabric choices can be your first entry into the giveaway drawing!
Please ask any questions you have in the comments! You may also want to read the comments to see if any expert Kristine ID Wallet makers have added their tips, thoughts or advice on today’s sew along!