A Tutorial for Making An Alternative ID Window for the Kristine ID Wallet
Michelle Burke
Some people absolutely love the way the ID window pocket is made in the Kristine ID Wallet pattern and some people aren't fans. The biggest complaint seems to be that people feel that the inside corners of the ID window frame may fray and it can be tricky to get those corners folded in as much as they need to be.

I was excited to see Mary Wauters Divita share an alternative method for making the ID window pocket in the Uniquely Michelle Sewing Patterns Facebook group! I think Mary's method is genius and will help those of you who are concerned about or frustrated with those pesky interior corners by eliminating the interior corners completely. Mary shared her method in the comments of a post in the Uniquely Michelle Sewing Patterns Facebook group and I asked if I could share her method here.

I wanted to try this method myself before writing this tutorial, just to make sure I understood the it well. I love how easily the ID window pocket comes together with Mary's method. Other than cutting out and fusing interfacing to the pieces, making the ID window pocket is the first step in the instructions for the Kristine ID Wallet. This tutorial replaces the steps in the instructions for making the ID window pocket. You will need to refer to the Kristine ID Wallet pattern to finish your wallet. Okay, lets get started!
1. Cut Wallet Back - 6.5" x 4”, and interface. This is a slightly different cut measurement than what is given for the Wallet Back in the pattern, so the fusible batting size changes for this piece. Cut the fusible batting at 6" x 3 1/2" for this piece. Fuse batting interfacing to back of Wallet Back piece.
2. From piece created in step 1, cut off two 1.25” wide strips, so you’re left with one 4" x 4" piece and two 1.25" x 4" pieces. (see photo below)

3. Cut clear vinyl 2.5 x 4” - this is cut at different dimensions than it is if you are making the ID window pocket following the instructions given in the pattern. For the binding part of the ID window, you can use either pre-made binding or your own binding to bind the top and bottom of the clear vinyl. To make your own binding, cut a piece of fabric that is 8" x 2" (this yields a 1/2" wide binding piece). You do not have to cut the binding piece on the bias as you would if you were making binding for a quilt. Fold the binding in half the long way and press the crease in place, then fold the two long raw edges to the center crease that you just created and press in place. Fold all creases back in place and press again. Cut your binding piece in half so that you have 2 pieces that are 4" long each. (see photo below)

4. Sew your binding pieces into place by inserting one long edge of the clear vinyl into the center fold of one binding piece and top-stitch in place with 1/8" seam allowance, making sure to catch both folded edges of the binding in your stitching. Repeat this step on the other long edge of clear vinyl using the other piece of binding. Sew a 1/8" seam top stitch at the top edge of the upper part of the pocket. (see photo below)

5. Center the clear vinyl window piece on the 4" x 4" piece and top-stitch this in place across bottom edge with a 1/8" seam allowance. (see photo below)

6. Place one of the 1.25” strip created in step 2 on one side of the 4" x 4" piece, right sides together and sew in place with a 1/4" seam allowance. Repeat this to add the other 1.25" strip to the other side of the 4" x 4" square. Press the seams away from center, being very careful not to touch the iron to the clear vinyl. (see photo below)

7. Top-stitch 1/8" away from the seam on the side of the seam closer to the outer edge. (see photo below)
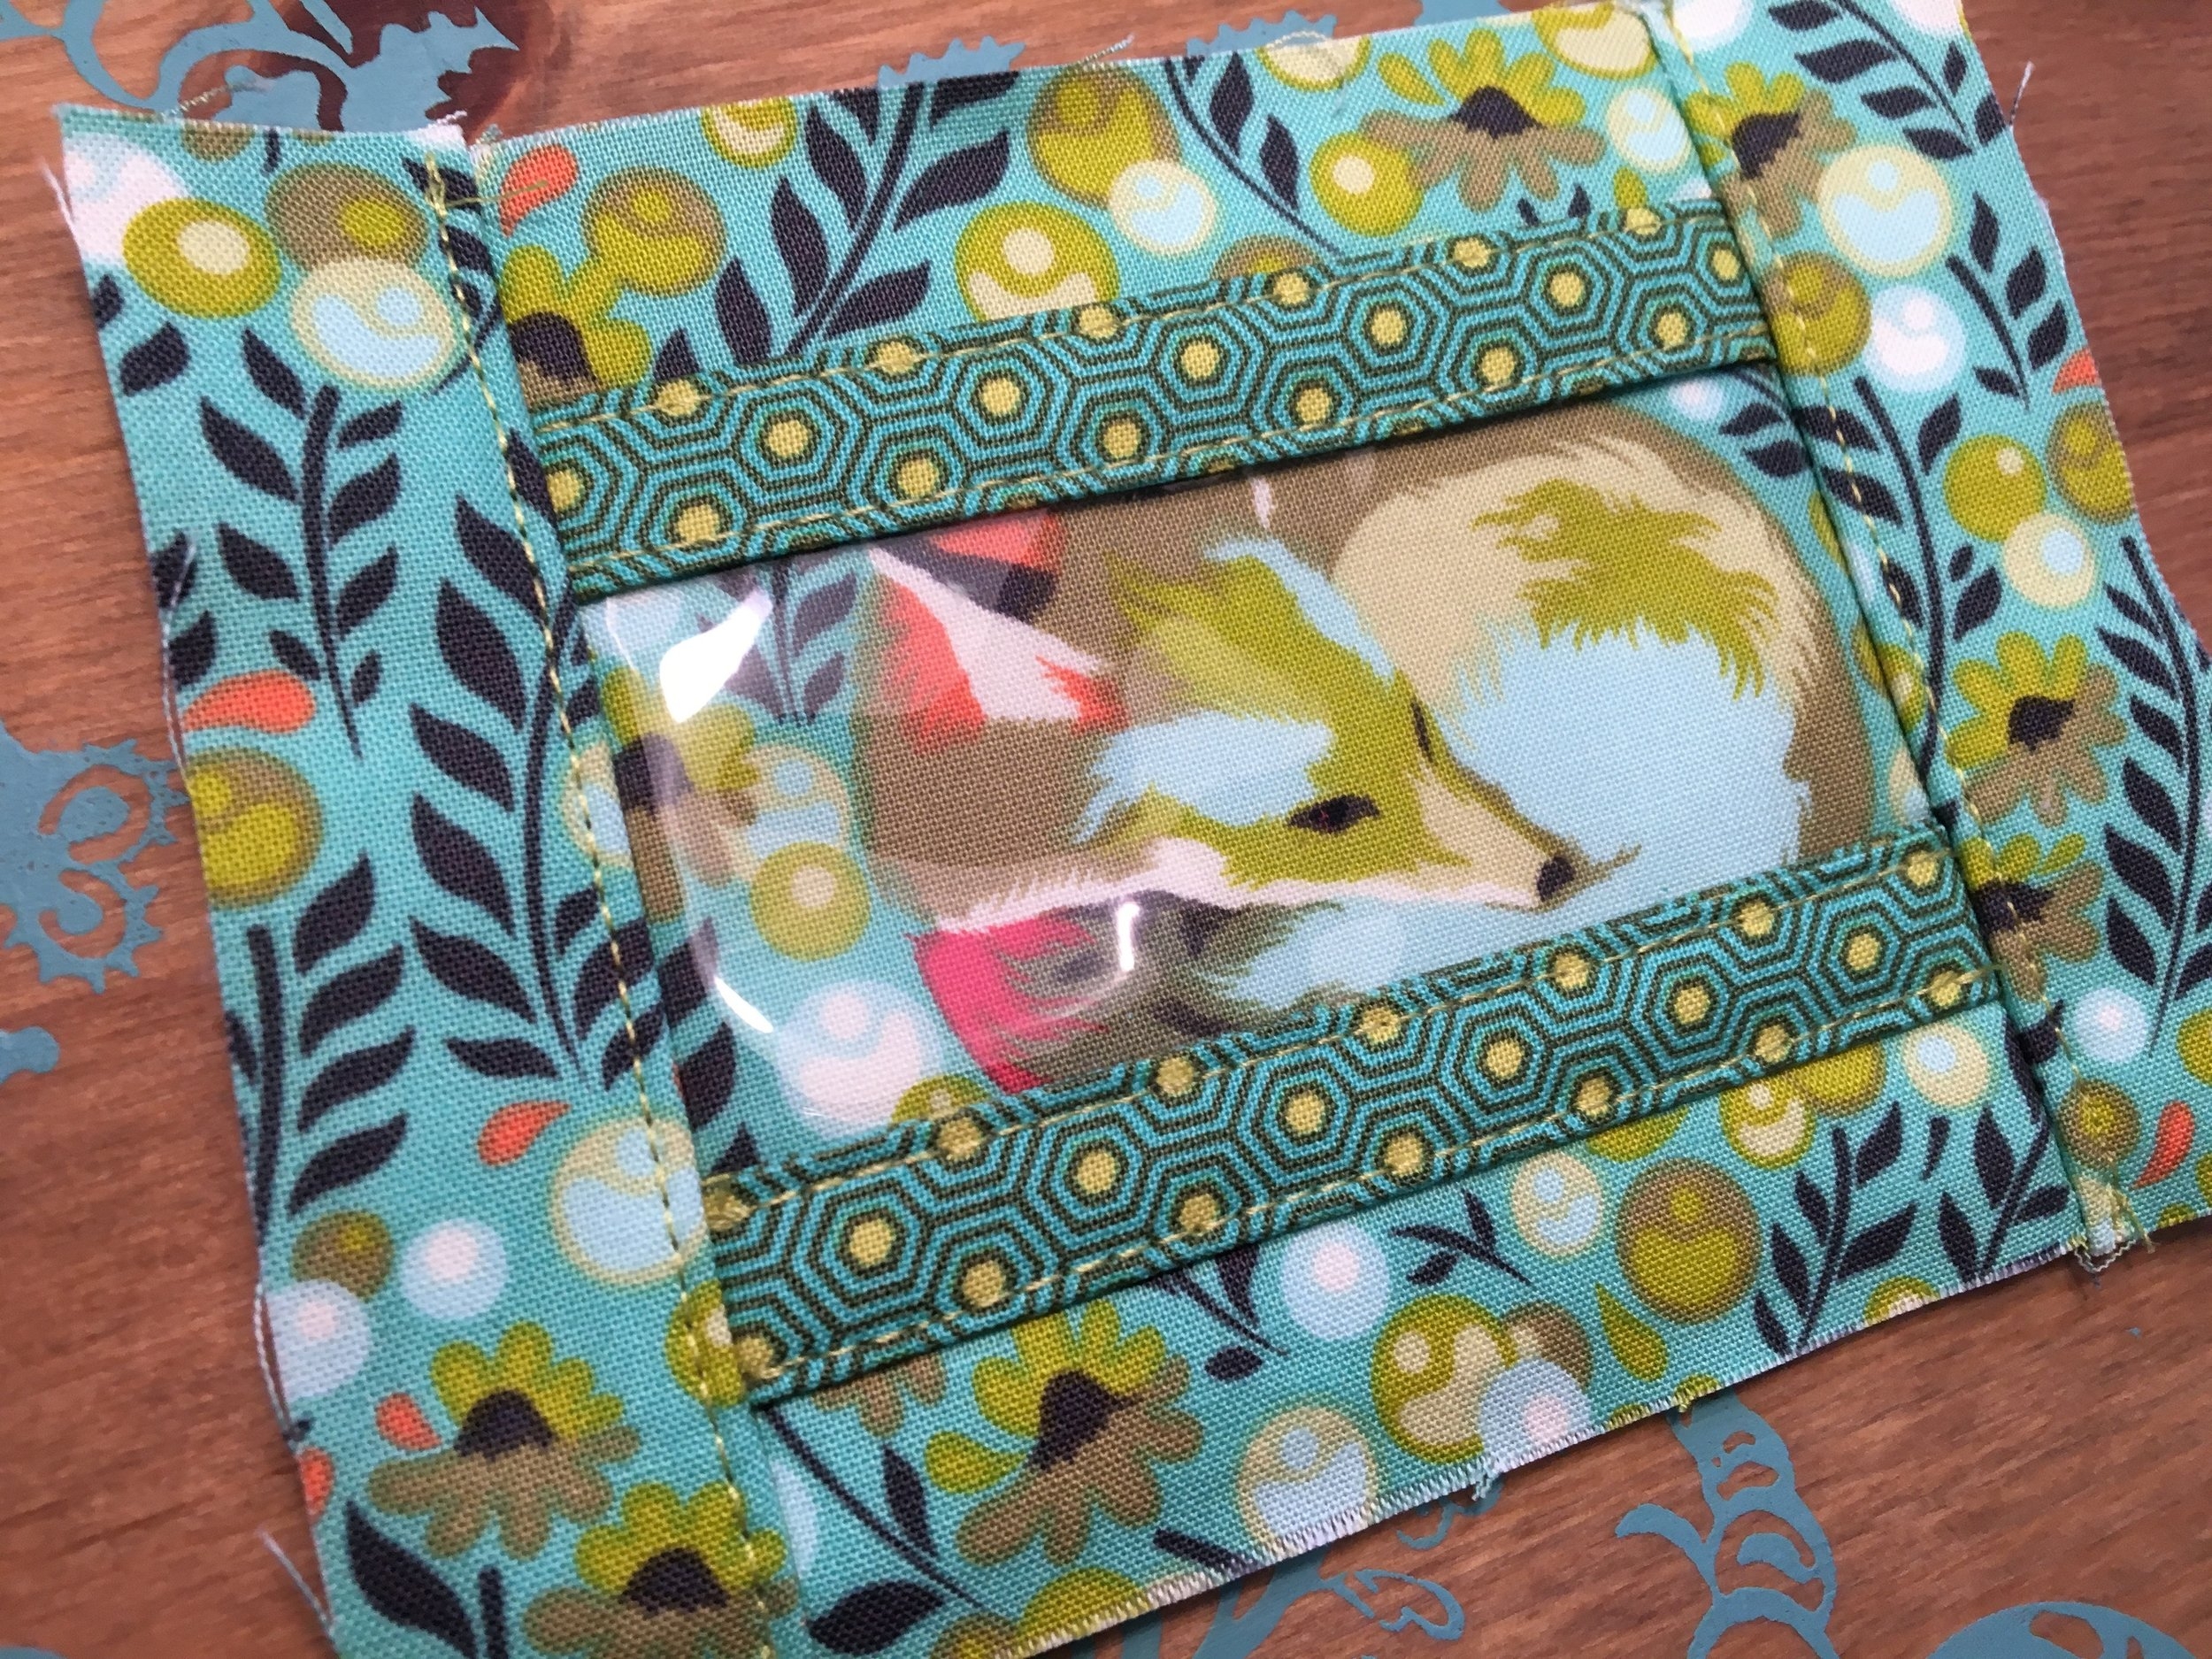
Isn't this just adorable? No pesky interior corners and a little added contrast fabric to boot!
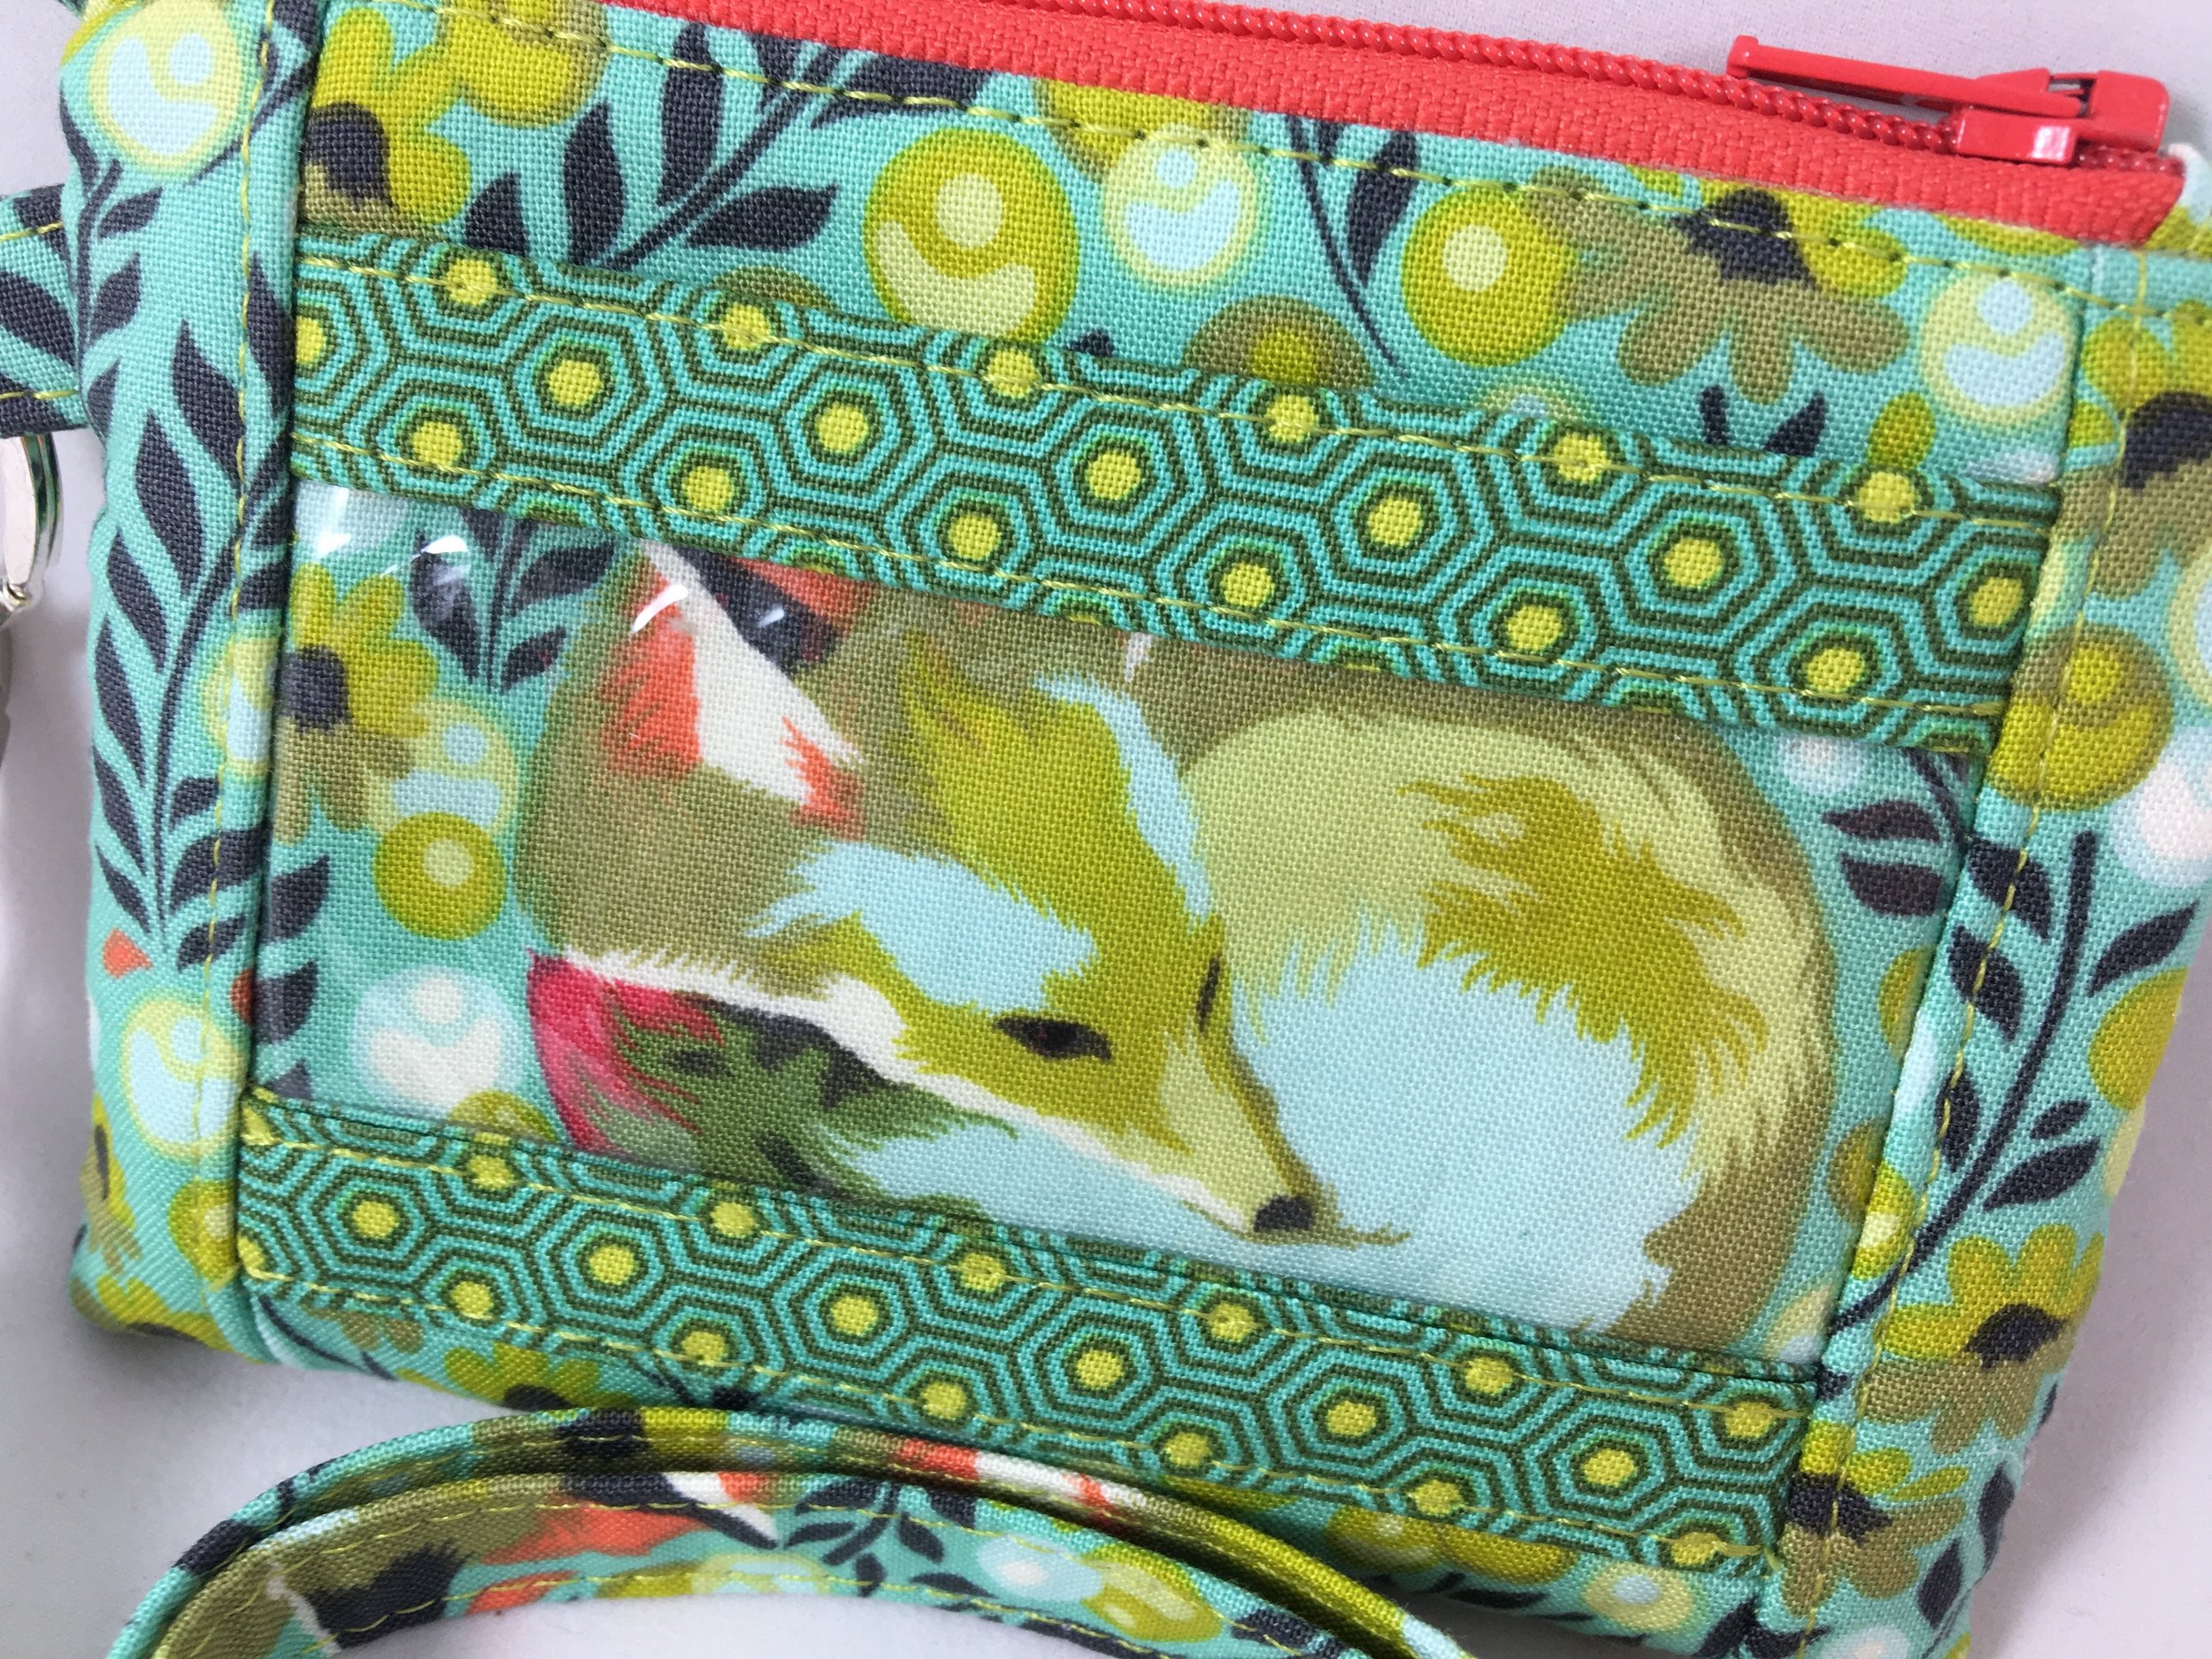
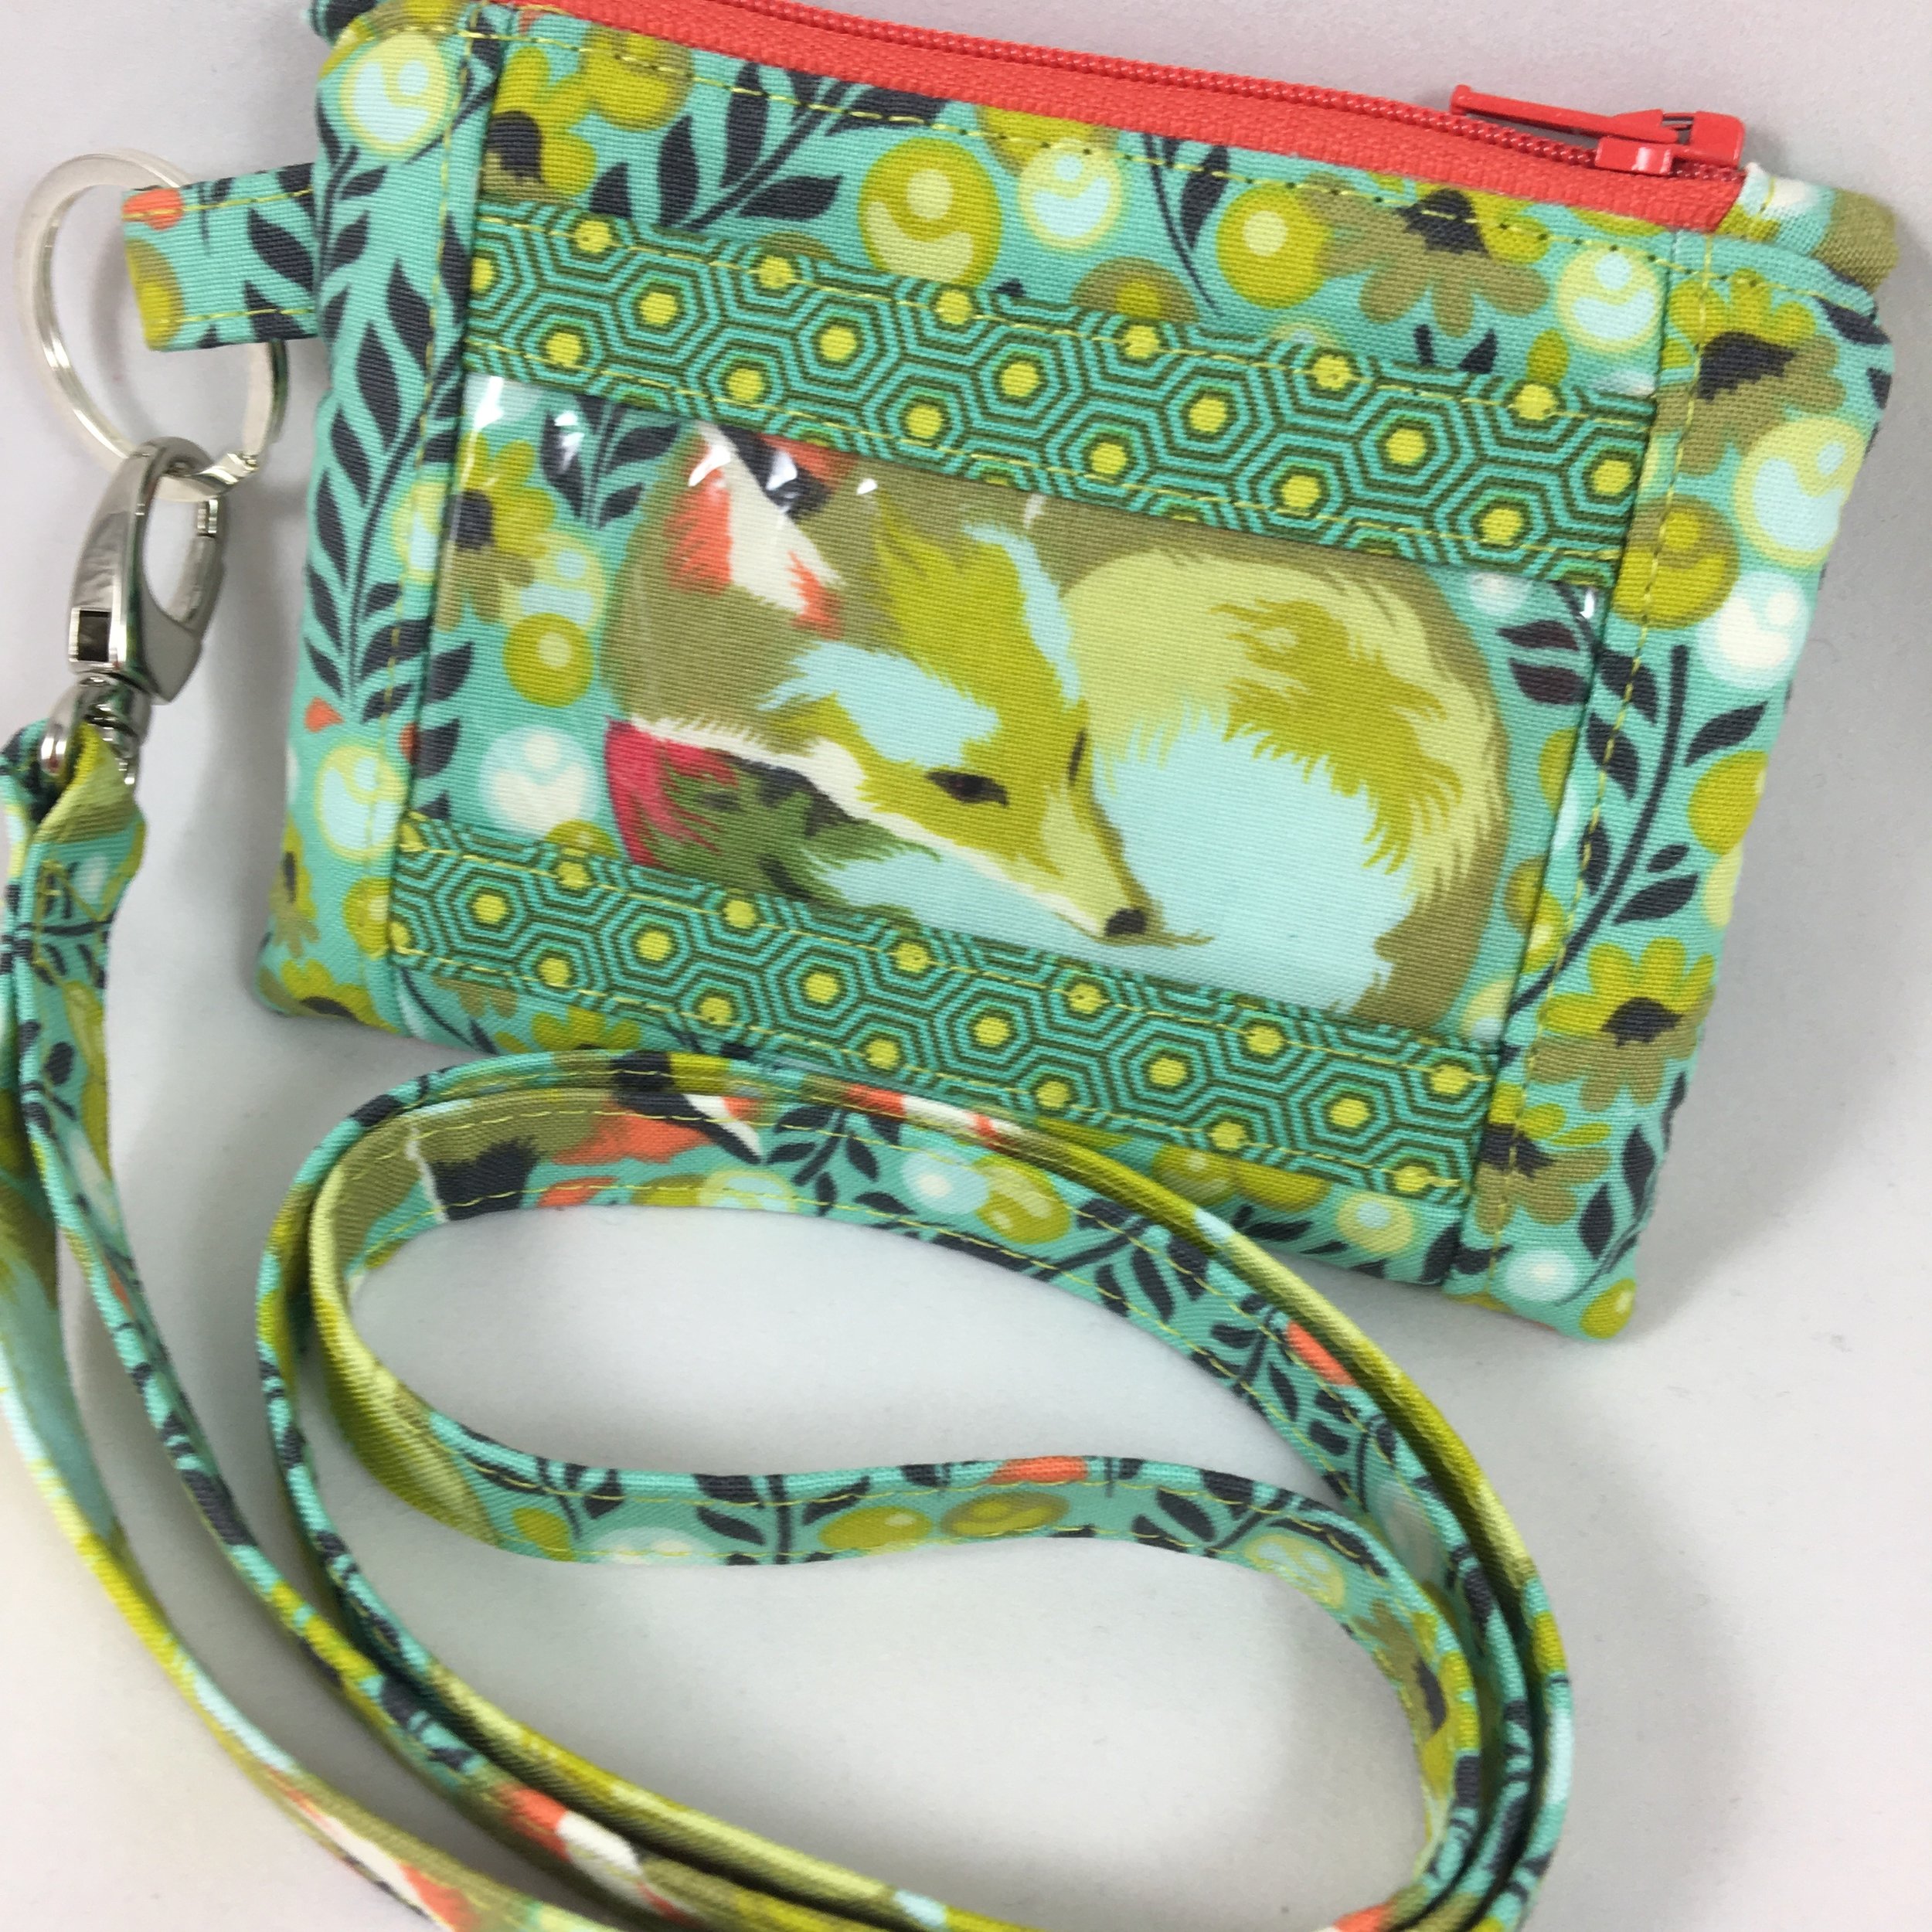
8. Now just continue following the instructions in the pattern to finish your Kristine ID Wallet!

Thank you so much Mary for sharing this great alternative way of making the ID window pocket for the Kristine ID Wallet! If you would like the pattern for the Kristine ID Wallet, you can purchase it from the Uniquely Michelle Website Shop, the Uniquely Michelle Etsy Shop or the Uniquely Michelle Craftsy Pattern Shop.