An Affordable Custom Sewing Machine Table
Michelle Burke
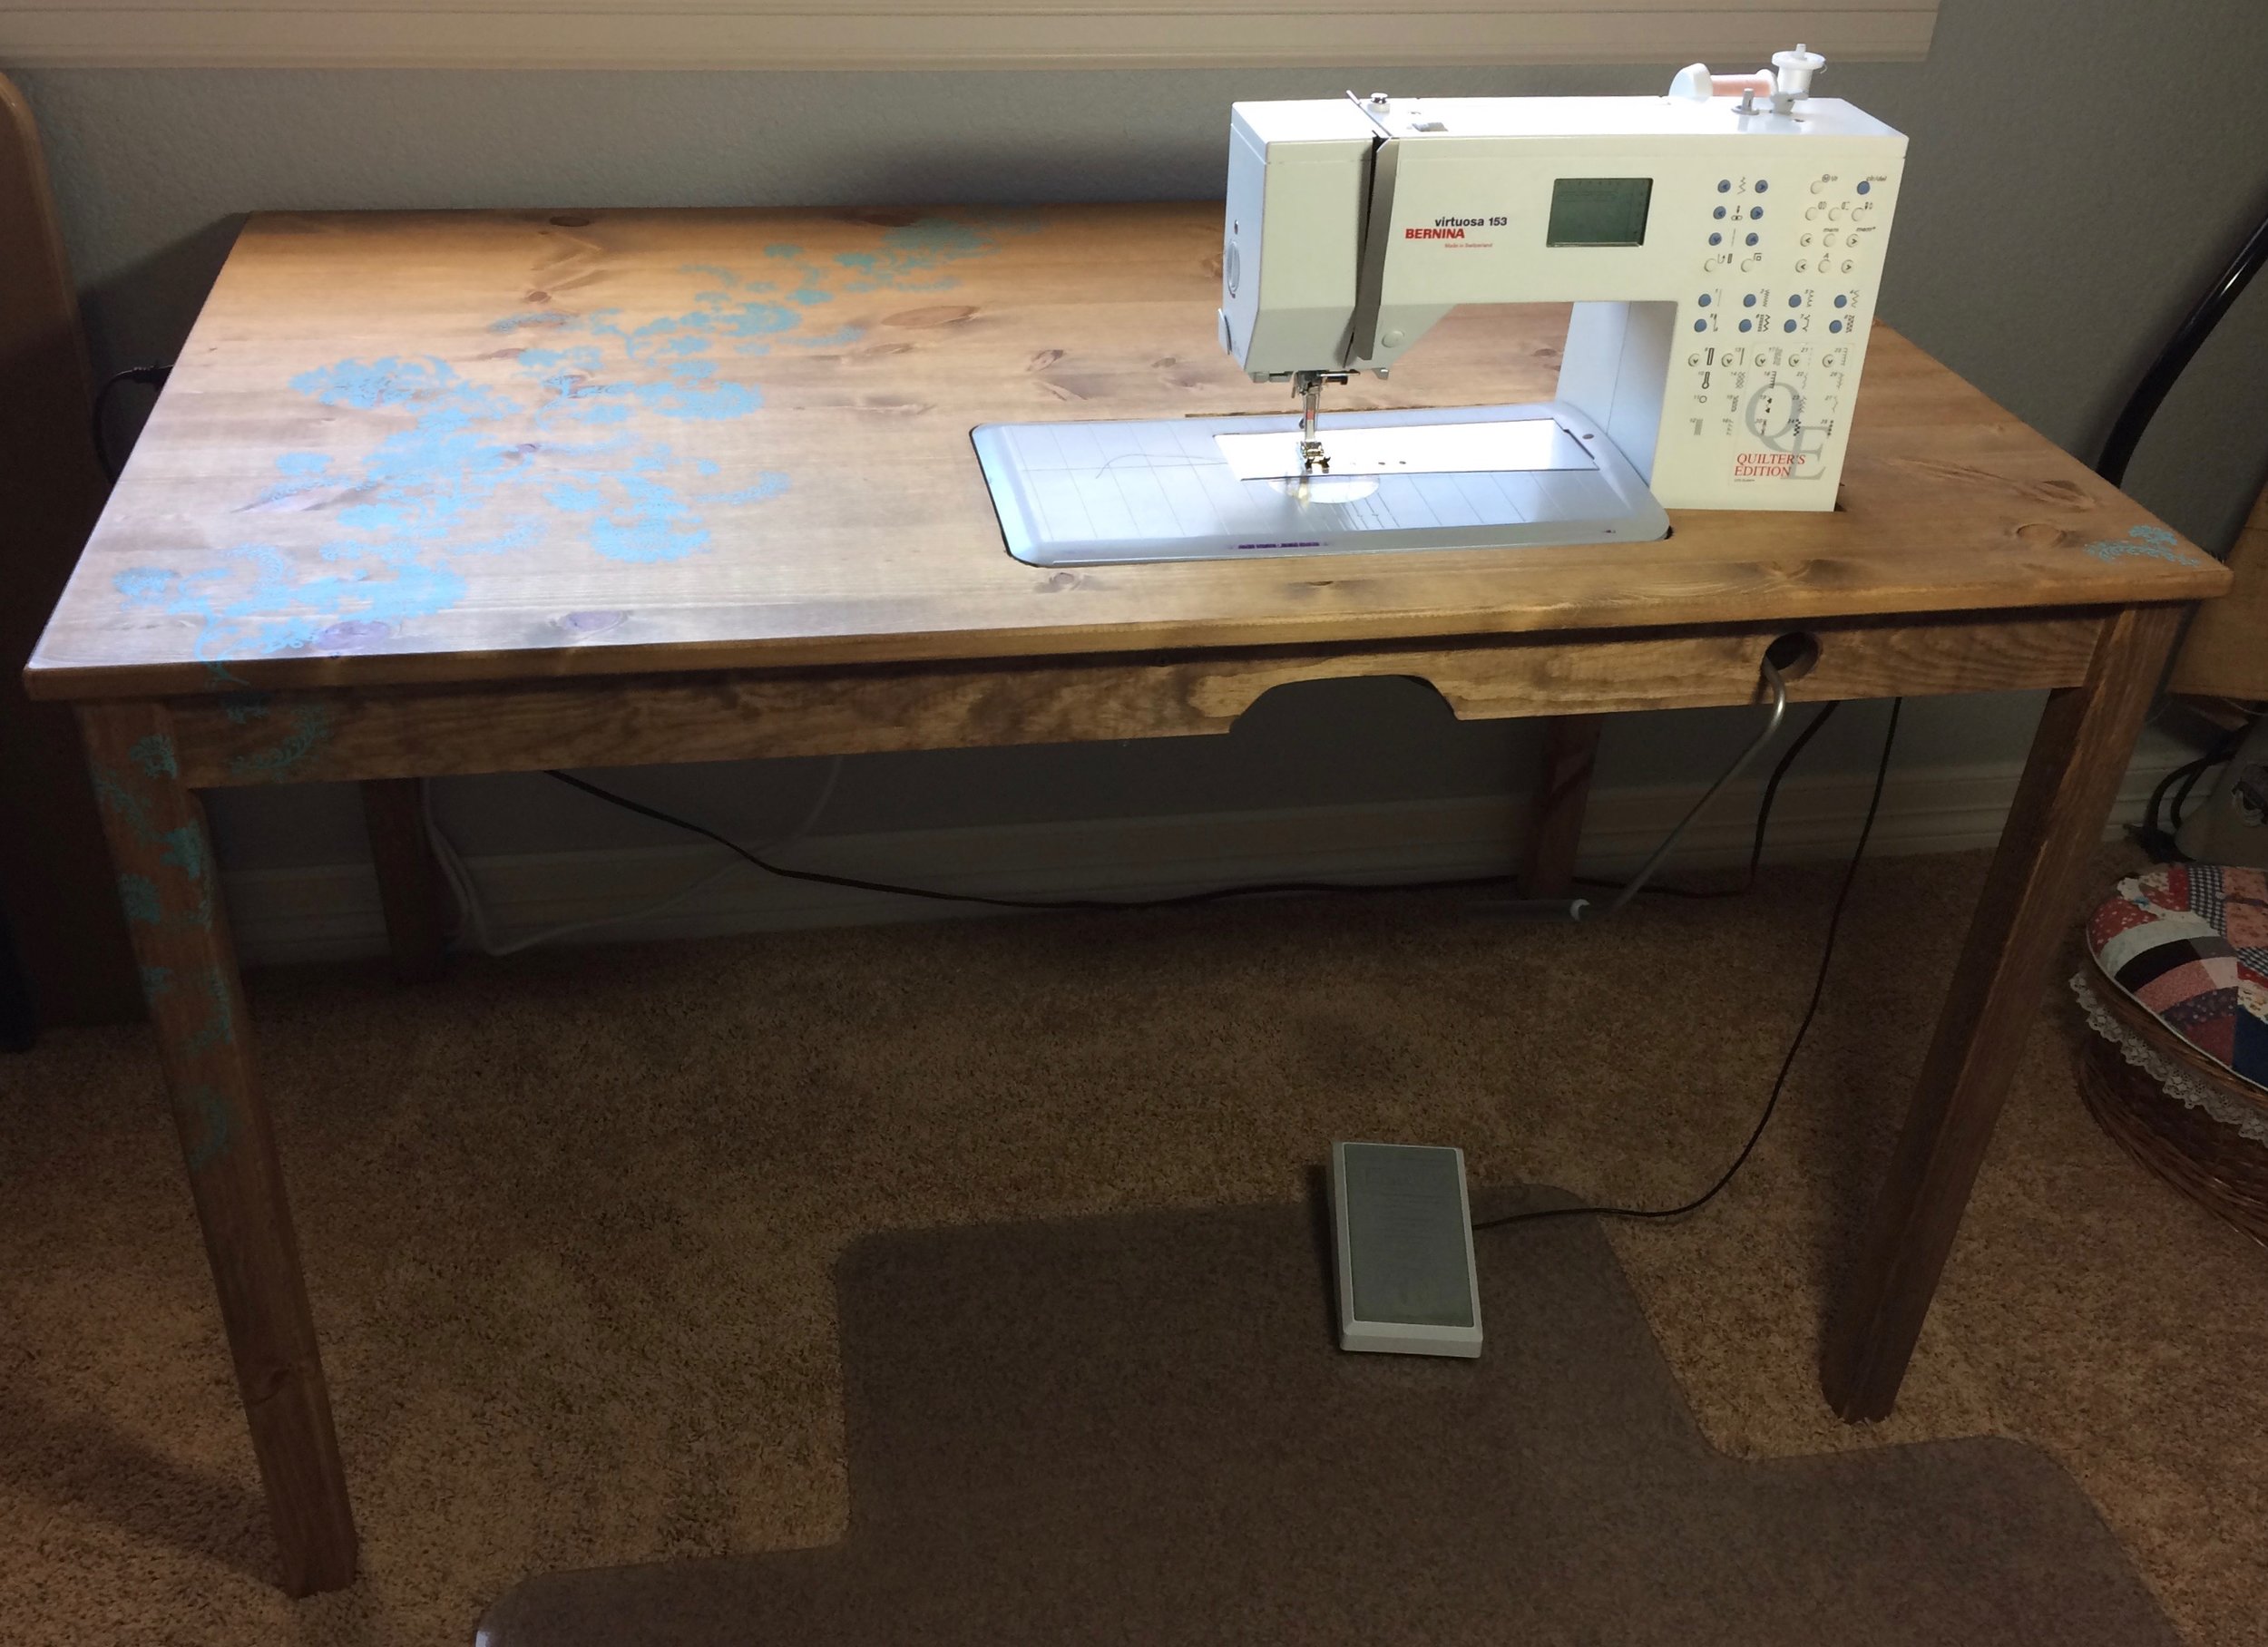
I am very excited to show you my new custom sewing machine table that my husband and I made together. I love my new table and I love how affordable it was to make!
This isn't our first attempt to make a sewing machine table. A few years ago, I decided I wanted a table for my sewing machine that made it so that the surface of the table was even with the needle/throat plate of my sewing machine. Basically, I wanted an even sewing surface. I also wanted it to be large enough to handle anything from a Lindsay Wristlet up to a quilt. My husband (Brian) and I worked together to come up with a cheap solution.
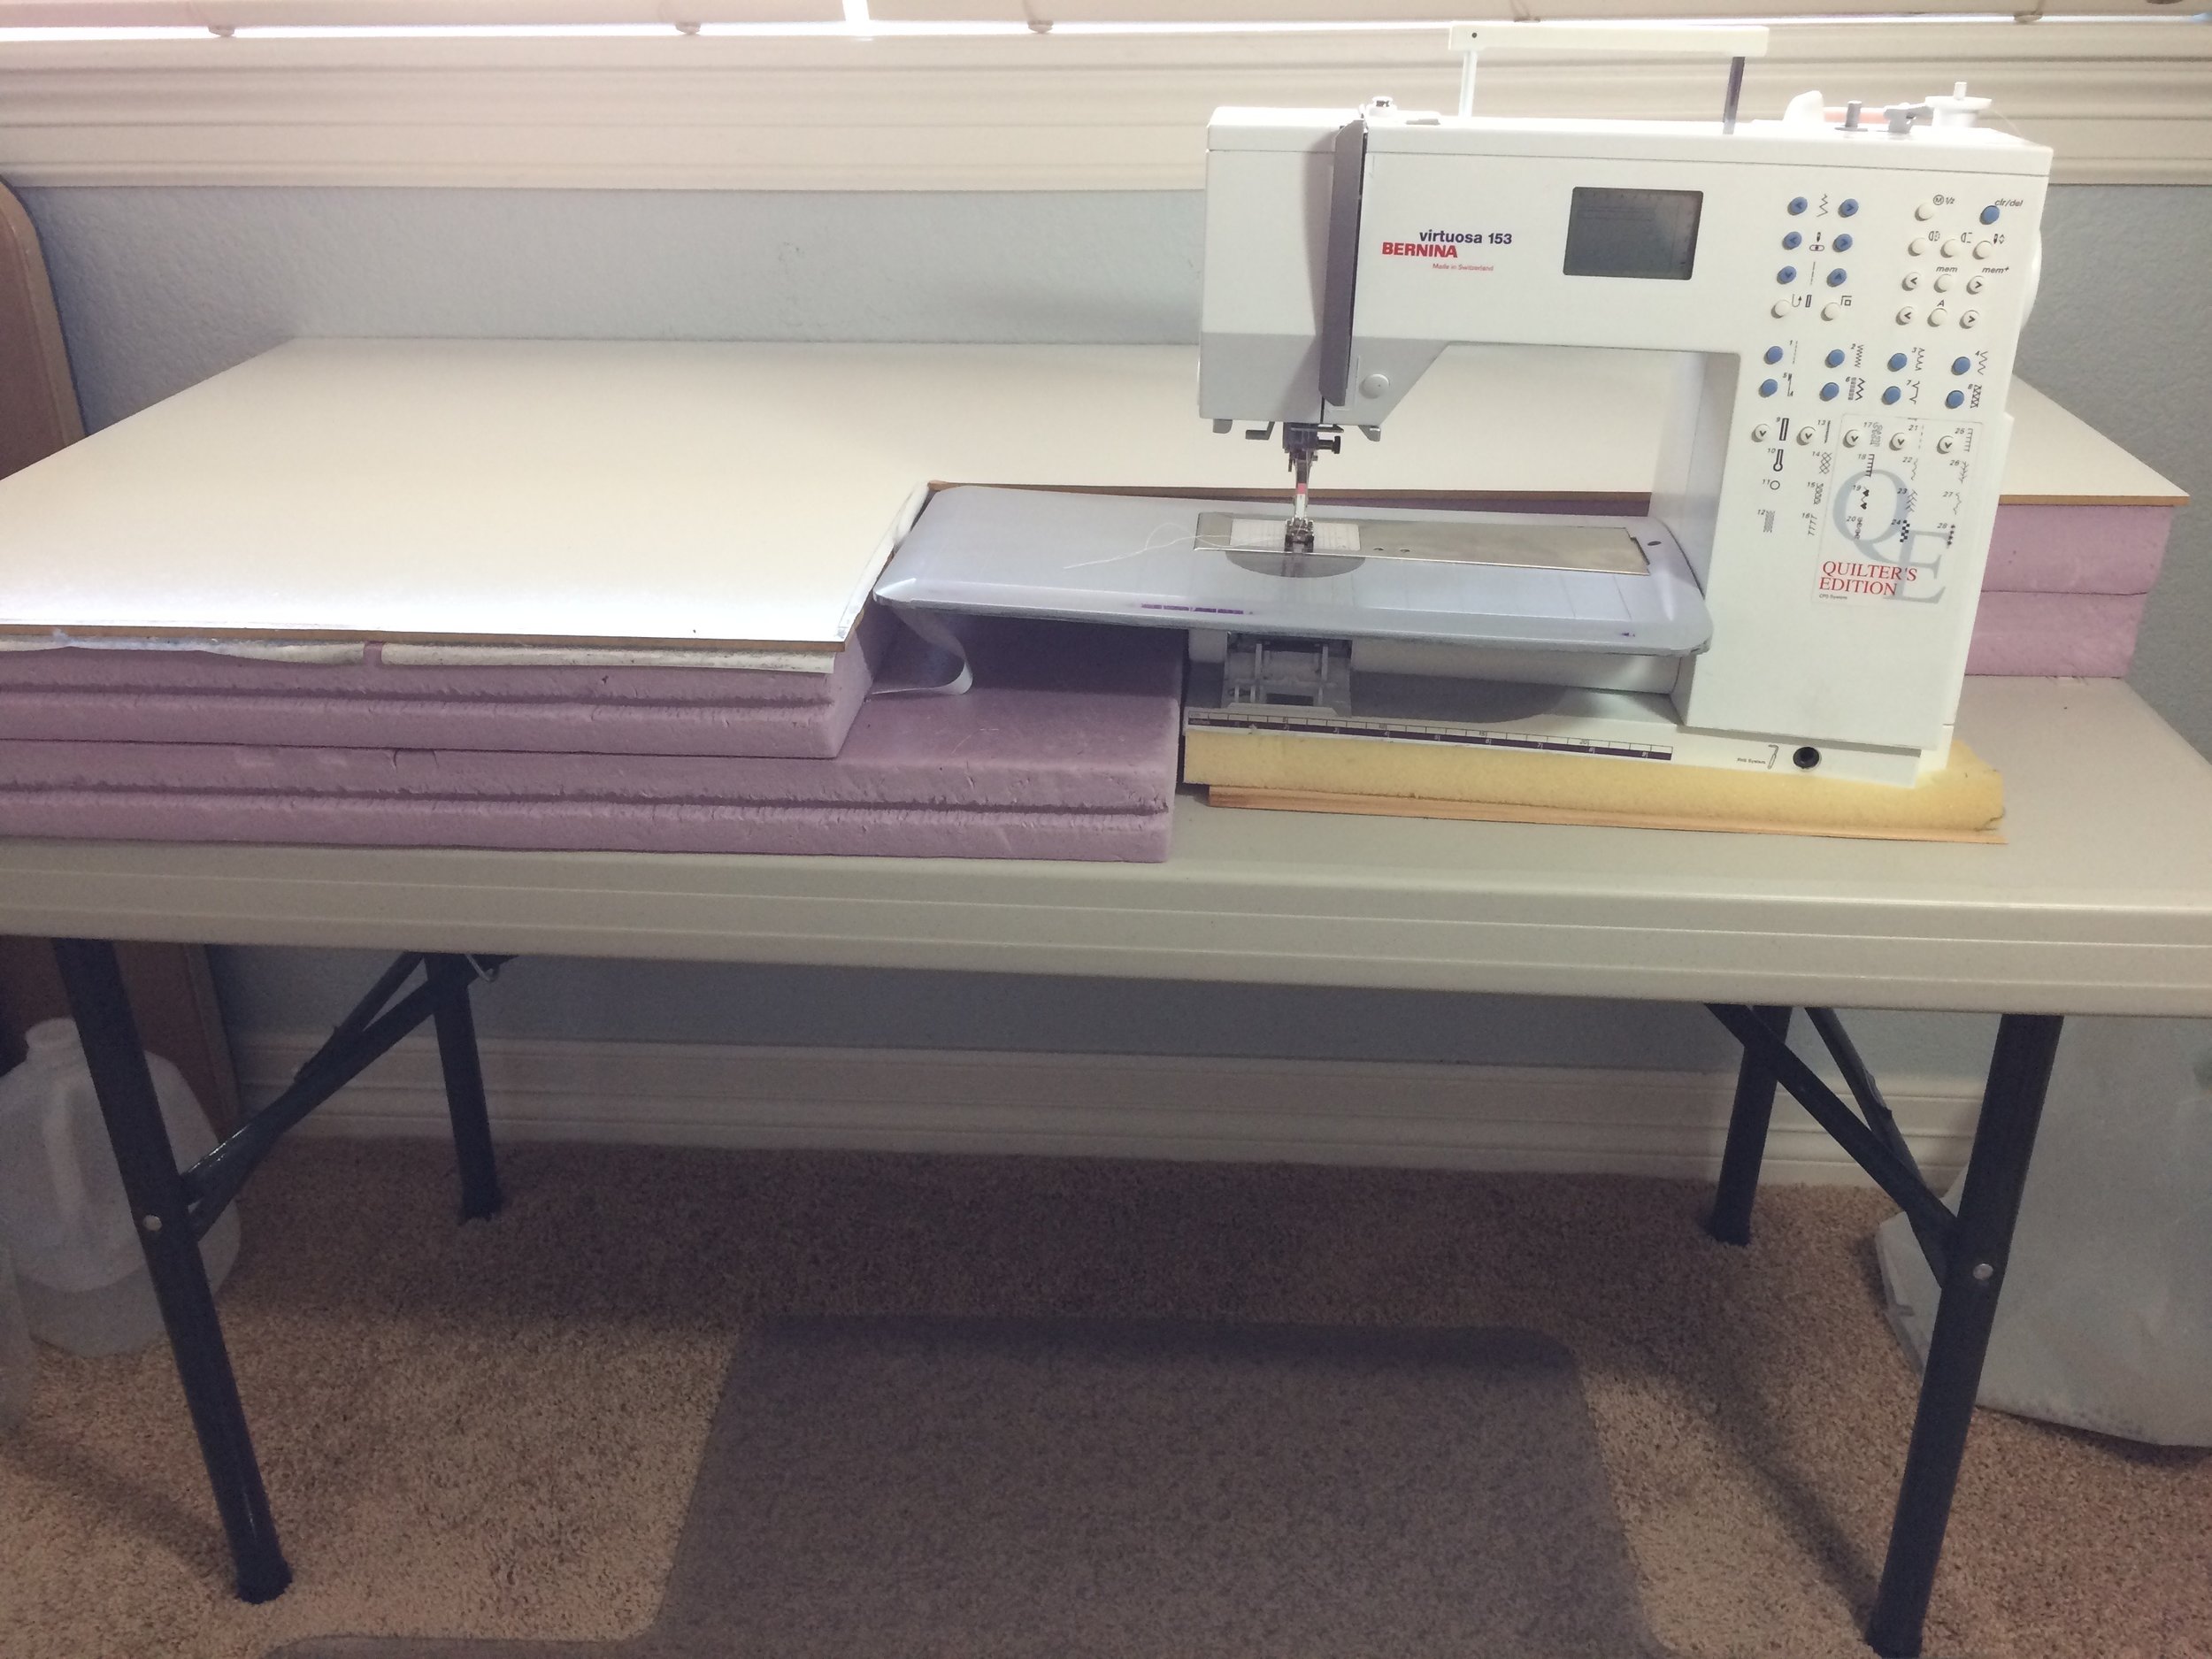
The above picture shows our solution. I don't remember now what we paid for the folding table and all the other "stuff" you see that lifted the surface so that it was even with my machine, but it wasn't much. And it worked . . .
. . . at least it worked fairly well. My machine has a knee lift which I love but every time I used the knee lift, my machine would shift. I got very used to shoving my machine back into place after every three or four times of lifting the foot with the knee lift. This actually got quite annoying. Keeping my machine level on the foam so that it was even with the work surface also got quite annoying.
I kept looking at sewing cabinets that included a cut-out to set my sewing machine into to even up the sewing surface, but WOW - $500 at a minimum and then another $75 for a custom insert that fit my machine. There had to be a more affordable solution.
Thanks goodness for Pinterest! I found this blog post by Palak from Make it Handmade showing how she and her husband made a sewing machine table with a cut out and shelf specifically for her machine. I showed Brian the blog post and he was as excited as I was, so we were off to Ikea to get the INGO table!
Palak gives links to two different blog posts that actually have more detailed instructions for making this sewing machine table. Brian used the blog posts and his own ingenuity to make my table. I would recommend reading through all three blog posts (Make it Handmade, Blue Dinosaurs, and From Marta with Love) because they each have good ideas and suggestions.

Brian's actually smiling - always a good sign when doing a diy project!
Brian did the cutting, made the shelf and put everything together.

He did an awesome job cutting the custom opening for my sewing machine!

Notches cut out of the table apron and the shelf for easy access to the bobbin!
When making a bag, I usually have 2-3 different thread colors with matching bobbins that I use. I change my bobbin a lot just when sewing one bag, so I needed to be able to get to my bobbin easily. Brian and I came up with a solution for me to easily be able to change my bobbin without lifting my sewing machine out of the table every time. Brian cut a notch out of the apron of the table as well as out of the shelf that my machine sits on. Now I can easily change the bobbin!

We had to make the hole for the knee lift a little large as a result of my mistake in measuring. :\
Brian wishes the hole for my knee lift was more centered, but that was my fault because I decided to help at that point and didn't mark the correct place for the knee lift - oops! I should have just let him do it.

You can see the notch in the upper right part of this picture. (You can also see the stencil detail I added on this corner of the table too.)
To make it easier to plug/unplug my sewing machine and to turn it off and on, Brian added a notch in the custom cut-out for my machine.
After Brian finished all the custom cutting and shelf work, it was up to me to finish it with paint or stain. I decided to stain the table - I love stained wood, but I couldn't help myself and had to add a painted stencil detail.
I bought the stain I used from Home Depot. I used Minwax Wood Finish Stain in the color, Special Walnut. I bought all my supplies for stenciling from my local JoAnn store. I used the Exotic Blossoms Martha Stewart Silk Screen with Folk Art Chalk Paint in the color, Cascade. I also bought the Martha Stewart Stencil Brush Set to apply the paint.

I will have to say, when I bought the silk screen stencil, I thought it was just a regular stencil, but to get all the detail in the center of the design, it is actually a stencil on silk screen. I mention this because, had I paid more attention to this fact, I also would have noticed that it is suggested that you use a craft squeegee to apply the paint.
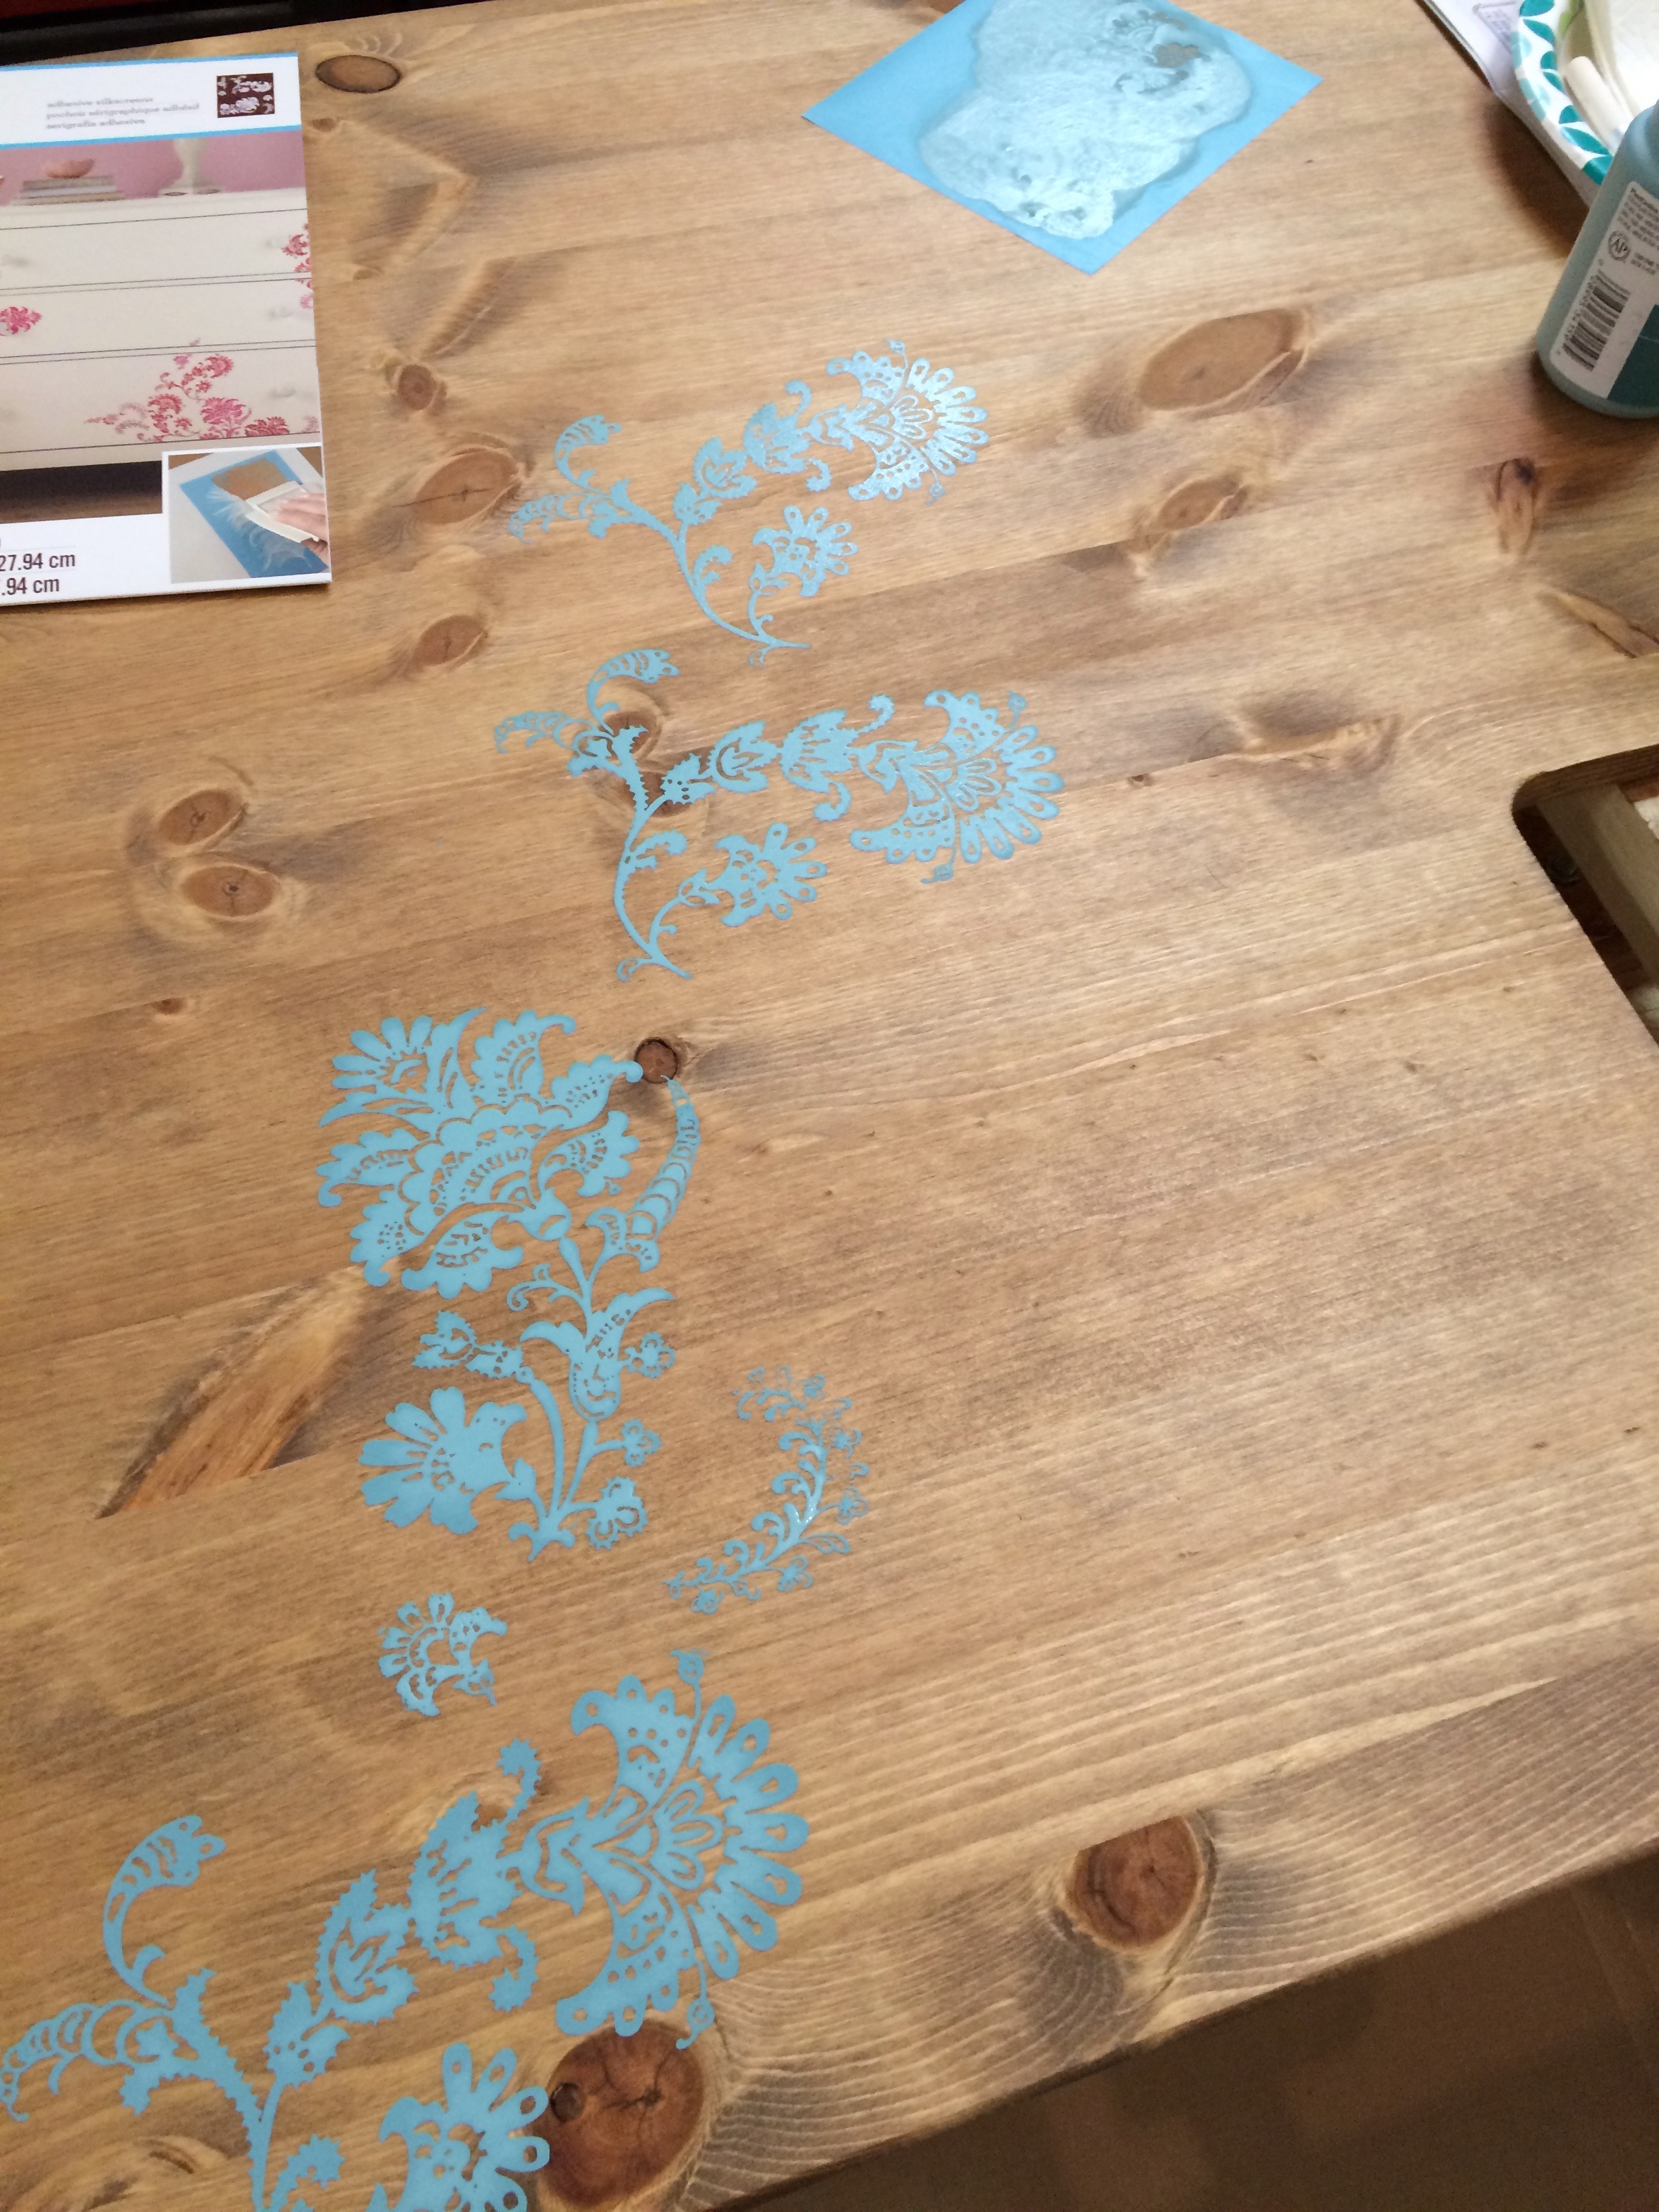
I found that I had no problem applying the paint with a stencil brush both by pouncing and using a brush stroke motion to get the paint everywhere it needs to go through the silk screen. Also, I had quite a bit of paint on my stencil brush, not the almost dry brush that I am used to when stenciling. All this explanation about the stenciling may make it seem difficult, but it is not at all - it takes a little getting used to, but it is very easy!
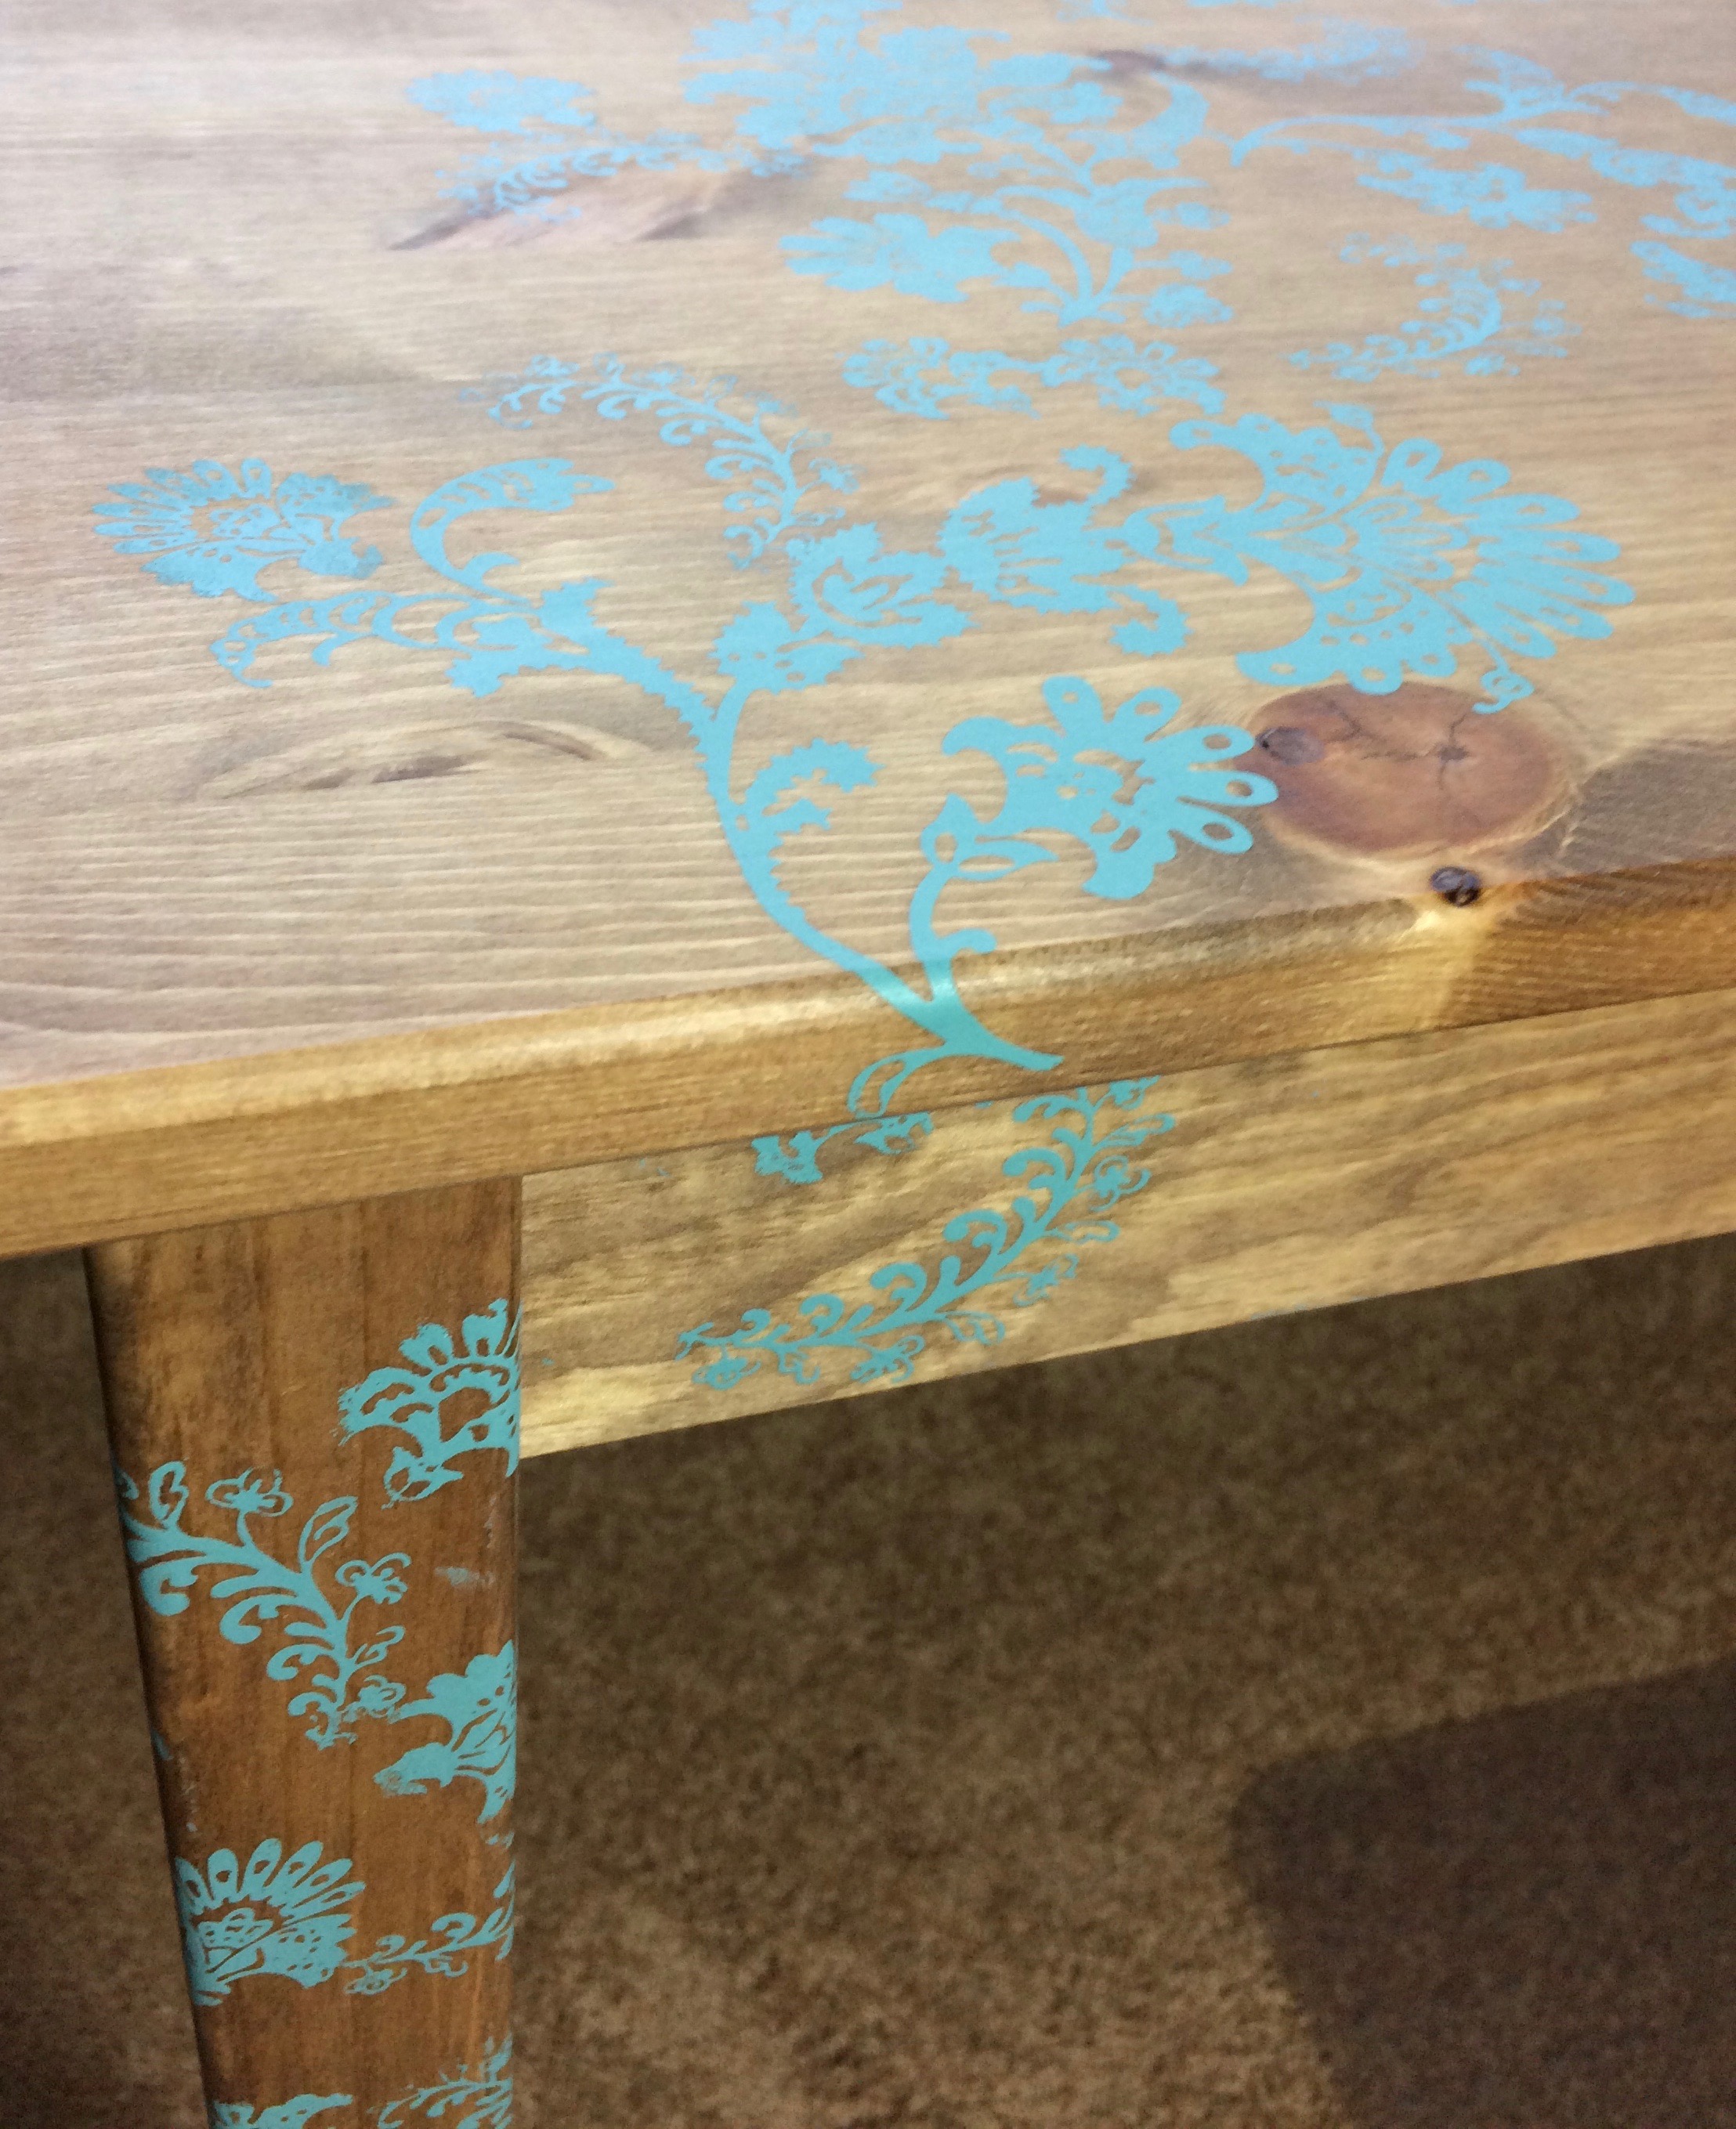
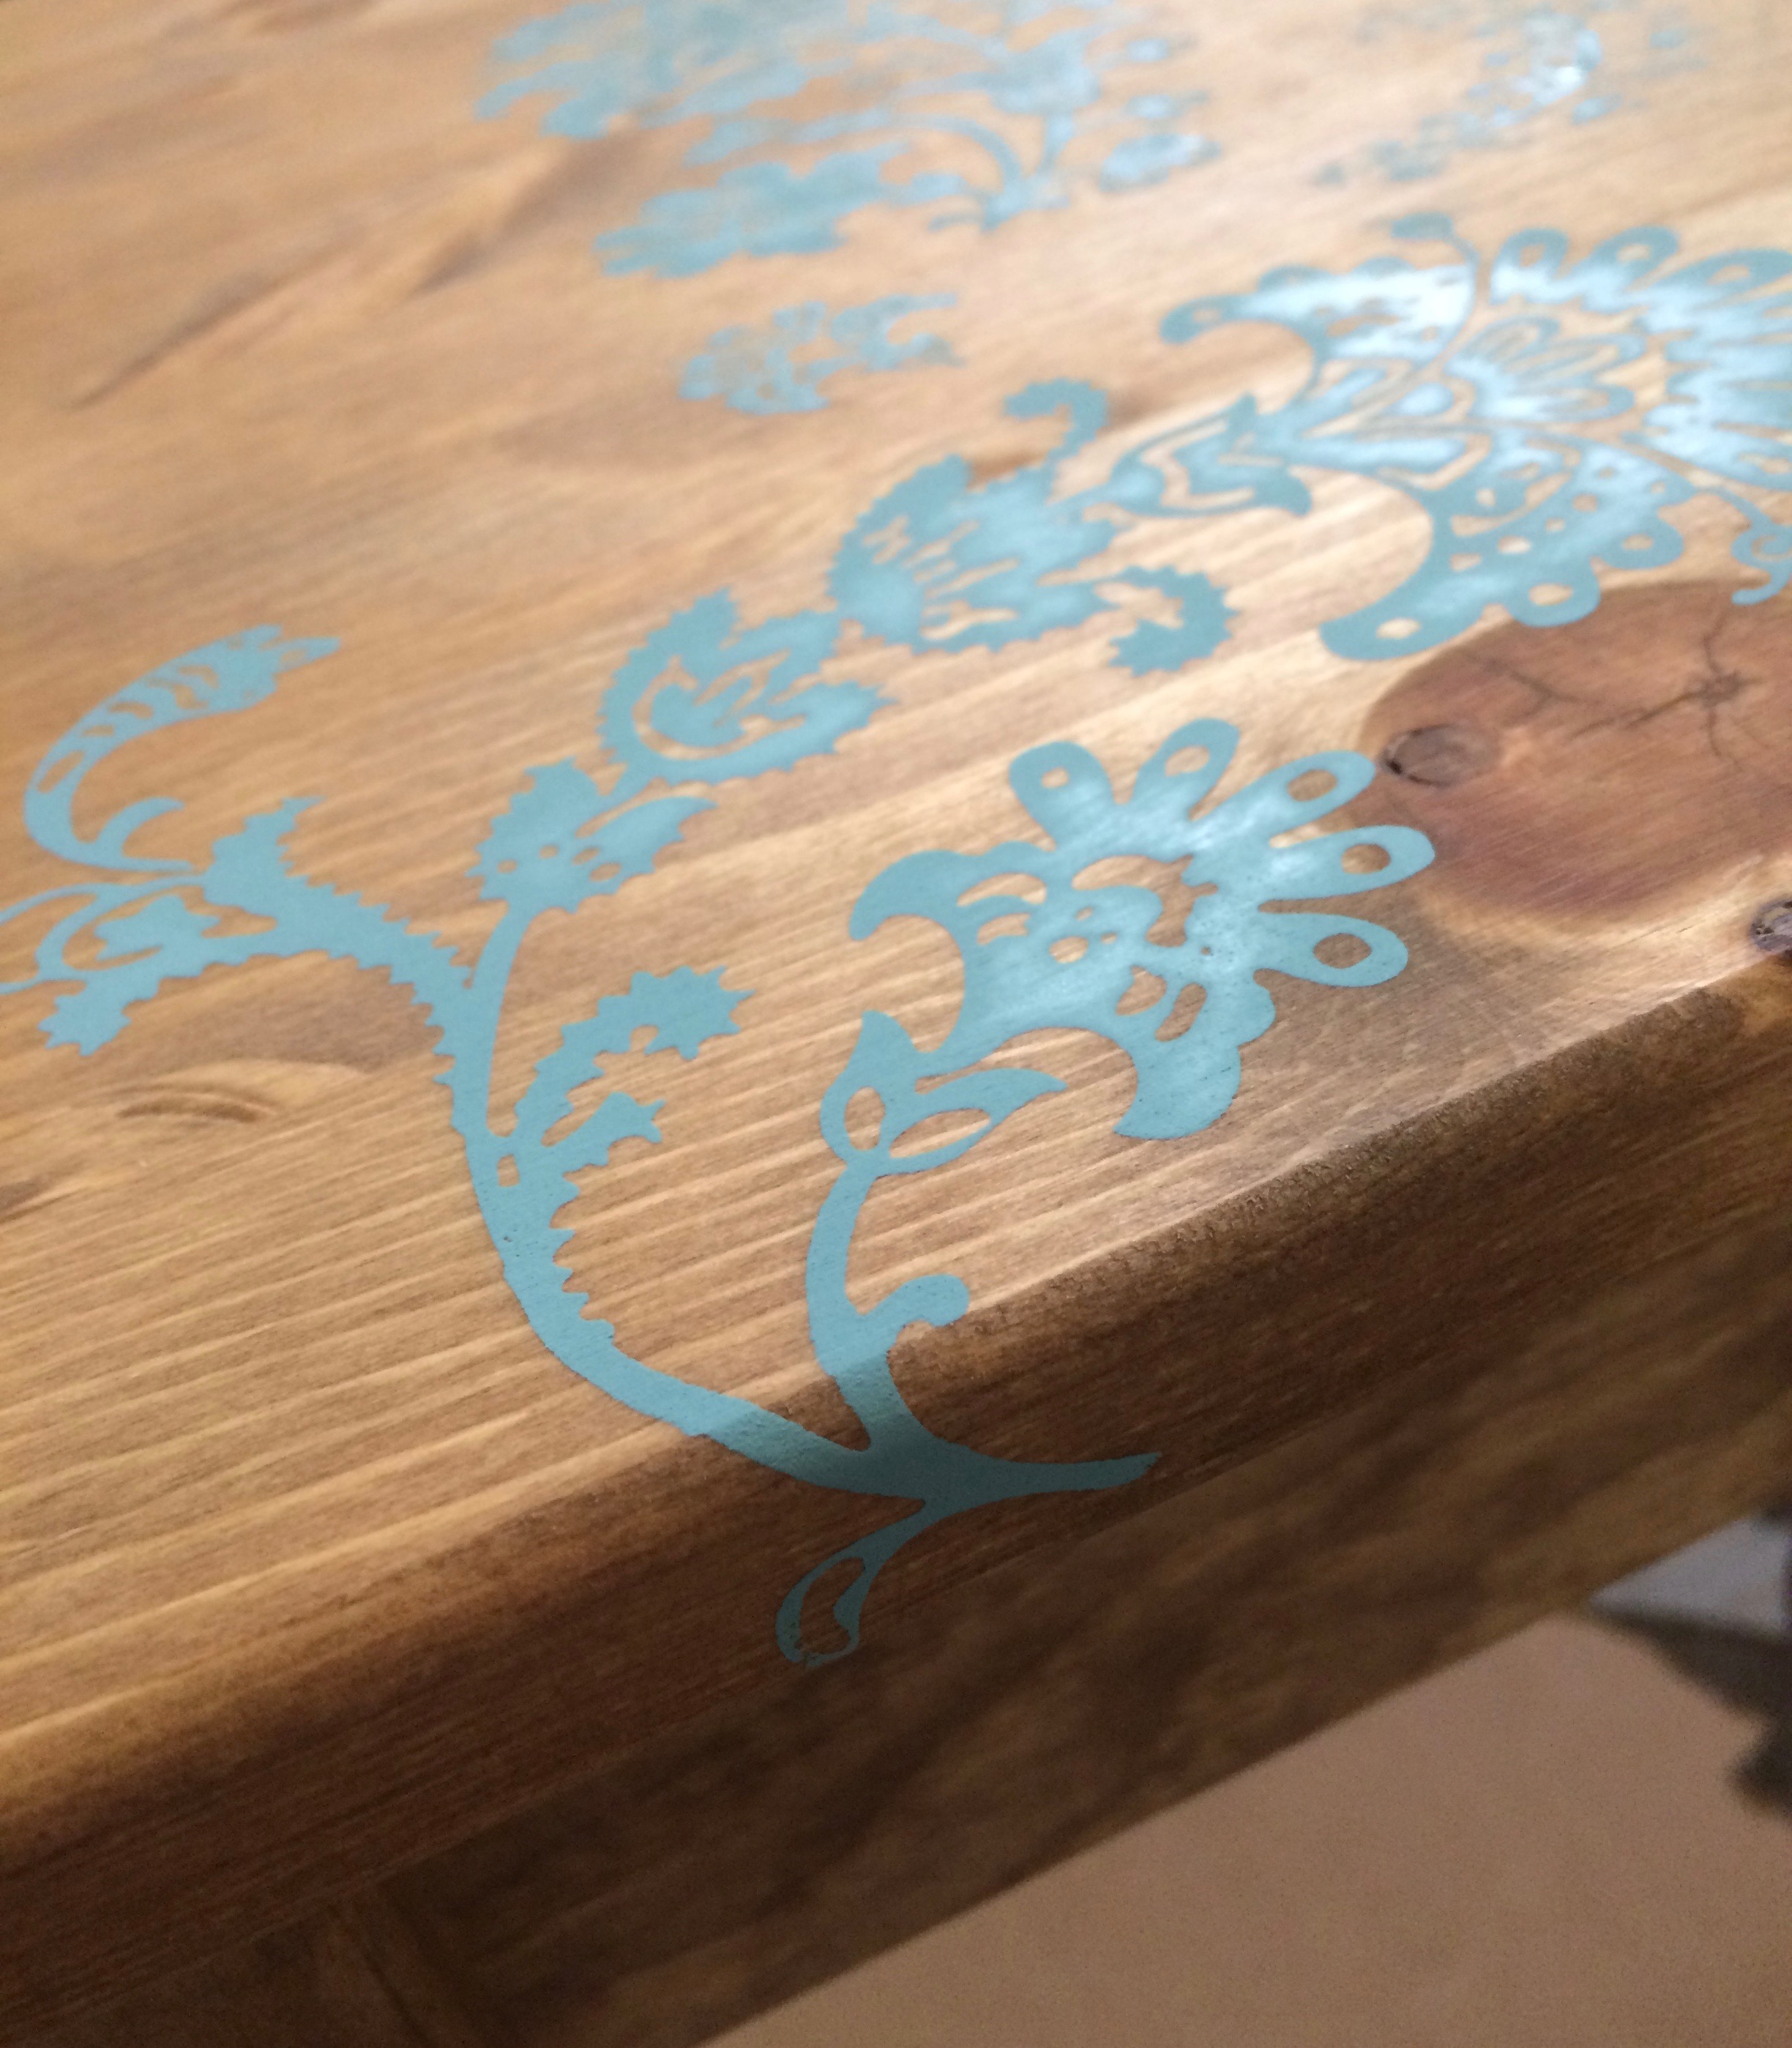

The silkscreen stencils are more pliable than normal stencils and they have a light adhesive on the back, making it easy to stencil over the edge of the table and on the corners of the legs of the table. One word of caution, when you peel the backing off of the silkscreen stencils do it VERY, VERY SLOWLY! If you peel it too quickly, some of the small details will lift off - I ruined one of the small designs by peeling the backing off too quickly.
I used Folk Art Home Decor Wax in Clear to protect and seal my table. This whole project took a little longer than a weekend to finish mainly because of the time I gave for the stain, the chalk paint and the wax to dry.
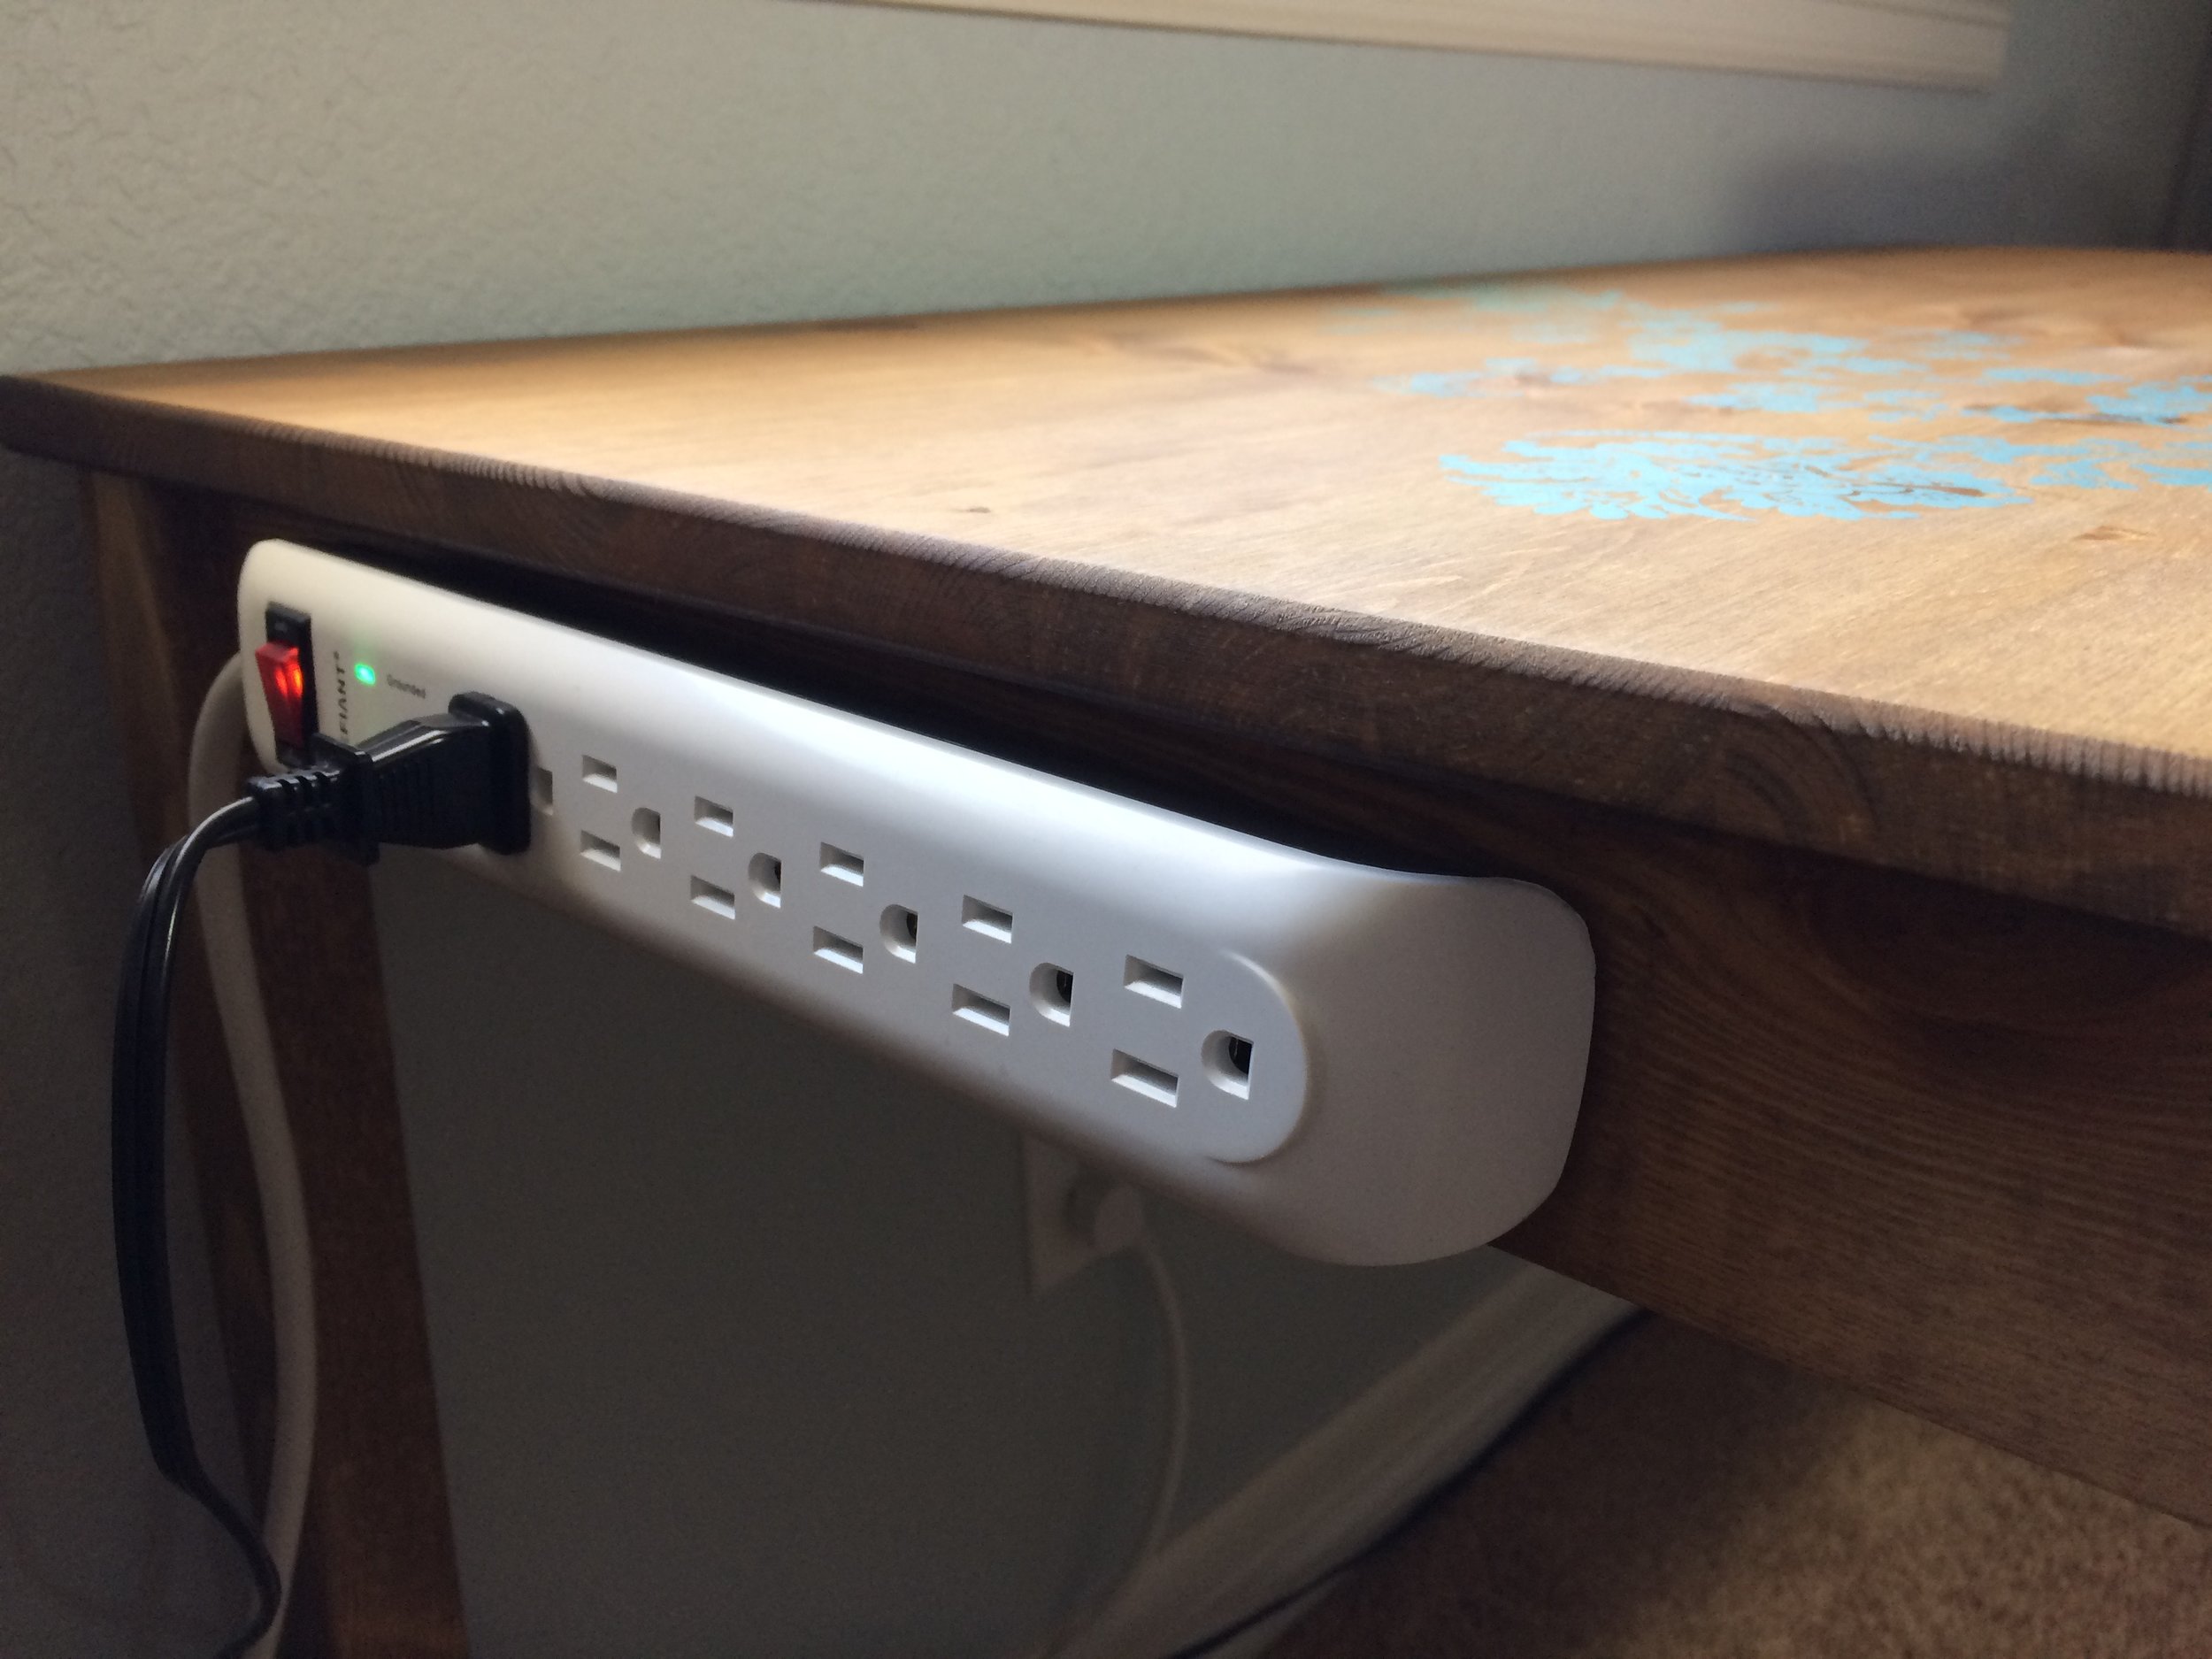
Brian had to add one last custom feature - a power strip mounted on the side! Now I don't have to crawl under the table to plug in the iron and I have the ability to plug in a few things at once! We spent just under $200 on this entire project, and it is a table that is custom fit to my sewing machine and custom made to work with the way I use my sewing machine. In my mind it's priceless!

Have you done any diy projects for your sewing space either to save money or to have something customized to your liking? I would love to hear about your diy projects and include pictures if possible!
Just so you know, I provide links to the products I used on this project to help you find them if you are interested. I am in no way reimbursed by any company or person for mentioning the use of these products, they were just the products I chose to use on this project.
Sign up to receive email newsletters from Uniquely Michelle: