contact Me

Use the form on the right to contact Me.


123 Street Avenue, City Town, 99999

(123) 555-6789

email@address.com


You can set your address, phone number, email and site description in the settings tab.
Link to read me page with more information.

Blog

A Handmade Season of Giving - Sweet Bread Loaves

Michelle Burke

After deciding last year to give as many handmade gifts as possible this Christmas, I started looking for ideas right away - I was happily surprised at how many great ideas I was able to find. I also decided I would share my handmade gift ideas in this, A Handmade Season of Giving blog series so that you may also be inspired to give handmade gifts! Today's handmade gift idea isn't a sewn item, but a baked item - sweet bread loaves!

I made two different recipes of sweet breads to give away - one that I have made for years and love and the other is a new recipe to me. Glazed Lemon Bread has been one of my favorite sweet breads to make (and eat) for years. It is always very well received as a gift too! Pumpkin-Pecan Bread is a new recipe to me, but one that I think is very good. I have included both recipes at the end of this post!

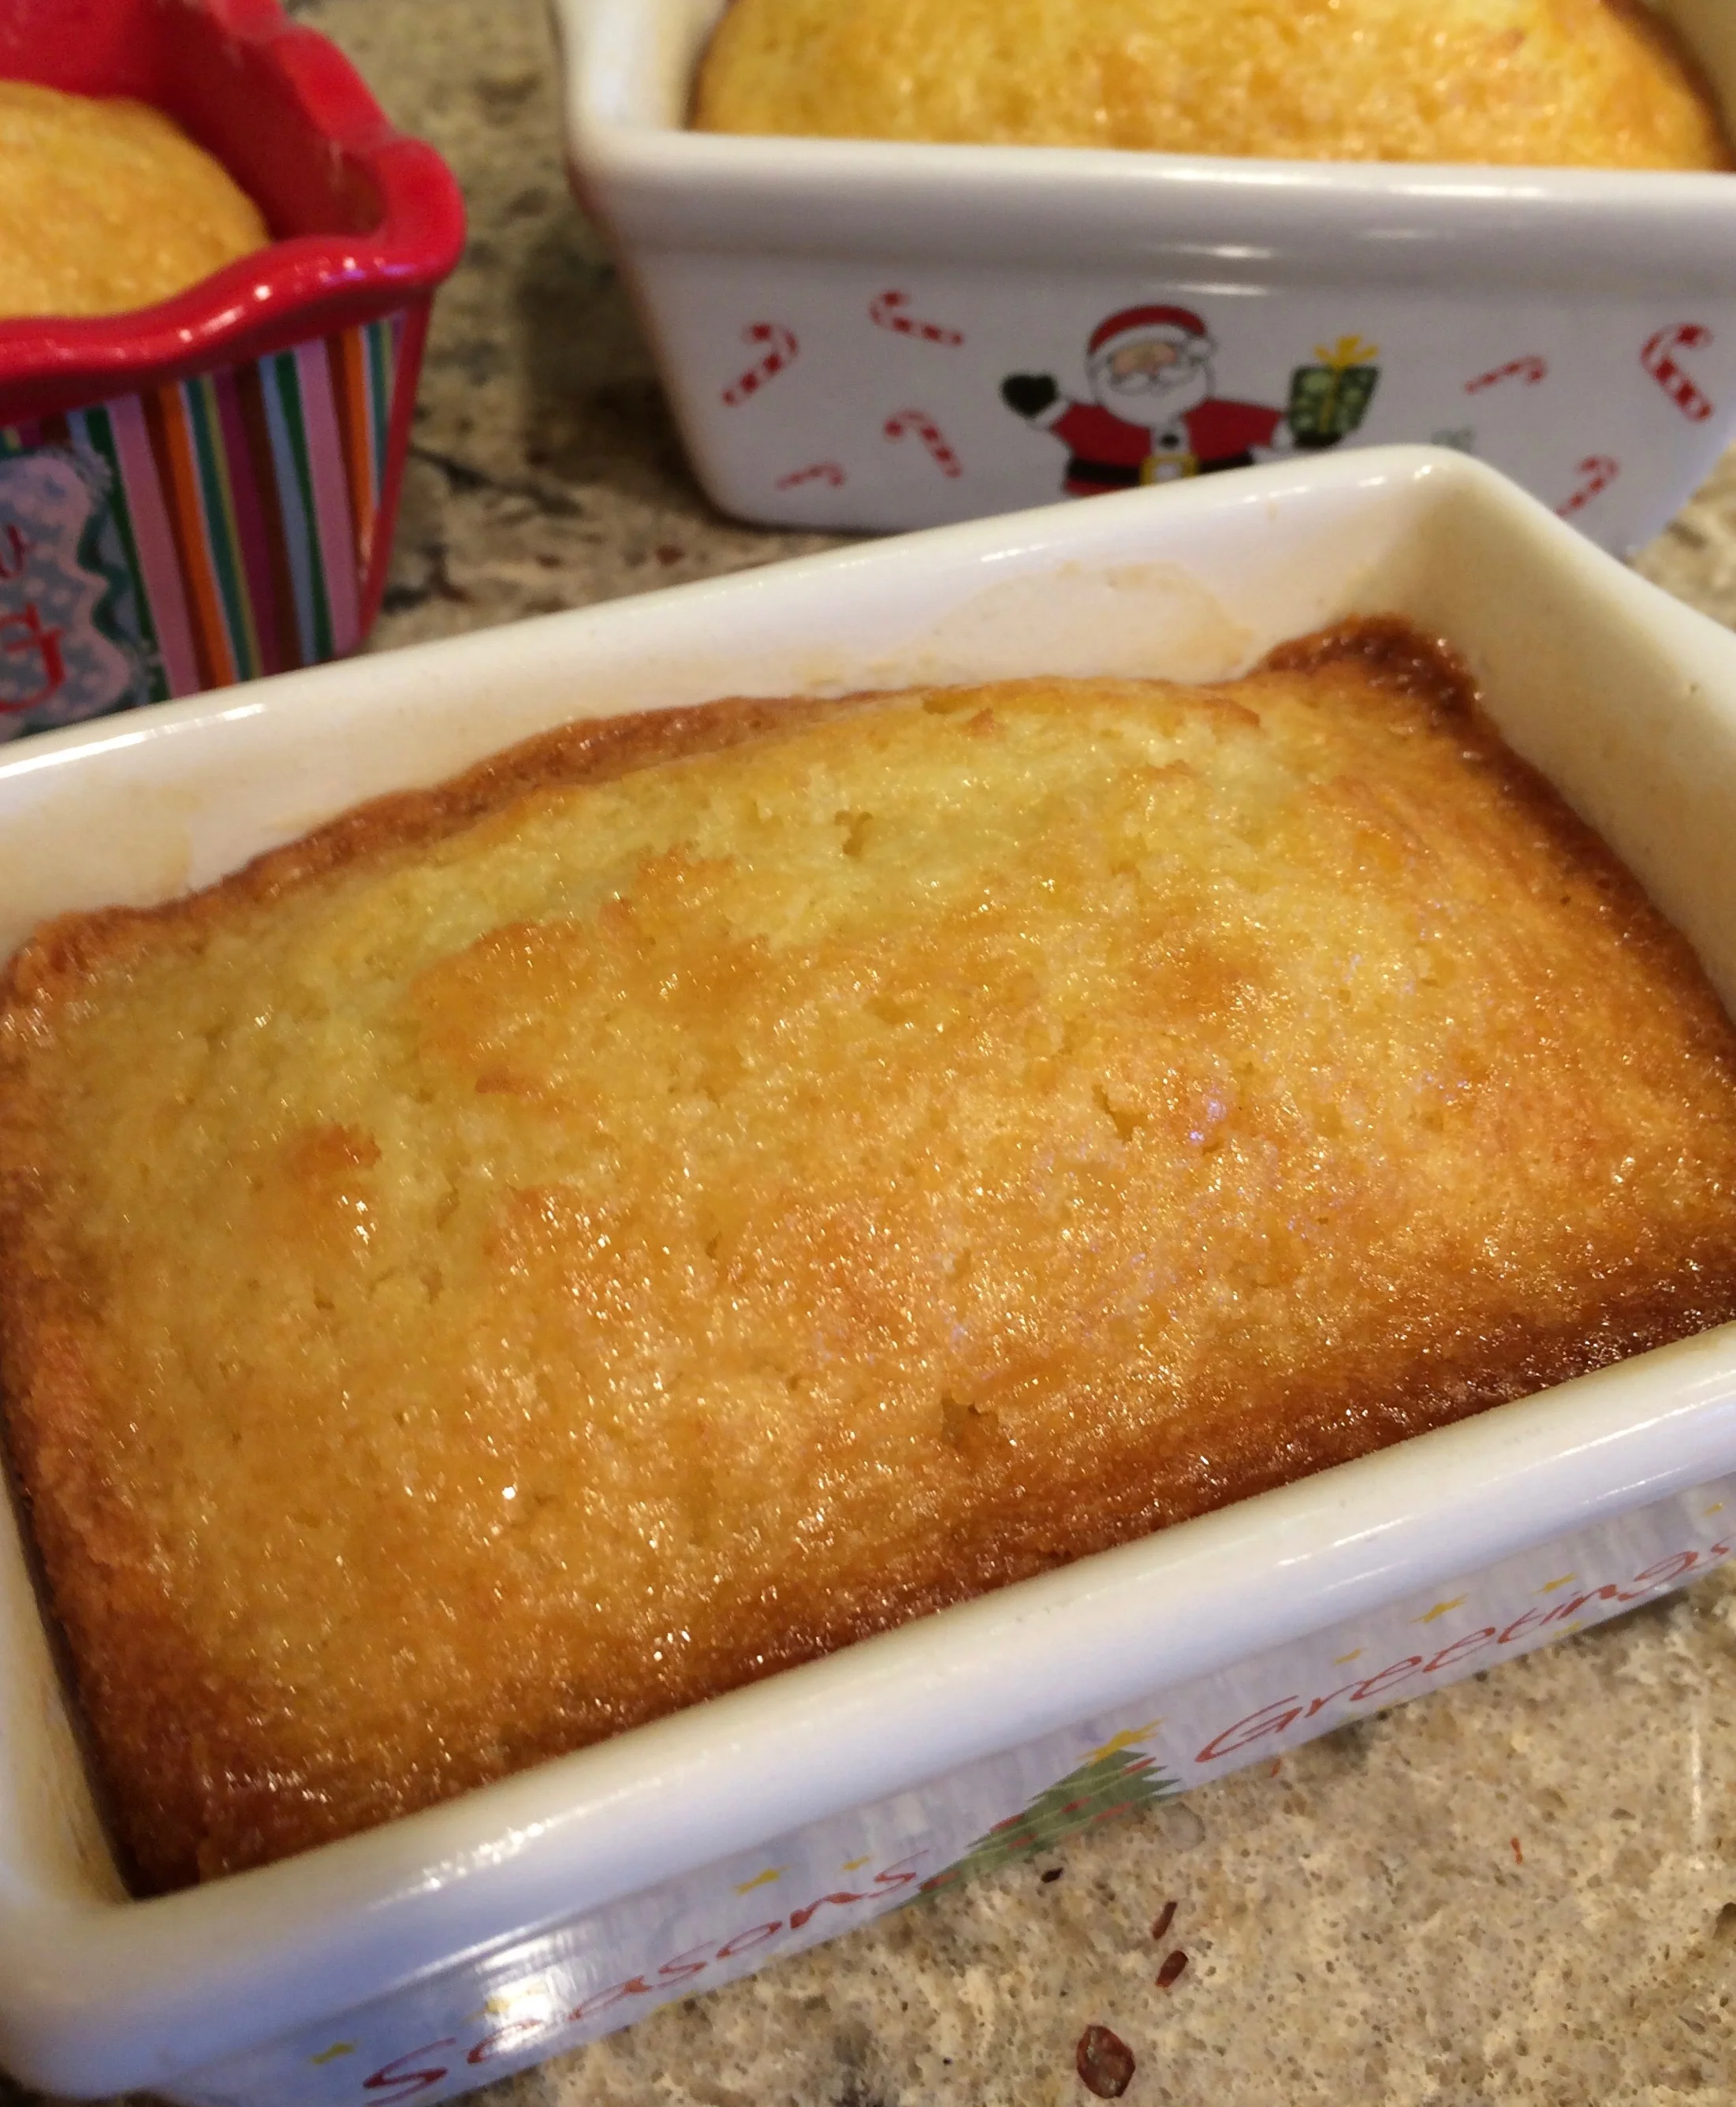
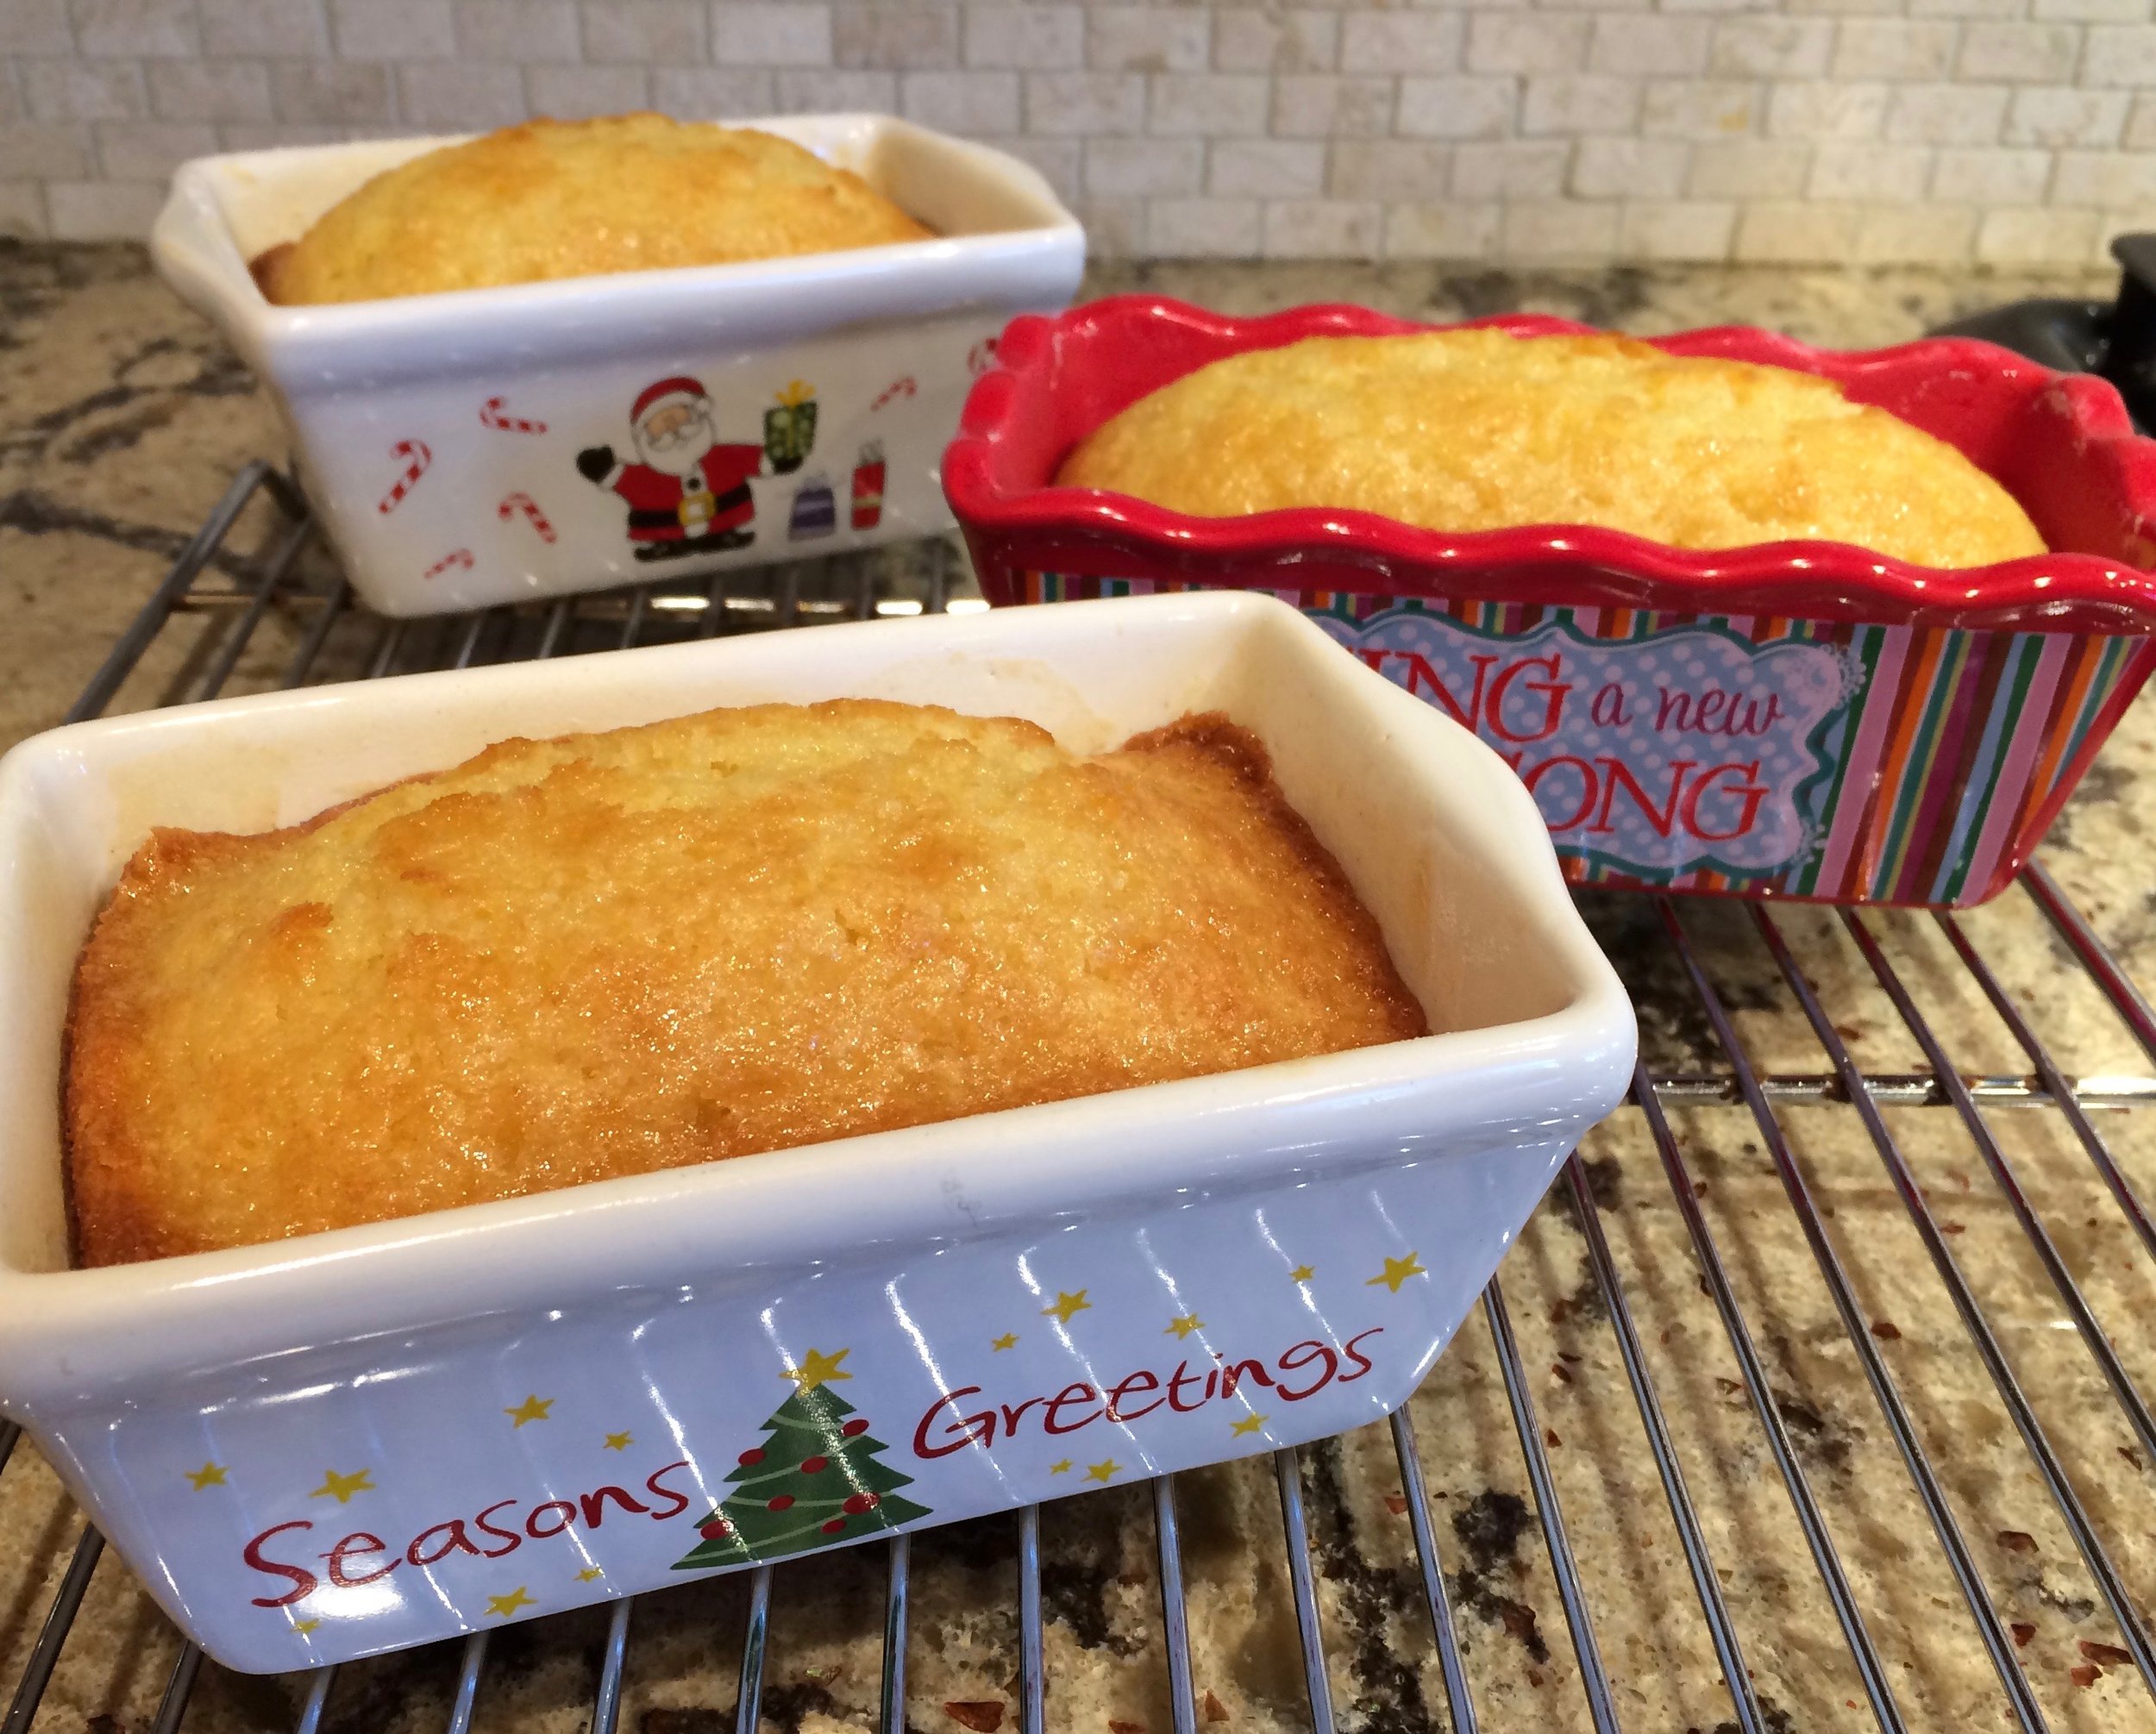
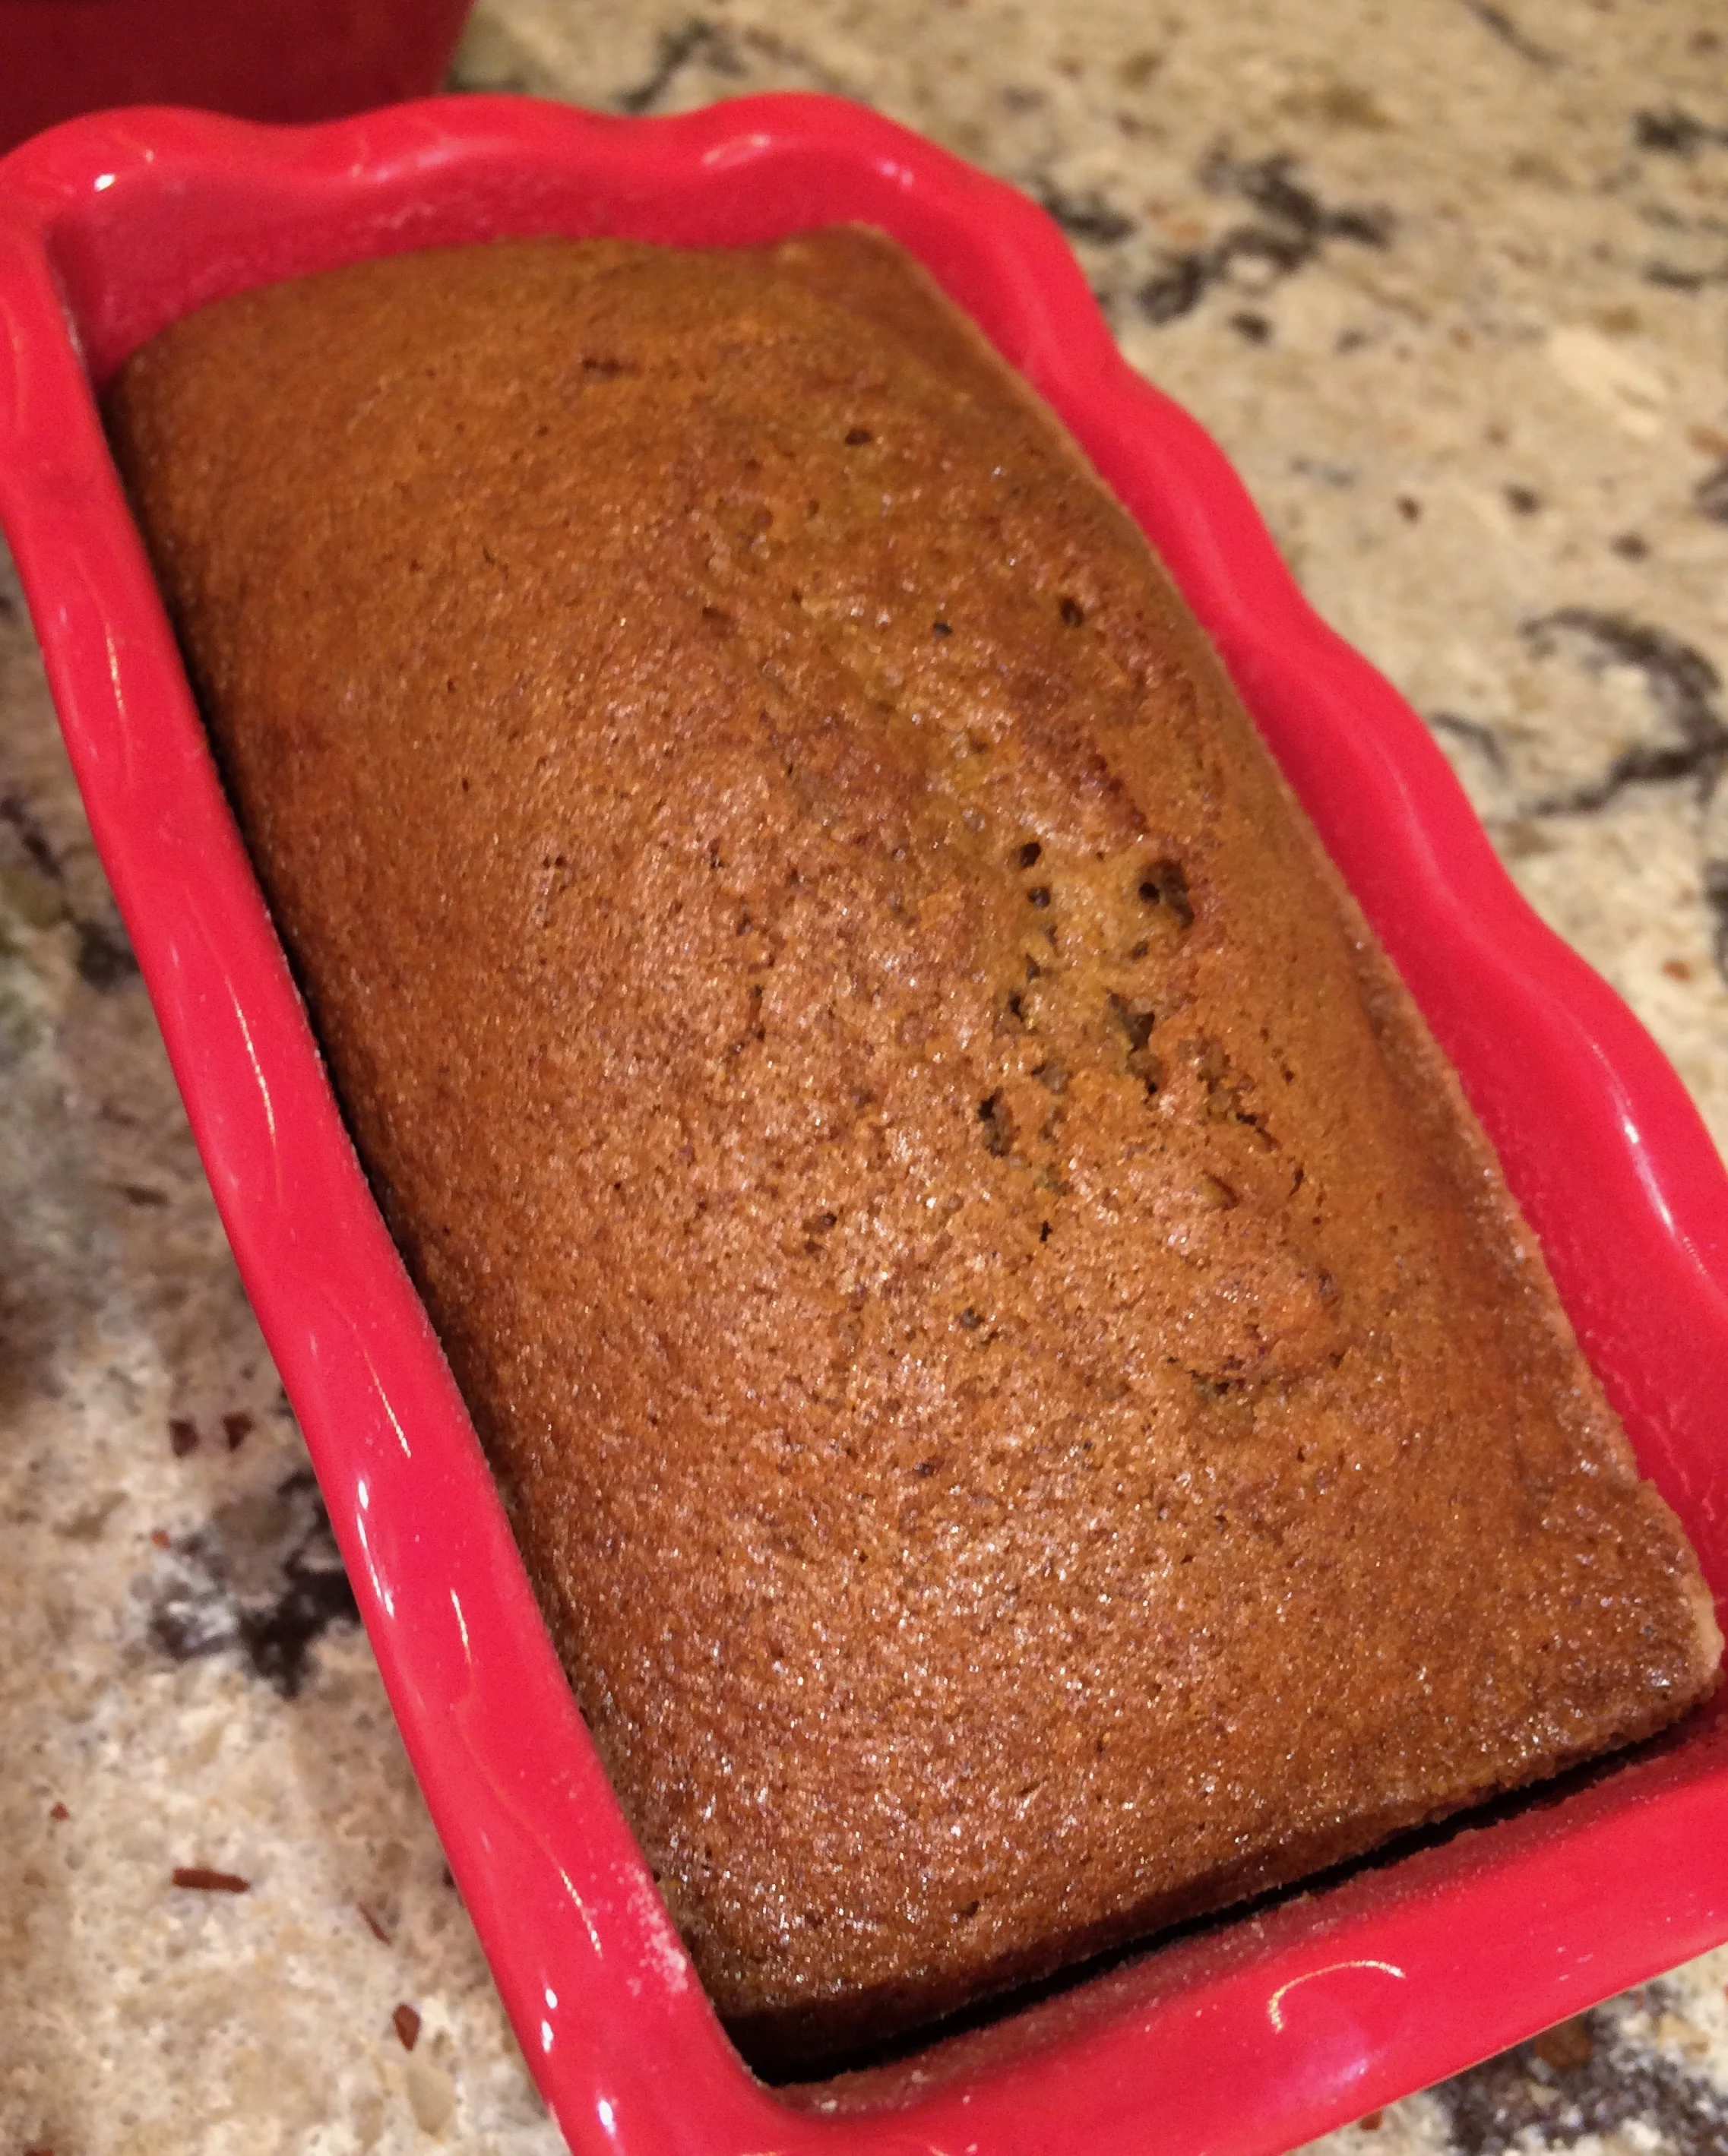
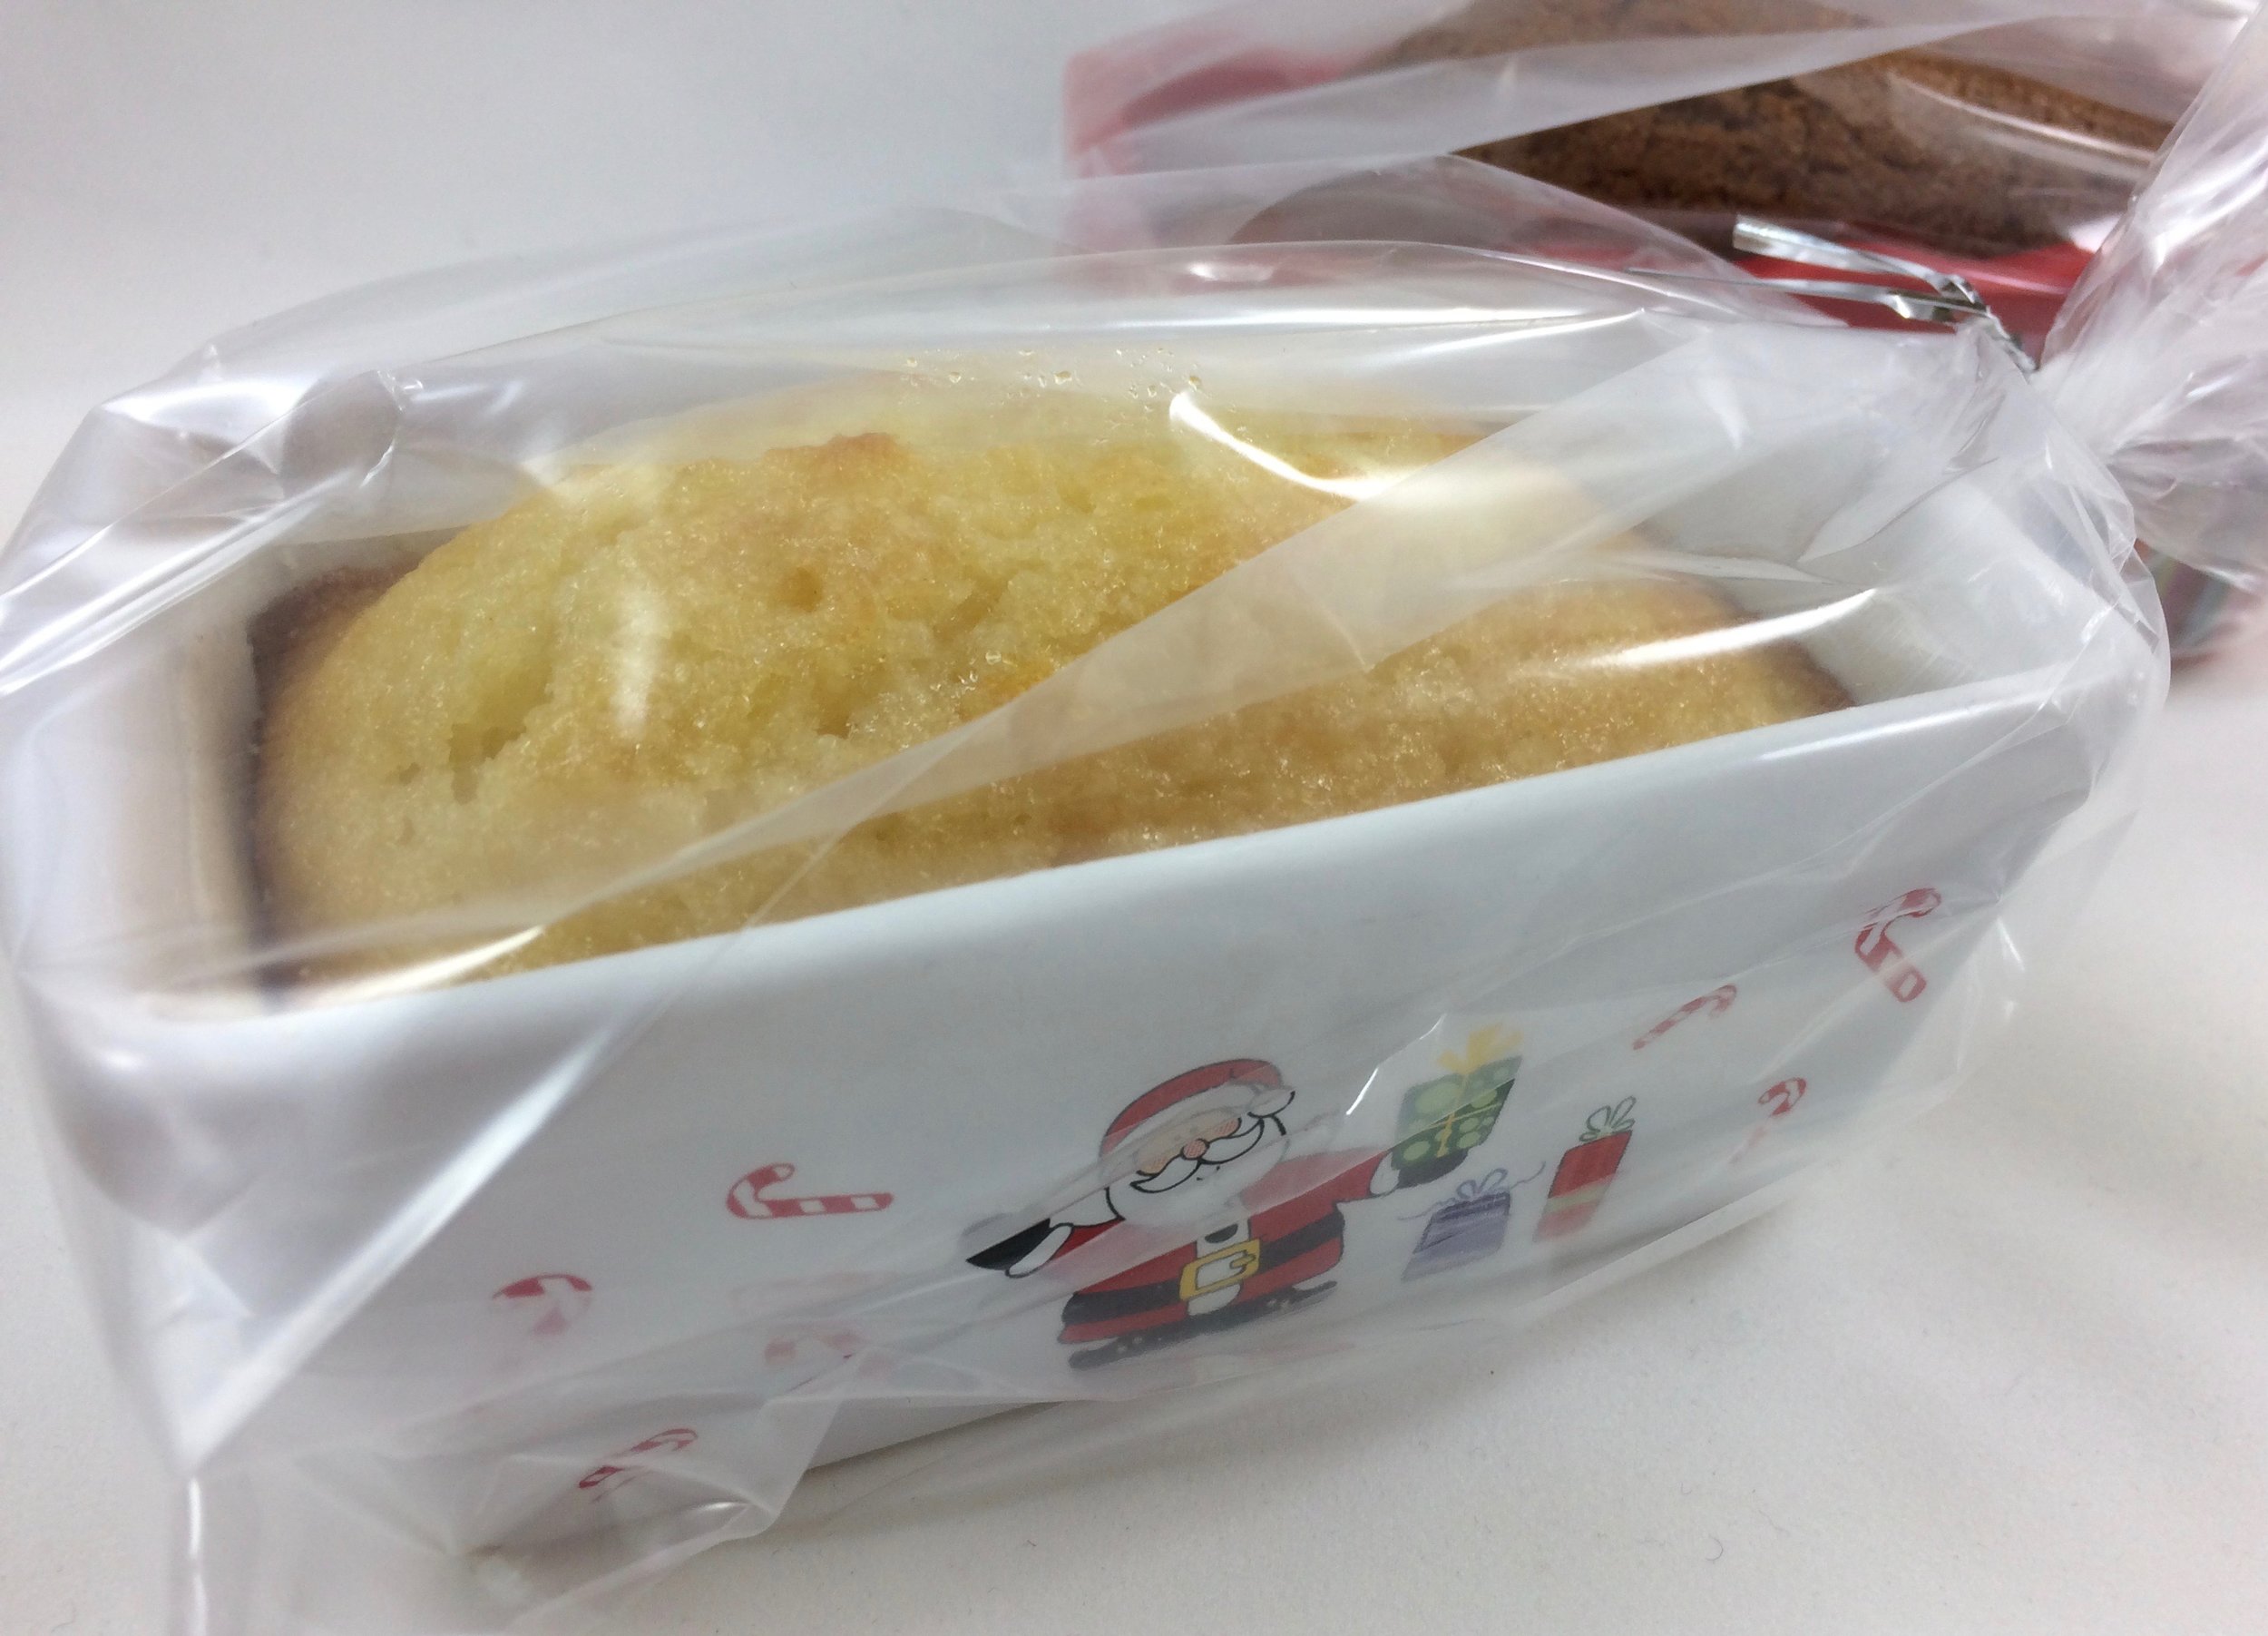
I made both loaves in small (3" x 5") loaf pans - a good size for gifts. The Glazed Lemon Bread recipe makes 3 small loaves and the Pumpkin-Pecan Bread makes 6 small loaves.

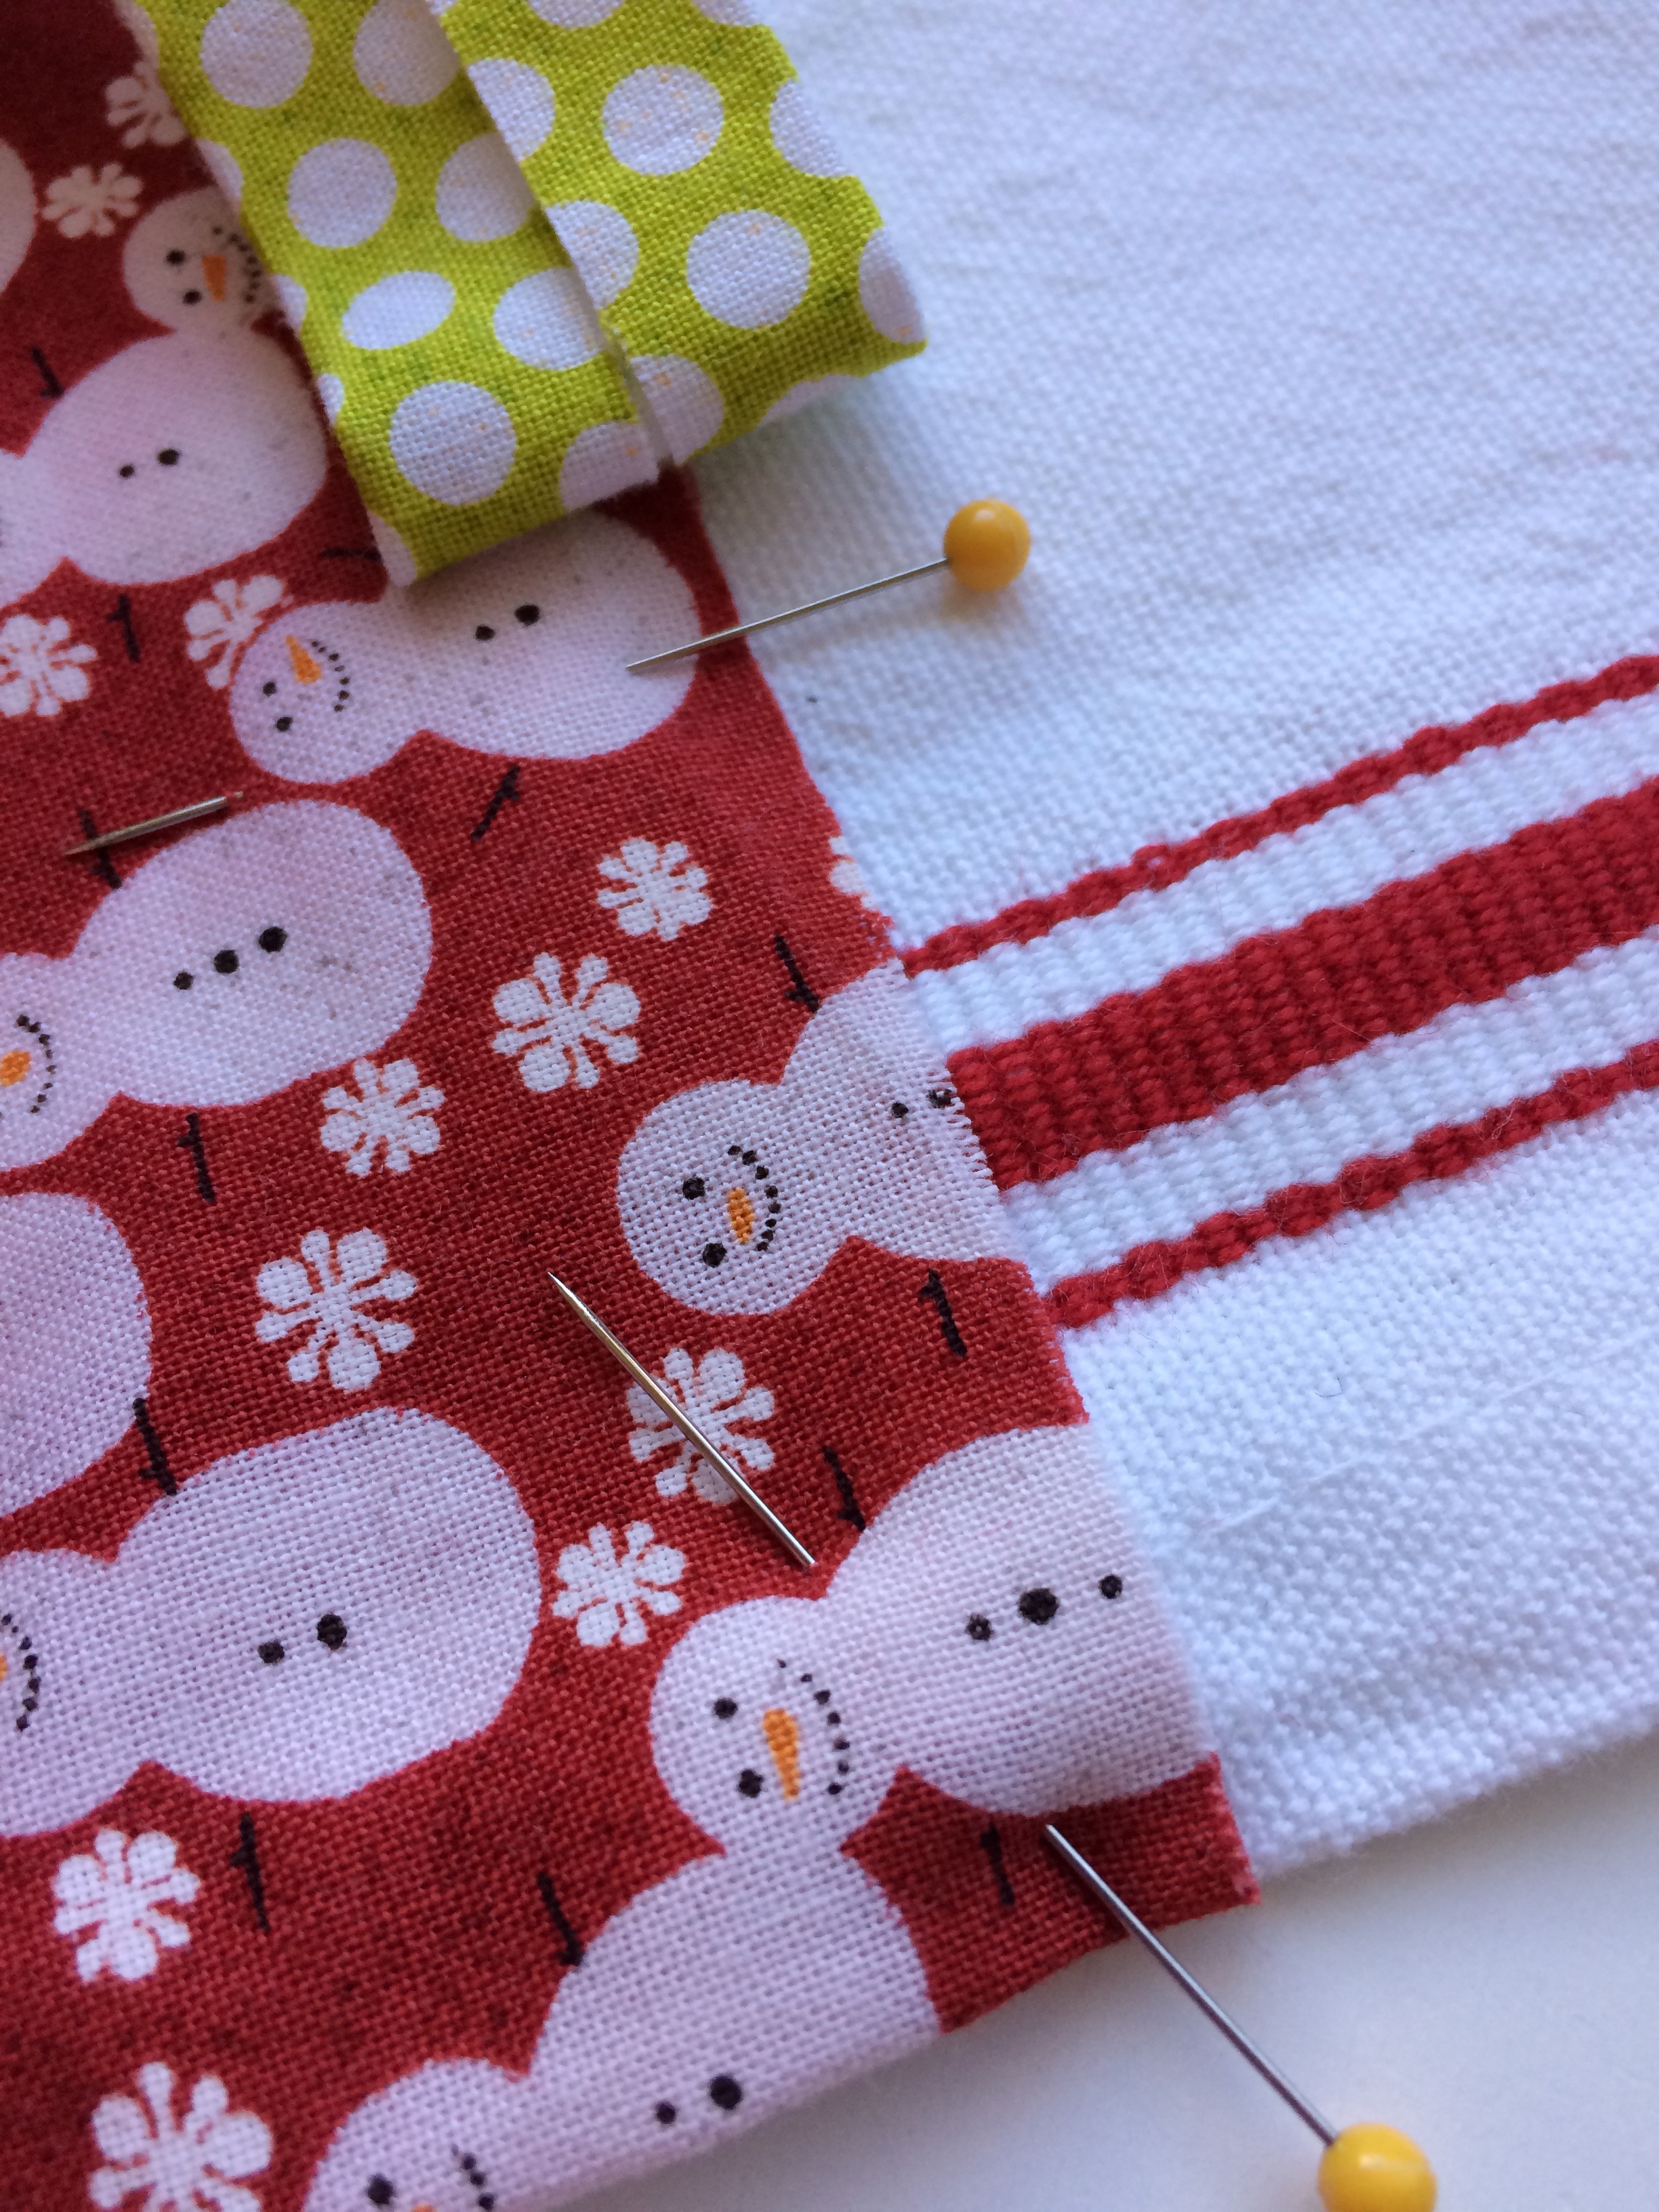
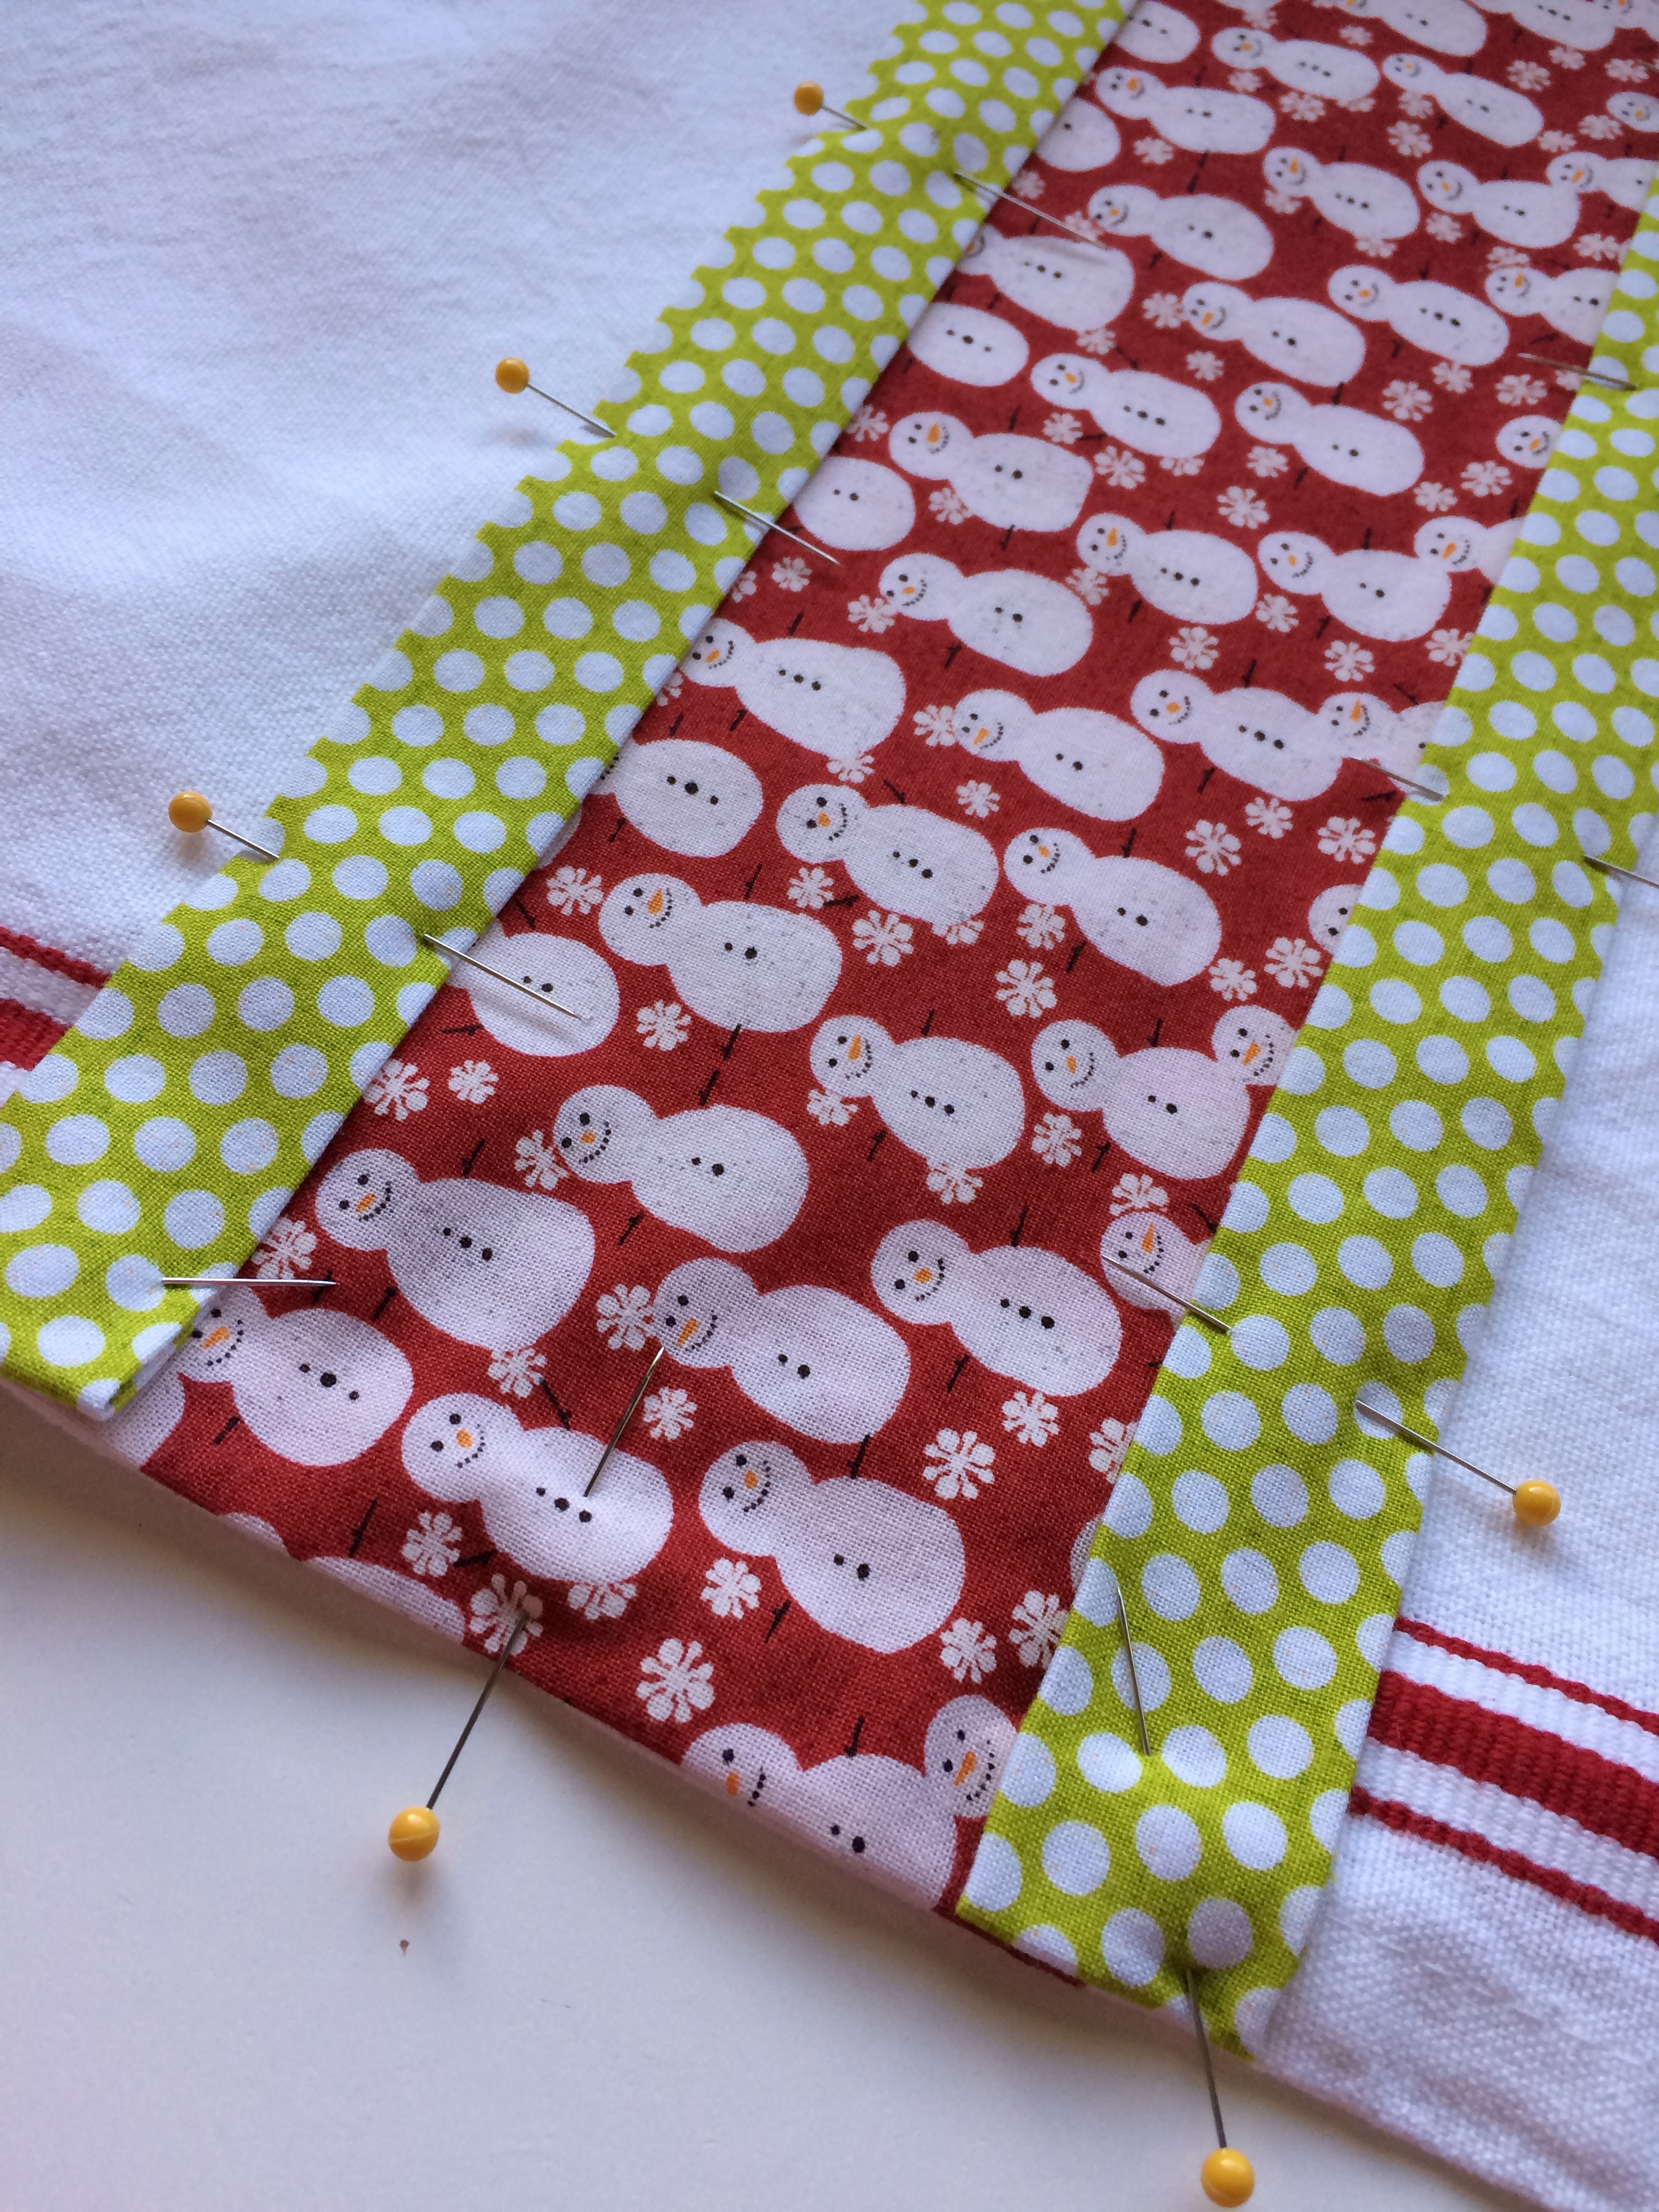
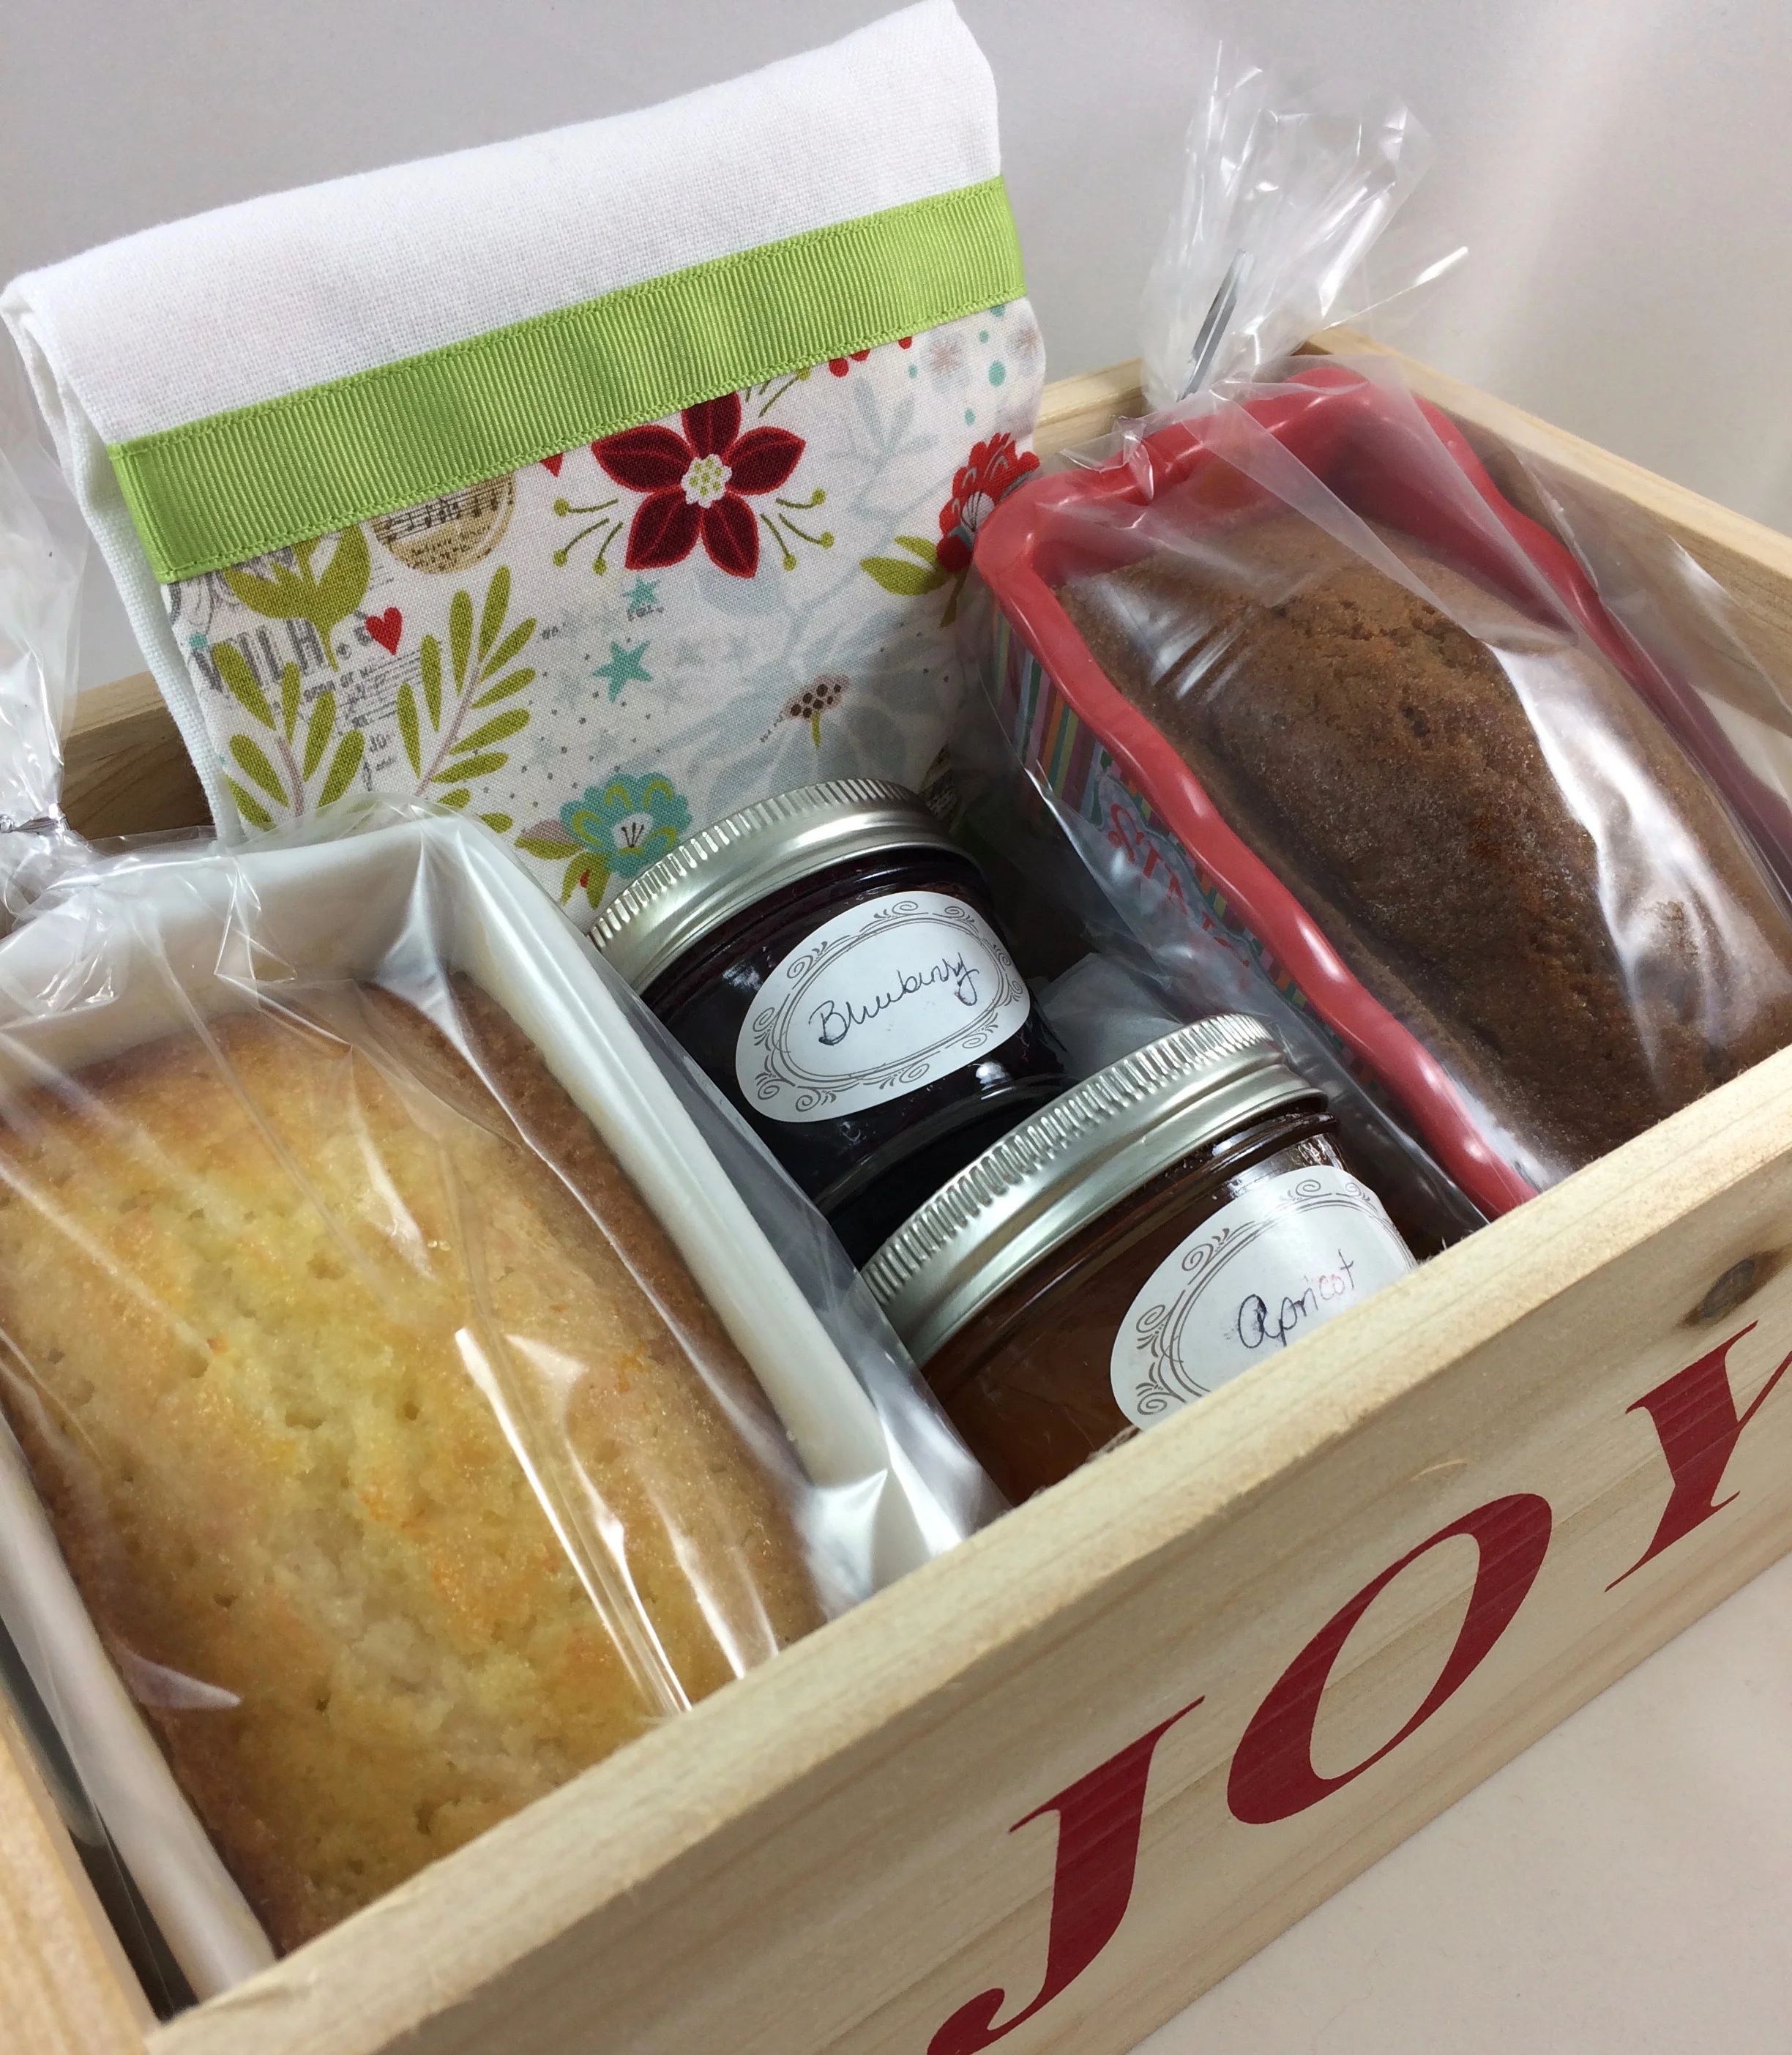
I baked some of the loaves in pans that are decorated for gift giving. These pans can be expensive unless you buy them at an after-Christmas sale where I have found them last year for between 50 cents and one dollar. I also baked some loaves in small loaf pans that I have and then removed the loaves from the pans once they had cooled. Either way, I used clear cellophane "treat" bags to wrap the loaves. 

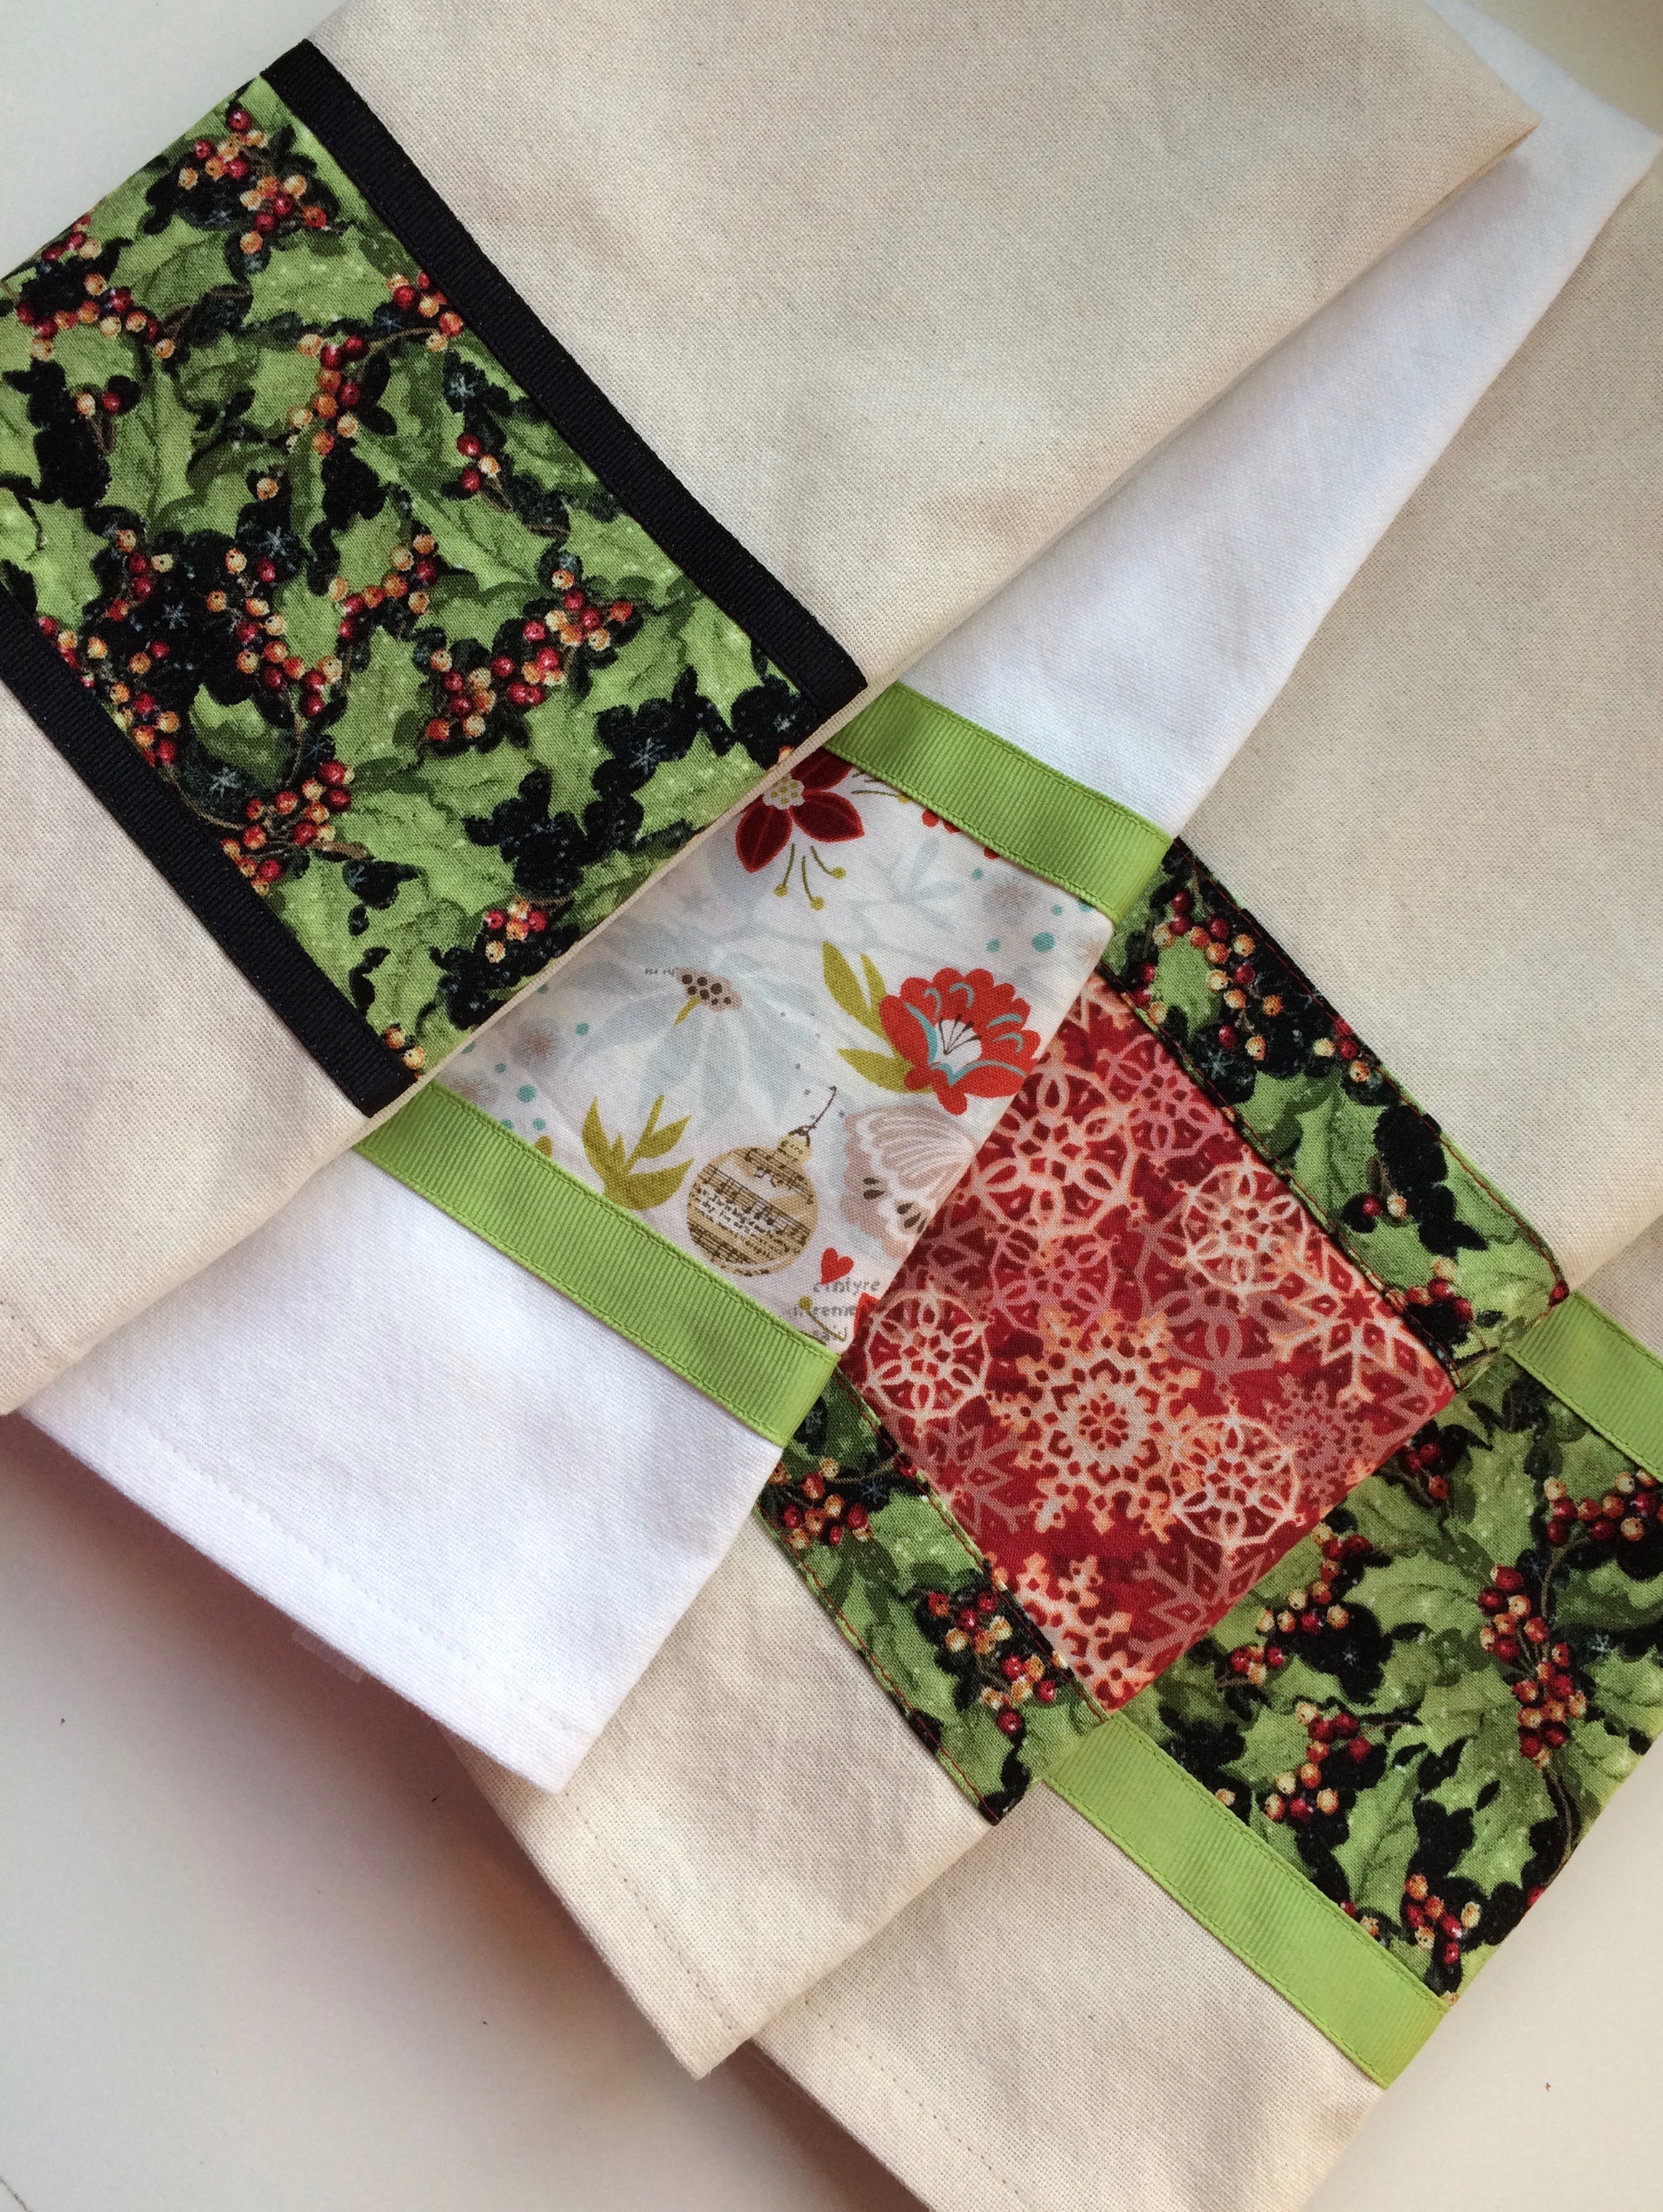
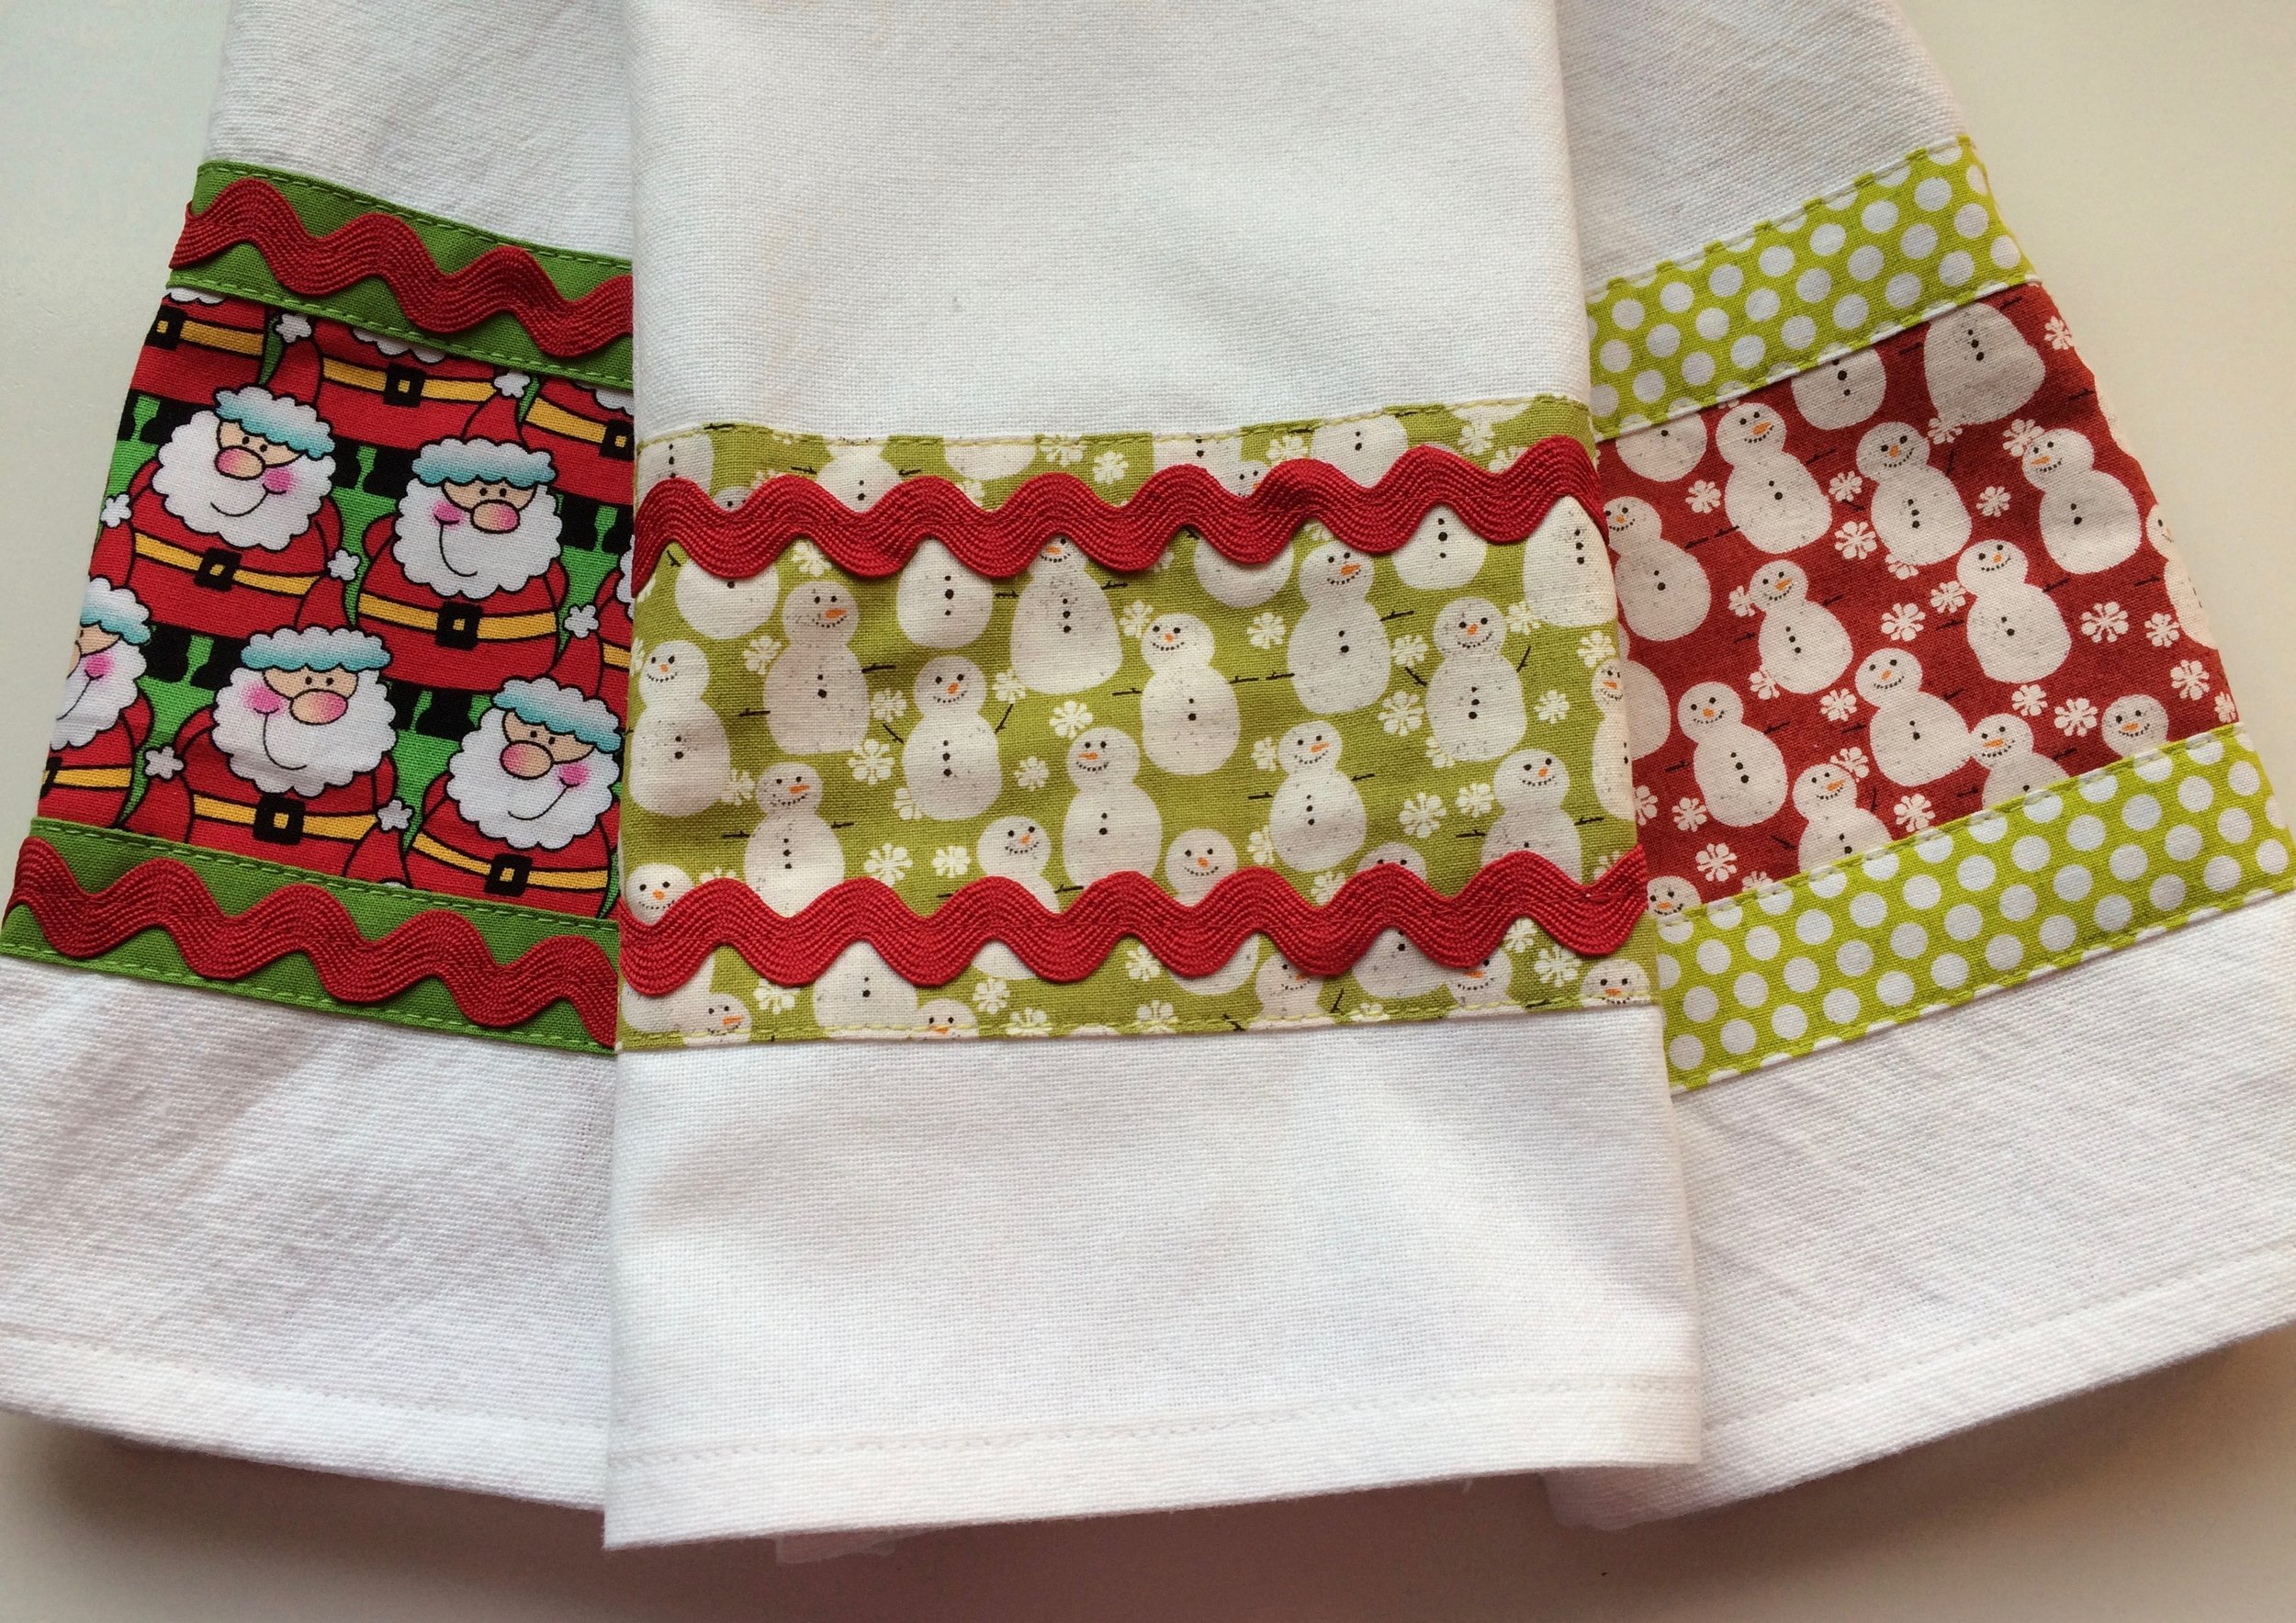
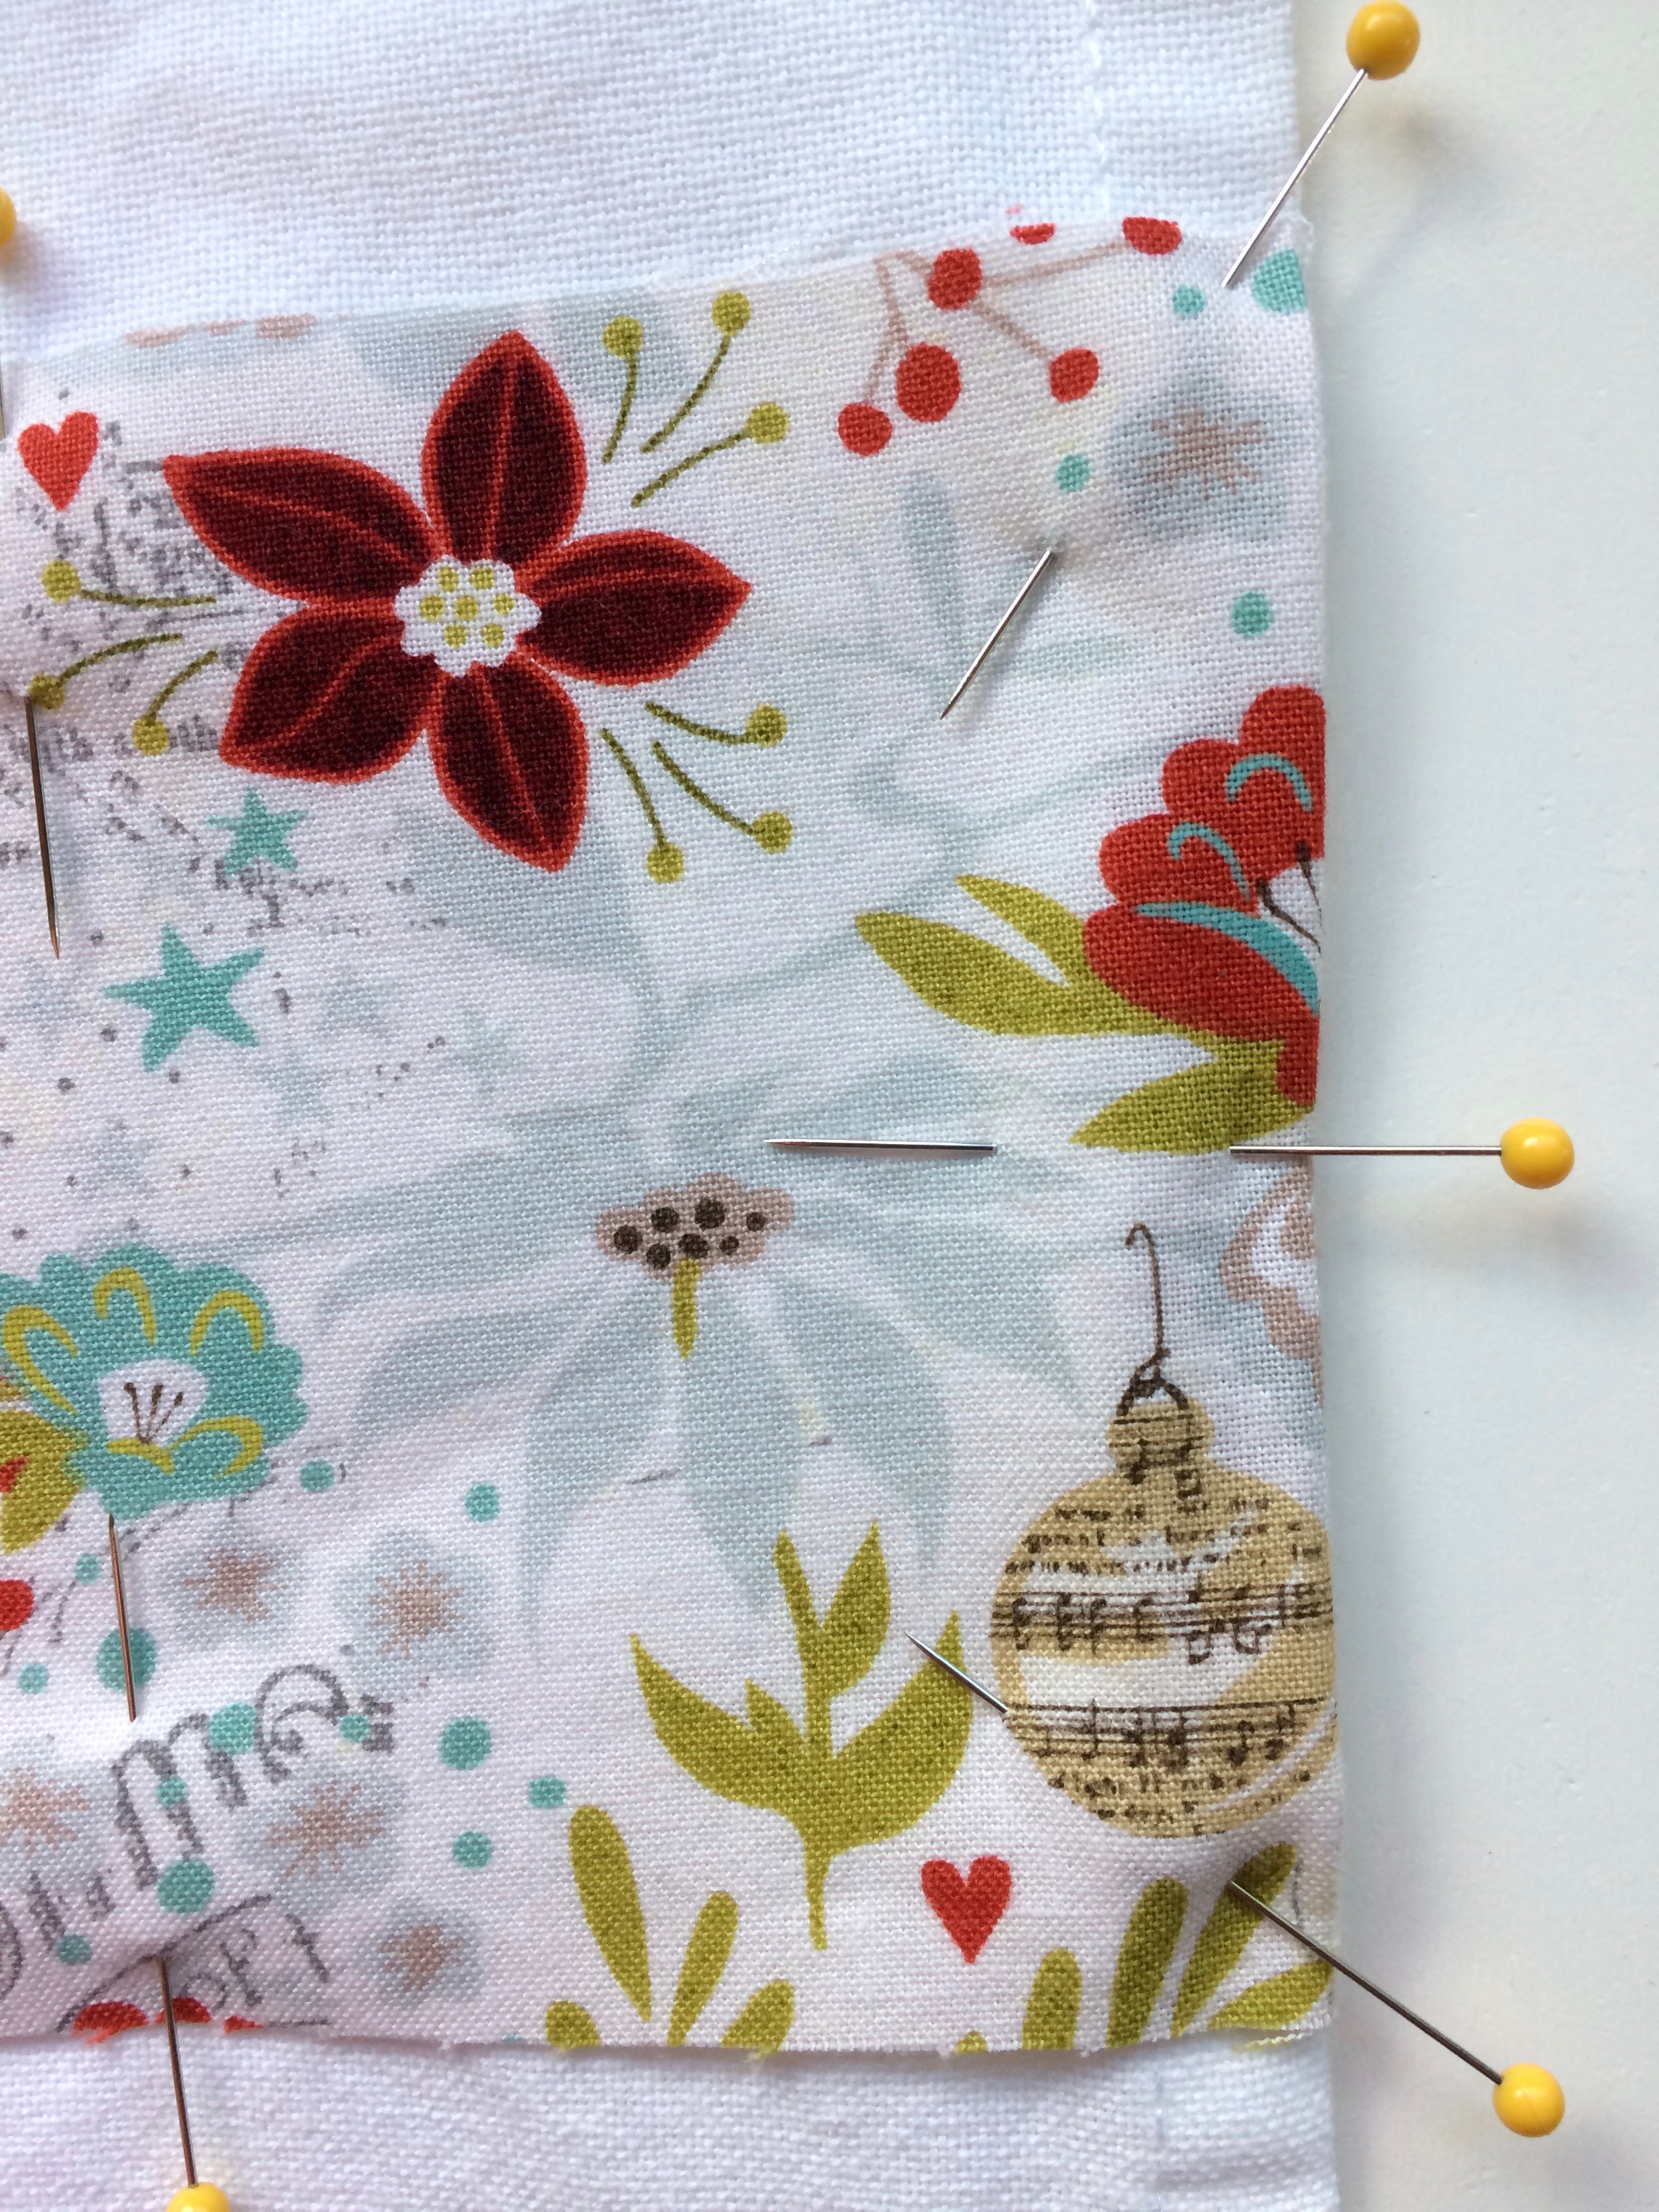
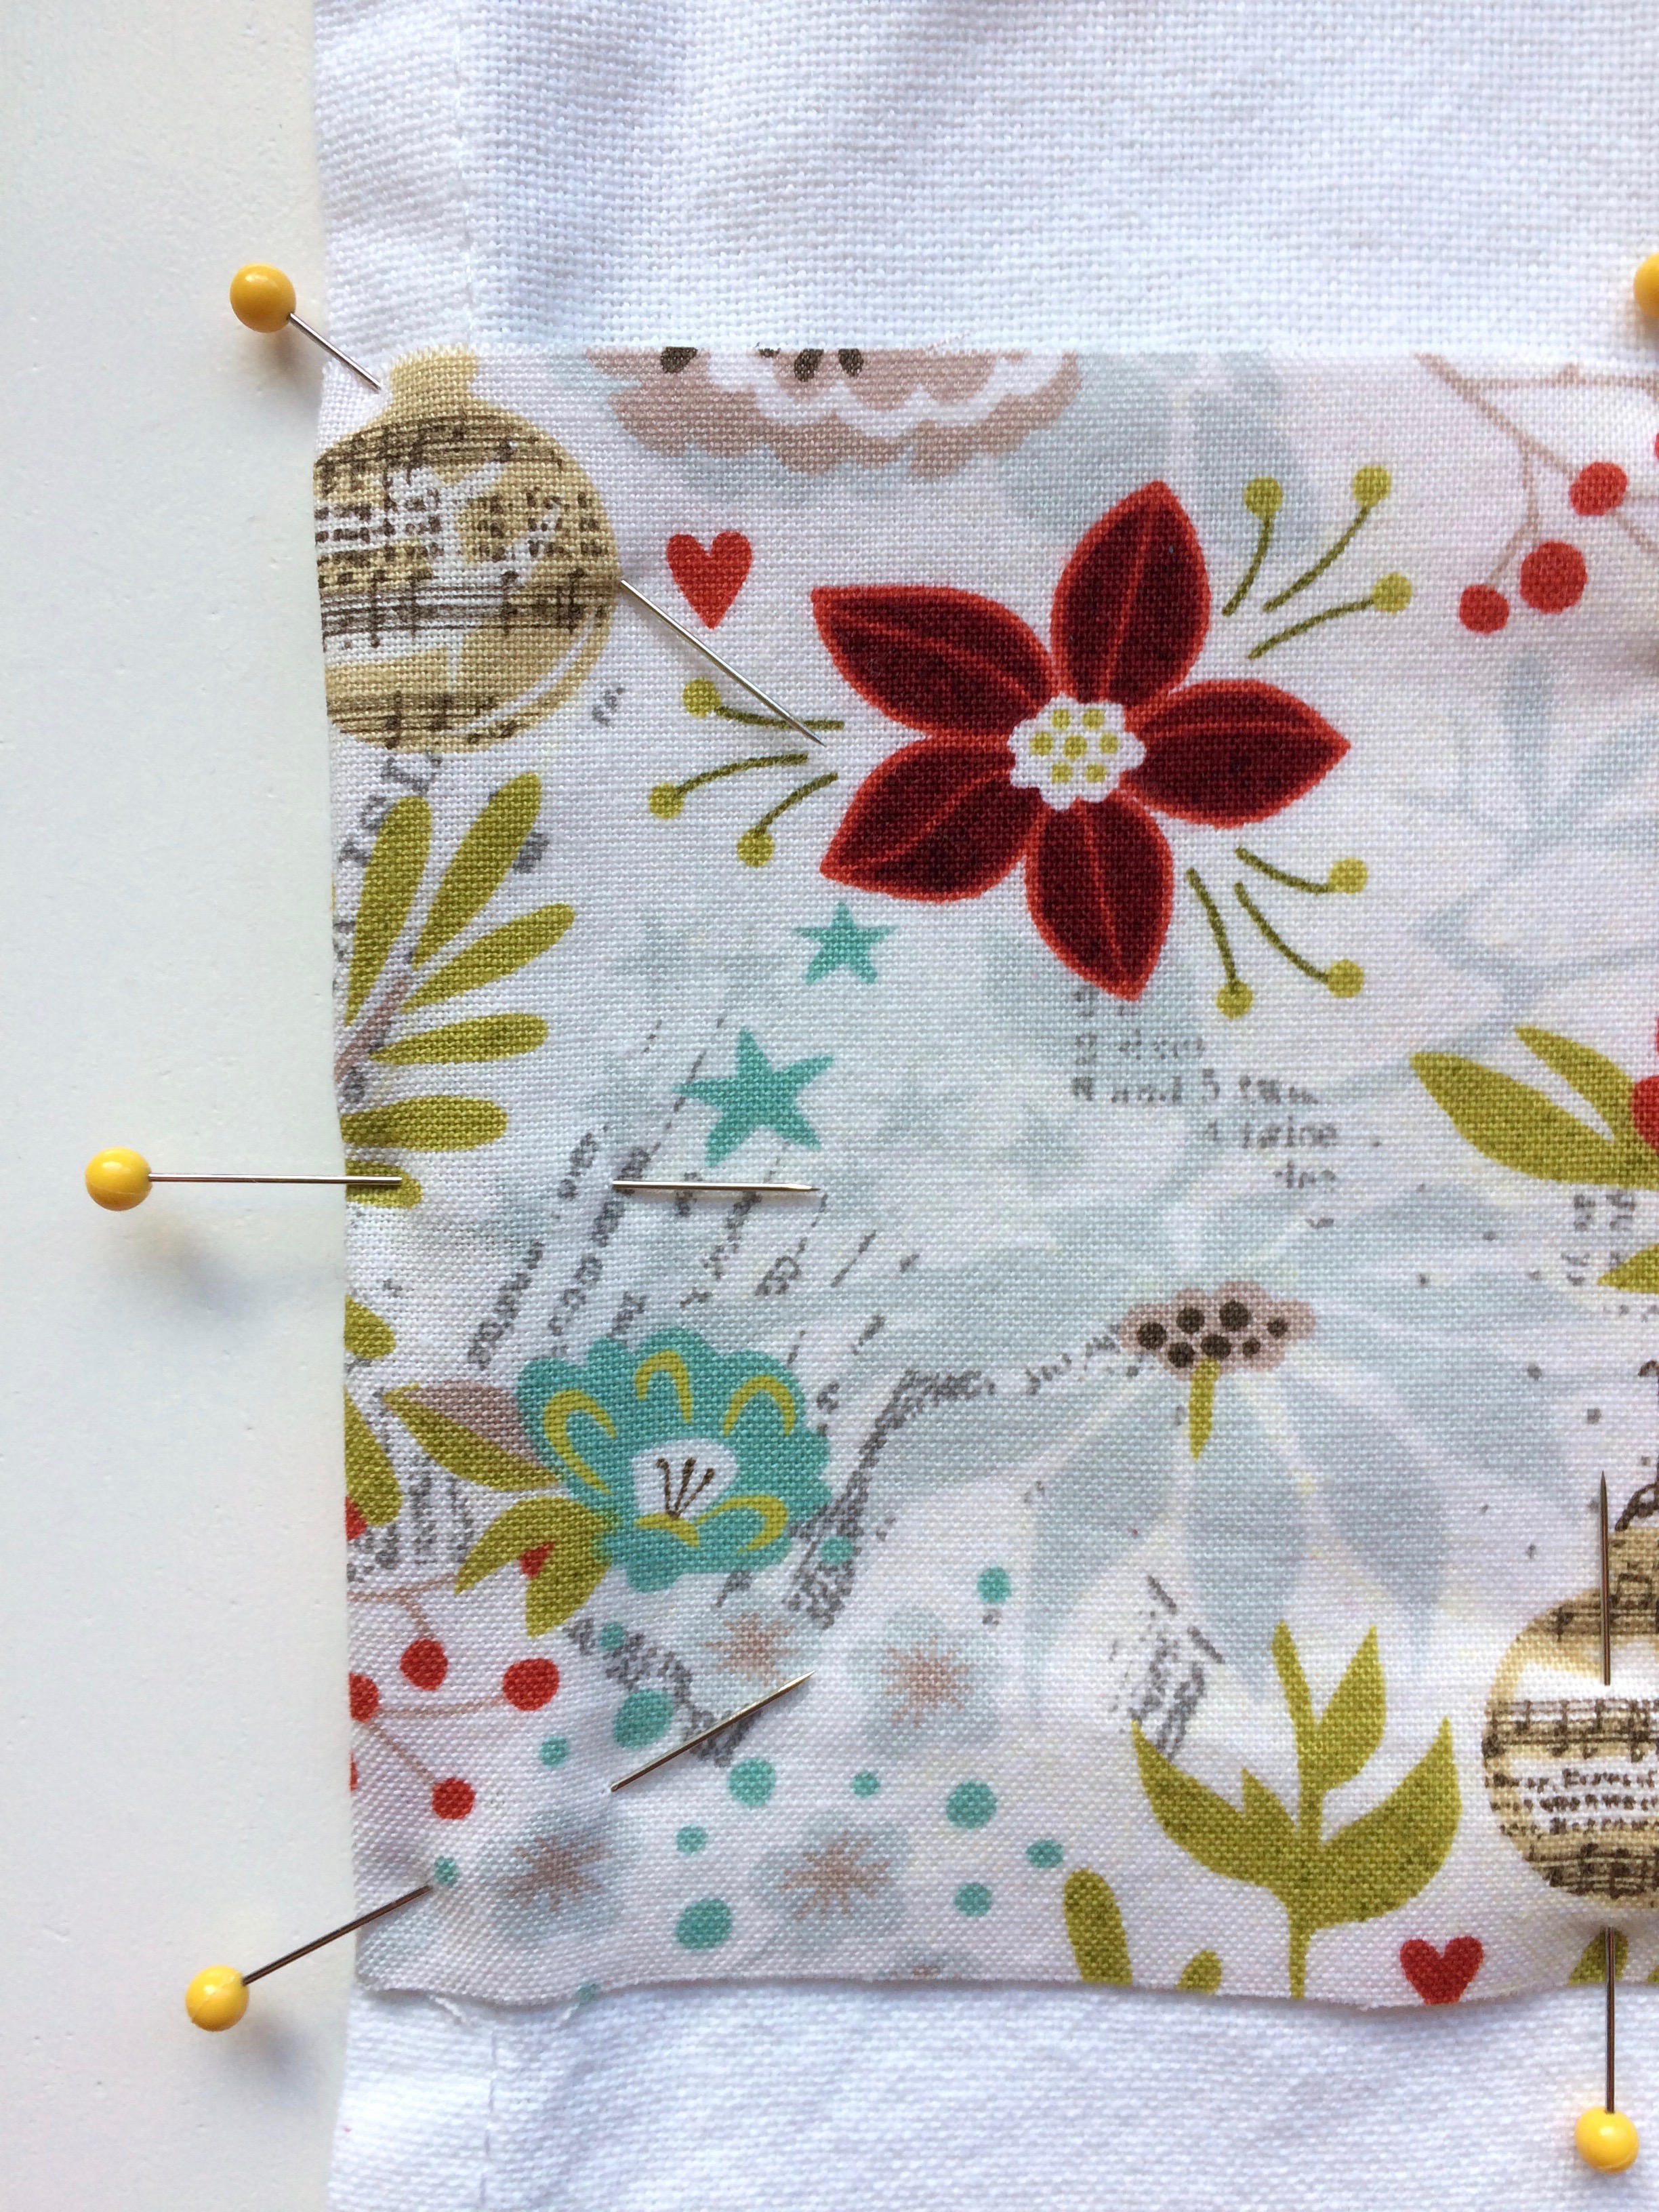
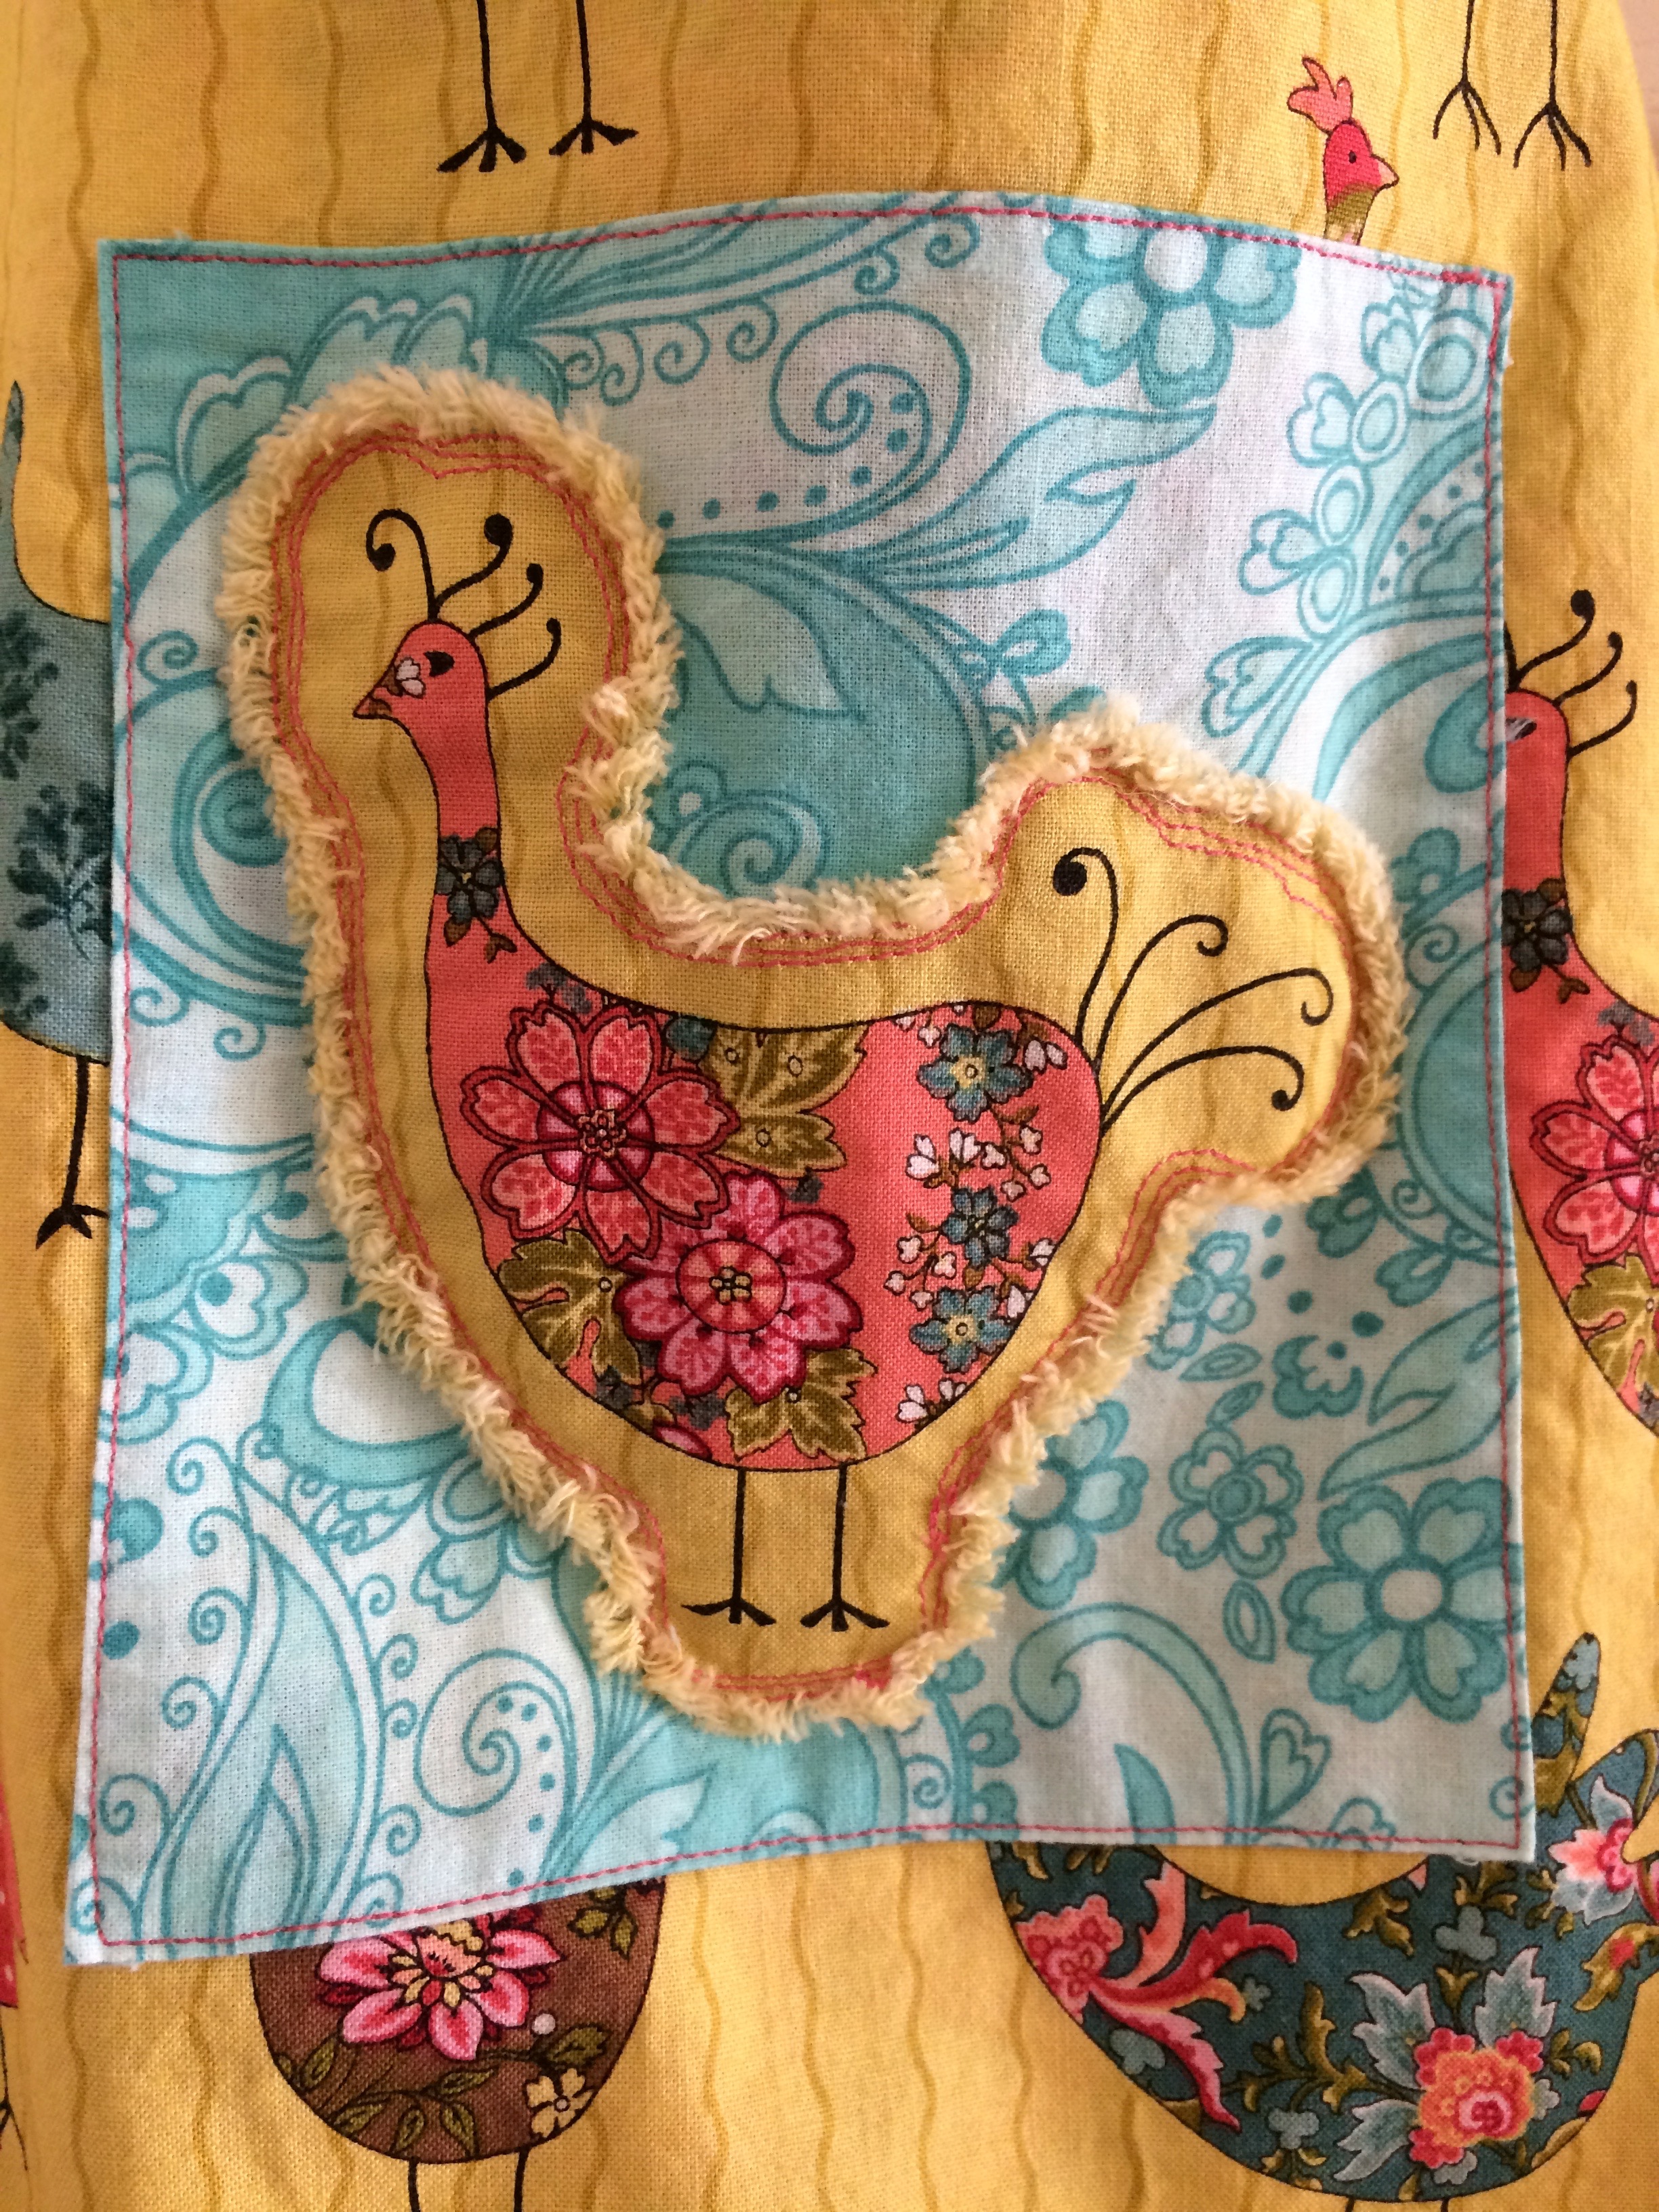
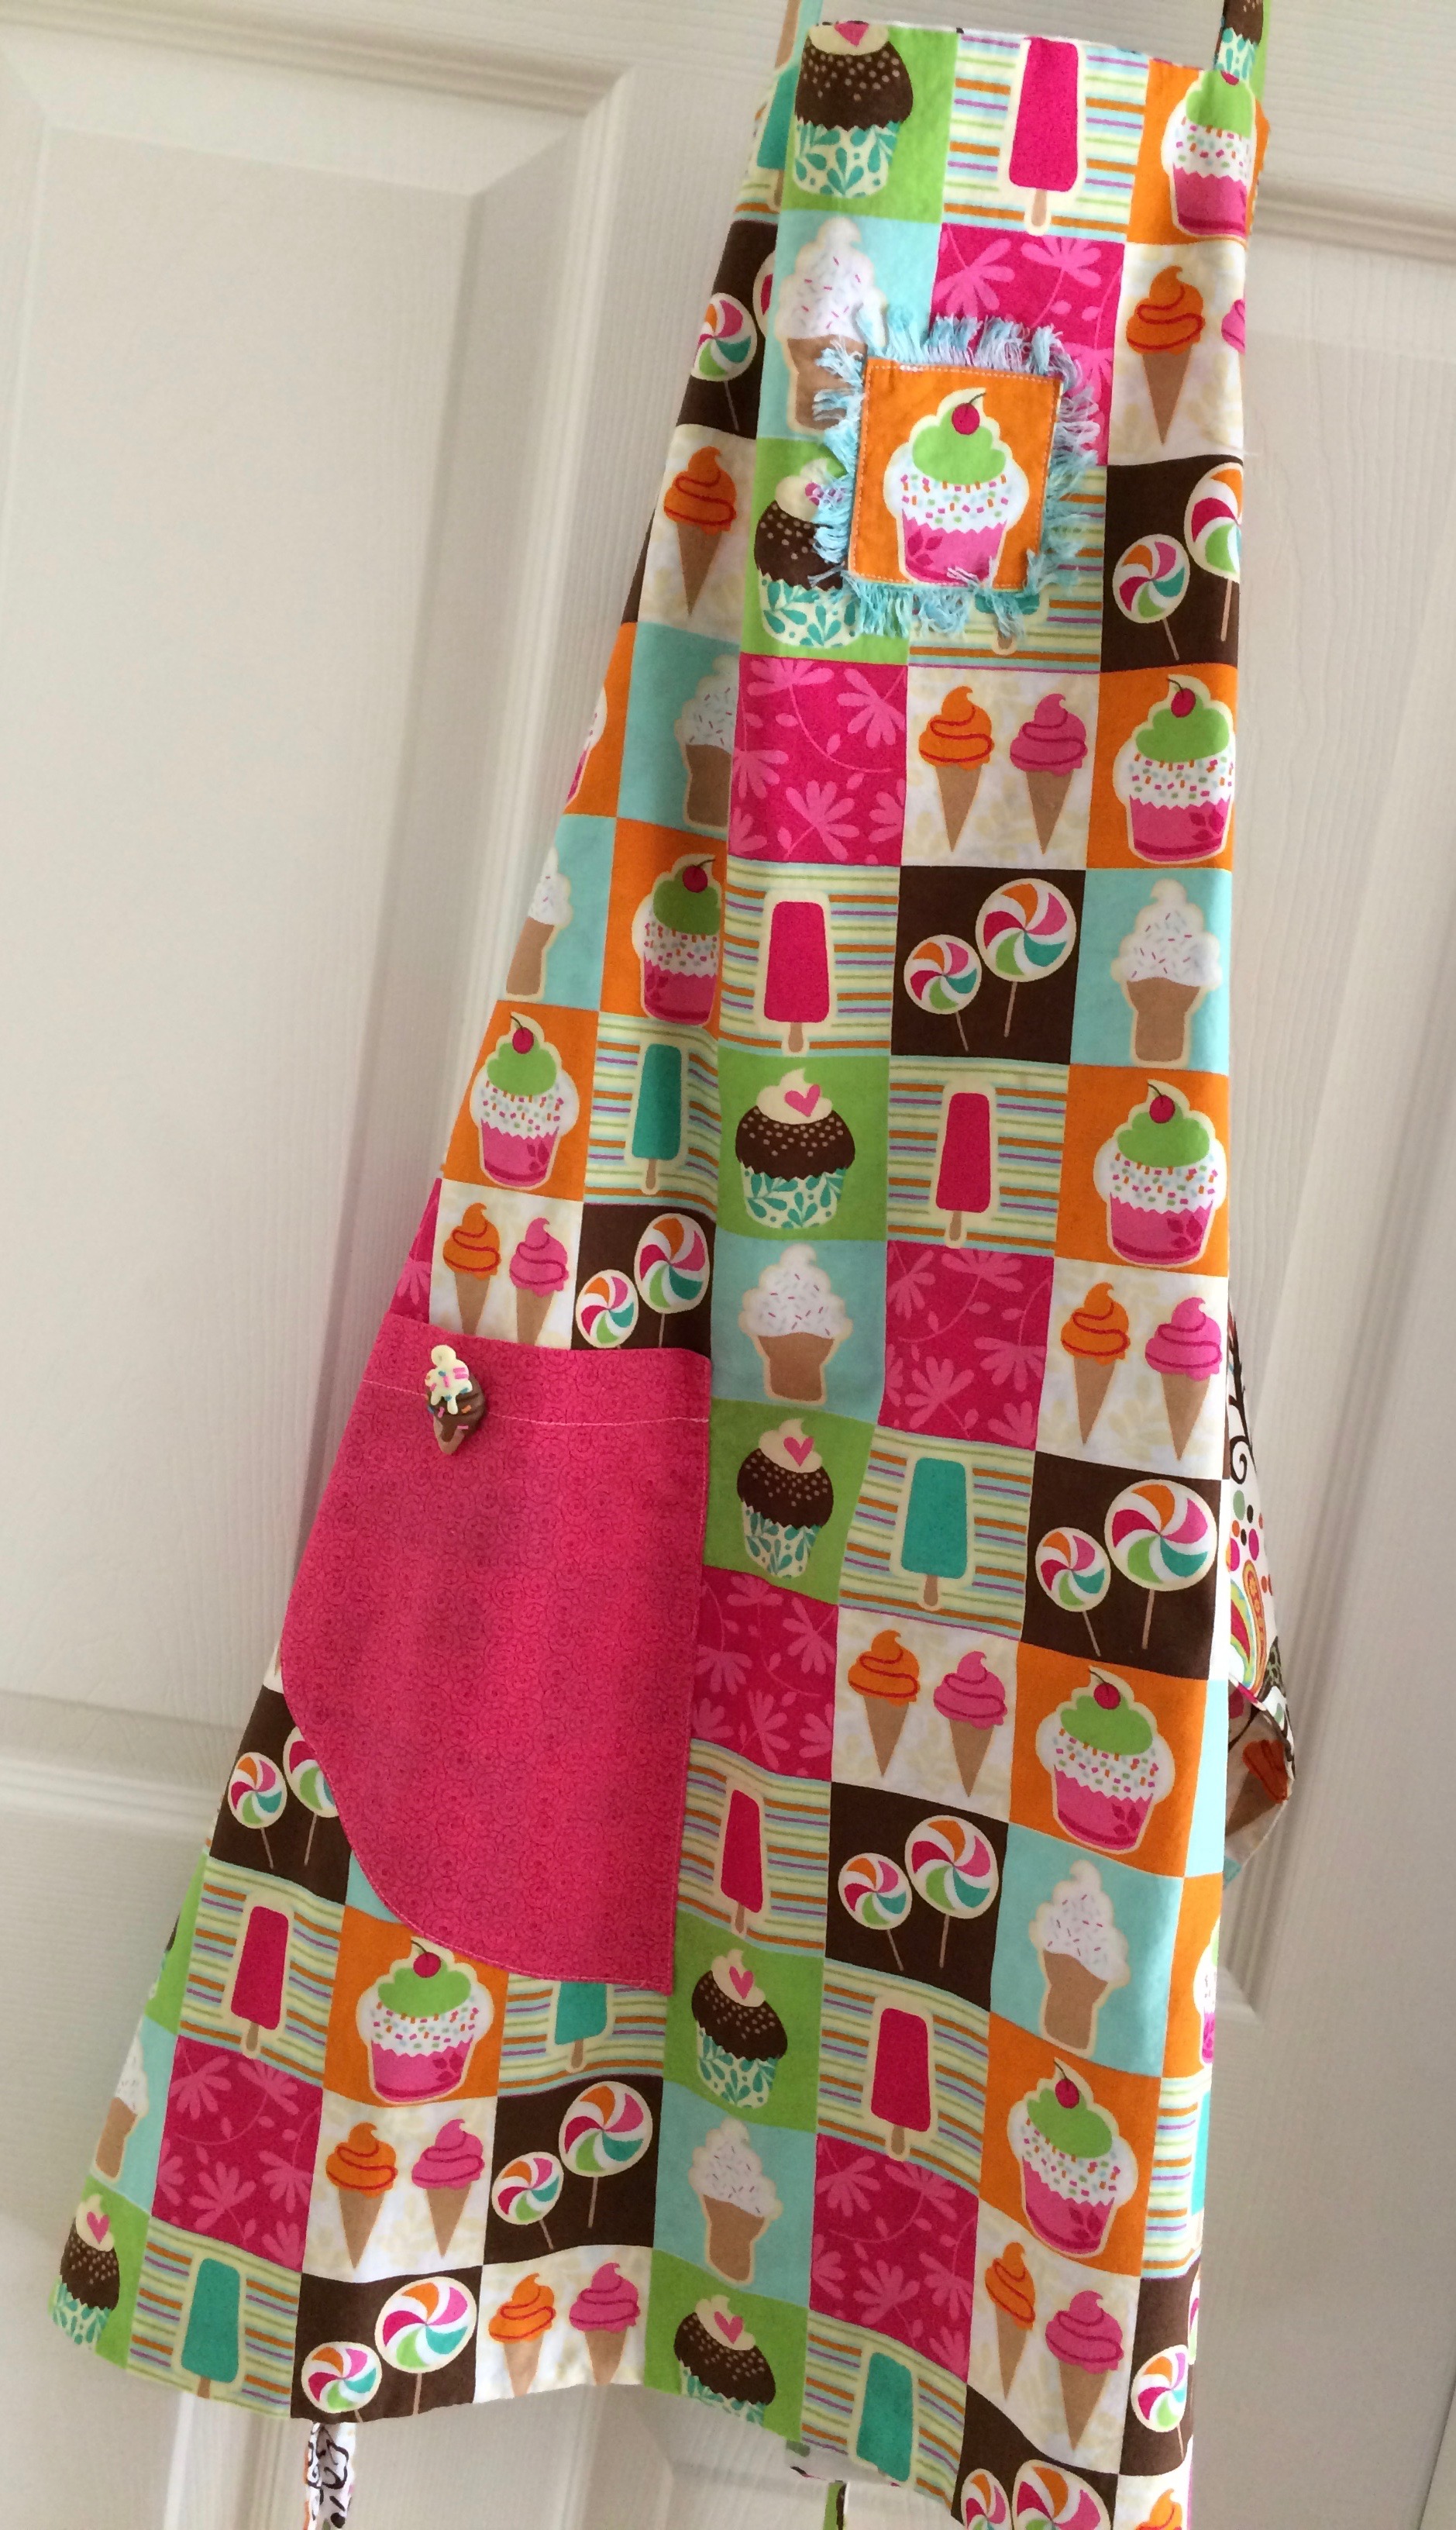
I put together gift baskets (or really boxes) that included a loaf of each type of sweet bread, a couple small jars of homemade jam, and one of my handmade embellished dishtowels. These were fun gifts to give to my friends (yes, my friends already received these gifts) and they were well received! These breads would also be great to make for holiday guests to enjoy with a cup of coffee or tea in the morning or as a snack later in the day. 

I have thoroughly enjoyed making most of the gifts that I am giving this year! I was afraid it might be more stressful making gifts rather than buying them, but I found it was actually more relaxing - I was able to be creative and do things that I love doing. I also wasn't part of the holiday buying rat-race that adds much more stress to the holidays than necessary! I am looking forward to making more gifts to give for Christmas next year!

I hope you have a great holiday season! 


Glazed Lemon Bread

This bread has a wonderful lemony flavor and the glaze makes it very moist.

  • 1 1/2 cups flour
  • 1 cup sugar
  • 1 teaspoon baking powder
  • 1/2 teaspoon salt
  • 2 large eggs
  • 1/2 cup milk
  • 1/2 cup salad oil (I use canola oil)
  • 1 1/2 teaspoons grated lemon rind
  • 4 1/2 tablespoons lemon juice
  • 1/3 cup sugar

In a large bowl, stir together flour, 1 cup sugar, baking powder and salt. In a small bowl, lightly beat egg, then beat in milk, oil and lemon peel. Add liquid mixture to flour mixture and stir until just blended. Pour batter into a greased and floured 5"x9" loaf pan (or three 3"x5" loaf pans). Bake in a 350-degree oven for 40-45 minutes for large loaf pan or 30-35 minutes for the small loaf pans, until a wooden pick inserted in center comes out clean.

While bread bakes, make the Lemon Glaze:  In a small pan combine the lemon juice and 1/3 cup sugar. Stir over medium heat until sugar is dissolved.

When bread is finished baking, use a long wooden skewer to poke numerous holes all the way to the bottom of loaf/loaves. Drizzle Lemon Glaze over the top of the loaf/loaves so that it slowly soaks into bread. Let bread cool in pan on a rack for about 15 minutes, then turn out onto rack and let cool completely. 

Note: I have had this recipe for so long and transferred it from its original form onto the computer many years ago, so I regret to say that I do not know where this recipe originated from - I wish I did!


Pumpkin-Pecan Bread

  • 3 cups sugar
  • 1 cup vegetable oil
  • 4 large eggs
  • 1 (15-ounce) can pumpkin
  • 3 1/2 cups all-purpose flour
  • 2 teaspoons baking soda
  • 2 teaspoons salt
  • 1 teaspoon ground cinnamon
  • 1 teaspoon ground allspice
  • 1 teaspoon ground nutmeg
  • 1/2 teaspoon ground cloves
  • 2/3 cups water
  • 1 to 1 1/2 cups chopped pecans, toasted

Beat first 11 ingredients at low speed with an electric mixer 3 minutes or until blended. Add 2/3 cup water, beating until blended. Stir in pecans. Pour batter into 2 greased and floured 9"x5" loaf pans (or six 3"x5" loaf pans). Bake at 350 degrees for 1 hour and 15 minutes for large loaf pans or 1 hour for small loaf pans or until a wooden pick inserted in center comes out clean. Cool in pans on a wire rack 10 minutes; remove from pans and cool completely on wire rack. Note: Bread may be frozen up to 3 months.

This recipe is from "Southern Living Our Readers Top-Rated Recipes"


Sign up to receive email newsletters from Uniquely Michelle:

A Handmade Season of Giving - Chapstick Holder

Michelle Burke

I have really enjoyed making as many homemade gifts as possible to give this Christmas. I am also enjoying sharing my homemade gift ideas with you in this A Handmade Season of Giving blog series. Today I am sharing a gift that is very fast to make - a chapstick holder.

I found a tutorial for these cute DIY Fabric Chapstick Holders from the Make It & Love It blog. Ashley has very clear instructions for making these DIY Fabric Chapstick Holders that double as key fobs. These adorable little gifts are very fast to make - I made one in less than half an hour. I love the double top-stitching on these chapstick holders!

You only need a little fabric, a little fusible interfacing and key fob hardware. My guess is you are already thinking of some great small prints in your fabric stash or scraps that would make cute chapstick holders. I found the key fob hardware here

The key fob hardware makes it easy to hang these chapstick holders on a backpack or purse. What a great way to add personality to a backpack or purse! Of course it makes a great key chain as well!

This chapstick holder is a quick and easy gift to make and adding chapstick finishes it off perfectly! They work well as stocking stuffers too! I hope you enjoy making some of these as gifts or maybe just for yourself!

Be sure to check out the other handmade gifts in this blog series! Most of the ideas are quick and easy to make, so you still have time to make them by Christmas!


Sign up to receive email newsletters from Uniquely Michelle:

A Handmade Season of Giving - The Just the Ticket Luggage Tag

Michelle Burke

Last year I decided that I would give as many handmade gifts as possible this year. I am sharing my handmade gift giving adventure with you in this "A Handmade Season of Giving" blog series. Today I am sharing the Just the Ticket Luggage Tag with you. The Just the Ticket Luggage Tag always makes a great gift on its own, but using it as a gift card holder or as a gift tag makes it an even better gift. I made a few this year out of holiday fabric to use as gift card holders and gift tags.

There are always those hard-to-please people who love giving gift cards, so I wanted to give gift cards to those people in a fun, reusable package. The Just the Ticket Luggage Tag is perfect! How fun to get a holiday-themed luggage tag to put on your luggage for holiday travels! If the recipient won't be using it as a luggage tag, they can keep the Just the Ticket Luggage Tag to use next year to give a gift card or as a gift tag.

I am have hung a couple Just the Ticket Luggage Tags that have gift cards hidden in them on the Christmas tree - they make a great decoration until they are opened on Christmas morning!

I have a couple Just the Ticket Luggage Tags with gift cards that I am giving along with a wrapped gift. They will serve a double purpose - a gift tag and as a gift card holder! The luggage tags add such a lovely addition to a gift, making it extra special!

The flap on the front closes with a snap, hiding the gift card or the to/from tag - adding anticipation to the Christmas morning.

I love the puppy peeking through the window on the Just the Ticket Luggage Tag on the right!

I love the puppy peeking through the window on the Just the Ticket Luggage Tag on the right!

The Ticket Luggage Tag is very fast and fun to make. I know for myself, once I start making one or two Just the Ticket Luggage Tags, I want to make more! You can get the pattern for the Just the Ticket Luggage Tag from my Etsy Shop, or from my Craftsy Pattern Shop or from my Uniquely Michelle Website Shop. I think you will have as much fun making these quick gifts as someone will have in receiving them!


Sign up to receive email newsletters from Uniquely Michelle:

A Handmade Season of Giving - Heart Hand Warmers

Michelle Burke

The saying goes, "Cold hands, warm heart." With these adorable heart hand warmers, you can have warm hands too! I decided last year that I was going to make as many gifts to give this year as possible. I am sharing my ideas for handmade gift-giving in this A Handmade Season of Giving blog series. I am excited to share these fun heart-shaped hand warmers with you today!

I found the Upcycled Heart Hand Warmers Tutorial to make these fun heart-shaped hand warmers awhile ago. Stephanie Woodson wrote the tutorial in her blog, Swoondson Says. In the tutorial, it says to use an old sweater which is a great up-cycling option, but I don't have any old sweaters. Instead, I decided to use some wool felt.

The wool felt is great because it doesn't unravel, so I sewed the hearts together leaving the seam allowance on the exterior of the hand warmers. Making these handwarmers this way, made this project just that much faster.

I also did a little hand applique on the front of each one. I did a more complicated design on one heart of the pair of hand warmers and then just a simple snowflake or heart on the other heart. The applique was a little time consuming, but once that was finished, the hand warmers came together very quickly.

The small heart that goes inside the larger heart is made of knit fabric (suggested in the tutorial) and filled with rice. Then if the outer heart gets dirty, it can be hand washed and used again! I warm the interior hearts in the microwave for 1 minute on high, insert them into the outer wool felt heart and put one in each pockets just before heading out on a walk with my dog. As one hand gets cold from holding the leash, I can switch hands, putting the cold one in a pocket warmed by one of these cute hand warmers. This is a perfect gift for someone who walks or does other cold-weather activities.

One small change I made on the pattern is I cut off 1/4" from the straight edge on each of the exterior back pieces. I did this because I didn't have to finish the edge since it wasn't going to unravel. In case you are wondering (like I did), I found that each interior heart took about a heaping 1/4 cup of rice to fill. It would be fun to make these with an old sweater, some knit fabric or even some quilting cotton. I think with a knit or cotton fabric, the heat may be lost faster, but I may be wrong about that.

Giving a set of hand warmers as a gift to someone who is special to you with a note that said something like, "Now you can have warm hands to go with your warm heart" would be perfect! I hope you are inspired to give someone who is special to you these adorable handmade heart hand warmers!


Sign up to receive email newsletters from Uniquely Michelle:

A Handmade Season of Giving - The Kristine ID Wallet

Michelle Burke

Today I am sharing a handmade gift idea that I am really excited to give this Christmas. Last year I decided that I was going to make as many gifts as I could this year and now I am sharing some of those handmade gifts with you. Today I am sharing the Kristine ID Wallet. Yes, this is one of my own patterns, but the Kristine ID Wallet is also one of my favorite gifts to give!

The Kristine ID Wallet is perfect for anyone who needs an access badge at work – medical professionals, teachers, government employees, military, any corporate employee, etc. It will easily hold an access badge plus a little cash for lunch and some business cards or credit cards. The Kristine ID Wallet can be worn as a wristlet or as a lanyard - directions for both options are included in the pattern.

This Christmas my niece will be receiving one of these from me (I am hoping she isn’t reading this!). My niece is 15 and will be getting her driver’s license in a few months. The Kristine ID Wallet is perfect for a new driver. It holds all the essentials in a compact form and it has the much preferred lanyard that the teens love – I think they like the lanyard just because it is a fun way to swing your keys and wallet as you walk! My college daughters love their Kristine ID Wallets to hold the key cards that they use to get into their dorm/apartment. Once again, college girls love the lanyard option as well as the wristlet option.

The Kristine ID Wallet is quick to make – I can make one in about 1 ½ hours. It doesn’t require much fabric; less than 1/2 yard of fabric and a small piece of clear vinyl. You can purchase the Kristine ID Wallet pattern and find all the fabric requirements and other items needed to make this wallet in the description of the pattern in my Etsy Shop, in my Craftsy Pattern Shop or in the "Shop" section on the Uniquely Michelle Website.

On one side, The Kristine ID Wallet has a clear ID pocket. It also has a zipper pocket perfect for change and cash. The thing that makes the Kristine ID Wallet unique is the cute envelope flap that covers two card pocket slots on one side. 

This wallet is really perfect for holding just the essentials when you don’t want to lug a purse around. I like to use my Kristine ID Wallet for sporting events and quick trips to the grocery store. 

Now I just need to decide which of these two wallets my niece would like better and wrap it up!


Sign up to receive email newsletters from Uniquely Michelle:

A Handmade Season of Giving - Easy Embellished Dishtowels

Michelle Burke

In this season of gift giving, I am making as many gifts as I can this year. I am sharing the gifts that I have made in this blog series, "A Handmade Season of Giving." Today I am sharing how I embellished some dishtowels to give them a holiday flair. One of the dishtowels I embellished for everyday use, not just for use during the Christmas season.

I had a great time embellishing dishtowels to give as gifts this year. It was fun to use Christmas and wintery fabric for this project and adding some fun coordinating ribbon or other trim. Dishtowels make great hostess gifts and can be paired with a coordinating apron (see previous post) and or a recipe and wooden spoon or two. Wrapped with some of the ribbon you used to embellish your dishtowel and you won’t need wrapping paper to make a pretty gift for your favorite cook.

I used dishtowel fabric that I found sold by the yard at THIS ETSY SHOP. MODA’S dishtowel fabric is fabulous and the edges are finished, so you only have to prewash the fabric to preshrink it and then cut it to length (around 27” is good) and finished the cut edges. I pressed the raw edges up to the wrong side of the dishtowel ½” and then up another ½” and then just top-stitched the folded edges in place. You could definitely use a dishtowel that is pre-made and bought from a store. You will still want to prewash it before you add any embellishments.

I embellished most of my dishtowels in on of two ways - a strip of fabric edged either with ribbon or with smaller strips of an accent fabric. These are fun and fast to make - I made each one in less than ½ hour from cutting the fabric to finished product! The part of this project that slowed me down was the time I spent deciding which fabrics and trims to put together – it was just so much fun to think of all the possibilities! The fabrics and trims you use determine whether the finished dishtowel will have a classy or a playful look – or something in between!


EMBELLISHING A DISHTOWEL

Sewing On Your Main Fabric Strip:

1.  Cut the main fabric strip so that it is  1 1/2" wider than the measured finished width of the dishtowel that you are using. Cut it 4 1/2" tall.  

2.  Take your main fabric strip and press one short edge in 1/2”. Leave the other short edge unpressed so that you can adjust it to fit the width of the dish towel exactly. You don't need to worry about doing anything with the long raw edges of your fabric strip, they will be finished later with ribbon or a smaller fabric strip.

3.  Pin main fabric strip onto dish towel so that lower edge is about 2 1/2” up from the bottom edge of the dish towel. Start pinning at pressed short edge (photo below left). When you get to the unpressed edge (photo below center), finger press it to match the width of the dish towel exactly. Pin in place (photo below right).

4.  Top-stitch around entire edge of fabric strip very close to the edge (1/16” away from edge if possible). I use a long stitch length for this (3.5). I like to use a thread the machine with a color of thread that coordinates (or one that is a fun contrast) with the main fabric strip. For the bobbin thread, I use a color that matches the dish towel.

Adding Ribbon to Finish the Long Raw Edges of the Main Fabric Strip:

1.  Cut two pieces of ribbon so each one is 1 1/2" longer than the measured width of your dishtowel. Pin one ribbon piece in place centered over one long raw edge of your main fabric strip. Use the same method you did for pinning the main fabric strip: folding one edge of your ribbon over 1/2" and matching that to the edge of your dishtowel, pinning across and folding in the other end so it exactly matches the other edge of your dishtowel. (See photos below)

2.  Once both ribbons are pinned in place, sew around all four edges of each ribbon very close to the edge (1/16” away from edge if possible). I use a long stitch length again (3.5) and I use a thread the machine with a color of thread that coordinates (or one that is a fun contrast) with the ribbon. For the bobbin thread, I use a color that matches the dish towel.

Adding Accent Fabric Strips to Finish the Long Raw Edges of the Main Fabric Strip:

1.  Cut two pieces of accent fabric so each one is 1 1/2" longer than the measured width of your dishtowel and 2" high. 

2.  Use a chalk pencil or a erasable marker on the wrong side of each of your accent fabric strips to mark the center of the length of each strip (the long way). Fold both of the long raw edges of each accent fabric strip to the wrong side so that they meet at the center line and press. (See photo below)

3.  Pin one accent fabric strip in place centered over one long raw edge of your main fabric strip. Use the same method you did for pinning the main fabric strip: folding one edge of your accent fabric strip over 1/2" and matching that to the edge of your dishtowel, pinning across and folding in the other end so it exactly matches the other edge of your dishtowel. (See photos below)

4.  Once both accent fabric strips are pinned in place, sew around all four edges of each accent fabric strip very close to the edge (1/16” away from edge if possible). I use a long stitch length again (3.5) and I use a thread the machine with a color of thread that coordinates (or one that is a fun contrast) with the accent fabric strip. For the bobbin thread, I use a color that matches the dish towel.


I love giving fun and practical gifts - these dishtowels definitely are fun and practical! They are fun and easy to make too! Watch for another quick and easy handmade gift idea coming in a couple days!


Sign up to receive email newsletters from Uniquely Michelle:

A Handmade Season of Giving - A Reversible Apron

Michelle Burke

Last year I decided I would make as many gifts as I could to give as Christmas gifts. In this, "A Handmade Season of Giving" blog series, I am featuring some of the gifts that I am giving this year or have given in the past. All of them are quick and easy to make! Today I am featuring a reversible apron that I love to make and give as a gift.

Giving an apron to a someone who likes to cook is always a much-appreciated gift! I have received aprons as gifts (thanks Mom) and I have made them for myself and others. My favorite apron pattern is Mary Mulari’s Favorite Reversible Apron Pattern. This butcher style apron includes a pocket or two and an adjustable Velcro neck strap. I have made this apron many times and it is a fast and fun sewing project. You only need two 1 yard pieces of cotton fabric, although I sometimes use another small piece of fabric or two to make the pockets.

I like just having one pocket (where my phone lives while I cook) and I either reverse the pocket fabric (fabric #1 pocket sewn onto the side of the apron made with fabric #2) or I use a completely different fabric for the pockets on each side. The only other alteration I have made to this pattern is that I usually sew the straps together at the neck or if I want it to be adjustable, I put a button or two on one strap and a button hole or two on the other strap. The pattern instructs you to put Velcro on the neck straps and I have made the apron this way as well and it works very well, I just prefer buttons.

My daughters made these aprons for themselves when they were around the ages of 12 & 14. They really had fun picking out fabrics and sewing them up. They also added buttons to the pockets and sewed on a feature piece of their fabric near the top to add even more personality to their aprons.

I didn’t make aprons this year for gifts, but I have made them before for a Christmas craft fair at my church. I also made a Christmas-themed apron for my Mom for her birthday present a couple years ago – her birthday is at the end of November so she had it in time to wear for all her holiday baking and cooking.

I can make one apron, from cutting the fabric out to finished apron in about 1½ to 2 hours. It is important to prewash the fabric so that it is preshrunk before you cut the apron. If the cook you are giving this gift to is anything like me, the apron will be washed several times in its lifetime. I am a messy cook - the reason I wear an apron!

An apron can be a fun gift to include in a combination gift that includes a favorite recipe and a wooden spoon or two. You could also add a coordinated dishtowel! That brings us to the next blog post in this series – adding some fabric and trims to a dishtowel to make a pretty custom dishtowel, perfect for giving as a gift! Watch for the next blog post coming soon!!!


Sign up to receive newsletters from Uniquely Michelle:

A Handmade Season of Giving - The Chunky Crochet Cowl Infinity Scarf

Michelle Burke

Believe it or not, I am starting this Handmade Season of Giving series with a gift idea that isn’t sewn, but crocheted! Even if you don't crochet, no worries - read on! The Chunky Crochet Cowl Infinity Scarf is fast and easy to make and it looks so nice when it is finished. I really had fun making these, to the point that I made quite a few! 

This is five of the eight scarves that I made to give as Christmas gifts.

This is five of the eight scarves that I made to give as Christmas gifts.

I found this scarf while looking for gift ideas on Pintrest. Janna of JJCrochet has patterns for the Chunky Crochet Cowl Scarf (a shorter scarf) as well as the Crochet Cowl Pattern with Infinity Loop (a longer scarf) available for free on her website! I actually took what I liked from each of these two patterns to make my scarves. I liked the shorter cowl neck scarf because it uses less yarn and it is faster to make than the long one. I liked the infinity loop of the longer cowl scarf though. Basically I just made the short version (the Chunky Crochet Cowl Scarf) a little longer so that I could add a twist before sewing the ends together, making it an infinity scarf. I have details toward the bottom of this post explaining exactly how I made this change!

This scarf is a great beginner scarf, it only takes two different stitches to make and they are easy to learn! I learned the two crochet stitches needed to make this scarf by watching the two short videos Janna has made where she demonstrates how to crochet the two stitches.

To give you an idea of how easy this scarf is to make, I have crocheted before, but just afghans made solely using a basic chain stitch. Using Janna’s videos and practicing a little, I was able to quickly figure out how to make the Chunky Crochet Cowl Scarf. Once I had the stitches down, I could make one in between 2 and 2½ hours!

I recently visited my sister in Maryland. I crocheted a couple scarves on the flights to and from - a nice way to pass the time on an airplane!

I recently visited my sister in Maryland. I crocheted a couple scarves on the flights to and from - a nice way to pass the time on an airplane!

The Cowl Neck Infinity scarf is also fairly economical too (depending on the yarn you choose to use) because you will need only one or maybe two skeins of bulky yarn for each scarf! Janna recommends Lion Brand Wool-Ease Thick & Quick Yarn for theses scarves. I used Wool-Ease Thick & Quick Yarn for most of my scarves and I also recommend it; it was easy to work with, I only needed one skein of yarn, I was able to get it at JoAnns and I think the scarves made of this yarn are beautiful.

My sister wearing her early Christmas gift - she loved it!

My sister wearing her early Christmas gift - she loved it!

I varied how I made the scarf slightly because I wanted my scarves to be a little longer. Each of my rows has 65 stitches and after the Foundation Chain row, I crocheted another 10 rows using the Herringbone Half Double Crochet stitch. I found that with a total of 11 crocheted rows, I was still able to make a scarf with one skein of the Wool-Ease Thick & Quick yarn. The only other change I made was that before I whip stitched the ends together, I added one twist to the scarf to make it an infinity scarf. 

I can't wait to give these scarves as gifts, I think my friends and family will love them! Now I just have to make one for myself!


Sign up to receive email newsletters from Uniquely Michelle:

A Handmade Season of Giving

Michelle Burke

I decided last Christmas that I was going to try to give handmade gifts as much as I could next year. Well here it is almost a year later and I have been able to come up with some great handmade gift ideas to give this Christmas. I want to share my gift ideas with you in a blog series - hopefully one or more of these great handmade gift ideas will inspire you to make some gifts to give this year too! 

All of the handmade gifts I will be suggesting in this blog series are ones that I have made and have enjoyed making them – the reason I am suggesting them.  They are also fast to make and some are quite economical. It has also been fun making these handmade gifts and thinking about the person I will be giving each gift to as I make it!

Even though I love to sew, not all the handmade gift ideas will be sewn creations. I will share a  crocheted scarf that is fast and easy to make! Of course many of the gifts will be sewn, like embellished dishtowels and handwarmers. The common thread with all the gifts is that they can be made quickly and are easily! Most of these gifts can be made in less than 2 hours, some in as little as ½ an hour.

I will share any materials that I recommend and any helpful hints I have found as I have made the gifts. I welcome any suggestions you have on any of the projects, I think it is helpful to get a variety of ideas and help from several sources. Just so you know, I have not been paid by anyone of the people who have produced any of the tutorials or patterns that I will reference in this series. All the gifts I have made are just ones that I have used and I love and therefore feel that they are worth sharing with you! 

Watch here for a new post every few days with an new, quick and easy gift to make!


Sign up to receive email newsletters from Uniquely Michelle:

Goodbye Lindsay Wristlet Week - It Has Been Fun

Michelle Burke

Today is the last day of Lindsay Wristlet Week - I hope you have enjoyed learning some way to change up the Lindsay Wristlet a bit! It was fun learning from Kristina how to increase the size of the Lindsay Wristlet and how to add a slip pocket. Thanks Kristina for teaching us how to do both of those things! It was fun for me to give away three of my patterns - congratulations to the winners! The 15% off sale will go through today at 10:00pm (MDT), so don't miss out - get any Uniquely Michelle patterns now! Remember to enter the coupon code LINDSAYWEEK during checkout in my Website Shop or in the Uniquely Michelle Etsy Shop. You can also purchase patterns from the Uniquely Michelle Craftsy Pattern Shop where I have reduced the prices to reflect the 15% off.

I would love to see pictures of everyone's Lindsay Wristlet creations, whether you change it up some or just follow the pattern! Please share any pictures on Instagram (#uniquelymichelle) or in the Uniquely Michelle Sewing Patterns Facebook Group. The Facebook group is a fun place to not only share pictures of your Uniquely Michelle creations, but to also get help and share ideas. Speaking of sharing ideas . . . please share any ideas you have for changing up the Lindsay Wristlet pattern. I have already had someone suggest another great change up for the Lindsay Wristlet (I will have to share this one later), but I am sure there are even more ideas out there! Share your ideas in the comments below or in the Uniquely Michelle Sewing Patterns Facebook Group.

Thanks for joining me during Lindsay Wristlet Week, it has been a blast!


Sign up to receive email newsletters from Uniquely Michelle: