contact Me

Use the form on the right to contact Me.


123 Street Avenue, City Town, 99999

(123) 555-6789

email@address.com


You can set your address, phone number, email and site description in the settings tab.
Link to read me page with more information.

Blog

Filtering by Tag: sewing

The Snap To It Key Fob & The Kristine ID Wallet - A Good Pair!

Michelle Burke

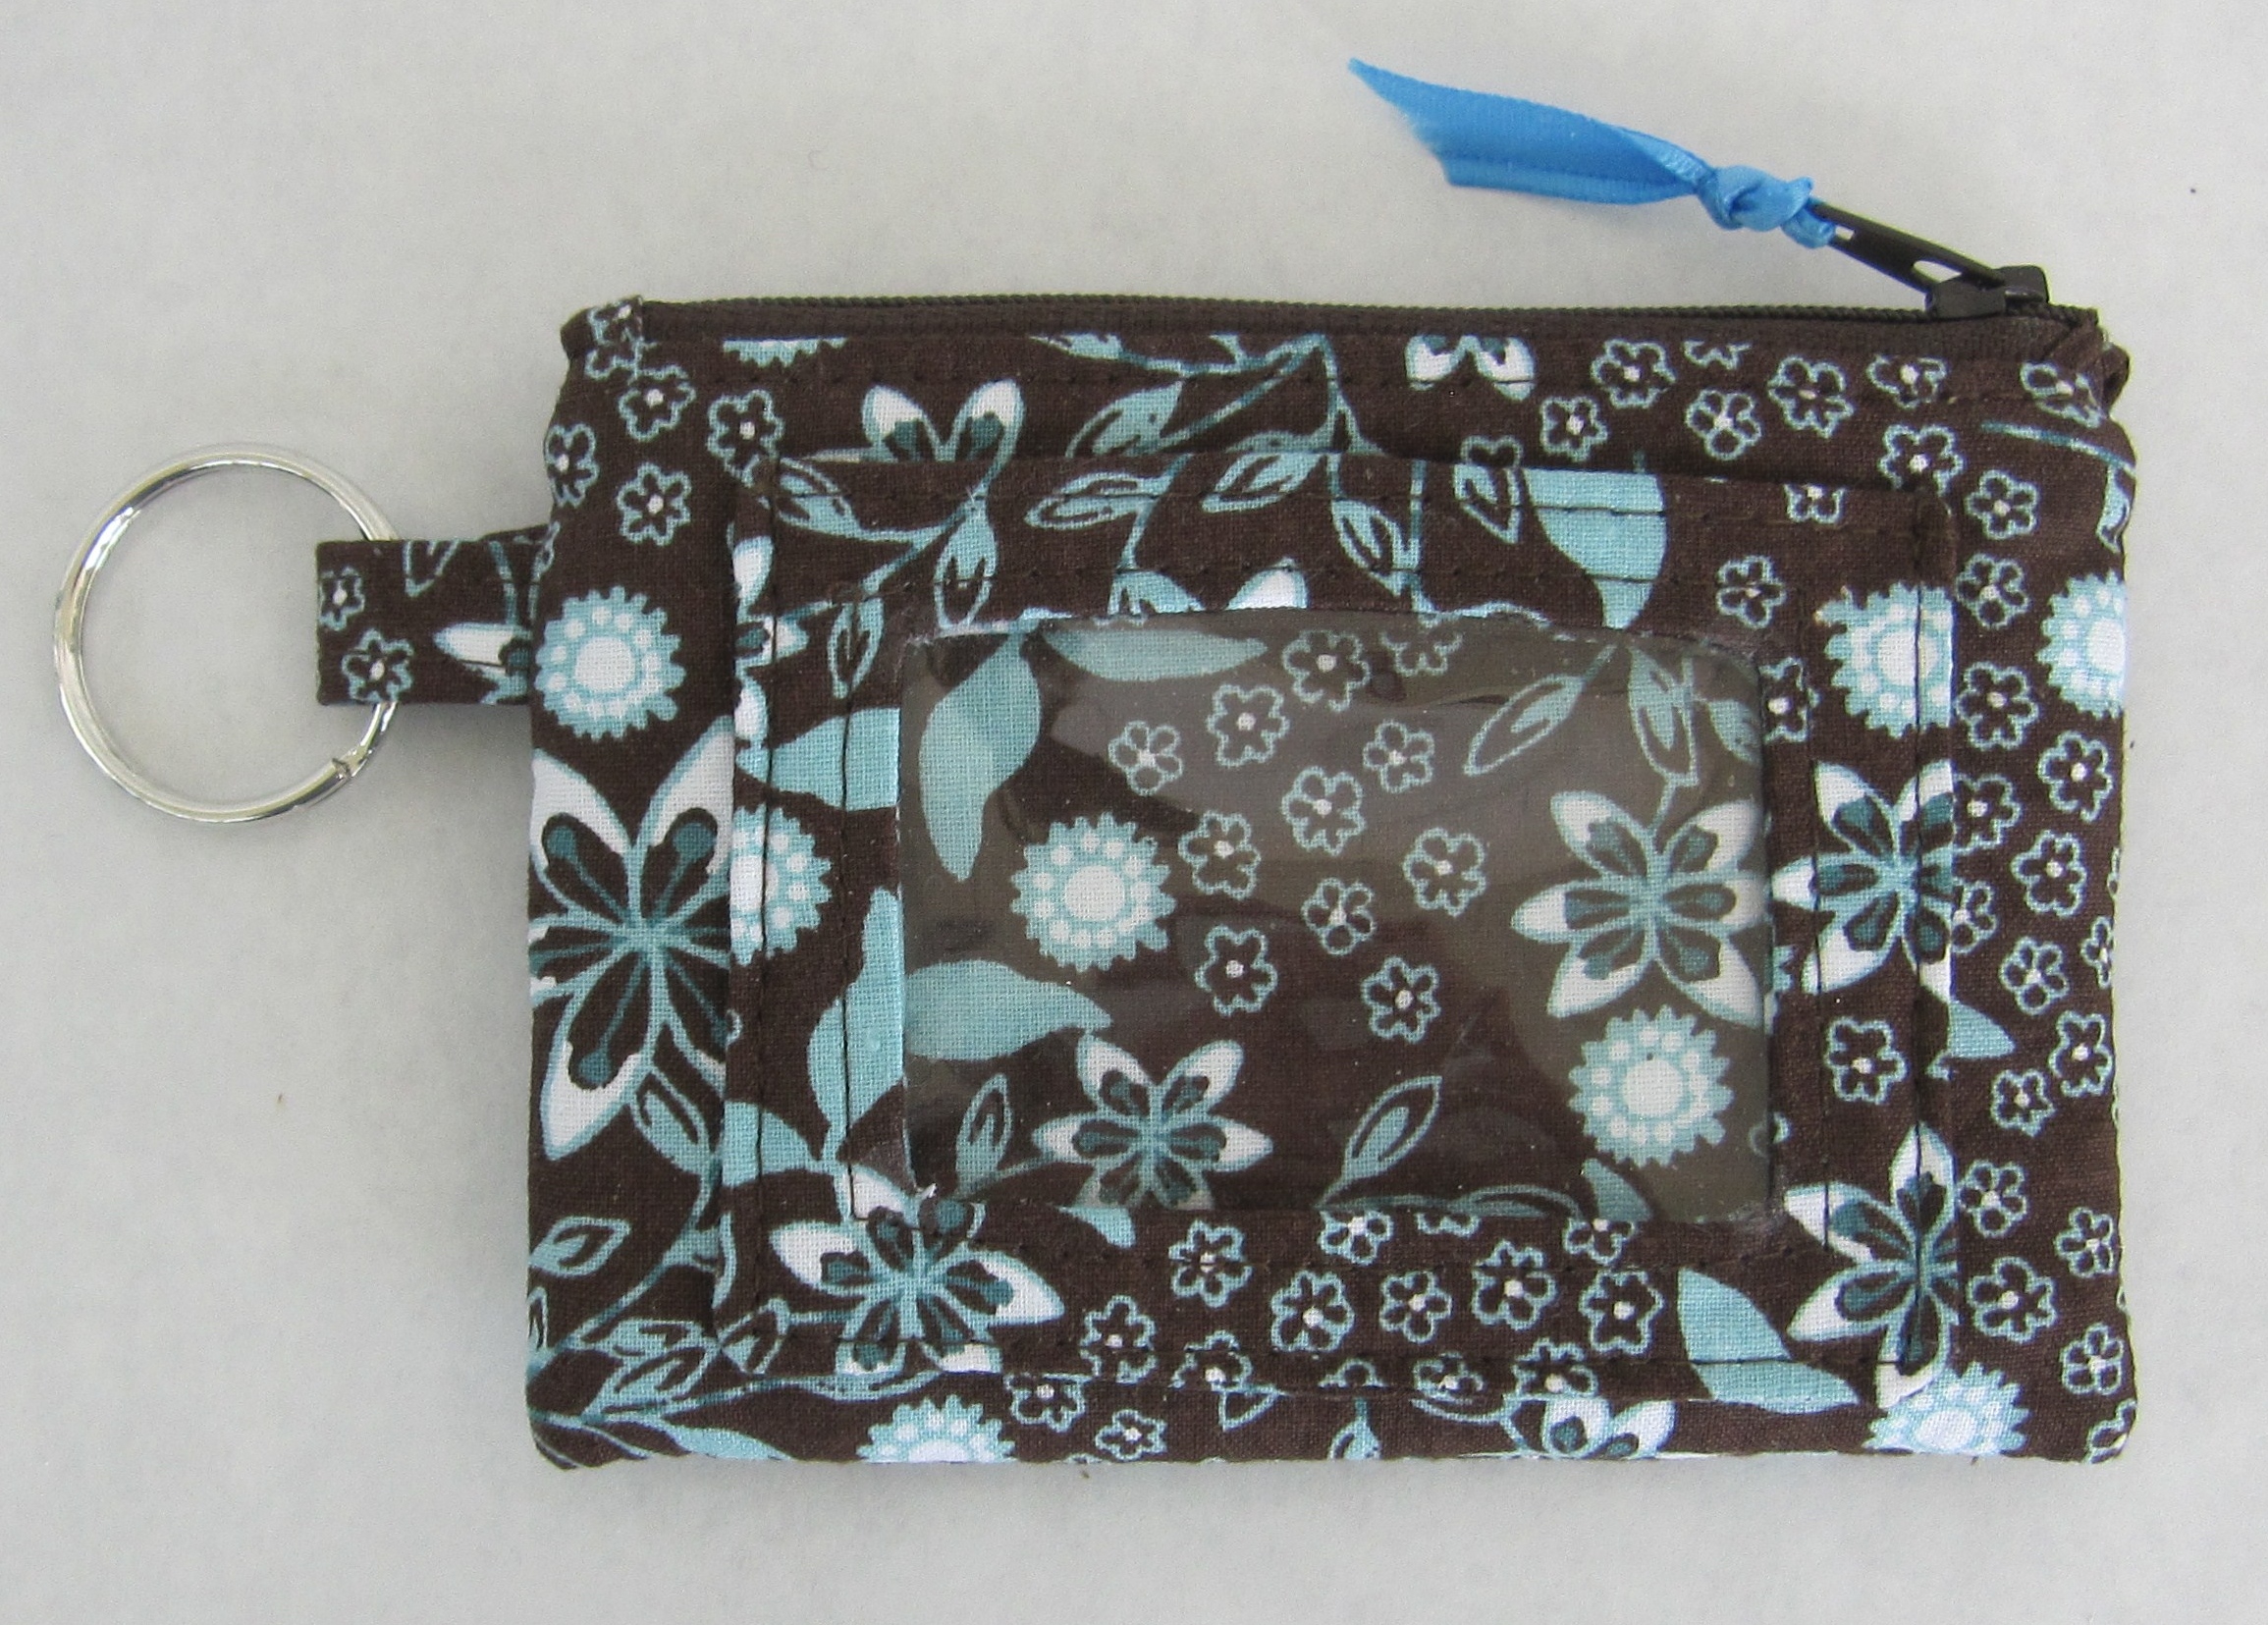
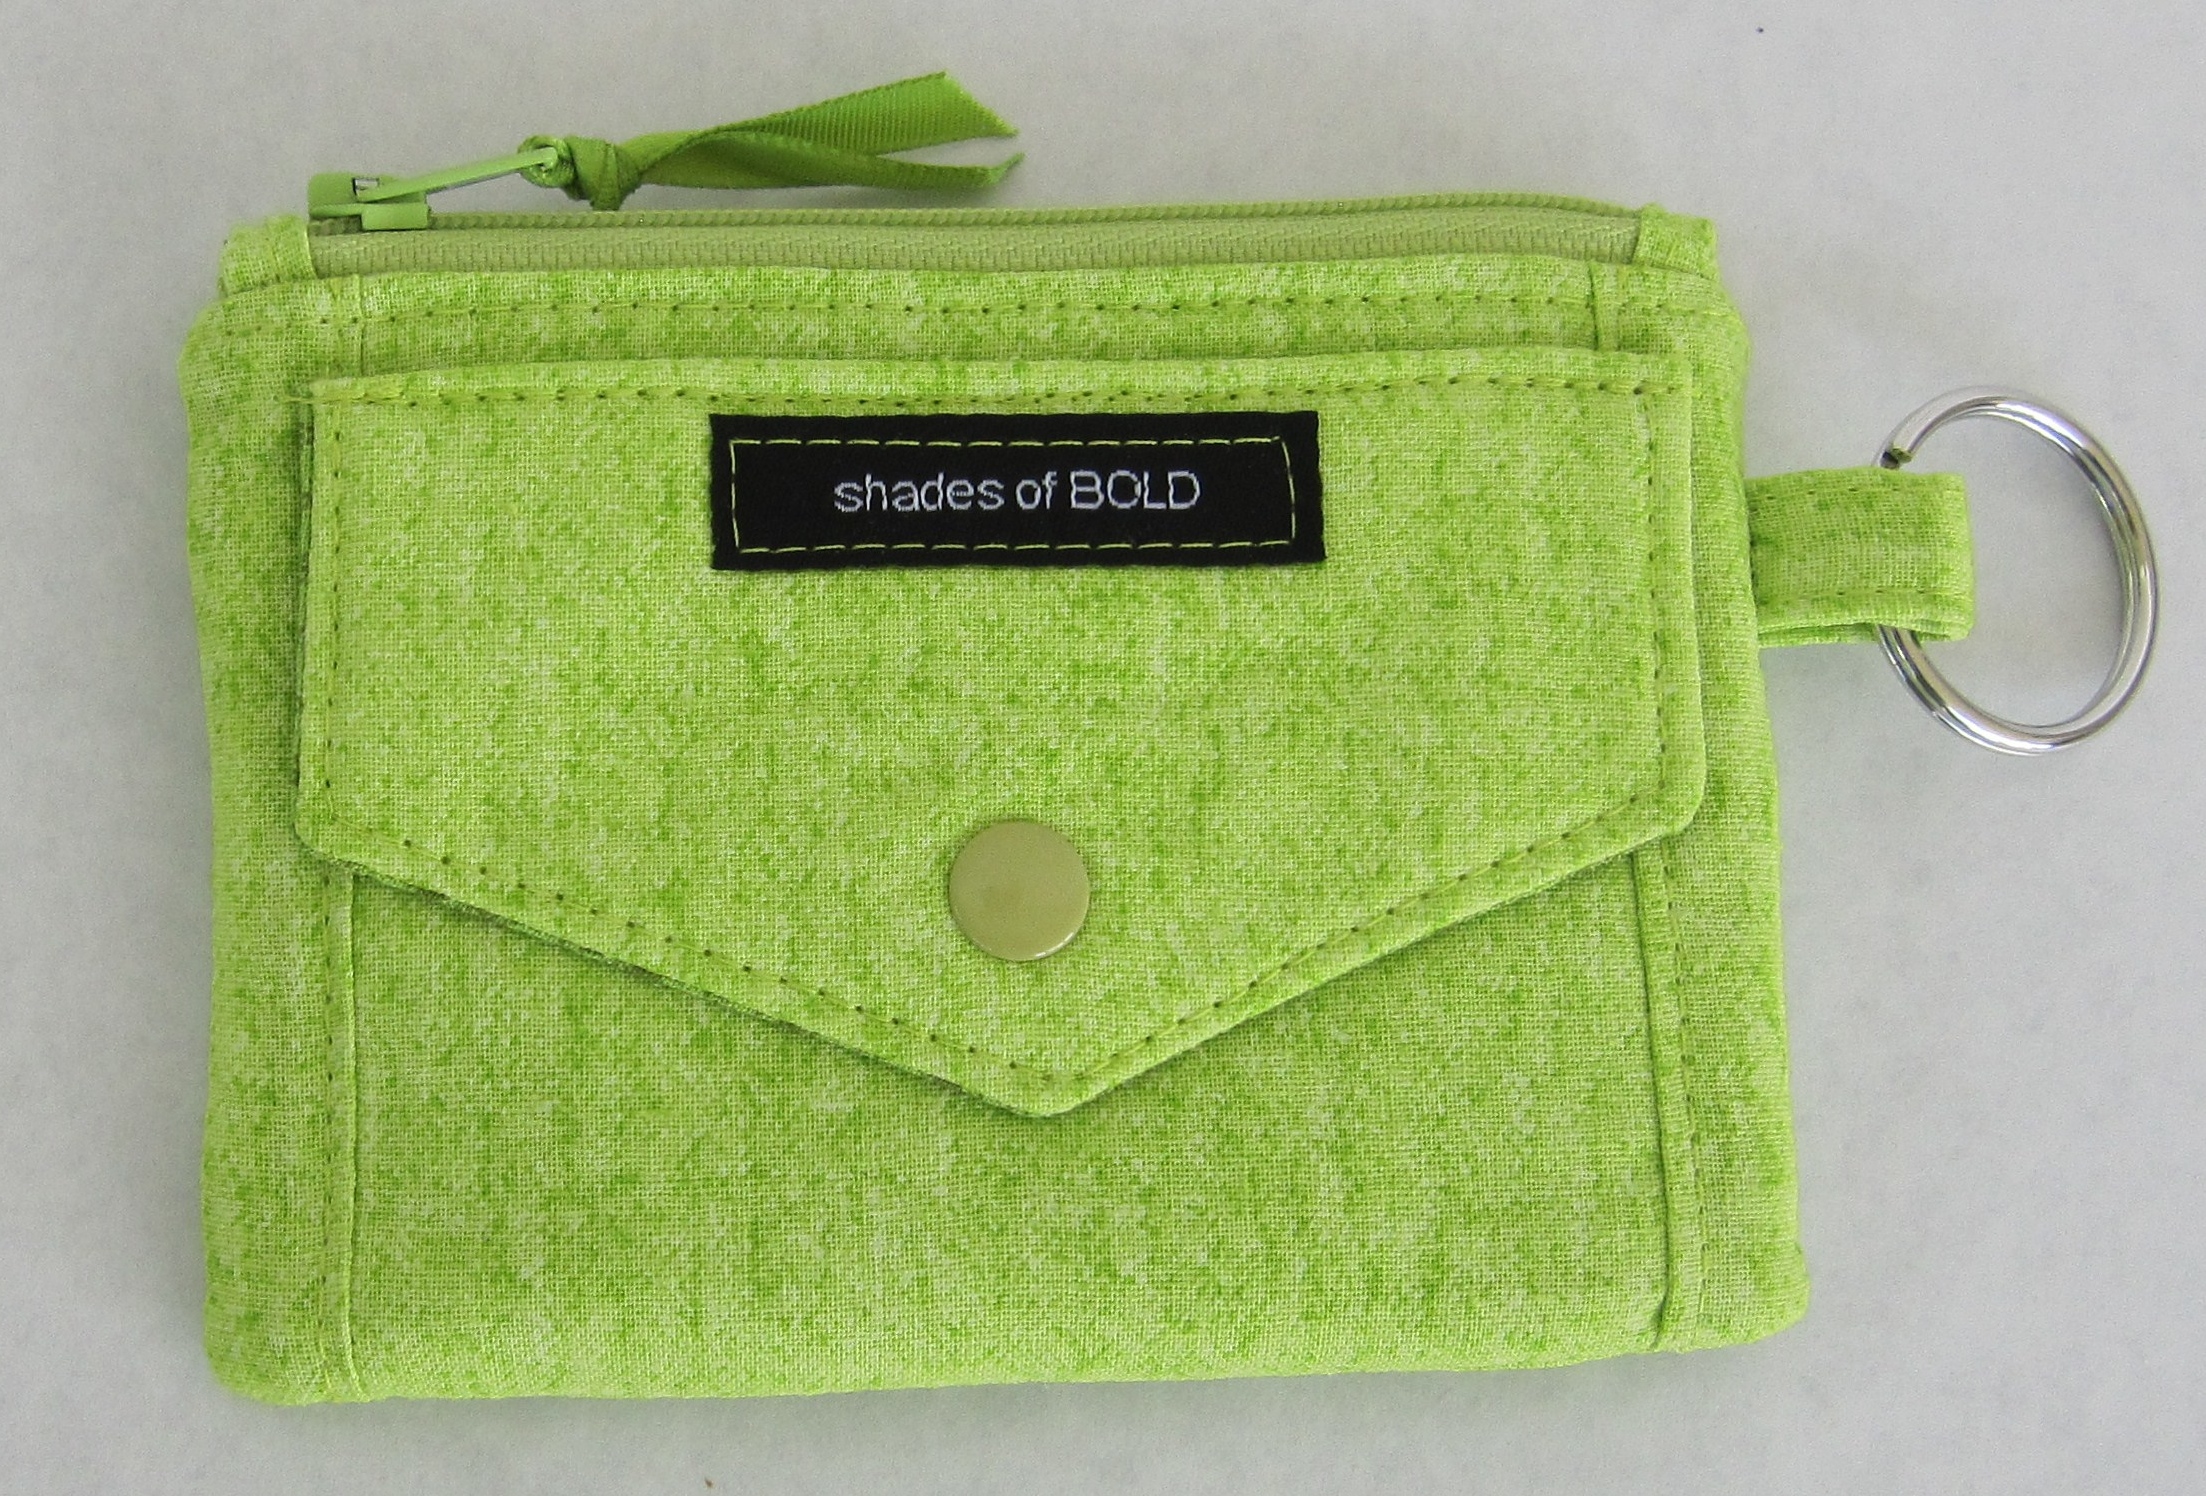
As you would probably guess, I made several Snap To It Key Fobs as I was writing the Snap To It Key Fob pattern. Since the release of this free pattern, I have made a few more - they are so fun to make and fast to sew up! As I was writing the pattern, I kept thinking that the Snap To It Key Fob would make a great wristlet strap for a wallet or wristlet. I had to try it out of course, so I made a Kristine ID Wallet and matching Snap To It Key Fob.

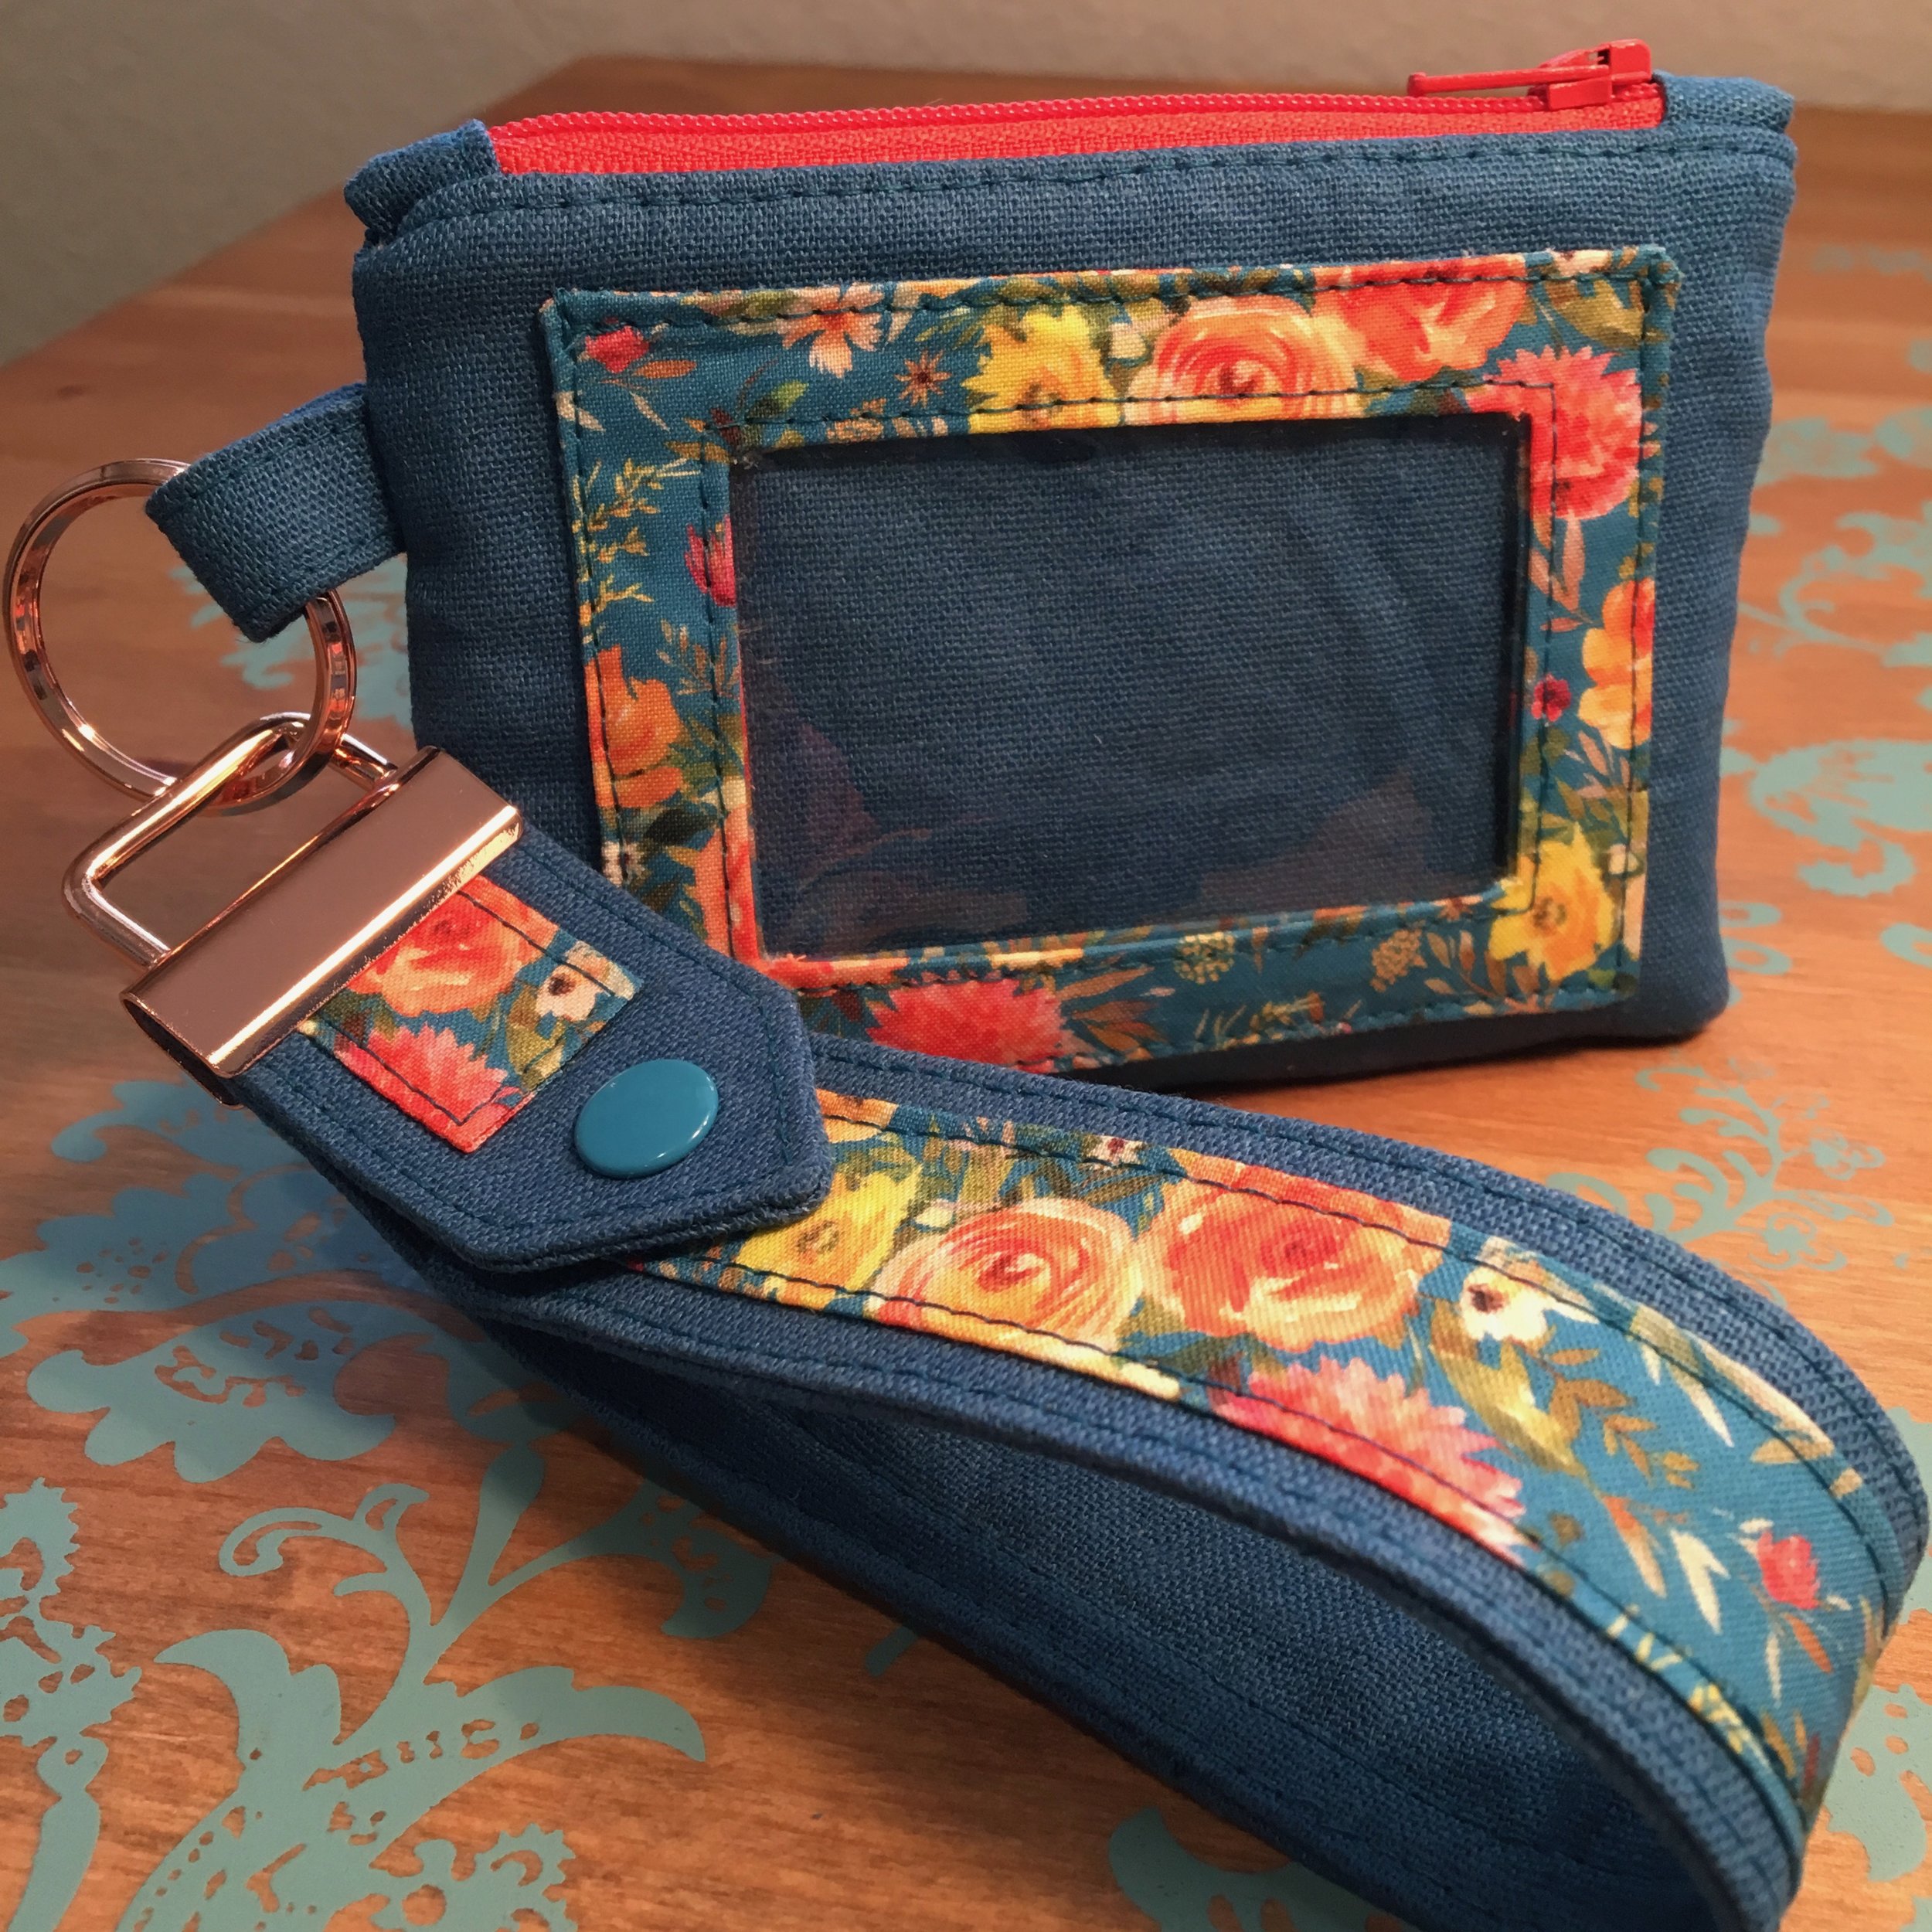
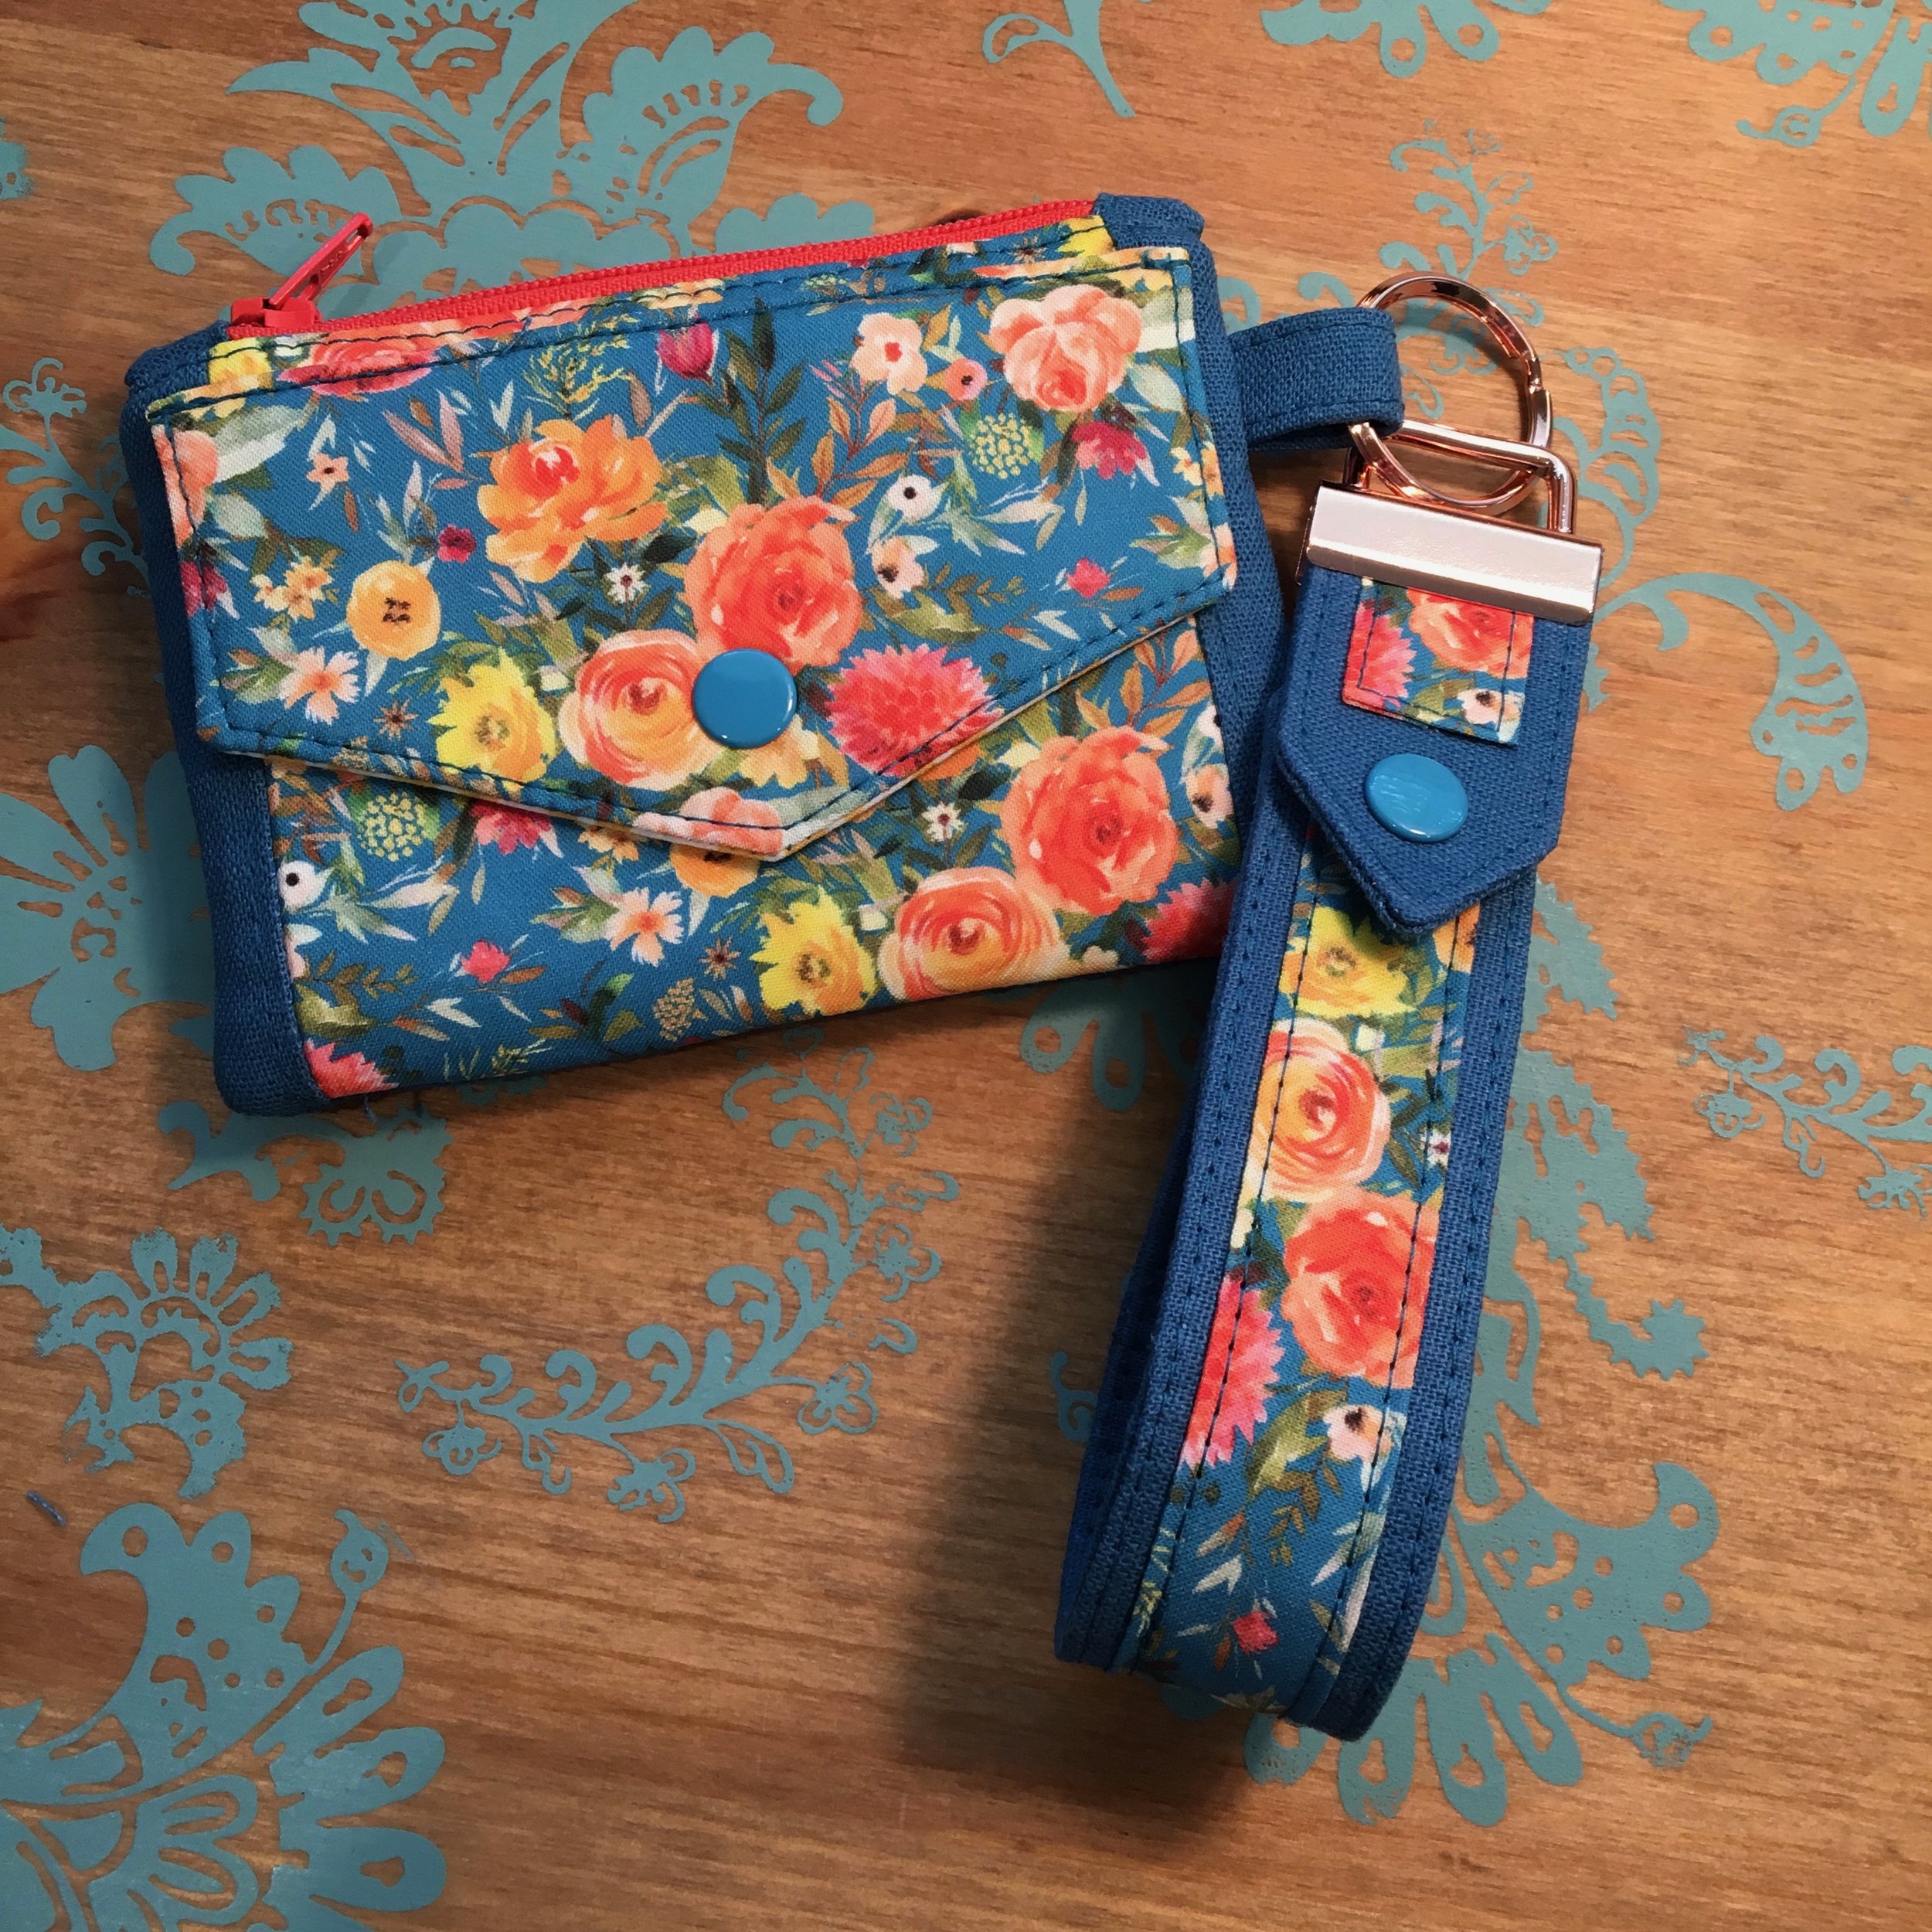
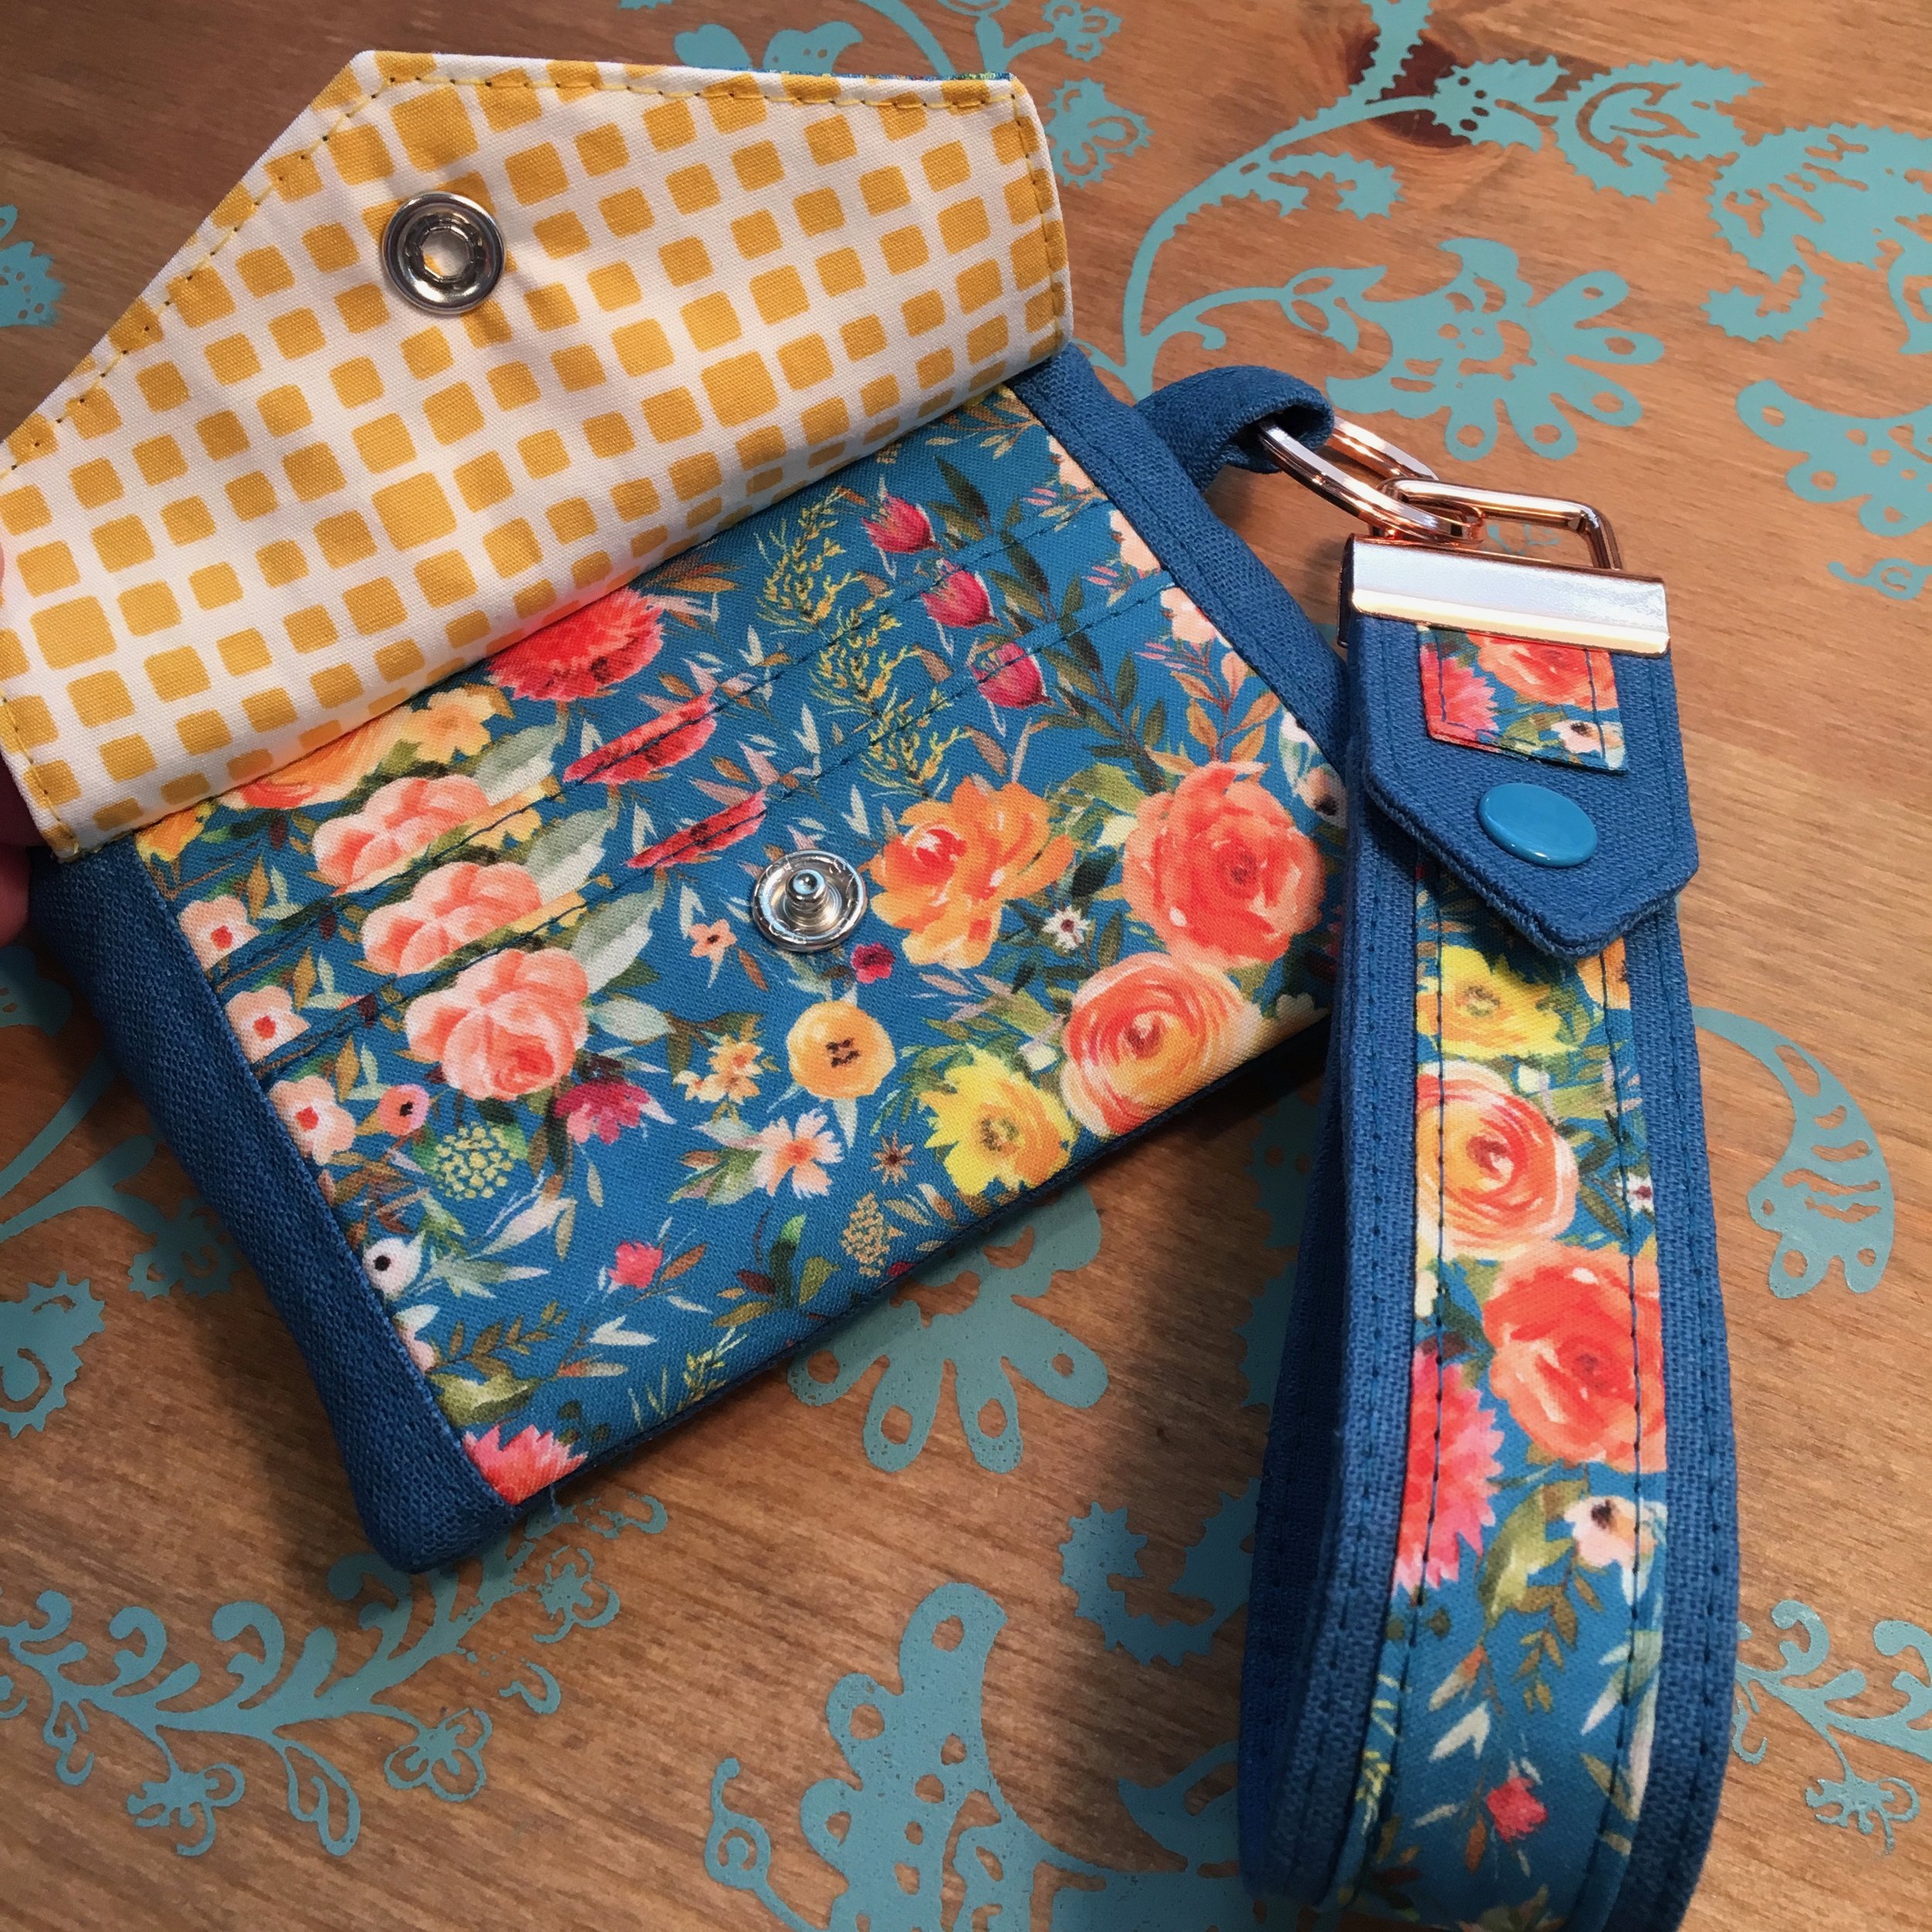
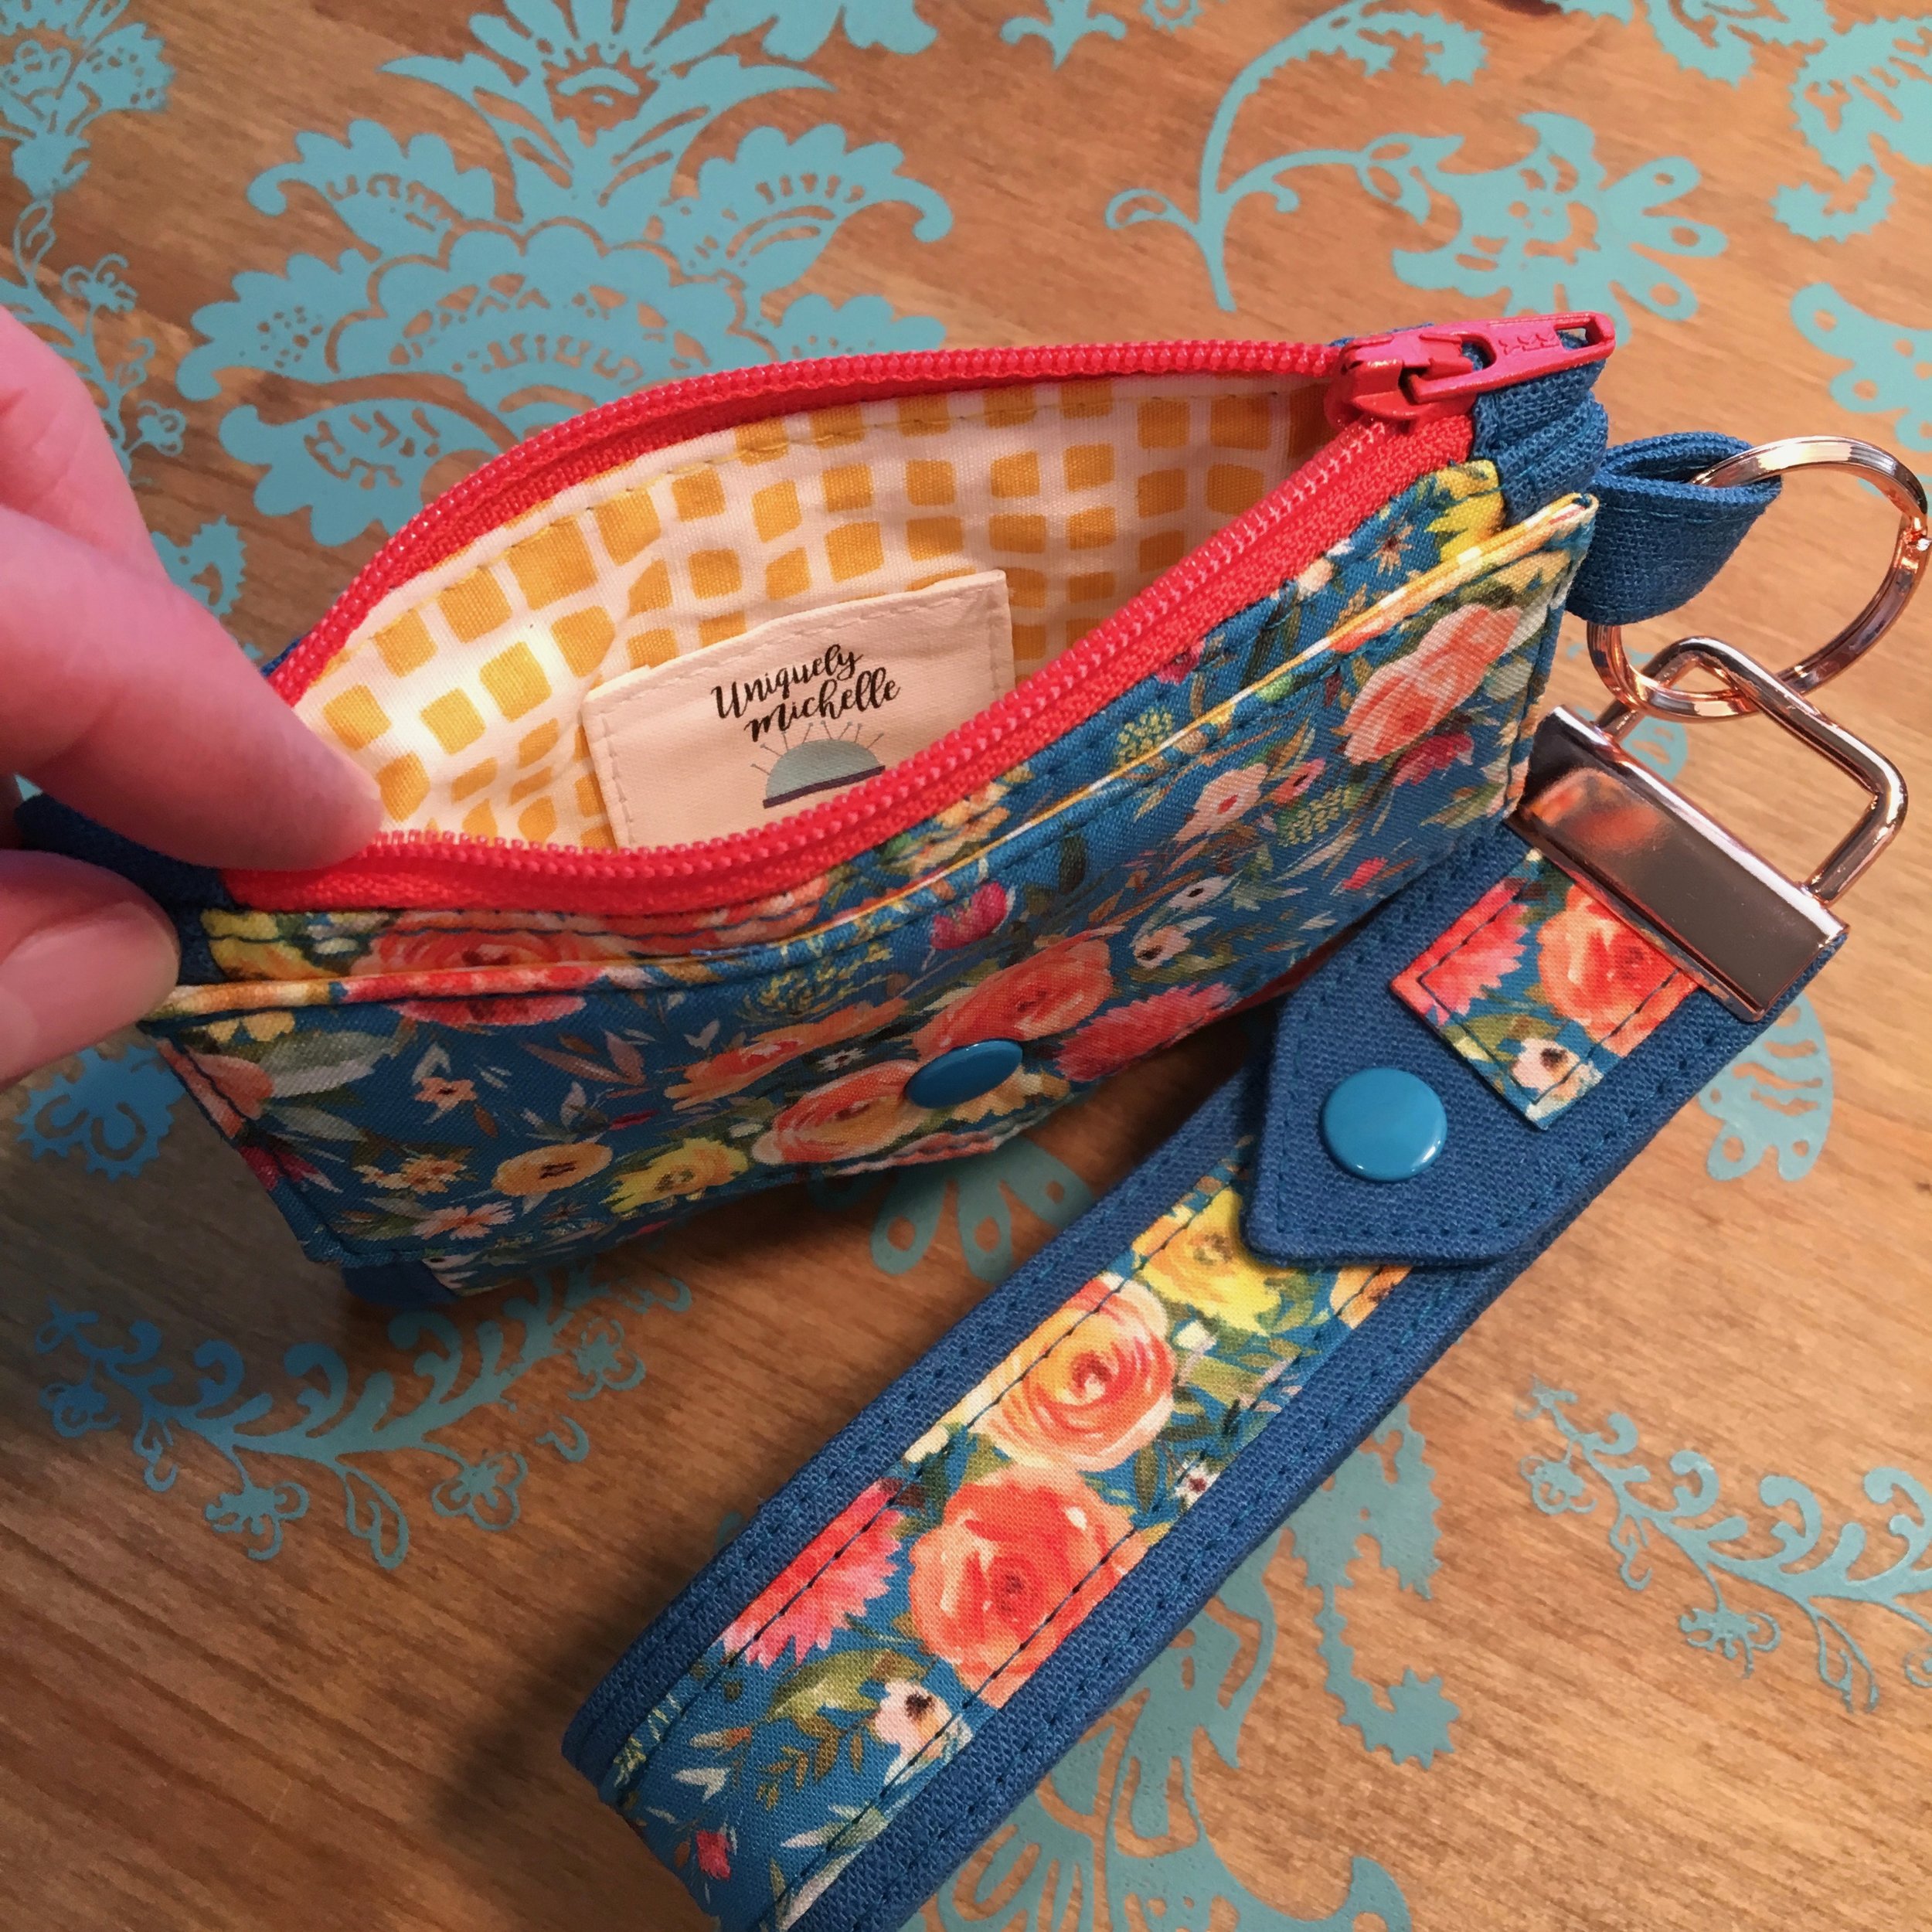
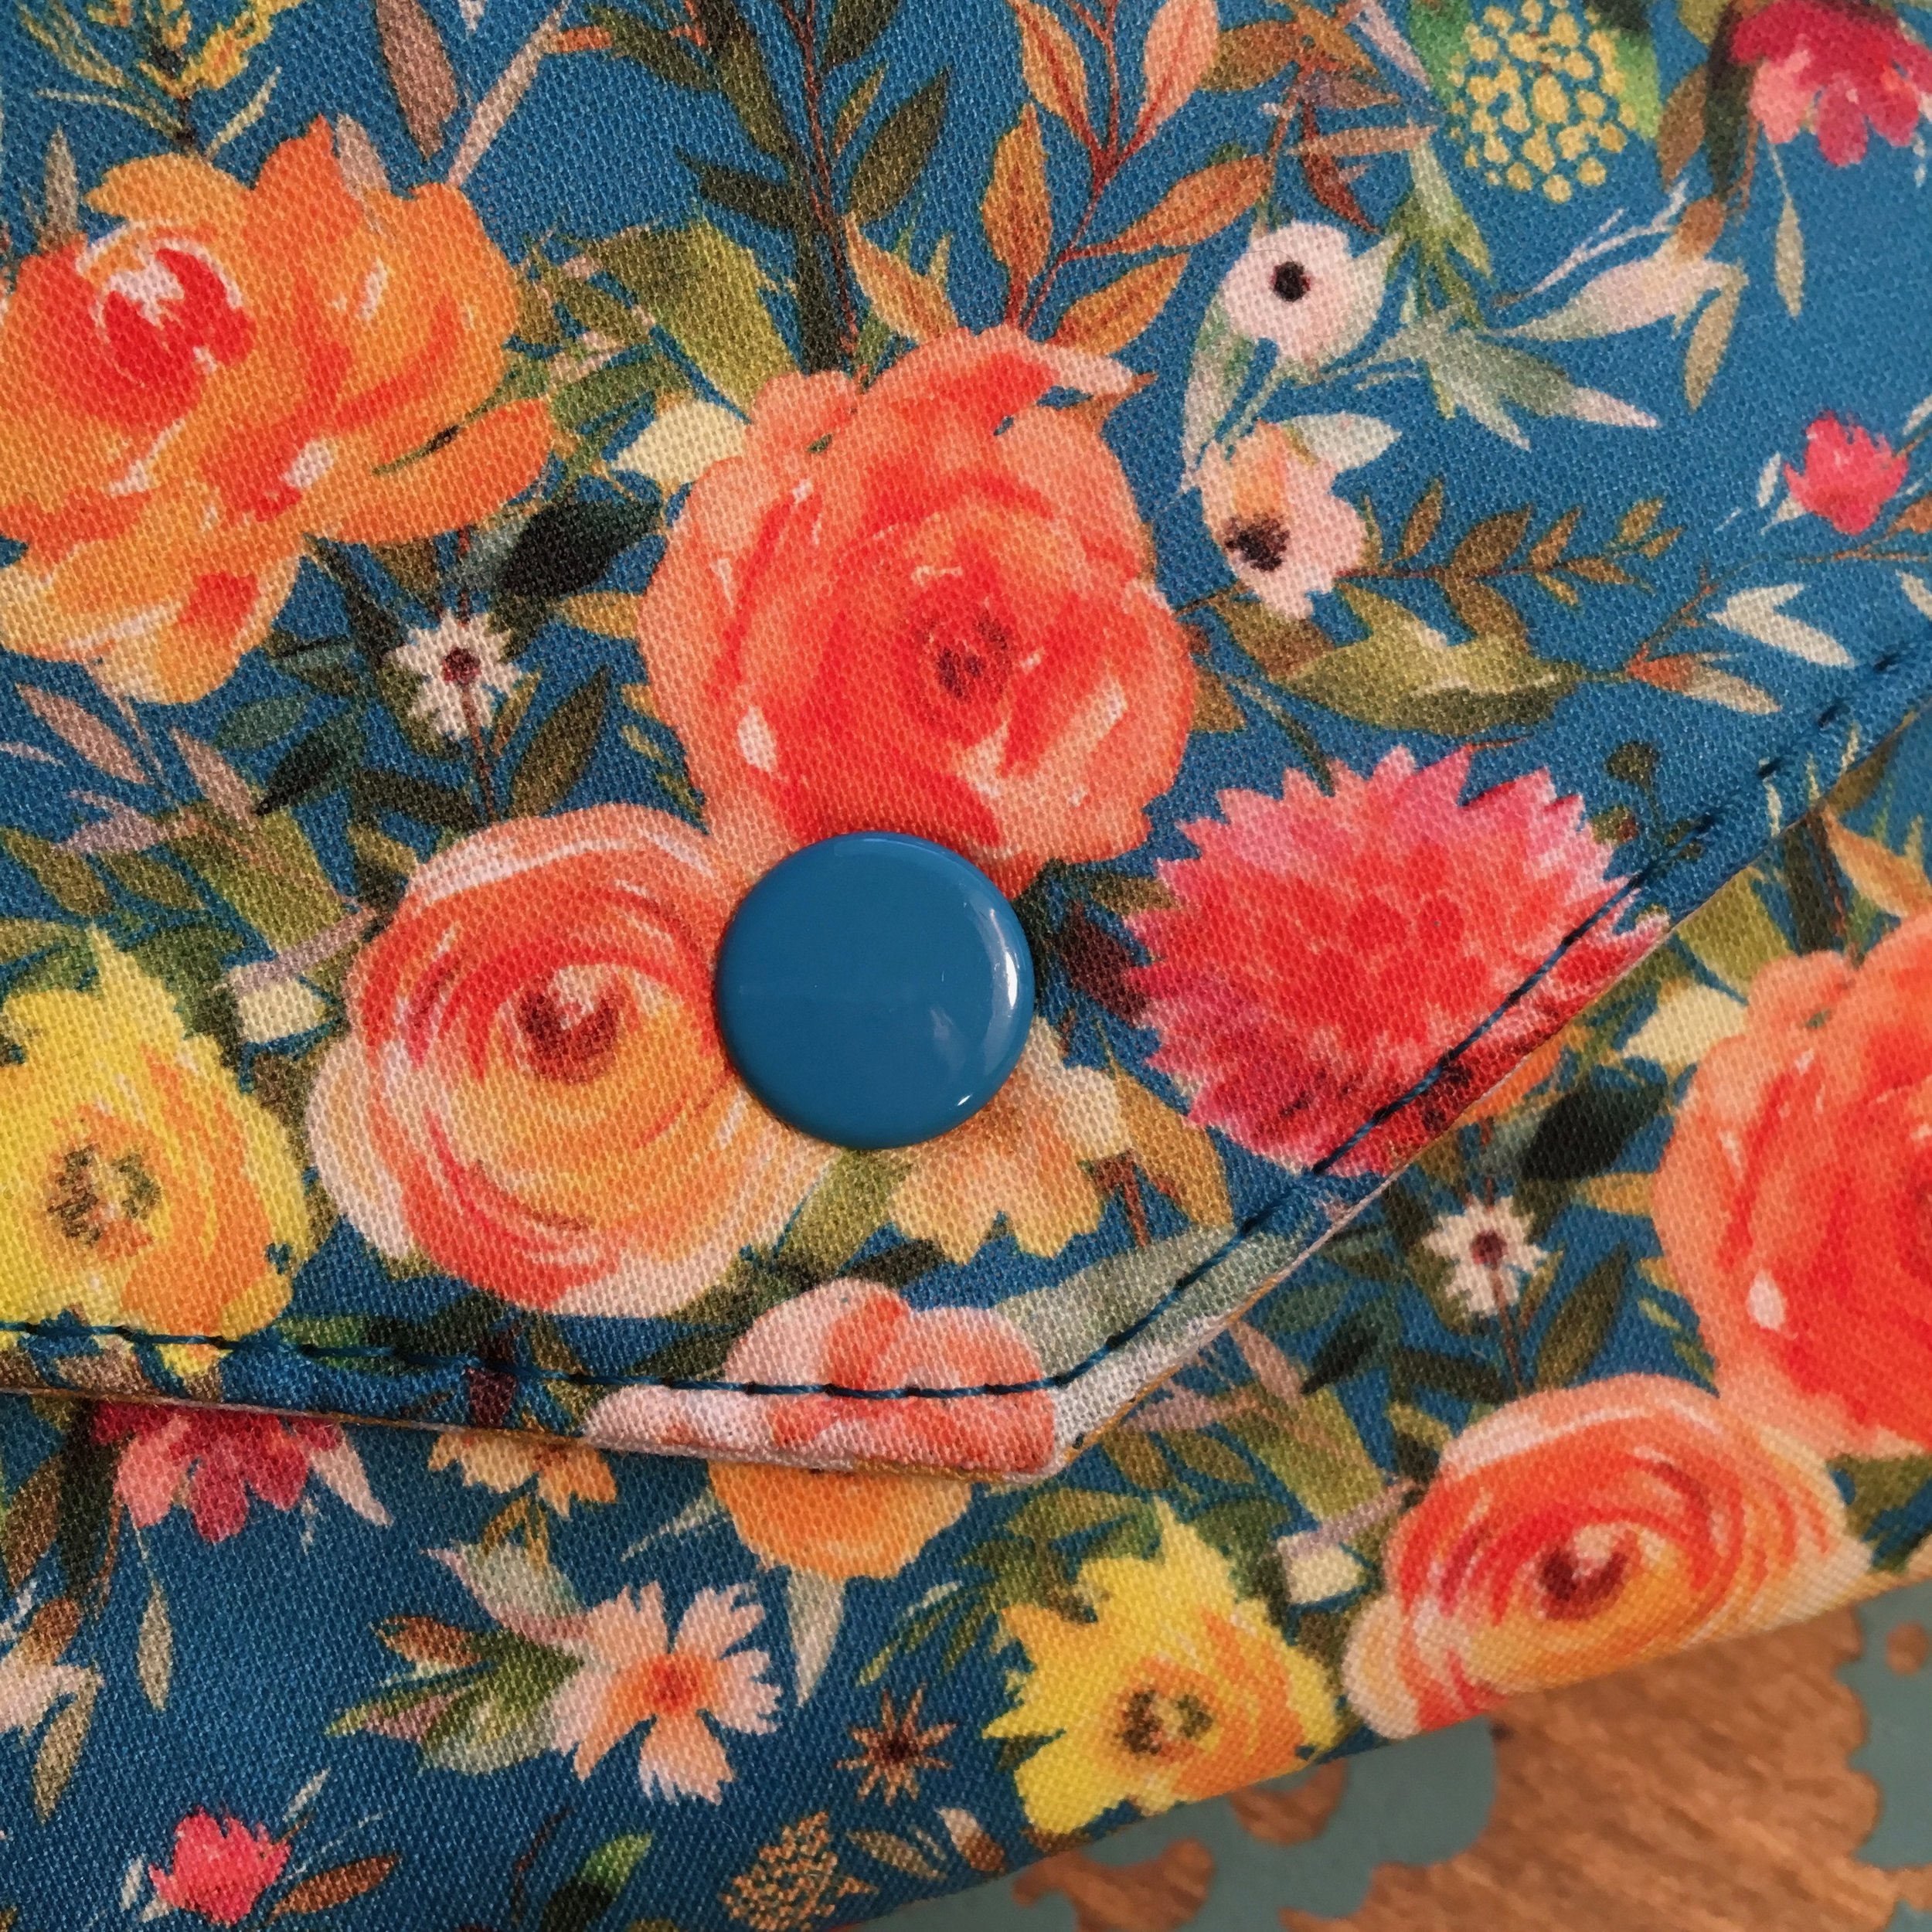
I think it turned out so cute! I combined Essex Linen in Teal with a pretty floral called September Blooms designed by Shopcabin for Hawthorne Threads. The print comes in two sizes and I used the “little” size in the Peacock color. I then added Squared Elements in Honeycomb by Pat Bravo for Art Gallery Fabrics for the lining of the Kristine ID Wallet.

IMG_2941.jpg

By making the exterior of the Kristine ID Wallet out of two fabrics, I hoped to accent the floral fabric and make it coordinate with the Snap To It Key Fob even more. I really like how the blue linen makes the floral fabric take center stage!

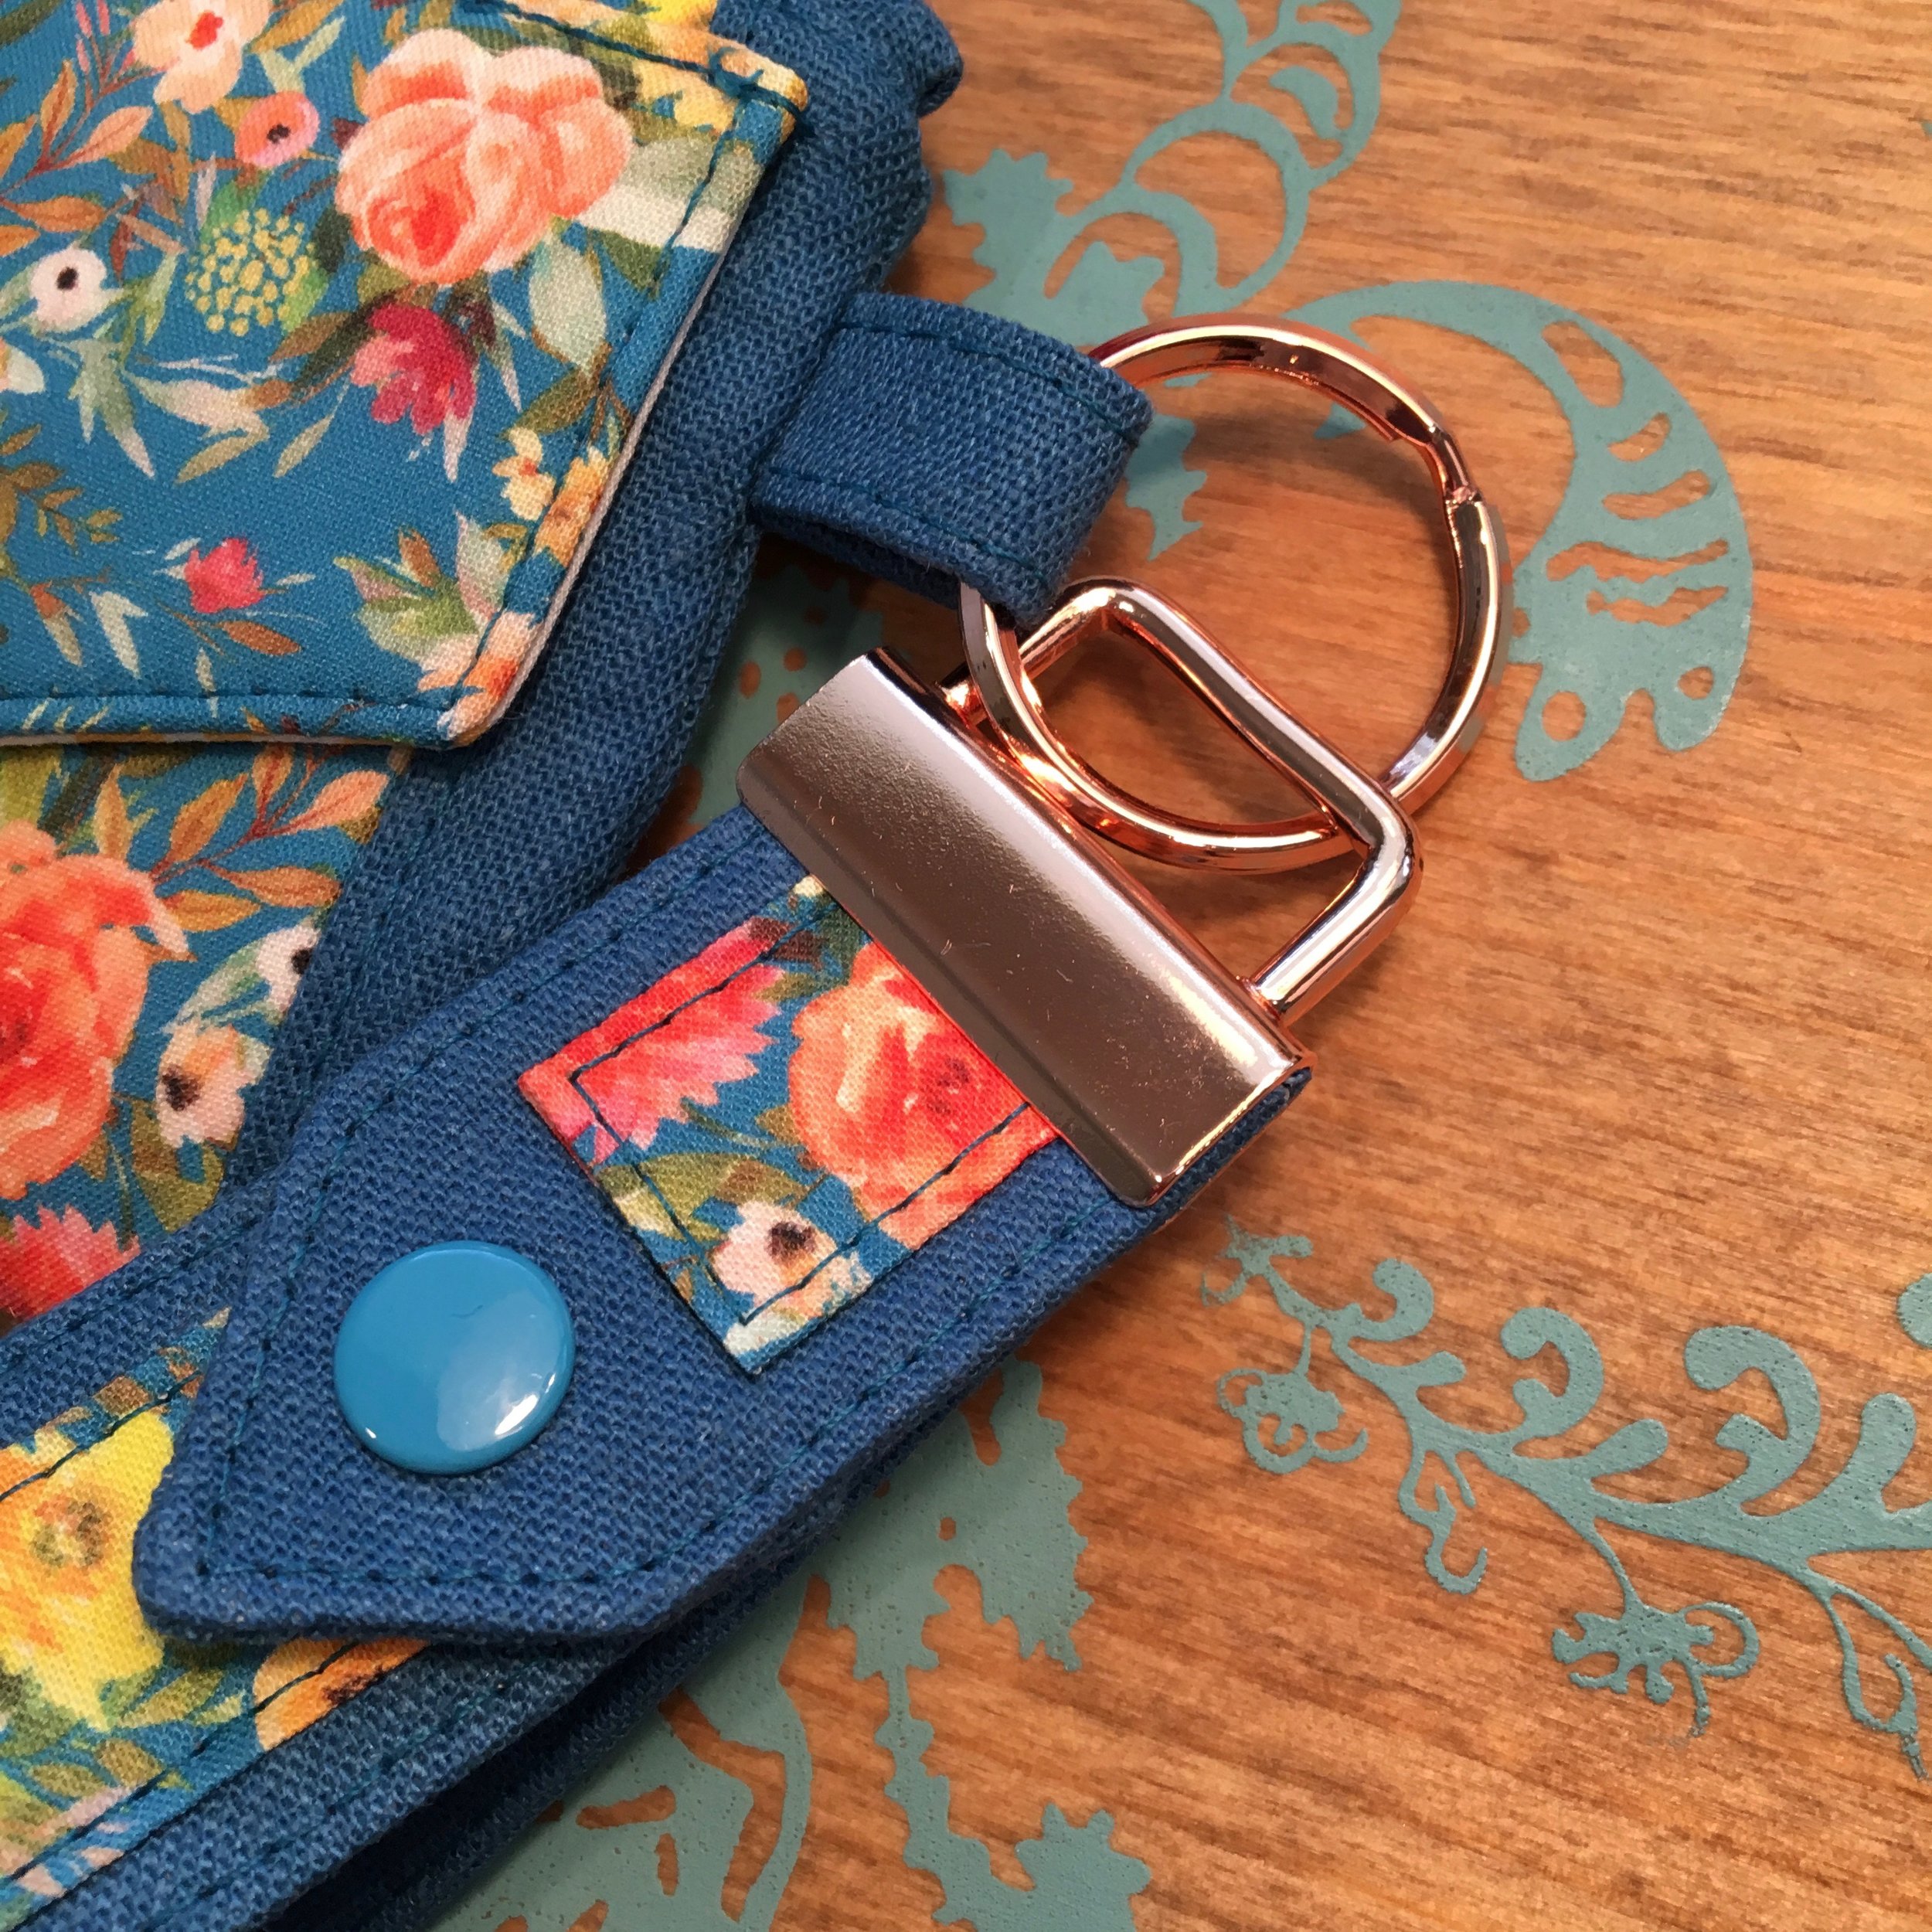
Those snaps are turquoise SnapSource metal snaps, I love the way they look with the fabrics. I also love the copper-colored hardware I used for this Snap To It Key Fob. I got this pretty 1¼” rose gold/copper finish key fob hardware from Bagmaker Supply.

IMG_2951.jpg

I think the Snap To It Key Fob and the Kristine ID Wallet make a great pair, don’t you? I like that by adding a Snap To It Key Fob to the Kristine ID Wallet, you can snap your Kristine ID Wallet to a grocery cart, baby stroller or strap of a purse, making it very convenient.

IMG_2944.jpg

If you don’t have the Kristine ID Wallet pattern you can purchase it from the Uniquely Michelle Craftsy Pattern Shop, the Uniquely Michelle Website Shop or the Uniquely Michelle Etsy Shop. The Snap To It Key Fob pattern is a free pattern that can be found in the Uniquely Michelle Website Shop.

Make sure to keep up with all the latest happenings at Uniquely Michelle by signing up for our email newsletter below!

The Kristine ID Wallet Pattern Gets Some Publicity!

Michelle Burke

It is fun to release a new pattern and then have one of your testers write a blog post about it! Marilyn Brandt wrote about the Kristine ID Wallet on her blog, Shades of Bold on May 8th. Marilyn did such a great job sewing up not one, but two of these wallets during the testing phase for this pattern. I have already featured one of her wallets on my blog last Friday, but I want to show both of her wallets together in one blog post.

I love this brown and blue wallet! The small flowers on this fabric are perfect for the smaller size of this wallet. I also like the brown snap. Marilyn said that she likes to use regular snaps instead of magnetic snaps for a wallet like this and I think it looks great!

The front of the Kristine ID Wallet with its adorable envelope flap!

The front of the Kristine ID Wallet with its adorable envelope flap!

The back of the Kristine ID Wallet features a clear vinyl ID pocket.

The back of the Kristine ID Wallet features a clear vinyl ID pocket.

Two pockets for credit cards or other cash cards are securely hidden under the cute envelope flap.

Two pockets for credit cards or other cash cards are securely hidden under the cute envelope flap.

That blue and brown plaid fabric lining the zipper pocket coordinates well with the floral fabric on the exterior!

That blue and brown plaid fabric lining the zipper pocket coordinates well with the floral fabric on the exterior!

Although you may have seen pictures of Marilyn's bright green Kristine ID Wallet in a previous post, I added a couple more pictures of it here. Again, the green snap goes perfectly with the fabric on this wallet. Marilyn and I both like Snap Source for these snaps - they have nice long prongs and are easy to install with their special "attaching tool." The color selection that Snap Source has is really amazing as well!

I love how the underside of the envelope flap matches the lining of the zipper pocket in the next picture!

I love how the underside of the envelope flap matches the lining of the zipper pocket in the next picture!

Love those checks!

Love those checks!

You can purchase the Kristine ID Wallet pdf pattern from my Uniquely Michelle Etsy shop or from Craftsy! Have fun sewing!!!


Sign up to receive email updates from Uniquely Michelle:

What I Have Learned About the Pattern Making Process - The Finding & Keeping of Pattern Testers

Michelle Burke

As someone who is new to the pattern making process, I decided to write a blog series about what I have learned as I have gone through this process.  In today's post, I will focus on finding pattern testers and how to work with them to make your job and their job easier.

I knew wanted to have a group of pattern testers test my pattern; I knew other designers had their own group of testers, but how would I find several people who would be willing to test my patterns for me? This was actually quite simple! There is a Facebook group, Sewing Pattern Testers, that is dedicated to pattern designers who want their patterns tested and people who are willing to test patterns. This is a closed group that you can ask to become a member of if you are either a pattern designer or a pattern tester. Once I was included in the group, I used Google Forms to create an application that I could publish on the Sewing Pattern Testers Facebook page. The application asked for several basic pieces of information including name, email address, sewing skill level. I also asked questions of the applicants, such as, could they finish sewing the project by a given due date, would they be willing to share pictures of their finished product, and how would they rate the quality of their pictures. I gave them the opportunity to share their website, Facebook page, Etsy shop, etc., and I asked them to tell me a little about themselves. At the top of the application, I included a picture of the final product so that the applicants would know what they would be testing. Google forms makes it easy to upload the application to a Facebook group and then as responses come in, it compiles the answers on a spreadsheet for you! After only a day or two, I had more people willing to test for me than I really needed! 

My group of pattern testers were very helpful in giving me ideas on how to best go about communicating with them; one suggested that I set up a Facebook group for my pattern testers to join. A Facebook group is a fun way to get to know your group of testers, and for the pattern testers to share pictures, ideas, and questions about the pattern. The pattern testers can also share their edits and feedback in the Facebook group. Creating a form in Google Forms and posting it to your Facebook pattern testers group is the easiest way to for testers to record their edits and feedback. This form includes questions that the designer wants answered as well as a place for comments. I will admit that I didn't create the feedback form for my pattern testers for my most recent pattern. My pattern testers emailed me their edits and feedback this time, but I will definitely create this form next time to make it easier for both my pattern testers and myself. Once again, I have to say that I feel fortunate to have a group of pattern testers who is willing to help this newbie learn what works well for everyone! :)

There is one more step to the pattern making process and that is getting your pattern "out there" for sale. I will discuss this in my next post!


Sign up to receive email updates from Uniquely Michelle:

What I Have Learned About the Pattern Design Process - Using Pattern Testers

Michelle Burke

In this series of posts, I am sharing what I have learned about the pattern design process from the perspective of a fairly new pattern designer. Today I will share my thoughts on using pattern testers.

Have you ever tried to sew something from a pattern that is poorly written or illustrated? I have! I have sewn long enough to be able to stumble through a poorly written pattern; but the fun of sewing gets lost in the frustration of trying to decipher what the pattern designer is wanting me to do next. I don't mind having to spend a few minutes rereading a step that I don't quite understand, but when a pattern is so poorly written that I spend more time trying to read the pattern and understand it than sewing, it makes me never want to sew that pattern again! Then I imagine the insurmountable frustration of someone who is new to sewing, trying to follow the same pattern; it would be enough for me to give up sewing all together if I were in their shoes. For these reasons, I feel that having my patterns tested by a group of pattern testers is crucial to publishing a high quality pattern that anyone with basic sewing skills can follow, in order to produce a finished product that they can be proud of. 

Of course, one obvious benefit of having a pattern tested is having several sets of eyes looking for spelling and grammatical errors, but there are other benefits that I didn't expect from the process of pattern testing. By having several people of varying sewing abilities test my pattern, I learn what I need to change to make it more clear and easy to follow.  It is easy to write a pattern to my sewing ability level, using language that I am accustomed to using when I sew, but that doesn't mean that everyone else will understand what I am trying to explain in the next step in my pattern. I don't want to frustrate people as they follow my pattern, but instead empower them to sew something even if it is a reach for their current sewing ability. Pattern testers will point out steps that they feel are not clearly written and they may even suggest a way to write those steps in a more understandable way.

A sneak peek at something I made using my soon-to-be-released, next pattern!

A sneak peek at something I made using my soon-to-be-released, next pattern!

The final benefit of having a group of pattern testers test my patterns, is the fresh ideas that come from a wonderful group of people who are excited to try out a new pattern. If I had not had my latest pattern tested, I would not only have a few spelling and grammatical errors, some unclear steps, and a picture that needed more explanation, but my pattern would not have alternate closure options and a couple add-on features that make it even better than I had imagined it could be! I am now even more excited to release my next pattern at the end of this week because of the input and contributions made by my wonderful group of pattern testers! In my next post, I will share what I learned about finding a group of pattern testers and organizing the pattern testing process.


Sign up to receive email updates from Uniquely Michelle:

What I Have Learned About the Pattern Design Process - Pattern Writing

Michelle Burke

This is the second post in this series in which I am sharing what I have learned about the pattern design process from the perspective of a fairly new pattern designer. Today, I am going to share with you the approach I take to turn my idea for a bag into an actual pattern for a bag.  

Once I have my idea and I have sketched it out, I start getting more detailed with different aspects of the design like size of the bag, placement of different components of the bag, and the steps needed to make the bag. I handwrite a VERY rough draft that doesn't include details for construction, it is just a set of notes to get me started and keep me organized through the process of making the design for the first time.  I then pick out some fabric that I don't mind throwing away if it comes to that, and it sometimes does, and I begin making the bag.  The first time I make a bag it is slow because I stop to write down more details that I will need to add to the directions to make it understandable for others.  I also like to include notes to indicate where a picture of the process would be helpful. Once I am happy with the end result of making the bag, I sit down at the computer with all my notes and start typing the directions. I then follow my directions to make another bag, this time with fabric that I love and that I think will showcase the style of the bag well. I use nice fabric at this point because I will take pictures of each step as I follow the pattern.  I usually take more pictures than I end up using, but I don't want to miss any steps.  I also make corrections and add any notes to my directions that I need as I work through them. Finally, I am ready to sit down at the computer again to combine the directions and the pictures to make the pattern.

When I wrote my first pattern, one thing I struggled with was how much detail to add to the directions and whether to add photographs or line drawings to illustrate the steps. I know that some people like patterns with a lot of detail and others don't; I know that some like line drawings while others like photographs. There is no right or wrong with these options, it is all personal preference. I thought about the patterns that I most like to use from my favorite designers and decided to include in my pattern those elements that I felt made their patterns high in quality, as well as fun and easy to follow.  I personally like a pattern that is very detailed and has a lot of good-quality pictures. There are a few elements that I feel are important to add to a pattern, once again this is personal preference. They are: a title page and description, finished size, seam allowance, a list of materials needed, a list of fabric cuts, directions, and pattern pieces. I also like to add pictures of the finished product that specifically show the front, back, inside, and any other important elements of the bag. This is a good reference for people to look at if they are trying to understand how a component of the bag fits into the final product.

A few pages of one of my patterns!

A few pages of one of my patterns!

The final point that I want to touch on involving pattern writing is which computer program to use. I say "touch on" because it seems that if you ask ten different people what computer software they use to produce their patterns, you are likely to get ten different answers. I can only tell you about what I have used and how it works for me.  I use Microsoft Publisher, partially because it is already on my computer (I didn't spend any extra money on it), and partially because I know how to use it to combine text with pictures. I think it is good to use a program you are familiar with, or at least one that you can easily learn as you go when writing your first pattern. Some of the other programs that I have heard others have success with are Adobe Illustrator, Corel Draw, and Photoshop, to name a very few. Once I have my pattern written I save it as a pdf file, but then in order to make it small enough to distribute to customers via email or through Etsy, I use a program that compresses the file into a smaller pdf file. There are free programs on the internet for this and it is very simple to do with one of these free programs. I have used smallpdf.com and it works well. Once you have your pattern ready for distribution there is still one more (I feel) very important step to take before putting it out there for sale; having it tested. I will talk about pattern testing in my next post!


Sign up to receive emails updates from Uniquely Michelle:

What I Have Learned About the Pattern Design Process - Inspiration & Time

Michelle Burke

This is the first post in a series about the pattern design process from the perspective of new pattern designer. Yes, I am new to the process of pattern design. It isn't that I haven't designed patterns before, I have designed many patterns, but I am new to designing patterns with the idea that I will sell them.  Pattern design is very different when someone other than just myself will read and need to understand the pattern in order to, hopefully, enjoy sewing the final product. Since I am new to this pattern designing process, I thought I would share what I have learned so far to help others out there who are also new to the process; maybe it will help someone get a better, faster start at it!  This series will go through the pattern design process starting with coming up with design ideas, then move on to pattern writing and testing, and finish with getting your pattern published for sale online.

Today, I am going to talk about the start of the design process; coming up with an idea for a pattern. This is, of course, a creative process and creativity flourishes given two things, inspiration and time.  I find that I need inspiration in order to generate an idea for a bag pattern, and then I need the time to develop my idea into something that will really work and look good. My inspiration sometimes comes from seeing a handbag I like, or a particular fabric sparks an idea for a bag, or I have a need (or desire) for a specific bag.

A page from my graph paper sketchbook when I was designing my first bag pattern, and my new, bright yellow sketchbook!

A page from my graph paper sketchbook when I was designing my first bag pattern, and my new, bright yellow sketchbook!

There are times when the inspiration just isn't there, that is when I ask my daughters, my mom or my friends what they would like to have for a bag or a wallet. My first pattern was inspired by my daughters' desire for a wristlet. It is amazing what ideas others, who aren't thinking about the process of designing or making a bag, can come up with; then you add your creative genius and voila, a pattern design is born! 

I have also found that it takes time to be creative. Although I can have a great idea for a bag suddenly pop into my head, it takes time to develop that great idea into a truly incredible, pattern-worthy idea.  If I don't give myself the time to think through an idea both creatively and analytically (it does have to function in the end after all), it won't develop into a truly great pattern. I find that if I give myself even twenty minutes out of my busy day with a cup of tea and some chocolate, my sketchbook and pencil, and maybe even a few pieces of fabric, I can be inspired to create some great ideas for patterns. Given more time, some of those ideas have developed to the point that they are ready to move on to the next step in the pattern making process. Other ideas end up being discarded because they were never good, and some ideas provide inspiration later for even better ideas.  The important first step in pattern design is finding inspiration and giving yourself the time to be creative so that you can come up with a good, solid design. 

What gets you into a creative mood?


Sign up to receive email updates from Uniquely Michelle:


Welcome to My Blog!

Michelle Burke

I thought I should start my blog by telling you a little about myself. My name is Michelle Burke, and I am the Michelle in "Uniquely Michelle."  Uniquely Michelle is the name of my Etsy shop where I sell my handmade purses, bags, wallets and other items. 

I love fabric and I love to sew! I have been sewing for about 35 years. I started sewing around the age of 10 with my mom; we sewed a lot of quilts together. I have sewn throughout the years, both out of necessity and as a creative outlet. When my two daughters were little, I made clothes for them because it was a lot cheaper than buying clothes. When we moved into a new house, I made window coverings, pillows, chair cushions, and other decorator items. As people saw my work, they asked me to make decorator items for their homes, and so I started my first sewing business. In the last couple of years, I have enjoyed making and selling purses, bags, and wallets. Not long after I started sewing bags, my two teenage daughters, wanted wristlets and I couldn't find a pattern that I liked, so I designed a wristlet for them and wrote it up as a pattern. They loved it! And now that pattern - The Lindsay Wristlet - is one of the top sellers in my Etsy shop and continues to get great reviews. My next pattern is being tested now by my group of pattern testers, and it should be ready for release at the beginning of next month. I am so excited for its release! 

As for this blog, I want to write about what I am sewing, the patterns I am designing, and any tricks or ideas I have to make sewing more fun. Although you may not sew yourself, you will get to see my process and my products here, as well as bags designed by myself and others.  I mostly want to use this blog as a place where I can express and share my love of sewing and design! I hope you enjoy!

Sign up to receive email Updates from Uniquely Michelle: