Aspen Crossbody Bag - Testers' Pictures & Giveaway
Michelle Burke
Are you ready to see some beautiful Aspen Crossbody Bags? Well then you are in the right place! I also have some exciting news about a little GIVEAWAY at the end of this post, so don't miss that, but first - I have amazing testers and they really created some awesome Aspen Crossbody Bags that I can't wait to share with you! I have so many pretty pictures to share that I am going to do it over two days - so lets get started with day one!
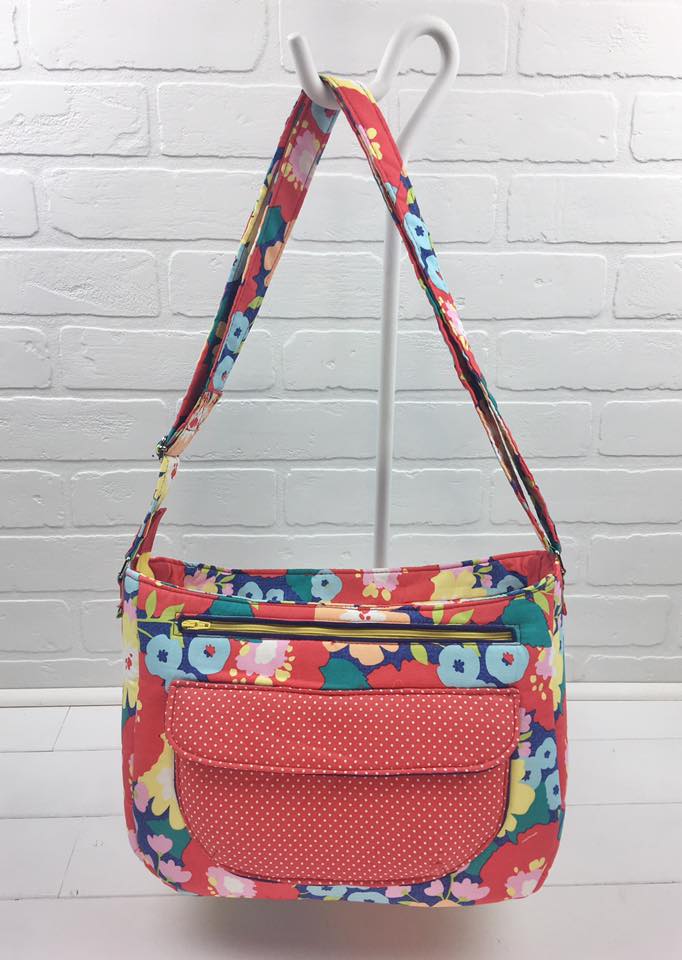
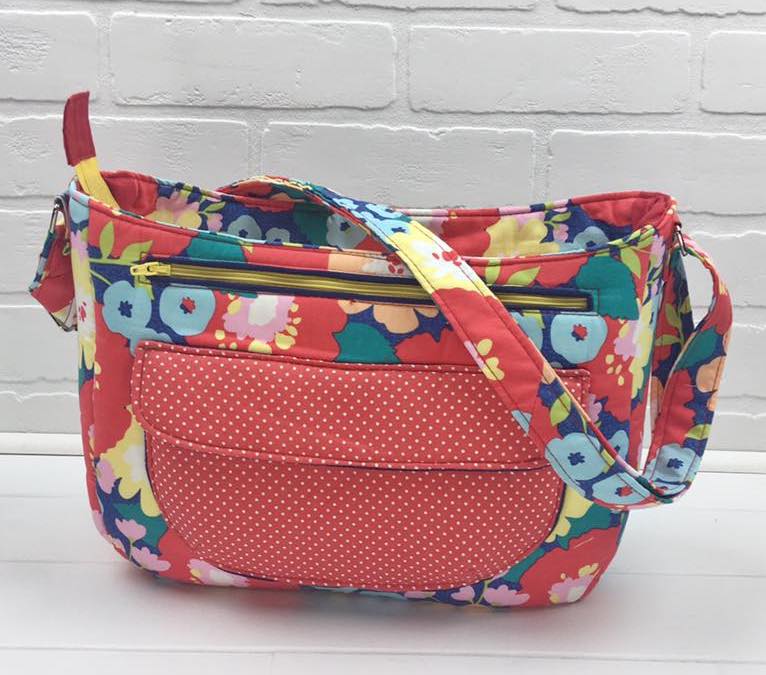
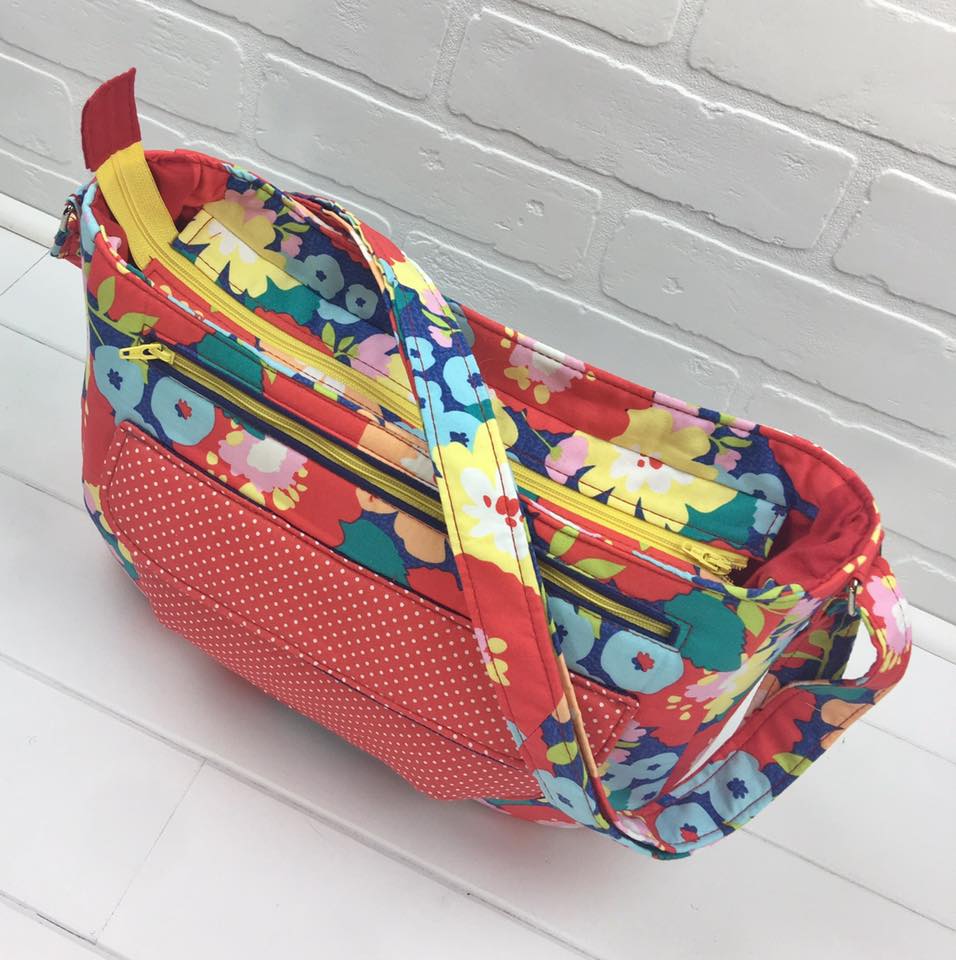
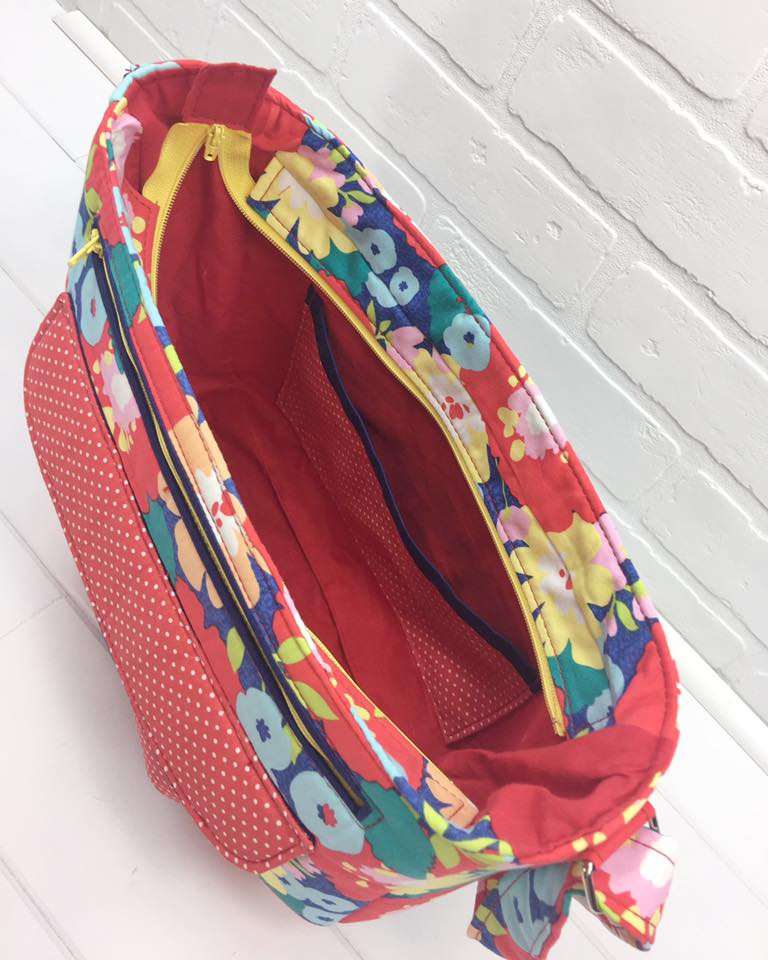
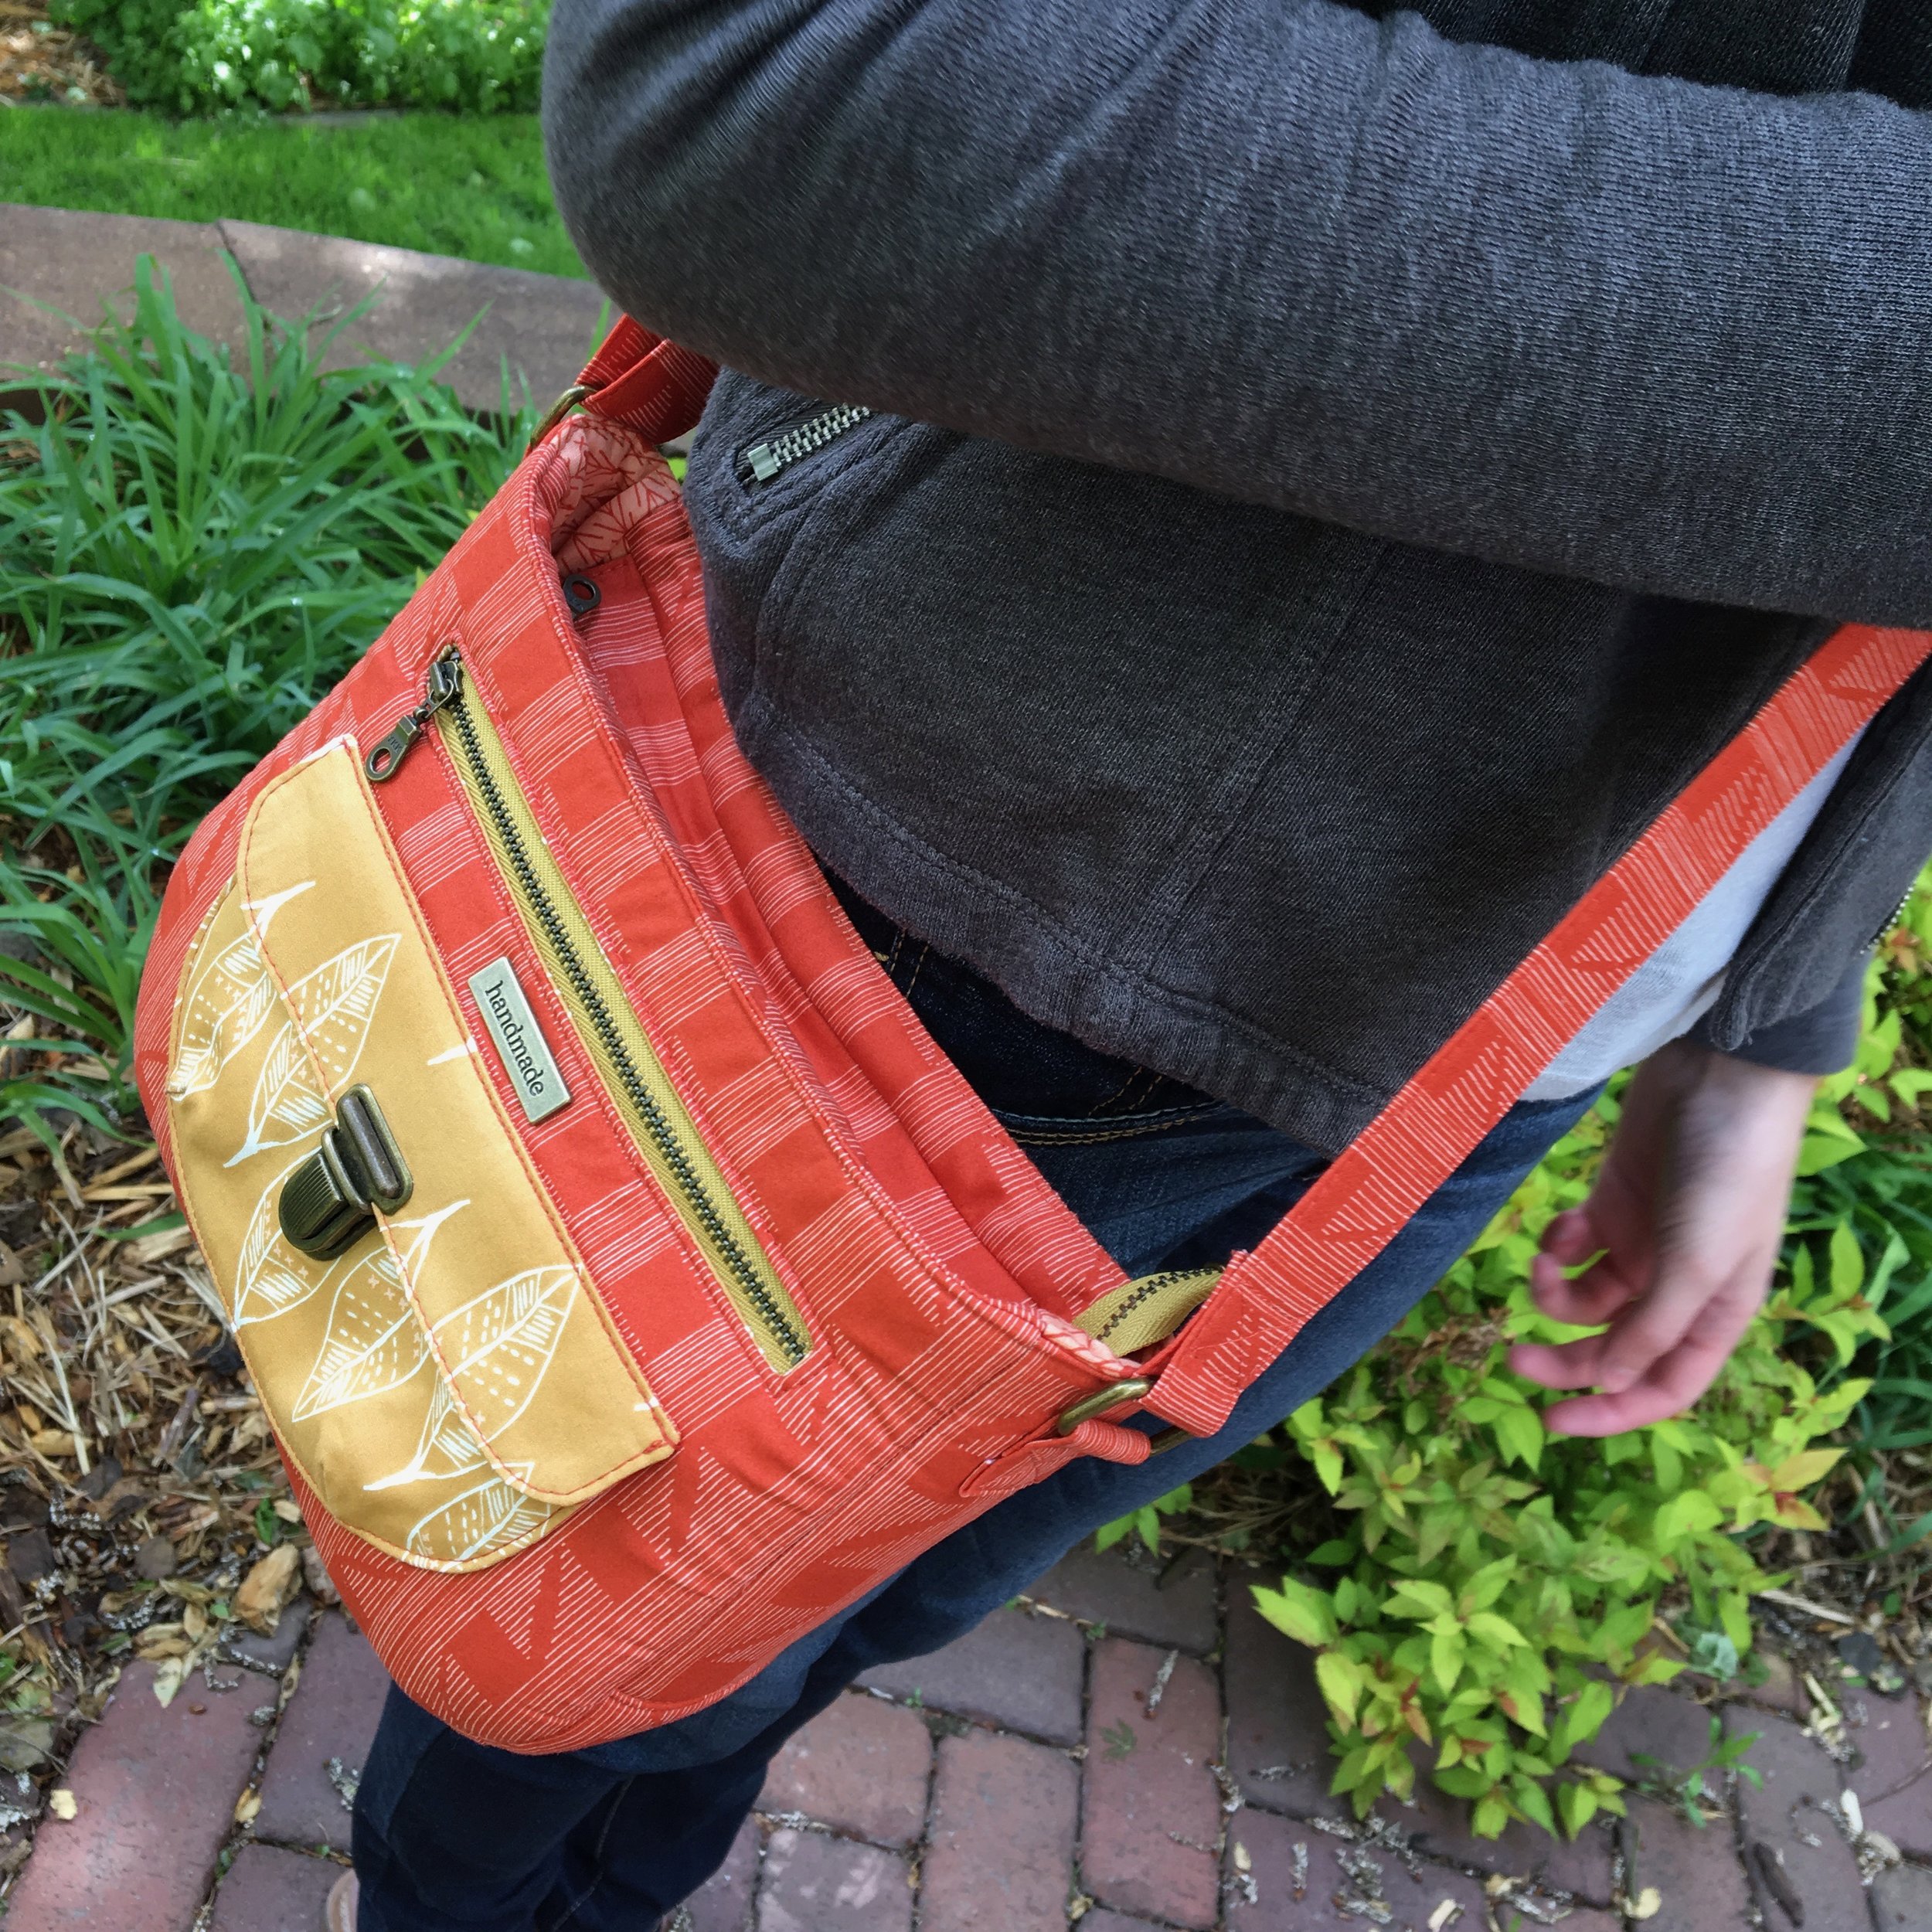
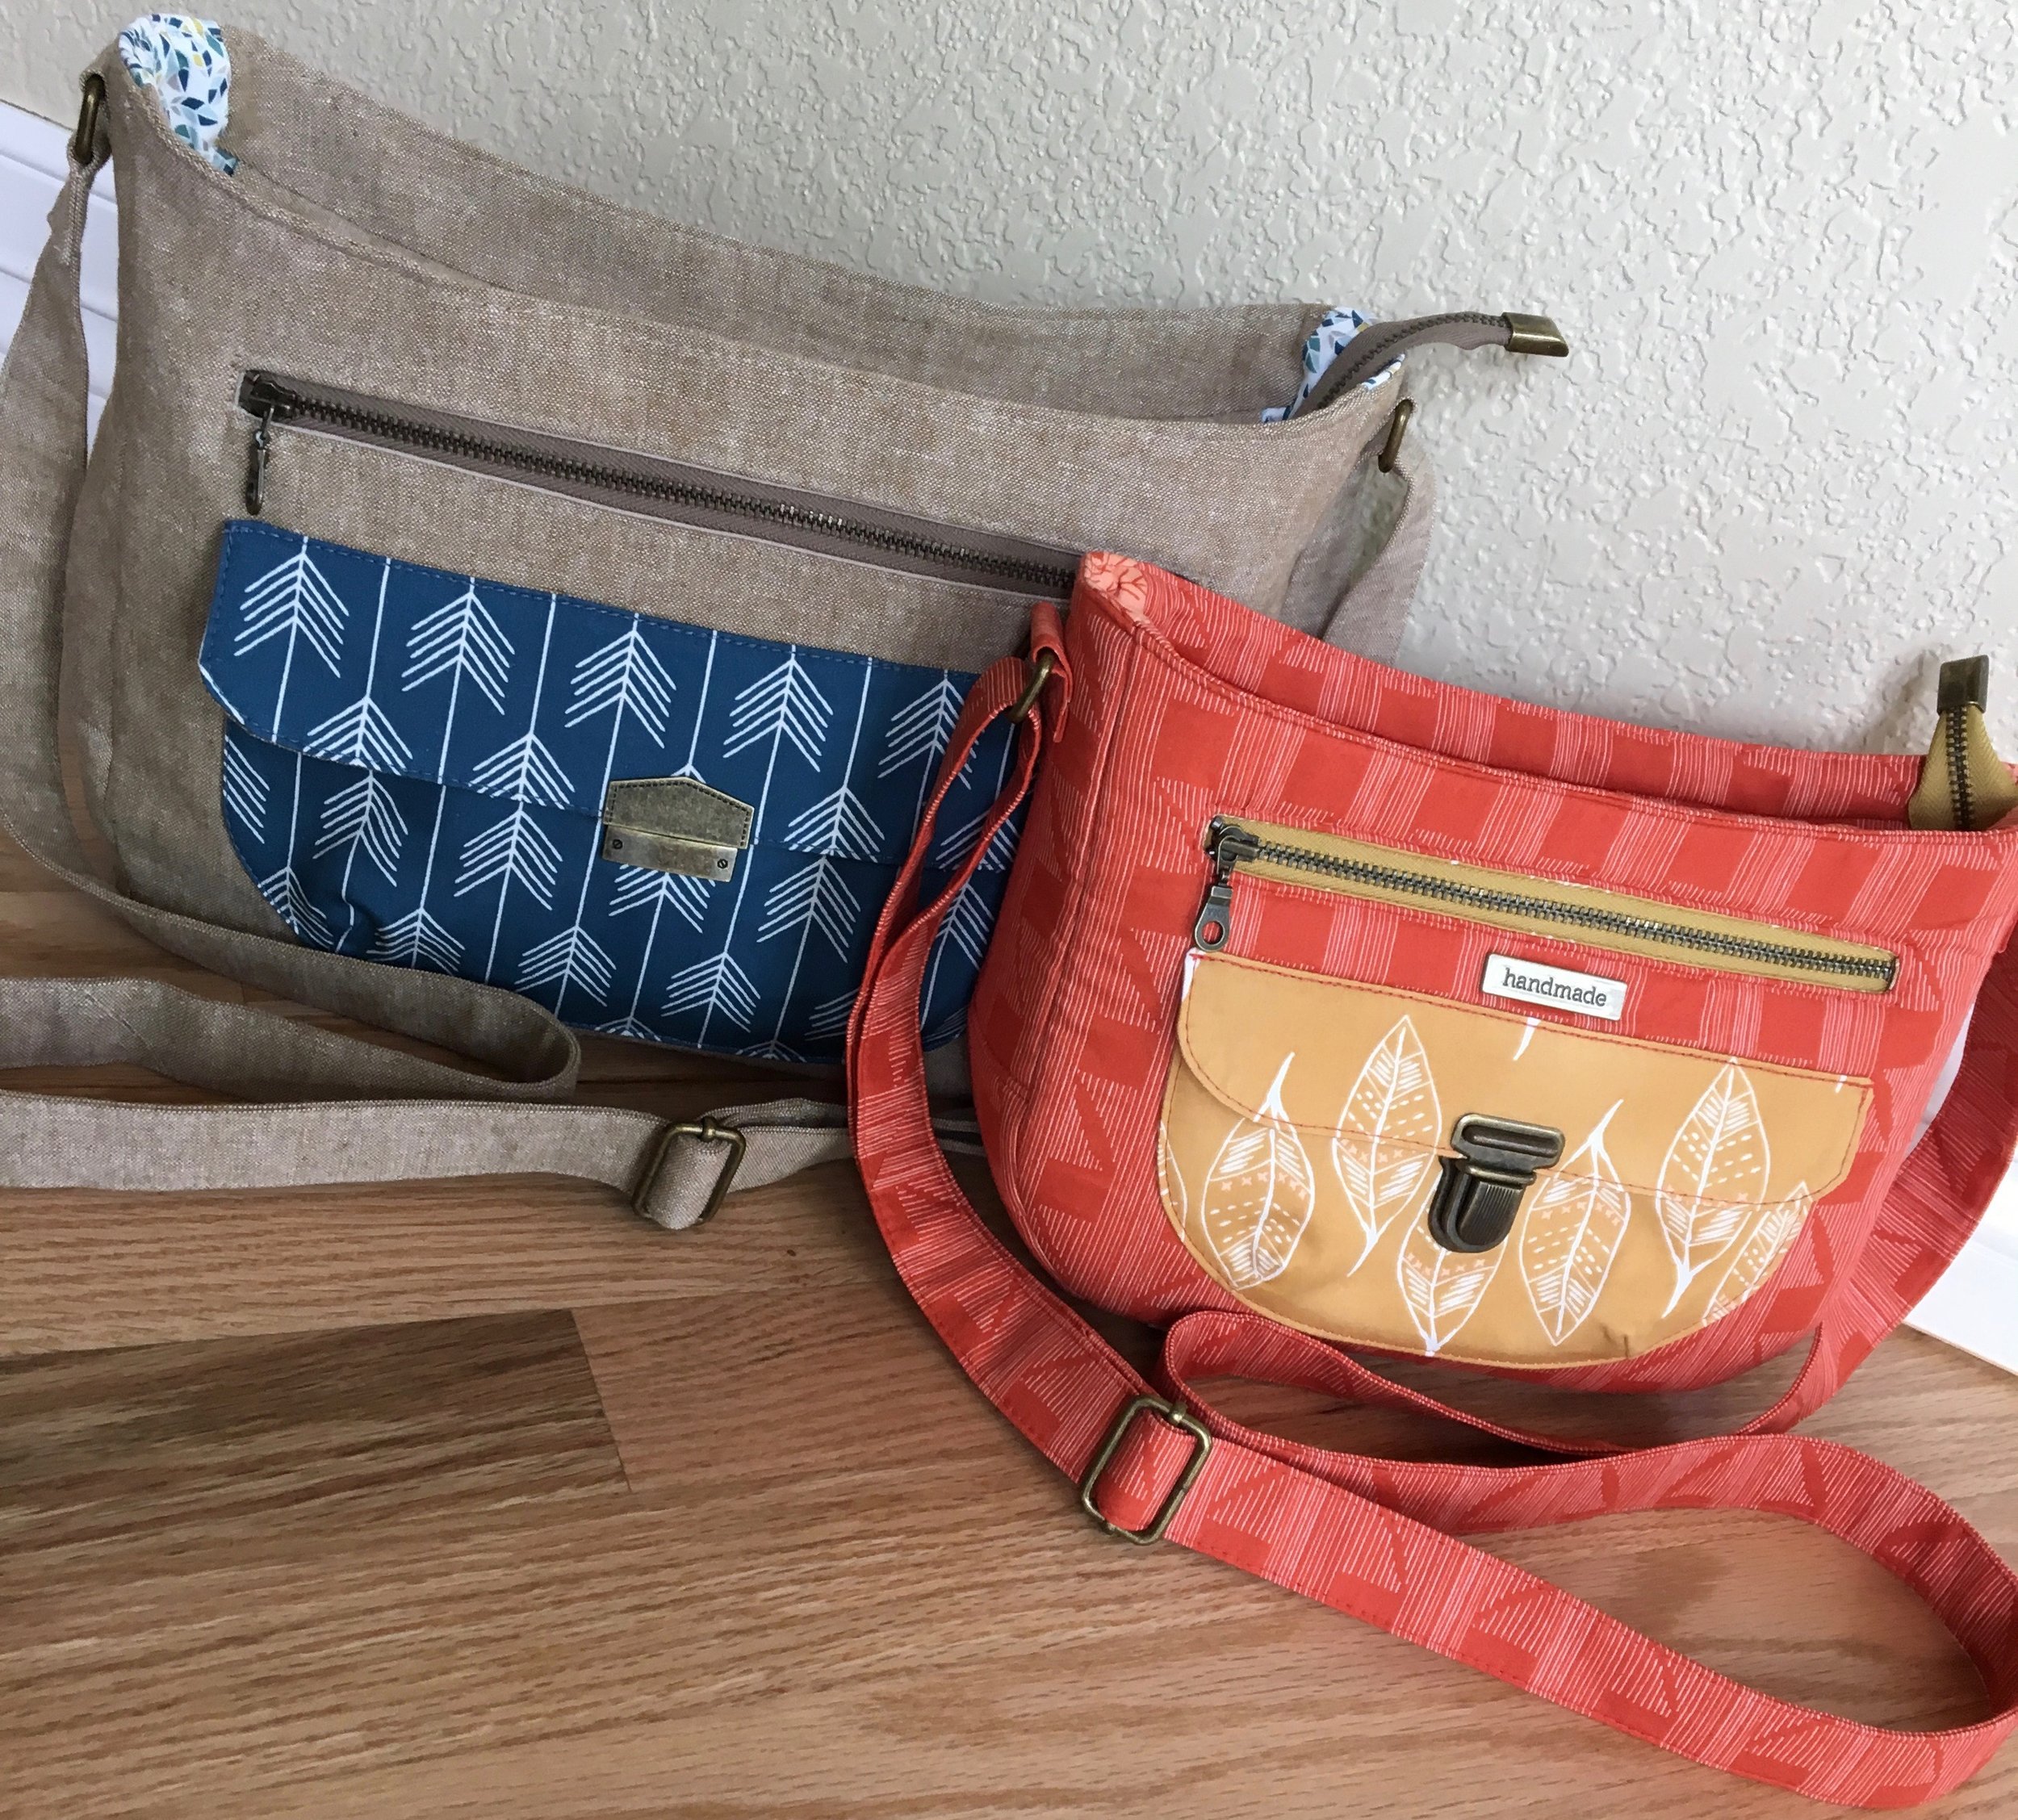
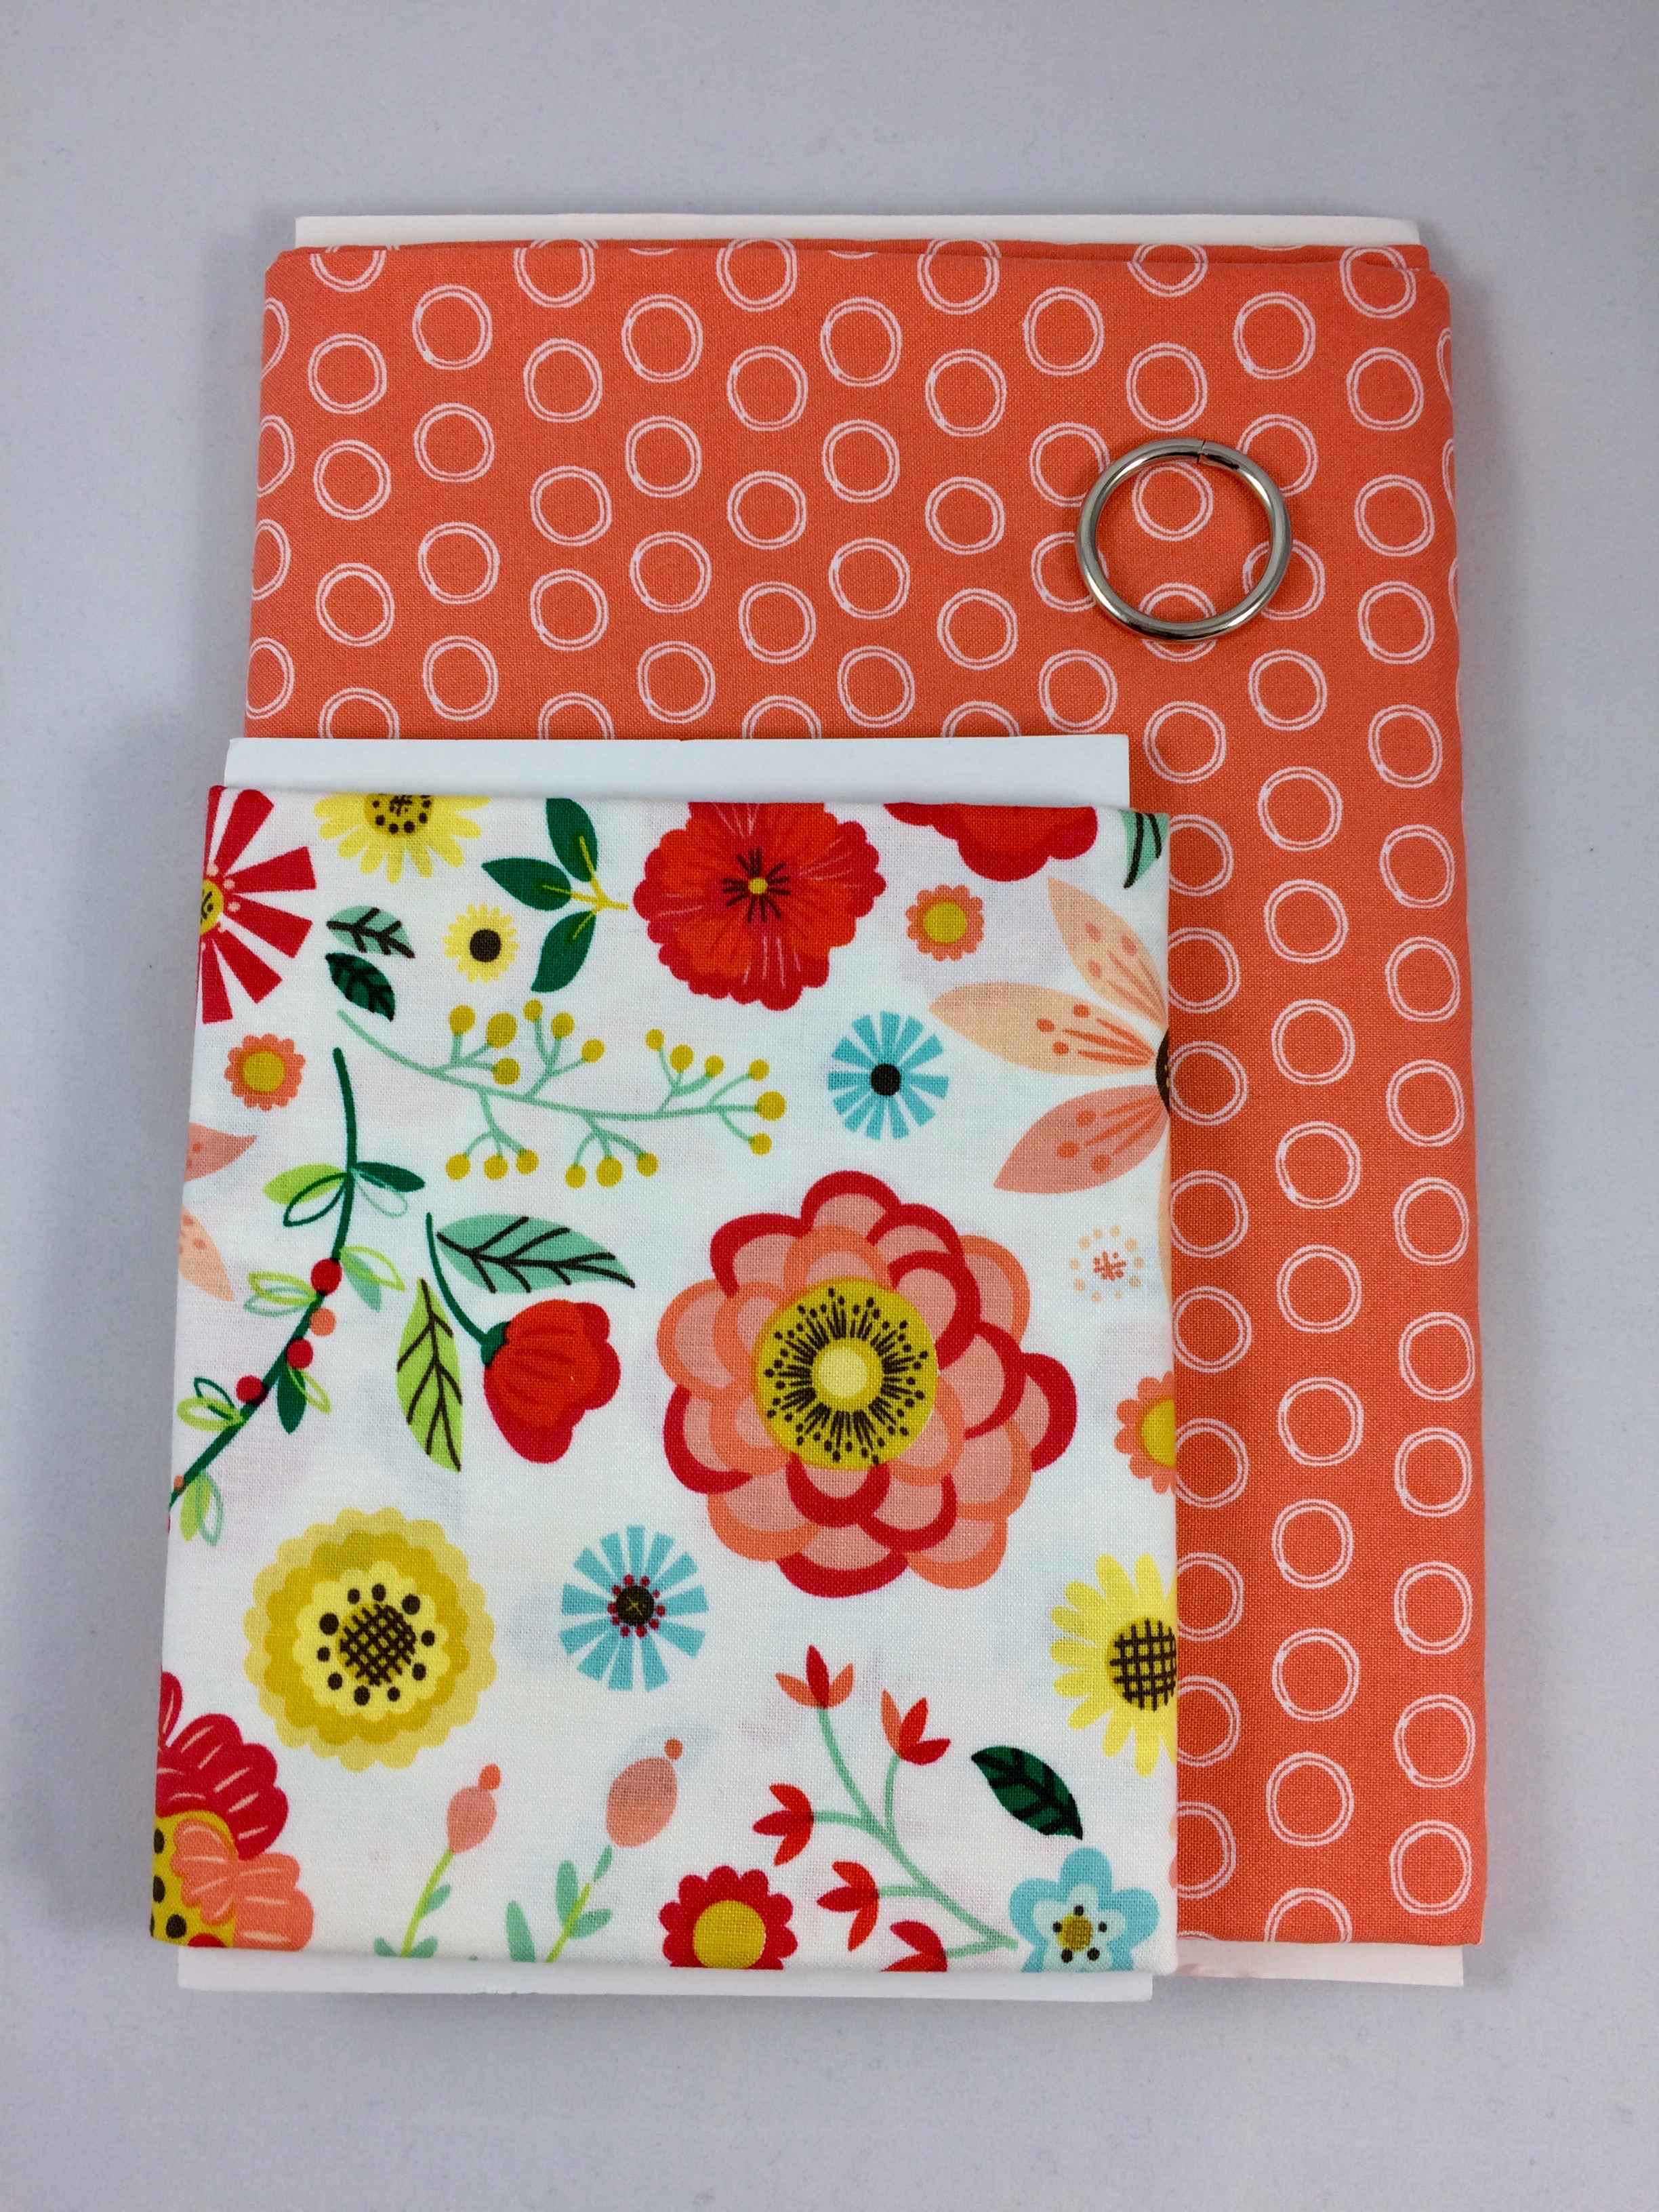
This fabulous Aspen Crossbody was created by Kristina Marie Hernandez of Reborn Restitch. Kristina made the large version. I love the bright, fun look of this Aspen Crossbody. The red polka dot pocket front pocket and the yellow zippers accent the floral fabric perfectly! When I see this bag, I think summer, fun in the sun! Kristina said about the pattern, "This was a fun sew and I learned some new tricks as well!"
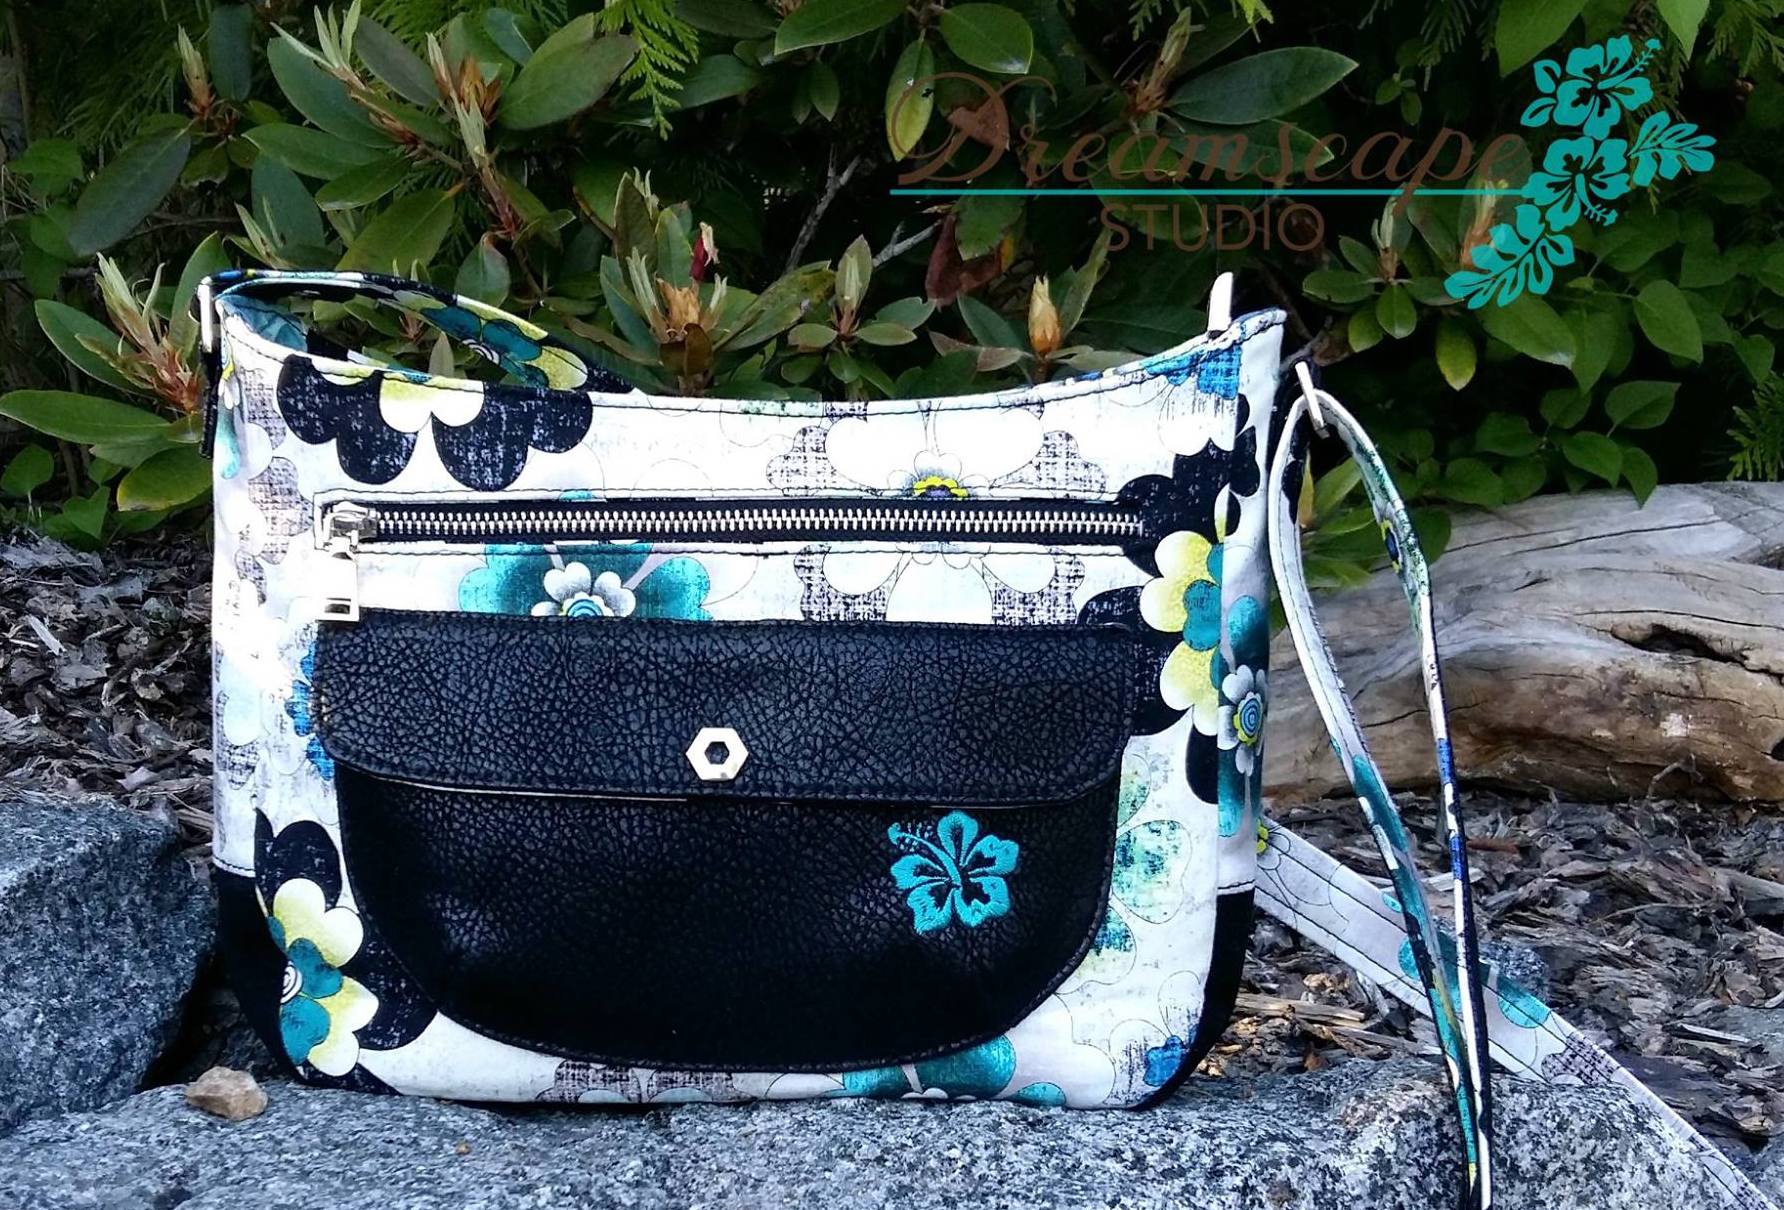
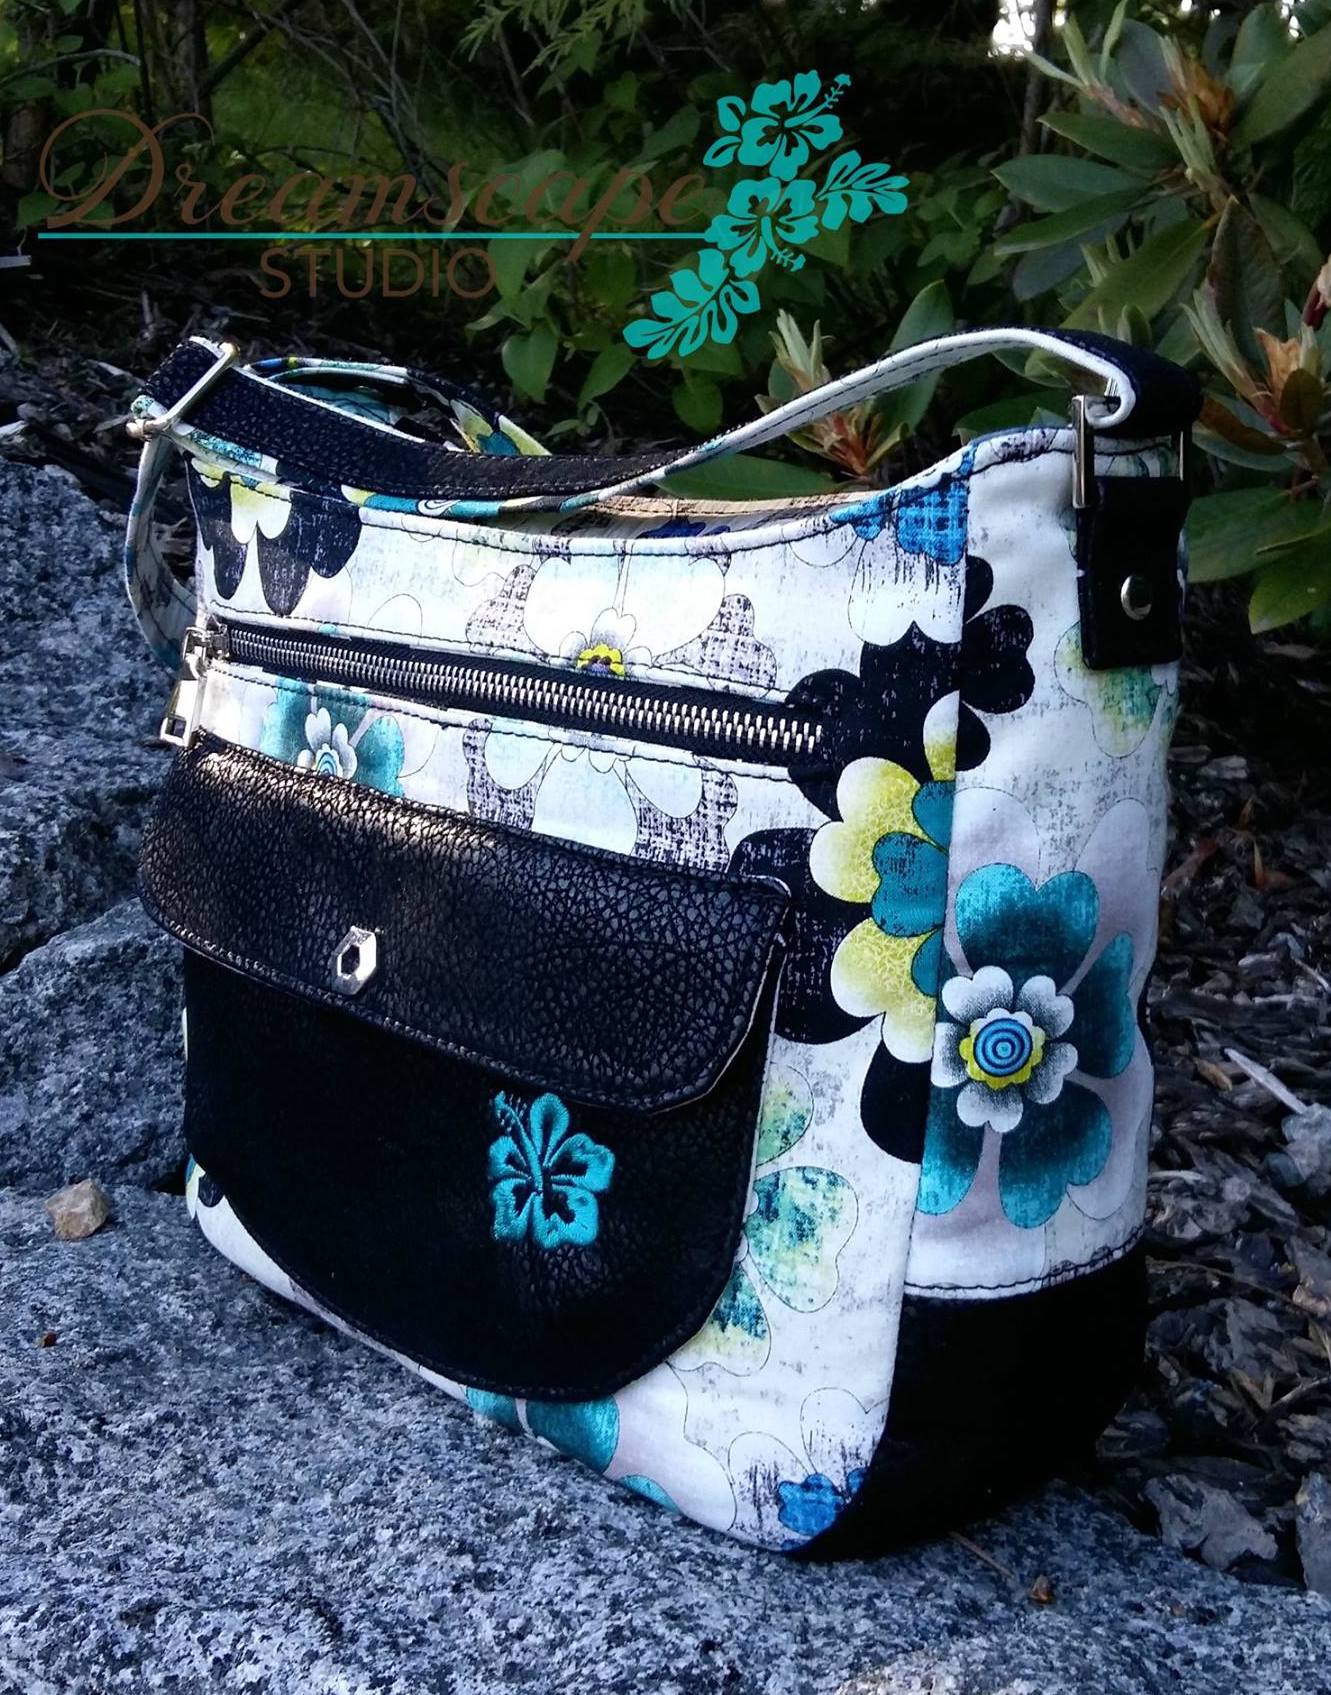
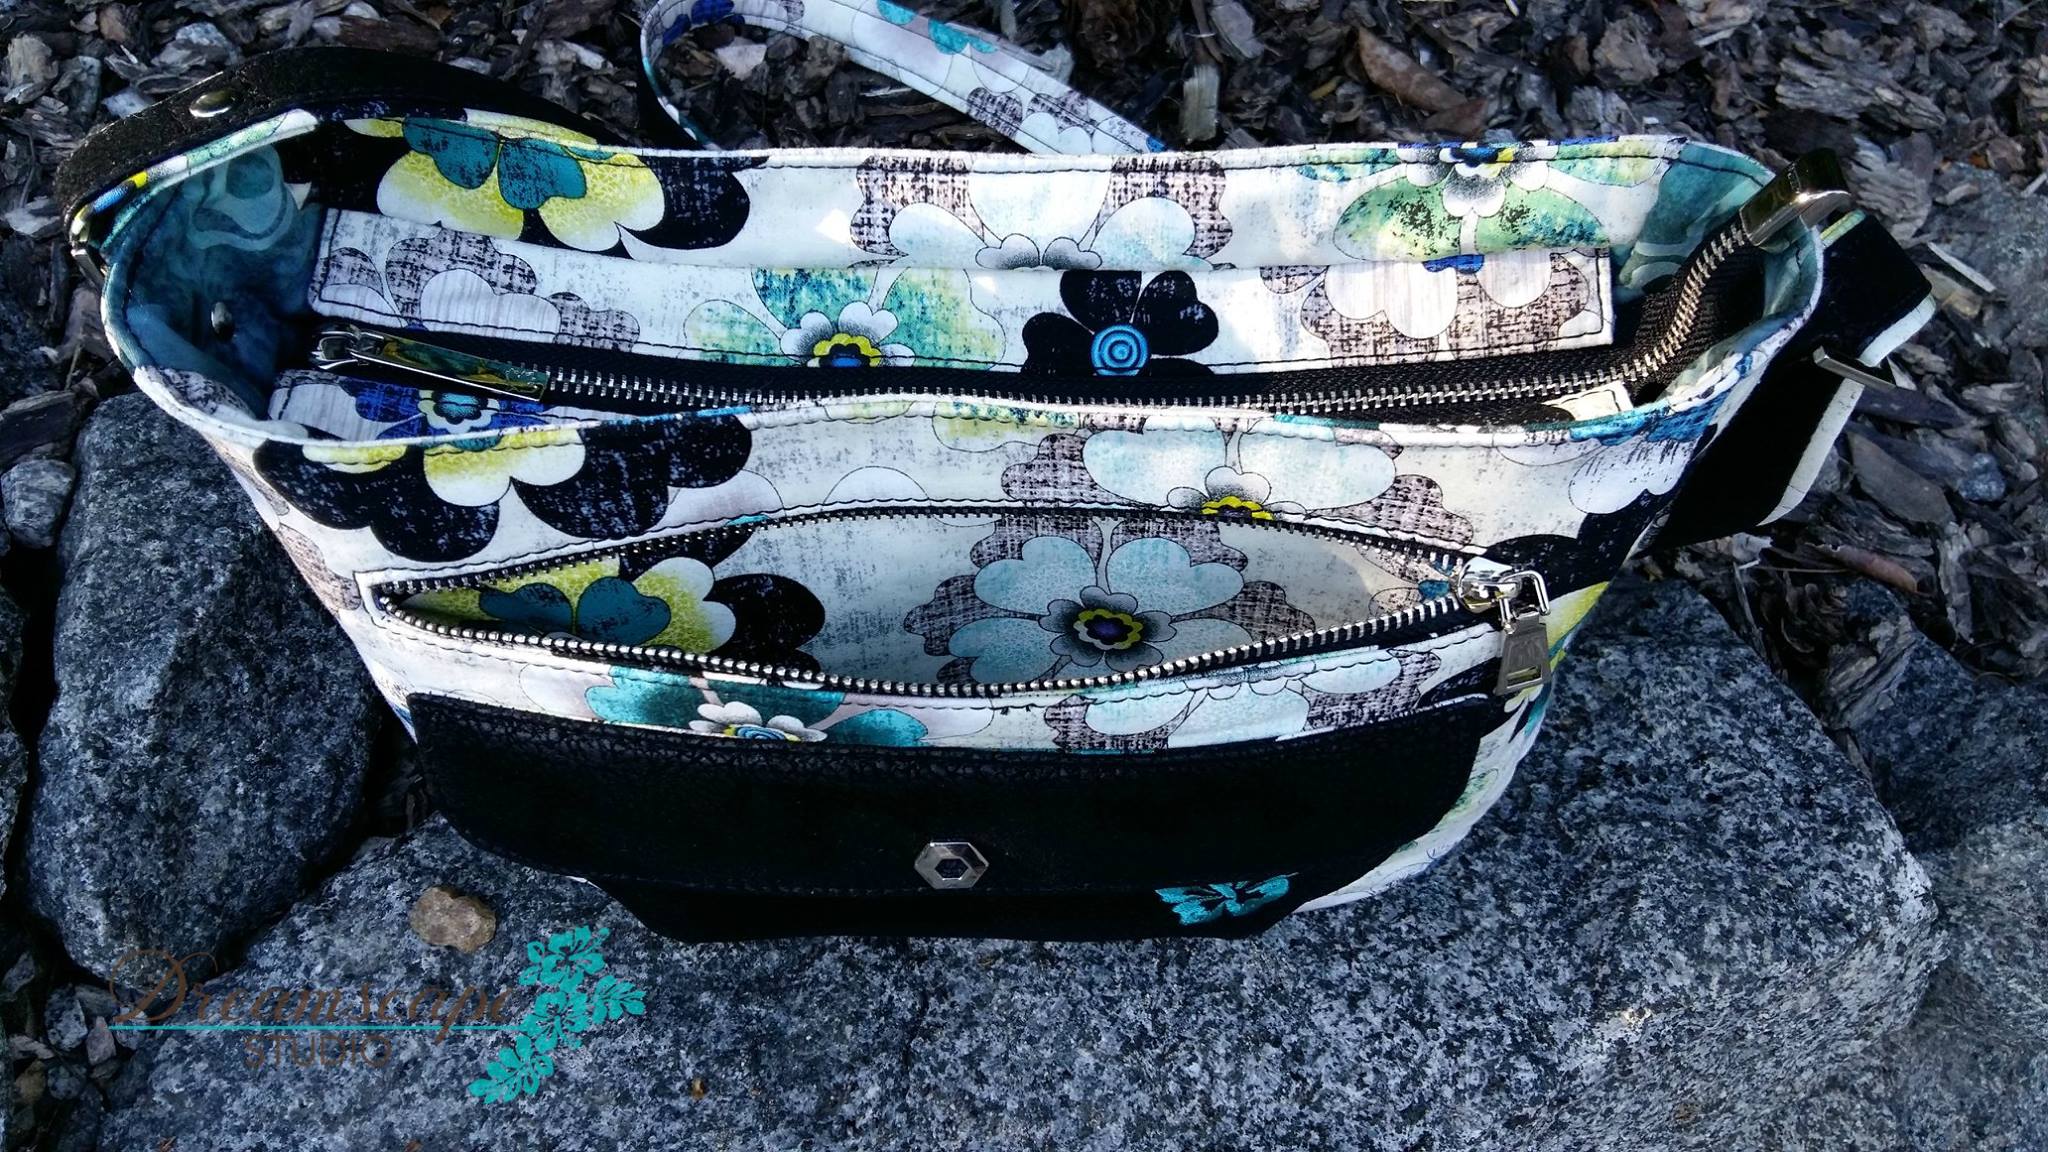
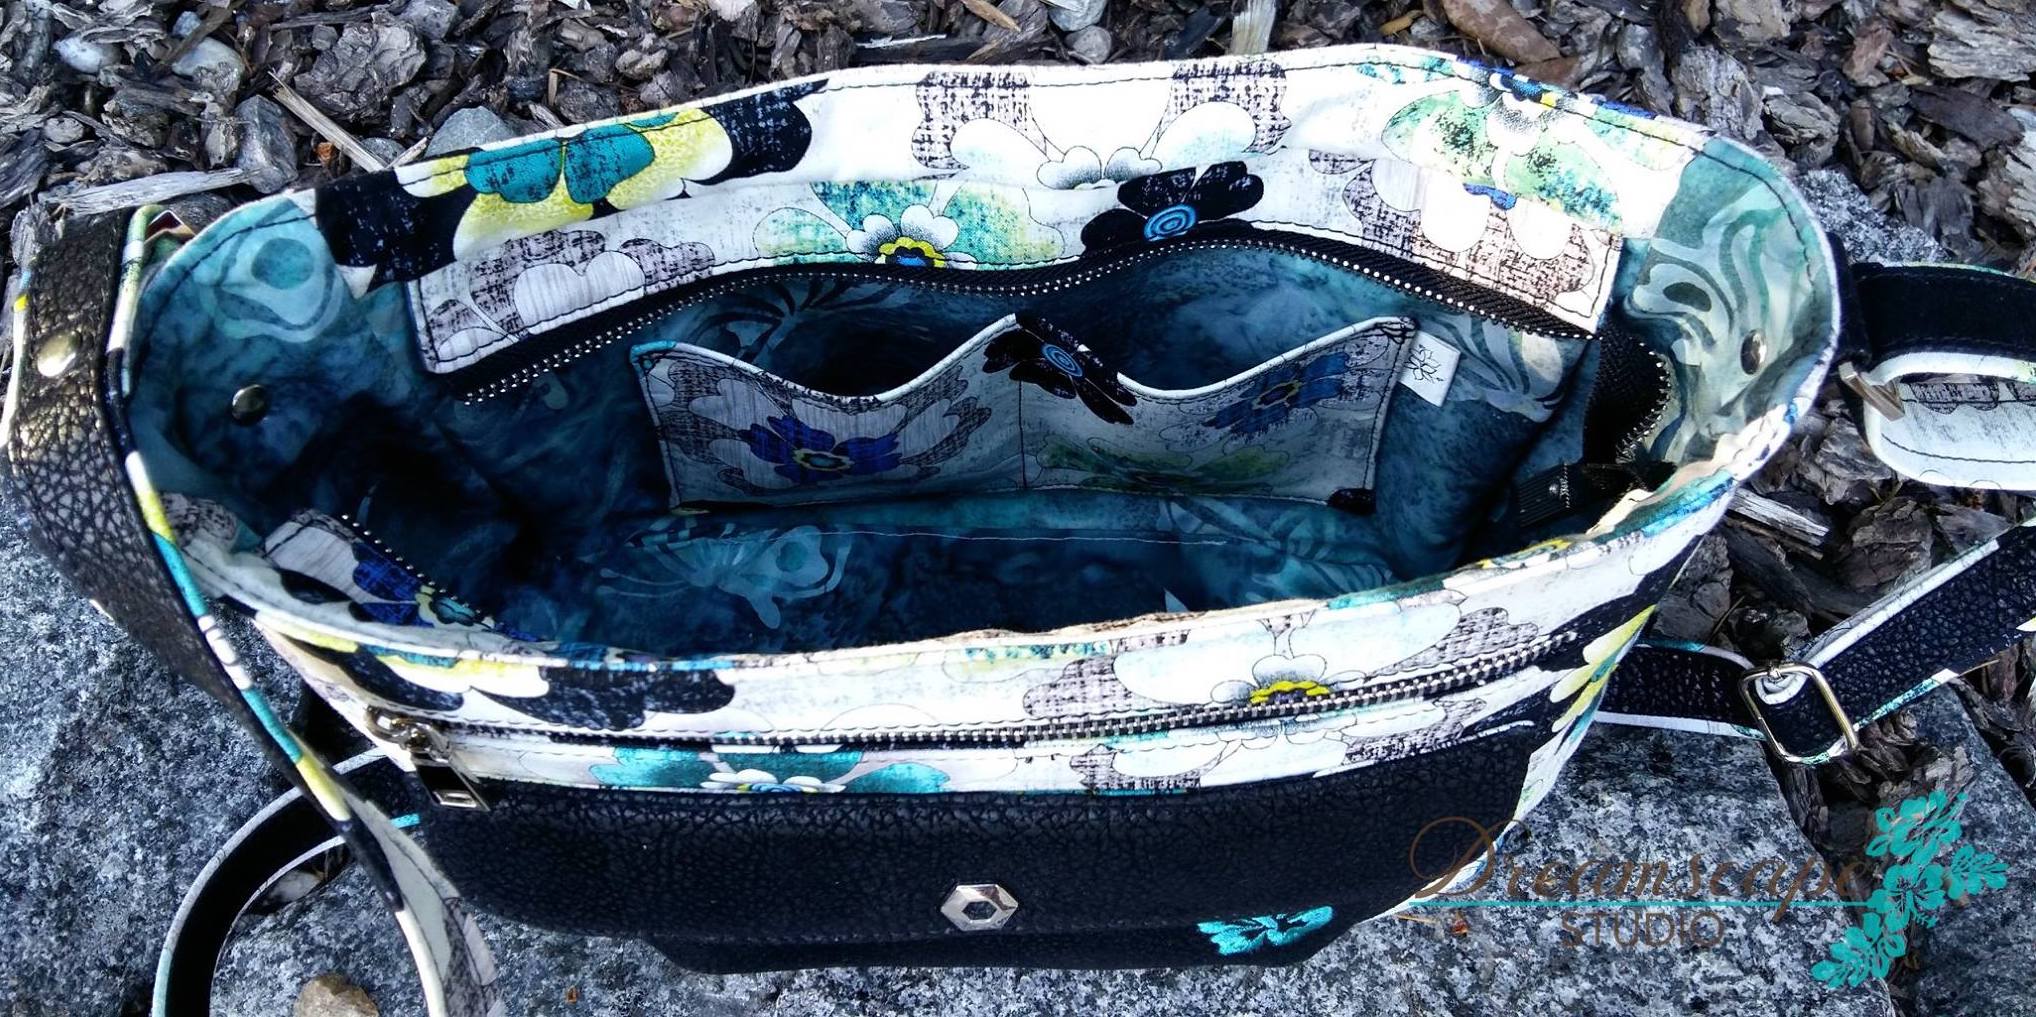
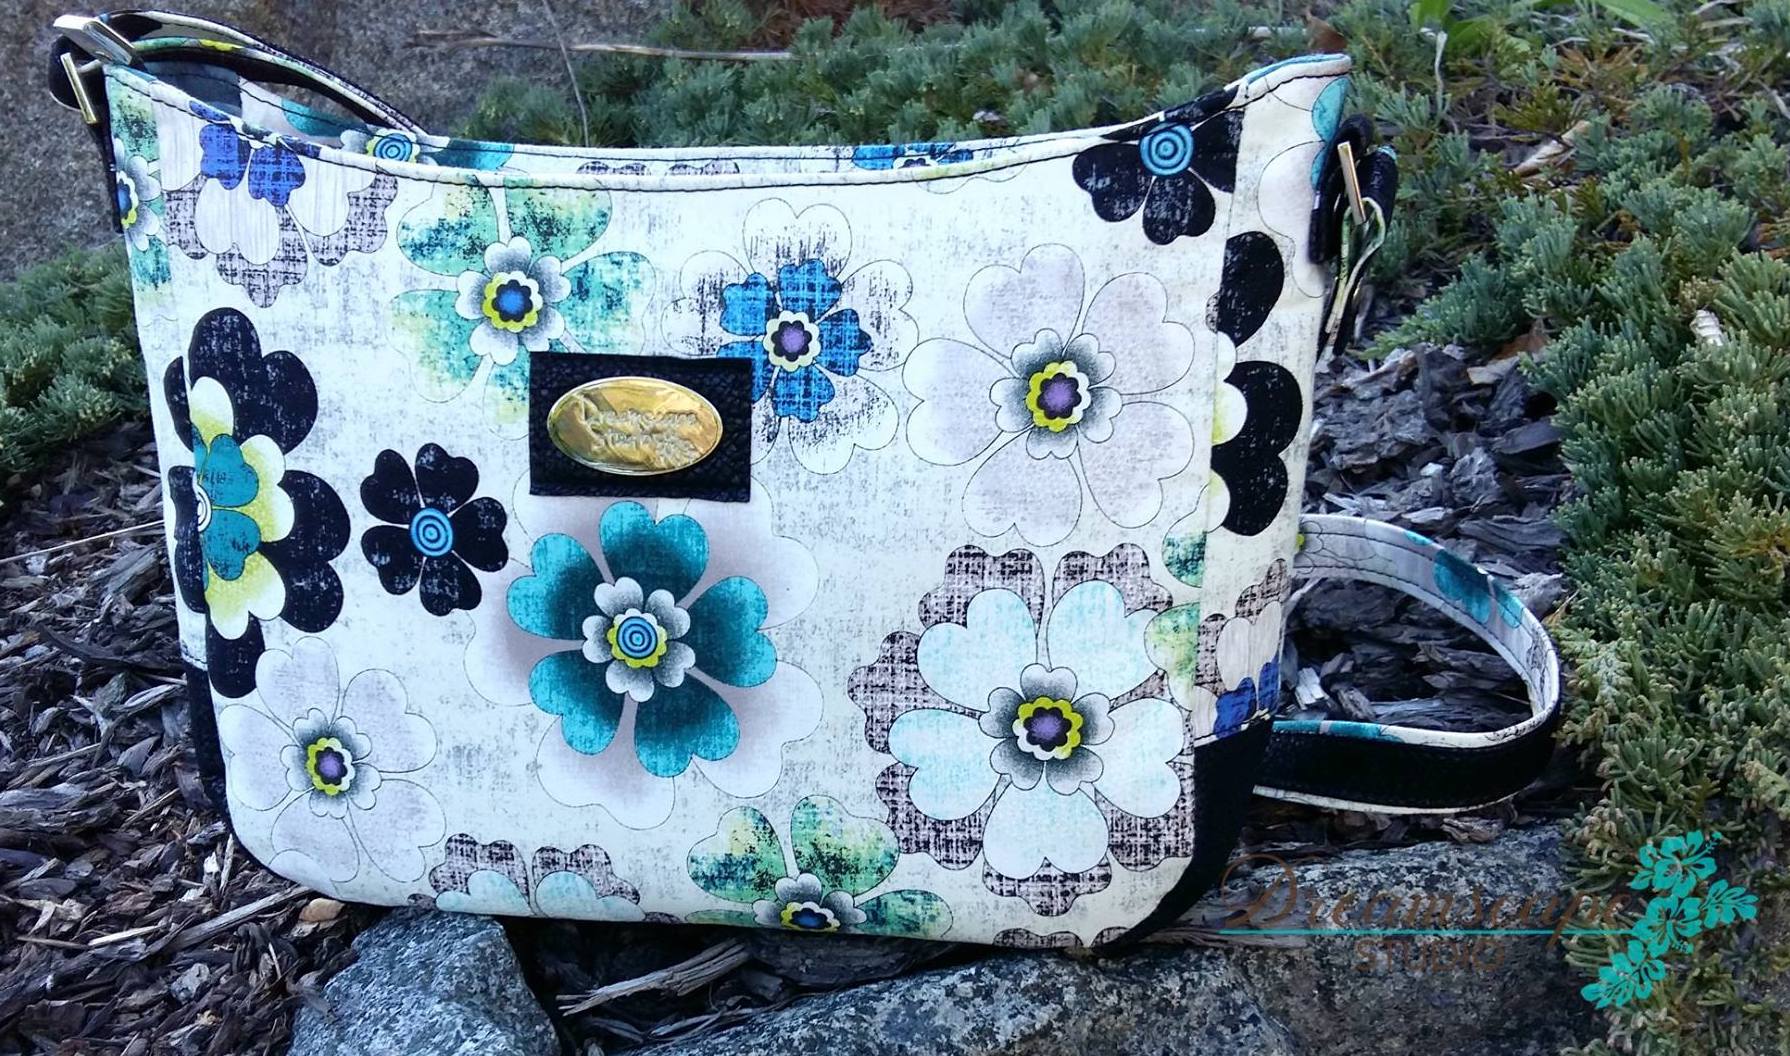
Sue Reed of Dreamscape Studio made this beautiful Aspen Crossbody! Sue made the large Aspen Crossbody and used suede for the base, pocket and on the strap. The black suede looks amazing with the floral fabric! Sue commented that the Aspen Crossbody is a "super fun sew!"
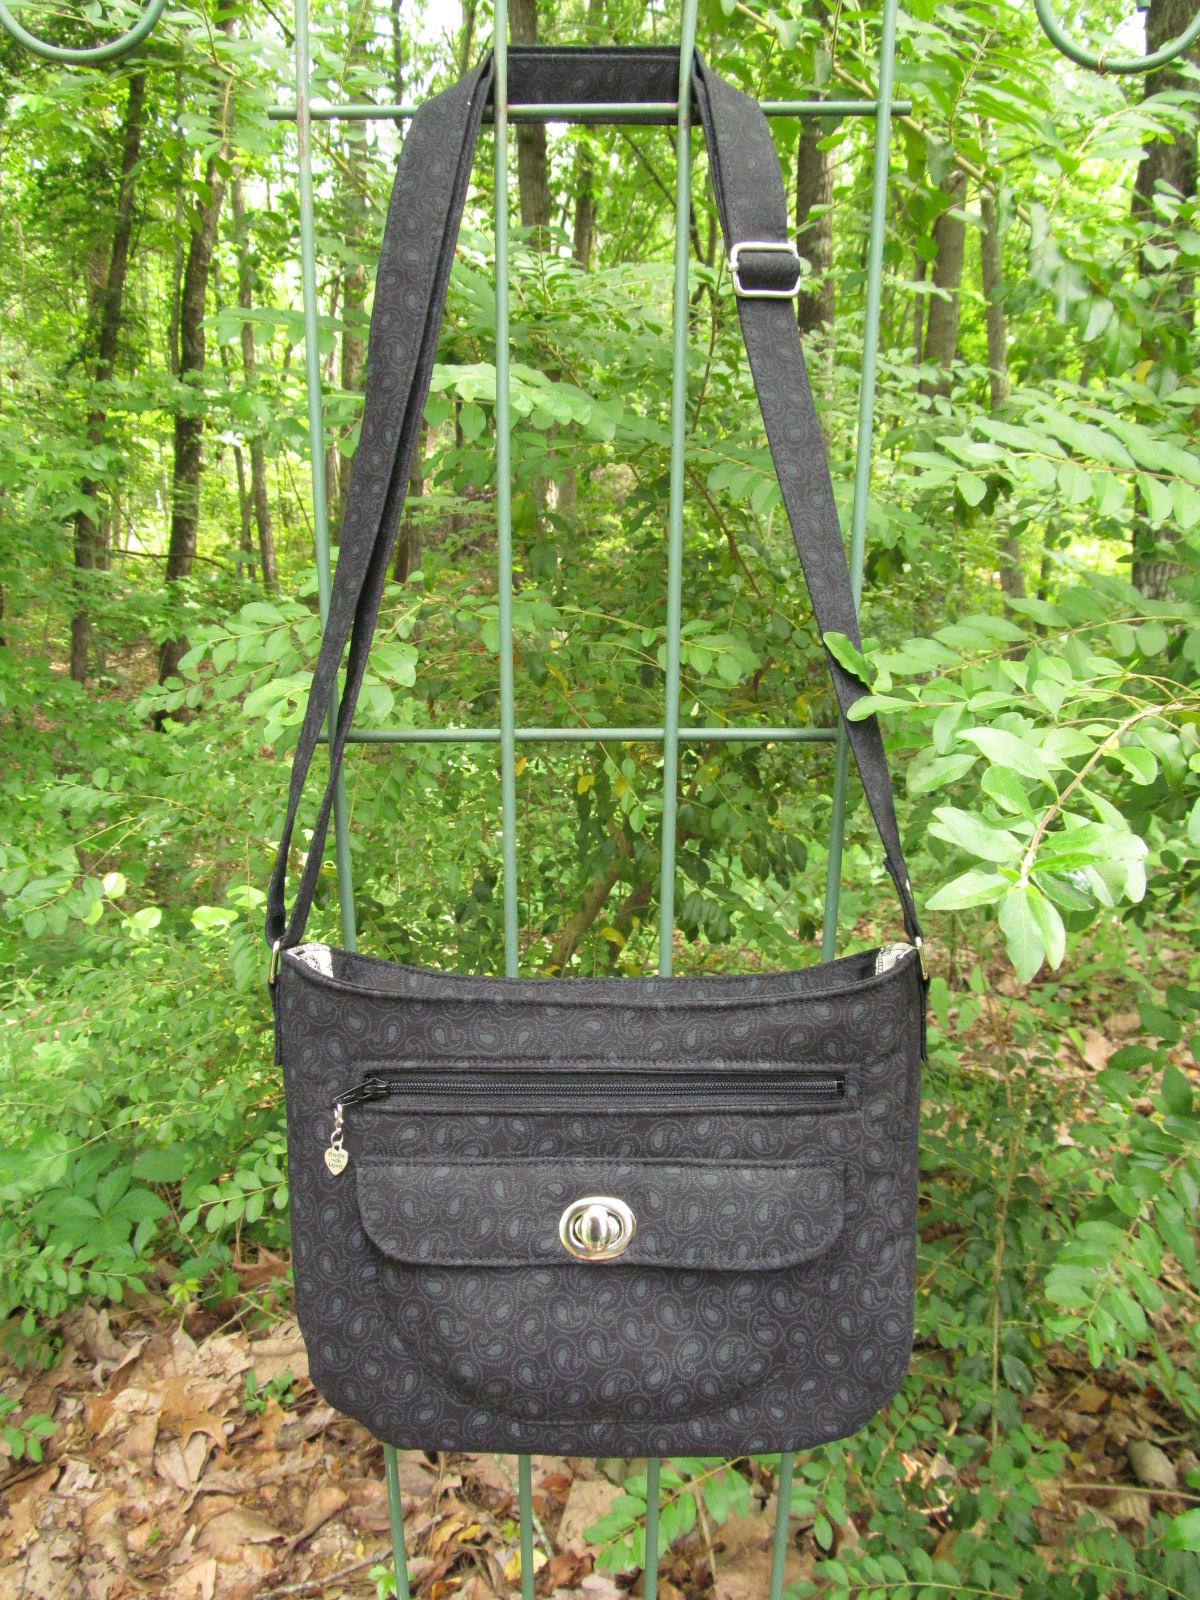
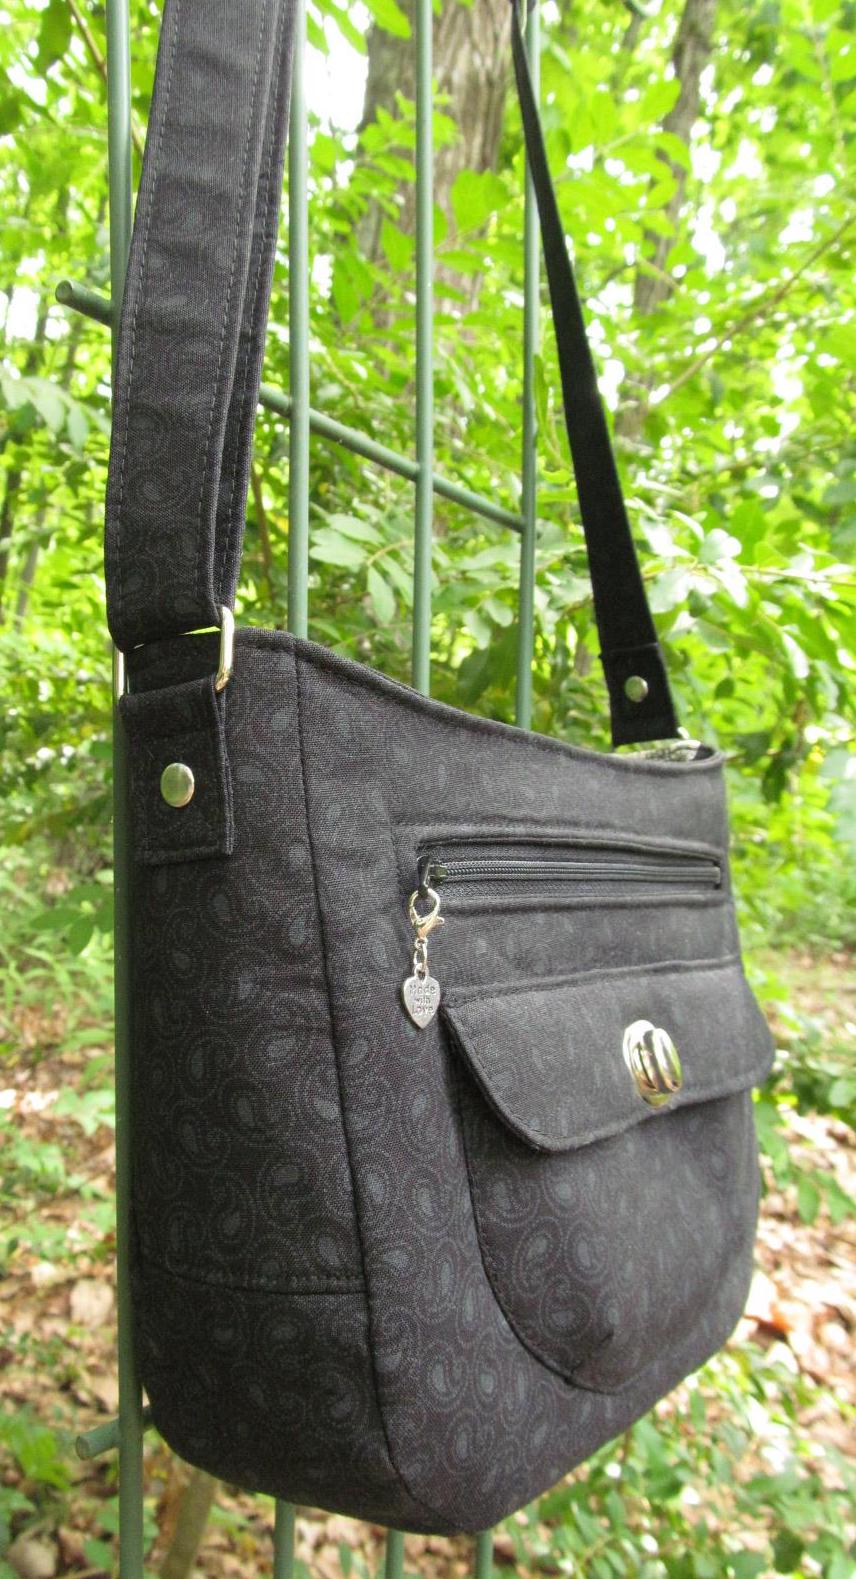
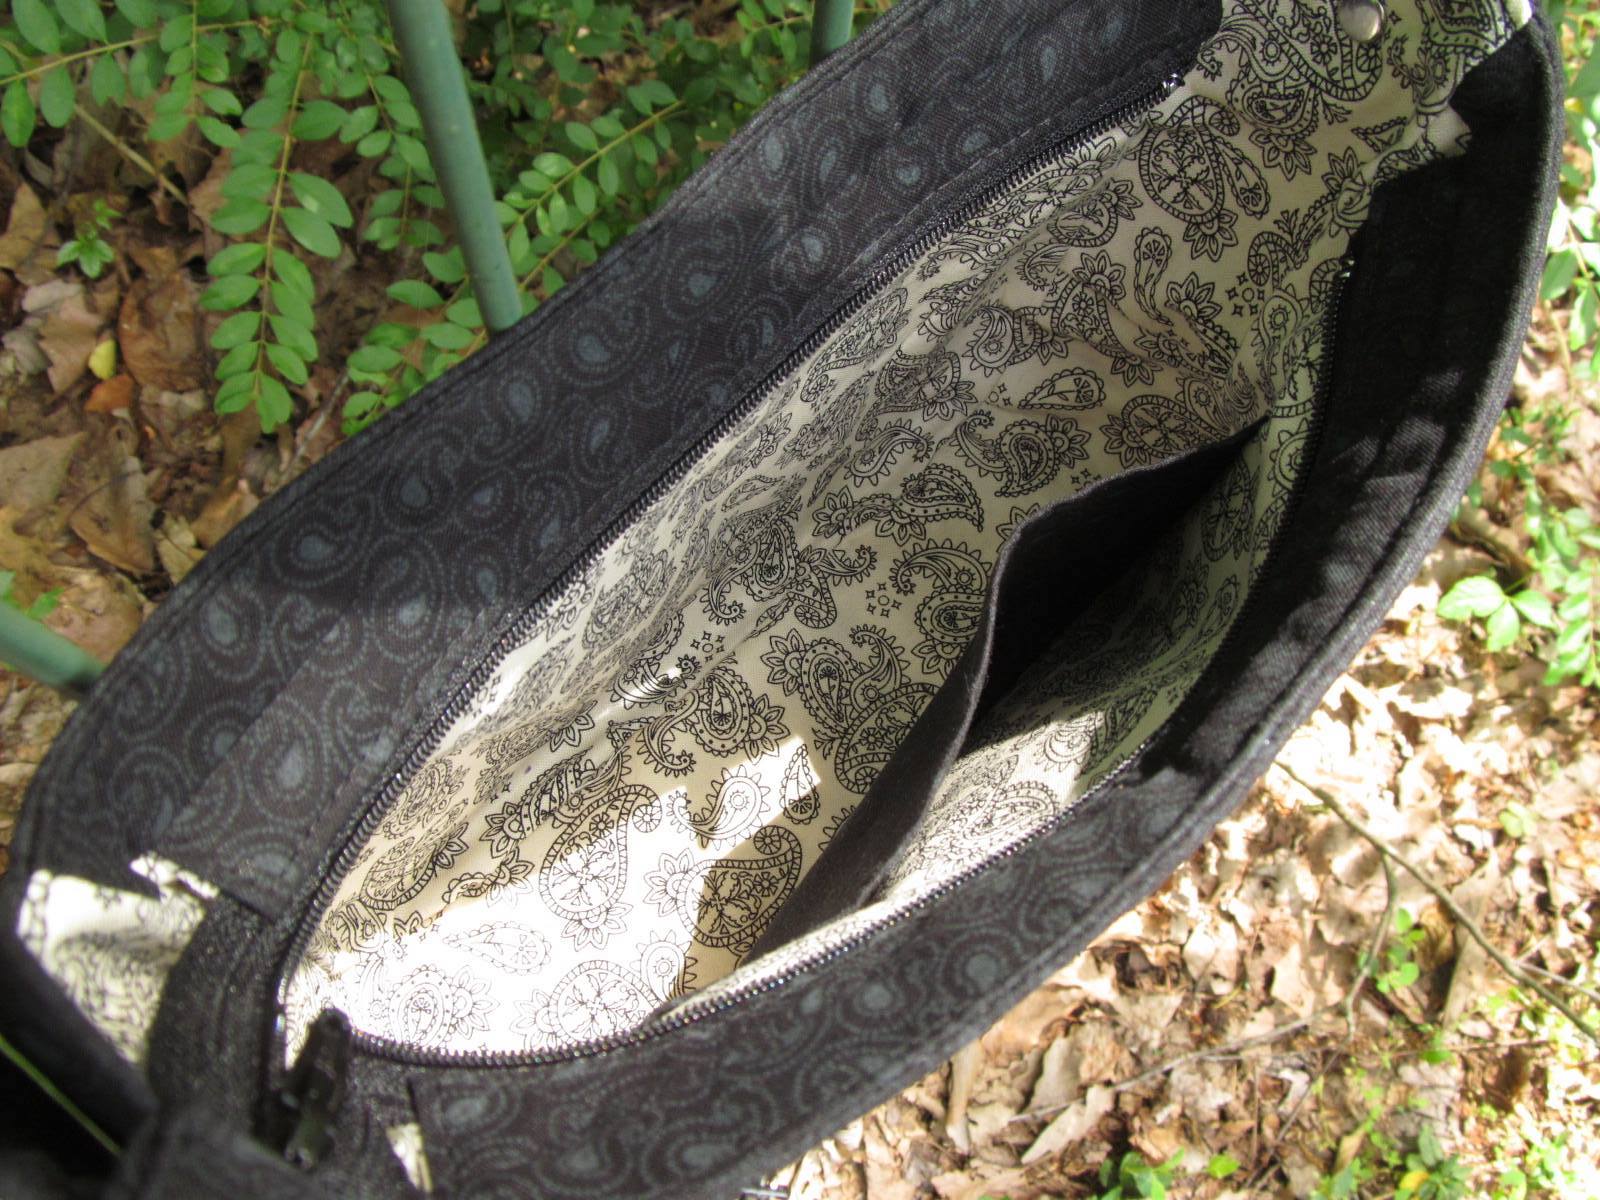
Here is a super classy version of the Aspen Crossbody that Shanel Chute of Sanitys Boutique made! The Aspen Crossbody has a more sophisticated look when the front pocket is the same fabric as the main part of the bag. Shanel made the small size and used a twist lock for the closure on the front pocket flap which really dresses it up! The pattern has instructions for installing a magnetic snap, but adding a twist lock is a great variation.
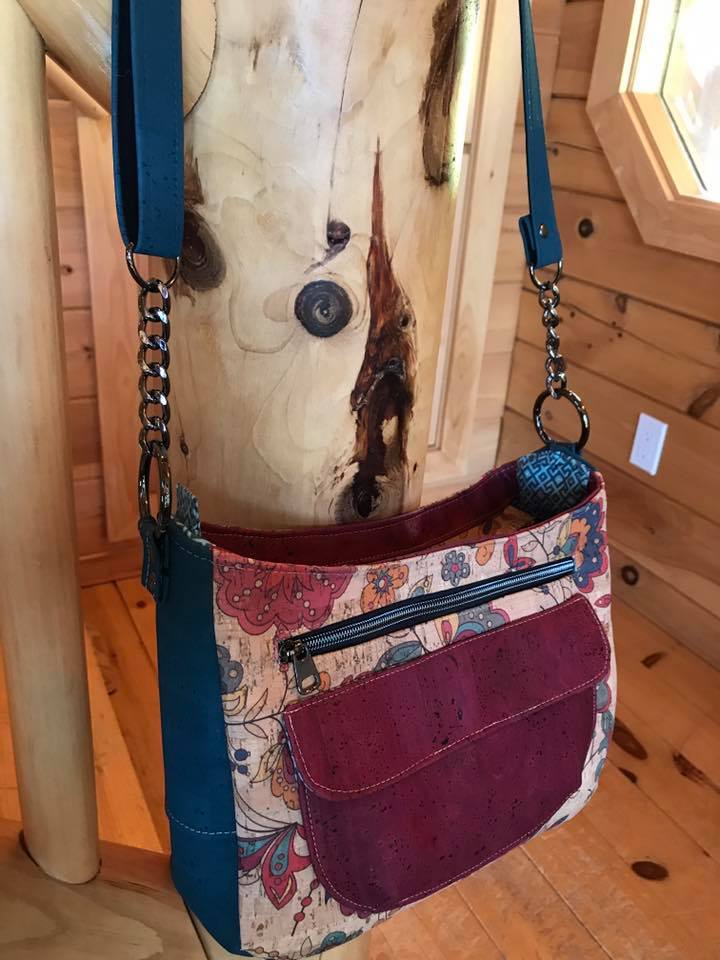
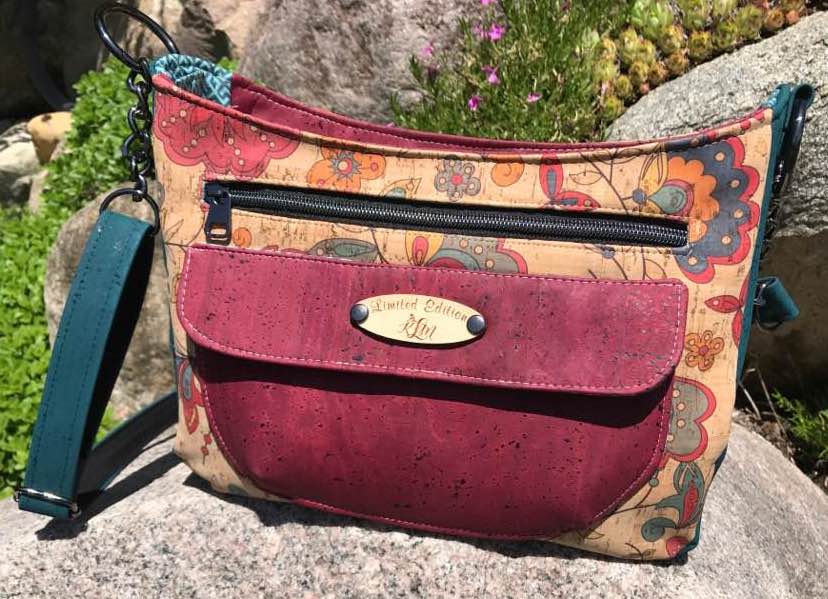
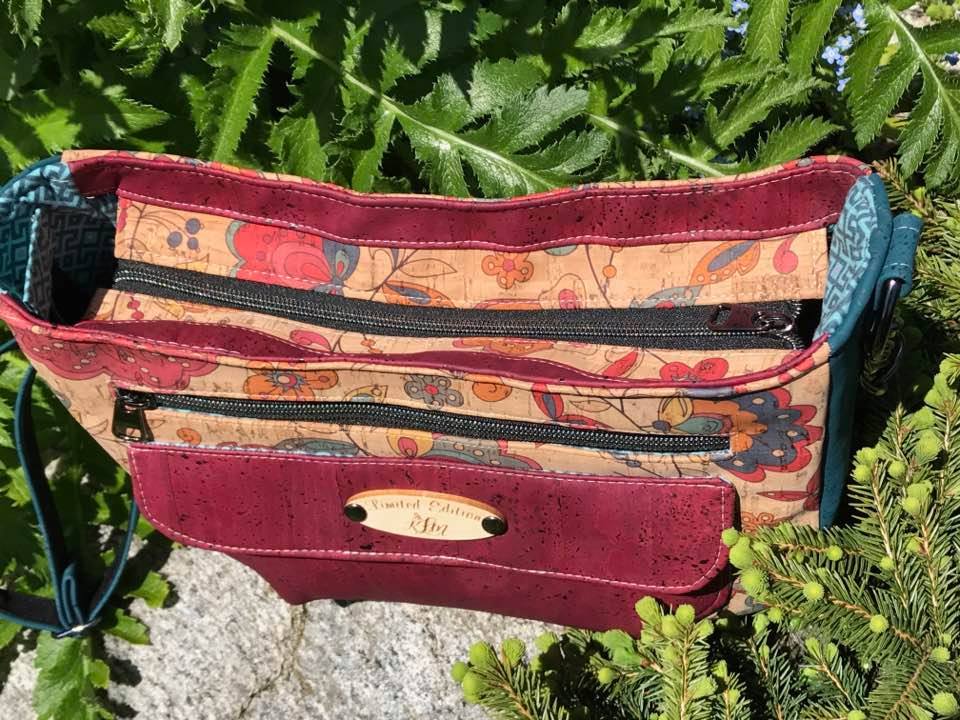
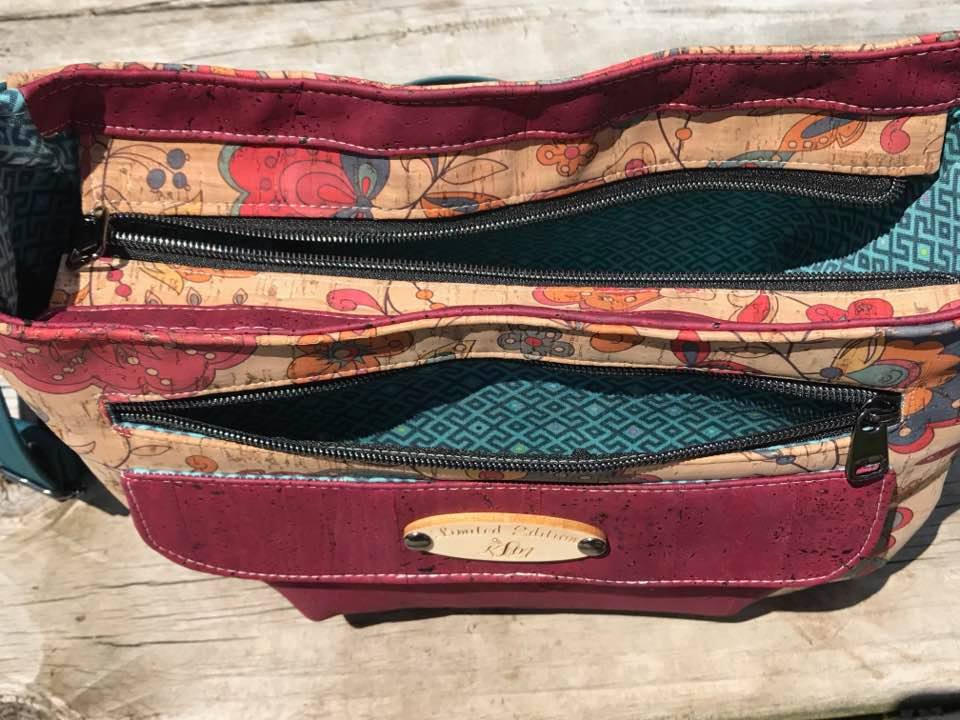
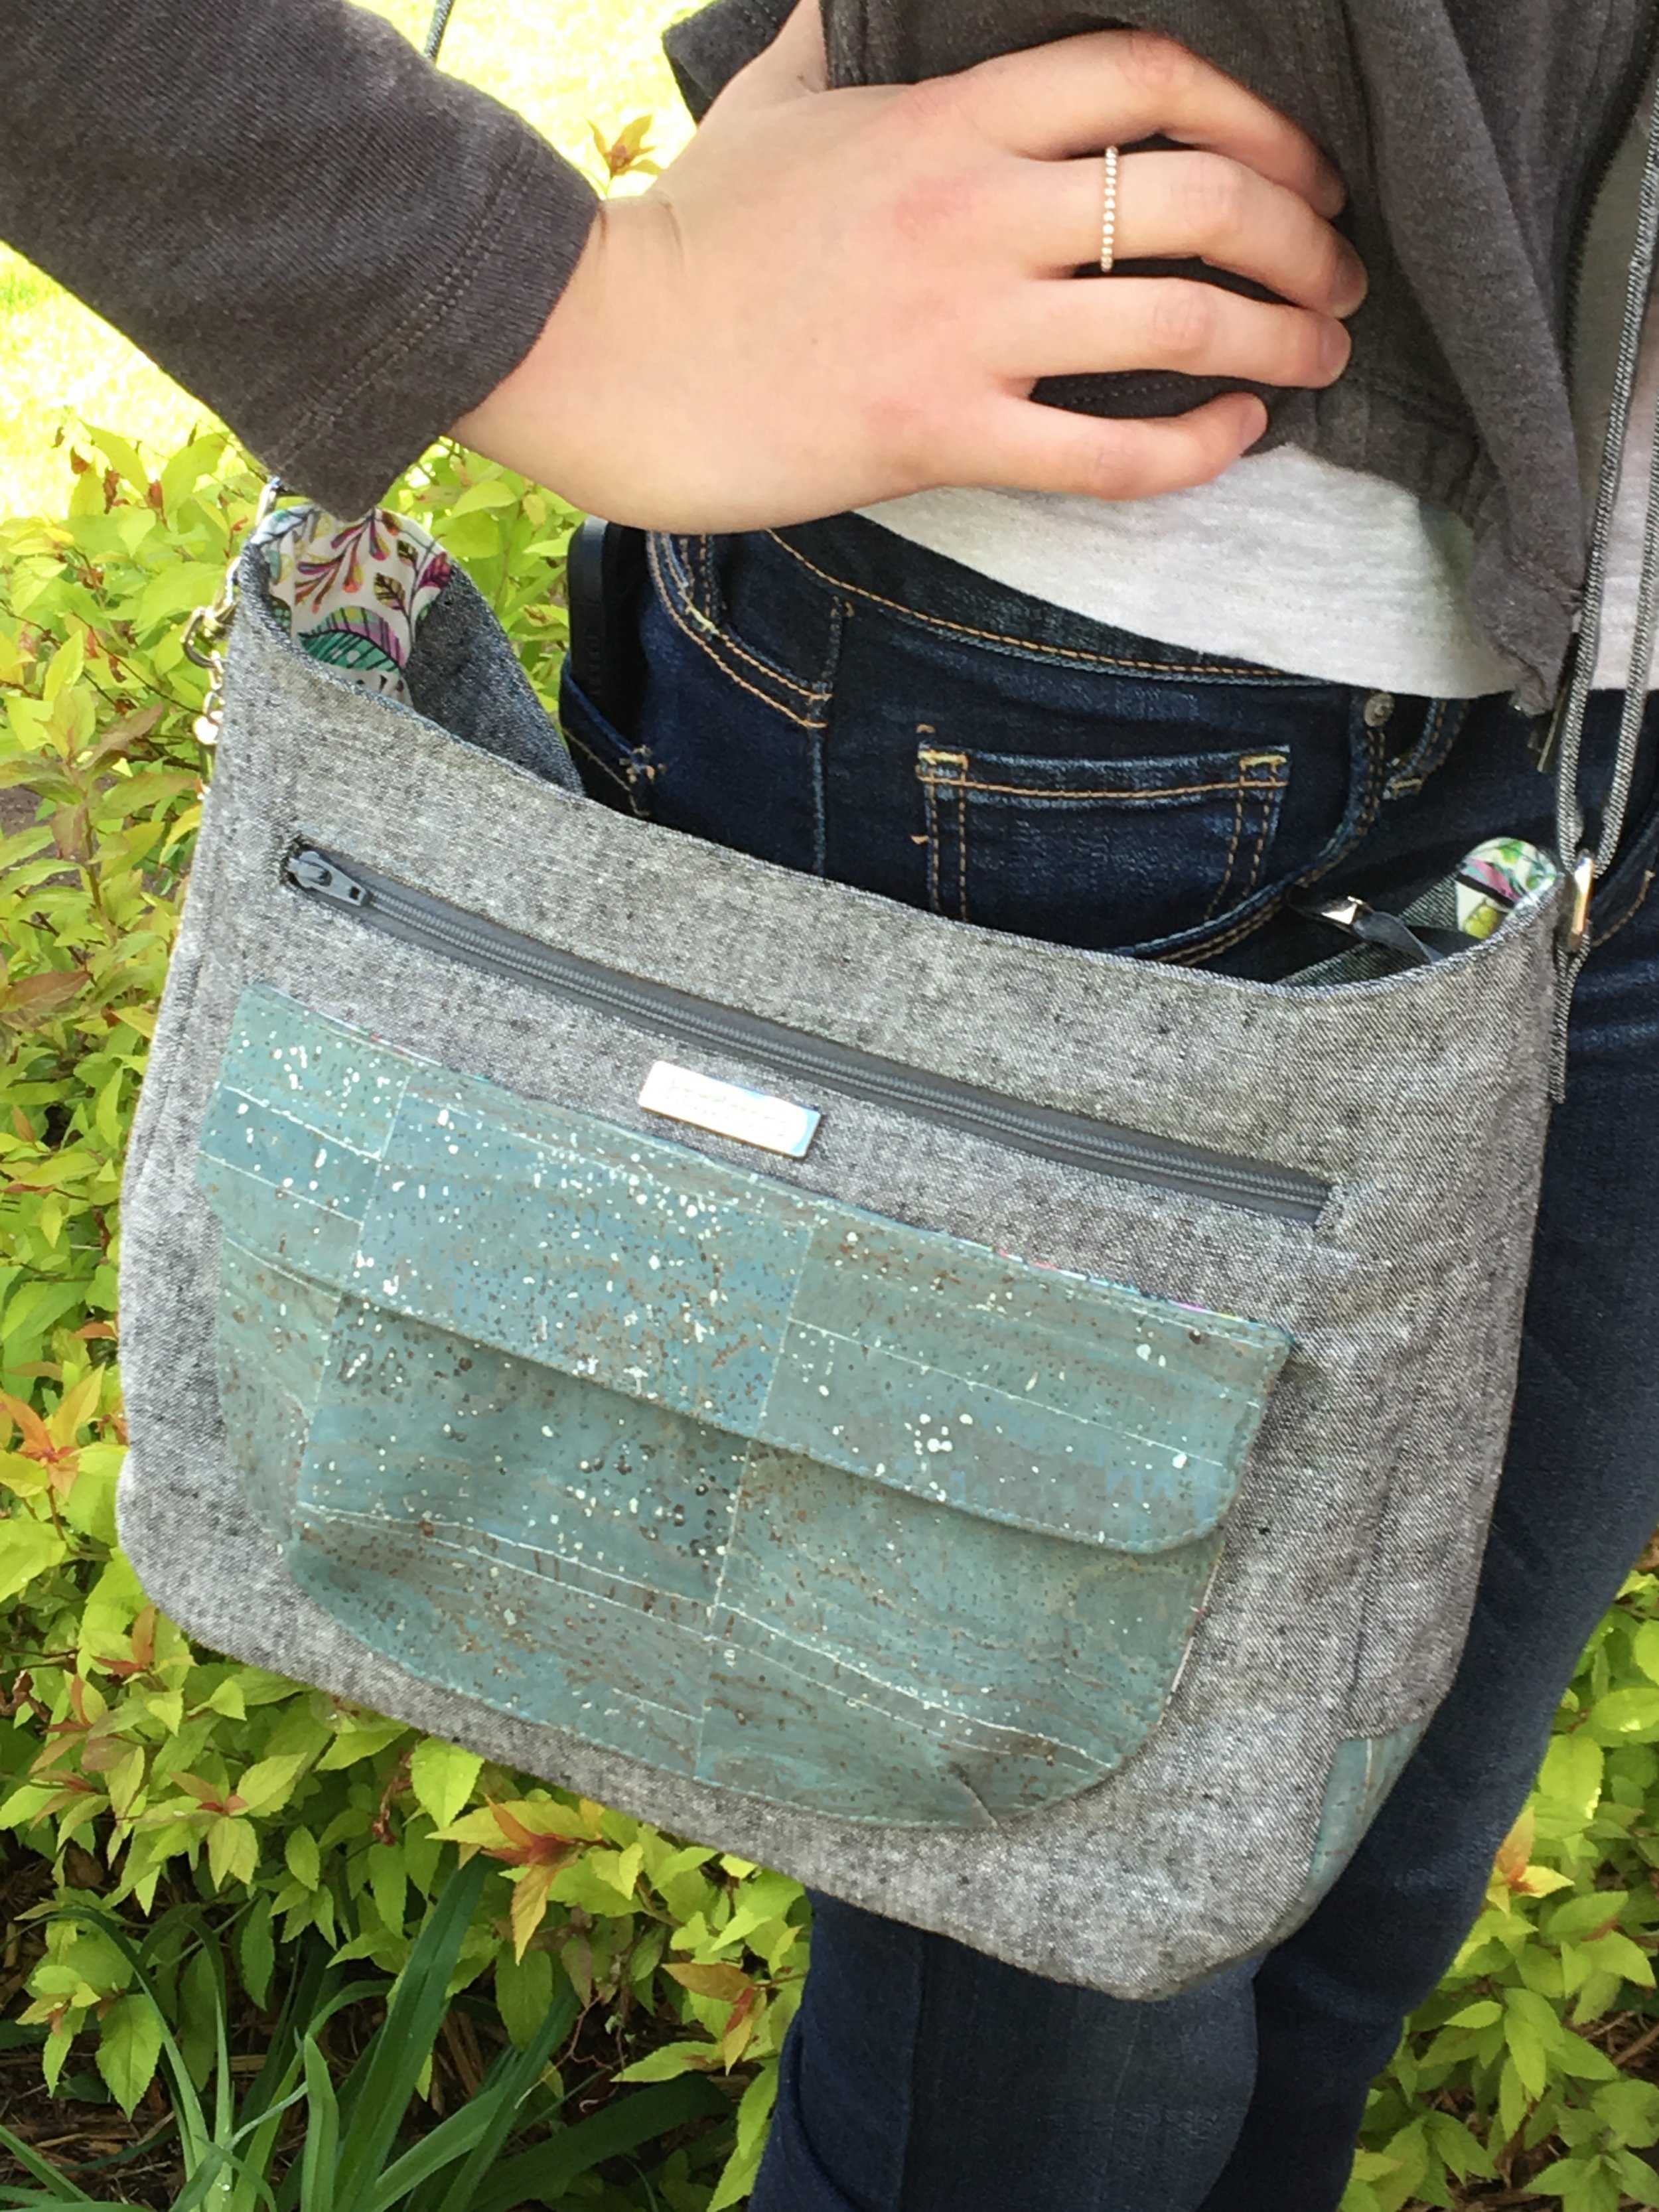
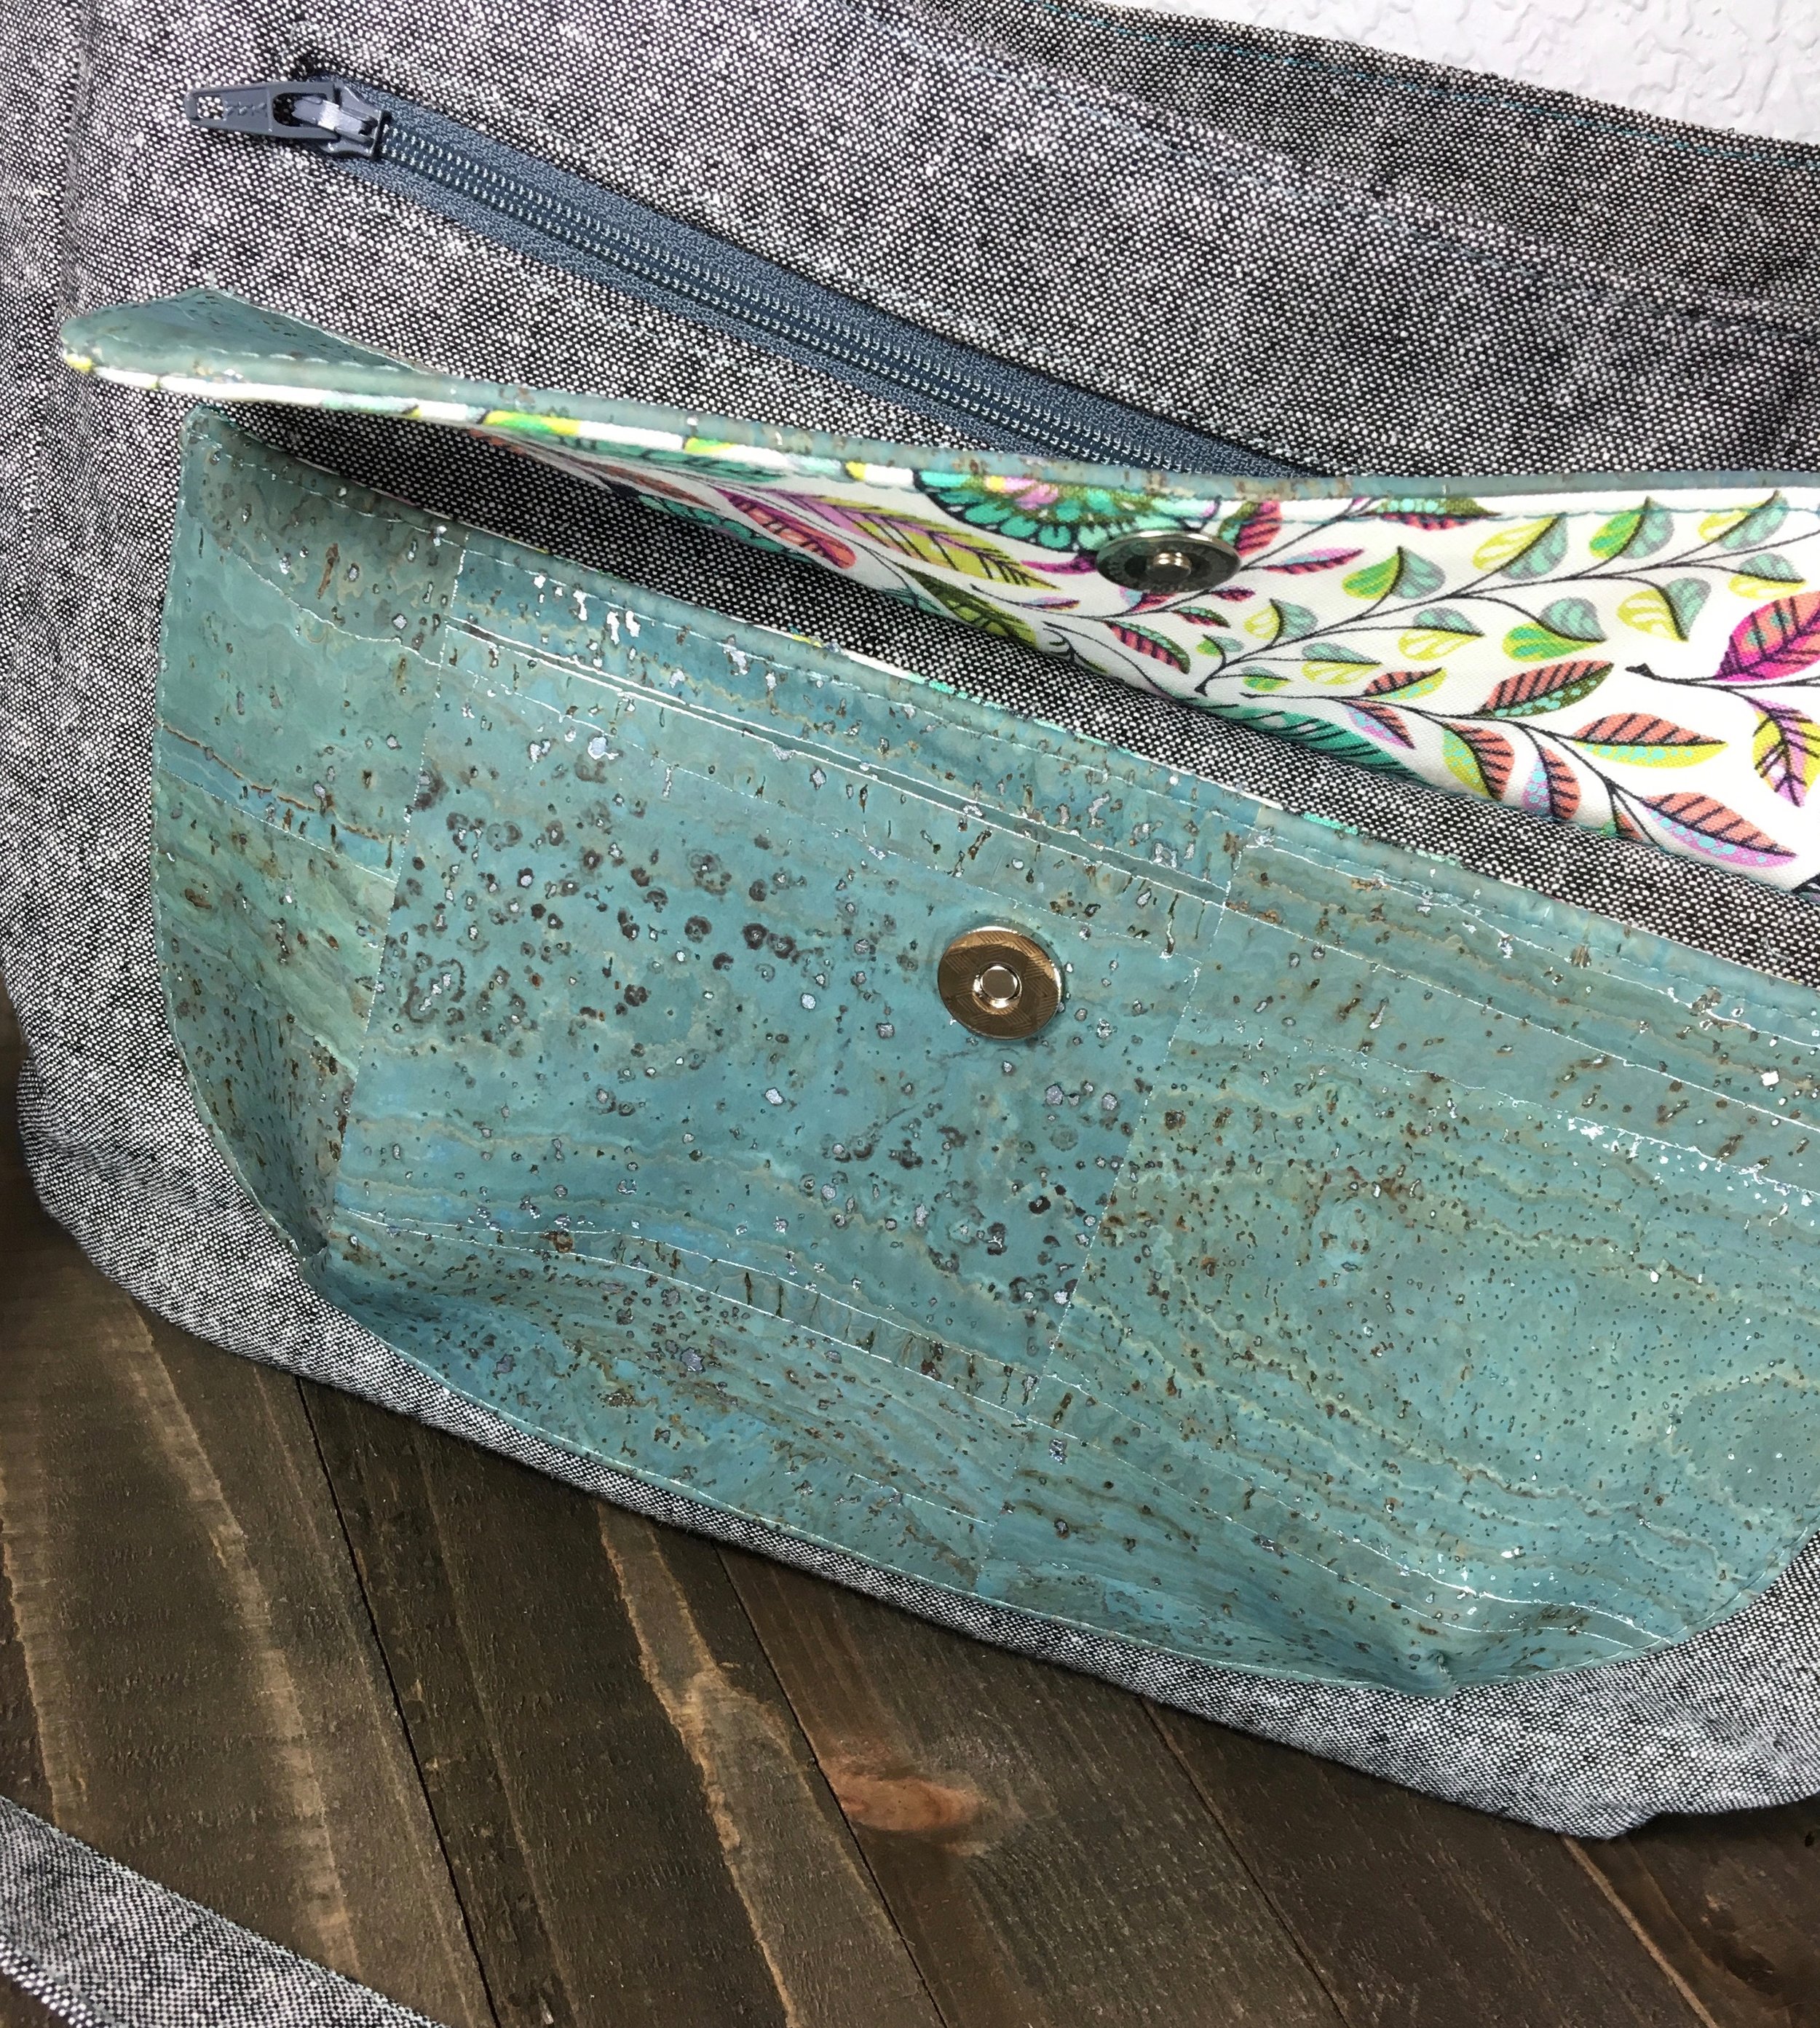
Wow - look at all that beautiful cork fabric! The three different cork fabrics all coordinate so well and make this Aspen Crossbody really stand out. Kate Maryon of KatydidKLM made this gorgeous large-size Aspen Crossbody. Kate made the shoulder strap removal by using gate rings and she used rivets to attach the strap connectors.
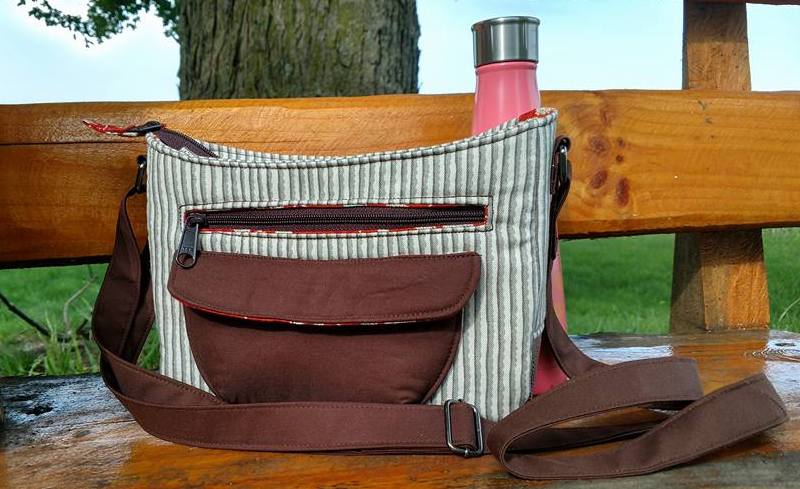
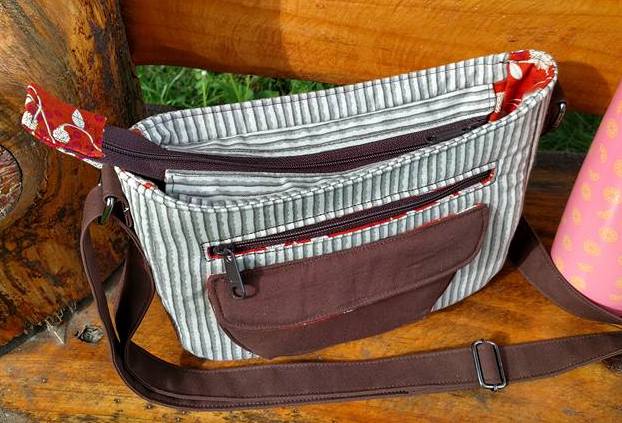
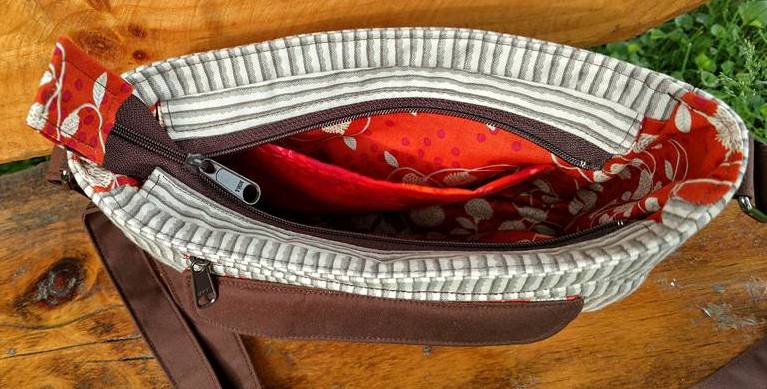
Jenniffer Howling made this cute Aspen Crossbody. I love how the red fabric that Jenniffer used for the lining really pops against the tan and brown fabrics! Jenniffer made the small size Aspen Crossbody.
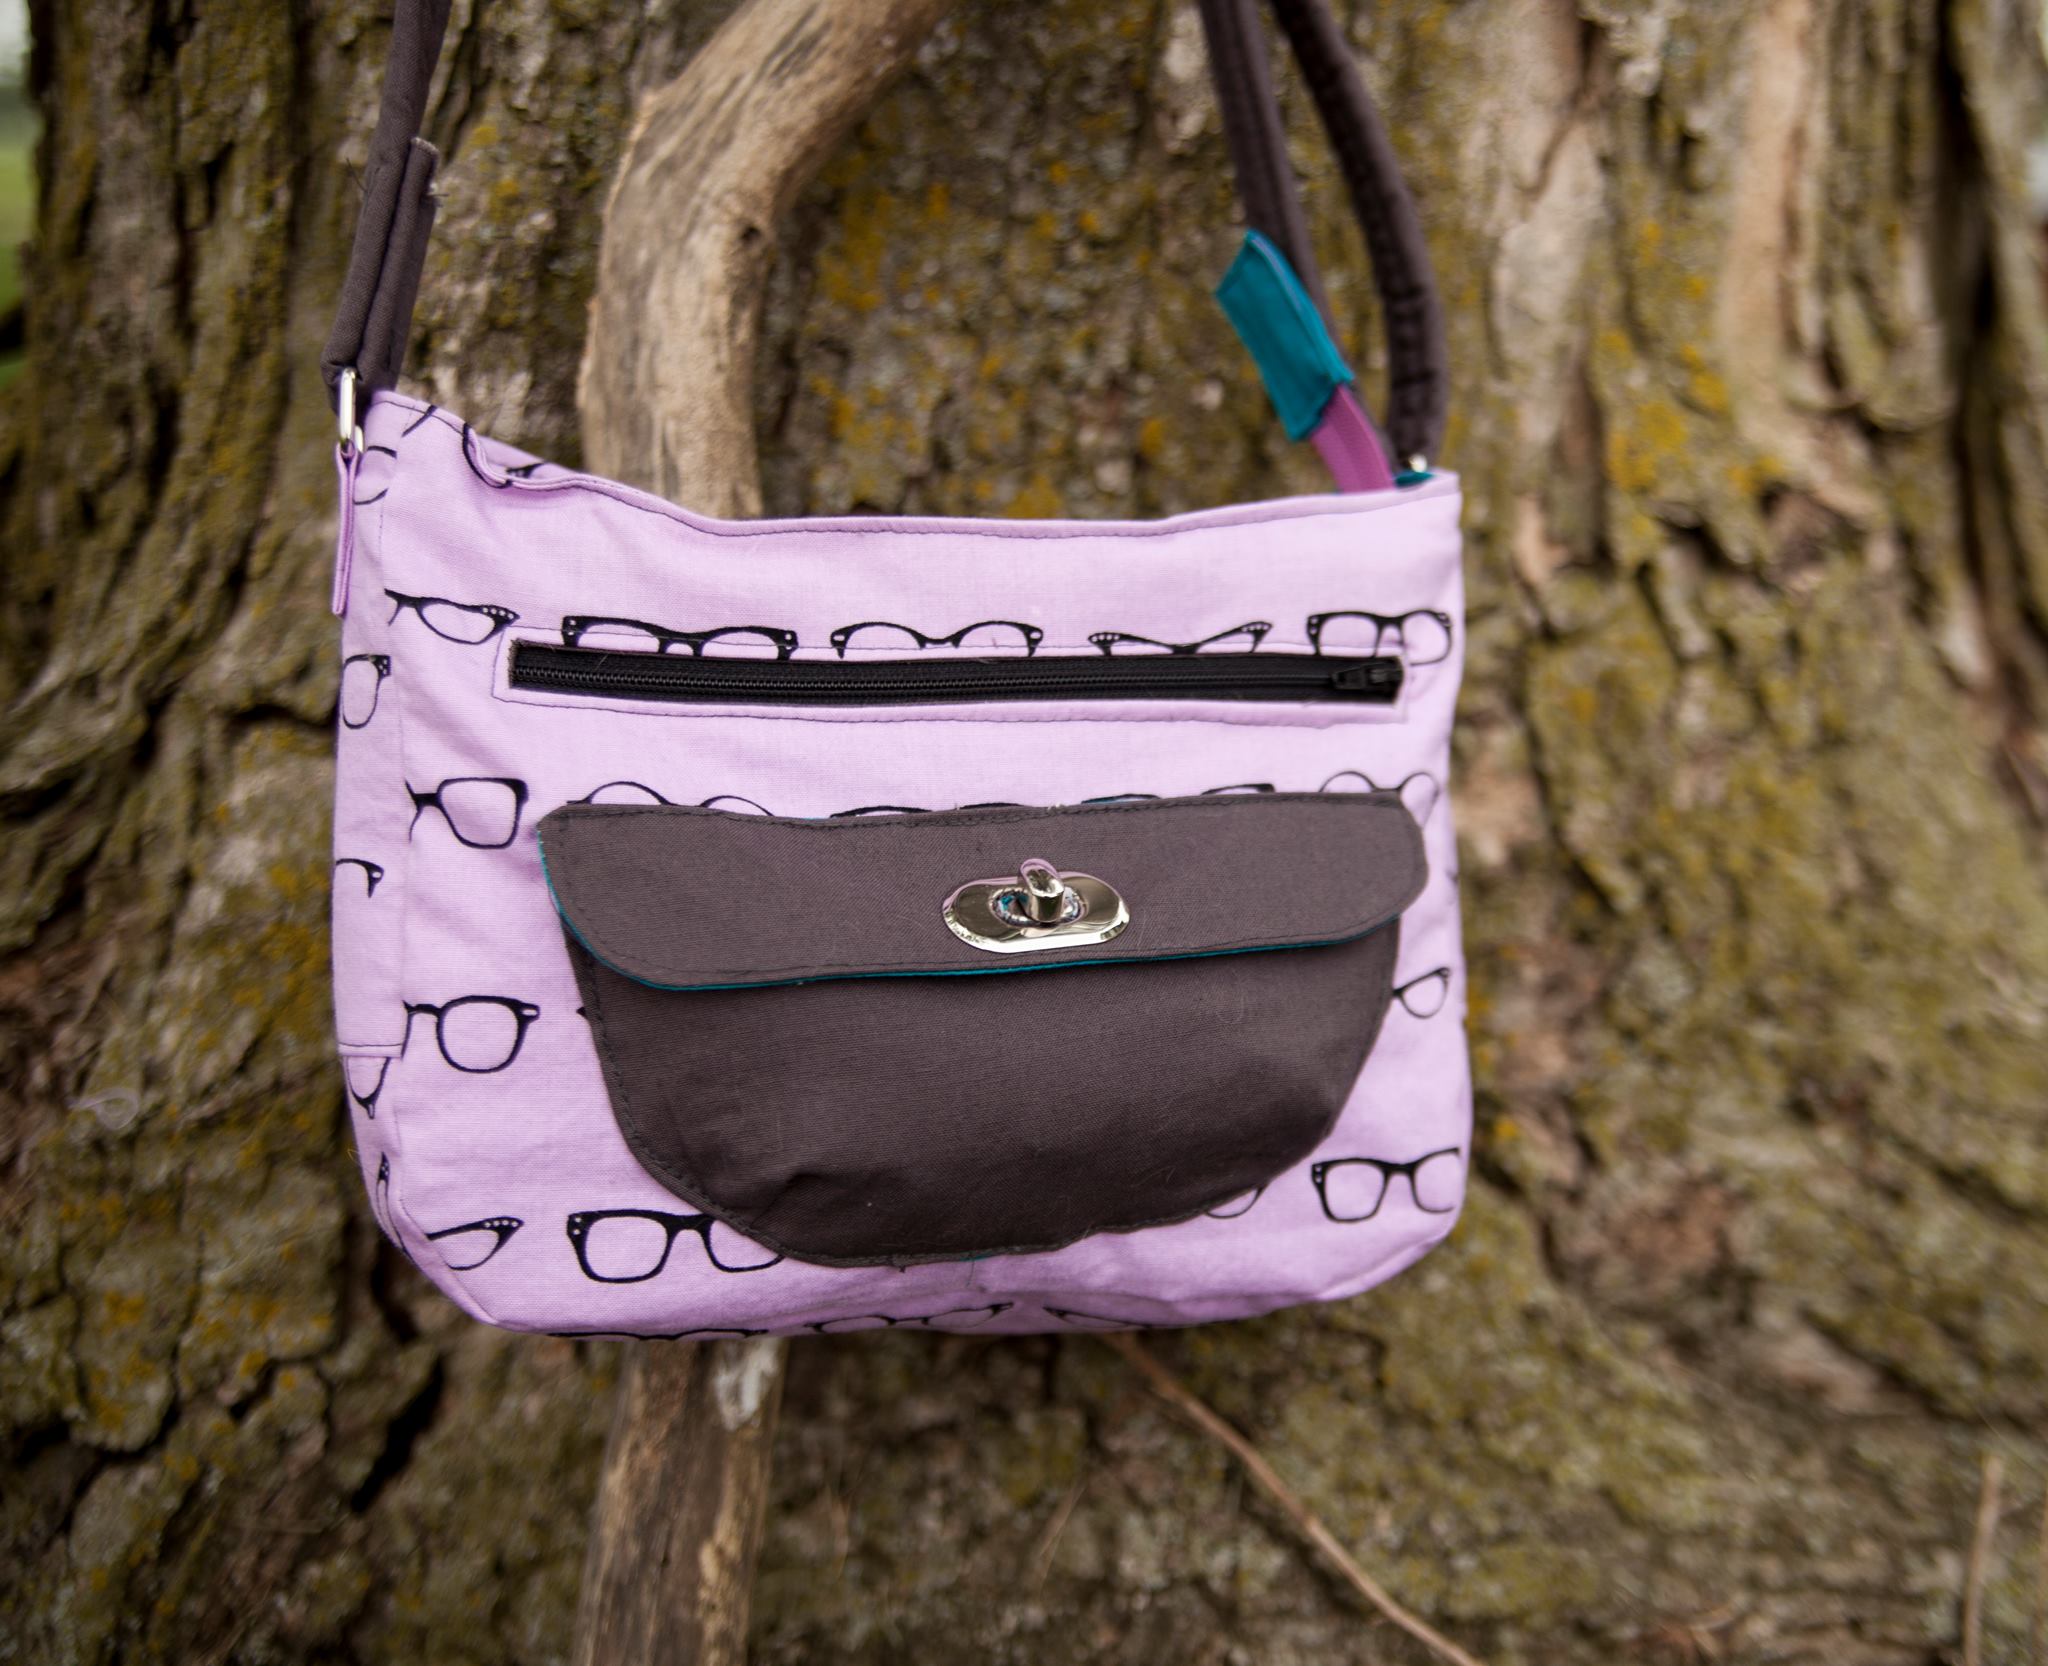
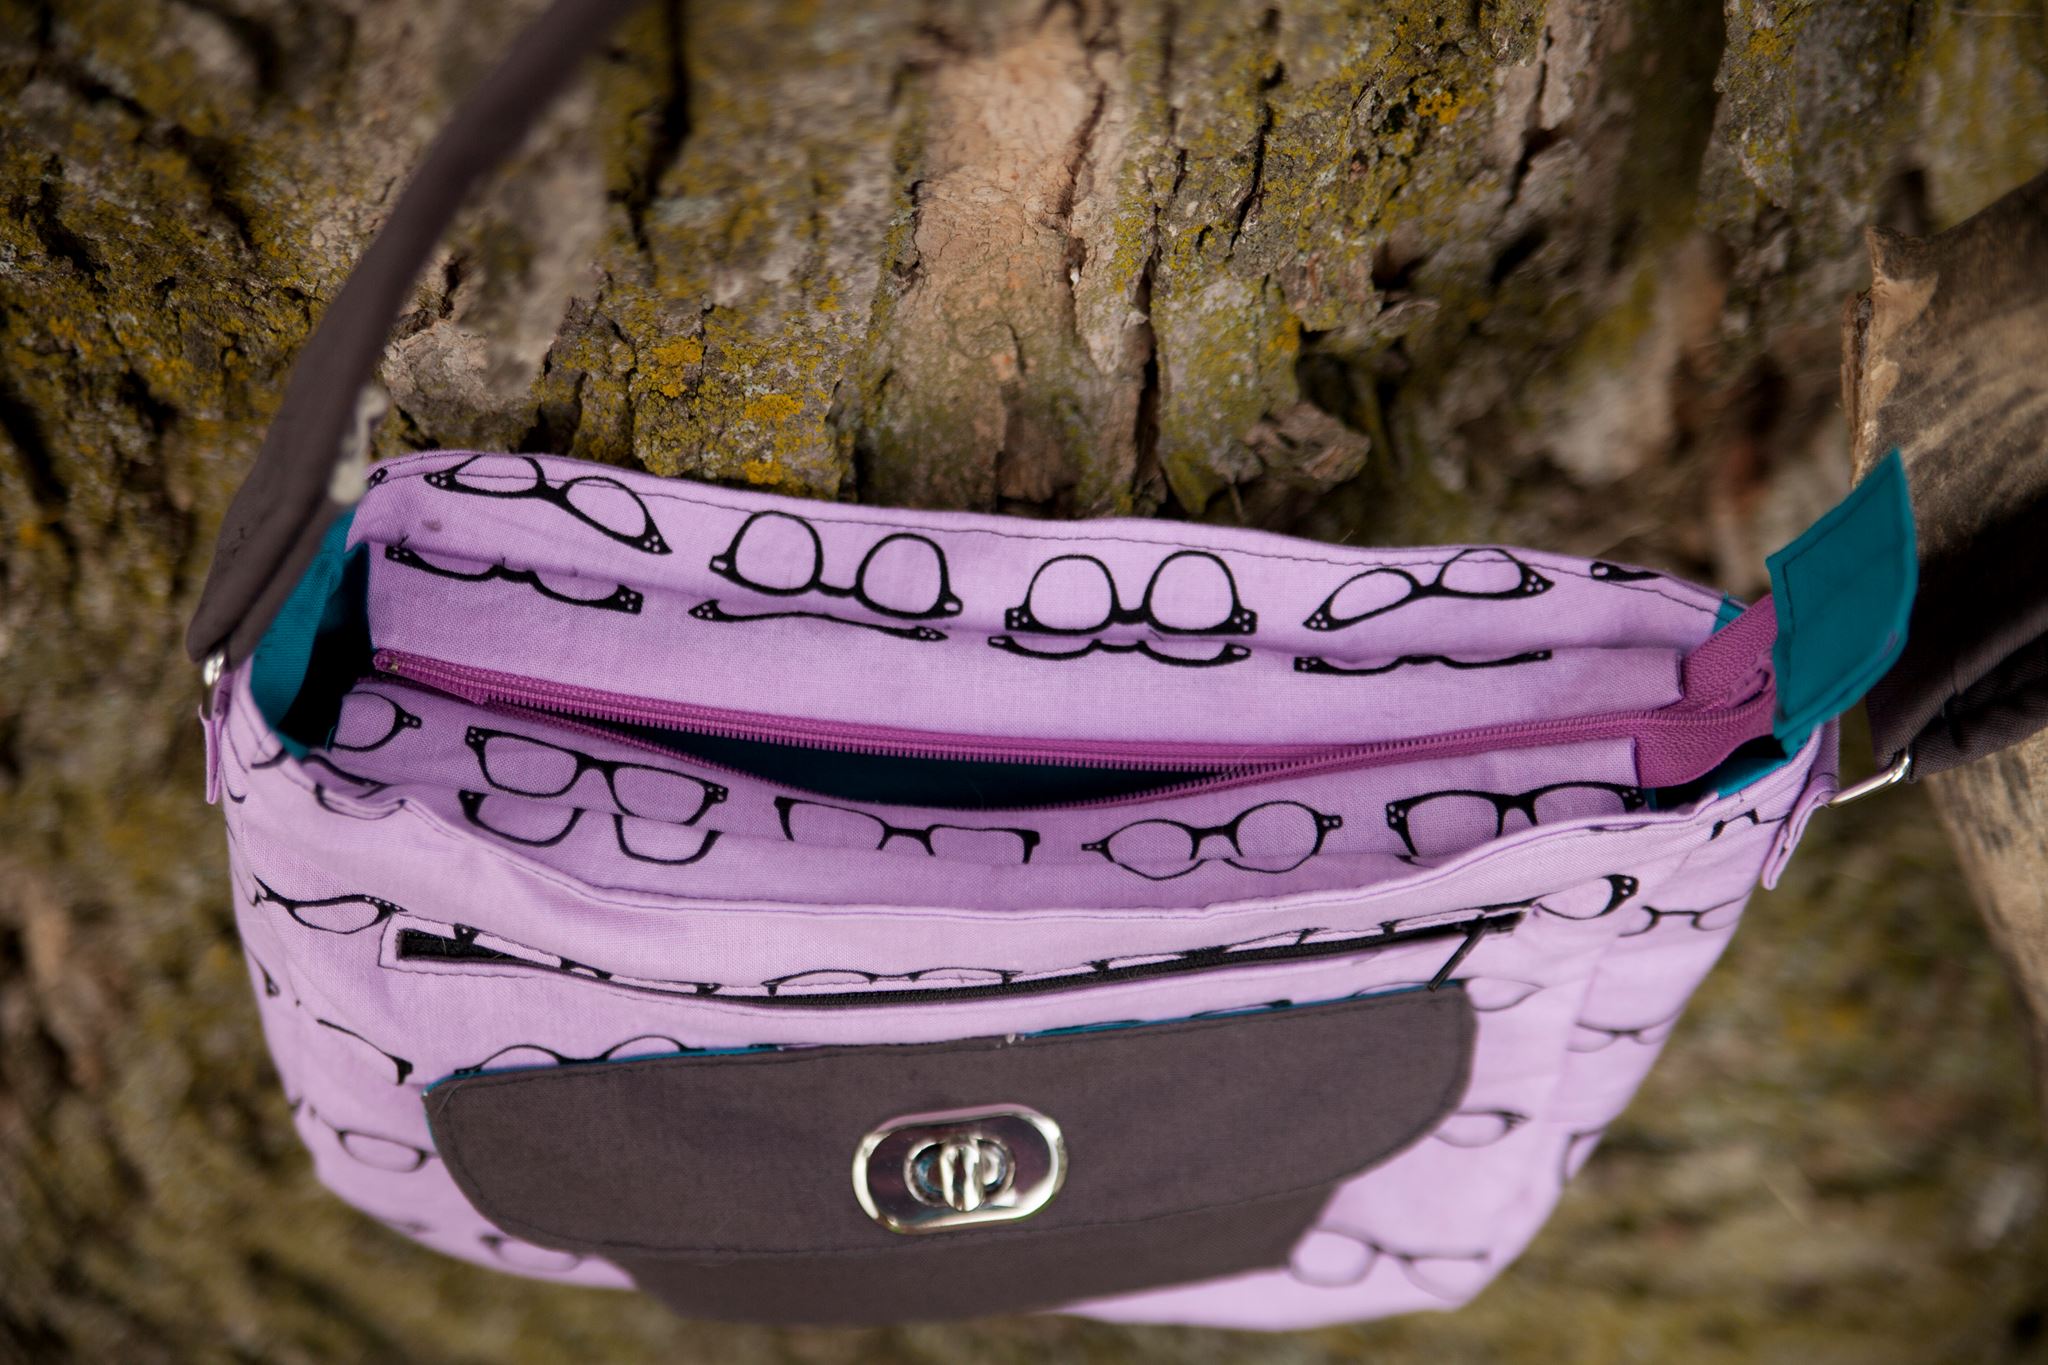
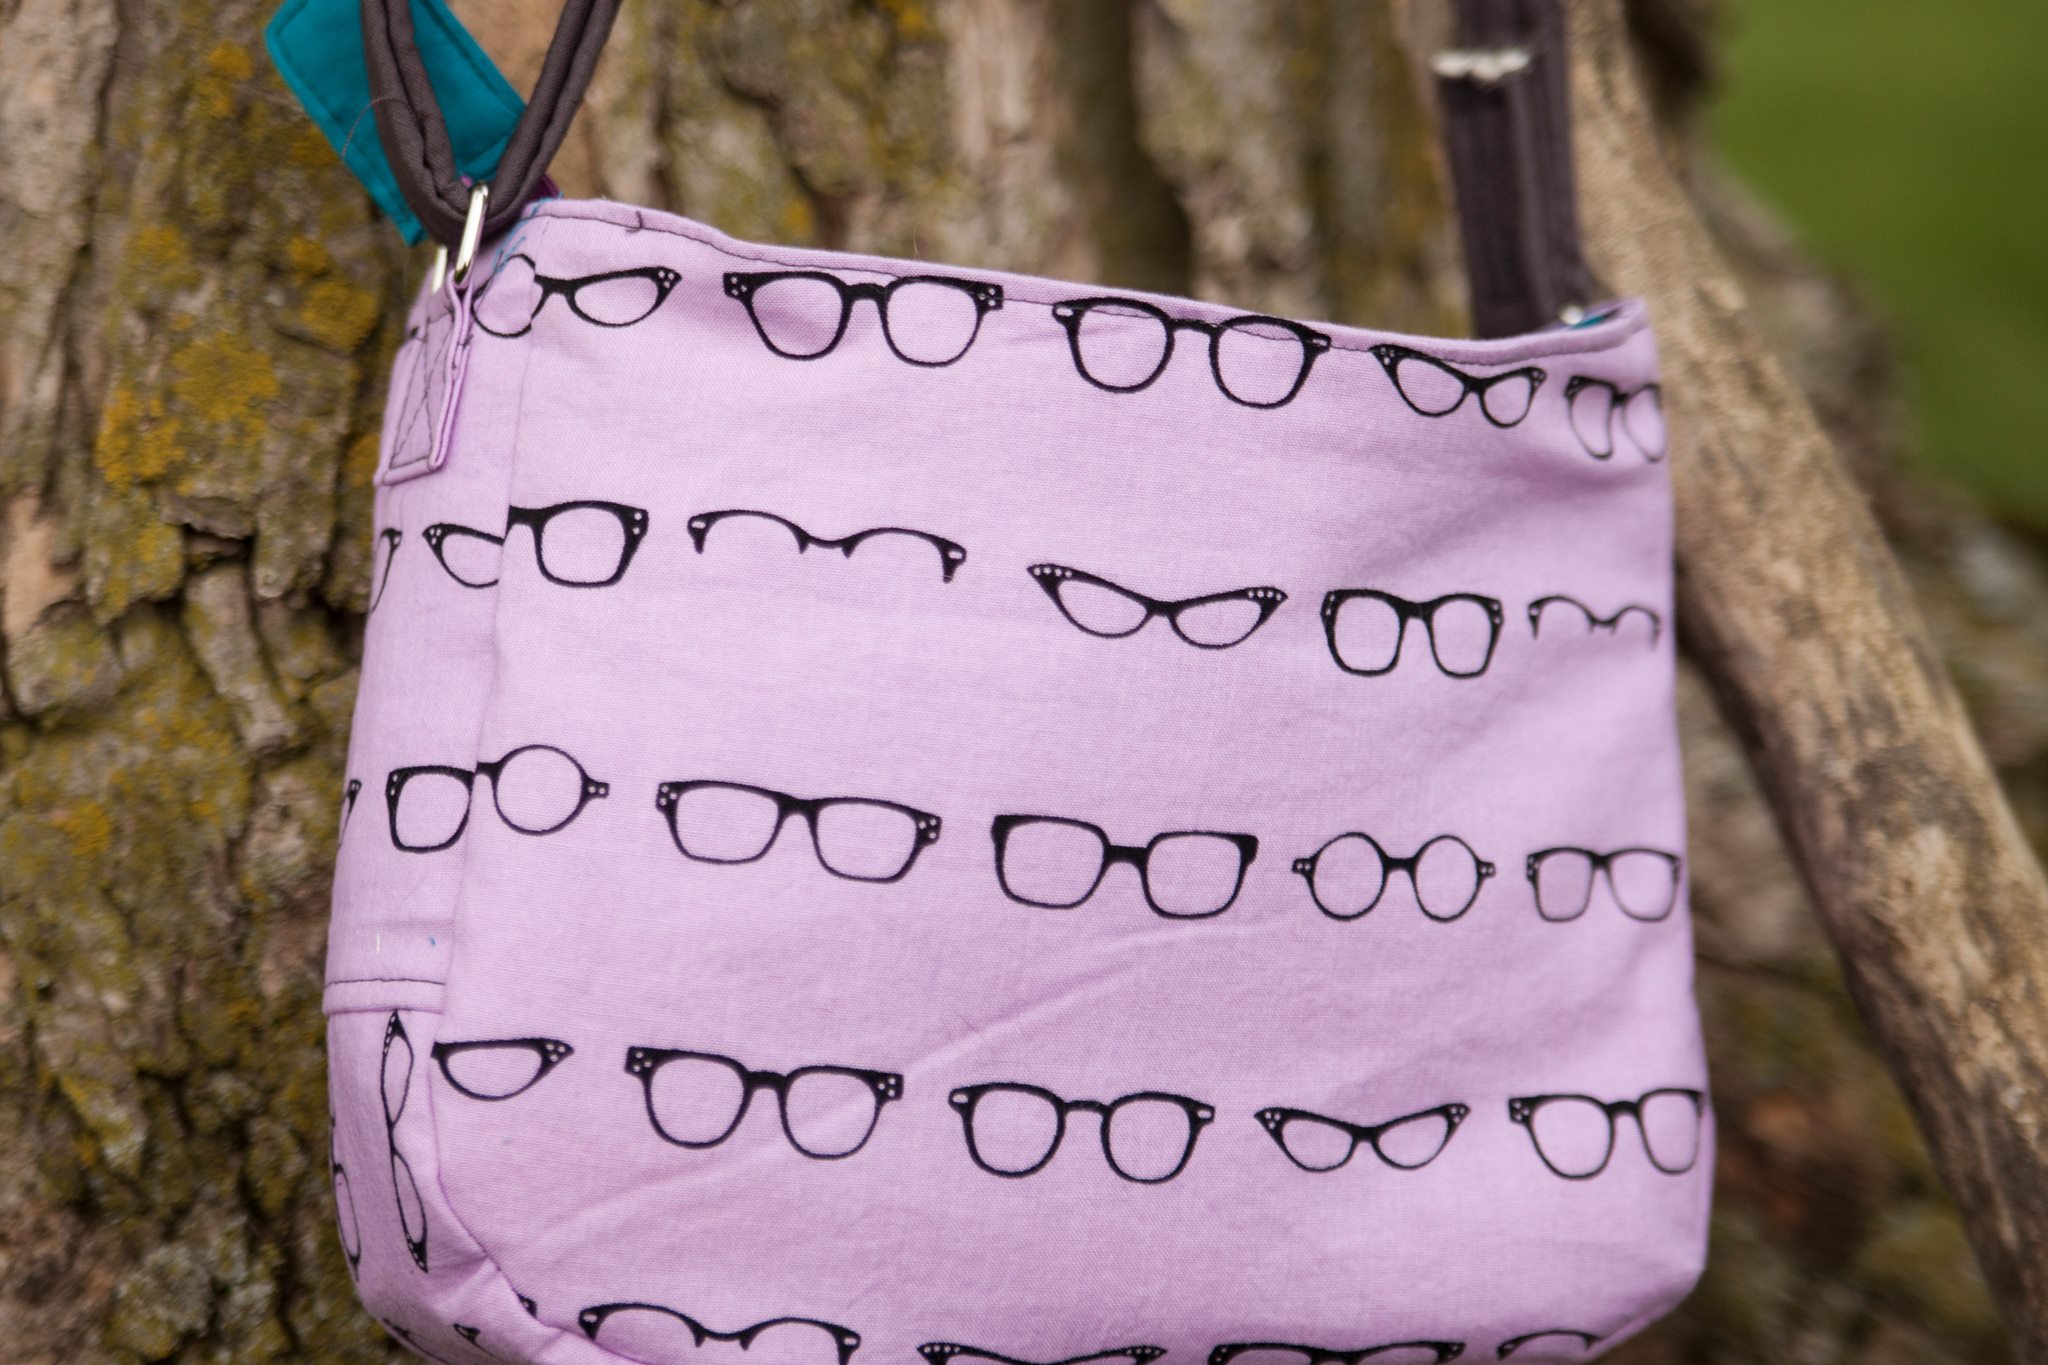
This adorable Aspen Crossbody was made by Leah Broadstreet. Don't you just love that glasses fabric - it is so perfect on this bag! The teal fabric Leah used for the lining on her small Aspen Crossbody is a fun contrast to the pink glasses fabric!

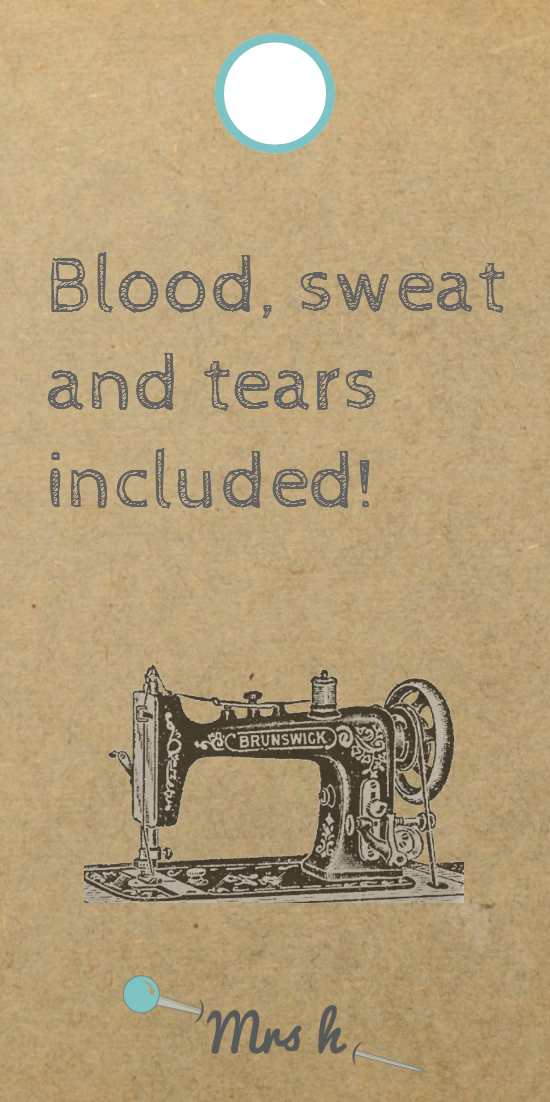
Make sure to comment on the posts that look like this if you want to be entered in the giveaway to win an Aspen Crossbody Bag pattern!
I am so excited about the Aspen Crossbody Bag that I want to celebrate with a little giveaway! You will have three chances to win an Aspen Crossbody Bag pattern. To enter for your chance to win, comment on the "giveaway" posts on Instagram, on the Uniquely Michelle Facebook Page and on the Uniquely Michelle Facebook Group. The posts look like the one pictured above. I will randomly draw one lucky winner from each social media post this Saturday, May 27 at 5:00 MST. Good Luck!!!
If you're ready to make your own Aspen Crossbody Bag, you can purchase the pattern from the Uniquely Michelle Website Shop, the Uniquely Michelle Etsy Shop, or the Uniquely Michelle Craftsy Pattern Shop.
Please share pictures of your beautiful Aspen Crossbody Bag creations on Instagram (#uniquelymichelle #aspencrossbody) and in the Uniquely Michelle Sewing Patterns Facebook Group (a fun place to share you Uniquely Michelle creations and see other's creations too). You can follow Uniquely Michelle on Instagram and on the Uniquely Michelle Facebook Page.
Don't forget to sign up for the newsletter below!