contact Me

Use the form on the right to contact Me.


123 Street Avenue, City Town, 99999

(123) 555-6789

email@address.com


You can set your address, phone number, email and site description in the settings tab.
Link to read me page with more information.

Blog

Kristine ID Wallet Week - Making a classy Kristine ID Wallet

Michelle Burke

I will start day 3 of Kristine ID Wallet Week by announcing the winner of yesterday's giveaway! The winner of a free Uniquely Michelle pattern is Linda Crawford! Congratulations Linda! If you would like to enter today's random drawing, check out the information at the end of this post!

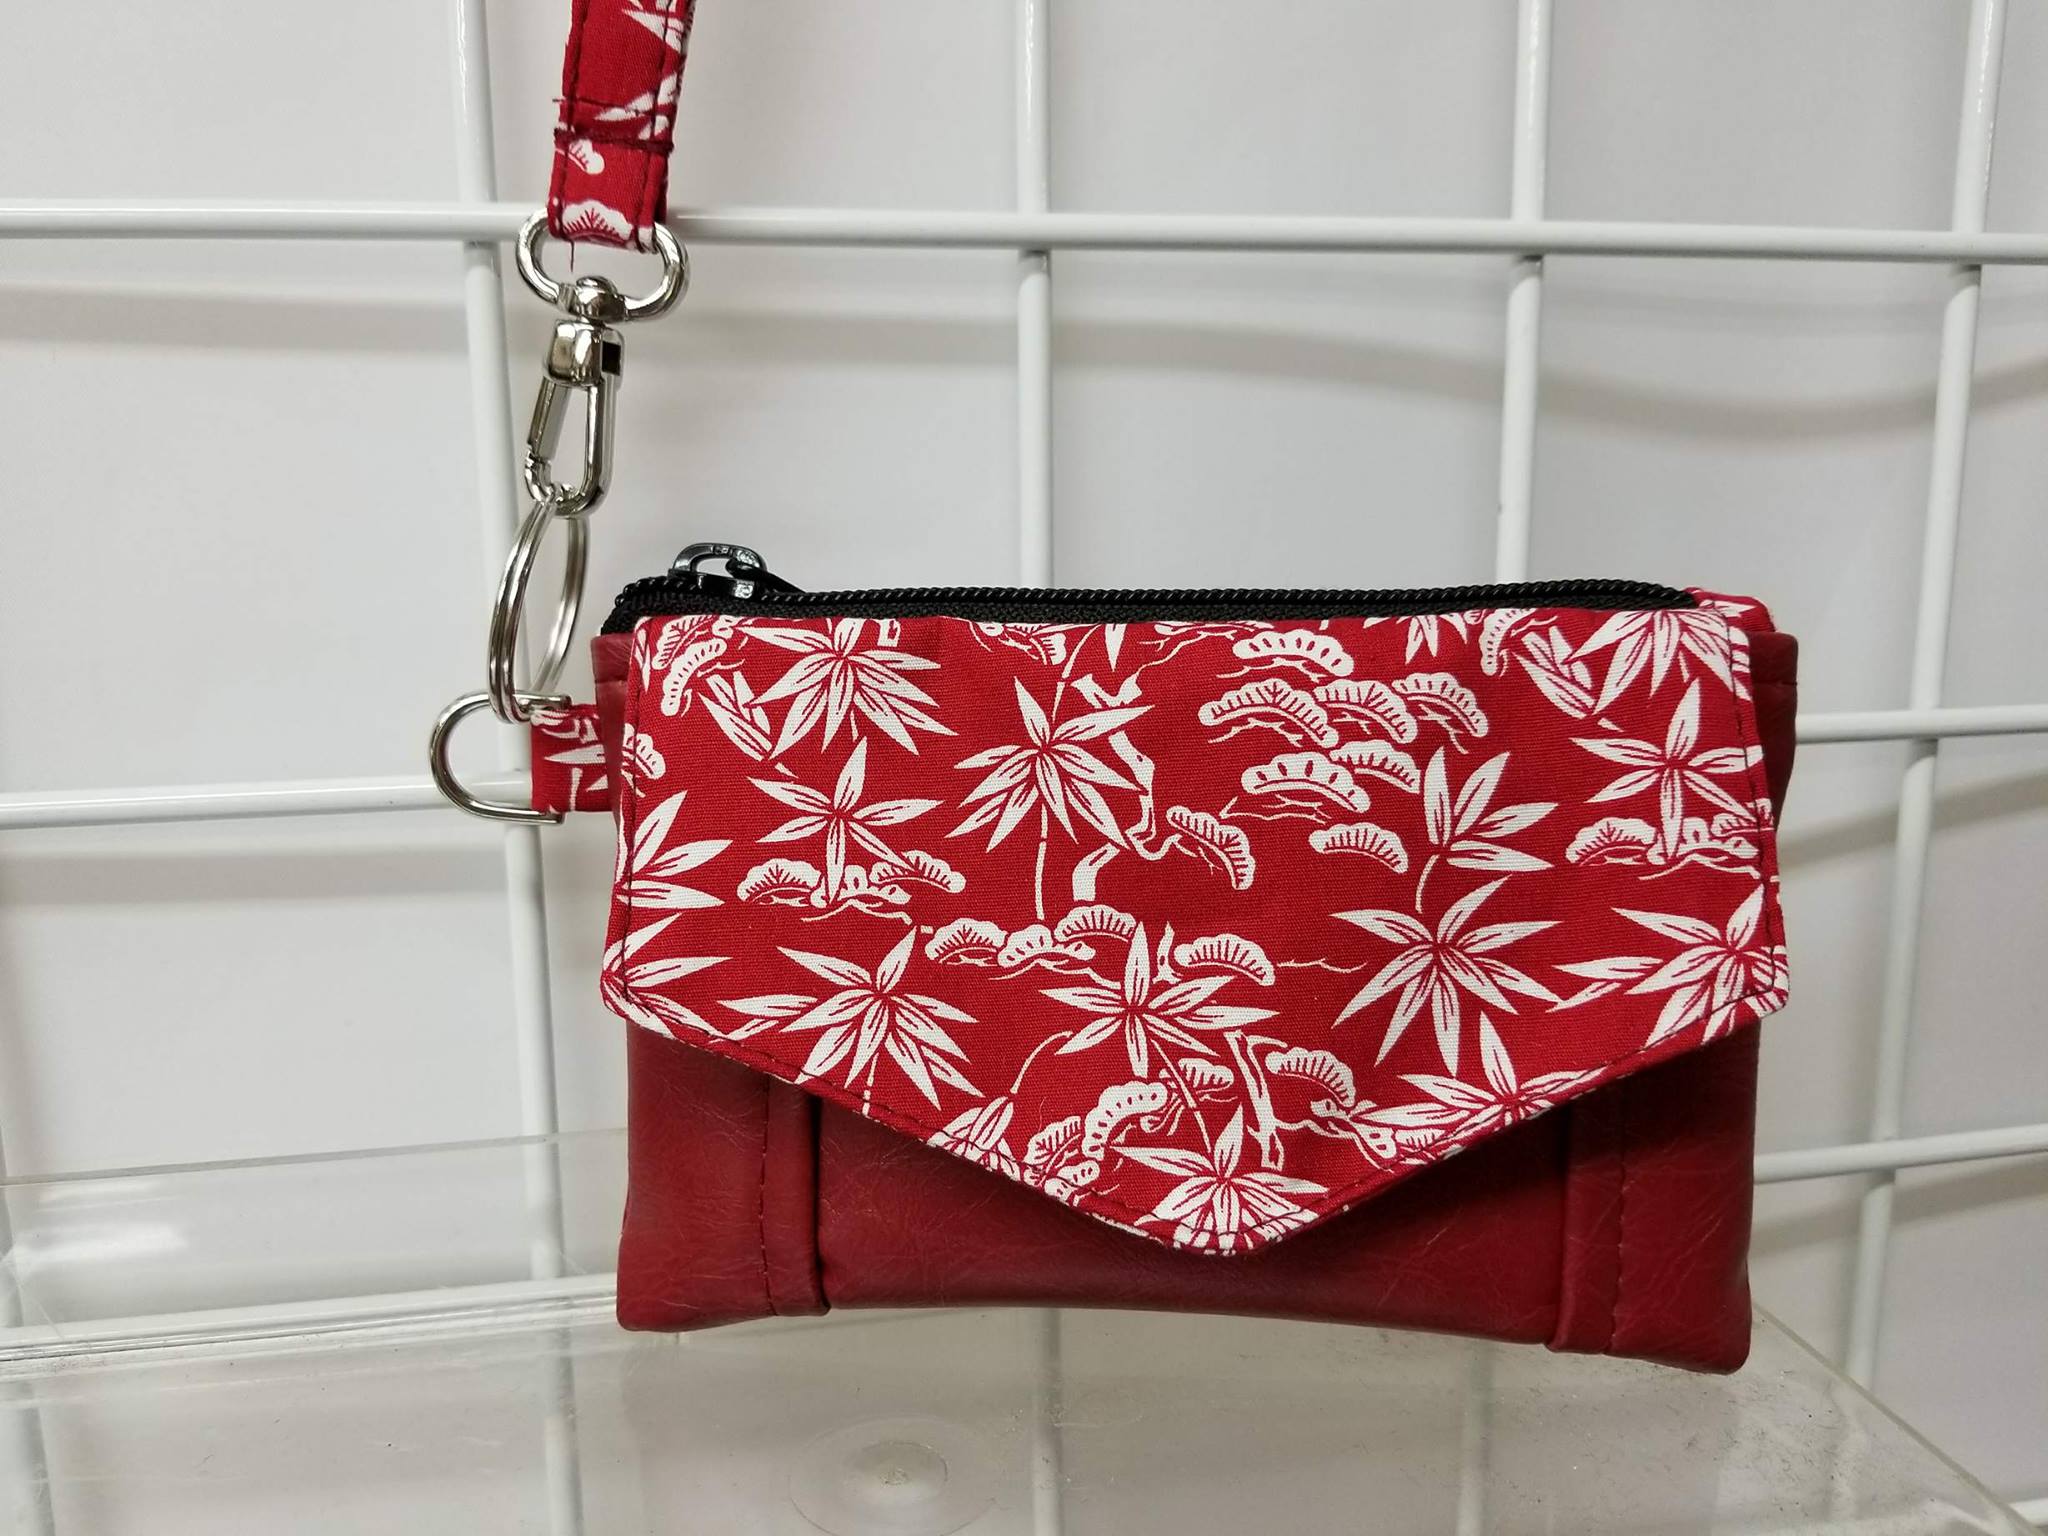
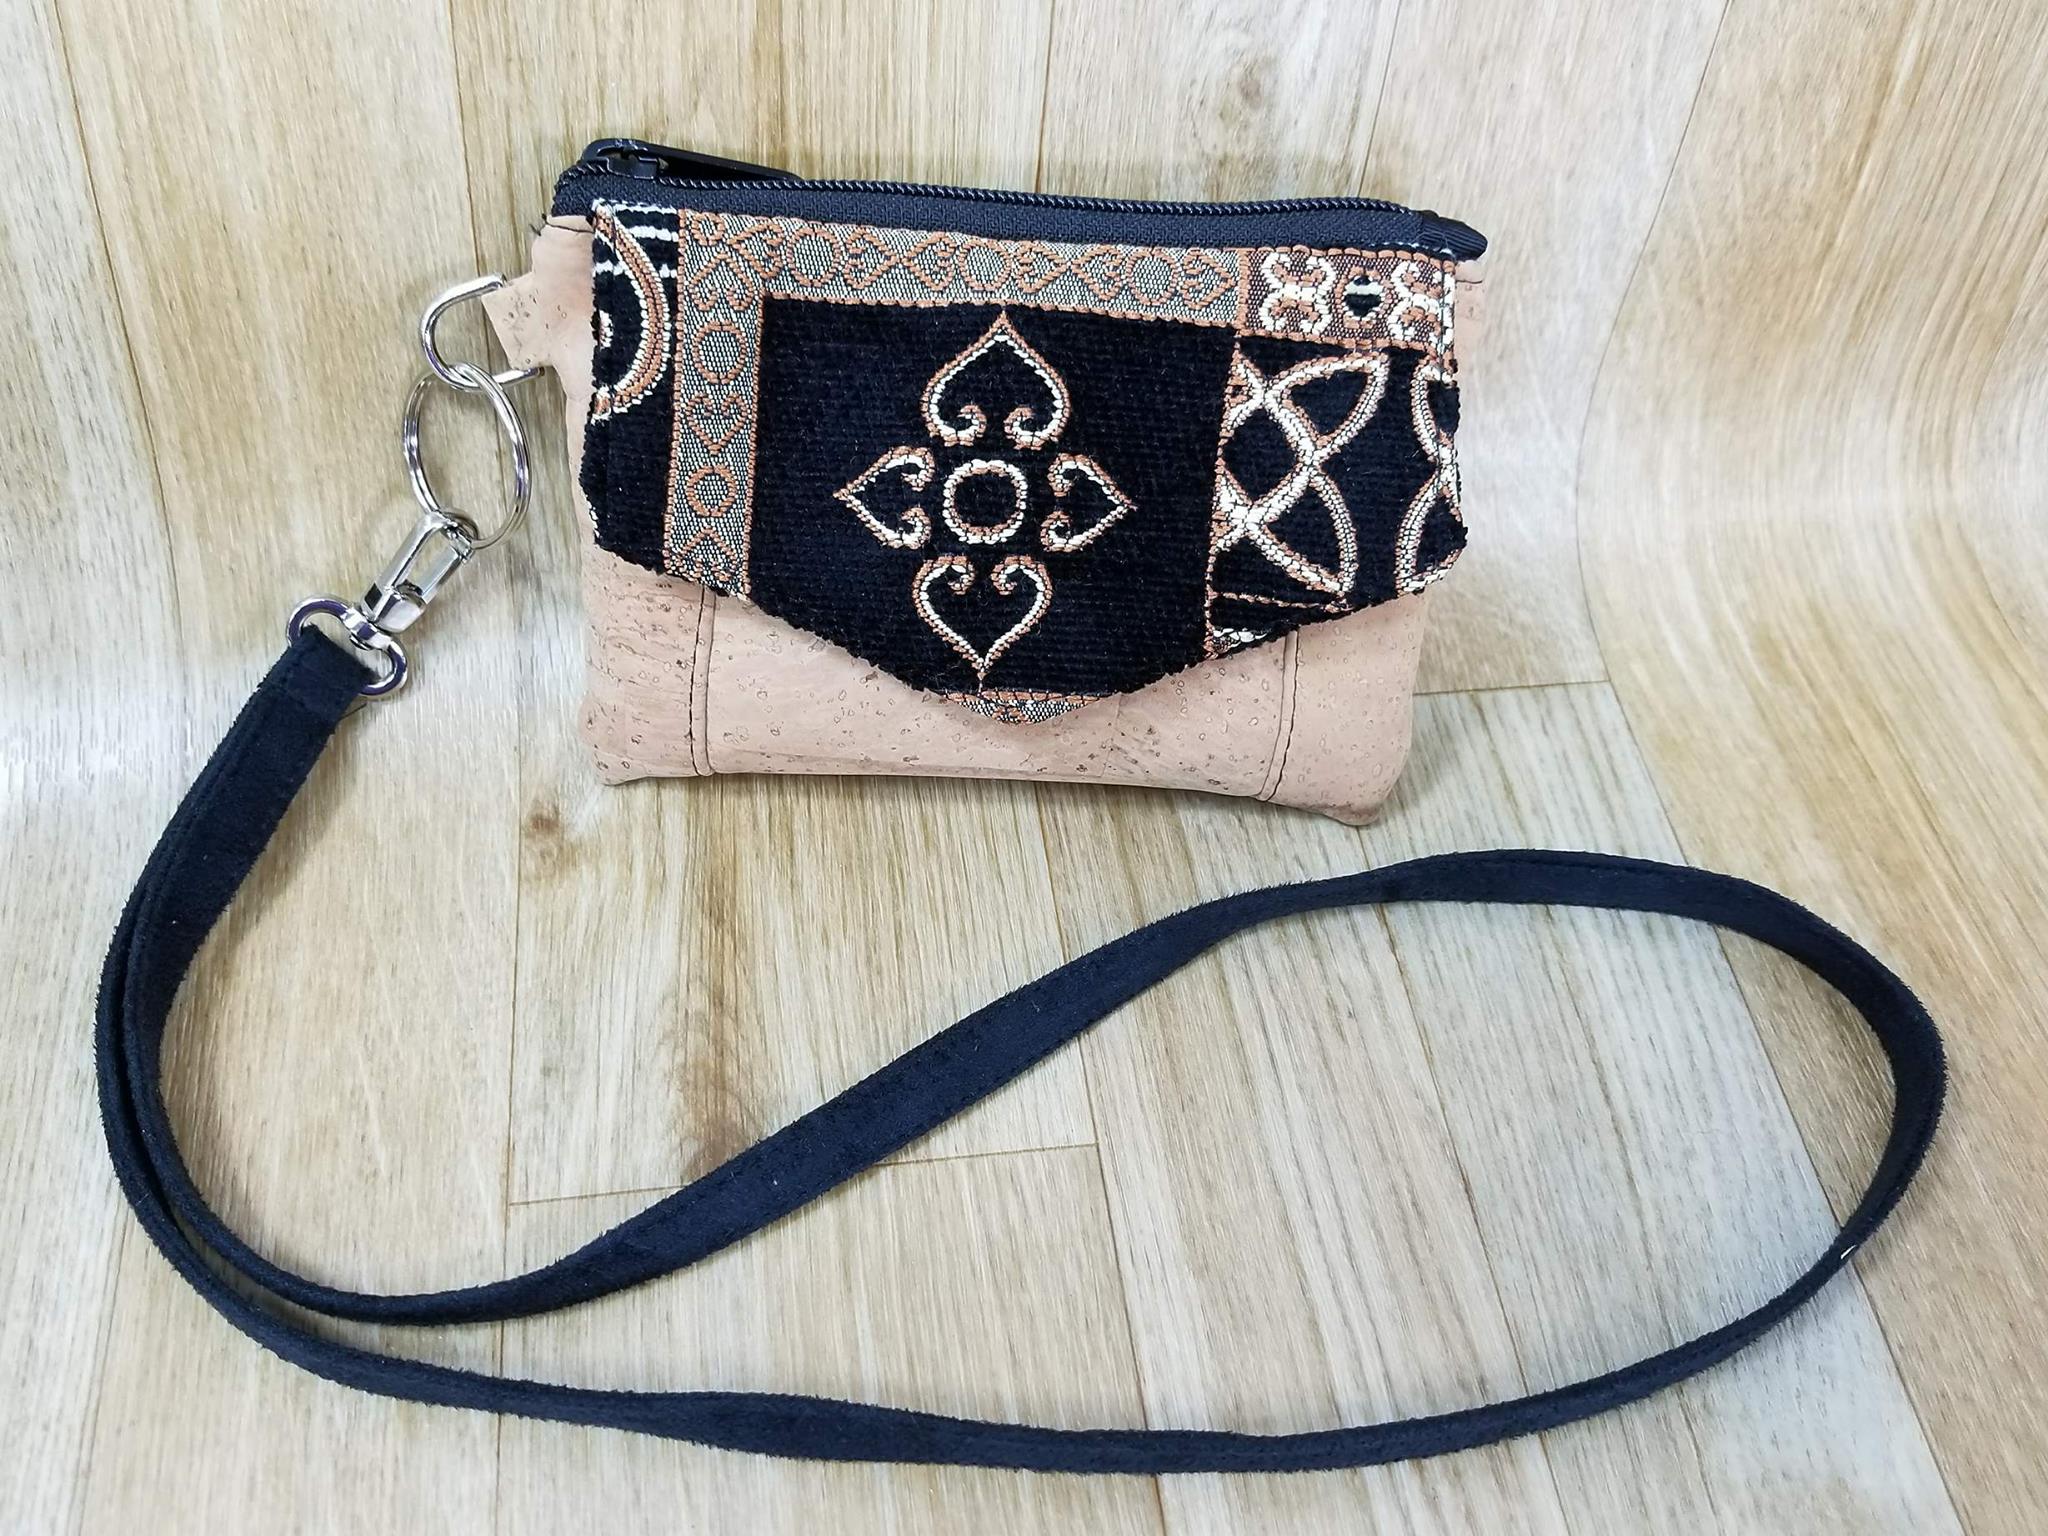
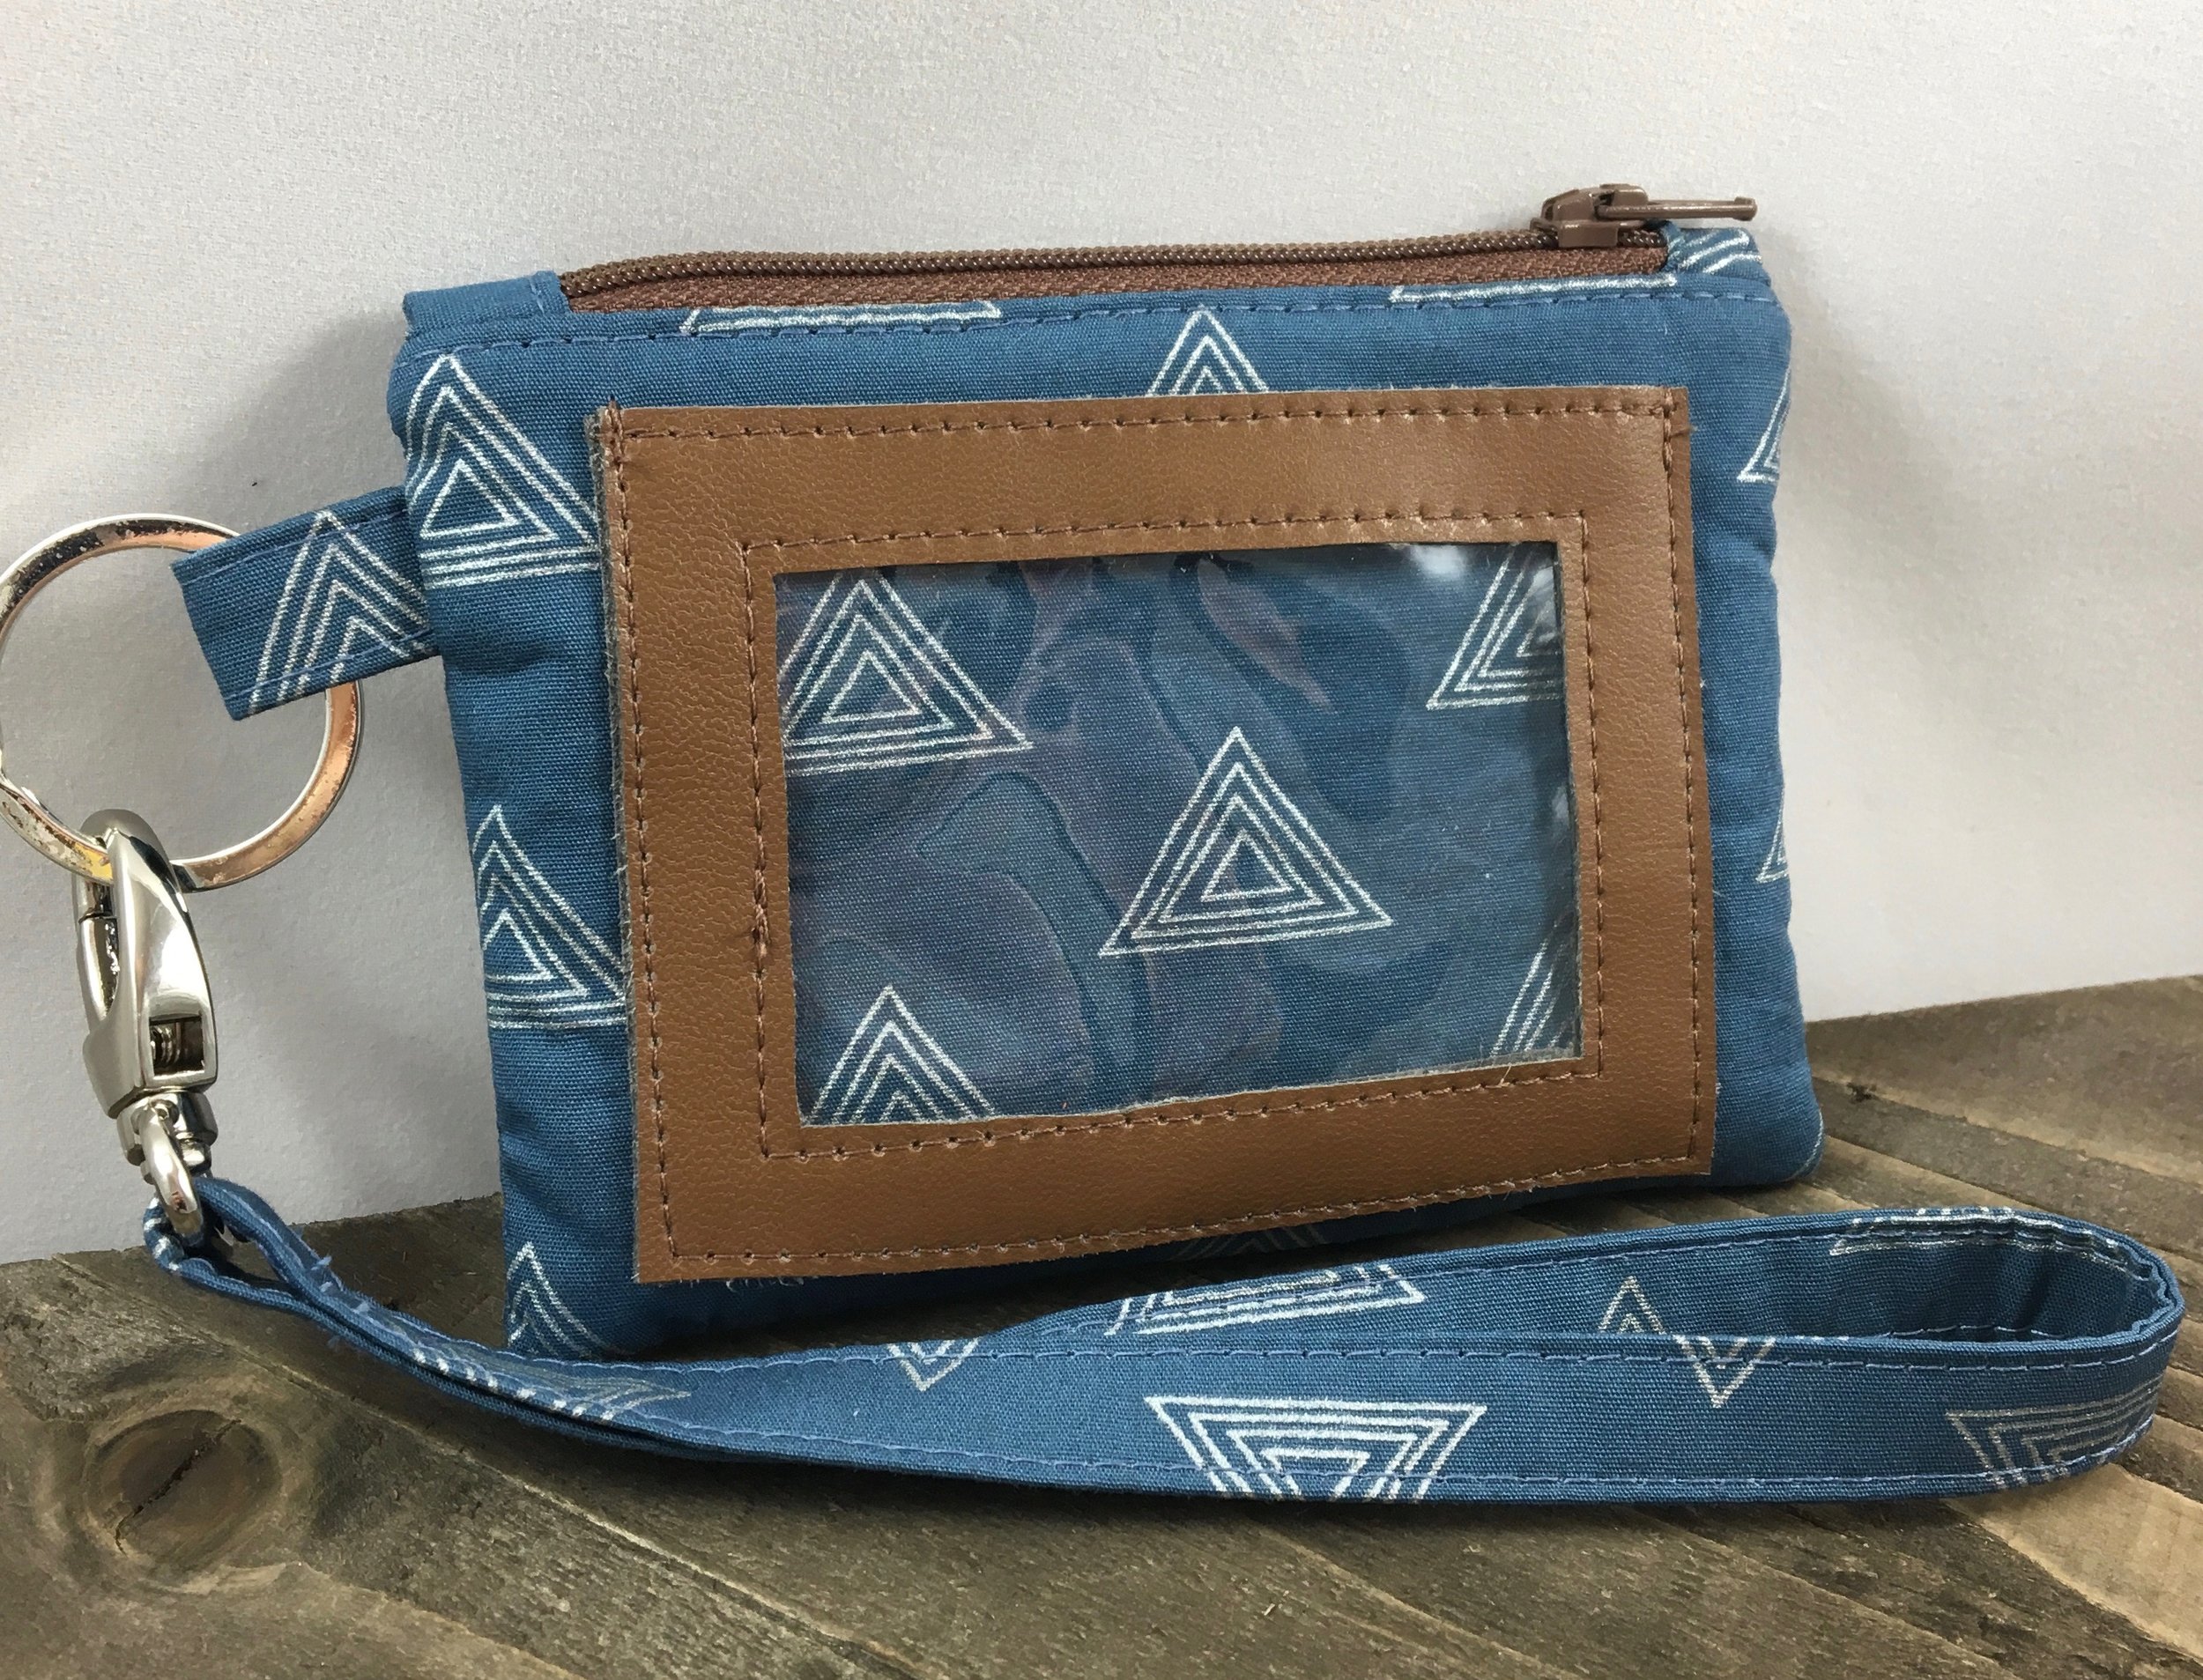
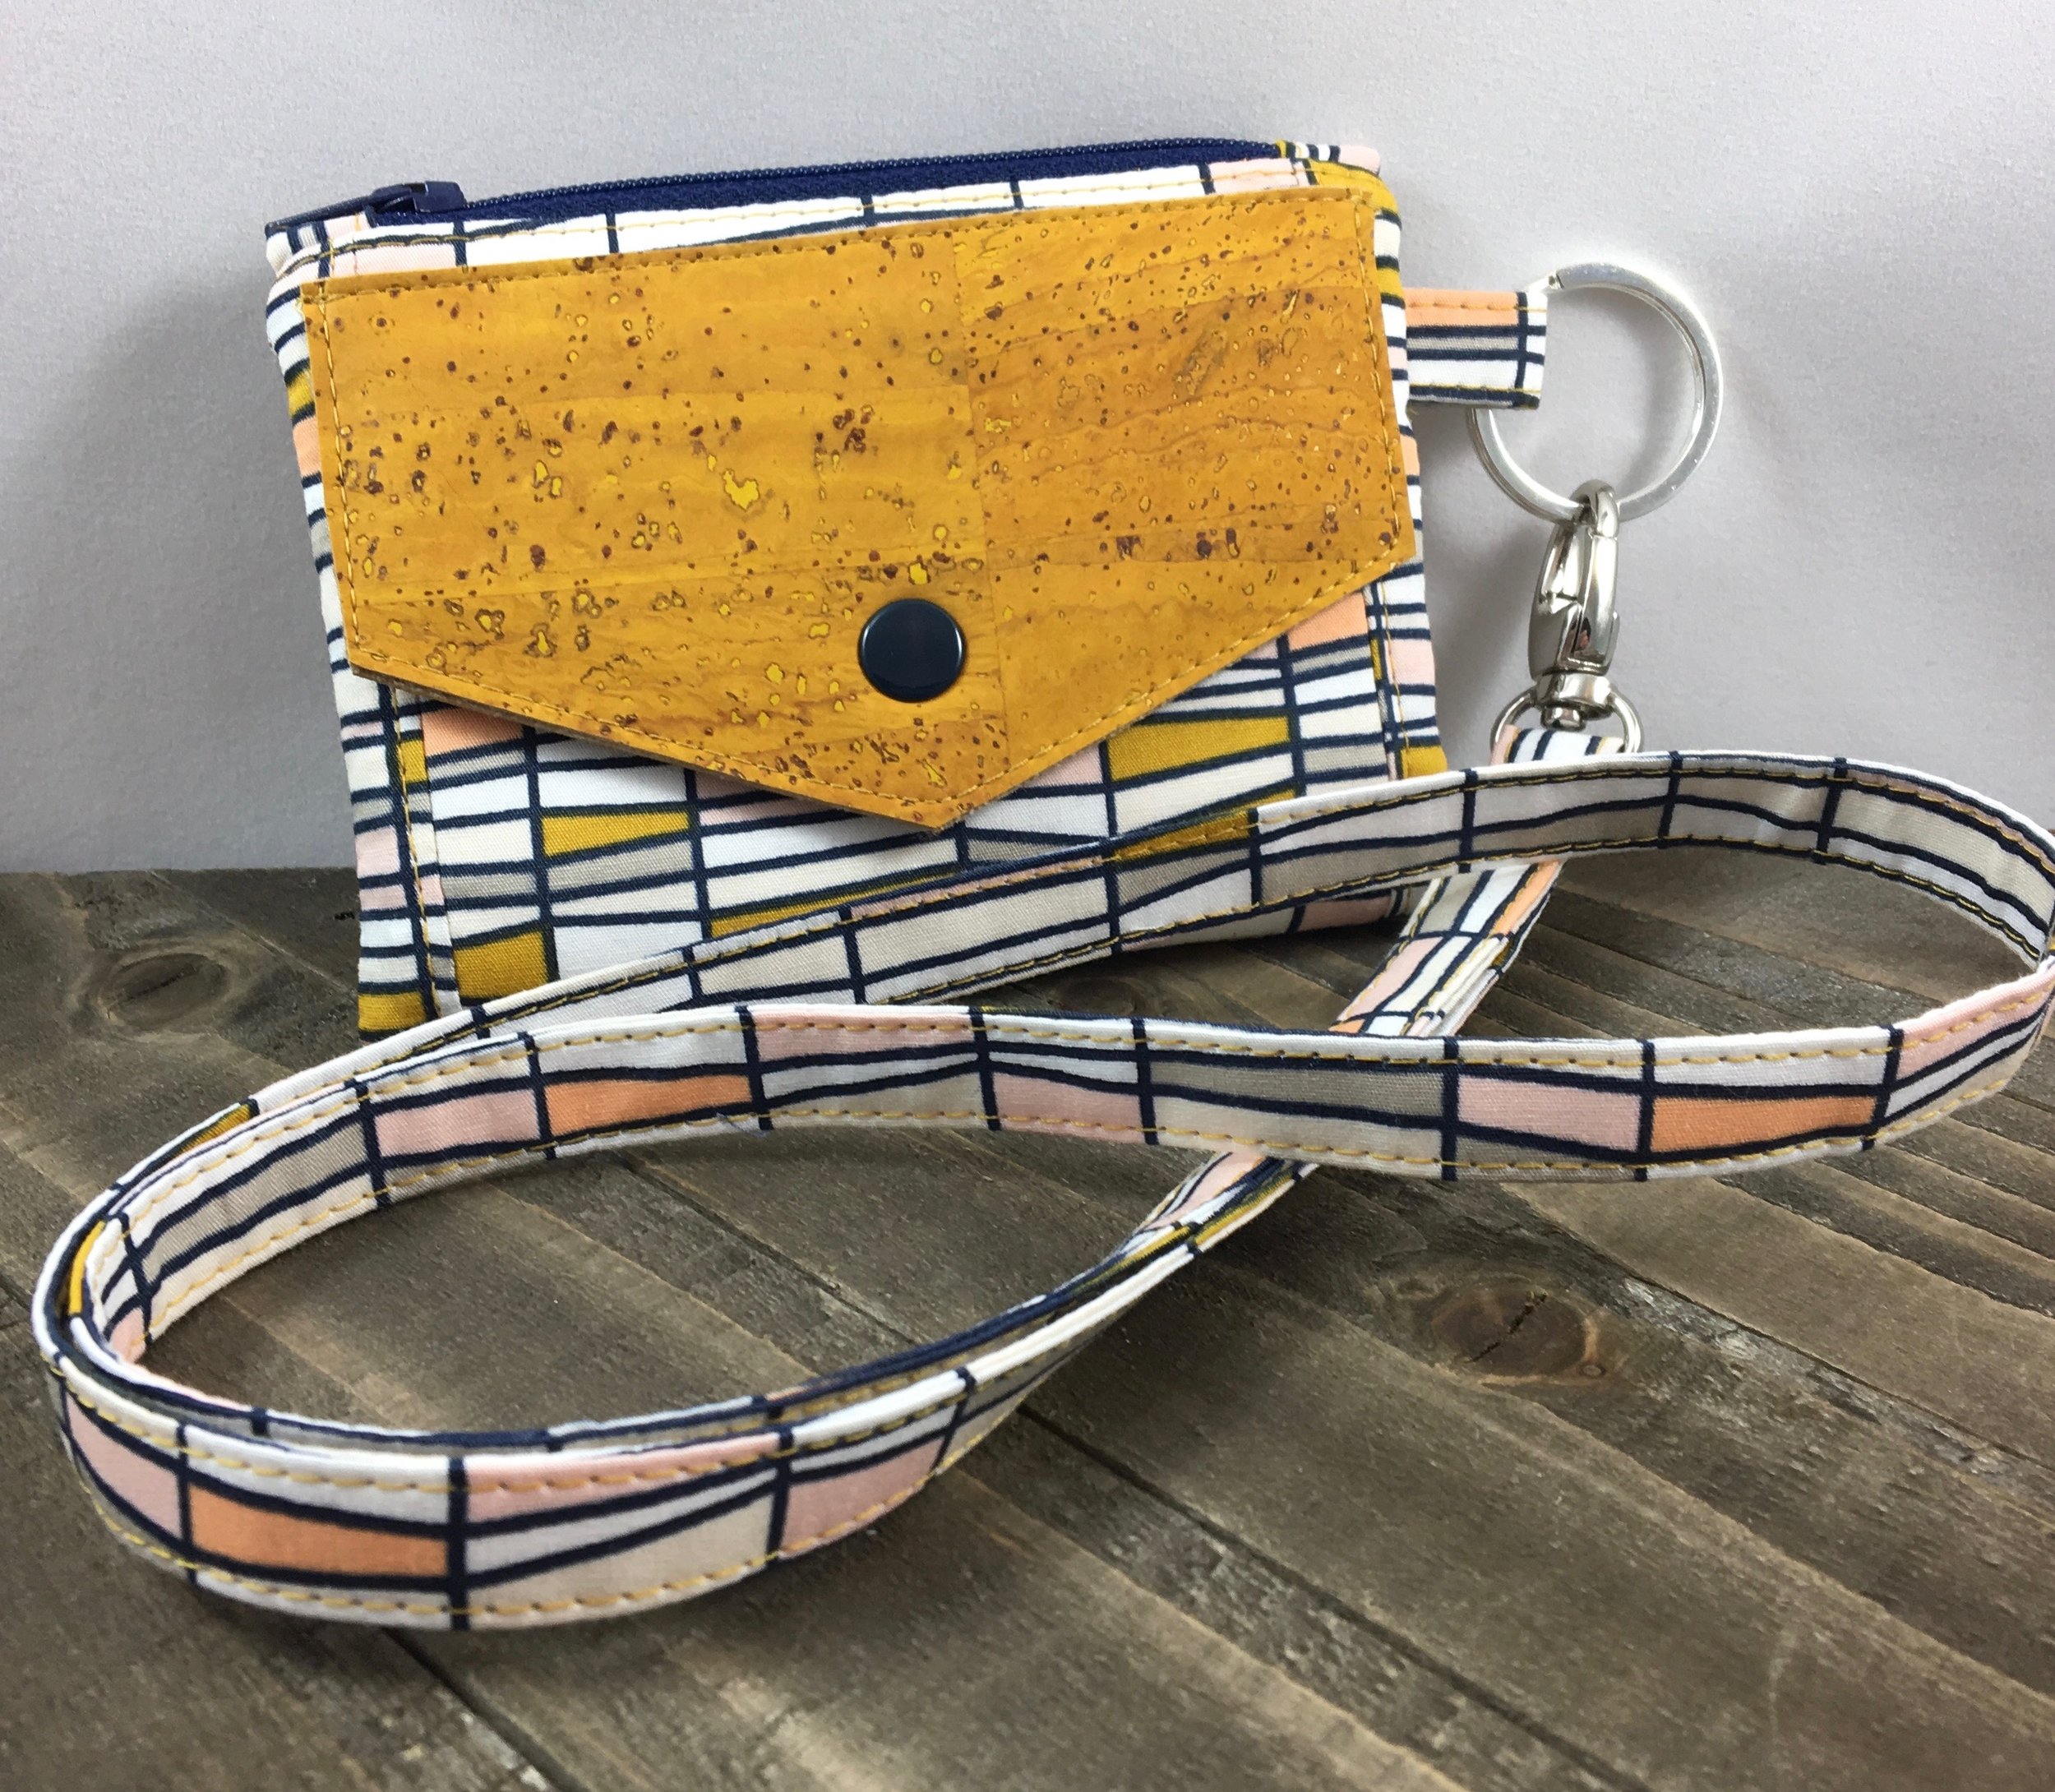
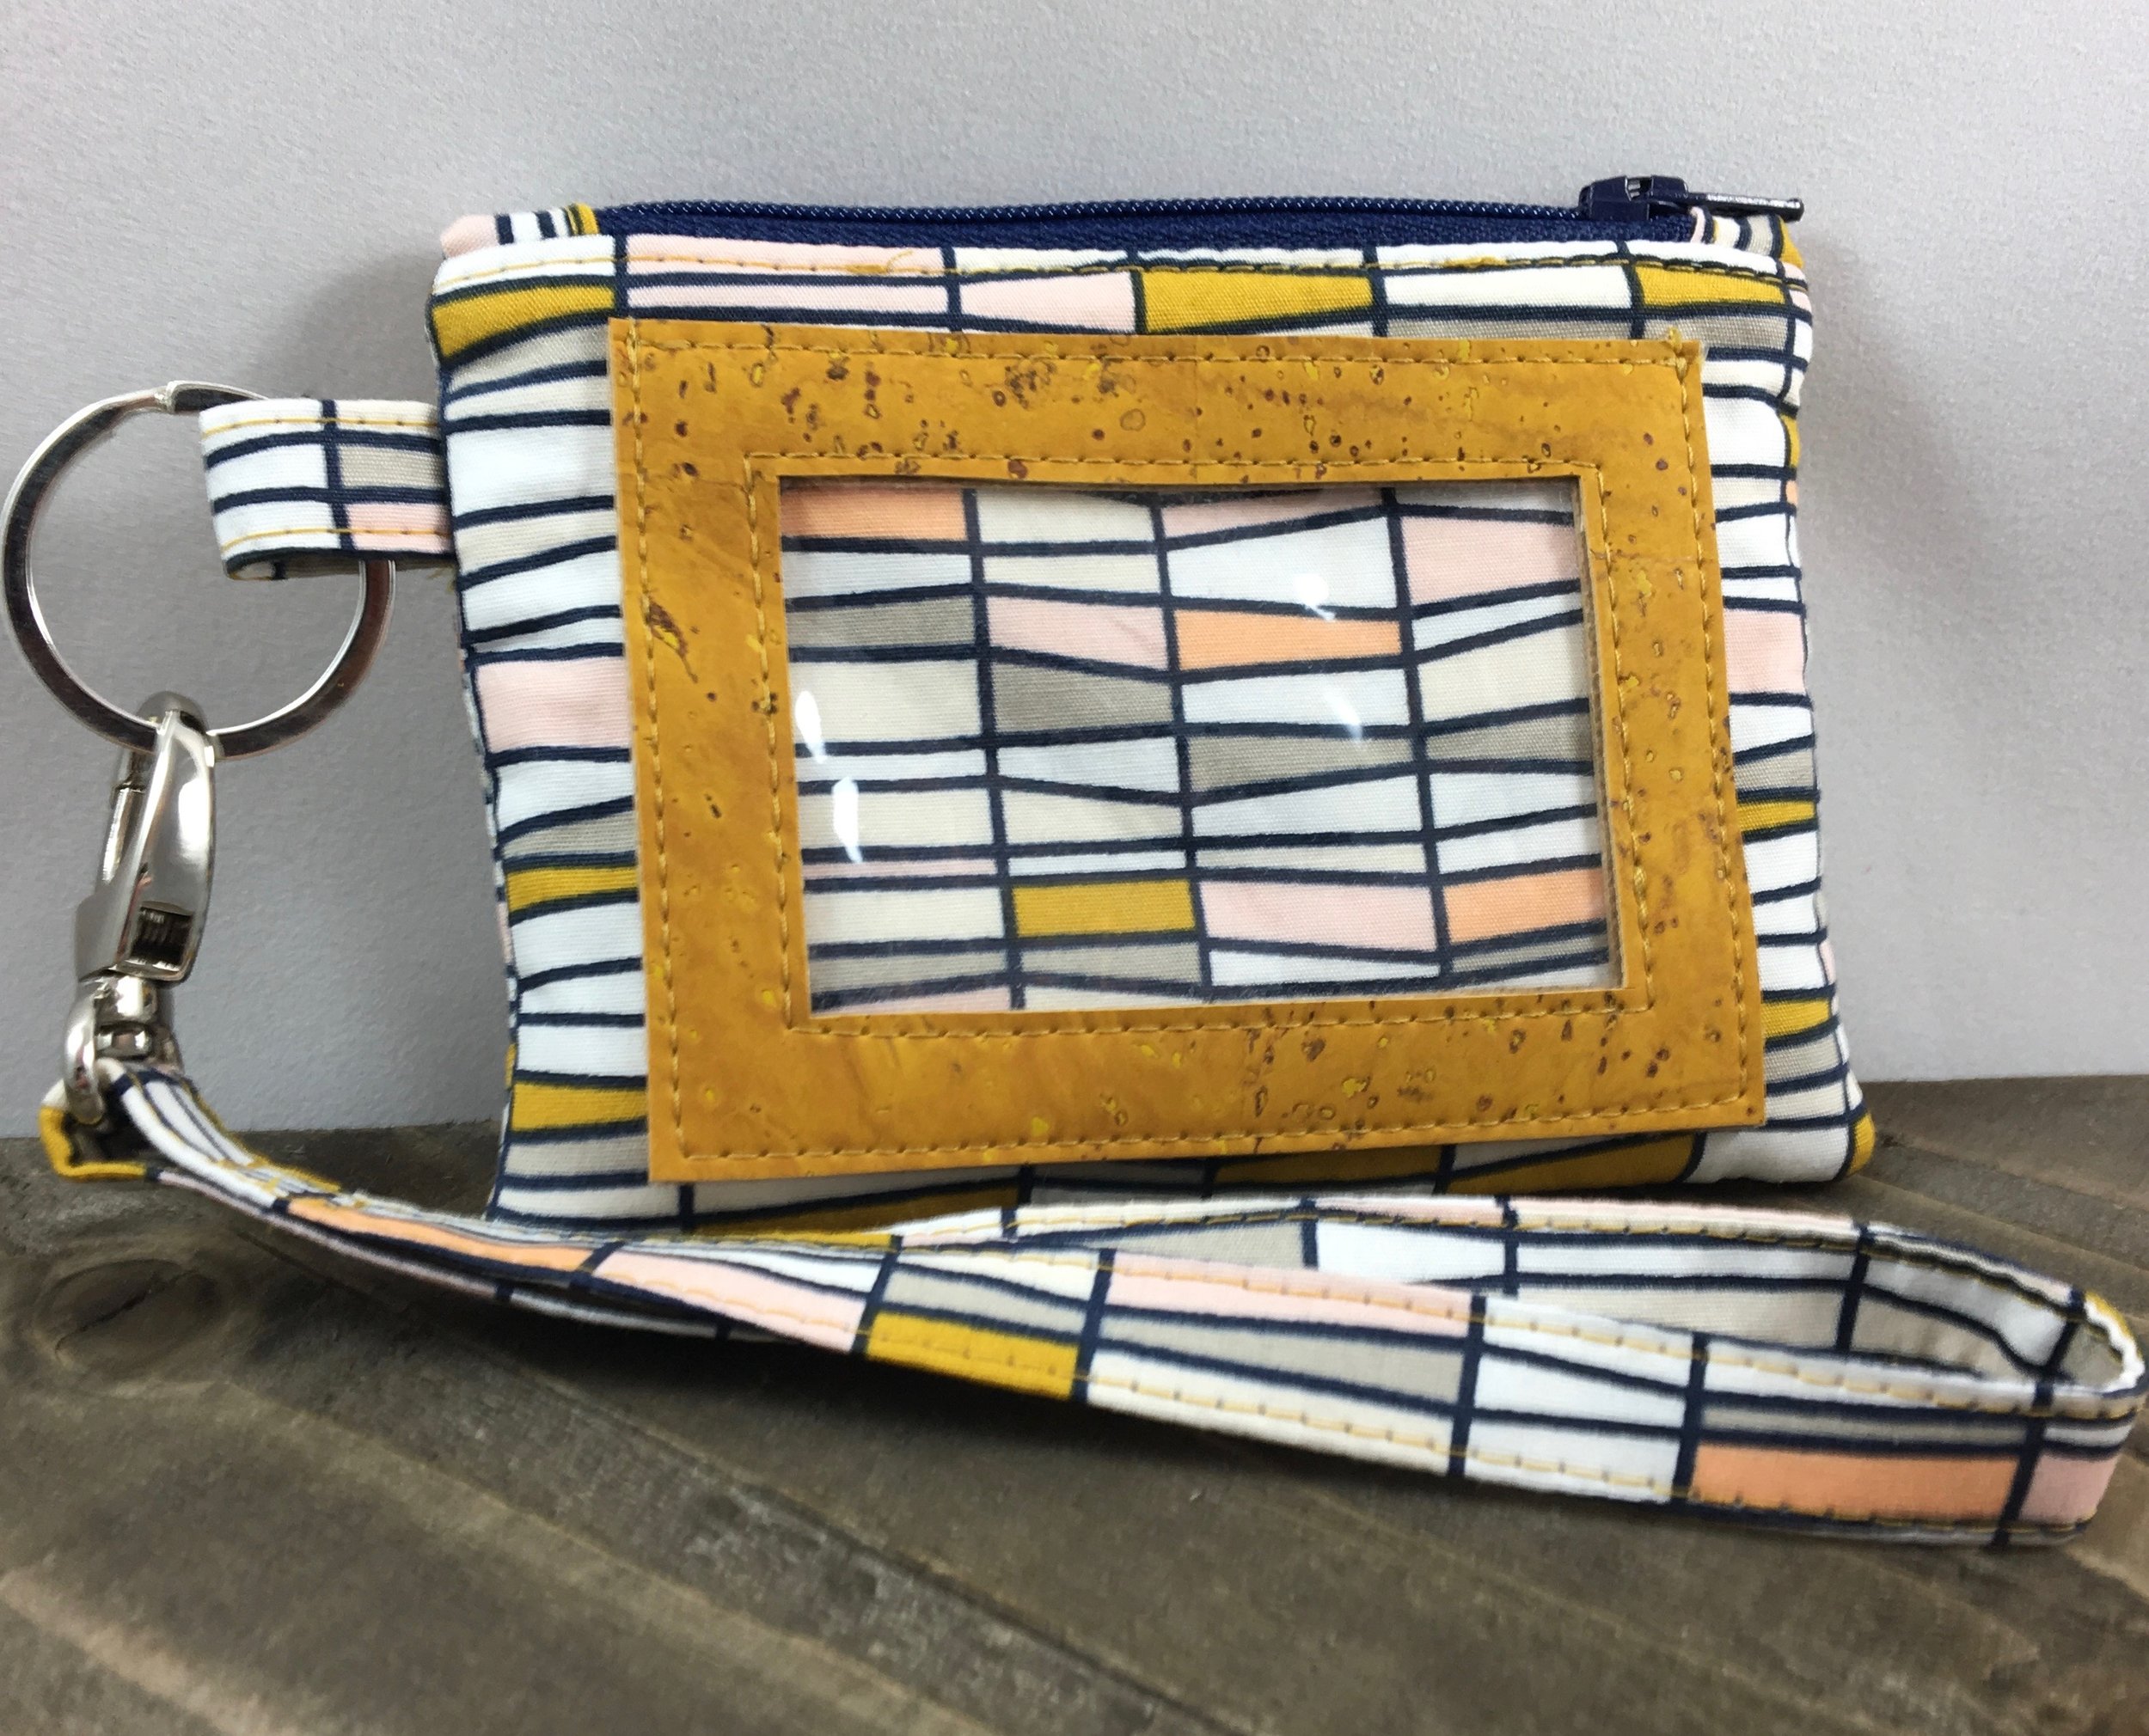
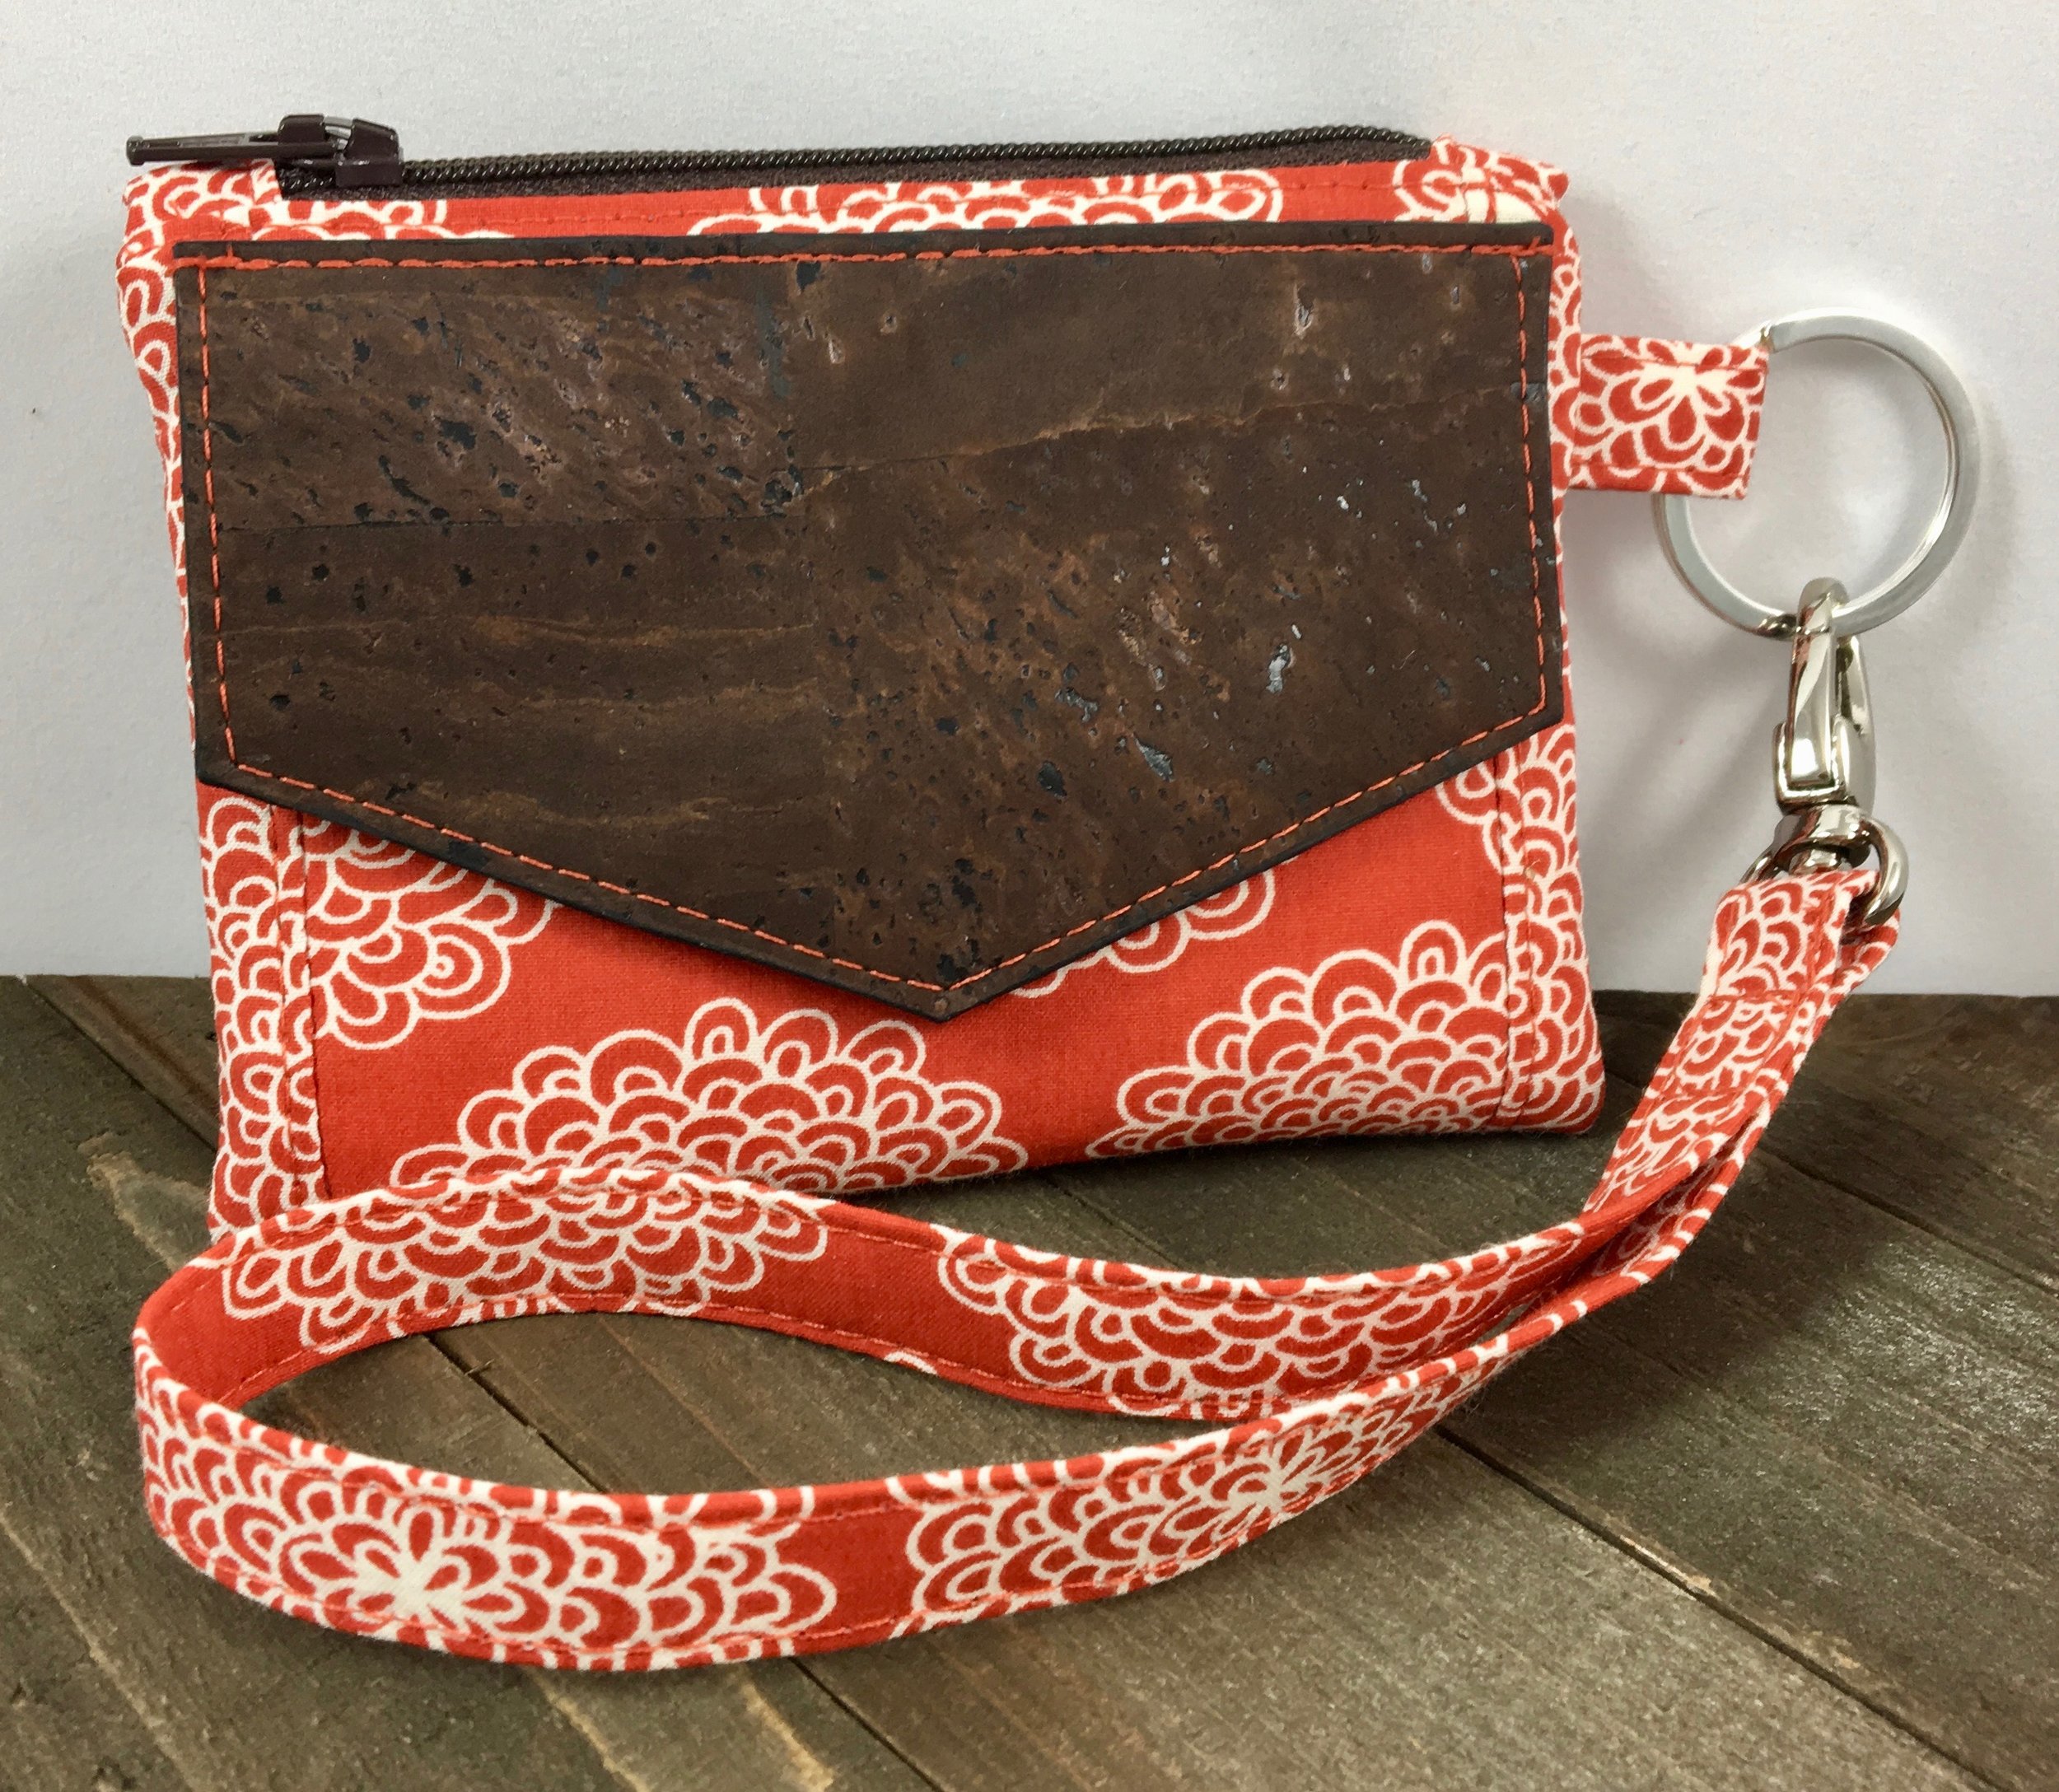
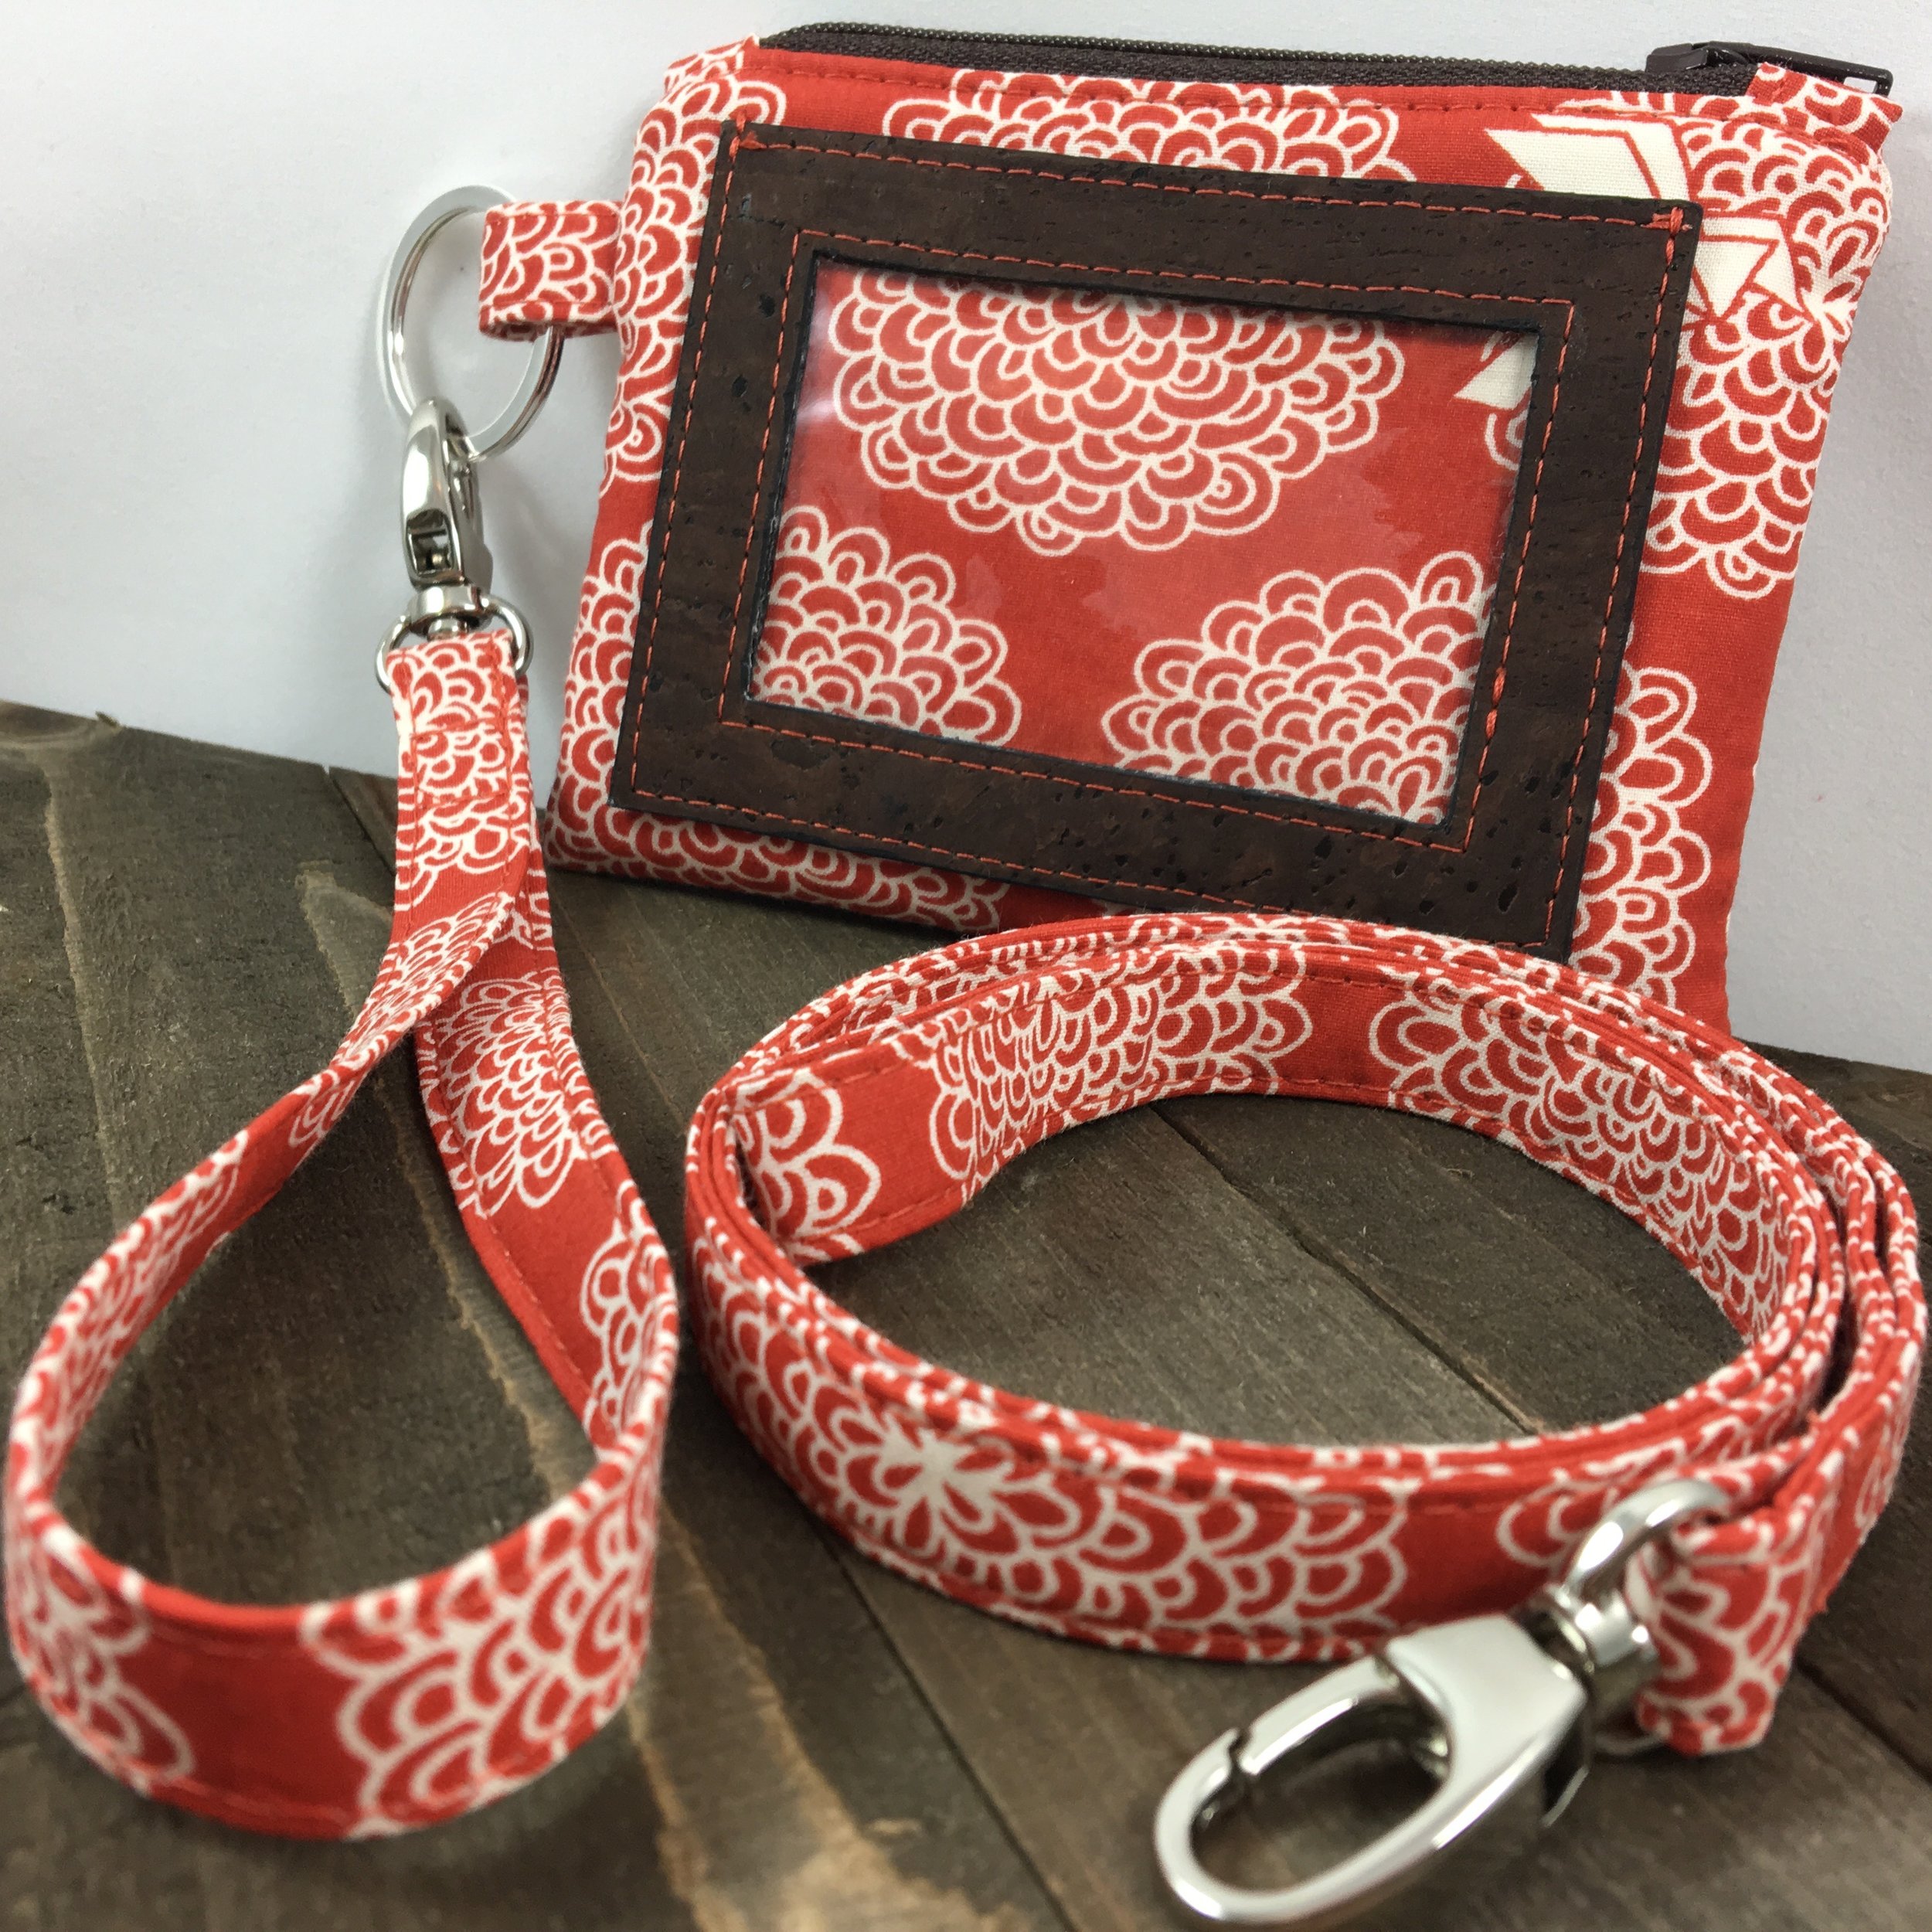
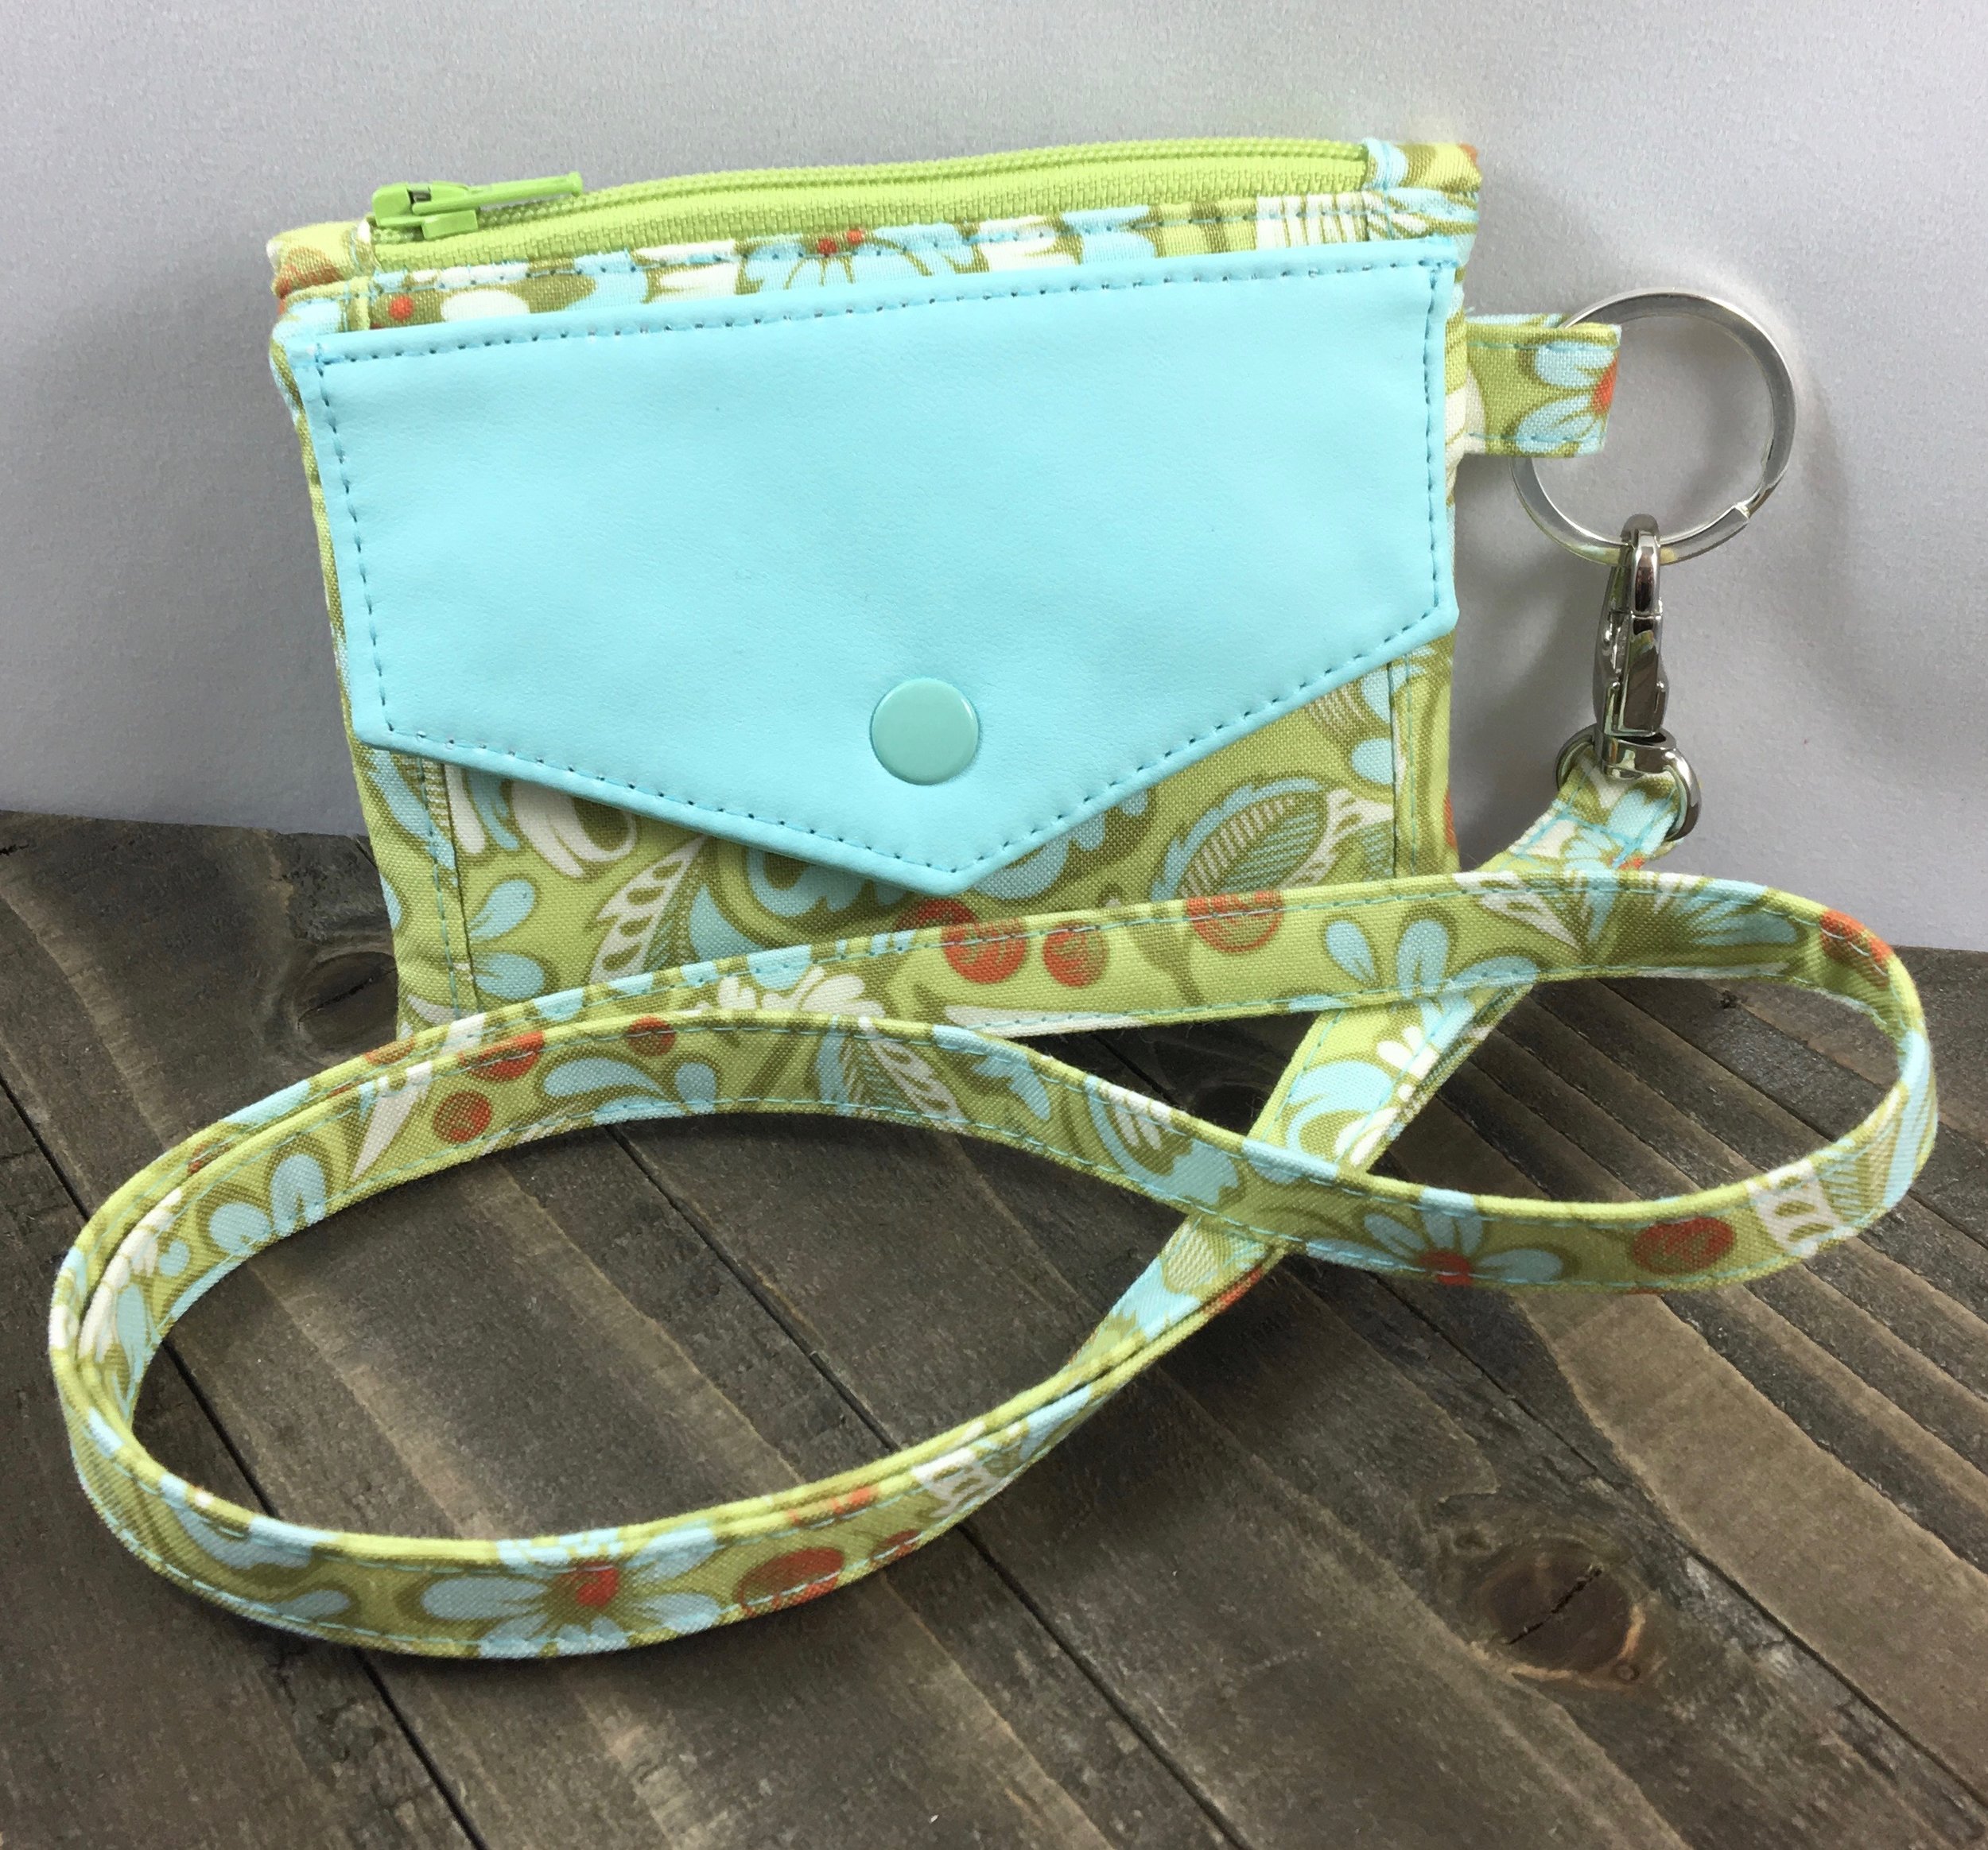
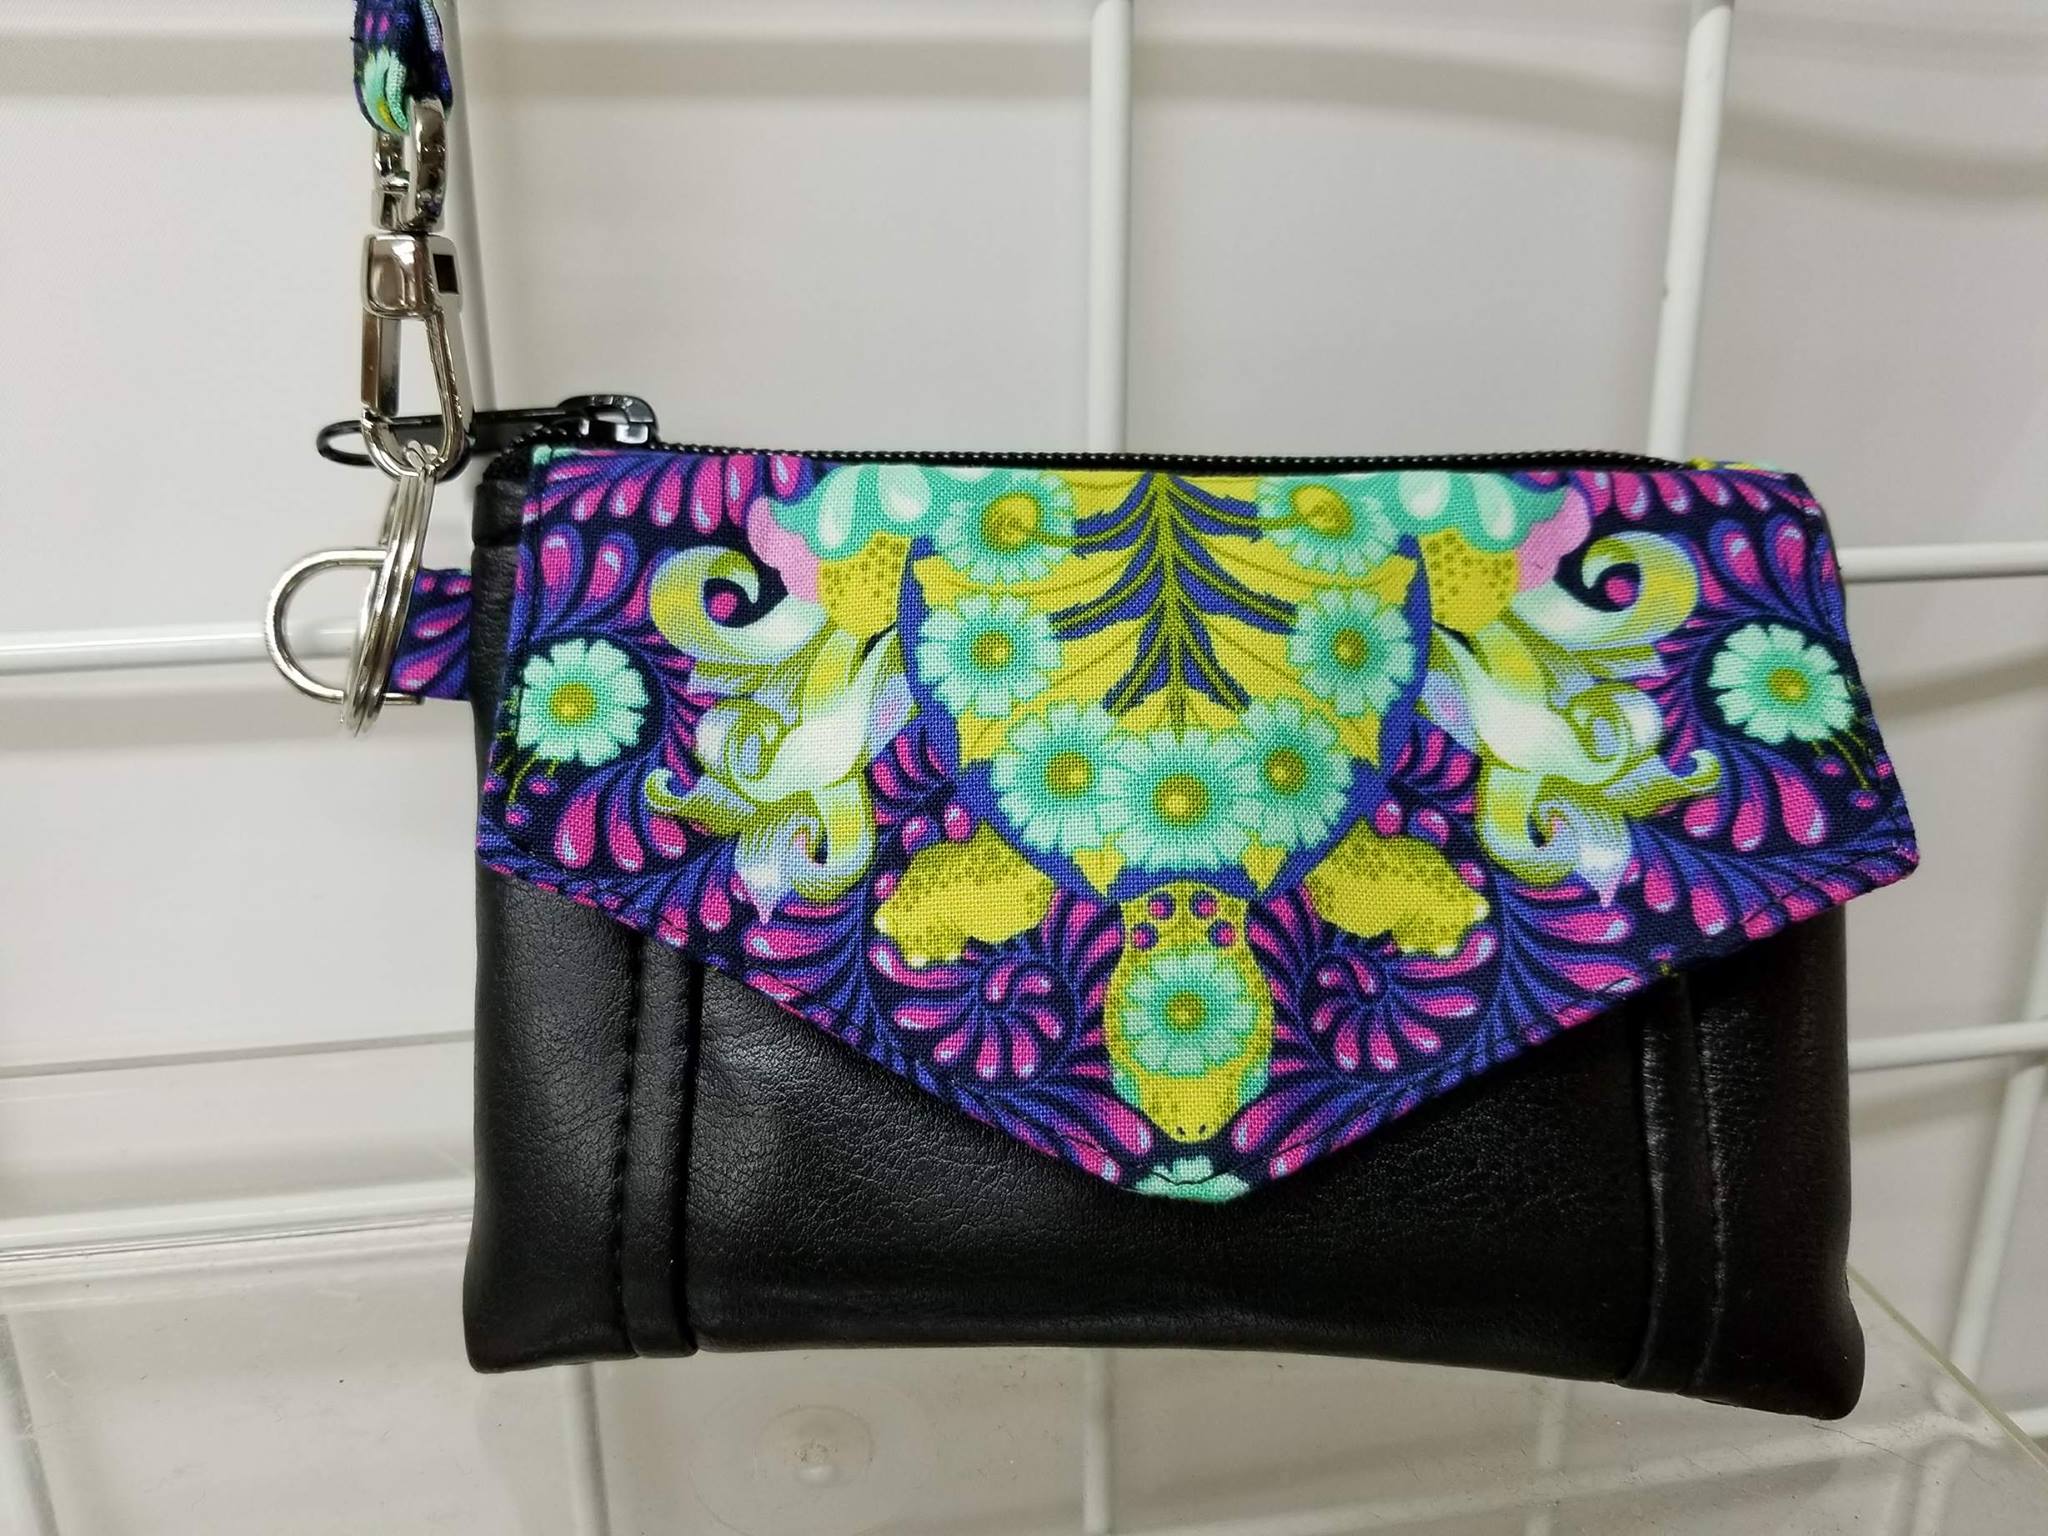
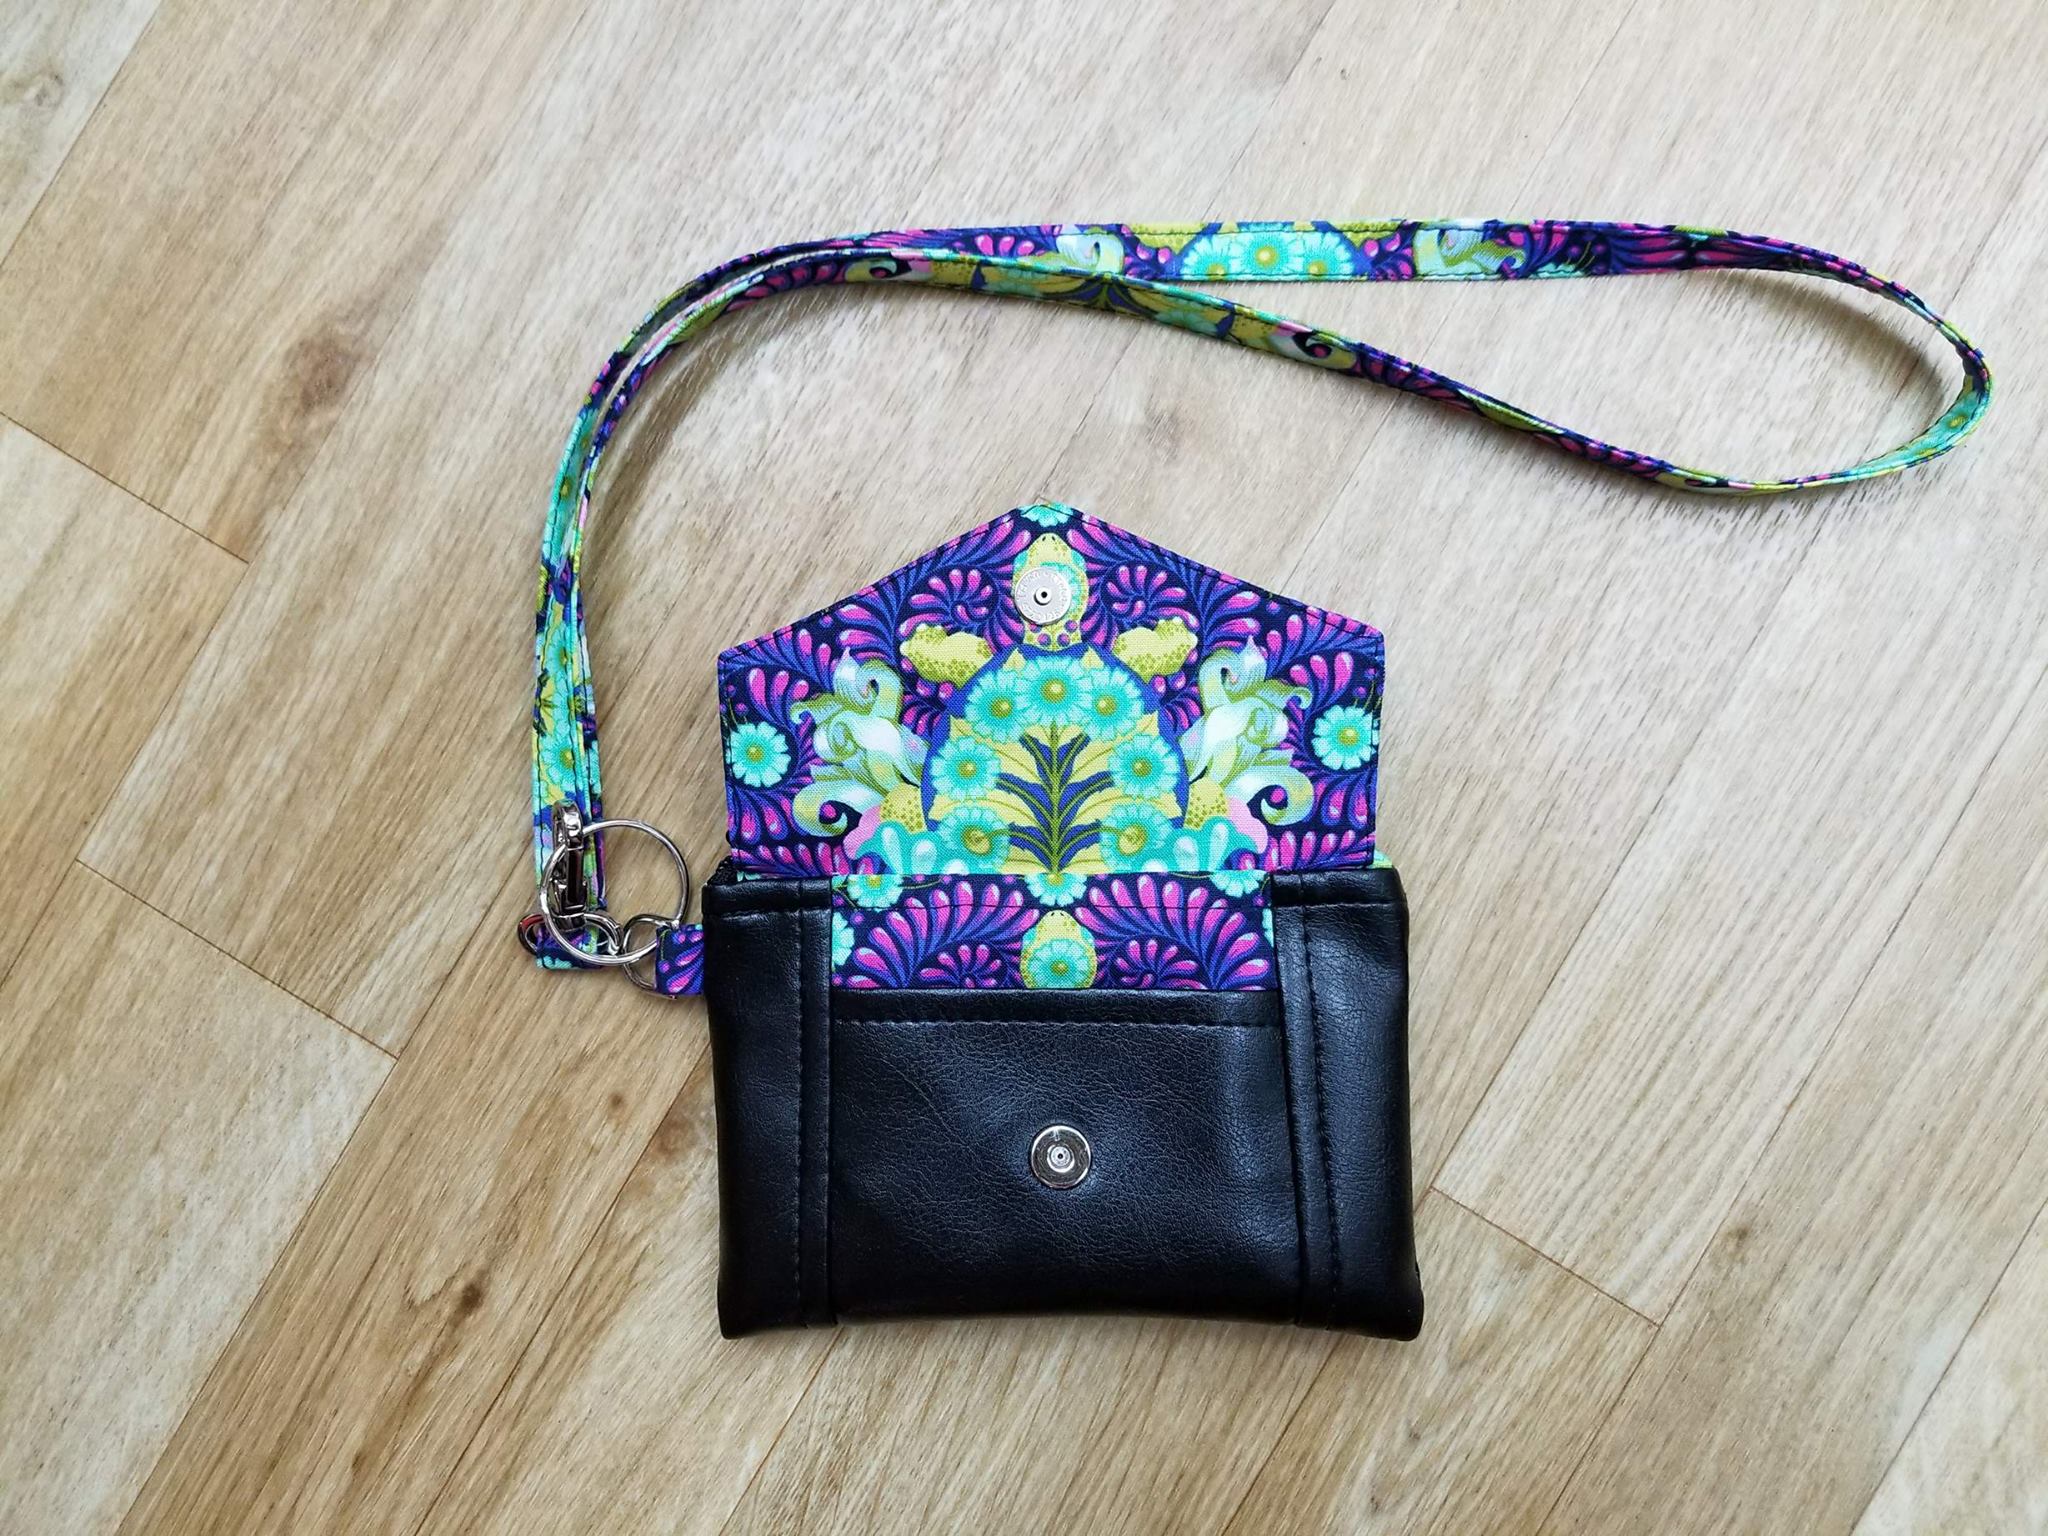
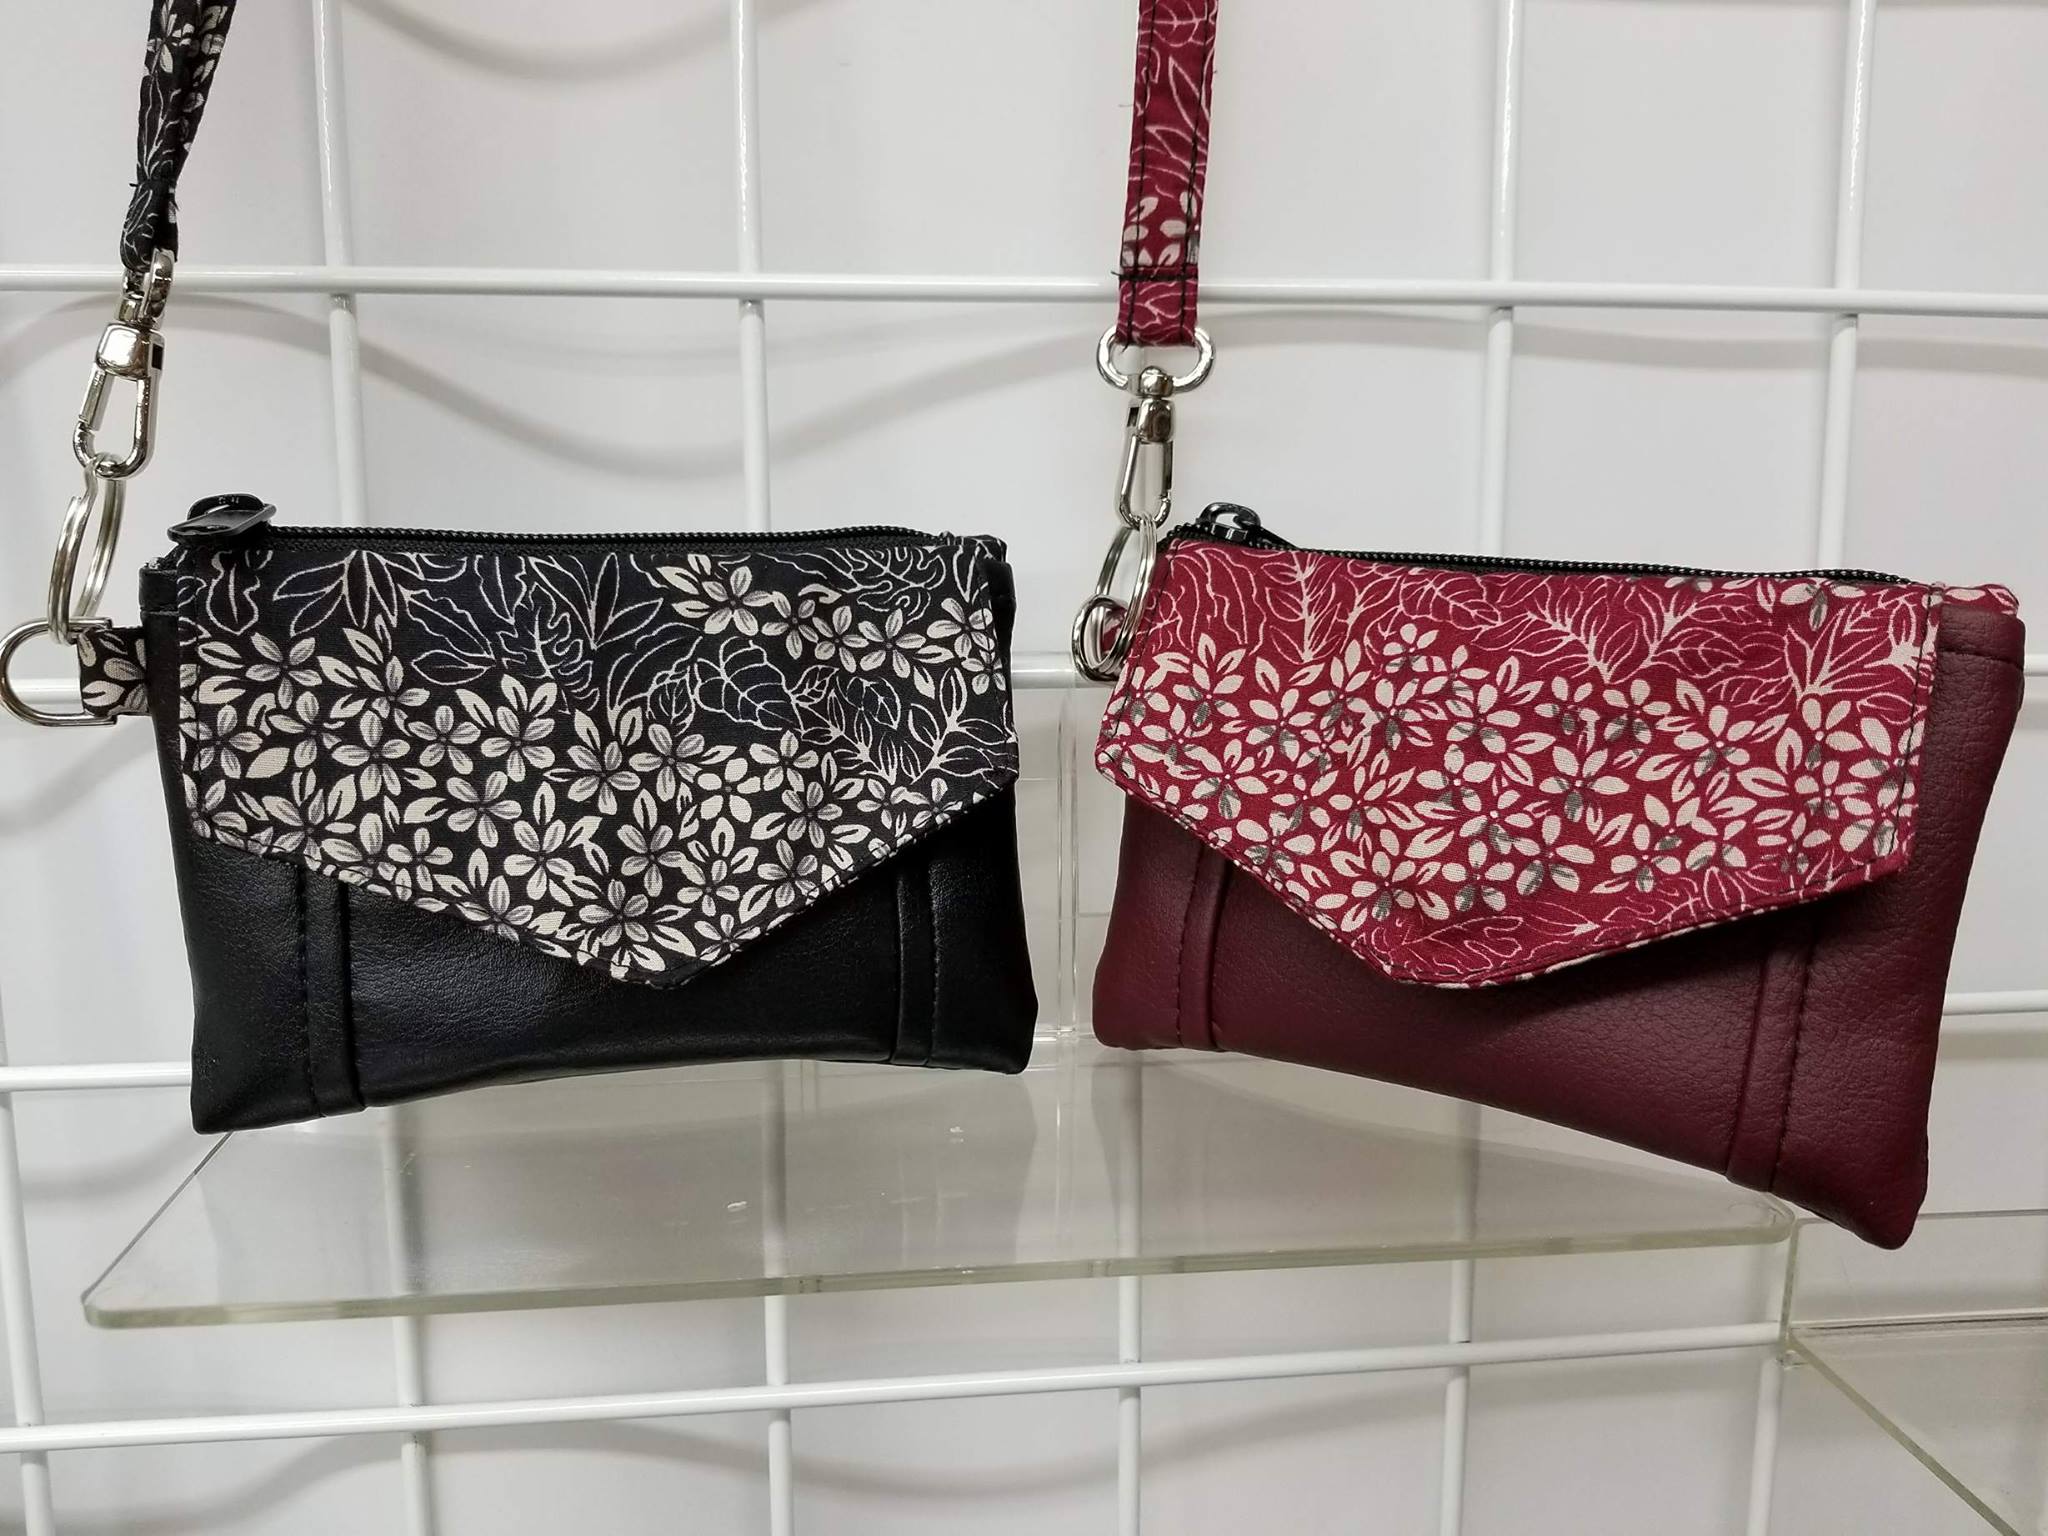
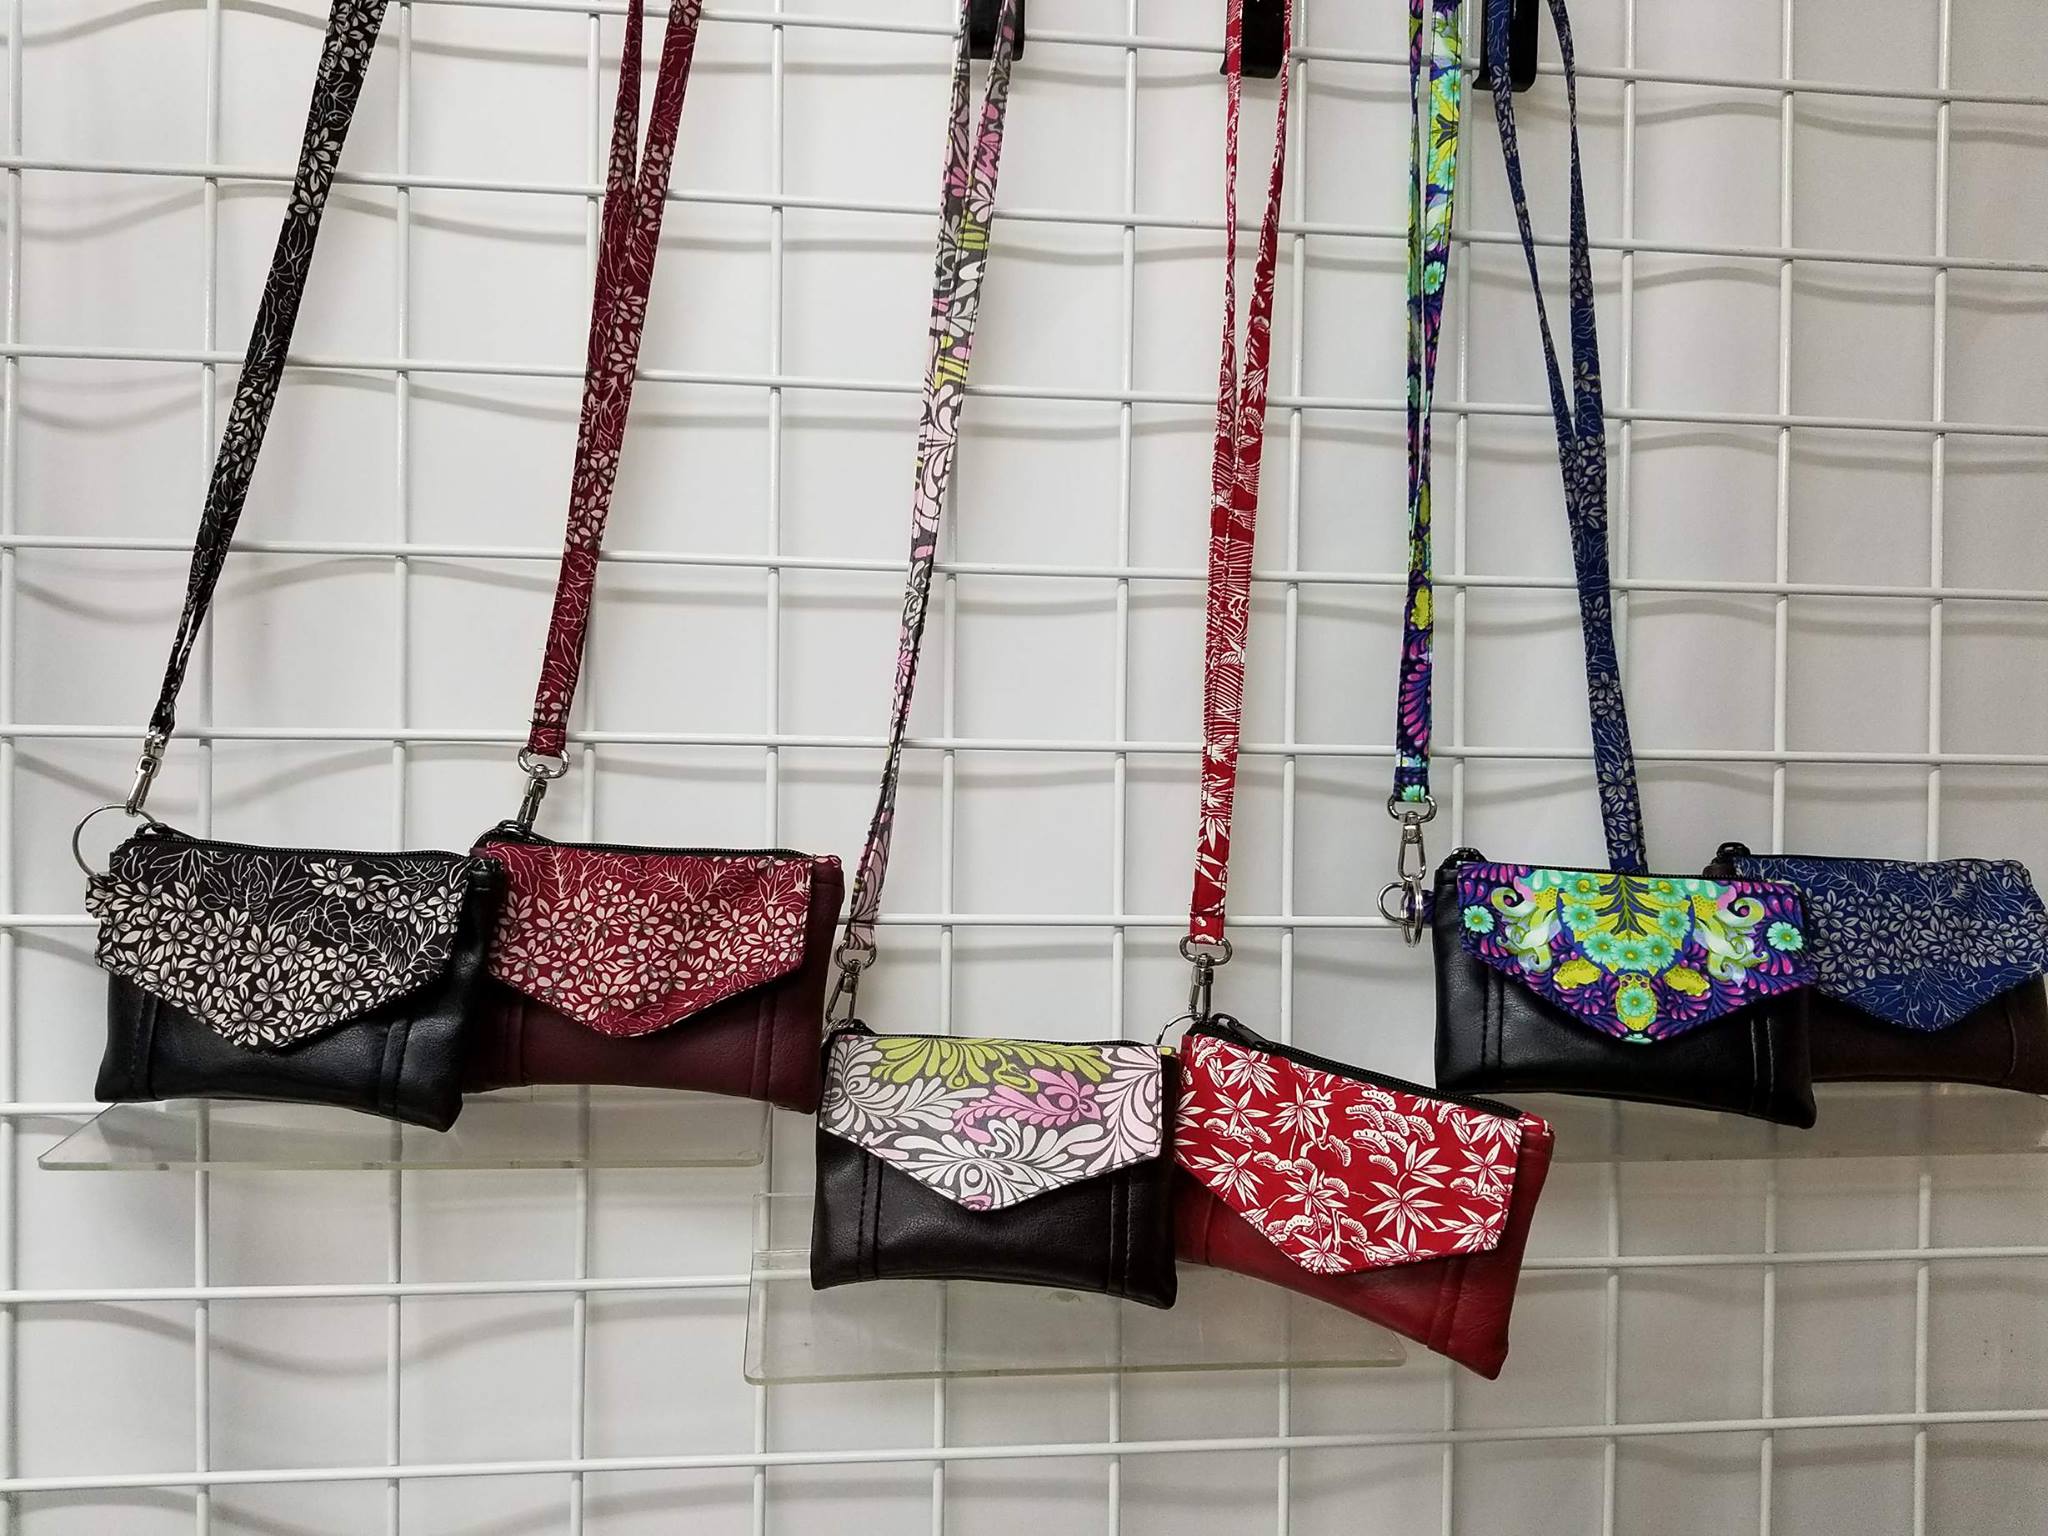
Have you seen Cindy McGreevey's beautiful and classy Kristine ID Wallets? If not you are in for a treat today! For day three of Kristine ID Wallet Week, we get to learn some awesome alterations for the Kristine ID Wallet! Cindy McGreevey of Cindy’s Creative Bags is going to show us three alterations that she has made to the Kristine ID Wallet making it easier to make the entire wallet out of decorator fabric, faux leather or cork - giving this little wallet a very classy upgrade.

Cindy has been sewing for a long time. She started her sewing career working a couple ski wear manufacturers, first Slalom Ski Wear and then Bogner, a very high end ski wear manufacturer. Cindy currently owns and operates Cindy’s Creative Bags VT llc and has for 15 years, making and selling hand-crafted bags. She sells at craft shows, online and wholesale with the help of a sales rep (Up North Trading). Cindy has a lot of sewing production and business experience that helps her alter a pattern like the Kristine ID Wallet to make it work the way she wants it to.

Now let’s hear from Cindy!

Hi, I’m Cindy from Cindy’s Creative Bags. First, I was honored when Michelle Burke, designer of Uniquely Michelle asked me to write this tutorial - thank you for this opportunity! I also want to say that doing this tutorial showed me how much work goes into writing a pattern!

Here are the changes I have made to the Kristine ID Wallet pattern:

  • I make it wider and a little taller (the finished size is 6” wide x 4” high)

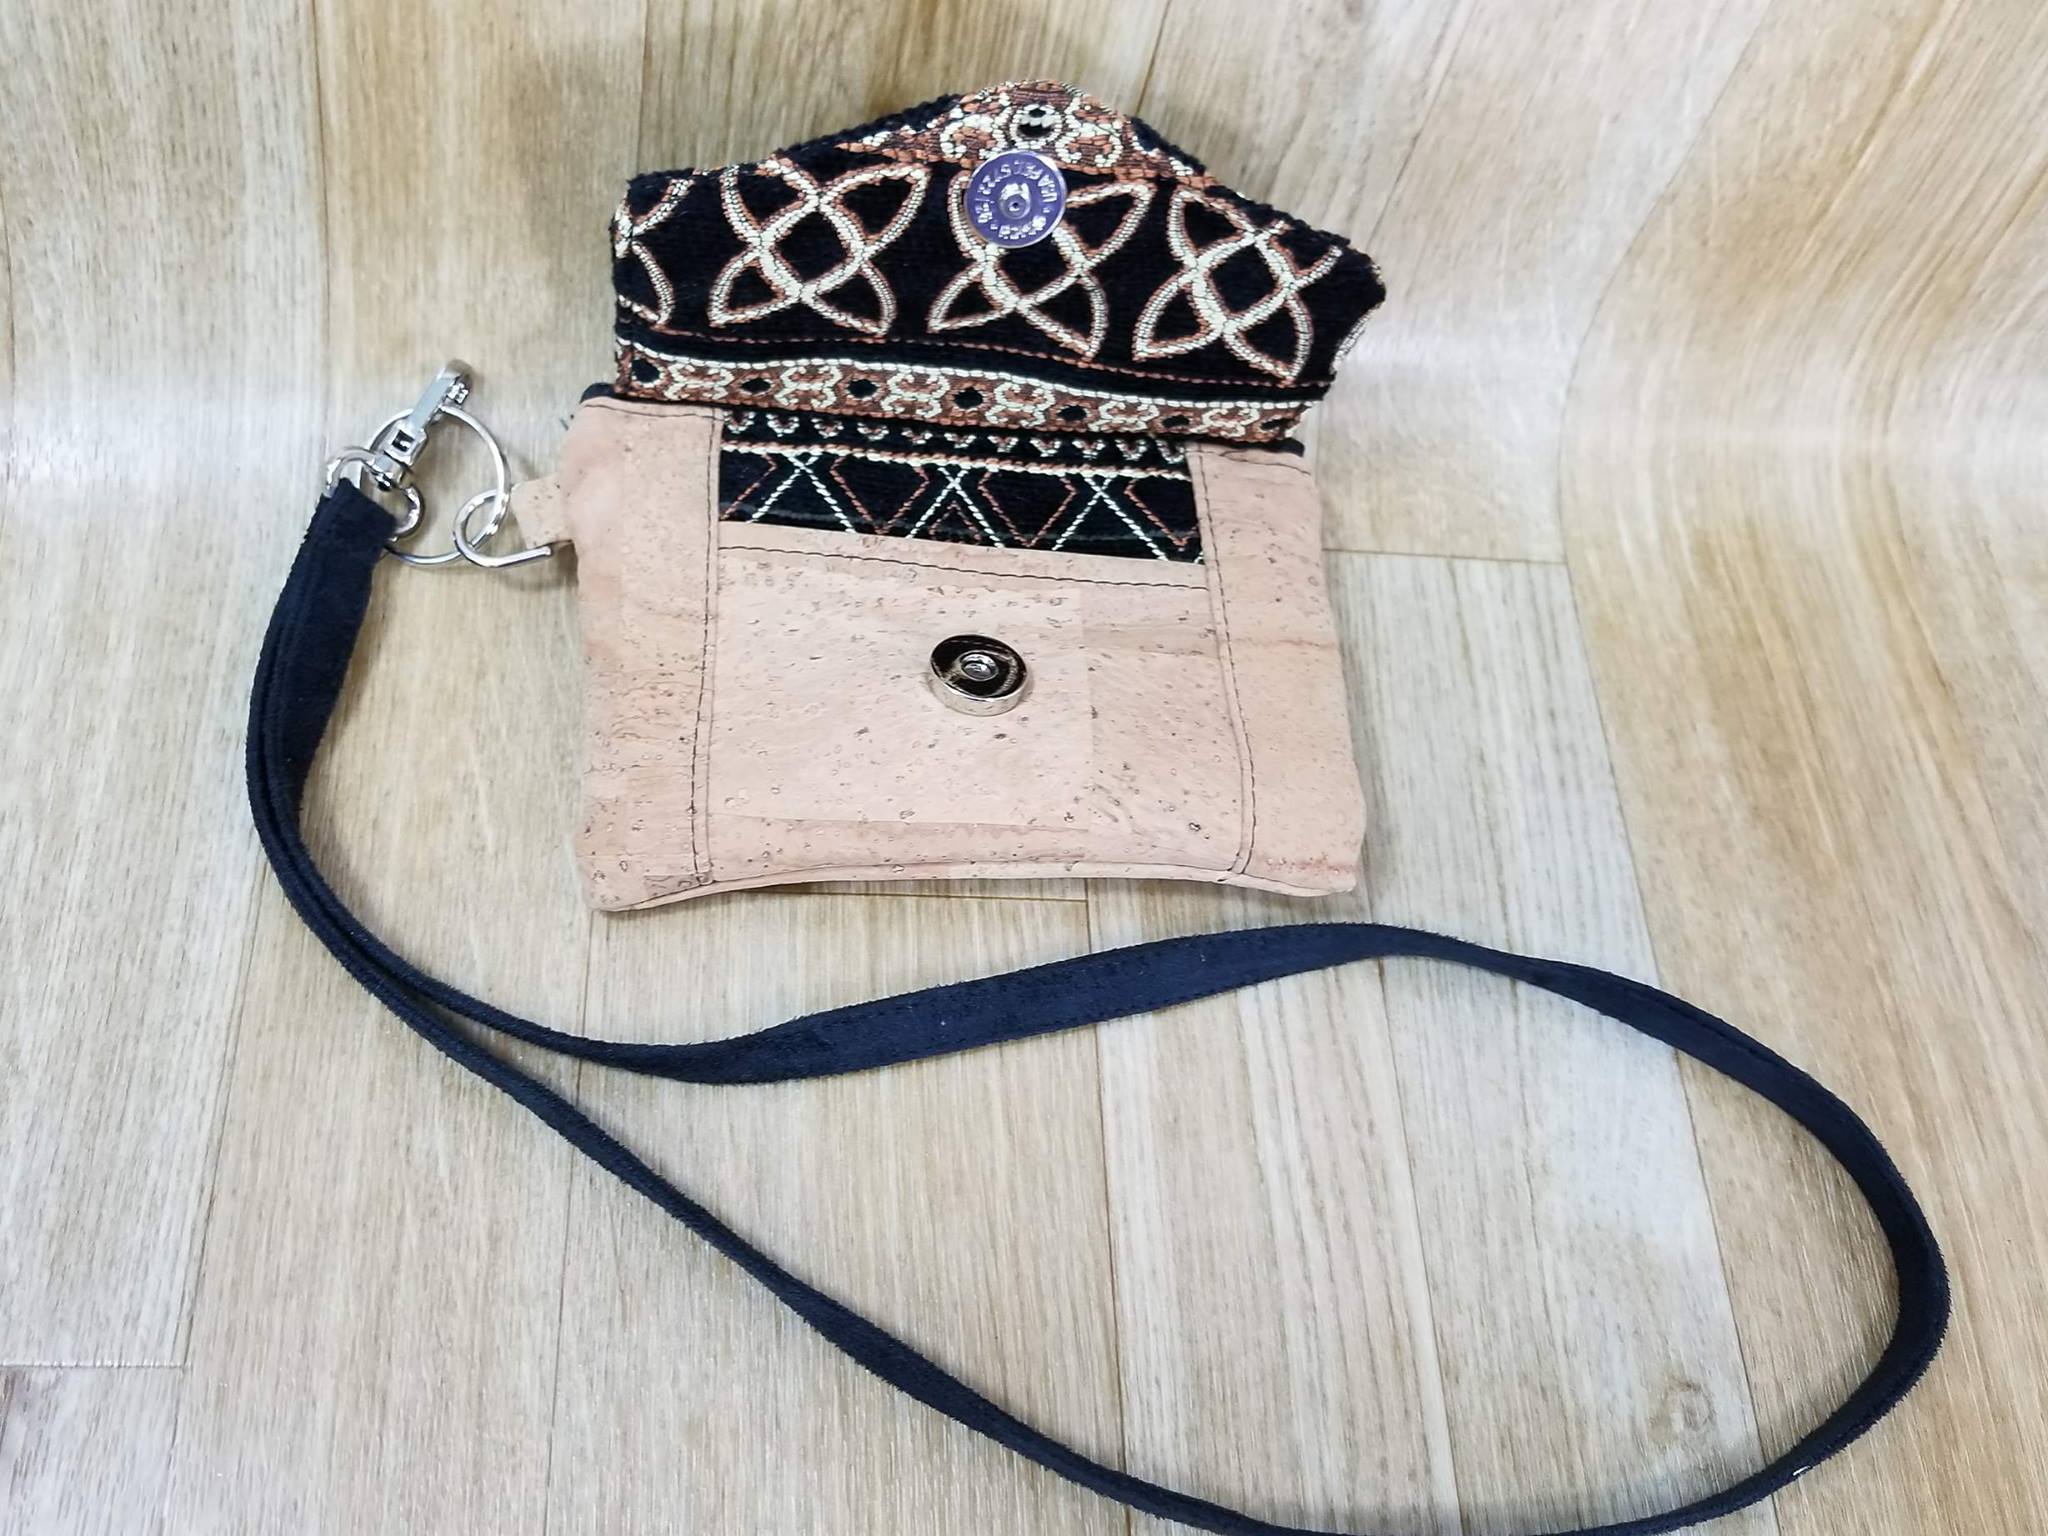
  • I put the credit card pockets on the inside of the wallet

  • I added a slip pocket under the flap on the outside of the Kristine ID Wallet

The Card Pockets (these are in the interior of the wallet and make up one side of the lining):

  • Cut 1 piece of fabric for the card pockets that is 4 1/4” wide x 15 1/2” high (11.5cm x 39.5cm)

  • Cut a piece of SF101 that is 4 3/4” wide x 4 3/8” high (12cm x 11cm)

  • Cut 2 side pieces for the card pockets from the lining fabric 2" wide x 4 3/4" high (5cm x 4.75cm)

Follow the instructions in the pattern for the Kristine ID Wallet for making the lines on the card pocket piece except add one more card pocket so that you will have three card pockets in the end. Once the card pockets are made, sew the sides of the card pockets onto each side of the card pocket right sides together. Press the seams away from the center and then I edge stitch each seam.

The Envelope Flap:

  • Cut 2 Envelope Flaps from the exterior fabric that measure 6 1/2" wide x 4 1/8" high to the point (16.5cm x 10.5cm)

Add the male part of the magnetic snap, setting it 1" (2.5cm) up from the point of the flap. Place the flap pieces right sides together and sew all the sides except the top. Turn the flap right side out and edge stitch the sewn sides. Tack the top closed and mark center.

The Front Slip Pocket (under the flap):

  • Cut 2 pieces from the exterior fabric that are 4 1/2" wide x 4 7/8" high (11.5cm x 12.3cm)

  • Cut 1 piece from the lining fabric that is 4 1/2" wide x 2 3/4" high (11.5cm x 7cm)

  • Cut 2 side pieces from the exterior fabric that are 2" wide x 4 3/4" high (5cm x 12cm)

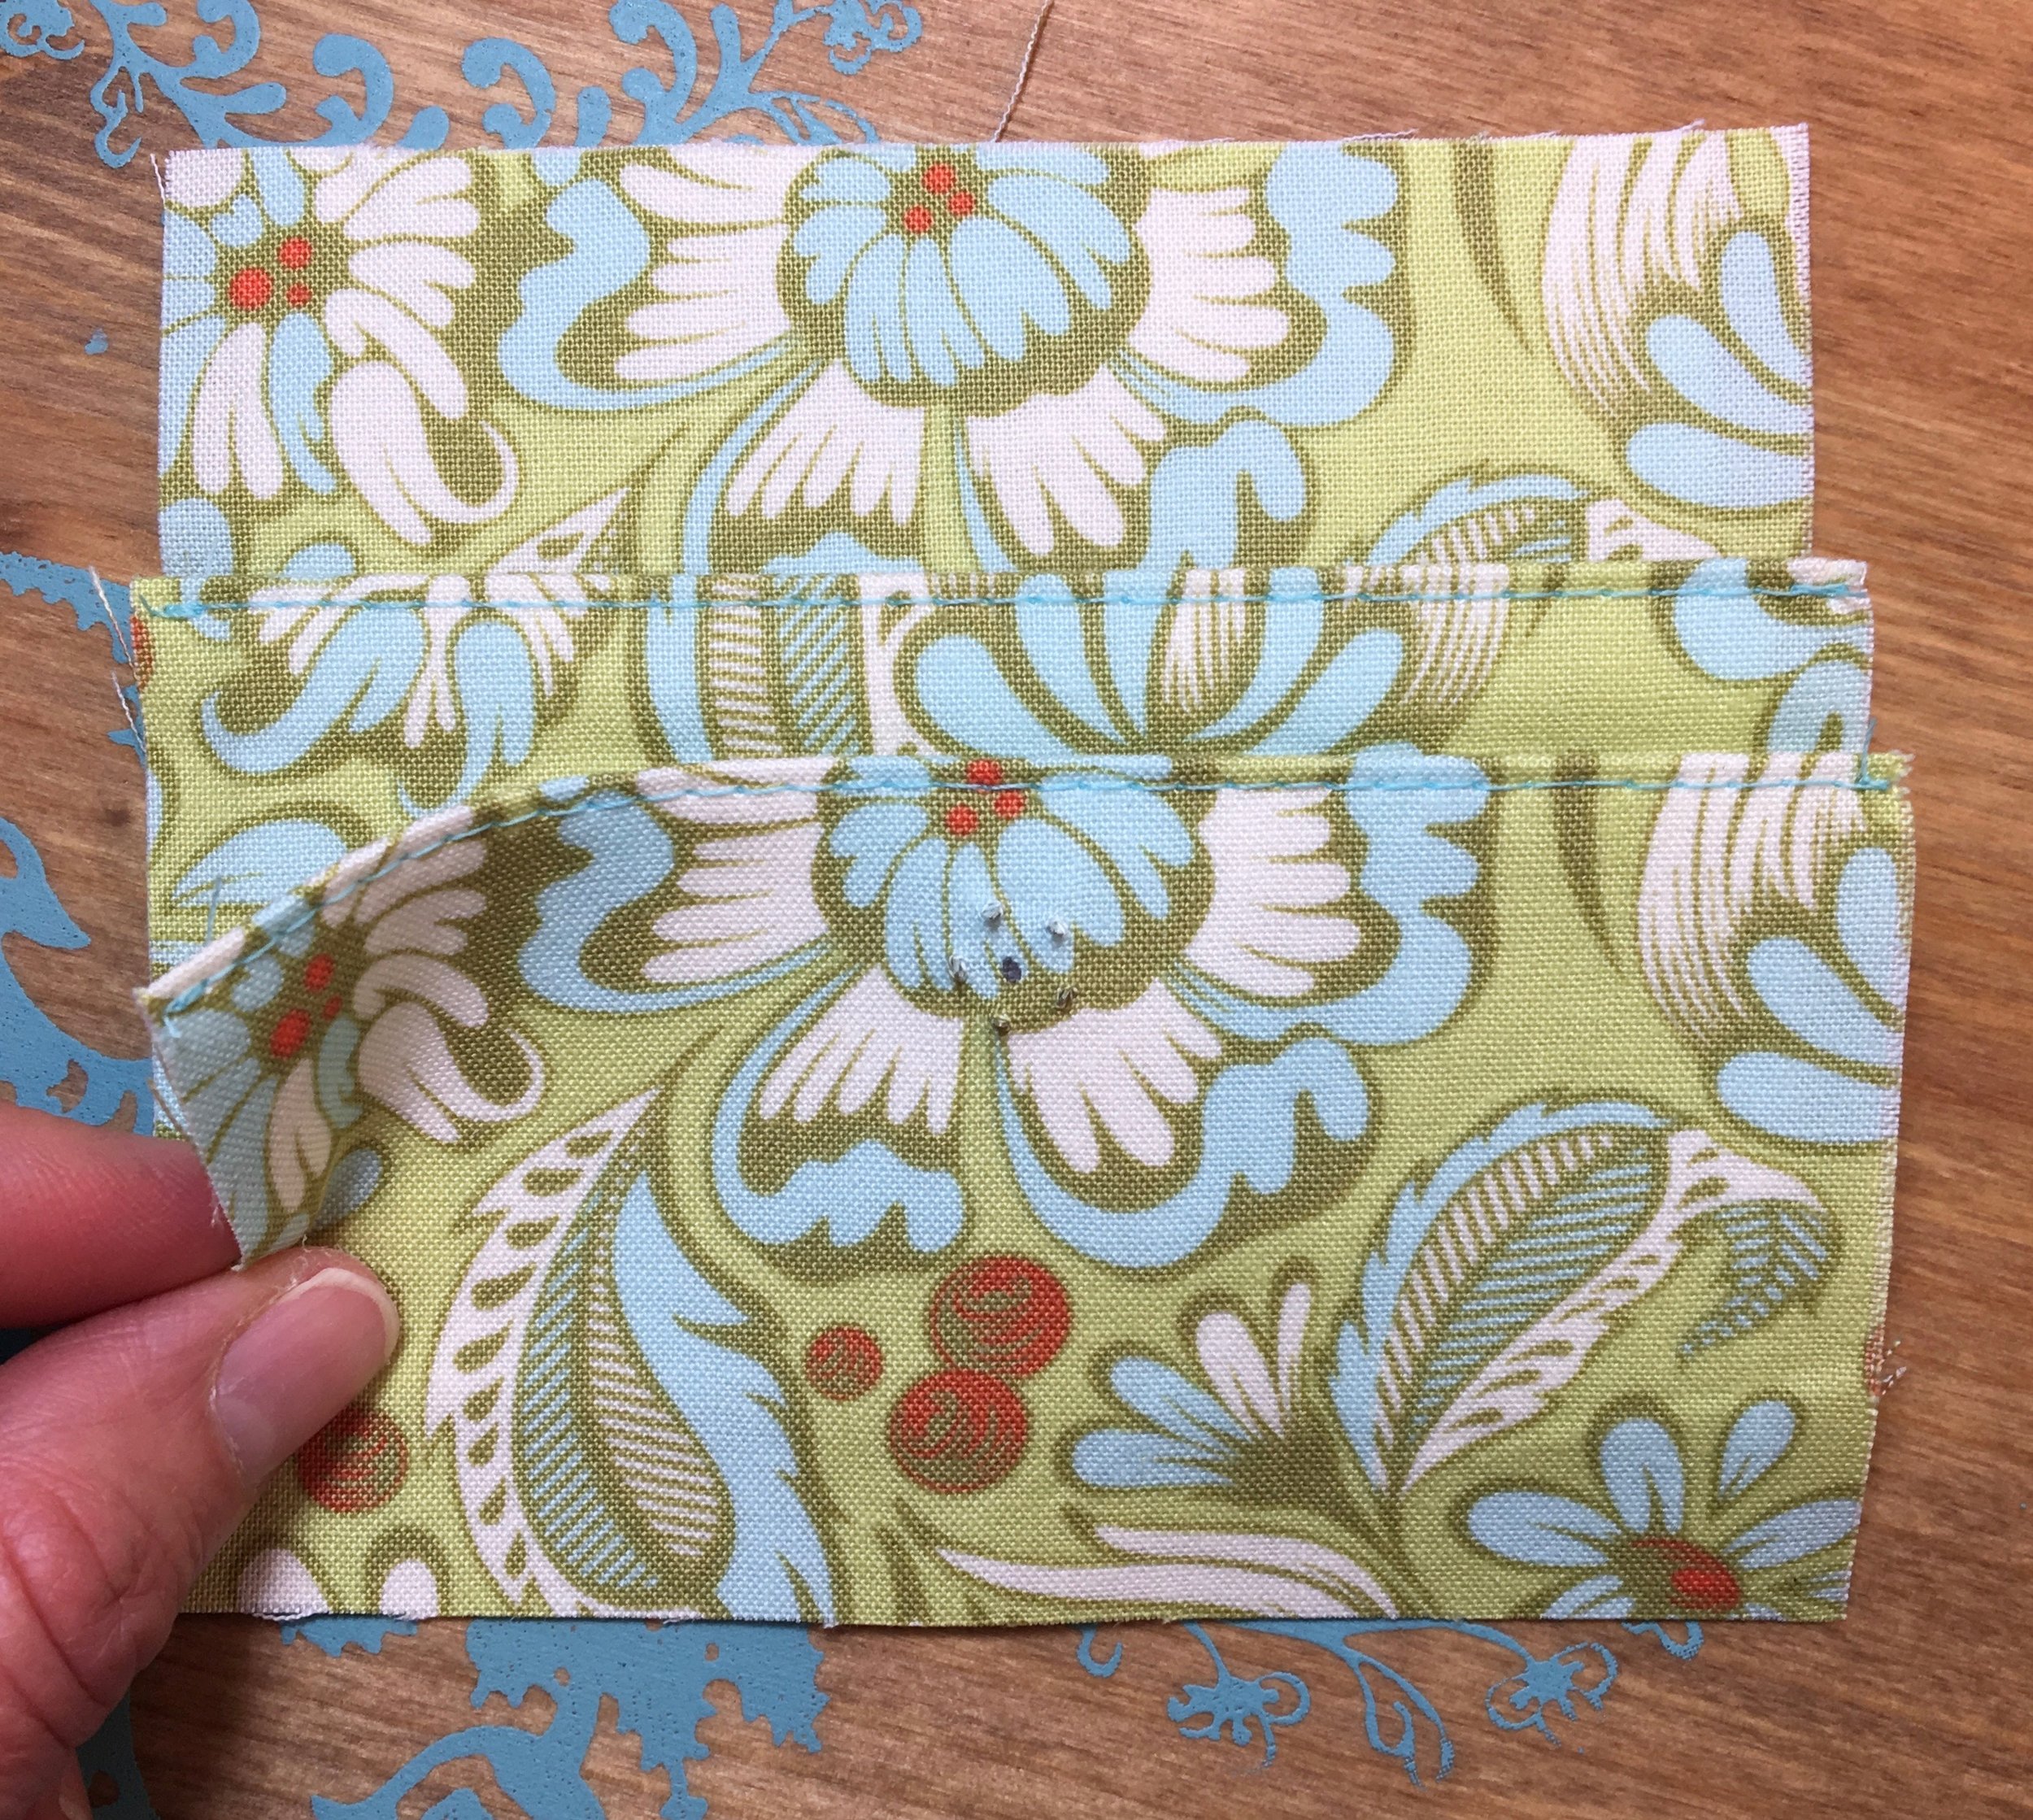
Sew the small lining piece (4 1/2" x 2 3/4") to the front slip pocket piece (4 1/2" x 4 7/8"). Top-stitch 1/8" down on the lining piece.

Next, fold this in half and top-stitch 1/8" on the fold. Set the female magnetic snap 1 1/8" (3cm) down from the top of the fold. Lay the pocket piece you just made on top of center exterior piece (the other 4 1/2" x 4 7/8" piece) and tack three sides.

Sew the sides (2" x 4 3/4" pieces) to the pocket with right sides together. Press the seams away from the center and then edge stitch each seam. Mark center at the top of this for flap placement.

Tack flap to the top matching the center marks.

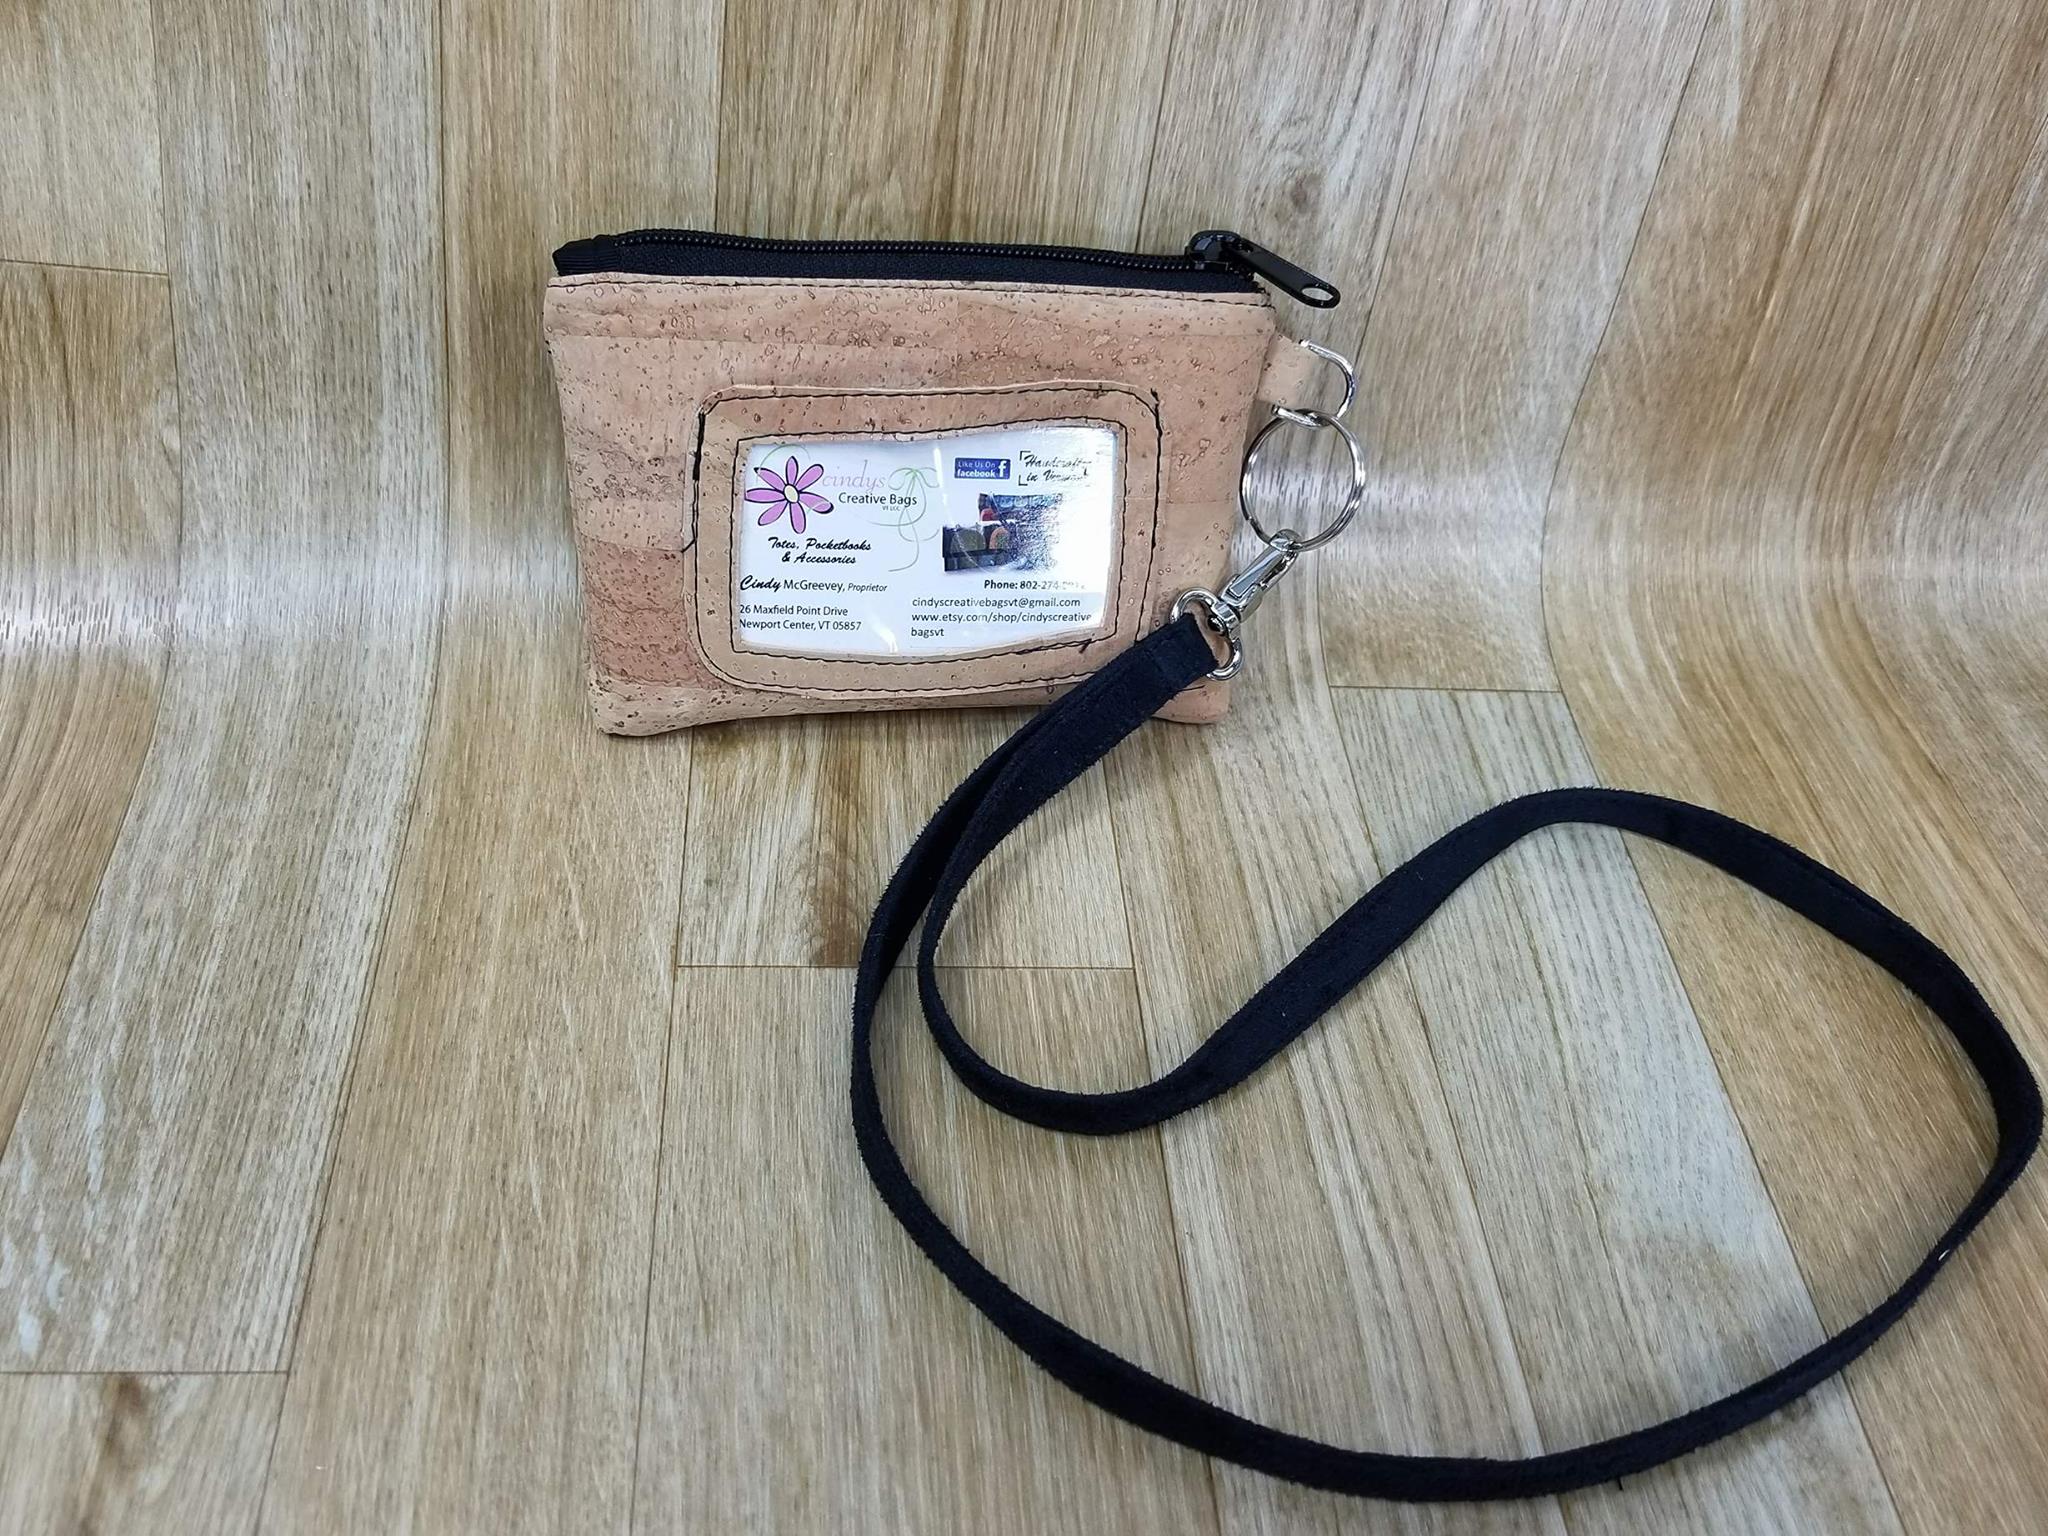
I then follow the Kristine ID Wallet pattern instructions for the ring loop, zipper end tab and wrist strap or the lanyard. Also, it is important to know that I cut one exterior piece for the back (the side with the ID window pocket) and one lining piece that are each 7" wide x 5 " high (17.75cm x 12.75 cm).

Zipper:

Cut the zipper @ 6 1/4" (16cm). I turn the closed end of the zipper under 3/8" (1cm) making the zipper 5 7/8" (15cm) long. Sew the zipper in place following the directions in the pattern.

I finish the Kristine ID Wallet following the pattern instructions except I have a trick for reducing the bulk in the lining.

When I am sewing the lining pieces together at the sides, I leave the bottom of the lining open across the entire bottom edge. I then make 2 marks from one of the bottom corners of the lining, one mark that is 3/4" (2cm) from the corner on the side edge of the lining and the other that is the same distance from the corner on the bottom edge of the lining. I draw a line between these two marks (making a little triangle in the corner) and then I trim that little triangle off. I repeat the above steps for the second corner. I sew those bottom angled edges before turning the wallet right side out. Once it is turned right side out, I close the hole in the bottom of the lining. Removing the corners from the lining make it less bulky!

I hope you have enjoyed my tutorial on the Kristine ID Wallet. I want to thank my granddaughter, Skylar for all her help with this tutorial and Michelle Burke, designer of Uniquely Michelle.

Thank you Cindy for sharing this awesome tutorial! I love how she solved the problem of excess bulk when making the Kristine ID Wallet out of heavier fabric by making the wallet a little larger and moving the card pockets to the inside of the wallet. I also loved that she added a slip pocket under the envelope flap - what a great idea! Check out Cindy's beautiful creations in her Etsy shop, on her Facebook page, and on Instagram.

There is a lot going on with Kristine ID Wallet Week! Don't forget that all Uniquely Michelle patterns are 15% off during Kristine ID Wallet Week. Use coupon code KIDWWEEK during check out at the Uniquely Michelle Etsy Shop or the Uniquely Michelle Website Shop. The prices in the Uniquely Michelle Bluprint Pattern Shop reflect the 15% discount. Make sure to keep up on everything going on this week by following Uniquely Michelle on Instagram or on the Uniquely Michelle Facebook Page. You can also join the Uniquely Michelle Sewing Patterns Facebook Group and you can sign up below to receive the Uniquely Michelle newsletter. 

Make sure to comment on the post on any Uniquely Michelle social media platform (link below) to be entered in today's giveaway!

Make sure to comment on the post on any Uniquely Michelle social media platform (link below) to be entered in today's giveaway!

Today's giveaway is a Kristine ID Wallet Kit! The kit includes everything you need to make a Kristine ID Wallet with a wrist strap and either enough faux leather or cork to use to make the flap and the ID window pocket (see Monday's blog post for the tutorial on how to do this). To enter just comment on one of the posts with the above photo in any of the Uniquely Michelle social media platforms! Here are the places you can find the post and comment:

You can comment on more than one post to increase your chances of winning. The drawing will take place tomorrow morning at 9:00am MDT. I will announce the winner in tomorrow's blog post and Instagram and Facebook posts! Good Luck Everyone!!!
Sign up to receive email newsletters from Uniquely Michelle:

Kristine ID Wallet Week - Selling the Kristine ID Wallet

Michelle Burke

Today is day two of Kristine ID Wallet Week and I am excited to start by sharing the winner of yesterday's giveaway! Sheri Carder won yesterday's random drawing and will receive an exclusive code to get 50% off any one Uniquely Michelle pattern - congratulations Sheri!!! If you would like to enter today's random drawing, check out the information in the last paragraph of this post!

One thing I keep hearing over and over again from people that make and sell Kristine ID Wallets is that it is one of their best sellers. So I decided to ask Nicole of Sew Much Moore in Store who has had a lot of success selling the Kristine ID Wallets to write a blog post sharing her ideas and hints for selling them. 

Nicole posted her blog post about selling the Kristine ID Wallet on her website and it is definitely worth reading! She talks about what to sell (the Kristine ID Wallet of course but she has other suggestions too), where to sell, and what to charge. This isn't Nicole's first blog post about the Kristine ID Wallet, she wrote another one in February where she discusses what she likes about the Kristine ID Wallet and she provides her customers an opportunity to create their own Kristine ID Wallet. Be sure check out Nicole's original Kristine ID Wallet blog post too!

Nicole sells her Kristine ID Wallets and other handmade creations on her Sew Much Moore In Store website and in her Esty shop. You can follow Nicole in Instagram and on the Sew Much Moore In Store Facebook Page. Nicole left a corporate career in 2014 and started selling custom handmade goods. She is "currently a stay at home creative entrepreneur with a passion for teaching in person and online." Thanks Nicole for sharing your knowledge about selling the Kristine ID Wallet and other handmade items with us today!

Nicole uses this image to direct people to her Etsy shop where they can order their own custom Kristine ID Wallet - what a great idea!

Nicole uses this image to direct people to her Etsy shop where they can order their own custom Kristine ID Wallet - what a great idea!

There is a lot going on with Kristine ID Wallet Week! Don't forget that all Uniquely Michelle patterns are 15% off during Kristine ID Wallet Week. Use coupon code KIDWWEEK during check out at the Uniquely Michelle Etsy Shop or the Uniquely Michelle Website Shop. The prices in the Uniquely Michelle Bluprint Pattern Shop reflect the 15% discount. Make sure to keep up on everything going on this week by following Uniquely Michelle on Instagram or on the Uniquely Michelle Facebook Page. You can also join the Uniquely Michelle Sewing Patterns Facebook Group and you can sign up below to receive the Uniquely Michelle newsletter. 

Look for this post in the Uniquely Michelle Facebook Sewing Patterns Group and comment on it to enter today's giveaway!!!

Look for this post in the Uniquely Michelle Facebook Sewing Patterns Group and comment on it to enter today's giveaway!!!

Today's giveaway is a free Uniquely Michelle pattern of your choice! To enter just comment on the post with the above photo in the UNIQUELY MICHELLE SEWING PATTERNS FACEBOOK GROUP! make sure you are commenting on the post in the Uniquely Michelle Sewing Patterns Facebook Group (not the Uniquely Michelle Facebook Page) to be entered in the drawing that will take place tomorrow morning at 9:00am MDT. I will announce the winner in tomorrow's blog post and Instagram and Facebook posts! Good Luck Everyone!!!

Sign up to receive email newsletters from Uniquely Michelle:

Kristine ID Wallet Week - Using Cork or Faux Leather as an Accent

Michelle Burke

Welcome to the first day of Kristine ID Wallet Week! I am so excited to share with you some fantastic ideas of my own as well as some from some Kristine ID Wallet experts for taking your Kristine ID Wallet to the next level. I am also excited for the giveaways and I hope you are too! If you are not sure what Kristine ID Wallet Week is all about, check out yesterday's post. To make sure you don't miss any of the fun, make sure to check out all the Uniquely Michelle social media links at the end of this post. All the details for today's giveaway is at the end of this post too . . . but first today's Kristine ID Wallet tutorial! Today I am going to show you how I add a cork or faux leather flap and ID window pocket to the Kristine ID Wallet. 

I love fabric, but sometimes adding a little faux leather or cork fabric added as an accent to a bag or wallet can really make it special! I made a few Kristine ID Wallets using faux leather or cork to make the flap and ID pocket and I think they turned out well, so I thought I would share how I did it - it's actually really easy! Since faux leather and cork don't fray, using either one for the flap and ID window pocket is a quick and fun way to sew these components of the Kristine ID Wallet.

If you don't have the Kristine ID Wallet pattern yet, check out the links near the bottom of this post and don't forget to use the coupon code to get the special Kristine ID Wallet sale price. The cork I used is from Sew Sweetness (brown - monk's robe) and from MM Cork Supply (yellow). The gold cork was from a cork sample pack and each 9" x 6" piece gives you just enough to make the flap and ID pocket for a Kristine ID Wallet! I got the faux leather from Sew Sweetness, it is gorgeous and so thin - very easy to work with!

Let's start with the flap. First we need a pattern piece for the flap that doesn't include a seam allowance. To do this, just print up a flap pattern piece and then measure and draw lines 1/4" in from the edge for all 5 edges of the flap to account for the seam allowance. Cut off the 1/4" seam allowance and then you have the pattern piece you need for making the flap with faux leather or cork. I cut my flap pattern pieces from heavy duty template plastic so that I can use my rotary cutter to cut the fabric for my flap. 

I like to draw a black line in Sharpie around the edge of the pattern piece that I make out of template plastic - it makes it easier to see the edge.

I like to draw a black line in Sharpie around the edge of the pattern piece that I make out of template plastic - it makes it easier to see the edge.

For the flap, cut out two flap pieces using your new, seam-allowance-free pattern piece from the cork or faux leather. I like to cut one with the pattern piece facing up and the other with the pattern piece facing down so that the edges of the flap are more likely to match perfectly. I don't use SF101 on the flap, but I still use fusible fleece for the exterior piece of the flap - I like the feel of the flap with the fusible fleece and it makes the prongs from the magnetic snap less noticeable through the cork or faux leather. If you are using a fairly thick faux leather, you may not need the fleece at all. Another hint - I cut the fusible fleece from the flap pattern piece that doesn't have a seam allowance and then I cut another 1/4" off all the edges of the fleece so that there is no chance of it peeking through between the two pieces of cork or faux leather.

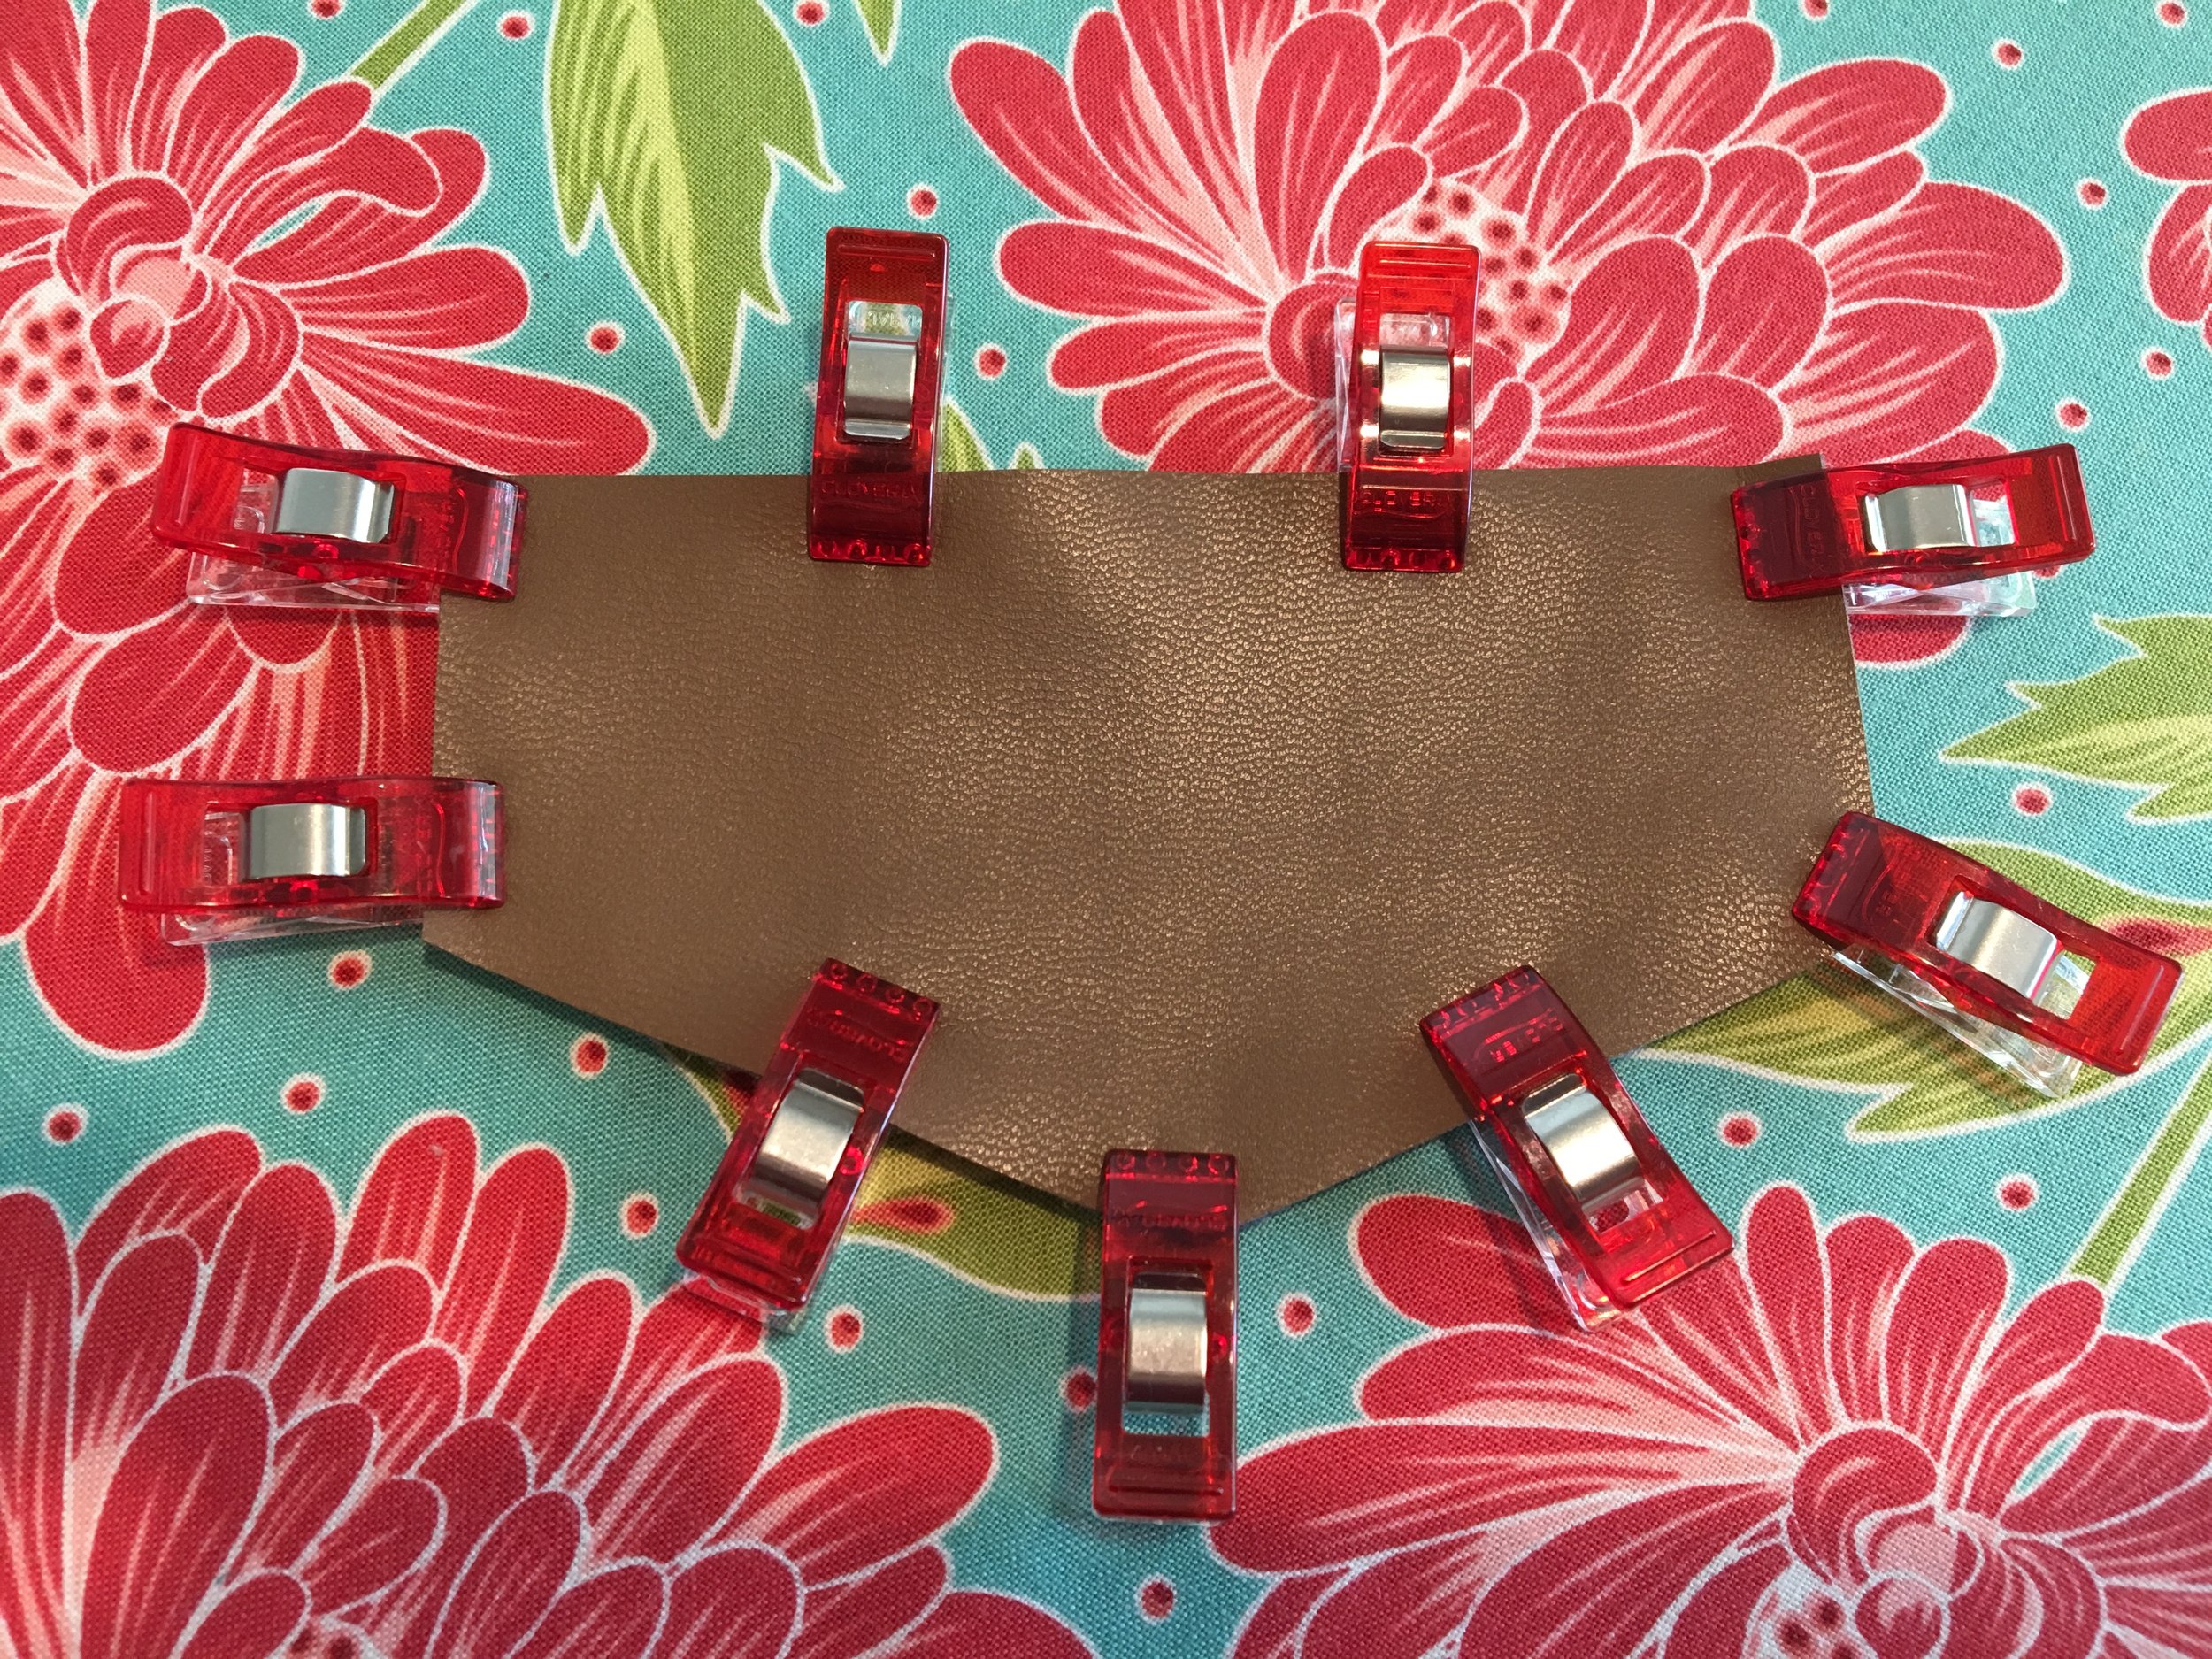
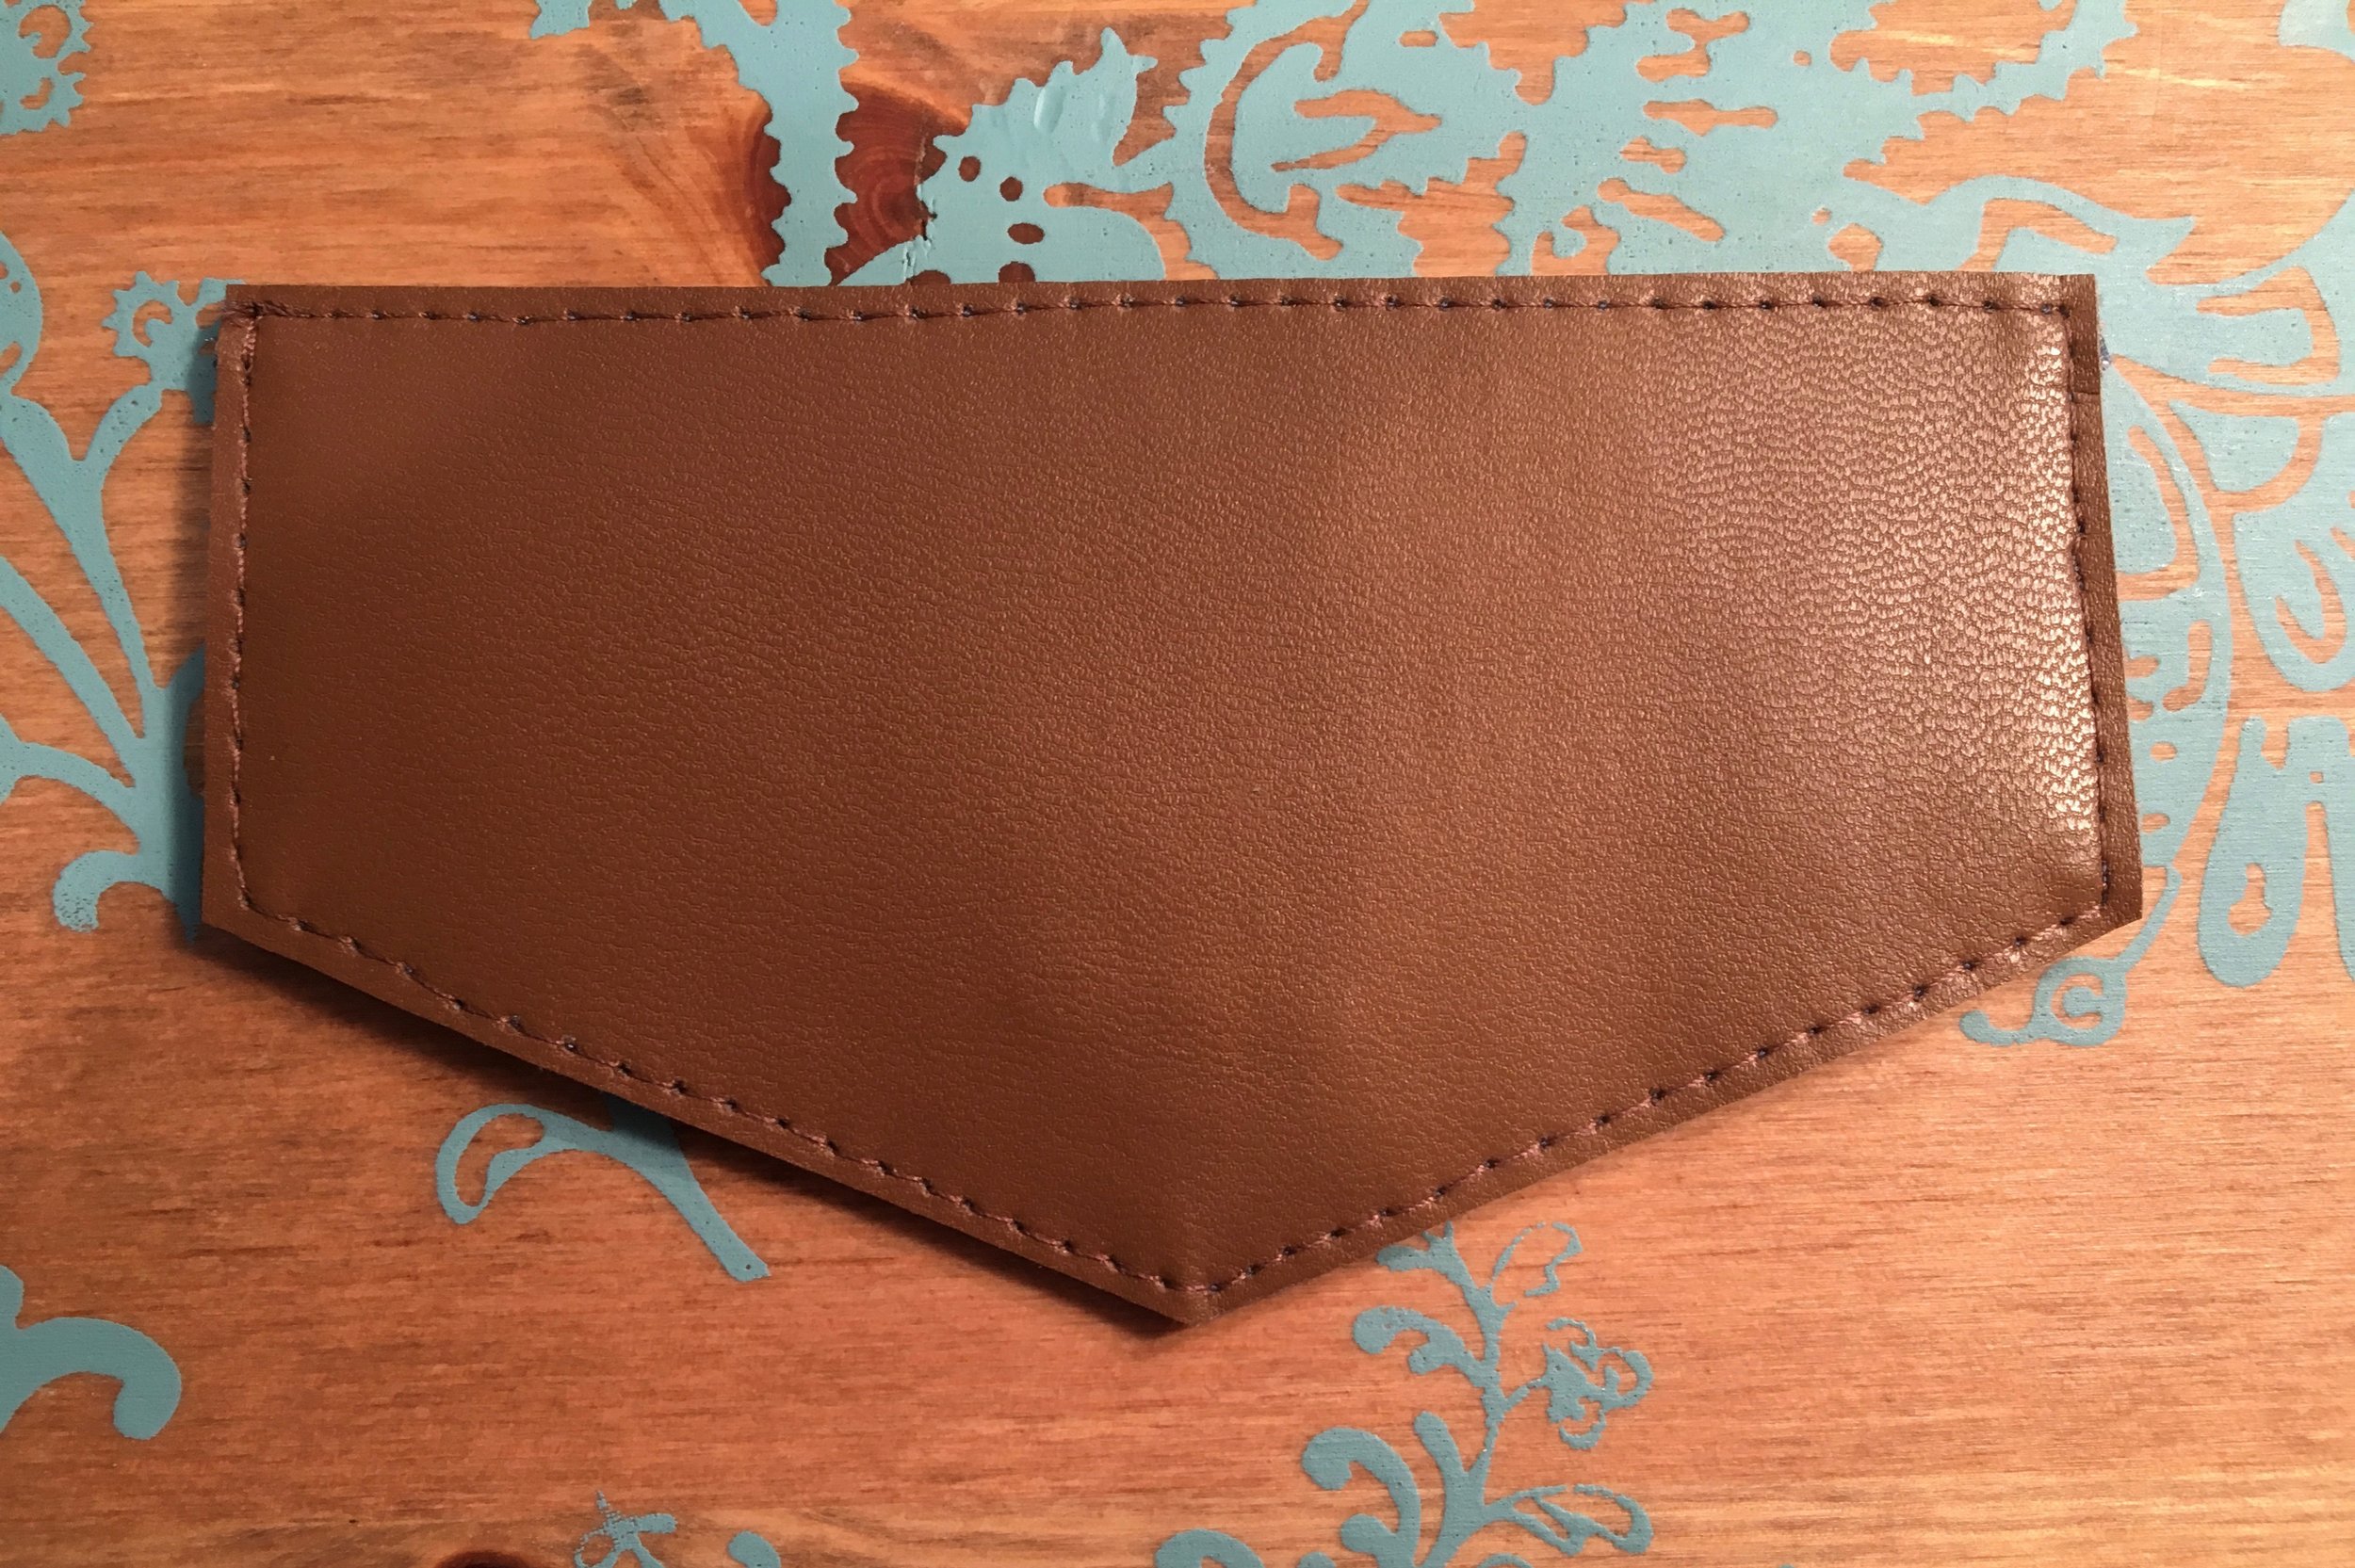
Add the male half of the magnetic snap now following the directions in the pattern, except measure down 1 3/4" down from the top raw edge of the flap (it won't be folded down as it is in the pattern). Place the flap pieces wrong sides together and use clips to hold them together. You may need to trim the pieces so that the edges match well. Top-stitch 1/8" away from the edges of the flap.

So I will have to say, the faux leather from Sew Sweetness is so thin, that I wanted to use it to make a flap for a Kristine ID Wallet following the directions in the pattern. I didn't use SF101 again, but I did add fusible fleece to the exterior piece. I also added a regular snap rather than a magnetic snap, just because I had one that matched so well. This flap went together beautifully! I had no problem with it being too bulky at all. The only variation that I made was to use double sided tape along the top edges to keep the them folded down as I sewed the flap together as I followed the directions in the pattern. I really love the way it turned out!

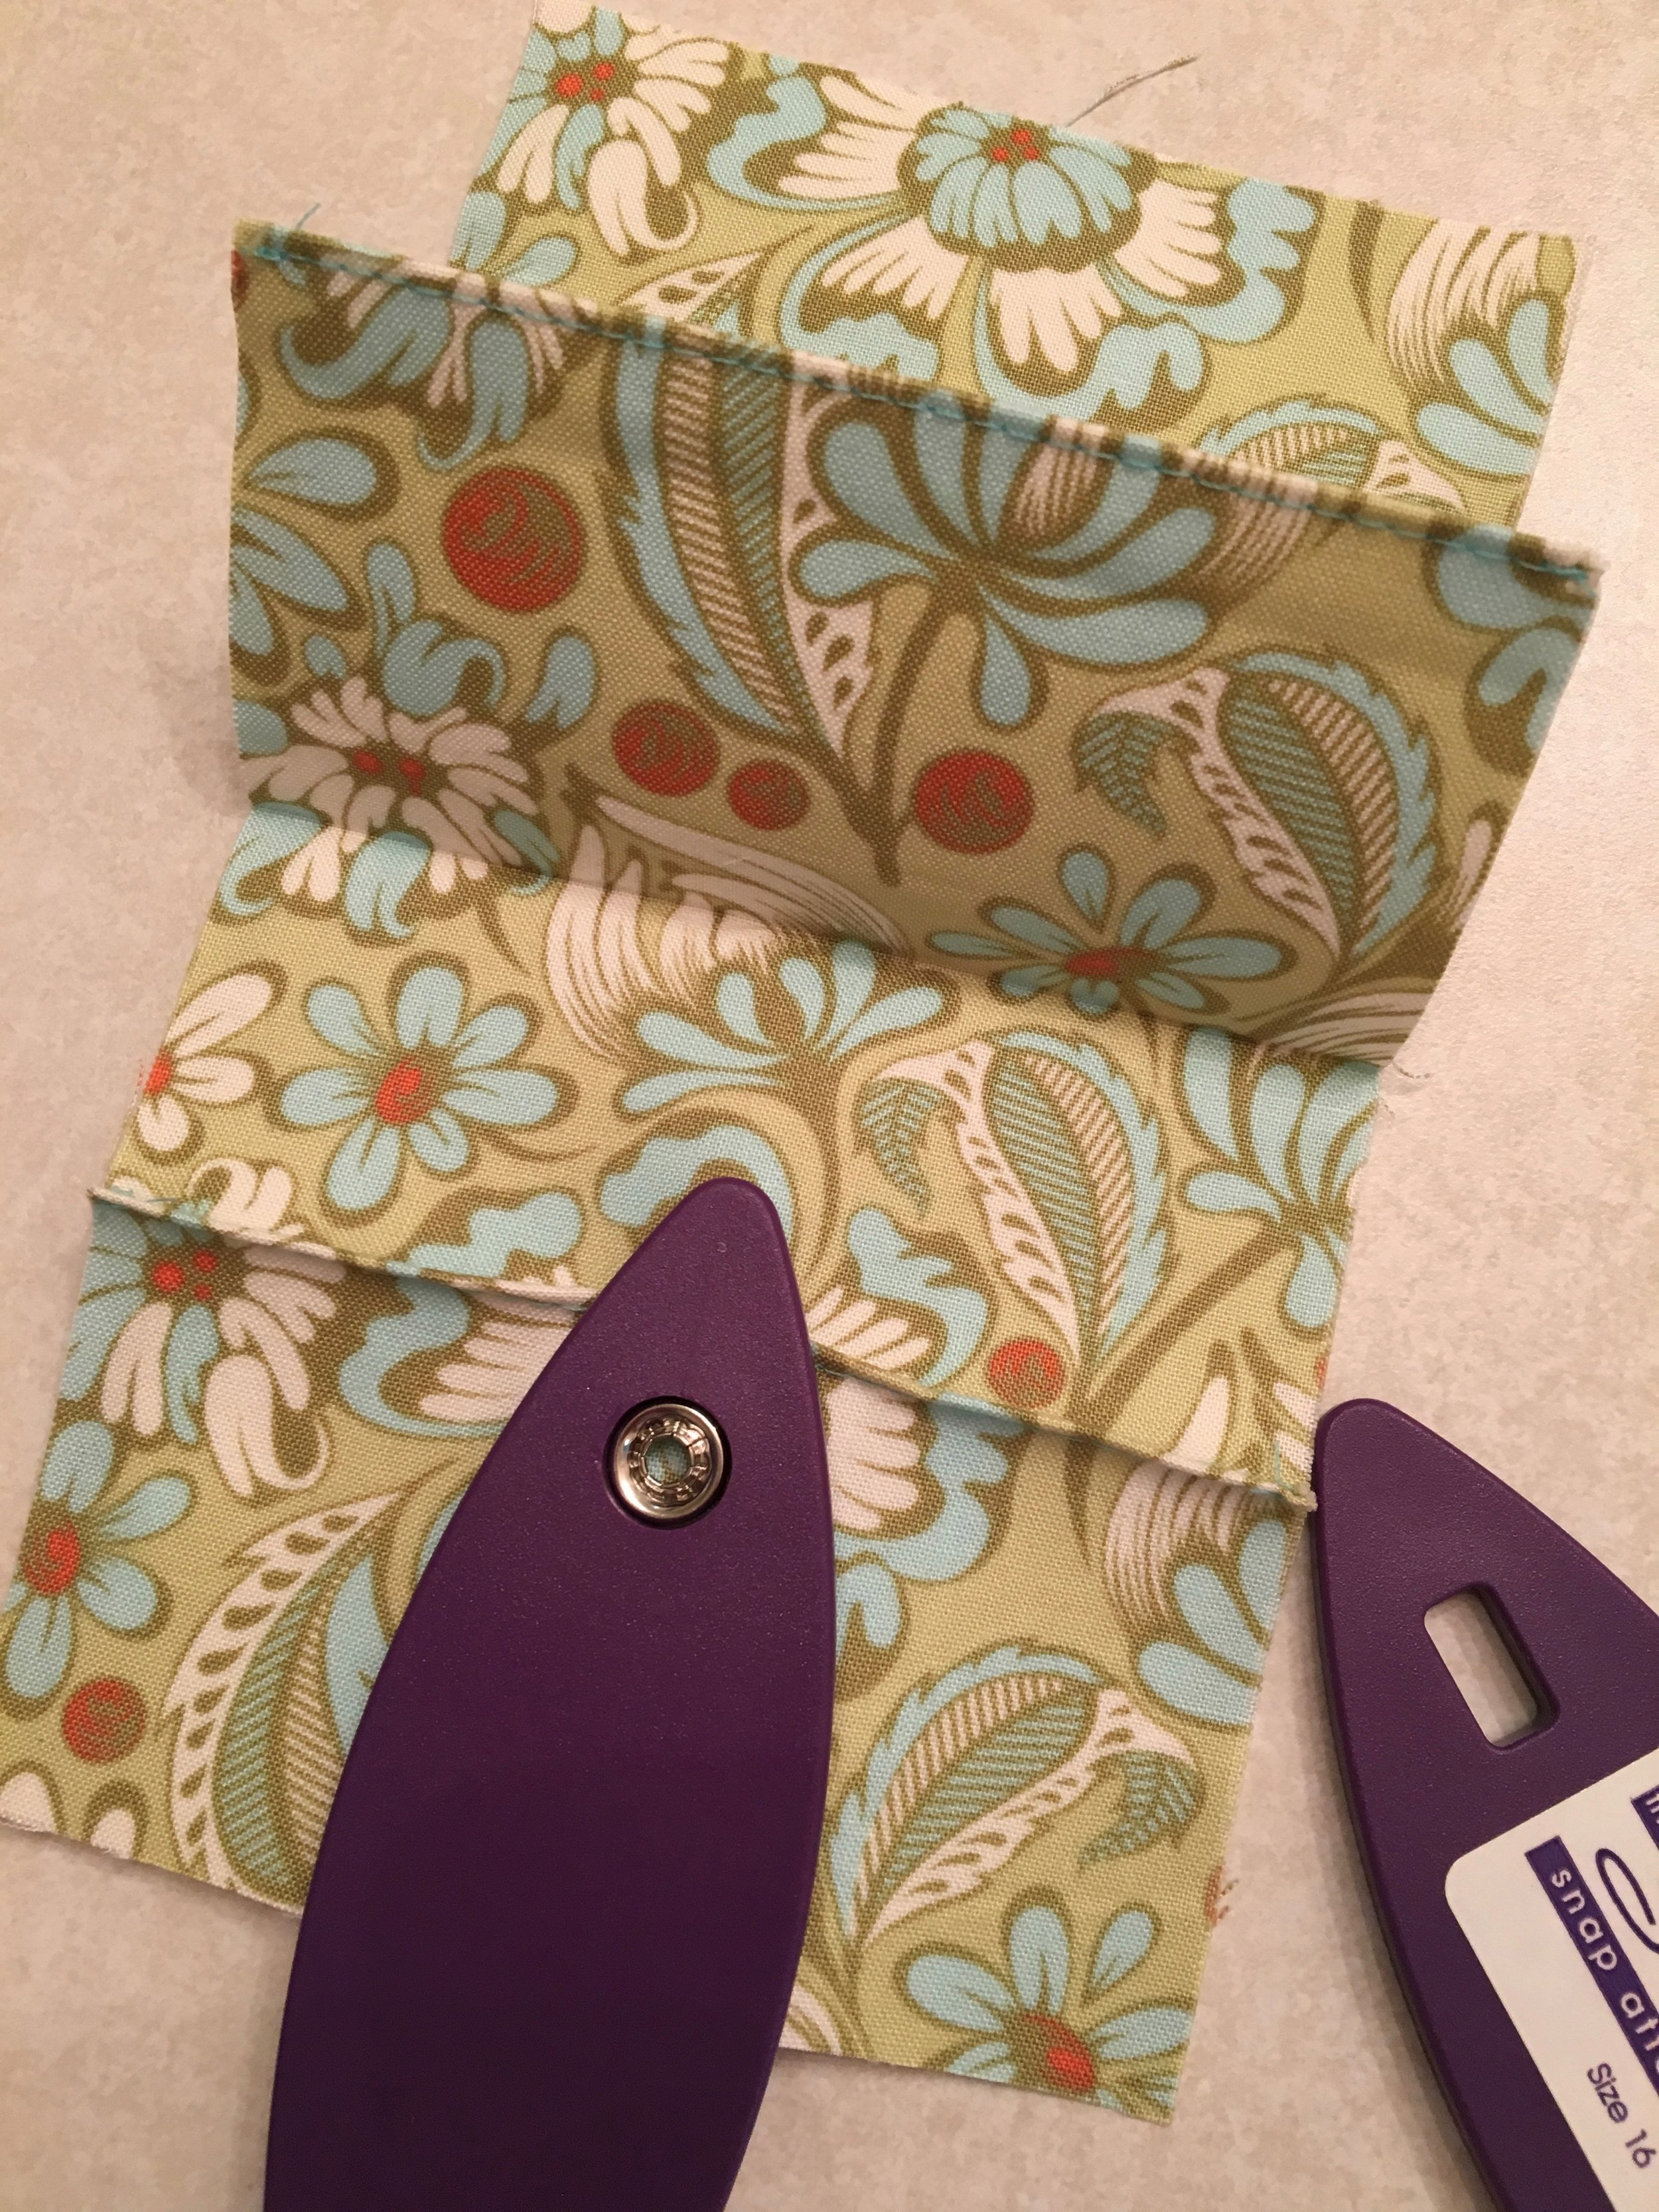
So as I mentioned above, I added a regular size 16 snap to a couple of my Kristine ID Wallets. If you want to add a regular snap, add the male half of the snap after you have top-stitched around the edge of the flap since it goes through all the layers of the flap. (I use snaps from Snap Source - they have a lot of colors and their snap setting tool is awesome!)

When adding the female snap to the card pockets, add it BEFORE stitching the sides of the card pockets together, it is best if the card pockets can be unfolded so that you can get the snap setter in there to do its job. Make sure you cut the card pocket piece down to size first though (the last sentence on page 8 of the pattern), otherwise your snap placement will be off.

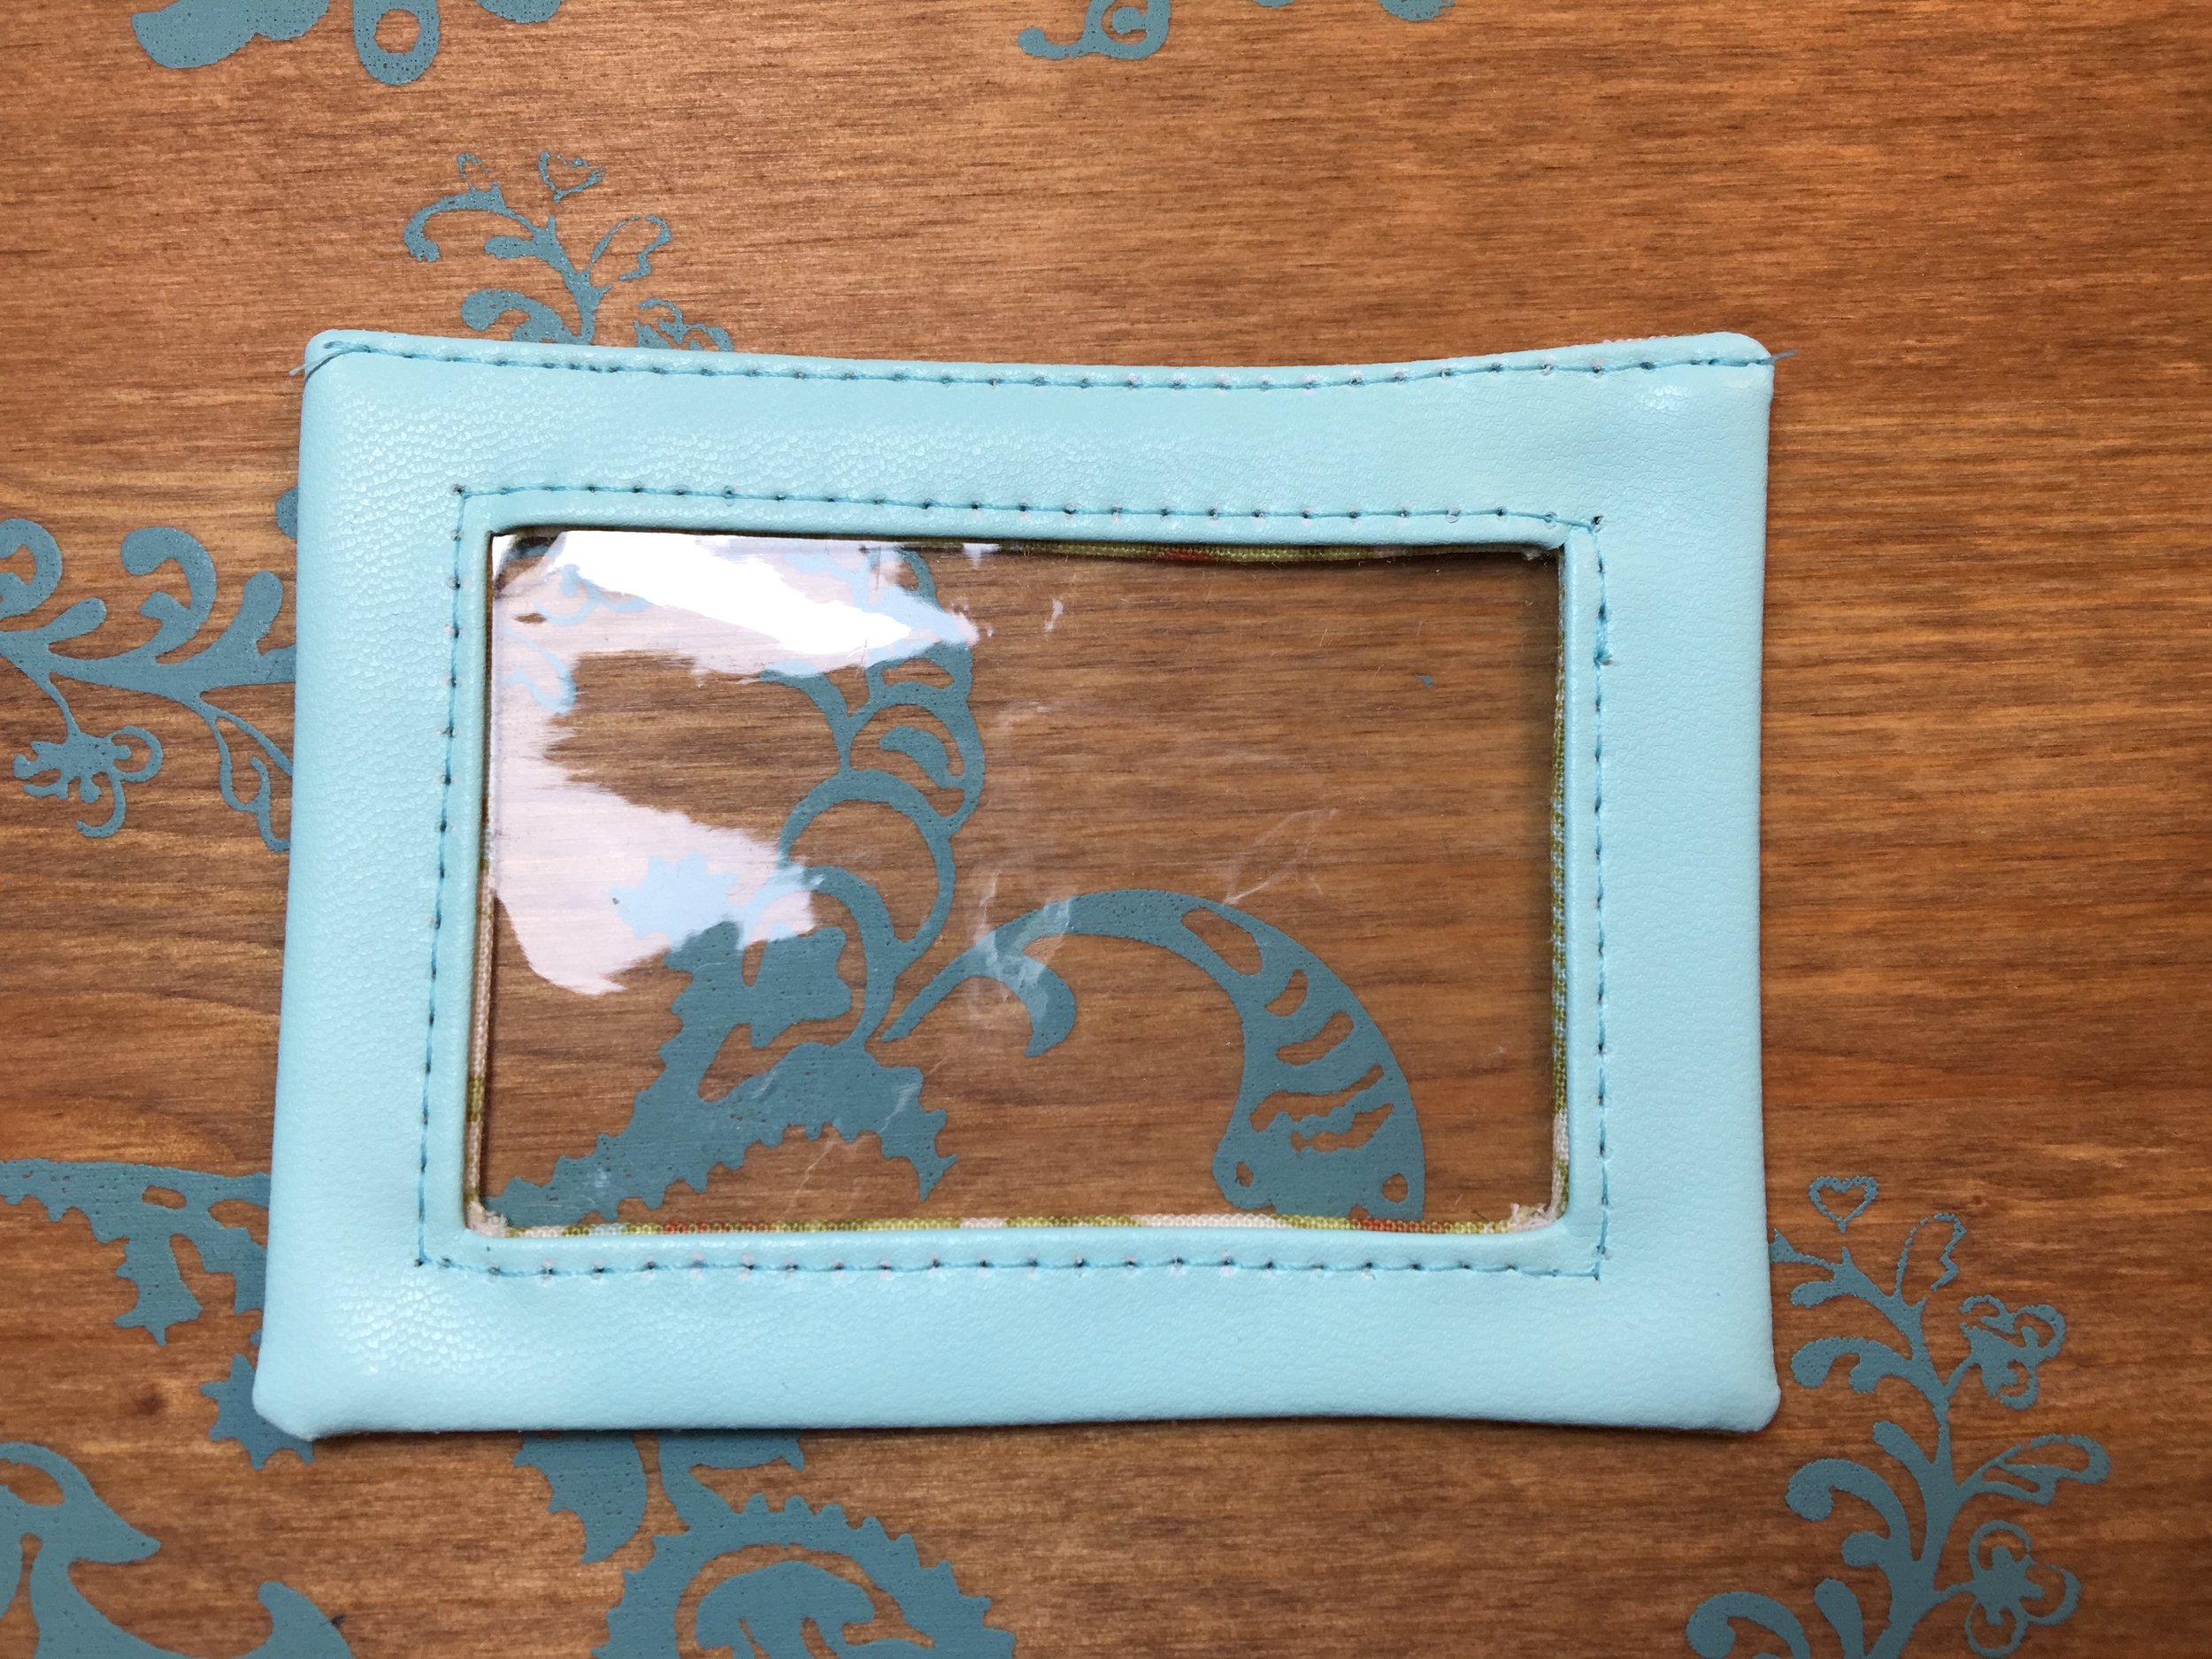
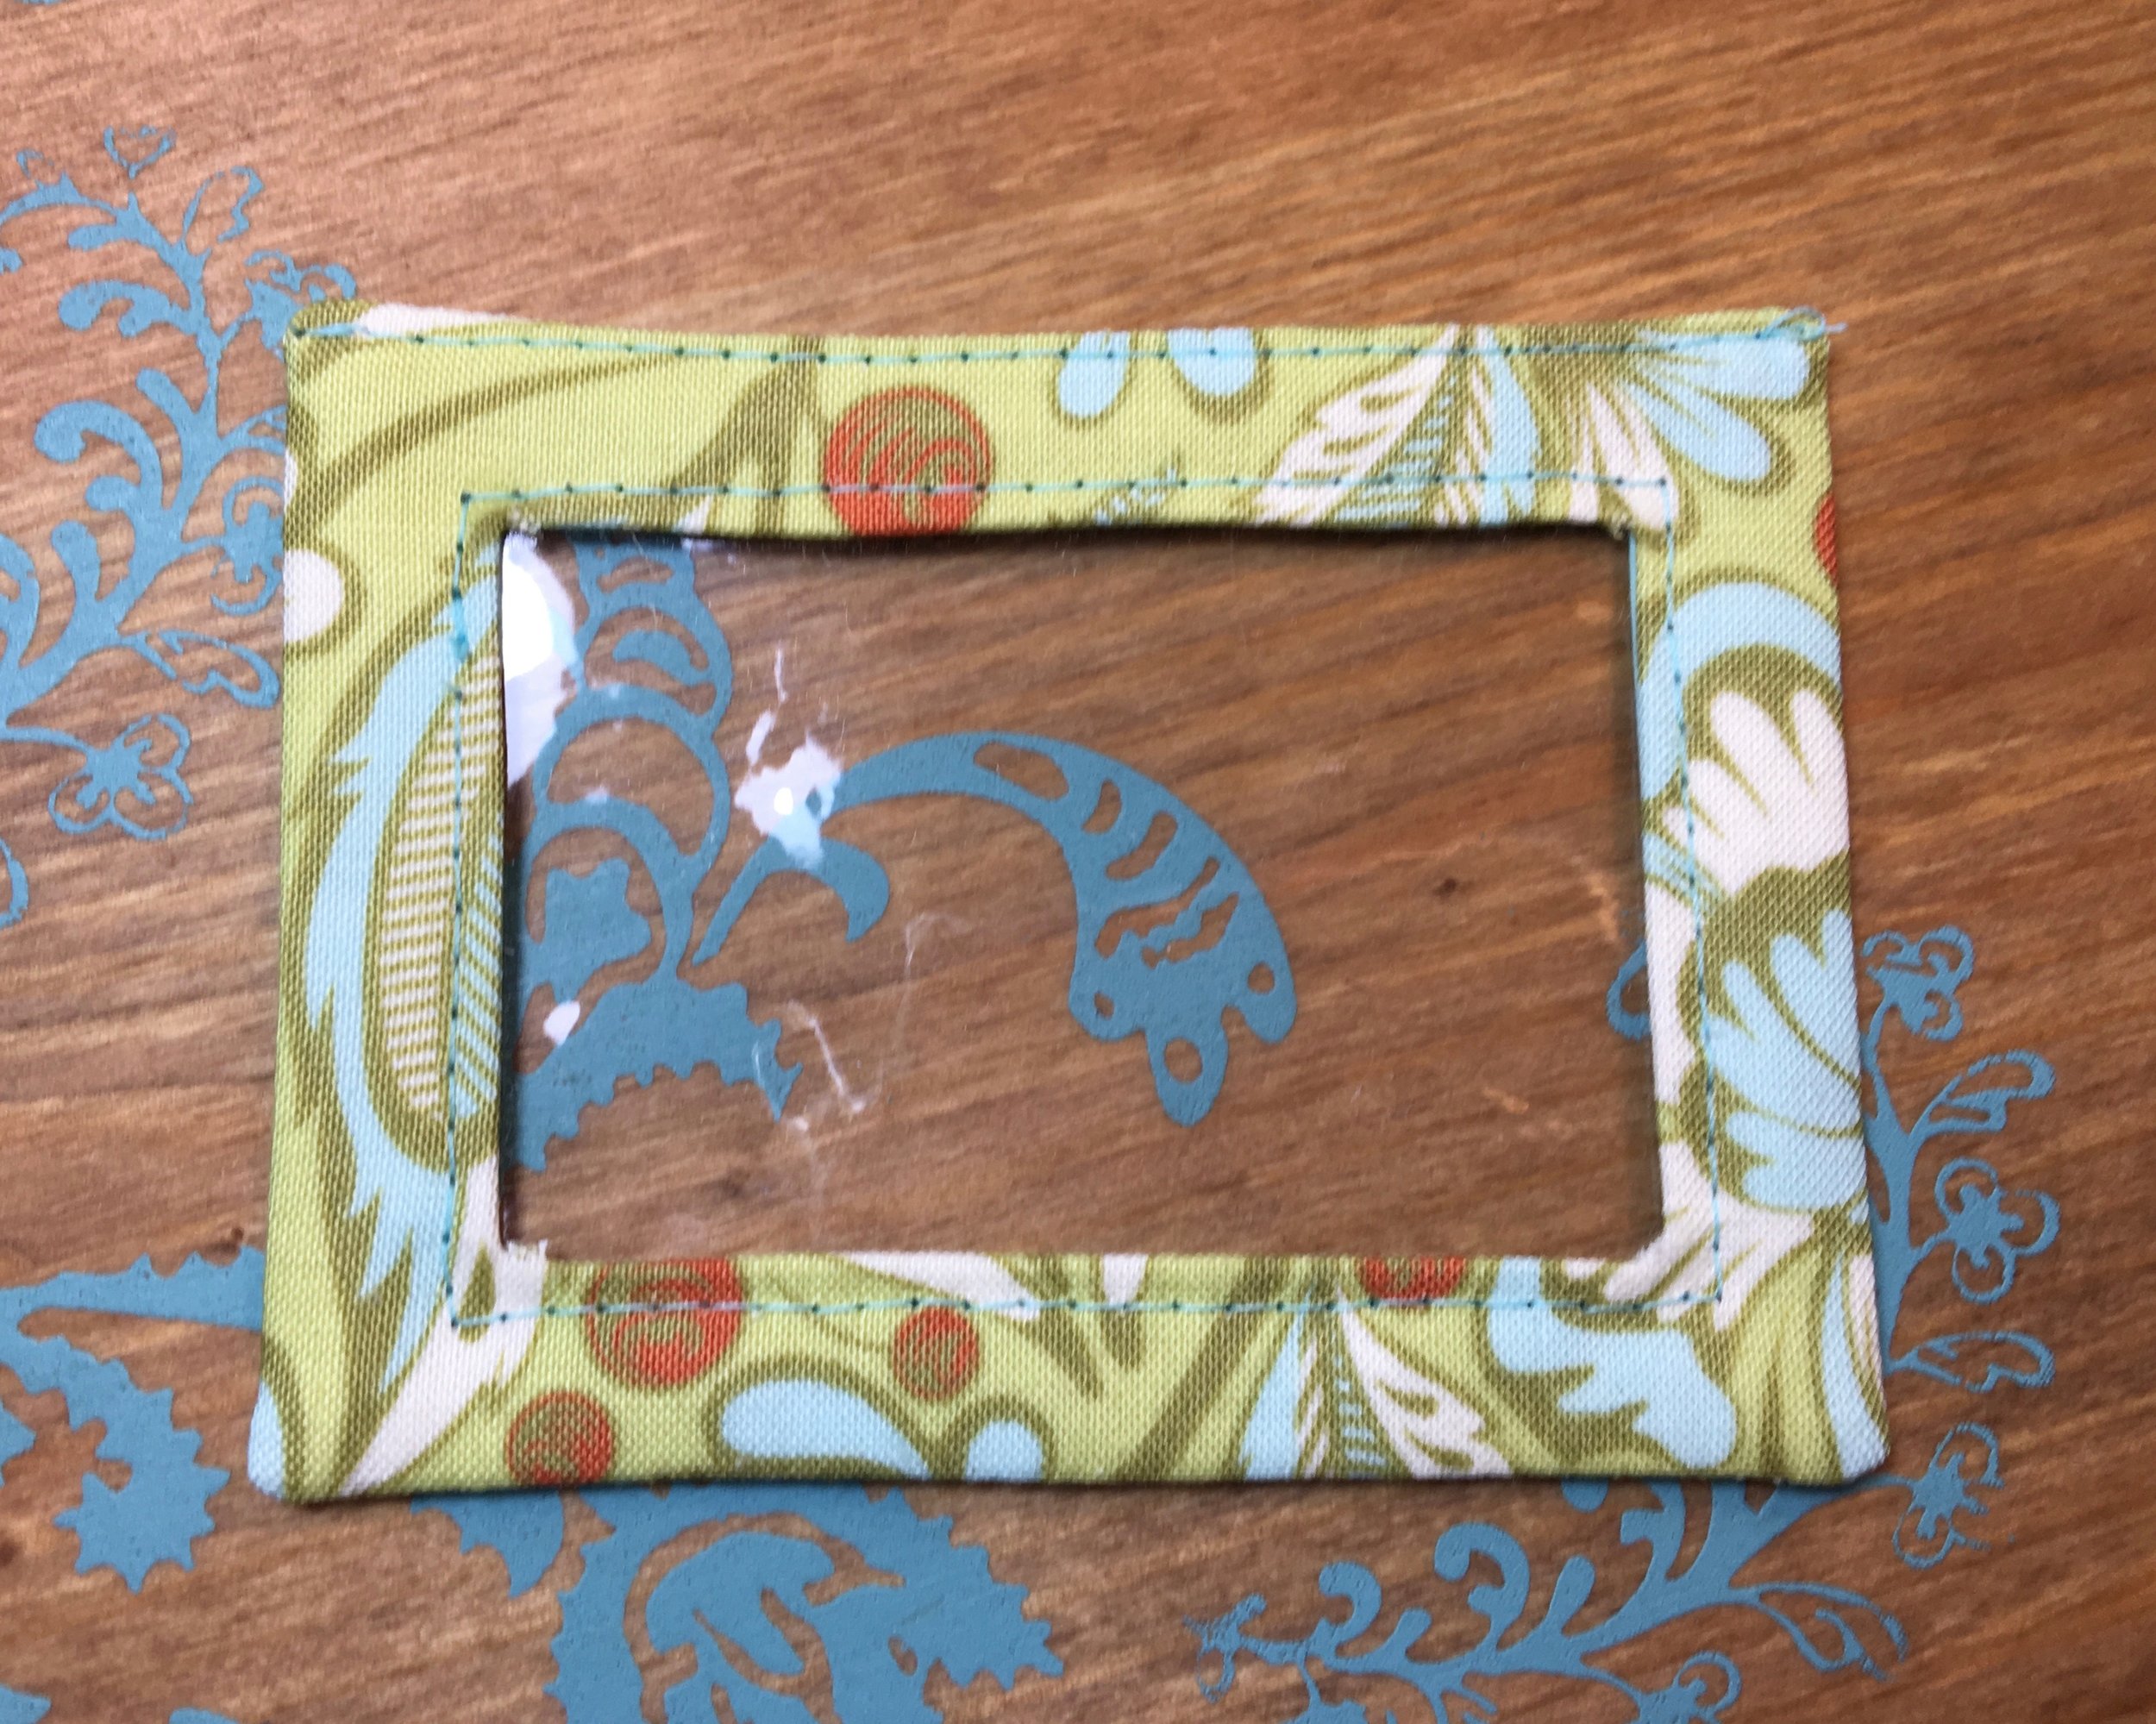
Now on to the ID Window Pocket. I don't use any interfacing for the ID Window Pocket when making it with cork or faux leather. Just as with the flap you don't need the seam allowance for the ID Window Pocket, so you will cut two pieces out of your cork or faux leather that are 3 3/4" x 2 3/4". Do not sew the pieces together until after you after you cut the center of the rectangle out for the window. To make the window, instead of folding back the center area as described in the directions for making the ID window, we will be cutting on the rectangle lines. Use the same measurements to make the rectangle in the center of each ID Window Pocket piece, just measure from the raw outer edge instead of the measuring from the stitches.

I was able to draw the rectangle for cutting out the center of the window pocket on the back of the faux leather (and on the cork) using my Frixion pen.

I was able to draw the rectangle for cutting out the center of the window pocket on the back of the faux leather (and on the cork) using my Frixion pen.

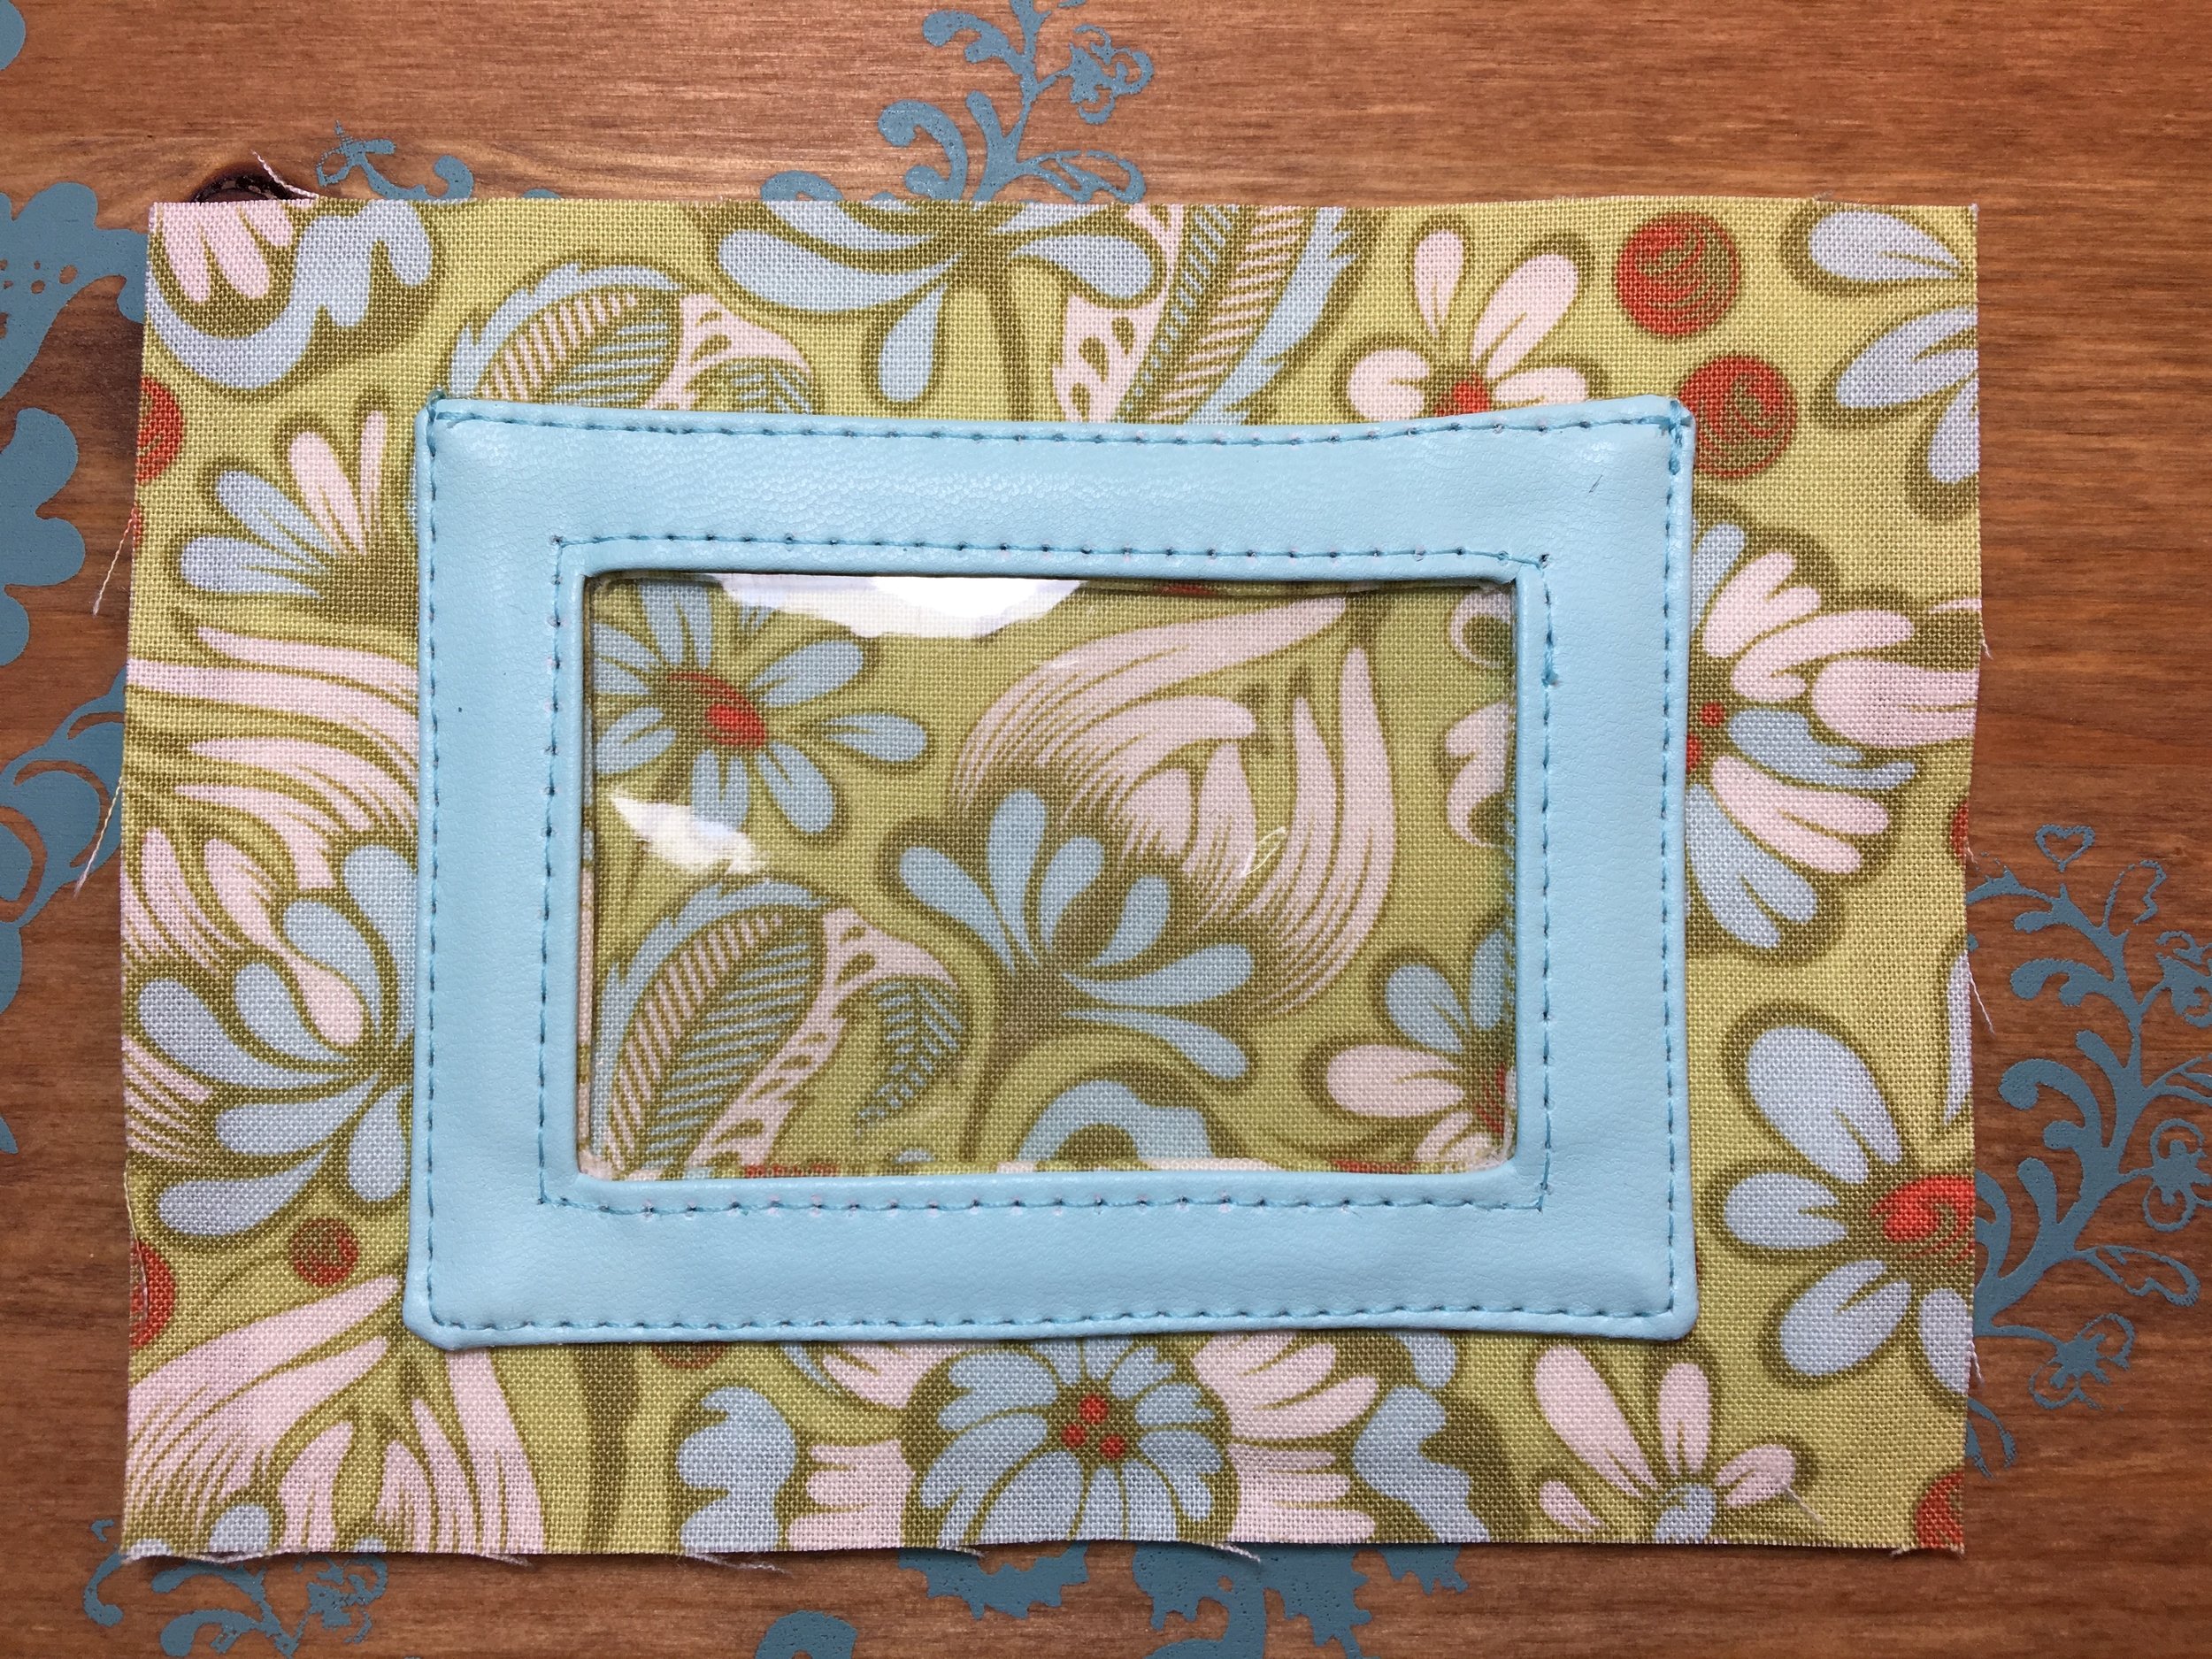
Once you cut out the window from each piece, place the pieces wrong sides together, matching the edges and use clips to hold them together. You may have to trim here and there to make sure the edges match up really well. Top-stitch 1/8" away from the top edge, this will make it easier to keep the two pieces together as you add the clear vinyl. Place the clear vinyl between the two pieces of cork or faux leather and sew 1/8" from the edges of the window opening. Place your ID Window Pocket on the Back piece of the Kristine ID Wallet and top-stitch 1/8" away from the sides and bottom edges of the pocket. Easy as can be!

I actually made the ID Window Pocket for the Kristine ID Wallet below following the directions in the pattern - the faux leather from Sew Sweetness is so thin that it was easy to do. I used the exterior fabric for the inside of the pocket just because I felt like it, but you could use faux leather for both the exterior and lining of the ID Window Pocket. I was able to draw the rectangle and X on the back of the faux leather without any problem, but you could add SF101 to the back just for this purpose if needed.

As you can see some of the steps are easier when using cork or faux leather to make the flap and ID Window Pocket for the Kristine ID Wallet. I also think it adds a nice contrast! A couple of things to remember - you will want to test how the faux leather with your iron to make sure you can use it to fuse the fusible fleece to the back of the faux leather. I was able to fuse the fleece to the wrong side of the flap as long as the right side of the faux leather was facing down on my ironing board. If you cannot fuse the fleece in place, you could glue the fusible fleece in place! Cork seems to handle a hot iron just fine, although I would test it first just to be sure. 

I am excited to see how you add cork or faux leather to your Kristine ID Wallets! Please share your creations in the Uniquely Michelle Sewing Patterns Facebook Group! If you don't have the Kristine ID Wallet pattern and would like to purchase it, you can get it (and all Uniquely Michelle patterns) for 15% off now through Sunday, August 20th. Use coupon code KIDWWEEK when purchasing from Etsy or the Uniquely Michelle Website Shop. The prices on Bluprint already have been discounted.

Join all the fun during Kristine ID Wallet Week by following Uniquely Michelle on Instagram on the Uniquely Michelle Facebook Page and join the Uniquely Michelle Sewing Patterns Facebook Group. And now for today's giveaway!!! Today's giveaway winner will receive an exclusive coupon code for 50% off on one pattern from the Uniquely Michelle Etsy Shop or from the Uniquely Michelle Website Shop. To enter, just comment on today's post (it will include like the picture above) on the Uniquely Michelle Facebook Page. Make sure you comment on the post on the Uniquely Michelle Facebook Page, if you comment on the posts on other social media sites for today, you will not be entered in the drawing for the giveaway! I will randomly draw a winner for today's giveaway at 8:00pm MDT and I will post the winners name on all social media sites soon after! Good Luck!!!


Sign up to receive email newsletters from Uniquely Michelle:

Kristine ID Wallet Week - Preview

Michelle Burke

Tomorrow is the start of Kristine ID Wallet Week and I just can't wait to share some of the details with you! Kristine ID Wallet Week is a week where you will learn from myself as well as from some awesome guest Kristine ID Wallet experts, ways to take the Kristine ID Wallet to the next level! You will learn some great ways to alter the flap, the size, the card pockets of the Kristine ID Wallet. You will even get some ideas and hints on how to sell the beautiful Kristine ID Wallets you create (they are great sellers).

Since this will be such a fun week, why not make it even more fun with some great giveaways? There will be a giveaway every day, Monday through Sunday! You will have the opportunity to win prizes such as discount codes for Uniquely Michelle patterns, free Uniquely Michelle patterns, and Kristine ID Wallet kits! A Kristine ID Wallet kit will include faux leather or cork, fabric, interfacing, hardware, and more - everything you need to make a Kristine ID Wallet! Each day you will have the opportunity to enter that day's giveaway on one of Uniquely Michelle social media places. Stay on top of everything going on, including the giveaways by following Uniquely Michelle on Instagram or the Uniquely Michelle Facebook Page; Joining the Uniquely Michelle Sewing Patterns Facebook Group; and right here on the Uniquely Michelle blog. 

So, get your Kristine ID Wallet pattern out and get ready to learn some fantastic Kristine ID Wallet hacks! If you don't have the Kristine ID Wallet Pattern yet, you can get it from Etsy, Bluprint or the Uniquely Michelle Website Shop. All Uniquely Michelle patterns are on sale for 15% off through the end of Kristine ID Wallet Week! Use coupon code, KIDWWEEK when purchasing from Etsy or the website, the discount has already been applied to the Uniquely Michelle patterns on Bluprint.

Another way to keep up with everything going on at Uniquely Michelle, sign up for the Uniquely Michelle newsletter below!


Sign up to receive email newsletters from Uniquely Michelle:

Kristine ID Wallet Week is Coming . . .

Michelle Burke

Are you ready for a fun week full ideas to inspire you, great giveaways, and of course a sale? And all of this fun will focus on the Kristine ID Wallet! If you followed along during Lindsay Wristlet Week in October, you have an idea of what this week will be like, except there will be more guest tutorials and more and even better prizes! I can't wait!!!

Kristine ID Wallet Week starts in just a few days, Monday August 14 and runs through Sunday, August 20. But first - a SALE! Now through Sunday, August 20th you can get any and all Uniquely Michelle sewing patterns for 15% off. To get the sale prices, use coupon code KIDWWEEK when purchasing from the Uniquely Michelle Etsy Shop or from the Uniquely Michelle Website Shop. The discount has already been applied to the prices in the Uniquely Michelle Craftsy Shop

Join all the fun and keep up with all the latest happenings with Kristine ID Wallet Week by following Uniquely Michelle on Instagram, liking the Uniquely Michelle FB page, and joining the Uniquely Michelle Sewing Patterns FB group. And don't forget to sign up for the newsletter below!


Sign up to receive email newsletters from Uniquely Michelle:

PDF Love of Bags Event - The Details

Michelle Burke

Two weeks from today, Uniquely Michelle will be one of the featured designers in the PDF Love of Bags event taking place right now in the PDF Love of Bags Facebook Group! The great thing about this for you is that you can post pictures of any creations you have made using Uniquely Michelle patterns during the designated time and be entered into a drawing to win some great prizes! There are some rules that need to be followed to make sure you qualify, so keep reading to make sure you know the rules and don't miss out on the great prizes that are being offered! If you read all the way to the end of this post, I will share a few hints so that you can increase your chances of winning one of the prizes!!!

First, you must be a member of the PDF Love of Bags Facebook Group so that you can post your pictures, so make sure and join the group - it is a fun group to be a part of! This event has already started, so check out who the current featured designers are (there are two for each 48 hour period) and if you have made any bags using their patterns, make sure you post pictures to increase your chances of winning!

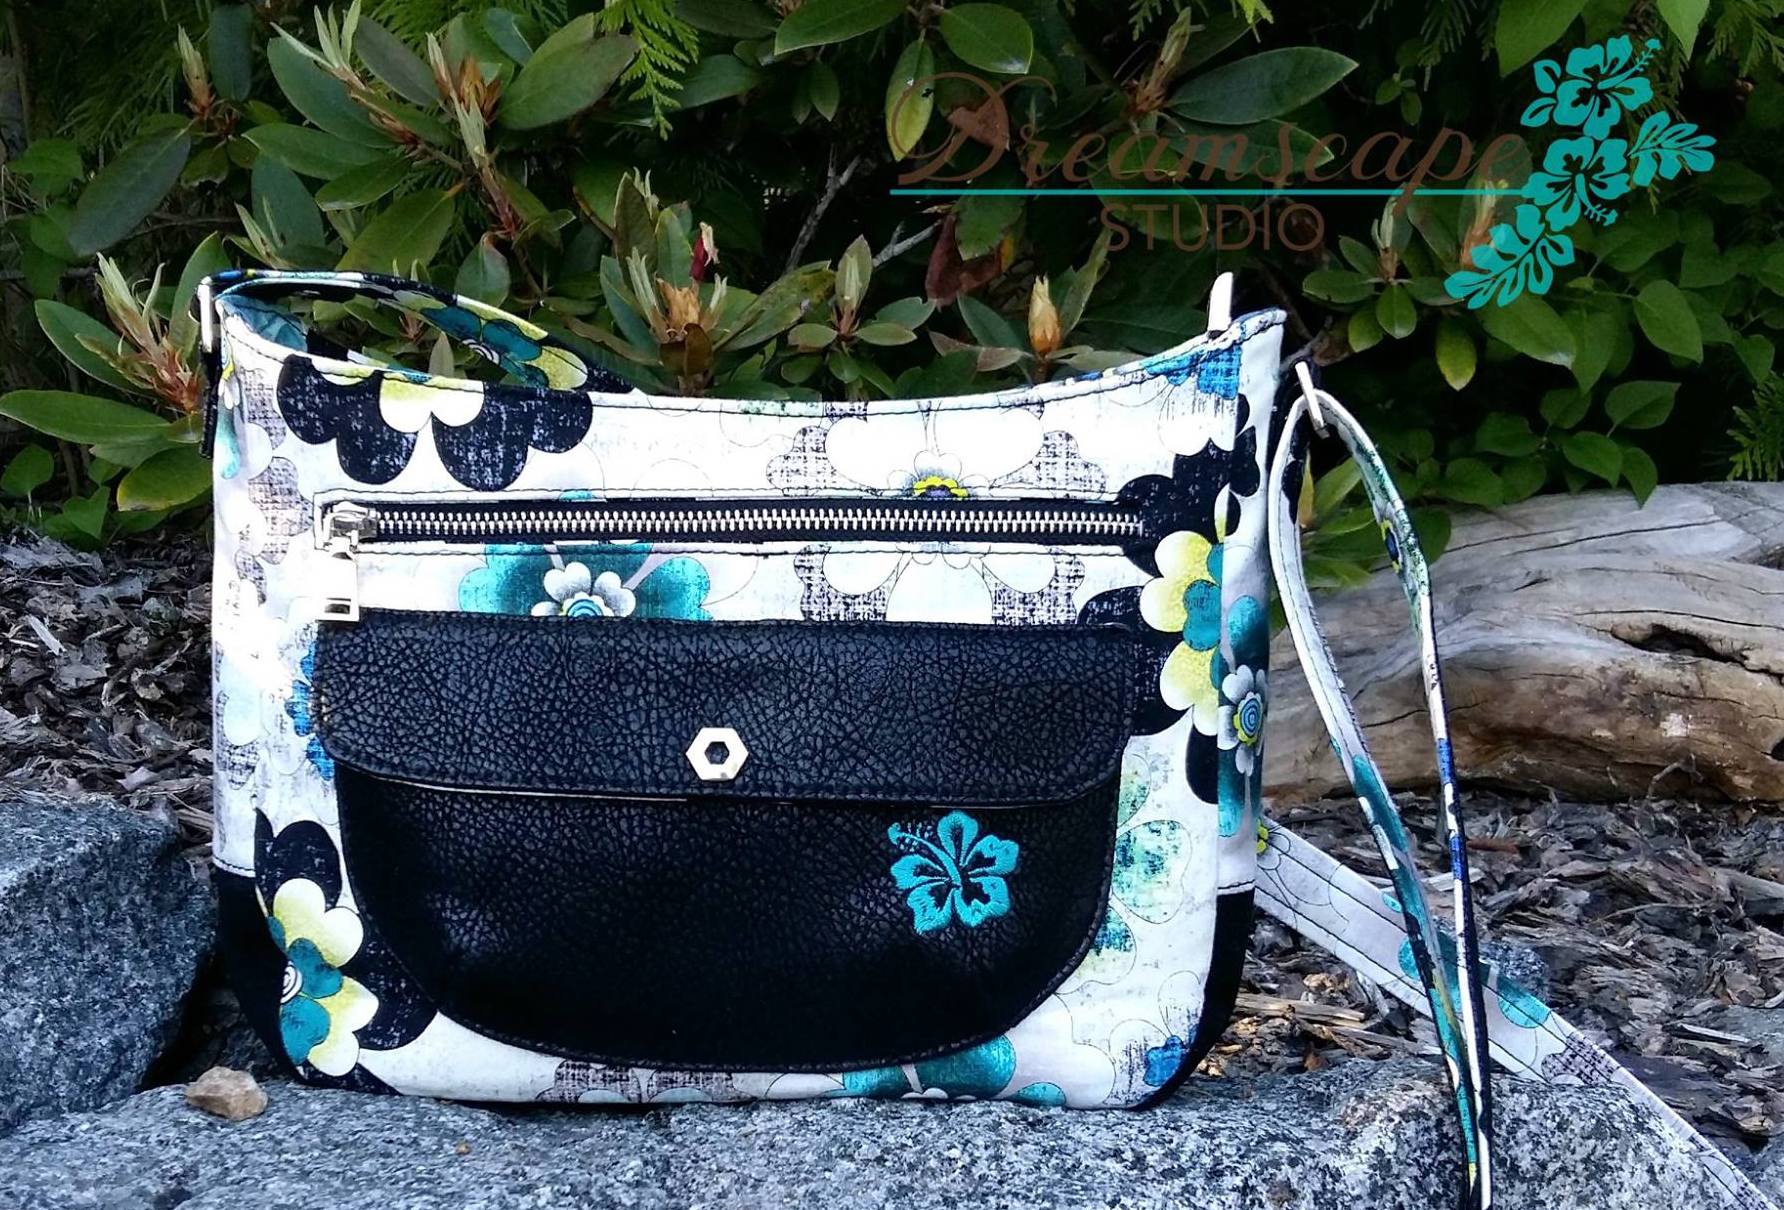
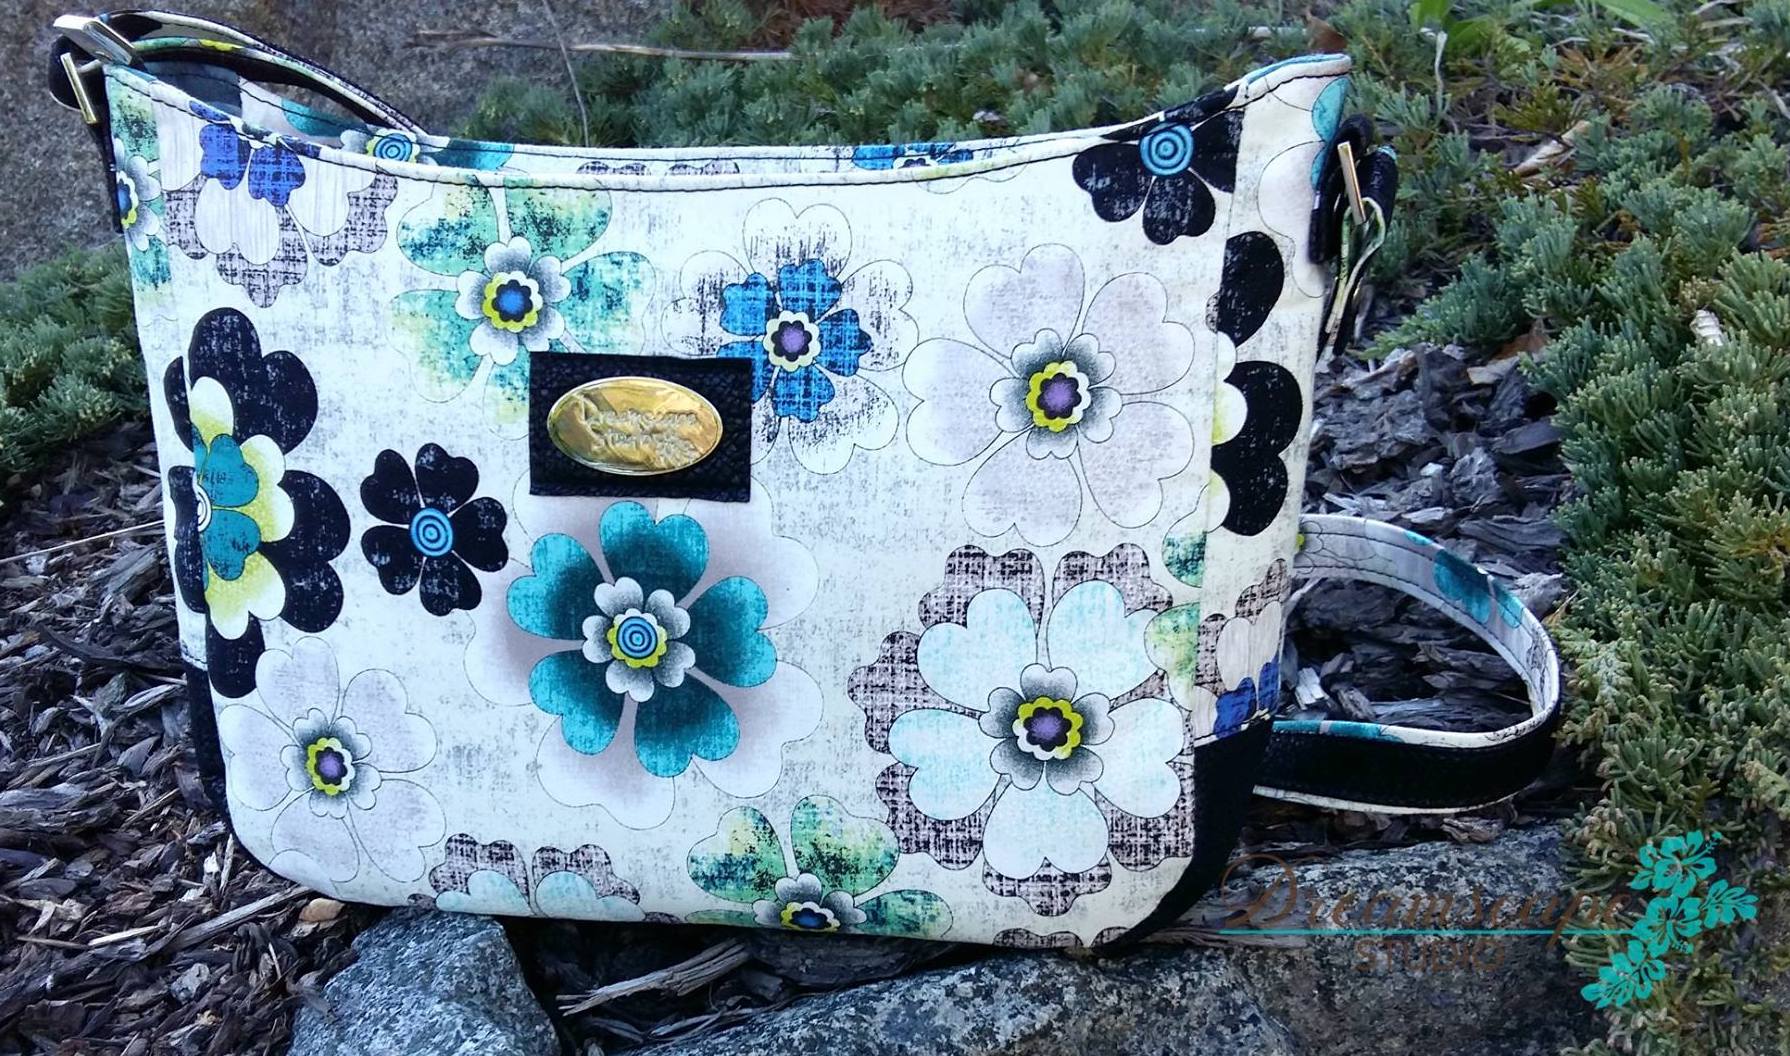
Sue's post shows exactly what you need in your post to make sure you are entered in the drawings to win a prize! You can see more of Sue's beautiful creations at her Dreamscape Studio Facebook Page.

Sue's post shows exactly what you need in your post to make sure you are entered in the drawings to win a prize! You can see more of Sue's beautiful creations at her Dreamscape Studio Facebook Page.

When you post, you need to have three things in your post: (see example above)

#1 - A picture of your beautiful creation!

#2 - You MUST include the hash tag #pdflovebags2017 in your post.

#3 - You MUST include the name of the designer (i.e. Michelle or Erin) and/or the designers brand name (Uniquely Michelle or Dog Under my Desk) as well.

Uniquely Michelle will be featured from 5:00pm (MDT) on Friday, June 30 through 5:00pm (MDT) on Sunday, July 2 (this is a change from what it was originally). The times are important, this event has been set up by Lisa Ratford who lives in Australia, so it starts at 9:00am in her time zone. This may seem confusing, but there is an easy way to know which designers are featured when - the pinned post at the top of the PDF Love of Bags FB group has the names and logos of the currently featured designers. Look for the above picture in the pinned post to know when to start posting your Uniquely Michelle creations!

Check out Karen's beautiful creations on Instagram!

Check out Karen's beautiful creations on Instagram!

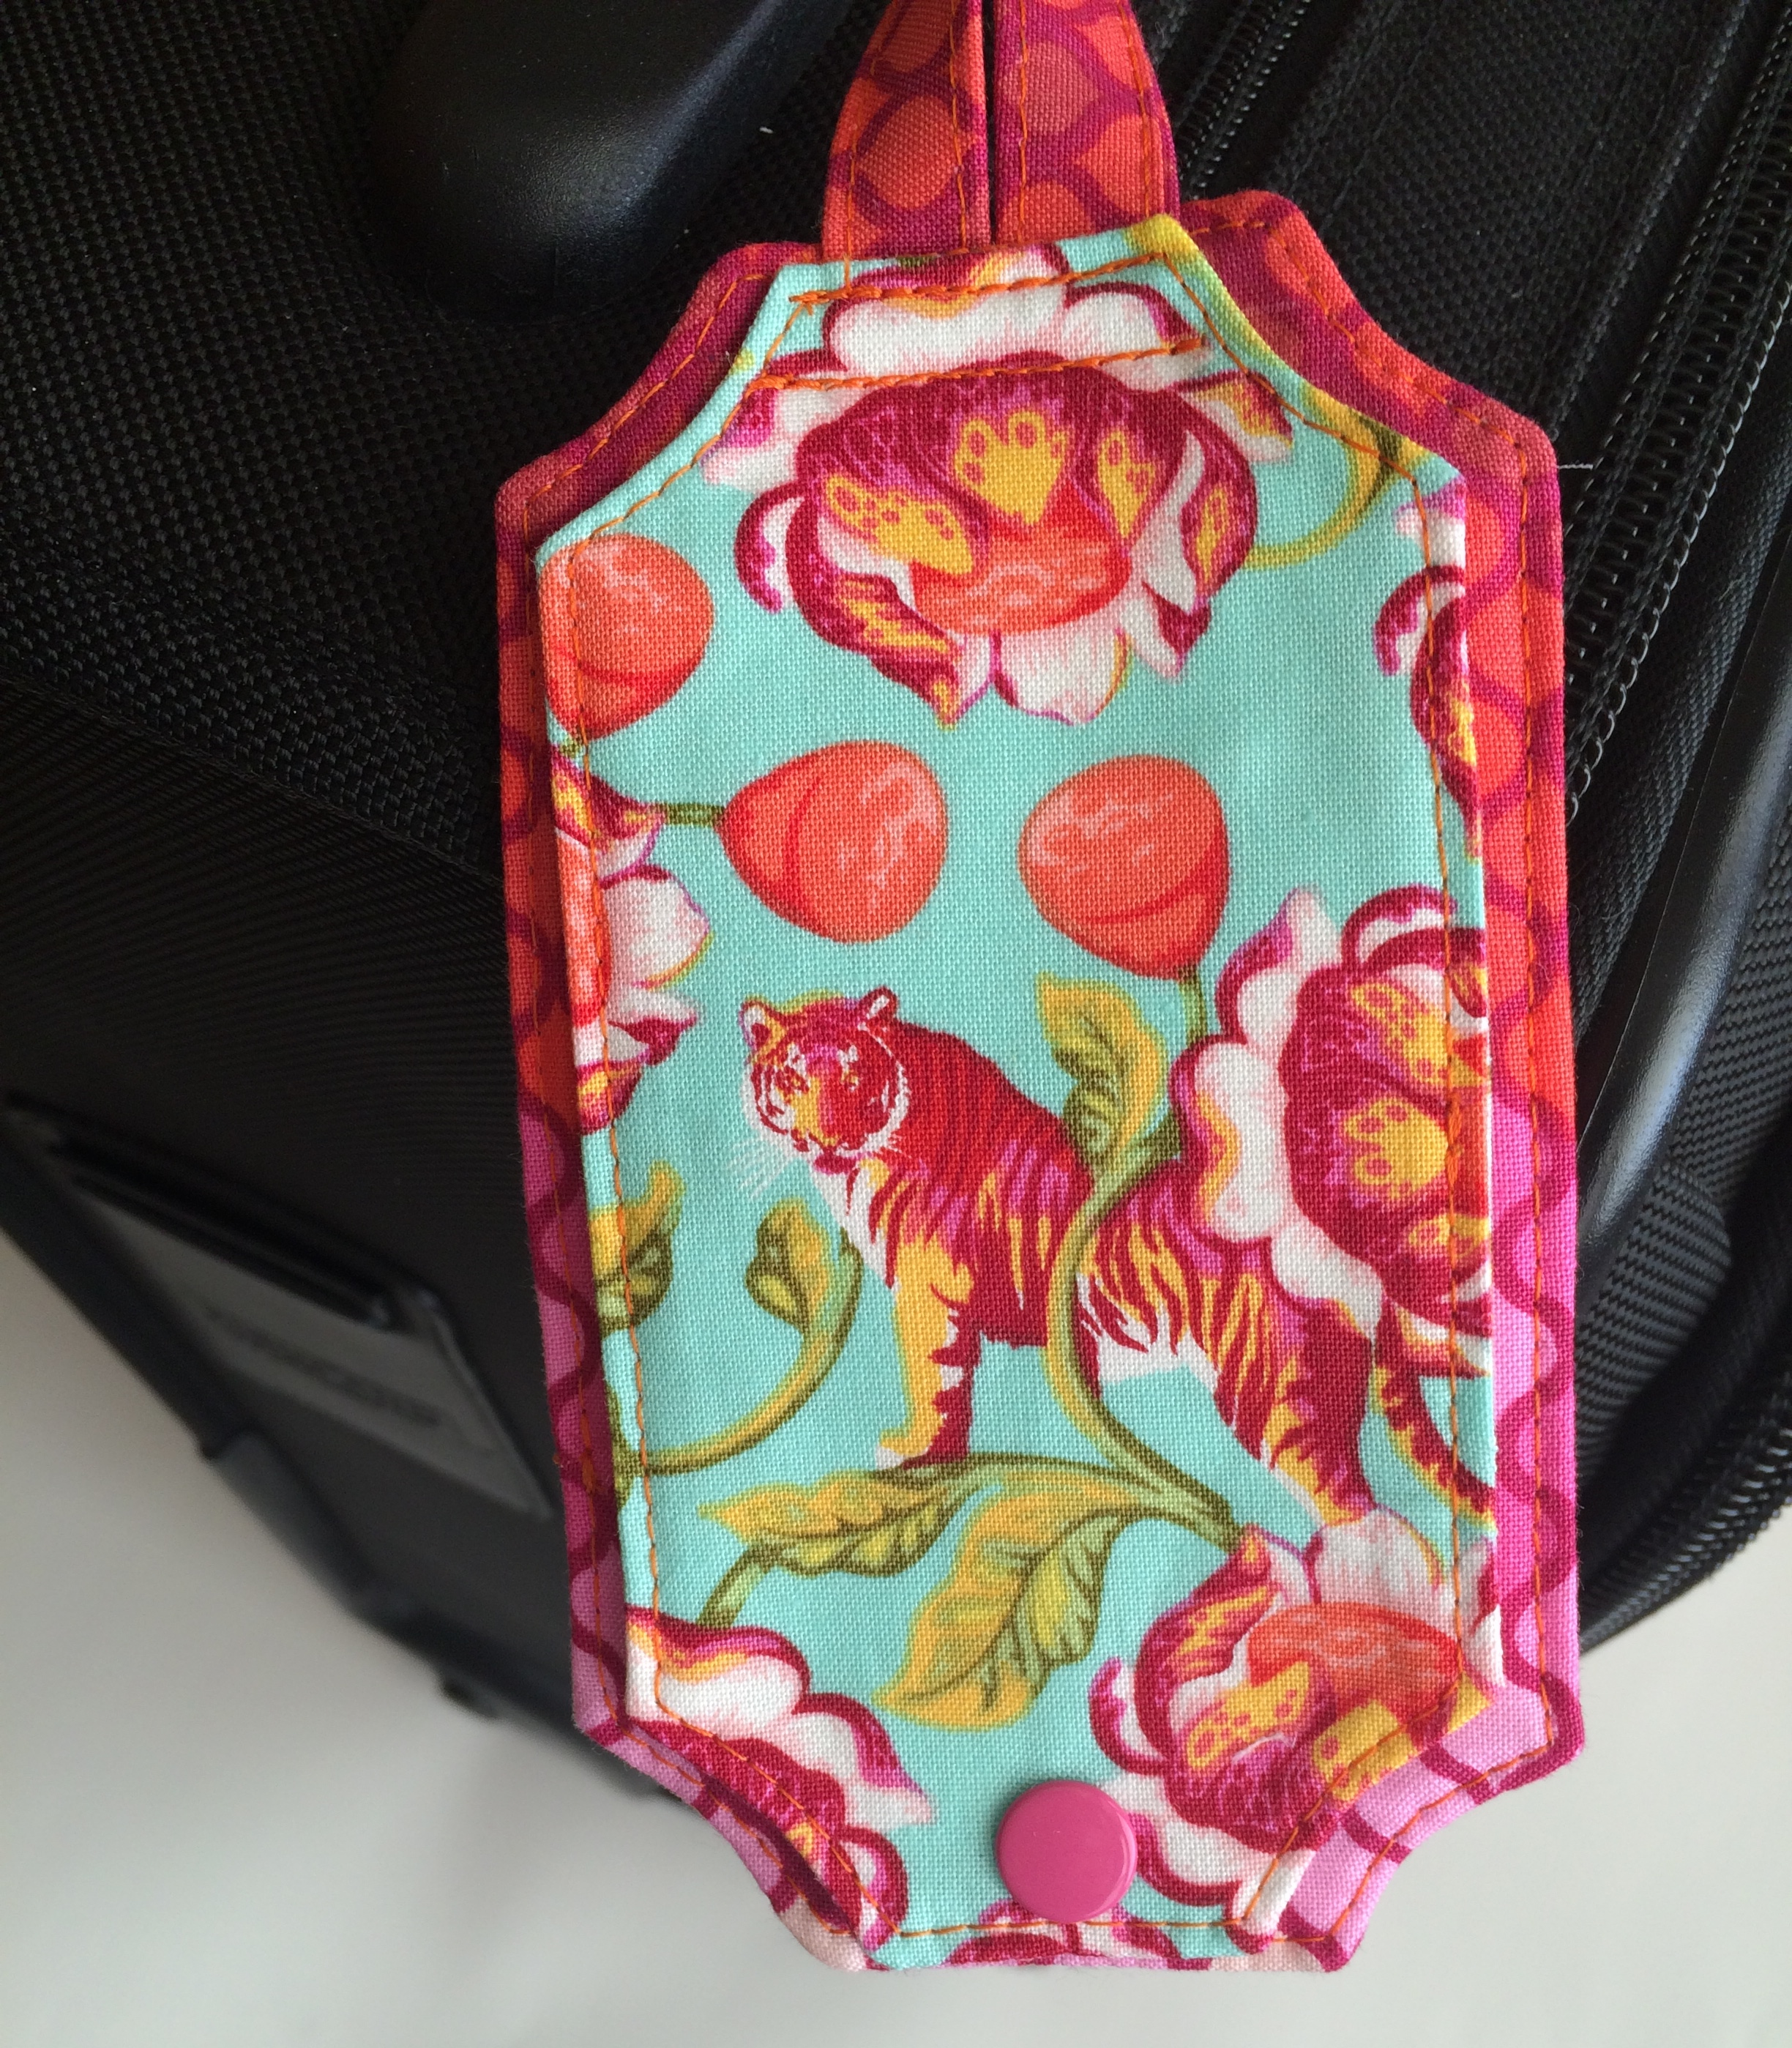
I am excited that Uniquely Michelle will be paired with the awesome bag pattern designer, Erin Gilbey of Dog Under My Desk for the 48 hour block in a couple weeks! Recently, Karen Wetherall shared some pictures of a Just the Ticket Luggage Tag (Uniquely Michelle pattern) paired with a Take Off Tote (Dog Under My Desk pattern) that she made. I love the Just the Ticket Luggage Tag and Take Off Tote that she made for her niece, they coordinate perfectly with her niece's new suitcase! Karen wrote a great blog post about sewing this travel set on the Sew What's New website

How are prizes awarded? At the end of this 48 hour block, a winner will be randomly chosen for each designer, out of all posts that used the hash tag, included the name of the designer and/or the designers brand name, and were shared within the 48 hour time frame. The winner will receive a free PDF pattern from that participating designer (so there's two PDF patterns up for grabs). All posts shared in this block will also be in the draw to win one of the four major prizes as well. Some of the items that are part of the four major prizes include fabric, notions, a subscription and a gift certificate!

Would you like some hints for increasing your chances of winning a prize? I have a few hints to share with you! One is to make sure you include all three items needed in each of your posts (see list above). Also, make sure you post during the correct time frame for the designer. Your post(s) will be disqualified from the drawings if you don't follow do these first two steps. Another hint -  you are welcome to share multiple bags made using either of the featured designers patterns, so don't be shy, post away! And my final hint - Uniquely Michelle is small potatoes compared to some of these designers, use this to your advantage!!! If you post your Uniquely Michelle creations during the correct time frame and in the correct format, you will have a better chance of winning a FREE Uniquely Michelle pattern because there won't be hundreds of other people posting, so less competition. But . . . the absolute best way to increase your chances of winning one of the prizes - post ALL your creations for ALL the designers! Now is the time to increase your chances of winning a prize by doing what you love - sewing! You still have two weeks to make those Uniquely Michelle creations, so there is plenty of time to make a few Kristine ID Wallets; several Just the Ticket Luggage Tags; a couple of Lindsay Wristlets; a Sidekick Tote or Megan Travel Tote; a Set To Go Cosmetic Bag Set and don't forget to make an Aspen Crossbody Bag too (Uniquely MIchelle's latest pattern)!
And one last thing - I am so excited to see all of your Uniquely Michelle creations in two weeks, so start gathering your pictures and sew away!!!
If you still need to add to your Uniquely Michelle pattern collection, you can purchase Uniquely Michelle patterns from the Uniquely Michelle Craftsy Pattern Shop, the Uniquely Michelle Etsy Shop, or the Uniquely Michelle Website Shop. Have fun sewing!


Sign up to receive email newsletters from Uniquely Michelle:

Aspen Crossbody Bag - Testers' Pictures Day 2

Michelle Burke

Are you ready for yet more beautiful Aspen Crossbody Bag pictures? I am fortunate to have an amazing group of testers that take so many great pictures of their creations that it takes two blog posts to share all of them! If you missed yesterday's blog post, it is definitely worth a look! And ow here are today's inspiring Aspen Crossbody Bag testers' pictures . . .

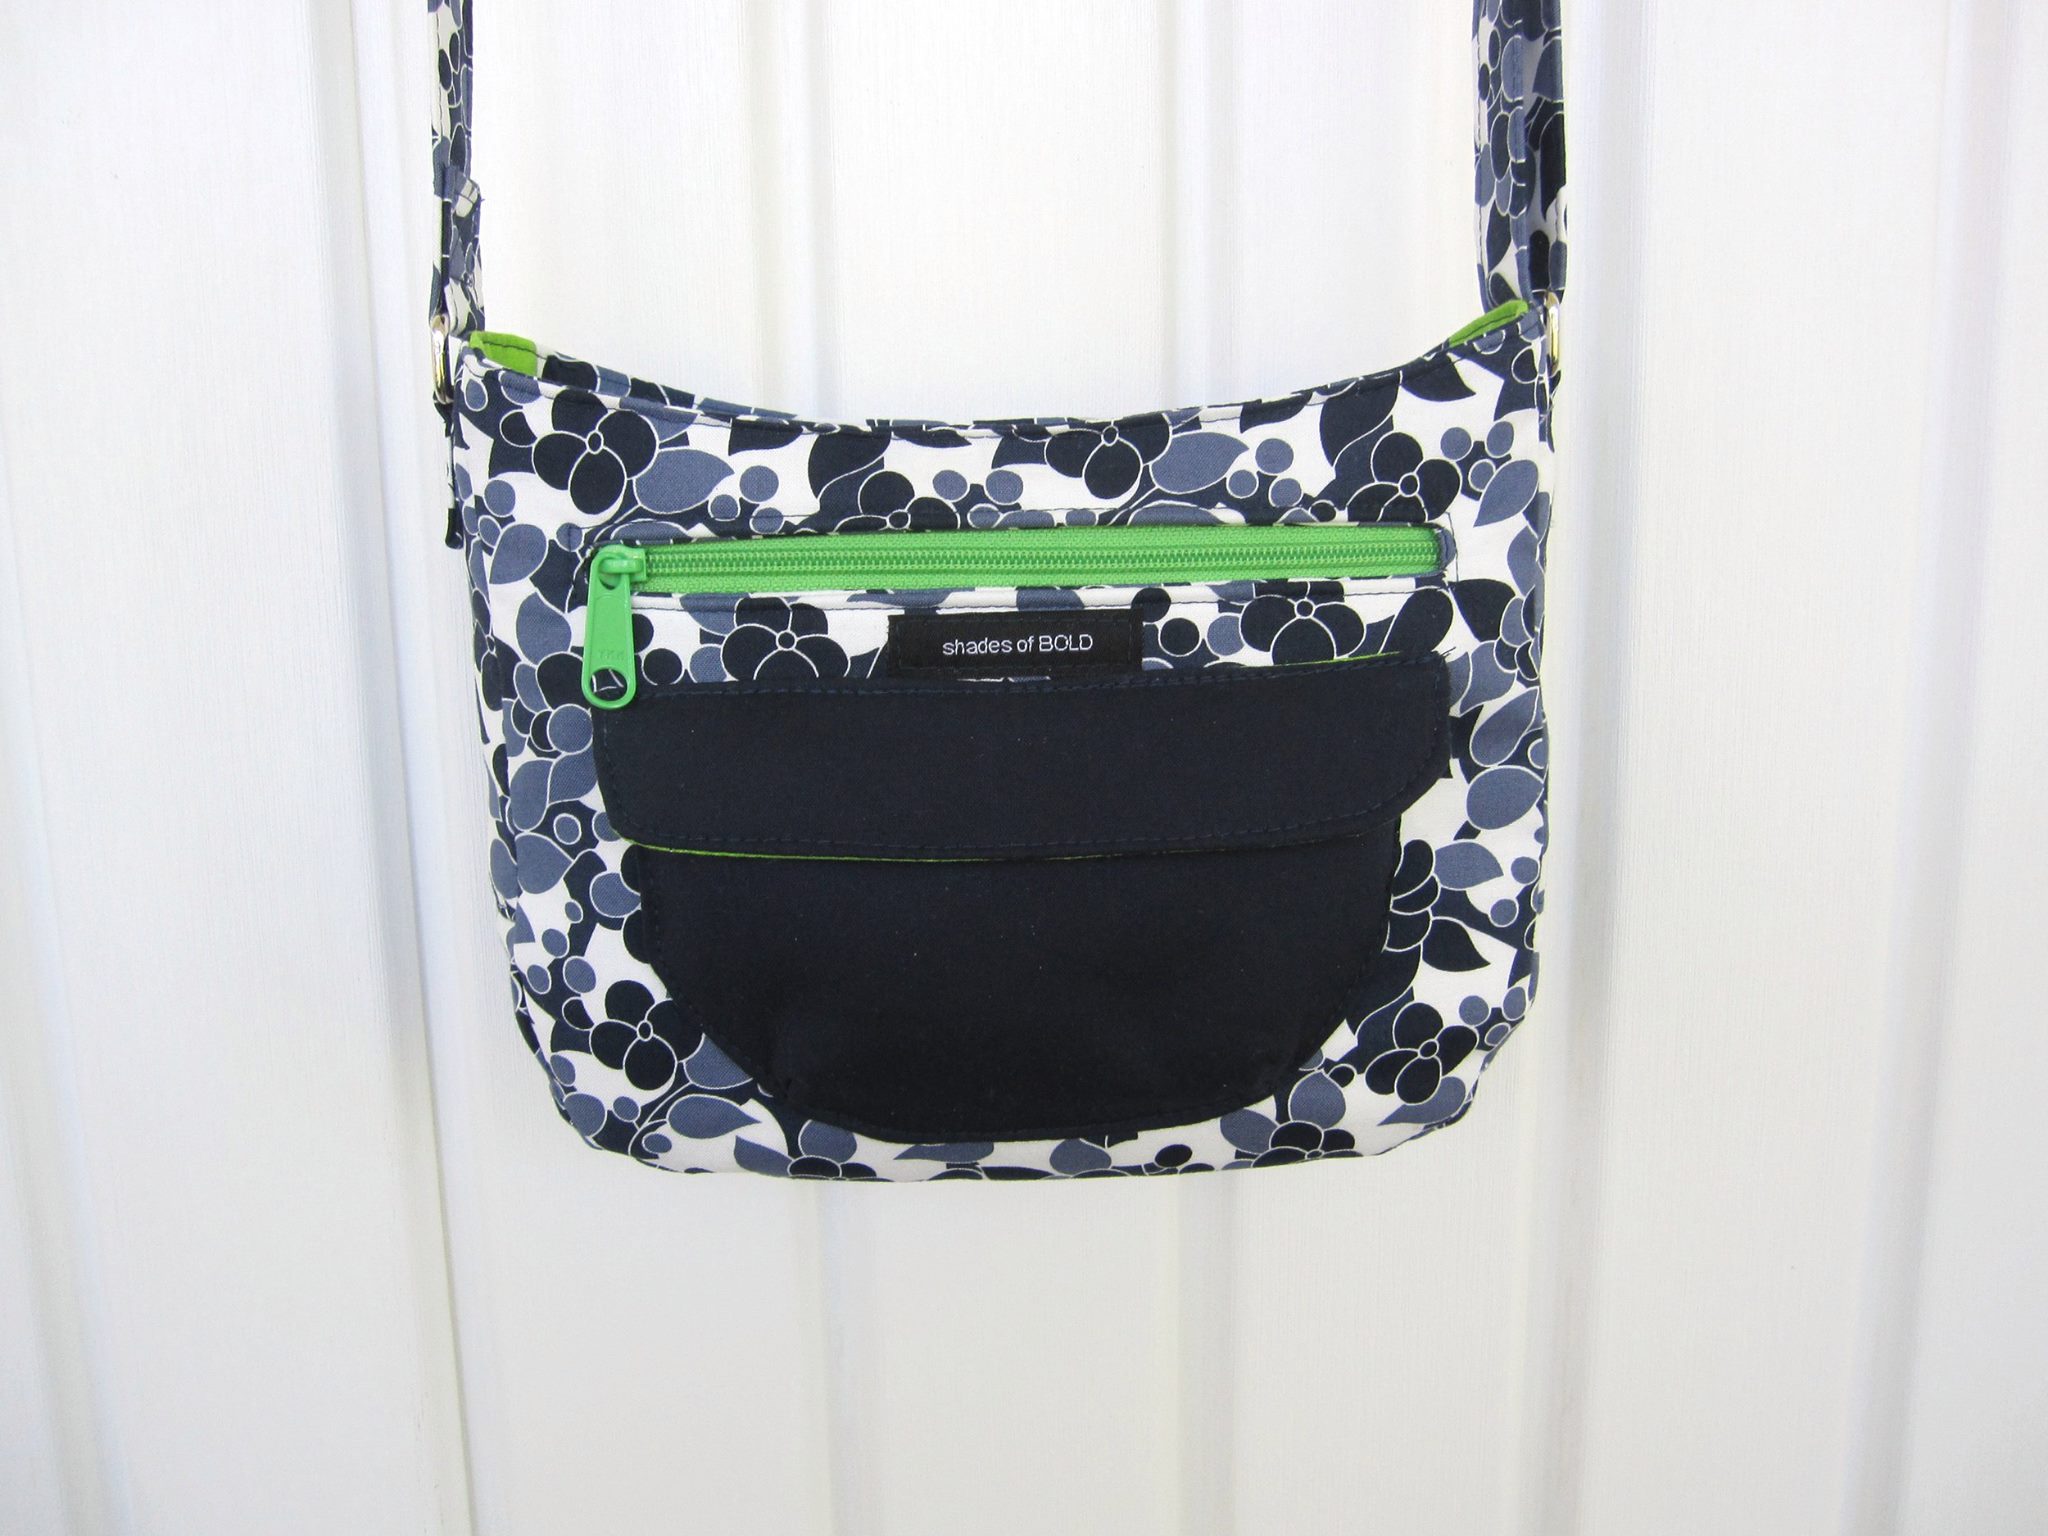
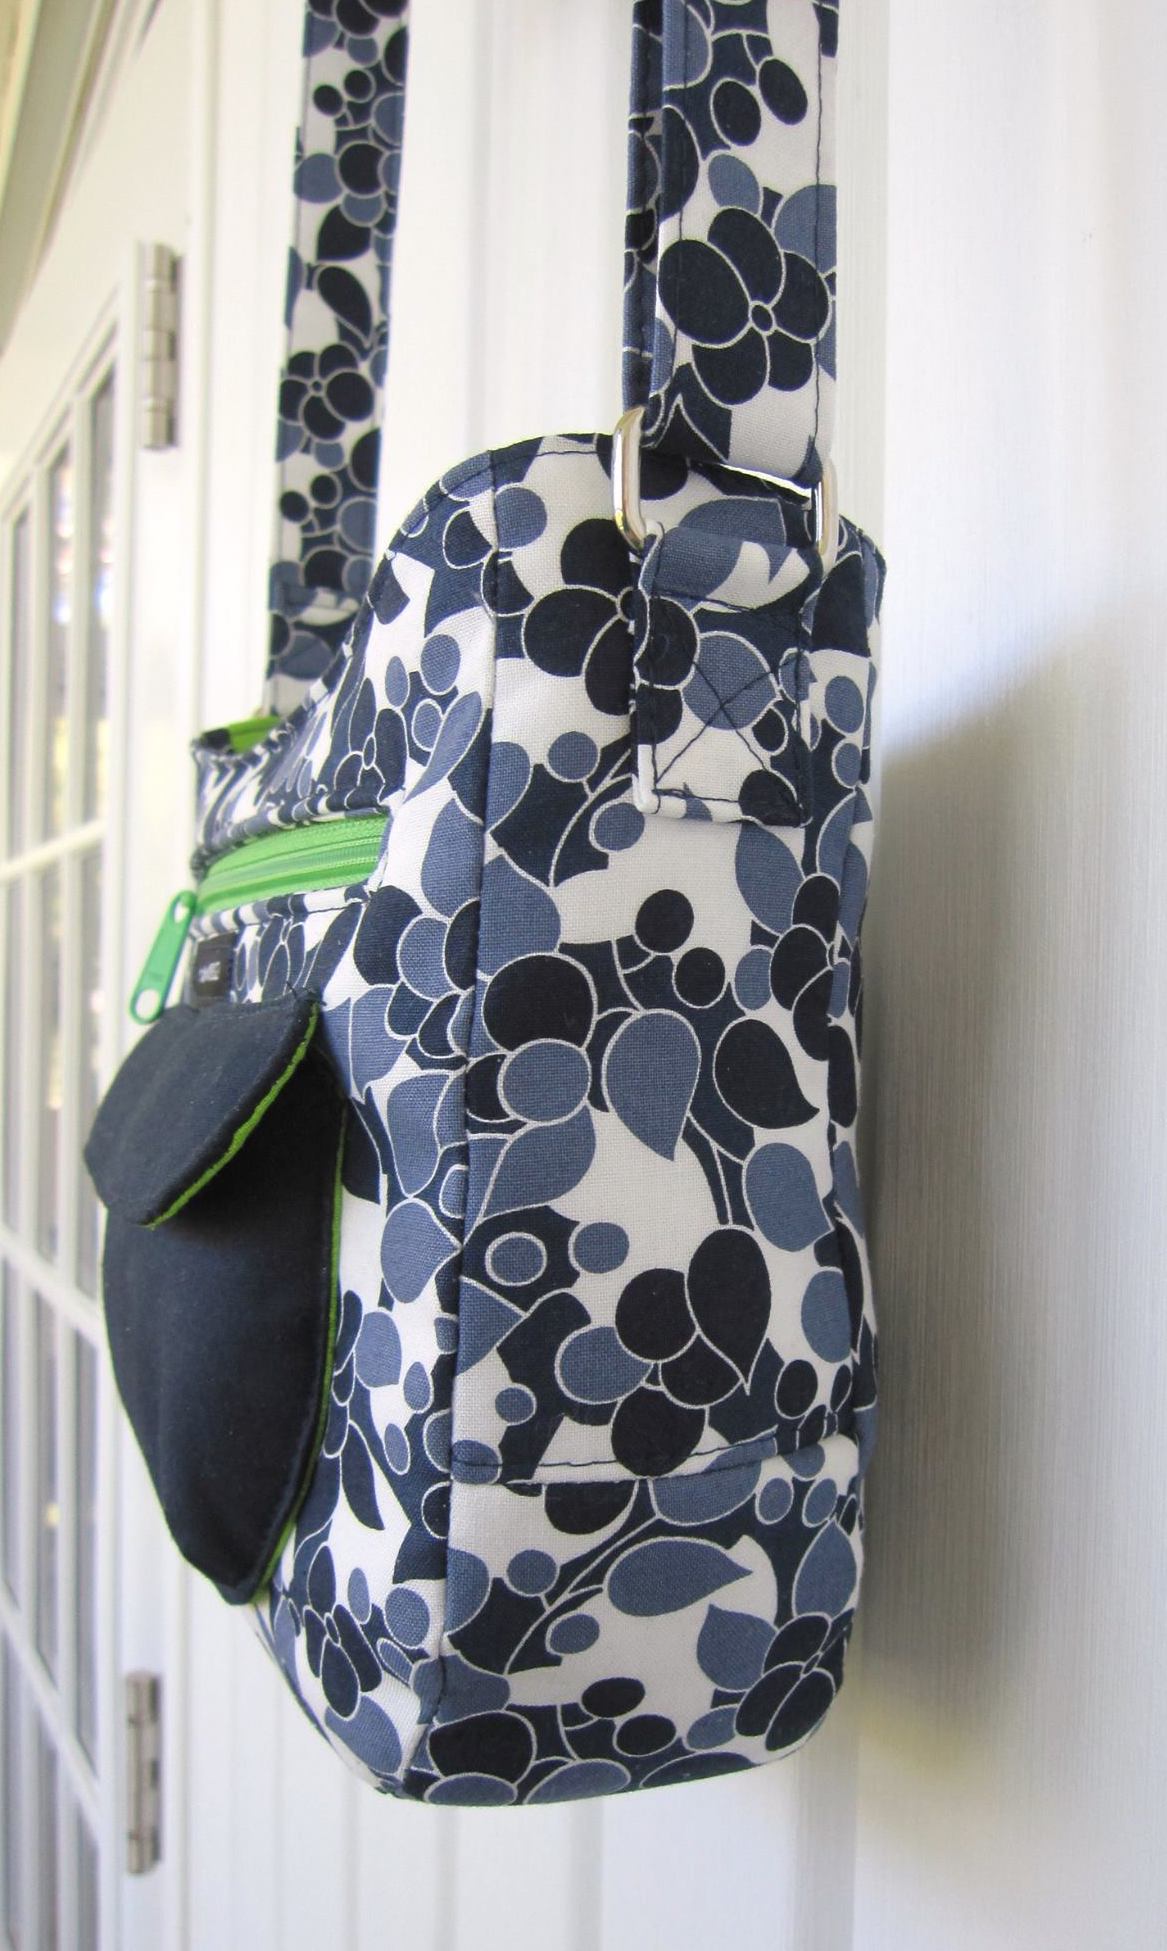
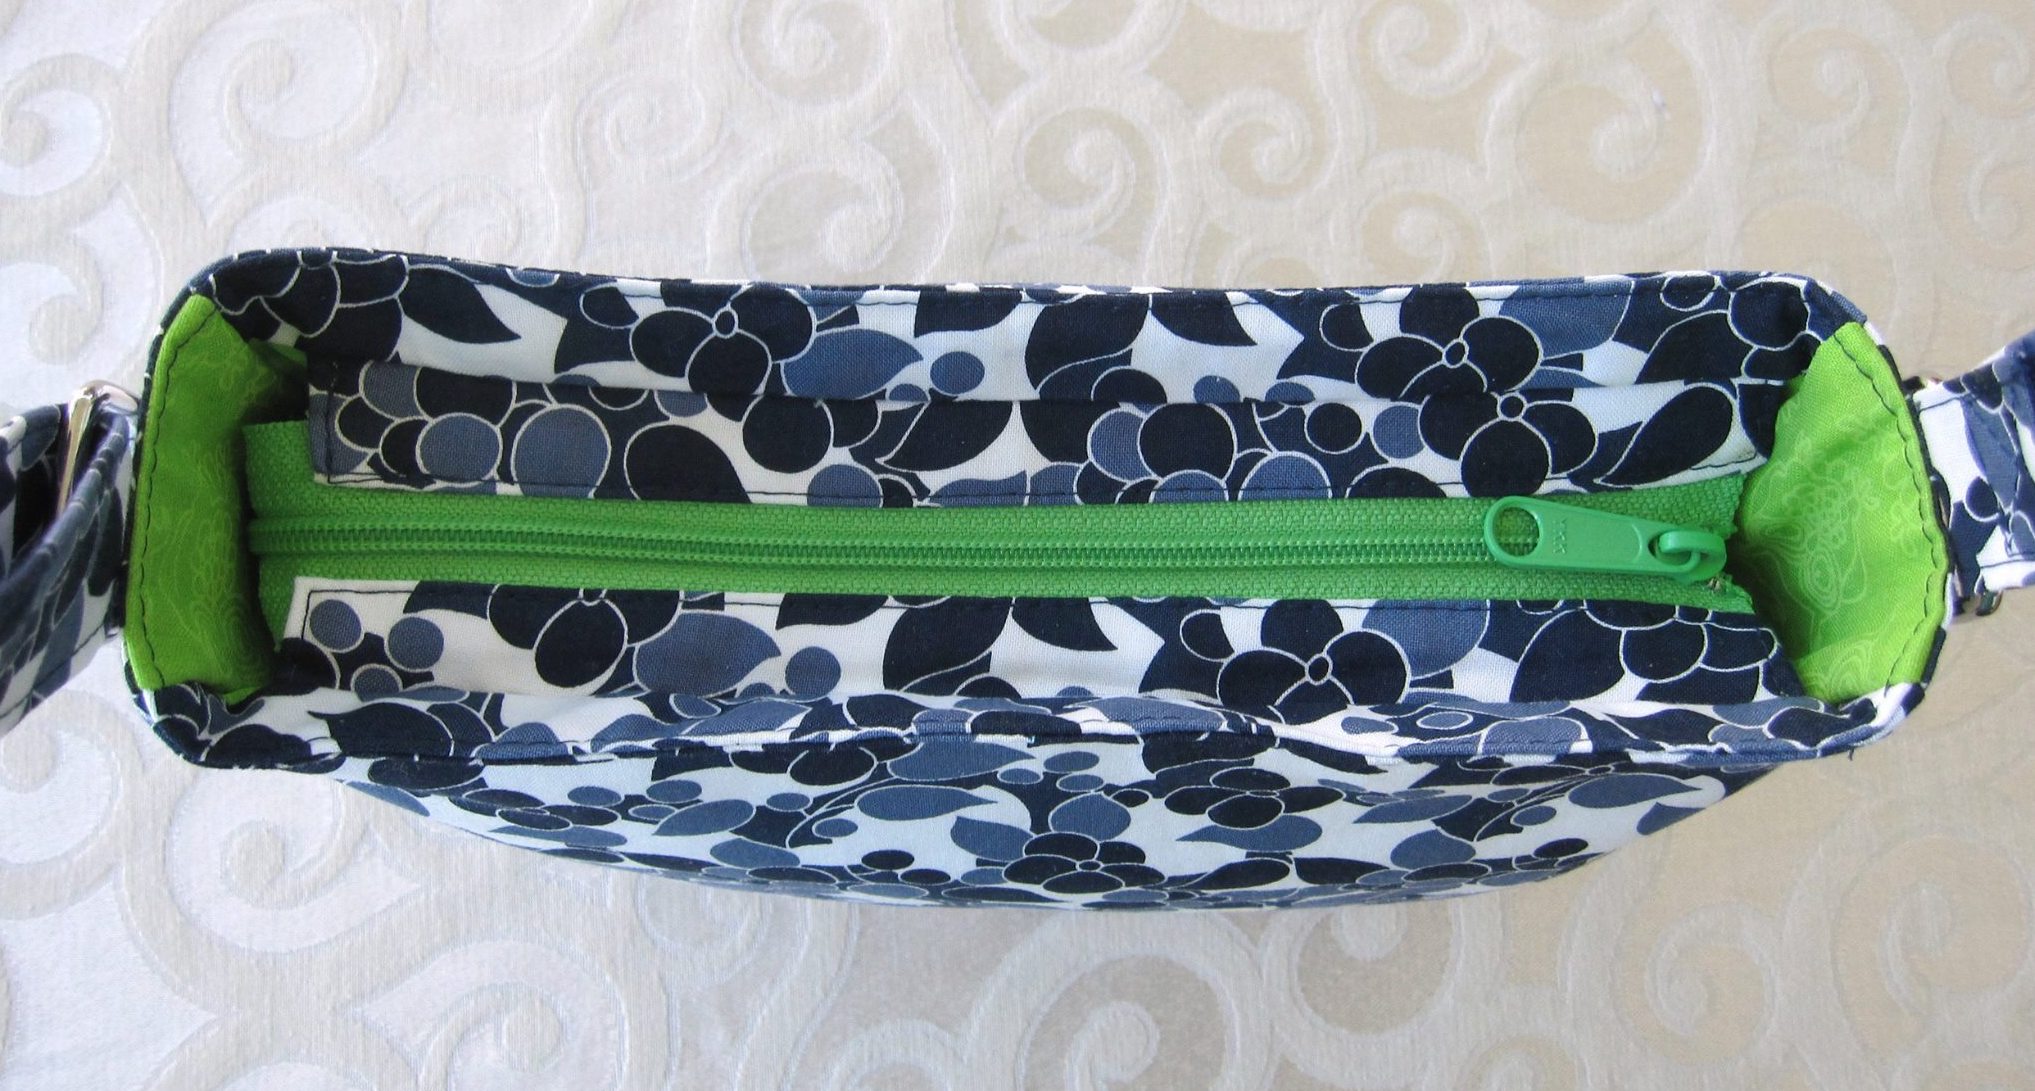
Marilyn Brandt of Shades of Bold made this amazing Aspen Crossbody Bag! I love the fabrics she used, the green zippers and lining really pop in a fantastically fun way on this Aspen Crossbody! Marilyn made the small size and said, "The small size is just the right size for me. It was so fun to make, too."

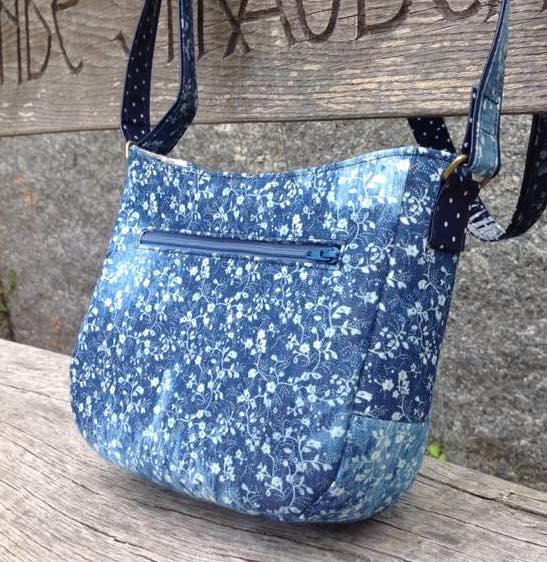
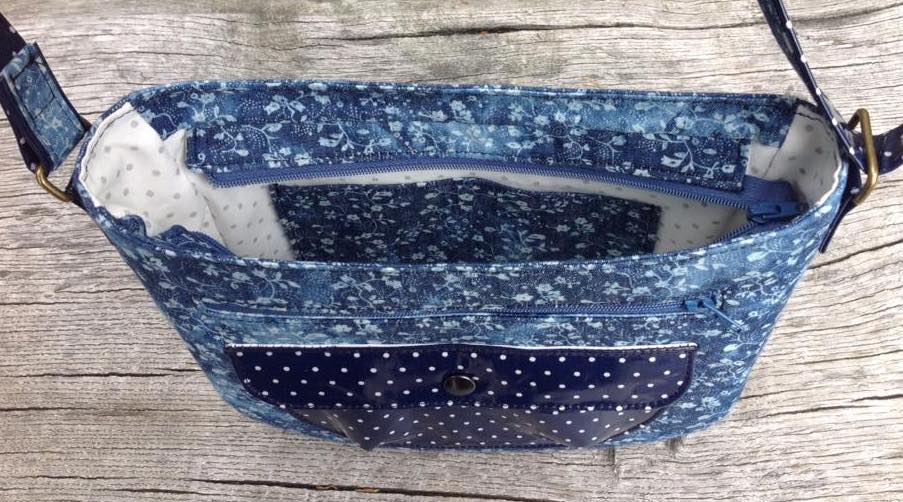
I love this blue Aspen Crossbody Bag that Barbara Dorig of Schönes aus Stoff bee dee made! Barbara made the small size Aspen Crossbody Bag. She used oil cloth for the front pocket and straps and she also added a zipper pocket on the back! I love the combination of fabric and oil cloth on the strap!

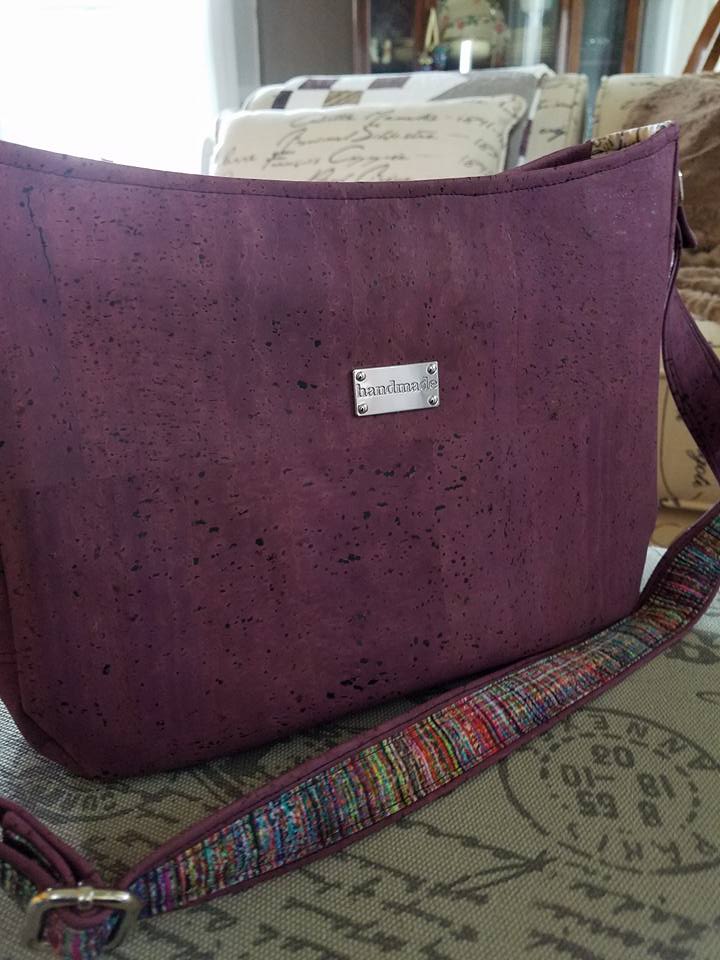
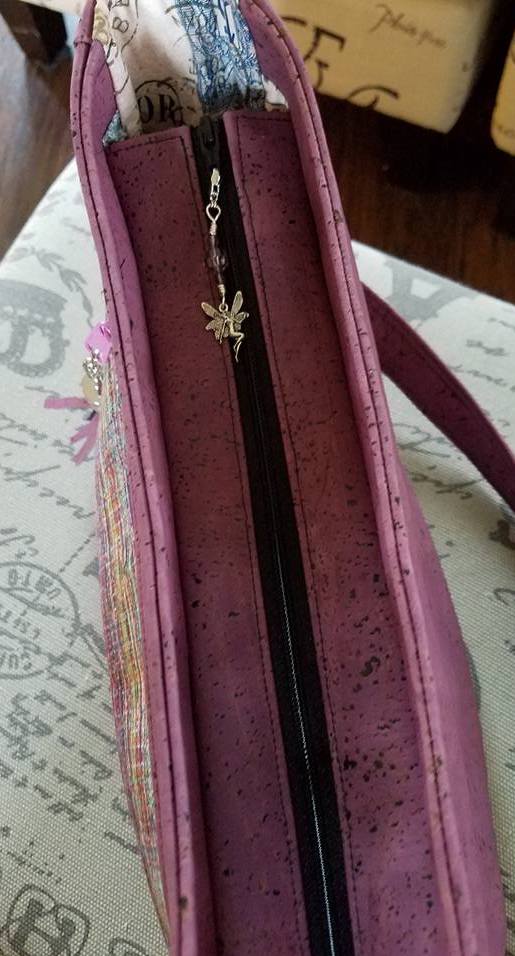
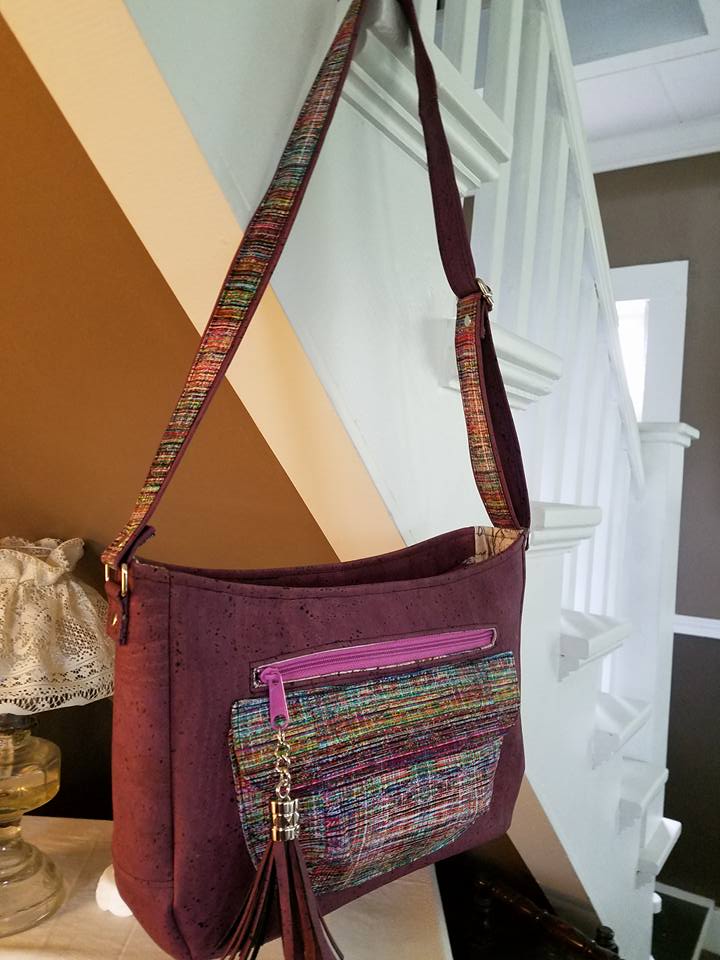
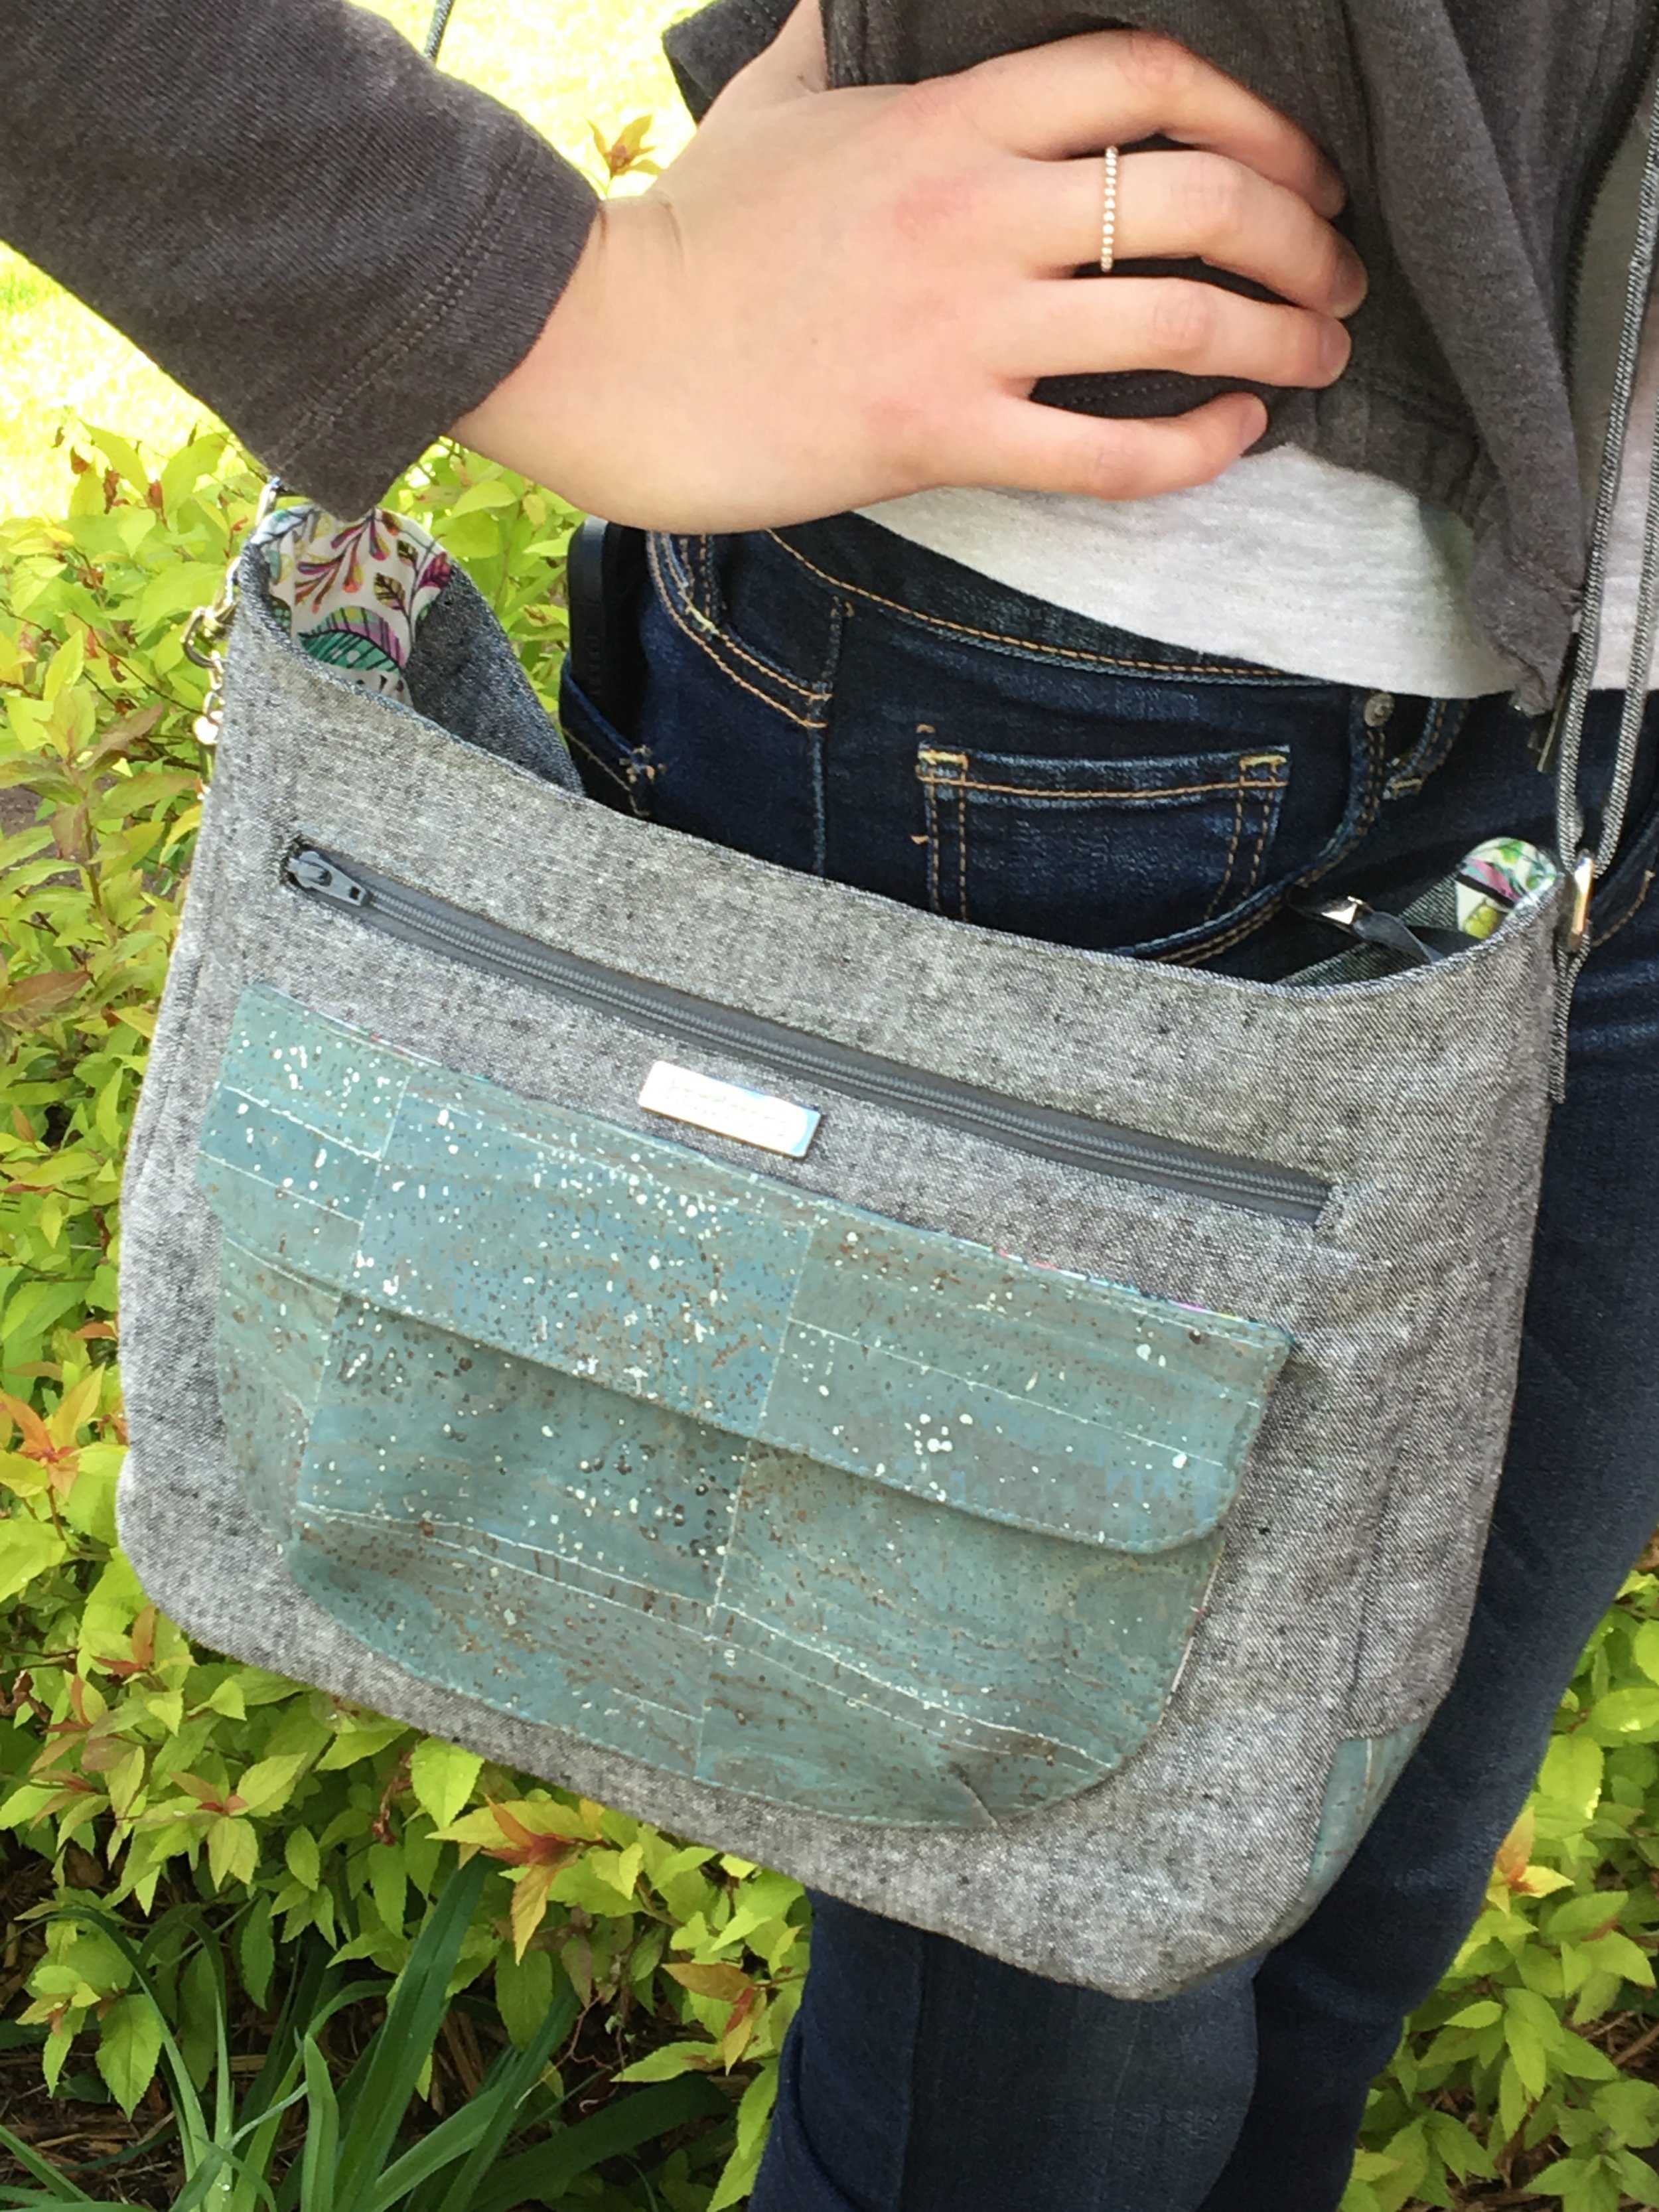
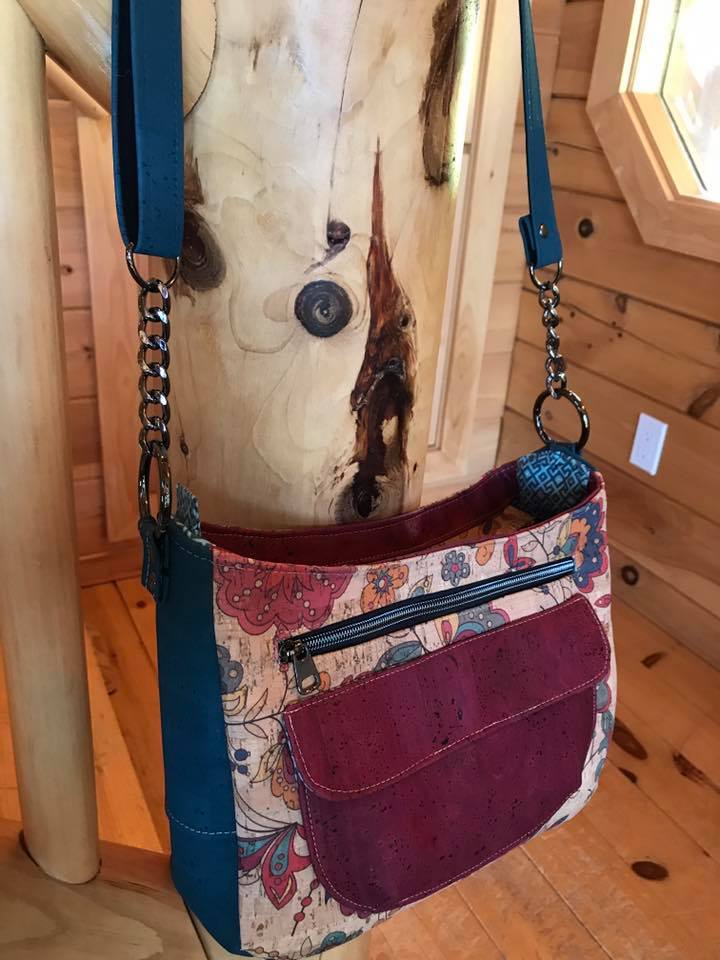
The purple cork fabric combined with the beautiful multi-colored fabric on this Aspen Crossbody Bag really give it a sophisticated look. Cathy Bellamy of Sew Devine made this large Aspen Crossbody Bag. I love the additions Cathy made to her bag - the tassel, the fabric on the strap, and the extra slip pocket on the interior.

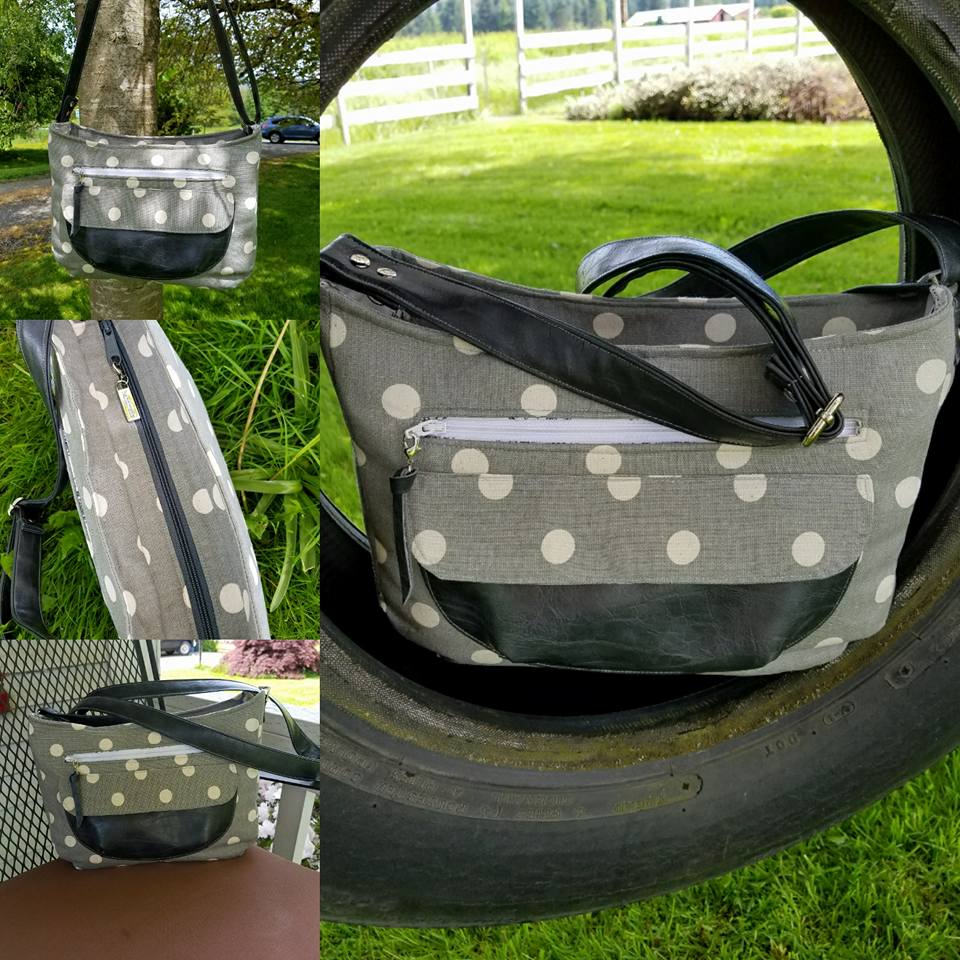
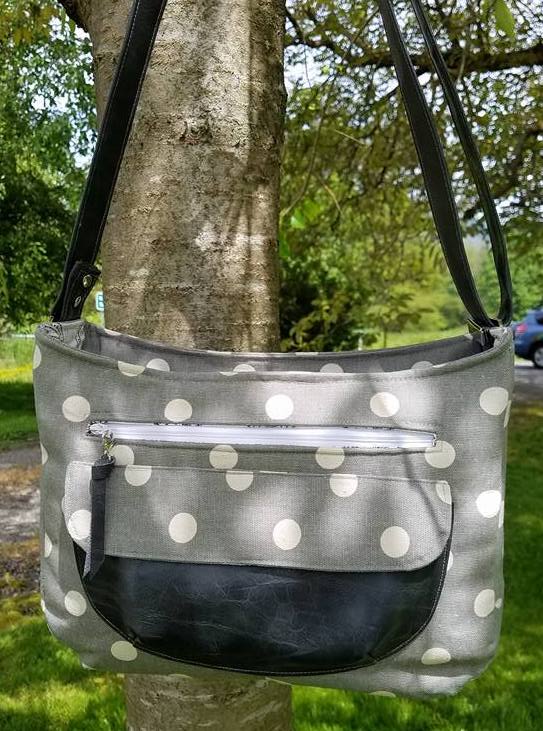
Cathy Bellamy made a second large Aspen Crossbody Bag! This one is a more casual one made with home decor polka dot fabric and some great black faux leather. I love the way she used the faux leather on the main part of the front pocket and the polka dot for the flap!

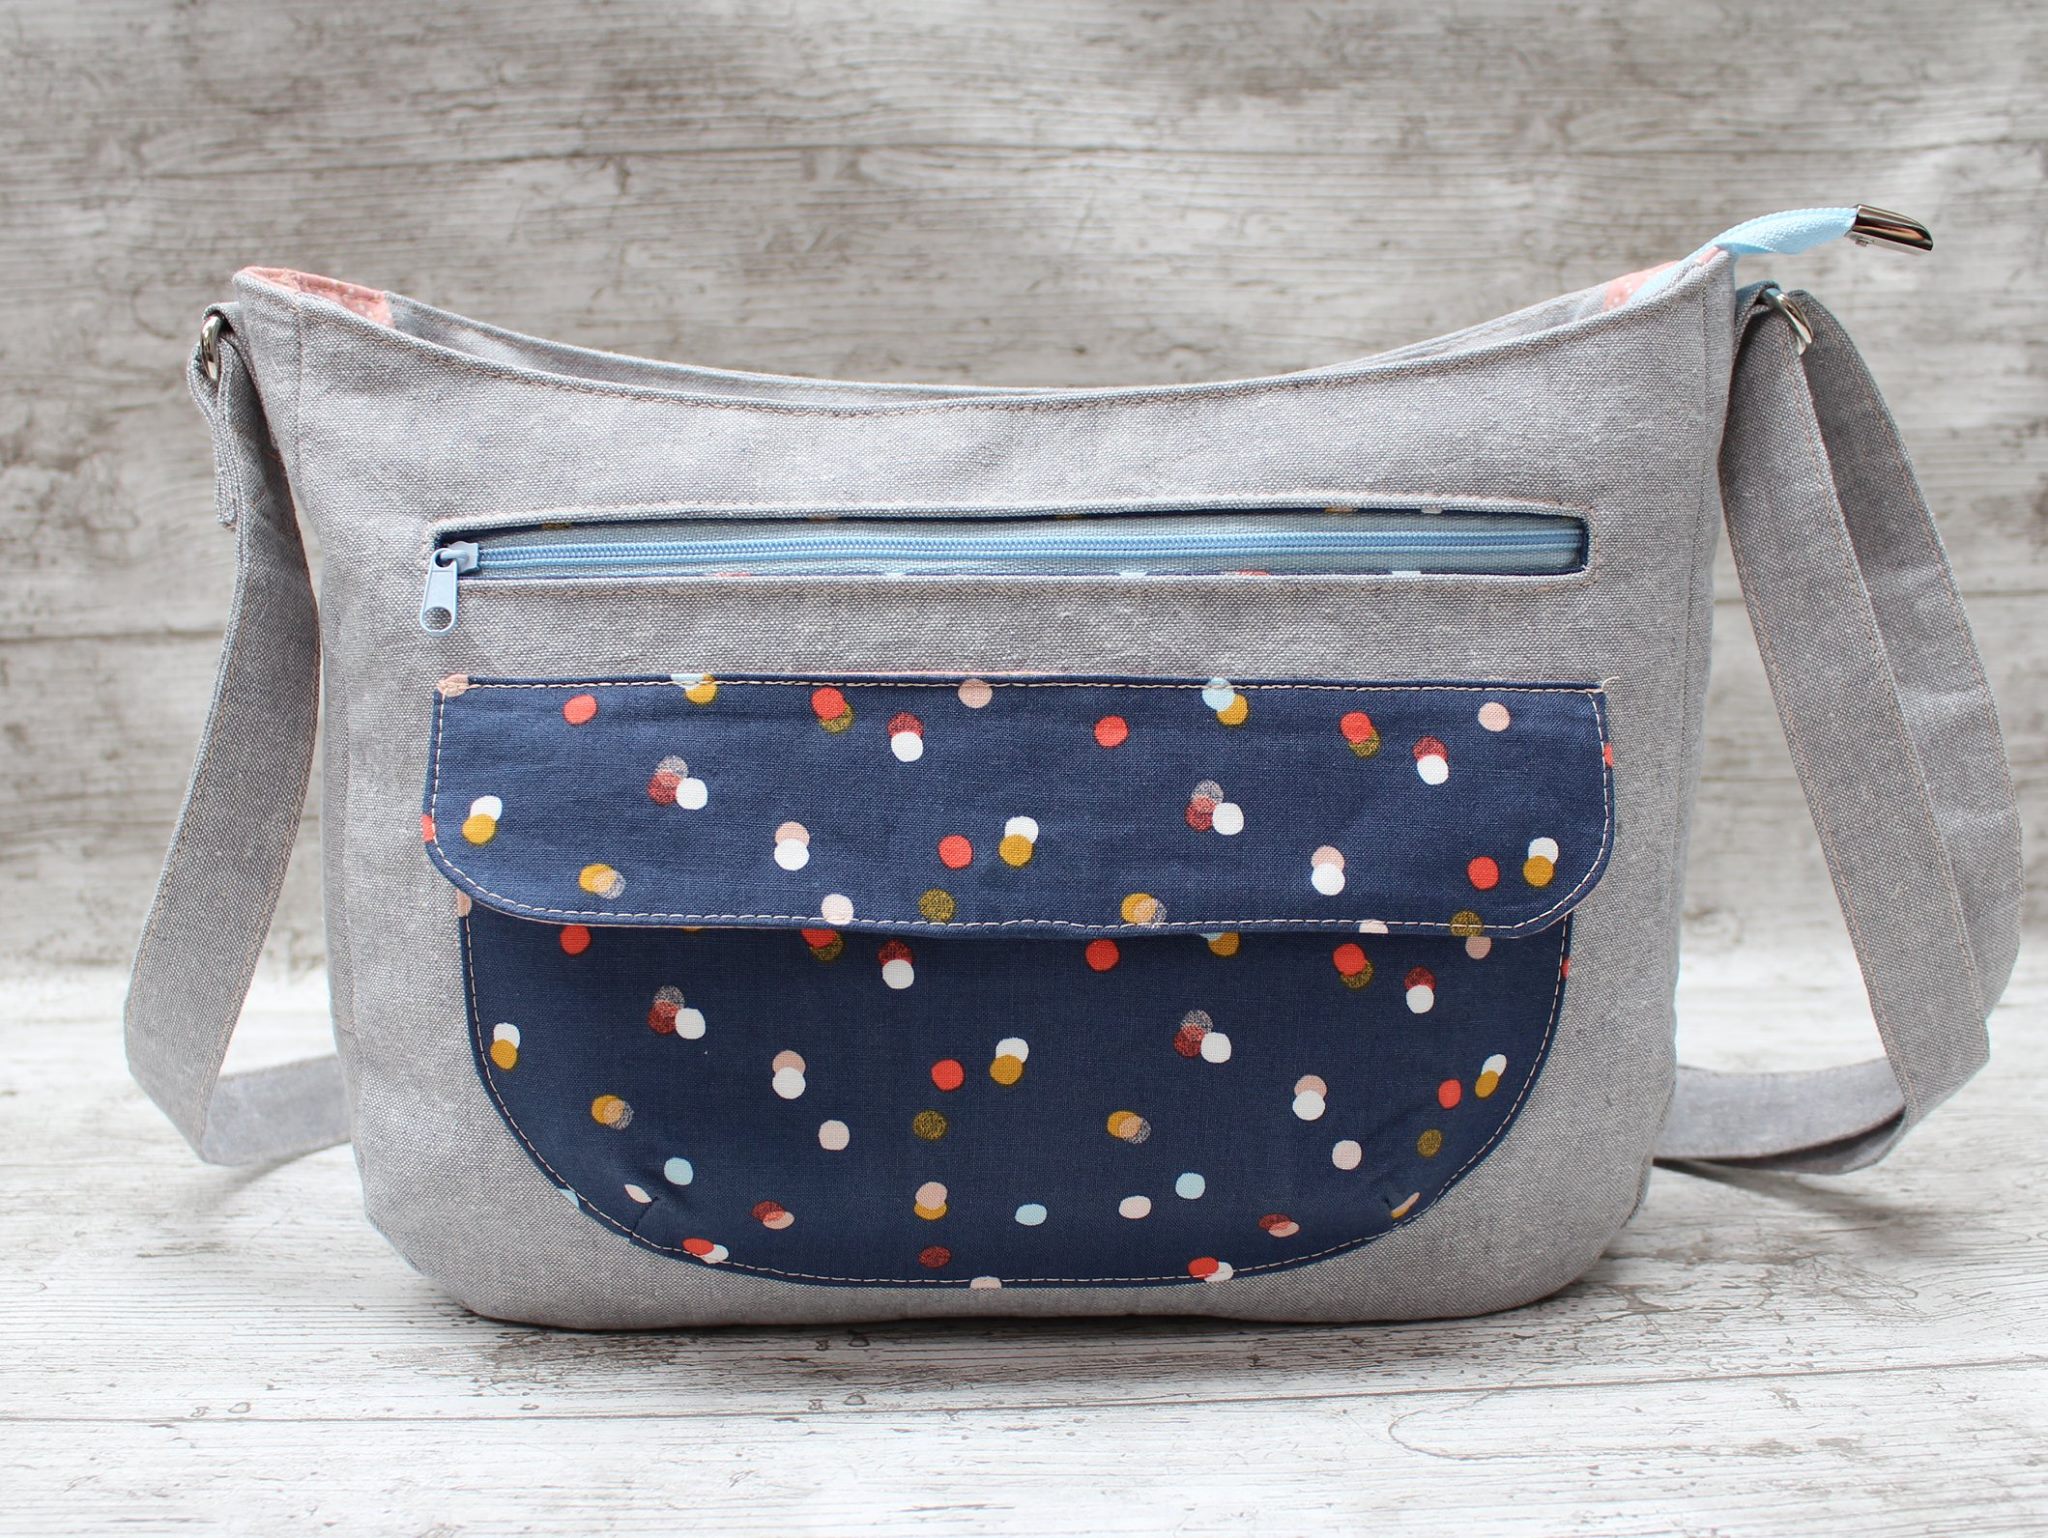
Noor Raats of Quiro and Me made this gorgeous, large size Aspen Crossbody Bag using Essex linen and a cute confetti fabric for the pocket. I love how the fabric Noor used for the front pocket and the blue zippers make this Aspen Crossbody Bag look casual and fun! I would wear this bag anywhere and everywhere! Noor said about making the Aspen Crossbody Bag, "It's a fun sew with a fabulous end result! I love my bag!"

This large Aspen Crossbody Bag was made by Melanie Wilson. Melanie's Aspen Crossbody Bag is just adorable with its red front pocket and lining. The blue and red fabric combination makes me think this bag is ready for a Independence Day celebration or a picnic!

Carolyn Hoxton made her Aspen Crossbody Bag using Red Hat Club fabric. She finished her bag just in time to take it to her Red Hat Club meeting where I'm sure all the ladies wished they had a bag just like her's! I love the pink solid fabric and the purple zipper that Carolyn used on her Aspen Crossbody Bag - such a great color pop!

Make sure to comment on the posts that look like this if you want to be entered in the giveaway to win an Aspen Crossbody Bag pattern!

Make sure to comment on the posts that look like this if you want to be entered in the giveaway to win an Aspen Crossbody Bag pattern!

I am so excited about the Aspen Crossbody Bag that I want to celebrate with a little giveaway! You have three chances to win an Aspen Crossbody Bag pattern. To enter, comment on the "giveaway" posts on Instagram, on the Uniquely Michelle Facebook Page and on the Uniquely Michelle Facebook Group. The posts look like the one pictured above. I will randomly draw one lucky winner from each social media post this Saturday, May 27 at 5:00 MST. Good Luck!!!
You can purchase the Aspen Crossbody Bag pattern from the Uniquely Michelle Website Shop, the Uniquely Michelle Etsy Shop, or the Uniquely Michelle Craftsy Pattern Shop

Please share pictures of your beautiful Aspen Crossbody Bag creations on Instagram (#uniquelymichelle #aspencrossbody) and in the Uniquely Michelle Sewing Patterns Facebook Group (a fun place to share you Uniquely Michelle creations and see other's creations too). You can follow Uniquely Michelle on Instagram and on the Uniquely Michelle Facebook Page.

Fill out the form below to sign up for the newsletter!


Sign up to receive email newsletters from Uniquely Michelle:

Aspen Crossbody Bag - Testers' Pictures & Giveaway

Michelle Burke

Are you ready to see some beautiful Aspen Crossbody Bags? Well then you are in the right place! I also have some exciting news about a little GIVEAWAY at the end of this post, so don't miss that, but first - I have amazing testers and they really created some awesome Aspen Crossbody Bags that I can't wait to share with you! I have so many pretty pictures to share that I am going to do it over two days - so lets get started with day one!

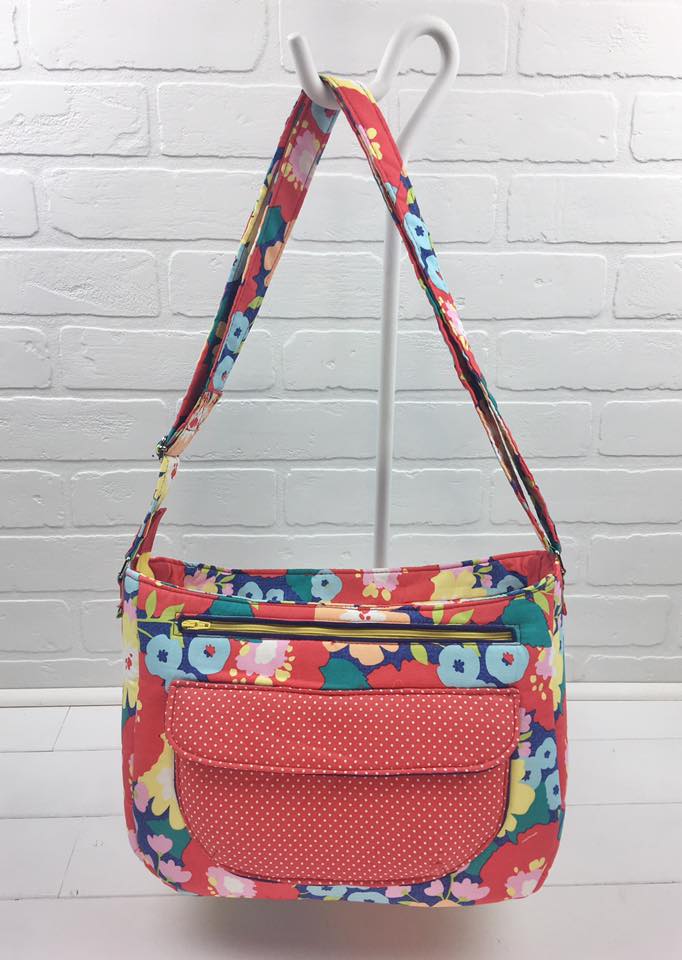
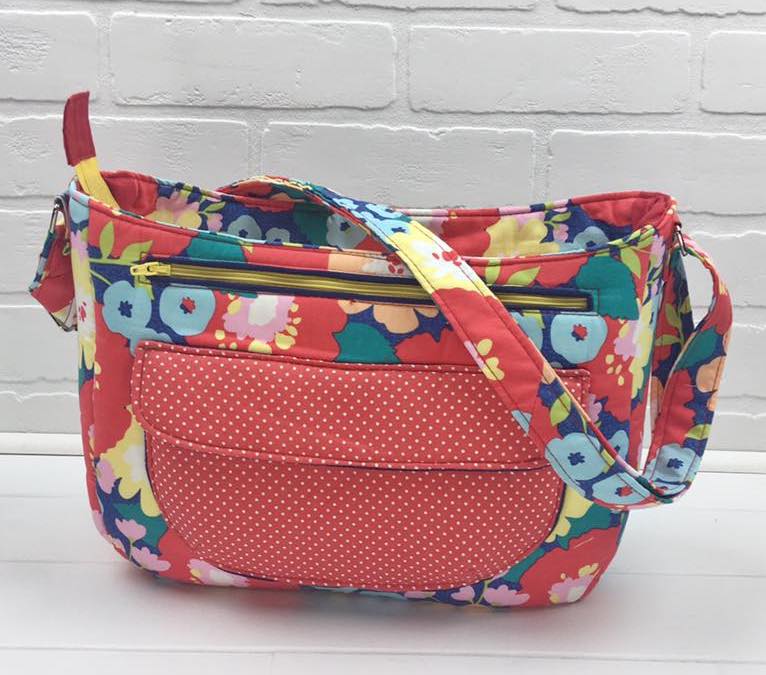
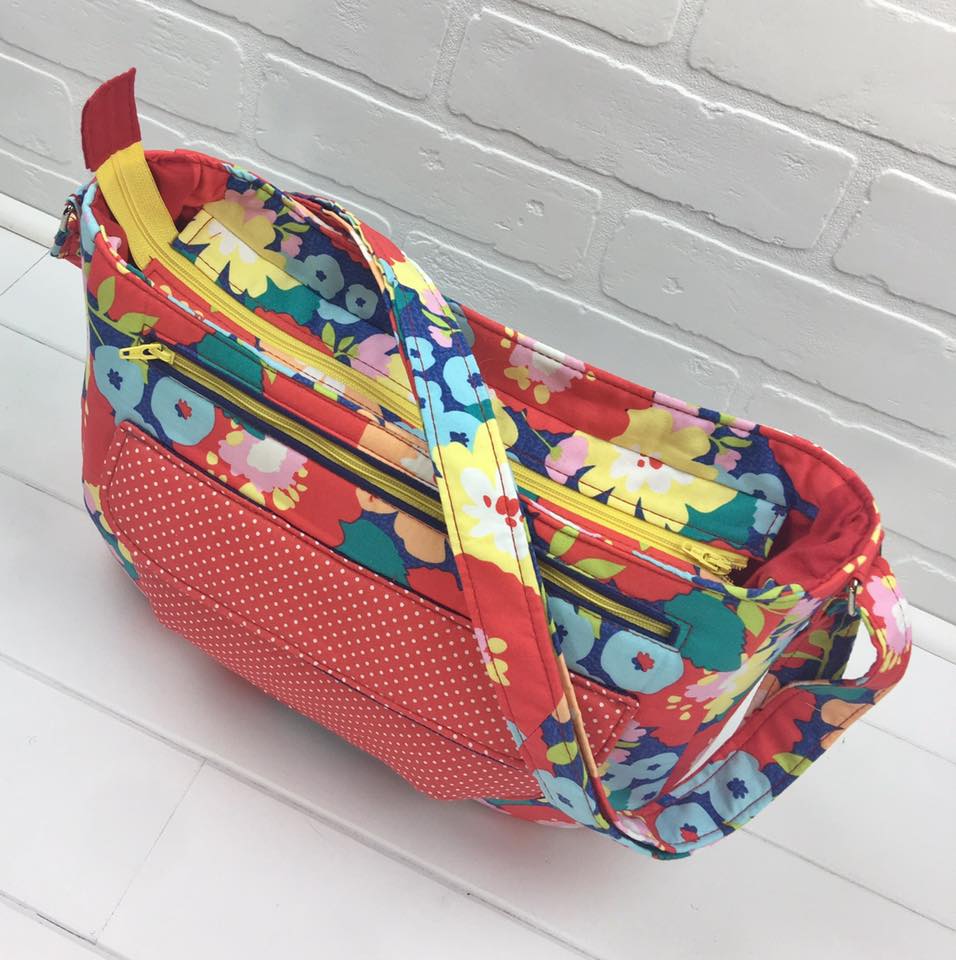
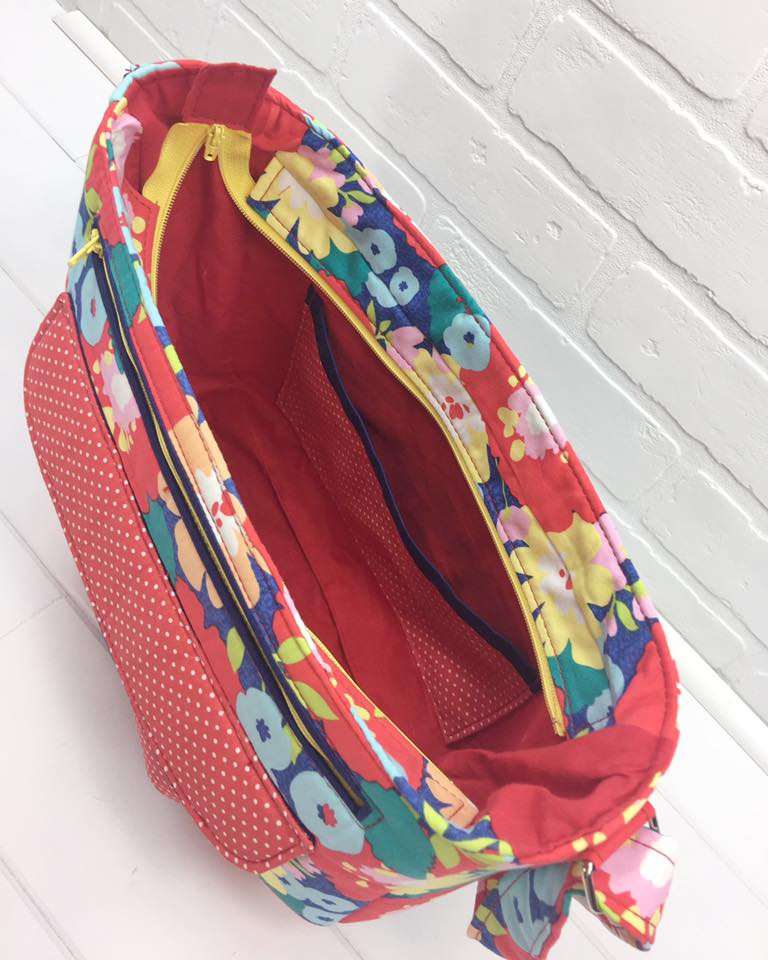
This fabulous Aspen Crossbody was created by Kristina Marie Hernandez of Reborn Restitch. Kristina made the large version. I love the bright, fun look of this Aspen Crossbody. The red polka dot pocket front pocket and the yellow zippers accent the floral fabric perfectly! When I see this bag, I think summer, fun in the sun! Kristina said about the pattern, "This was a fun sew and I learned some new tricks as well!"

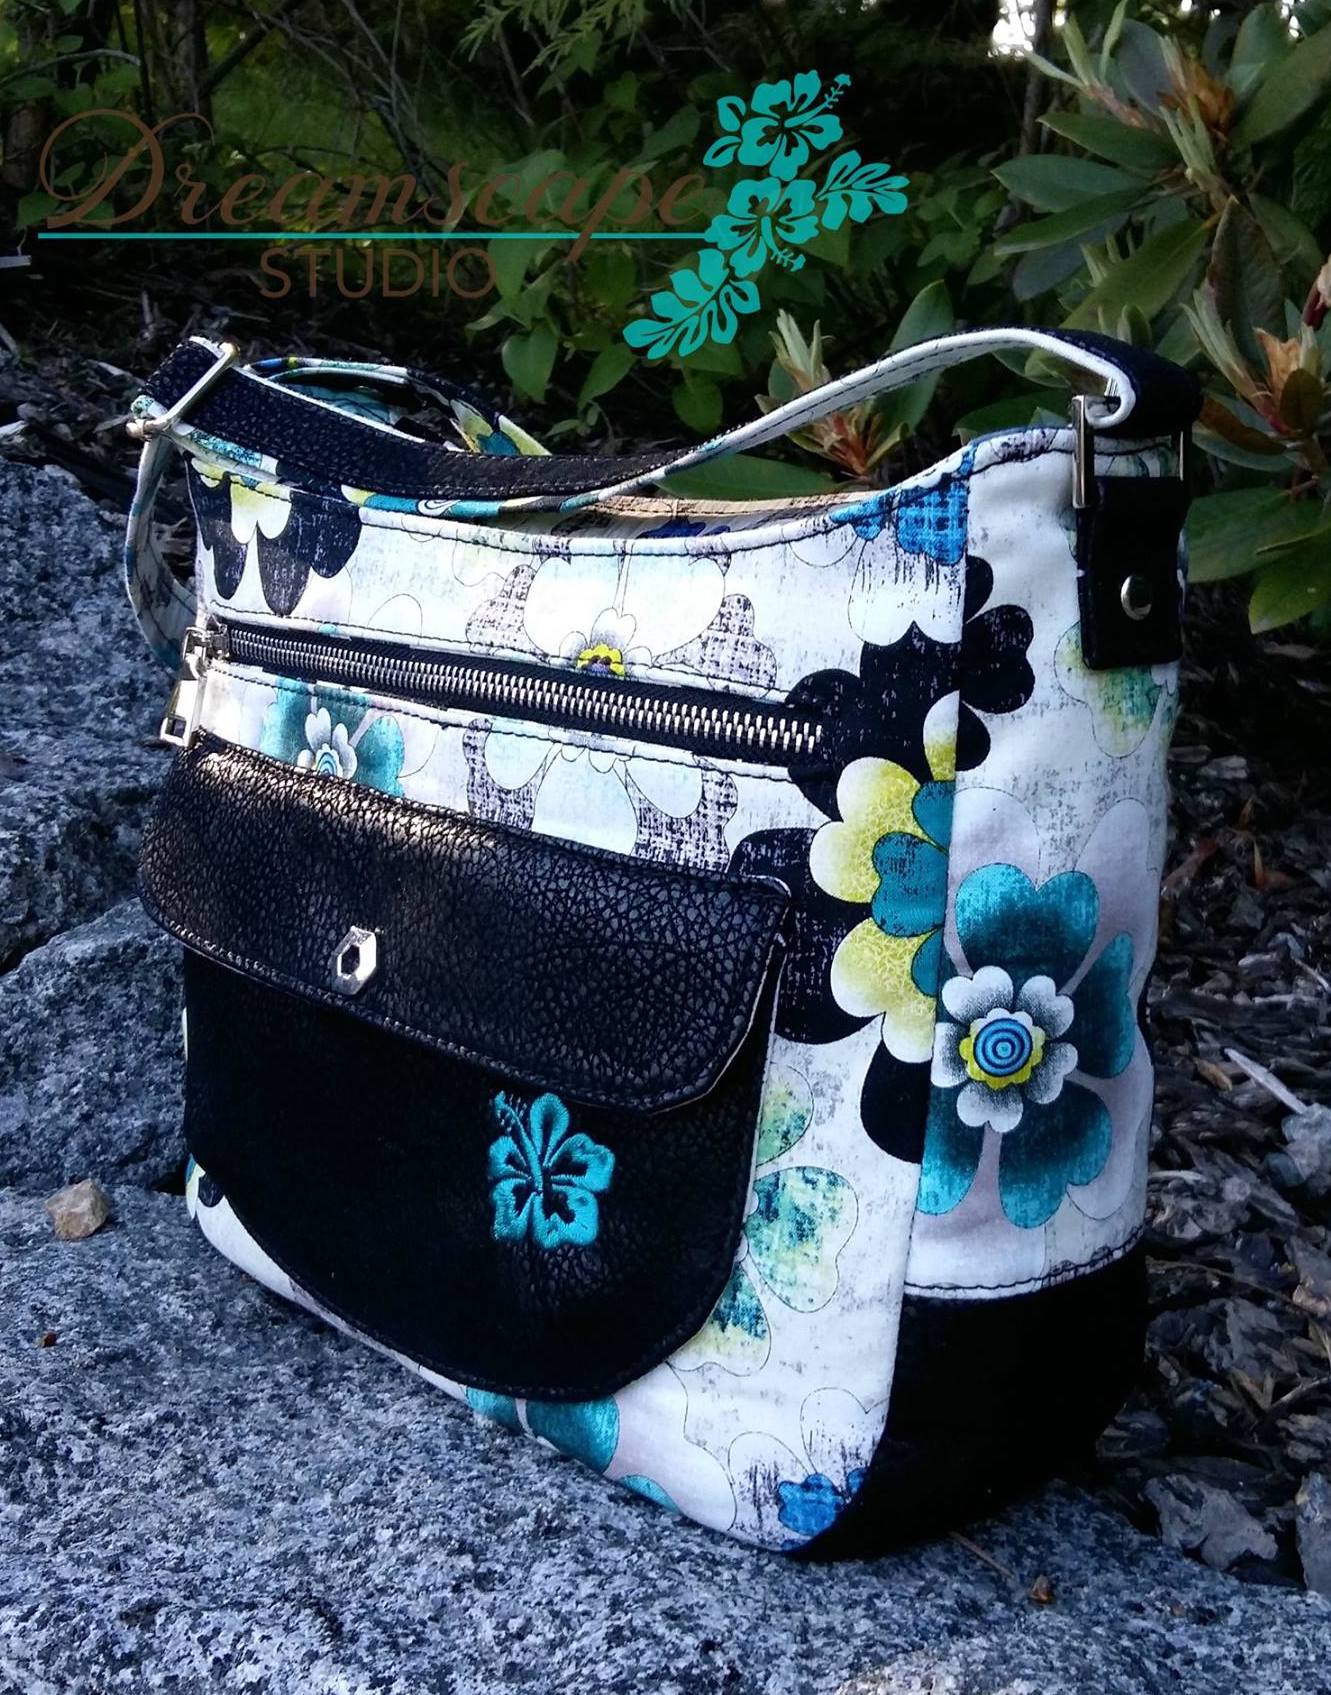
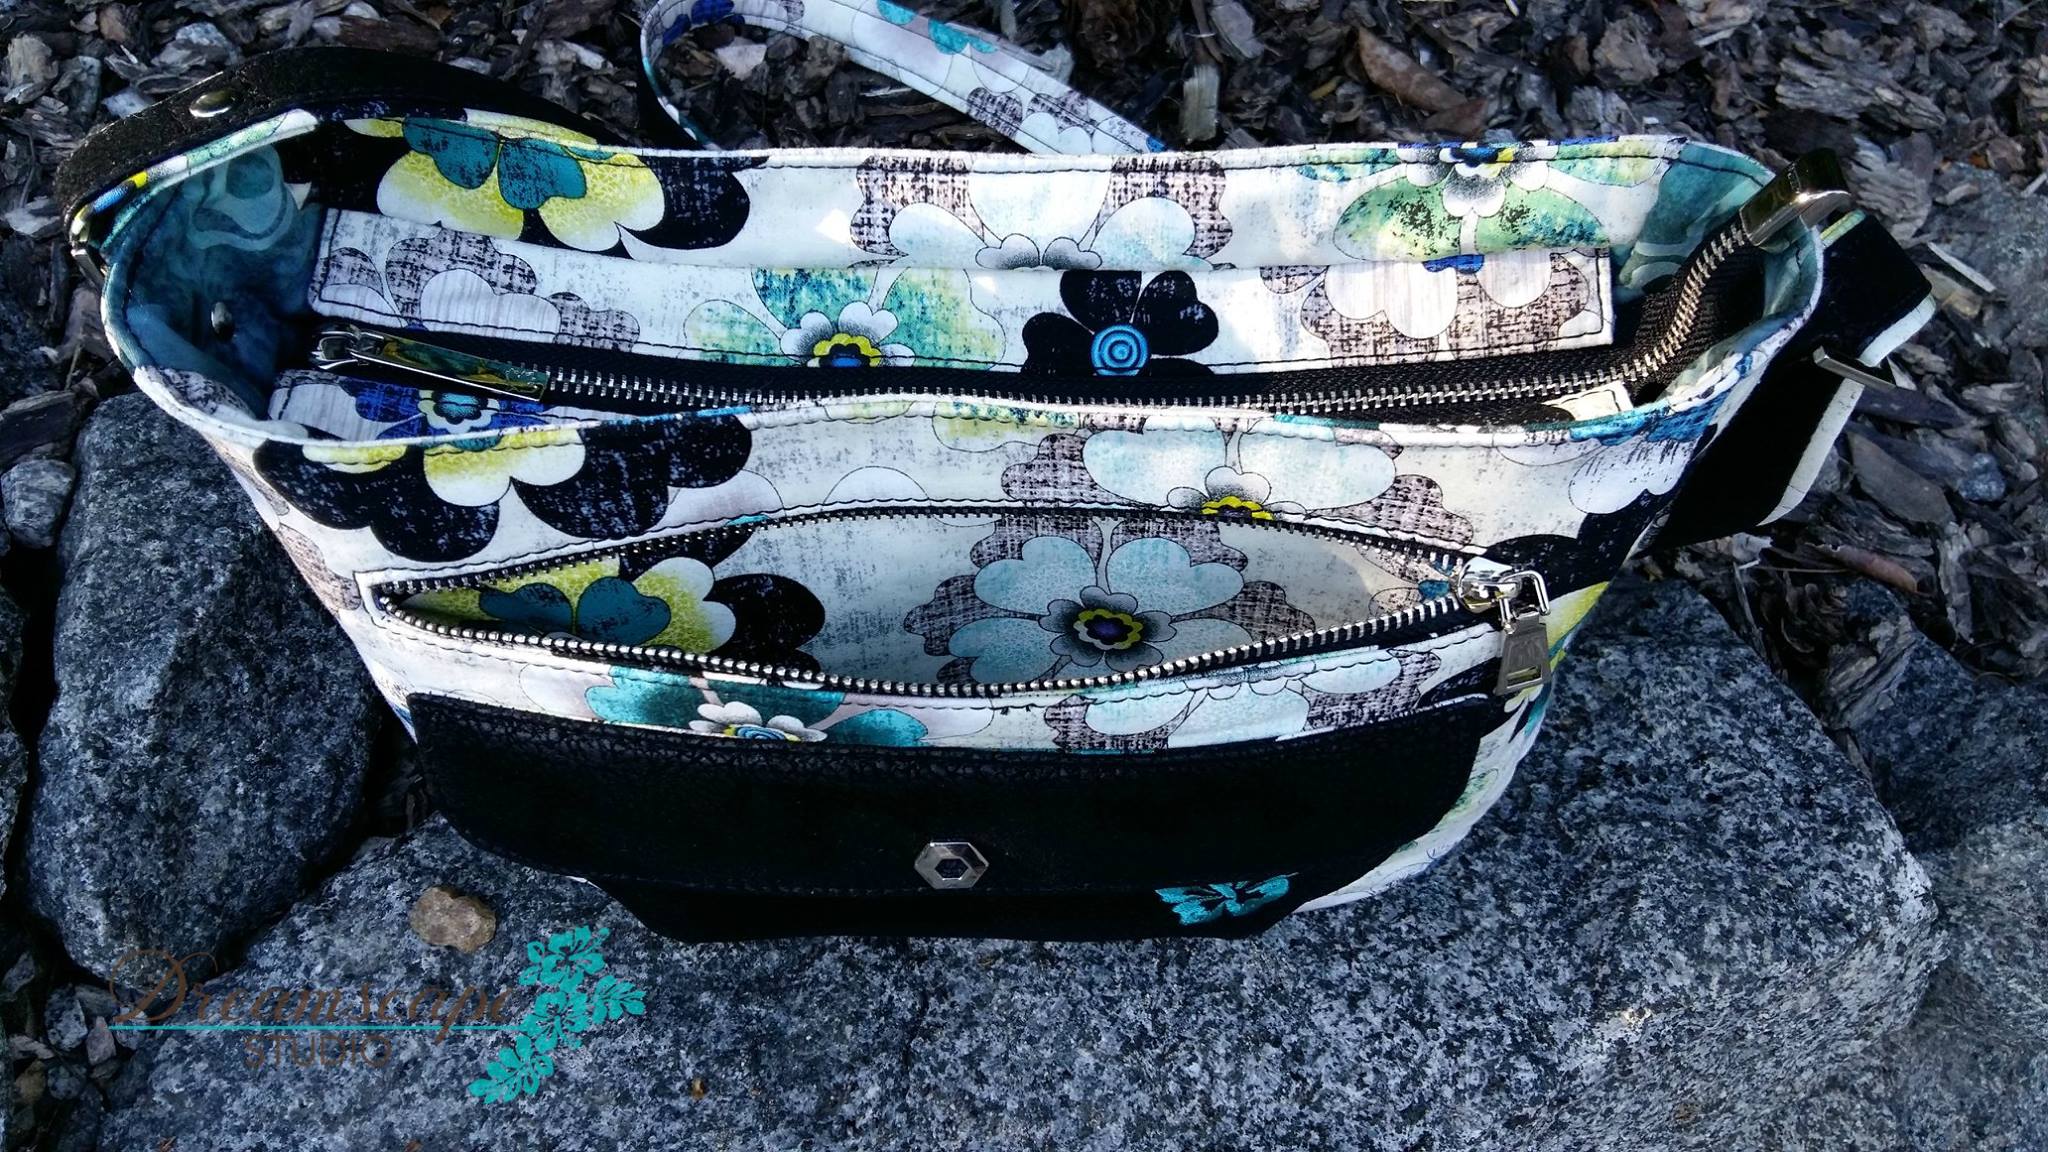
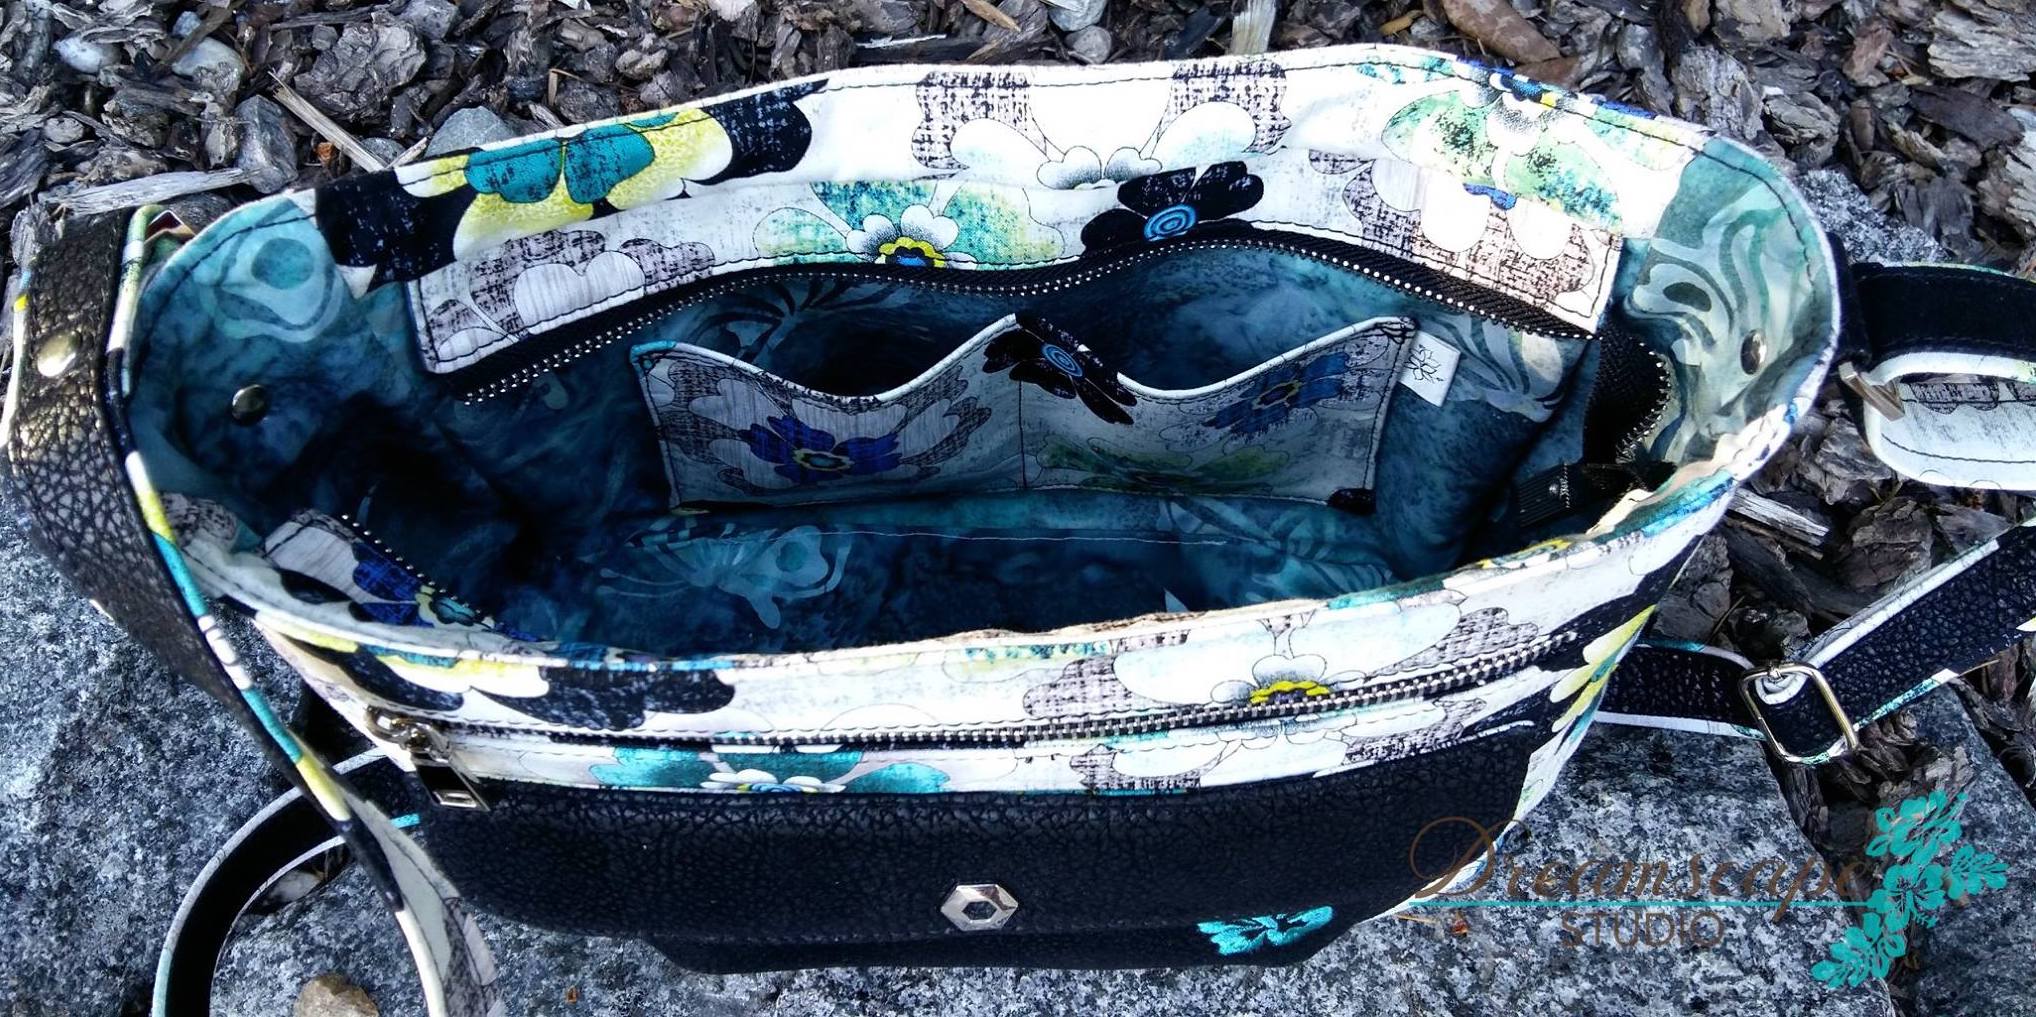
Sue Reed of Dreamscape Studio made this beautiful Aspen Crossbody! Sue made the large Aspen Crossbody and used suede for the base, pocket and on the strap. The black suede looks amazing with the floral fabric! Sue commented that the Aspen Crossbody is a "super fun sew!"

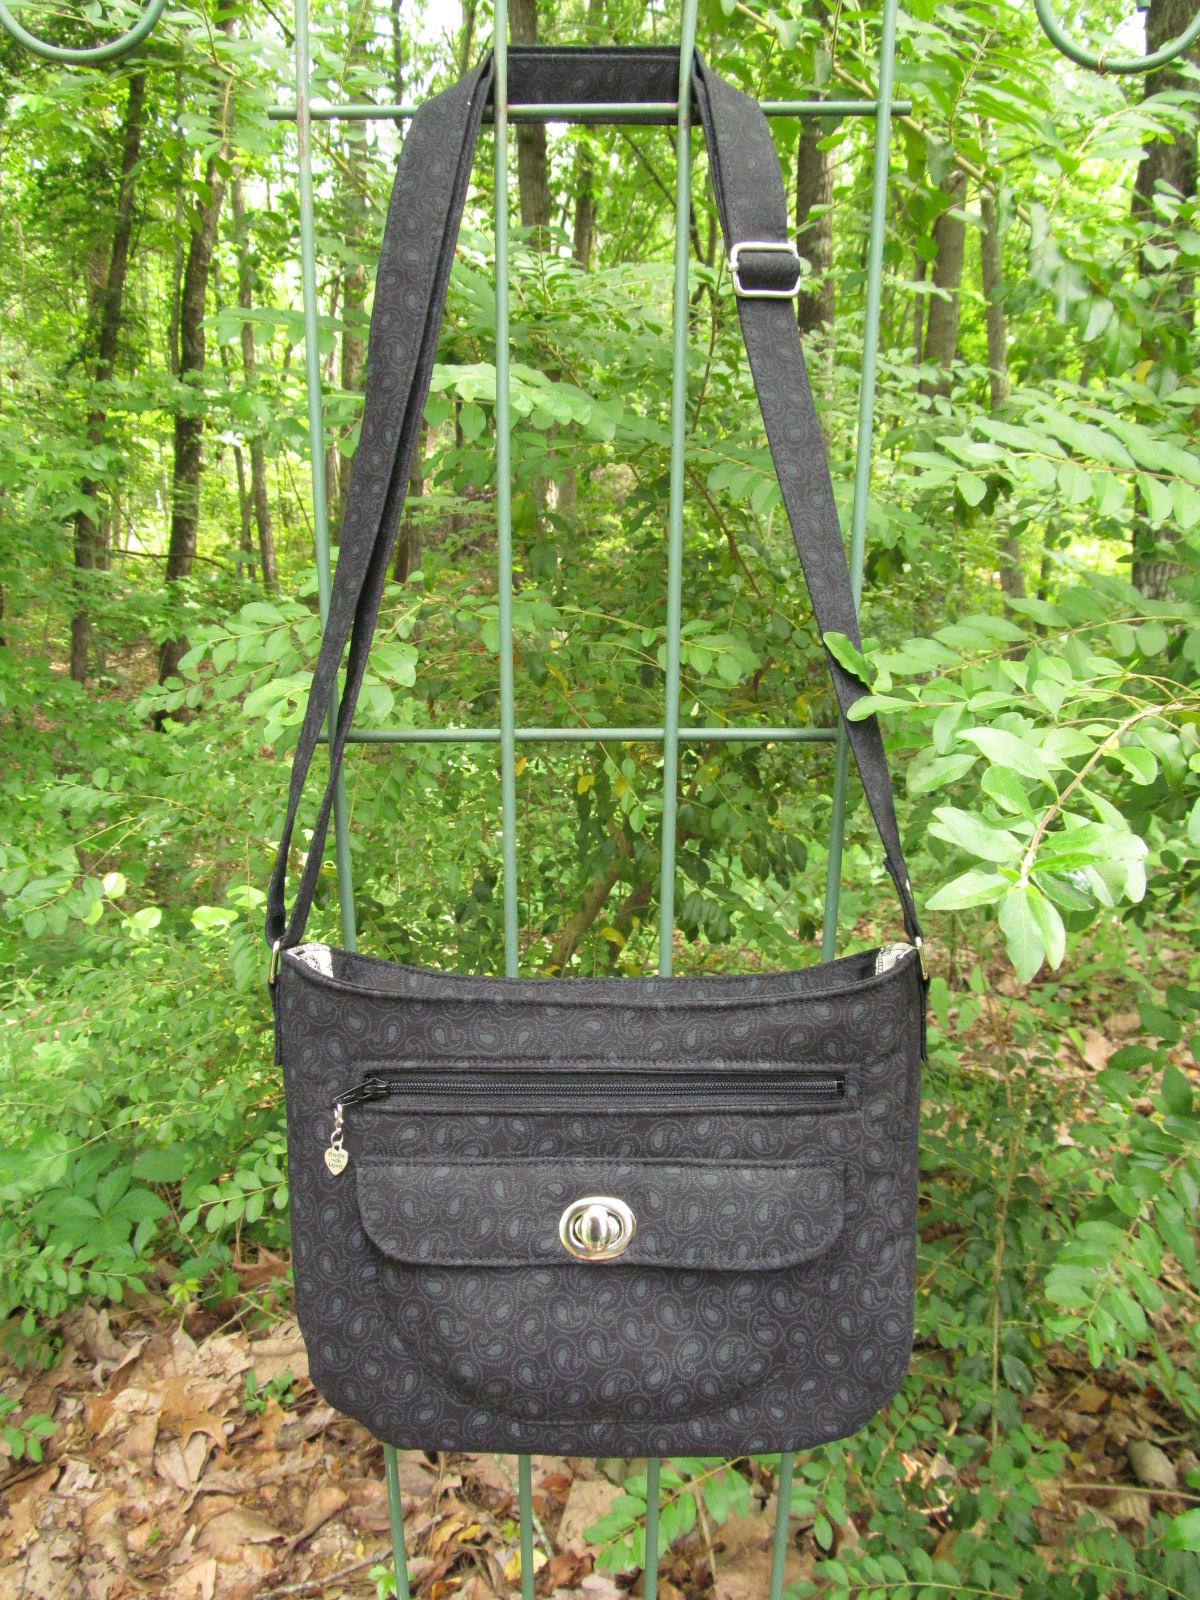
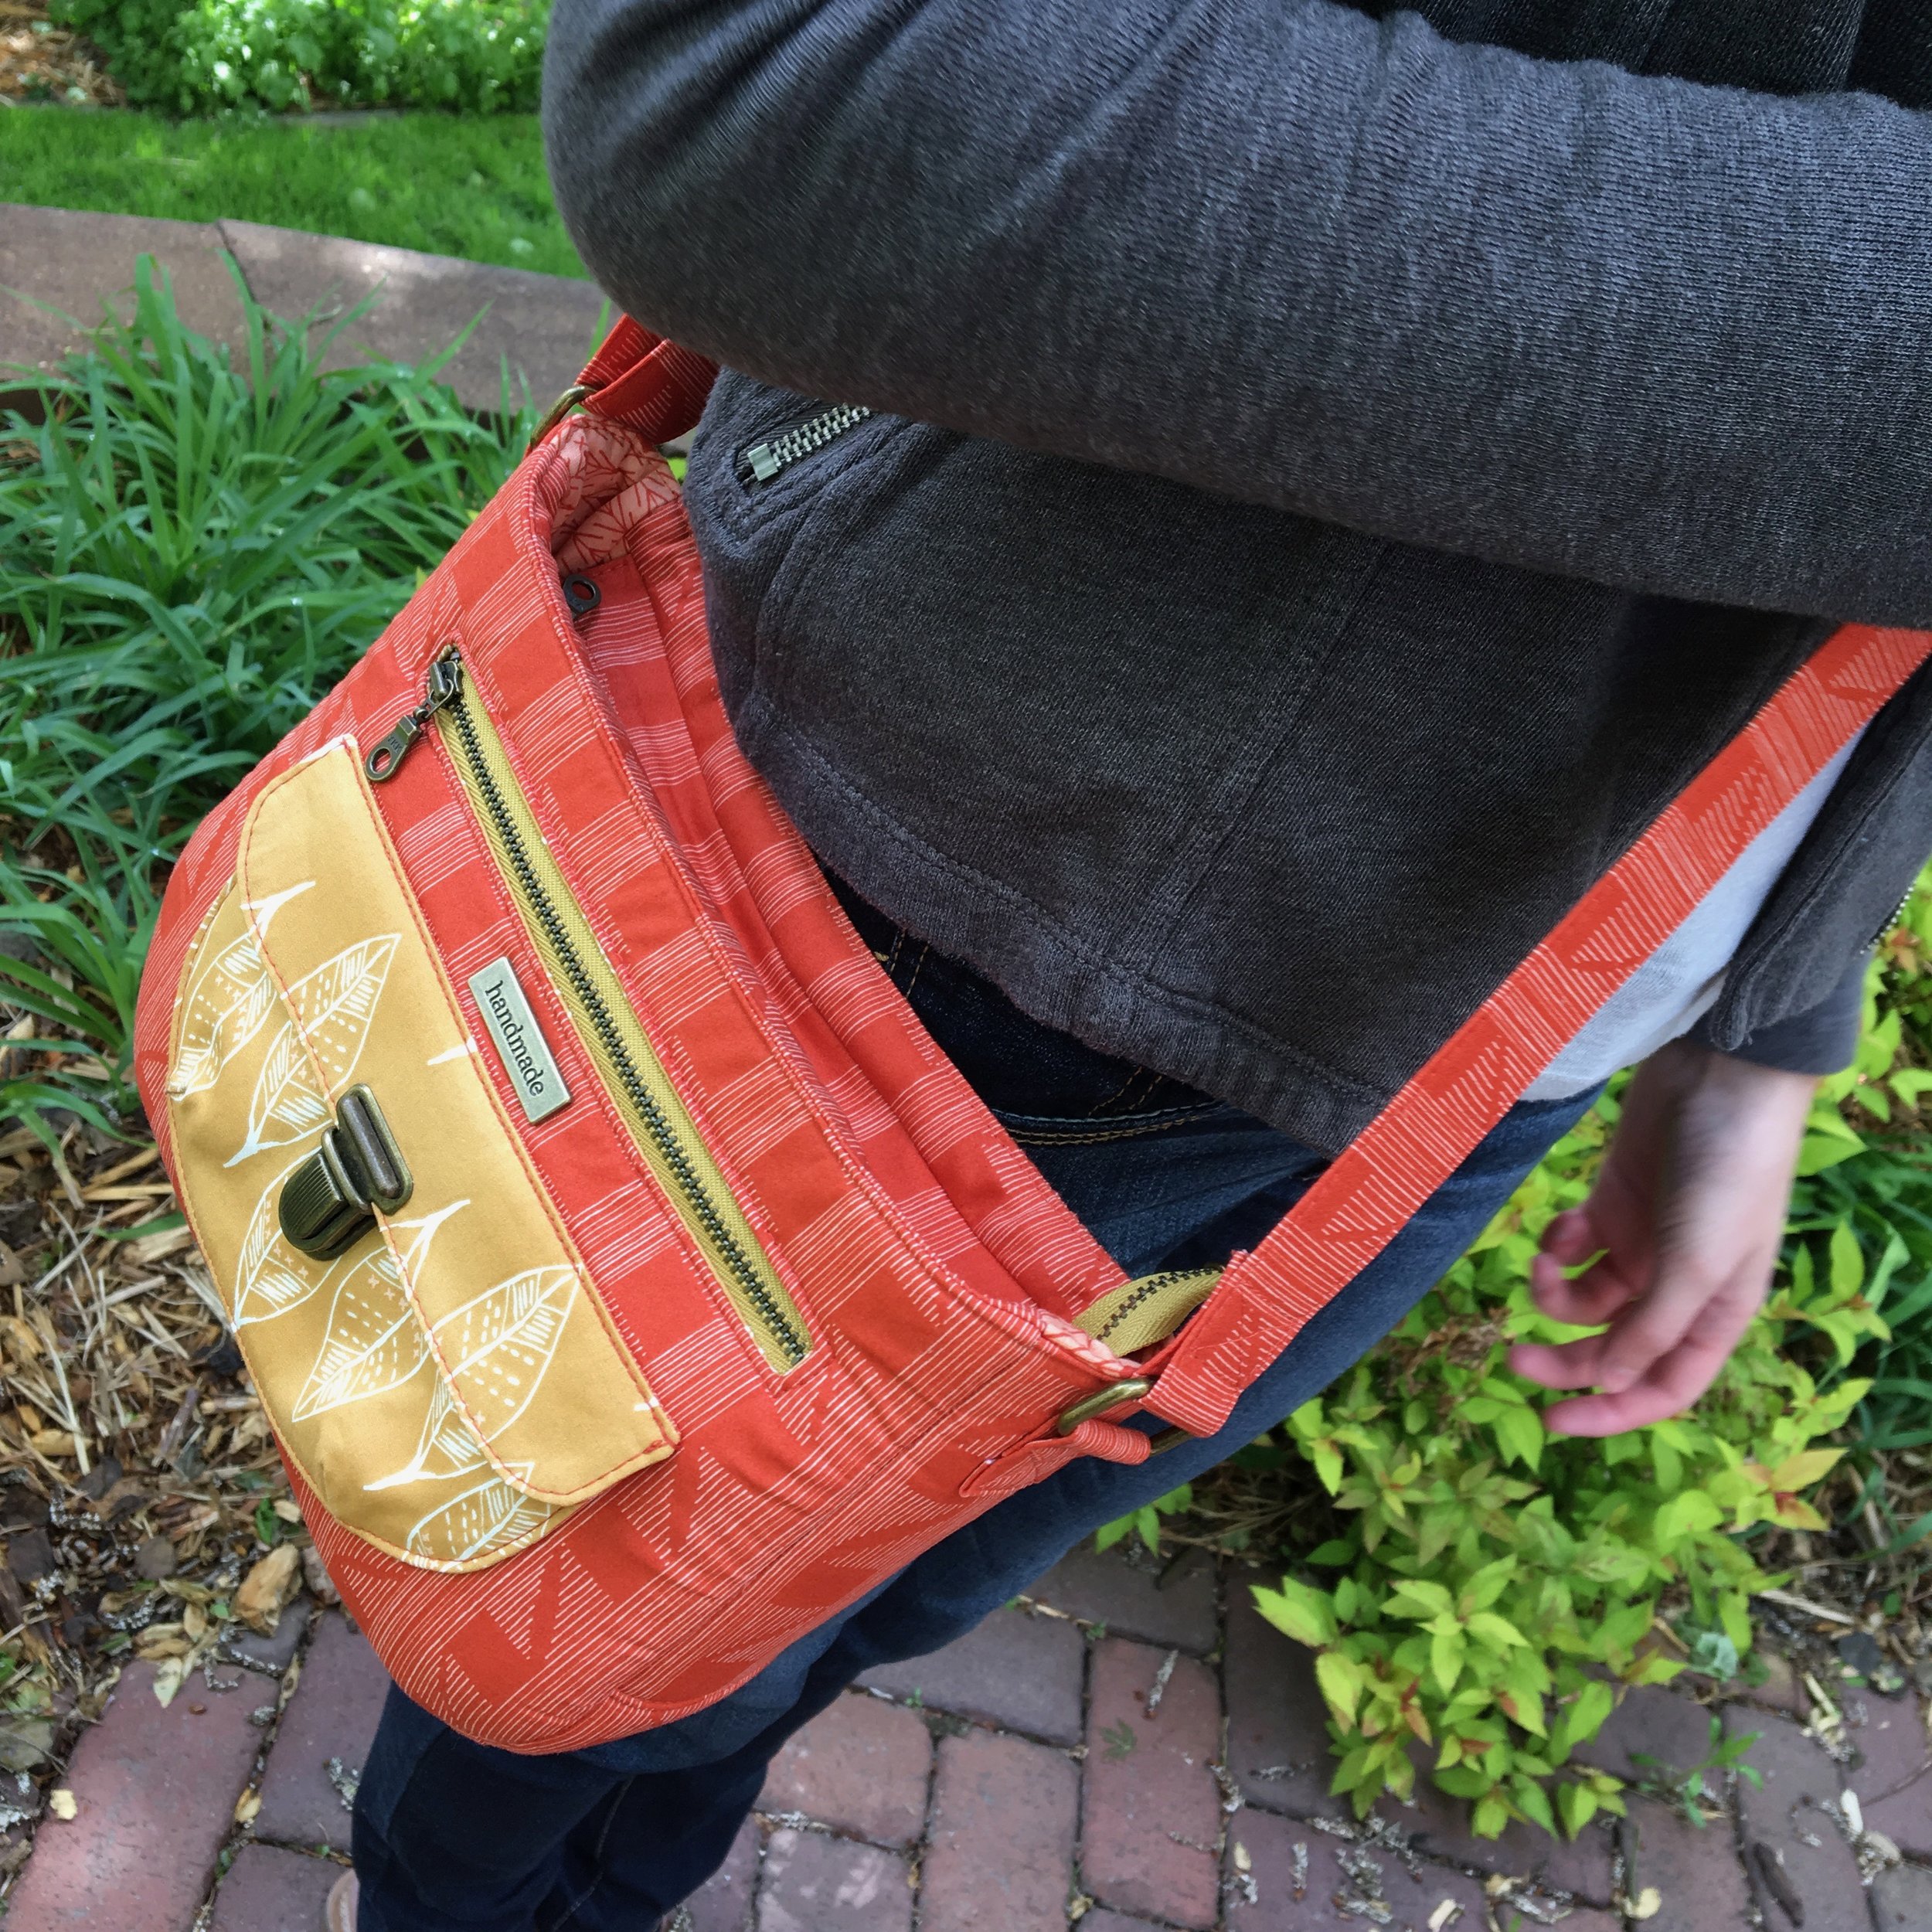
Here is a super classy version of the Aspen Crossbody that Shanel Chute of Sanitys Boutique made! The Aspen Crossbody has a more sophisticated look when the front pocket is the same fabric as the main part of the bag. Shanel made the small size and used a twist lock for the closure on the front pocket flap which really dresses it up! The pattern has instructions for installing a magnetic snap, but adding a twist lock is a great variation.

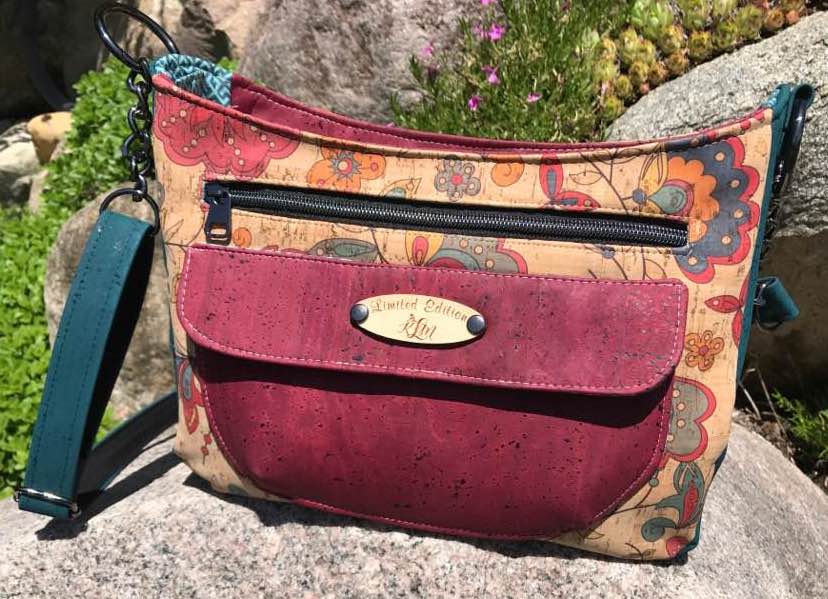
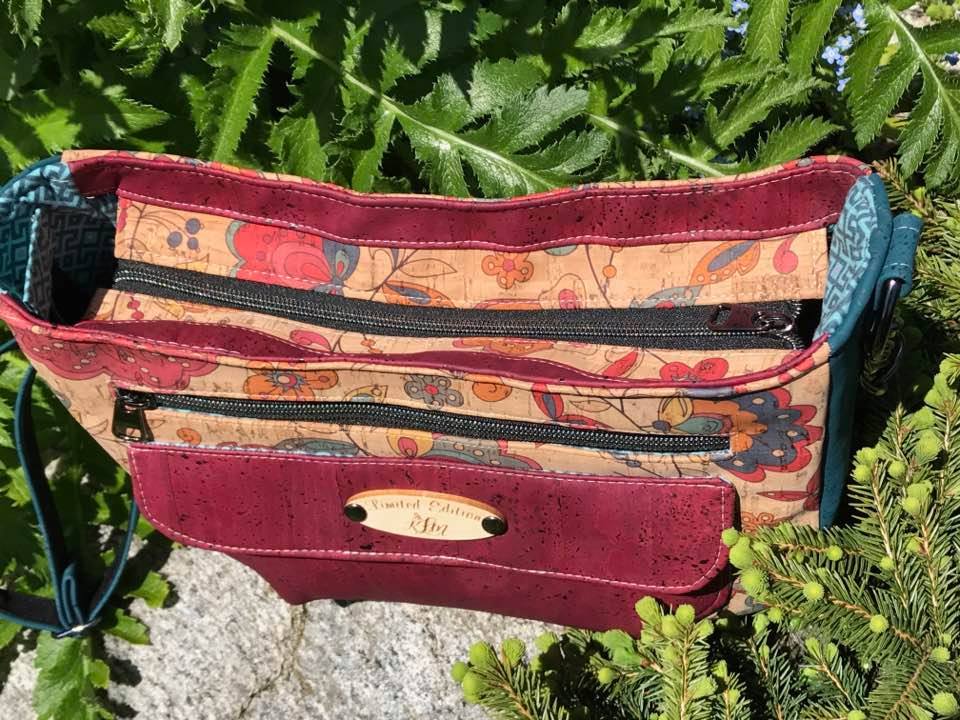
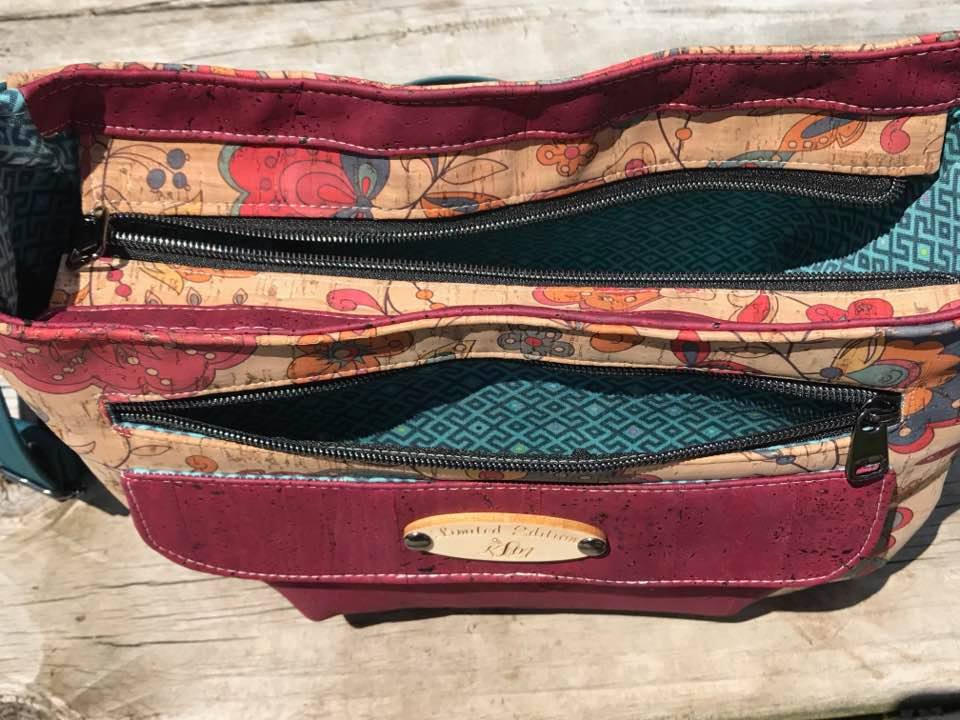
Wow - look at all that beautiful cork fabric! The three different cork fabrics all coordinate so well and make this Aspen Crossbody really stand out. Kate Maryon of KatydidKLM made this gorgeous large-size Aspen Crossbody. Kate made the shoulder strap removal by using gate rings and she used rivets to attach the strap connectors. 

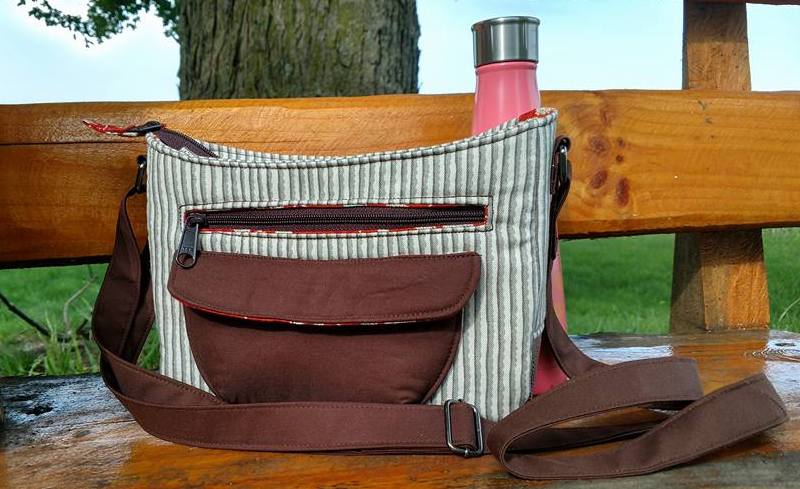
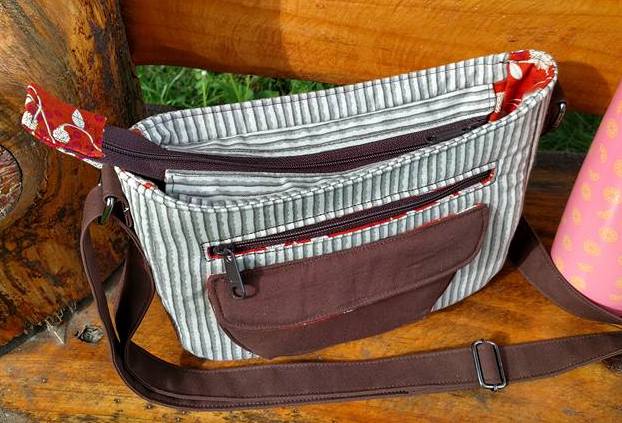
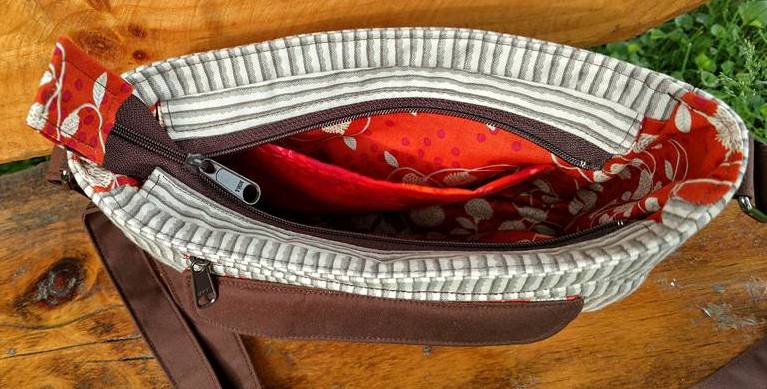
Jenniffer Howling made this cute Aspen Crossbody. I love how the red fabric that Jenniffer used for the lining really pops against the tan and brown fabrics! Jenniffer made the small size Aspen Crossbody.

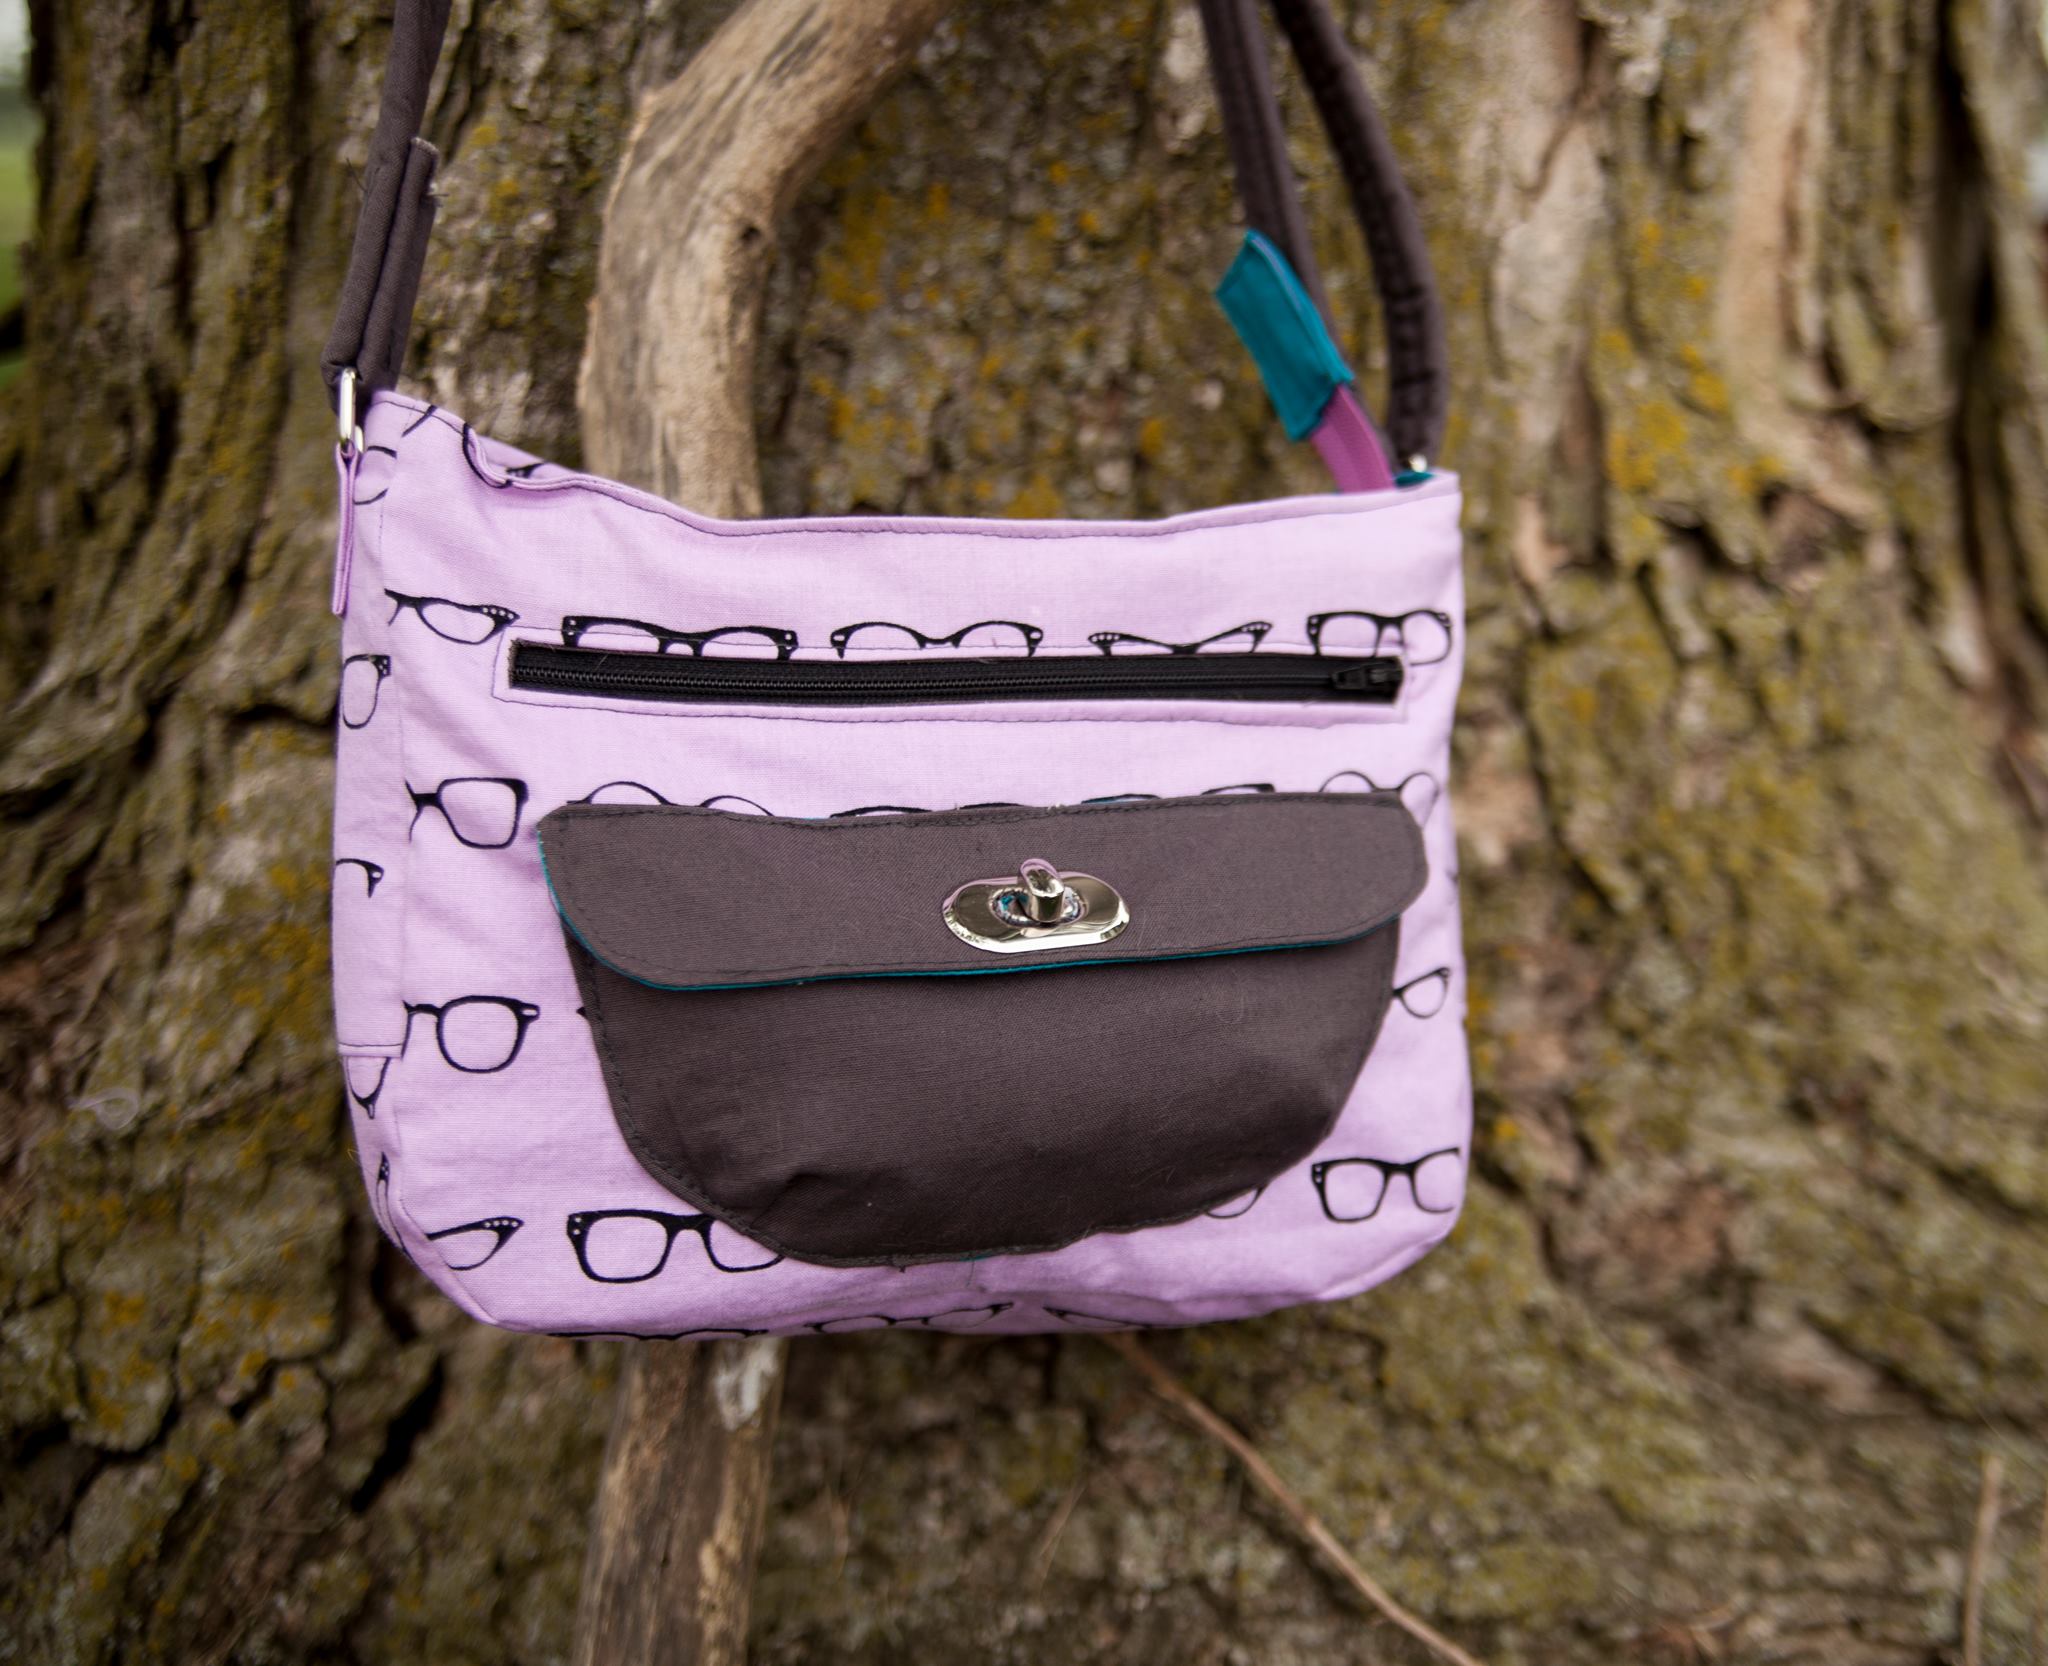
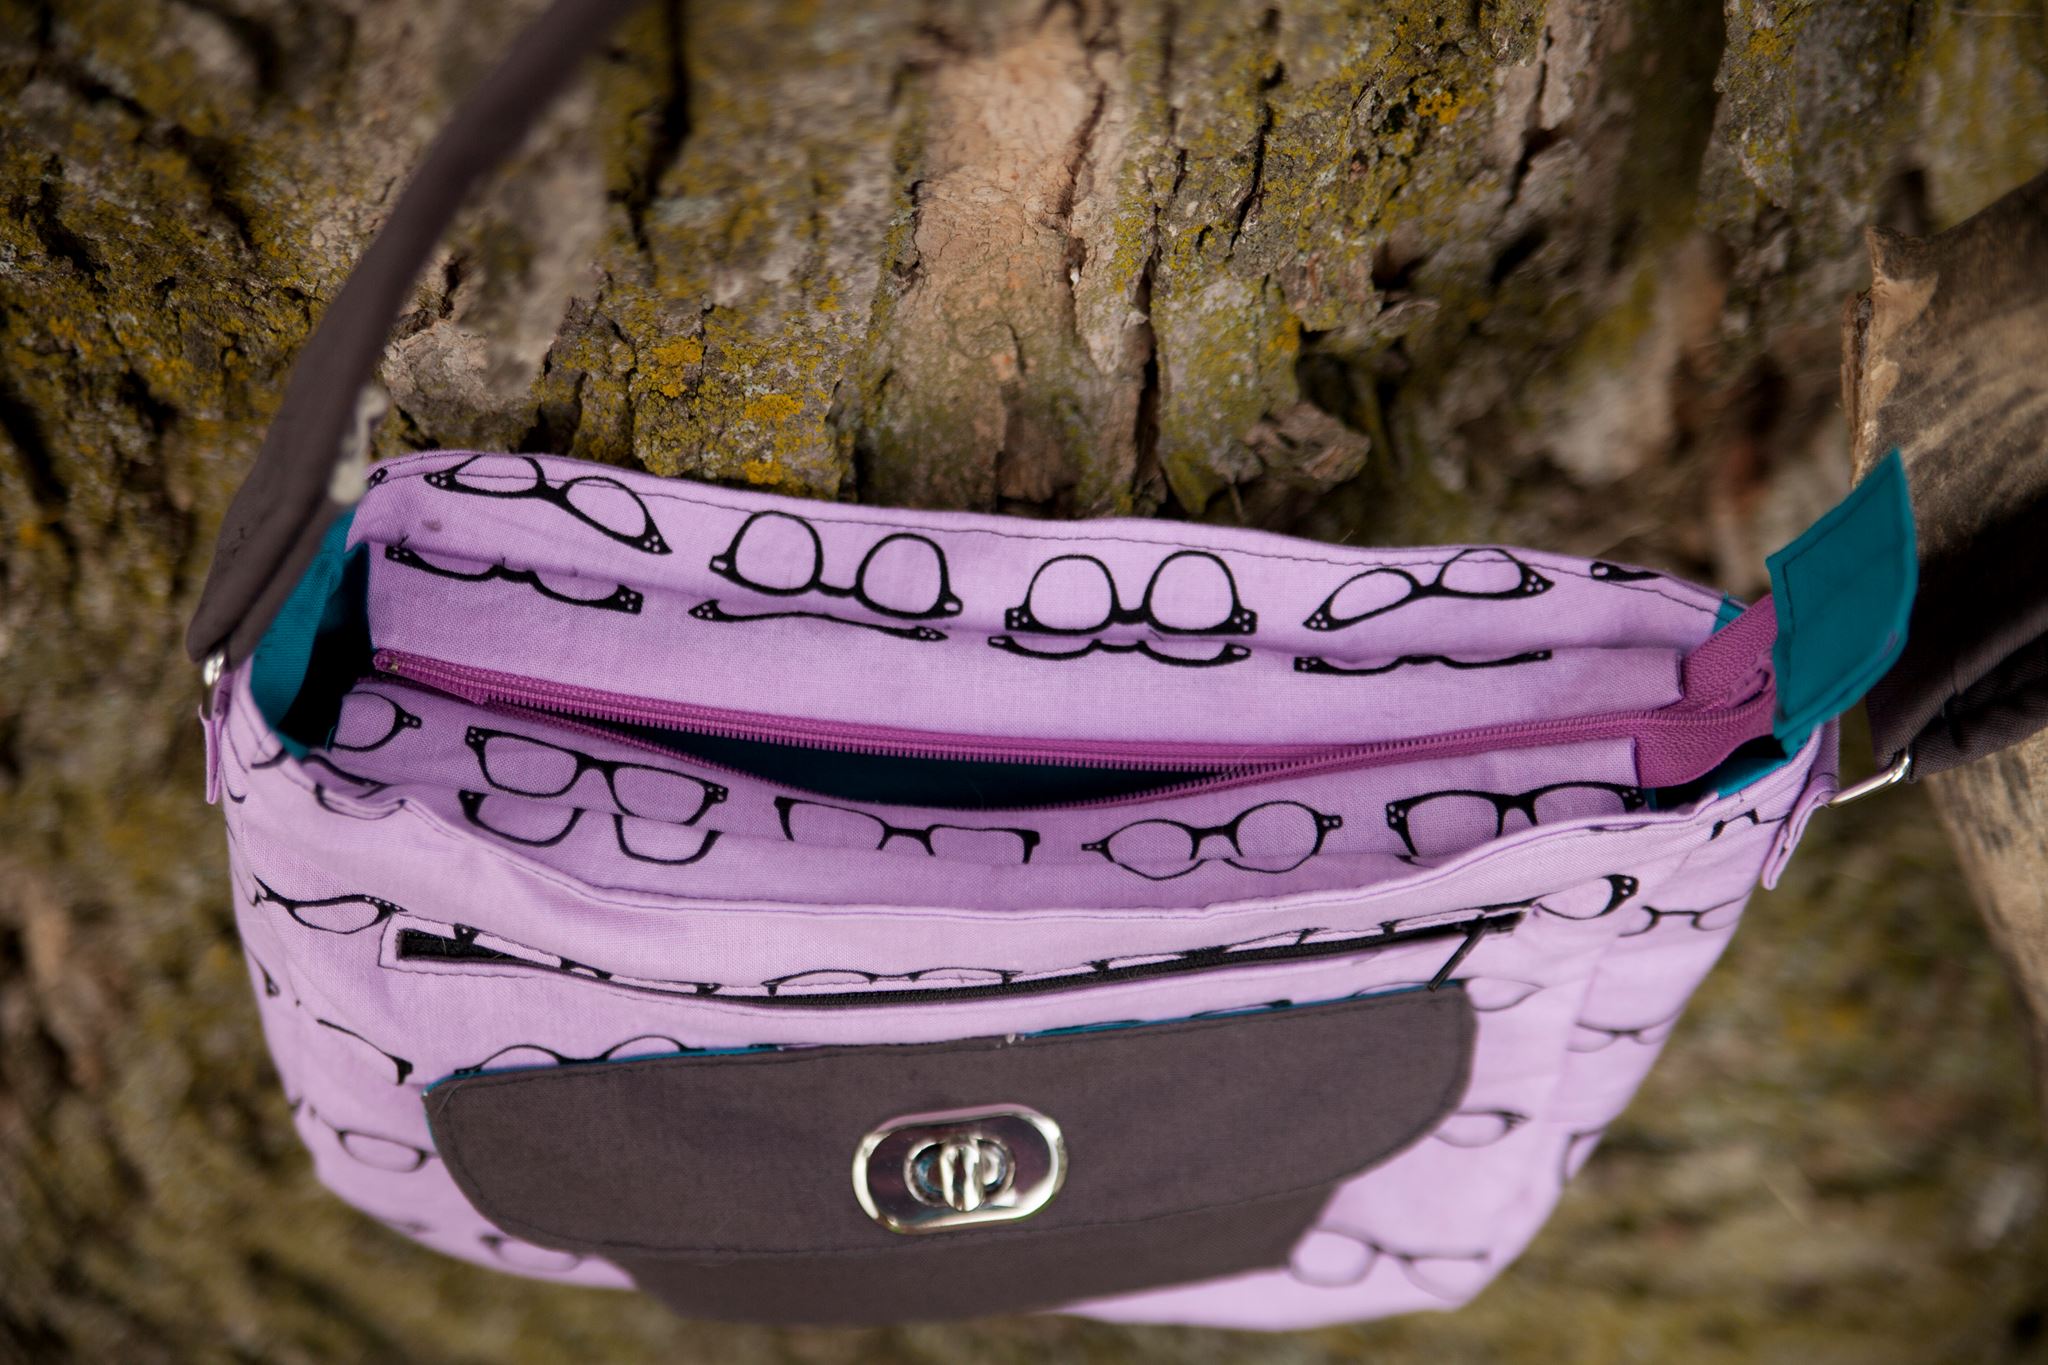
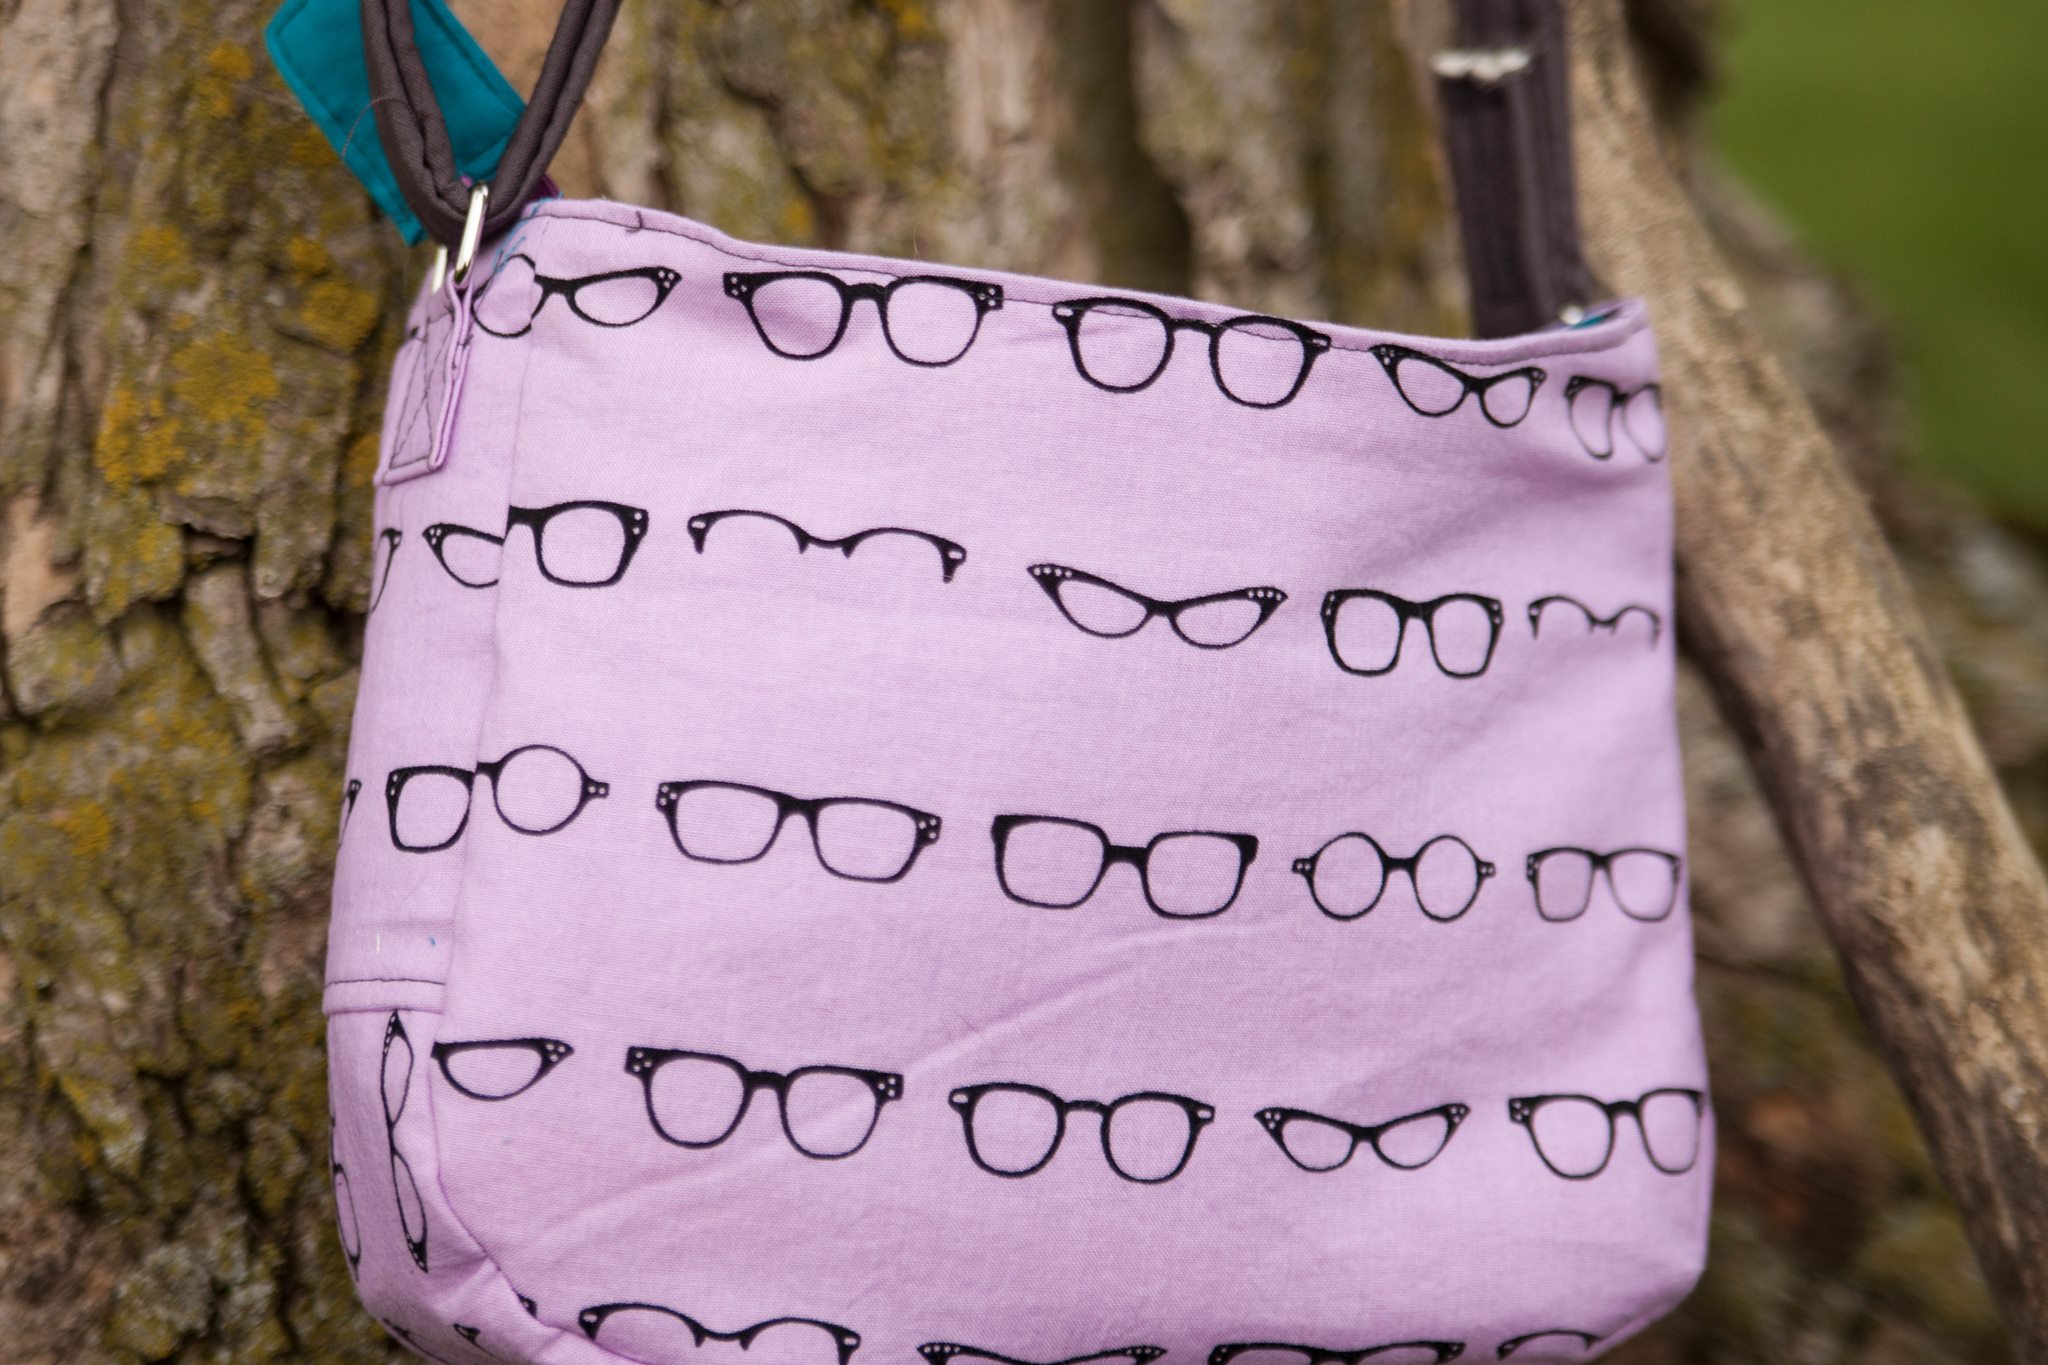
This adorable Aspen Crossbody was made by Leah Broadstreet. Don't you just love that glasses fabric - it is so perfect on this bag! The teal fabric Leah used for the lining on her small Aspen Crossbody is a fun contrast to the pink glasses fabric!

Make sure to comment on the posts that look like this if you want to be entered in the giveaway to win an Aspen Crossbody Bag pattern!

Make sure to comment on the posts that look like this if you want to be entered in the giveaway to win an Aspen Crossbody Bag pattern!

I am so excited about the Aspen Crossbody Bag that I want to celebrate with a little giveaway! You will have three chances to win an Aspen Crossbody Bag pattern. To enter for your chance to win, comment on the "giveaway" posts on Instagram, on the Uniquely Michelle Facebook Page and on the Uniquely Michelle Facebook Group. The posts look like the one pictured above. I will randomly draw one lucky winner from each social media post this Saturday, May 27 at 5:00 MST. Good Luck!!!
If you're ready to make your own Aspen Crossbody Bag, you can purchase the pattern from the Uniquely Michelle Website Shop, the Uniquely Michelle Etsy Shop, or the Uniquely Michelle Craftsy Pattern Shop

Please share pictures of your beautiful Aspen Crossbody Bag creations on Instagram (#uniquelymichelle #aspencrossbody) and in the Uniquely Michelle Sewing Patterns Facebook Group (a fun place to share you Uniquely Michelle creations and see other's creations too). You can follow Uniquely Michelle on Instagram and on the Uniquely Michelle Facebook Page.

Don't forget to sign up for the newsletter below!

Sign up to receive email newsletters from Uniquely Michelle:

The Aspen Crossbody Bag- A New Pattern

Michelle Burke

I am so excited to announce the release of a new Uniquely Michelle bag pattern, the Aspen Crossbody! This bag has been in the works for a long time, but it is finally ready for its big release today!

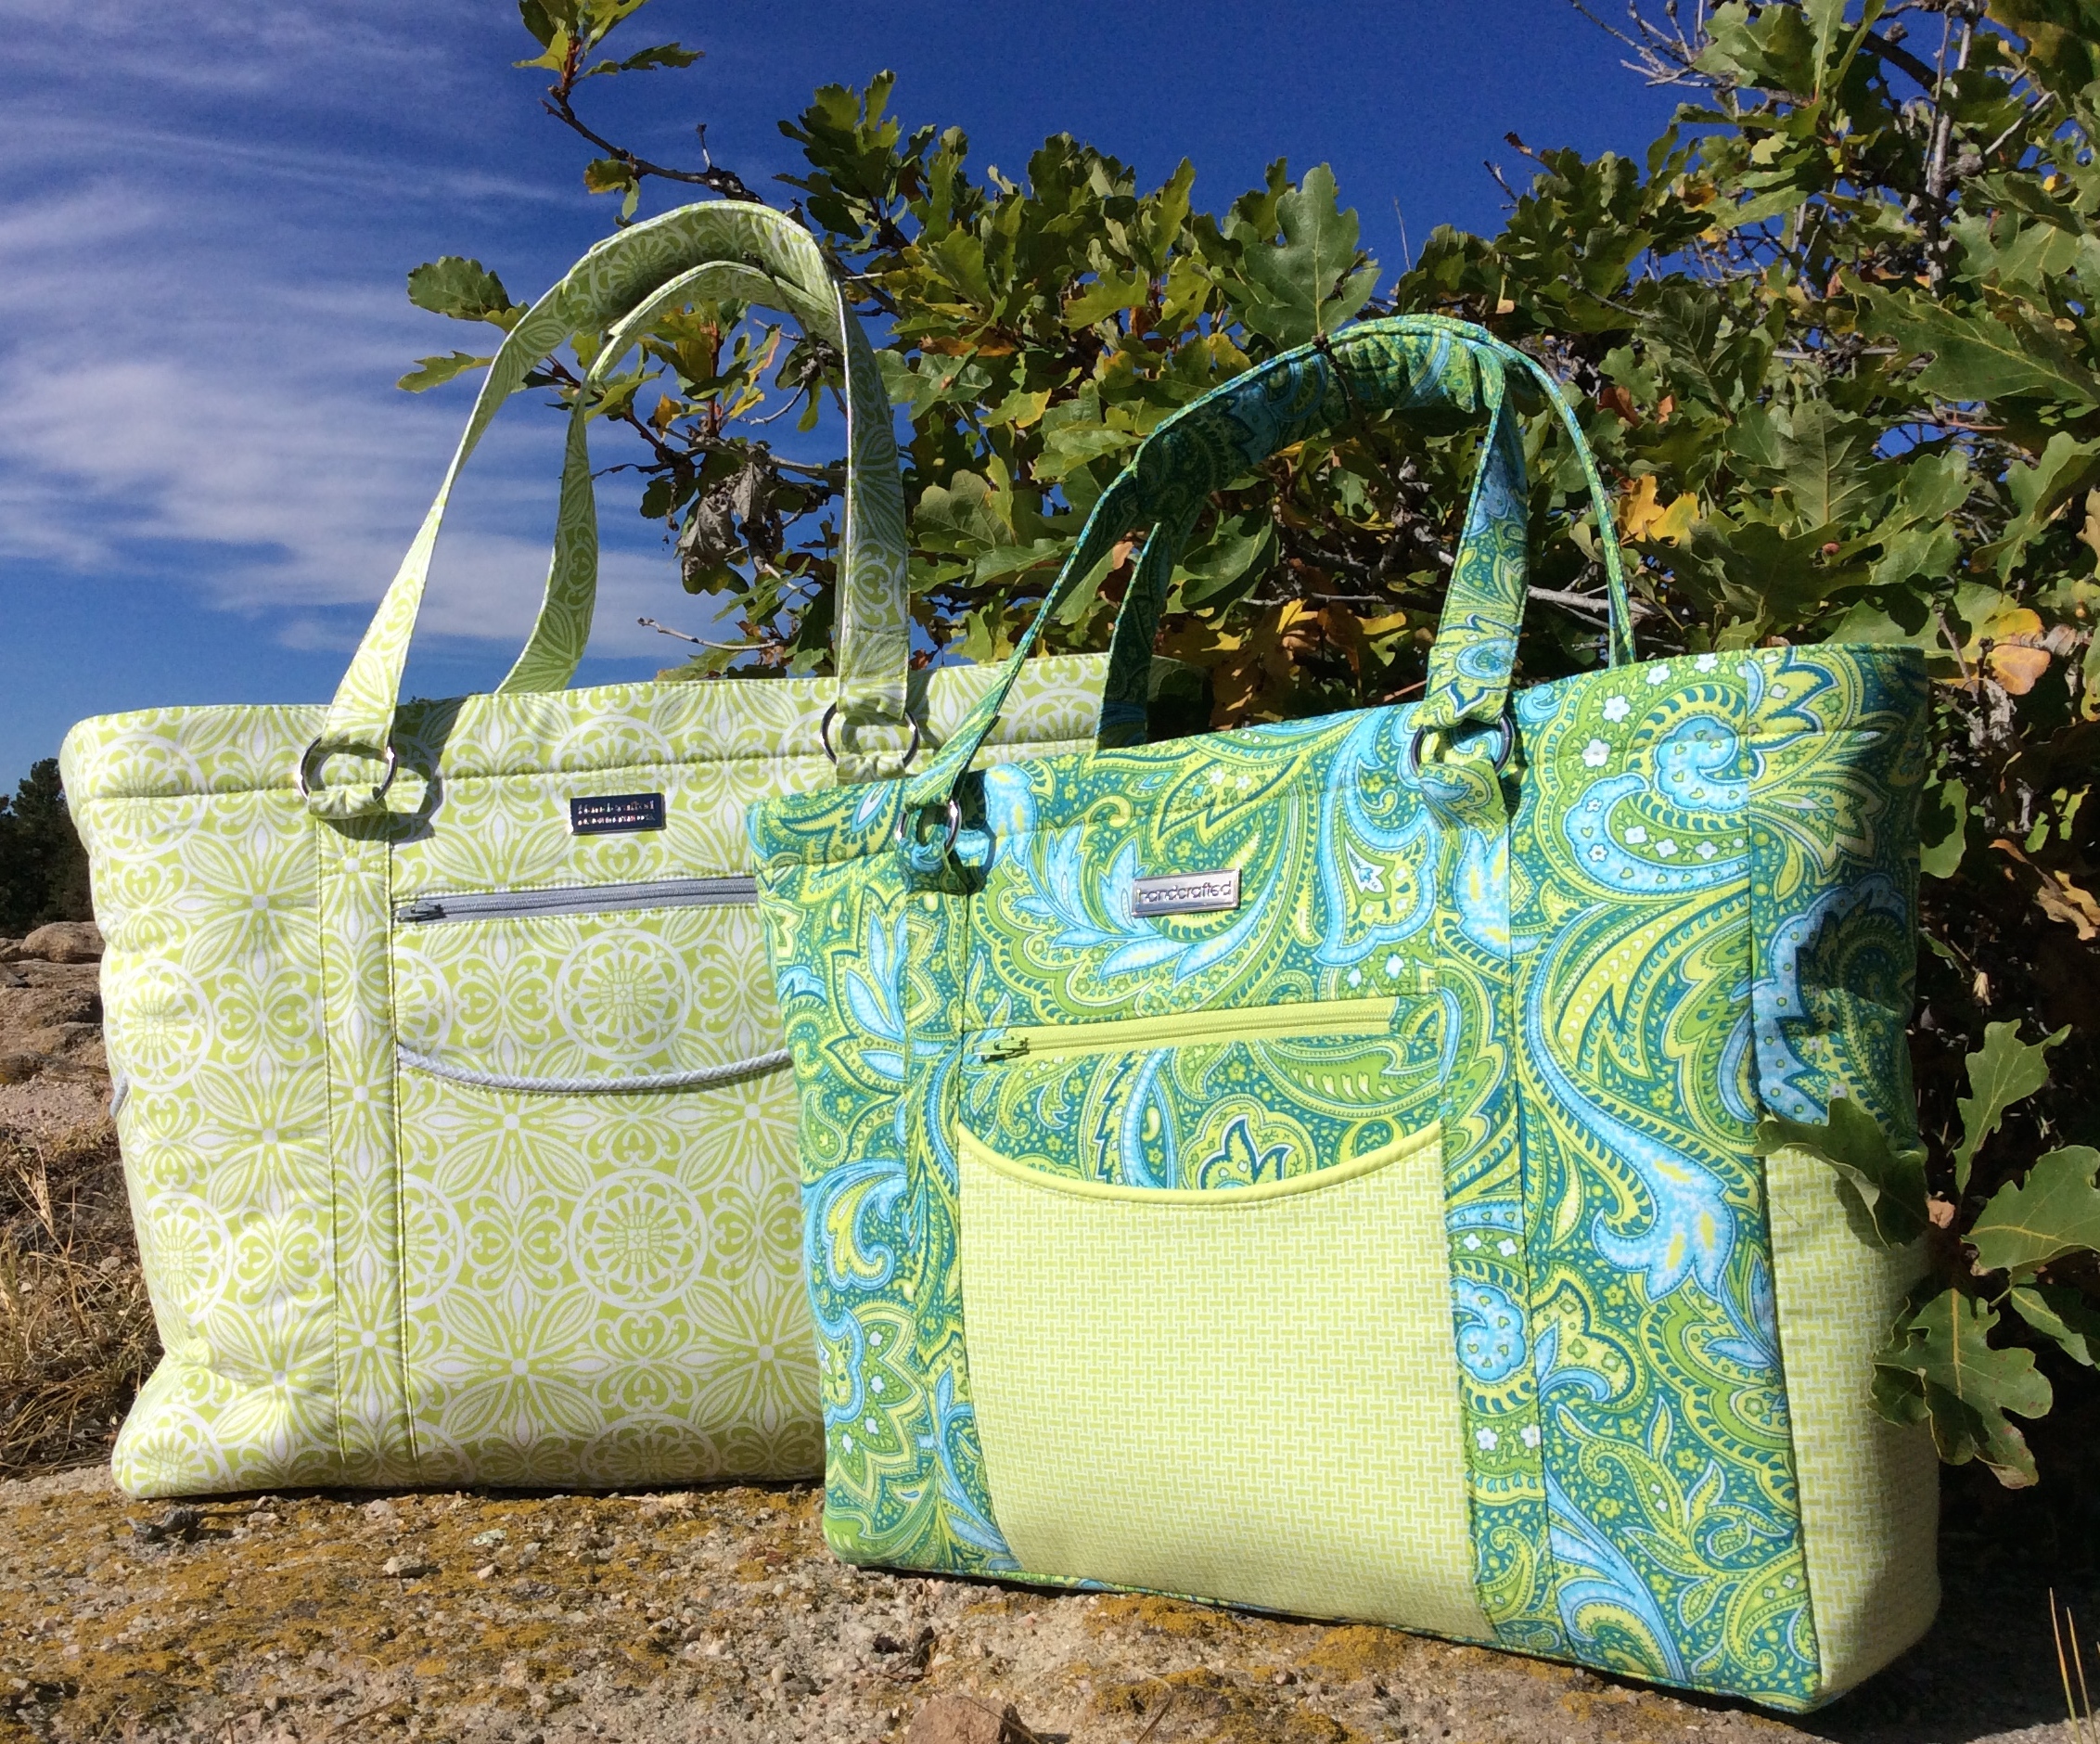
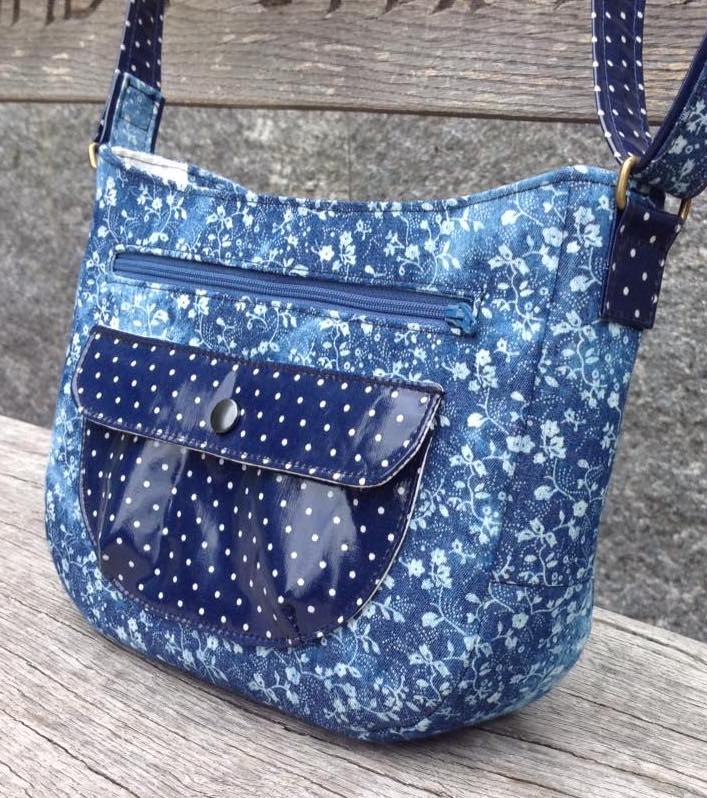
The Aspen Crossbody can be made in two sizes and works well as a crossbody bag, but with its adjustable strap can also be worn as a shoulder bag. The Aspen Crossbody Bag on the left below is the large size, the one on the right is the small size.

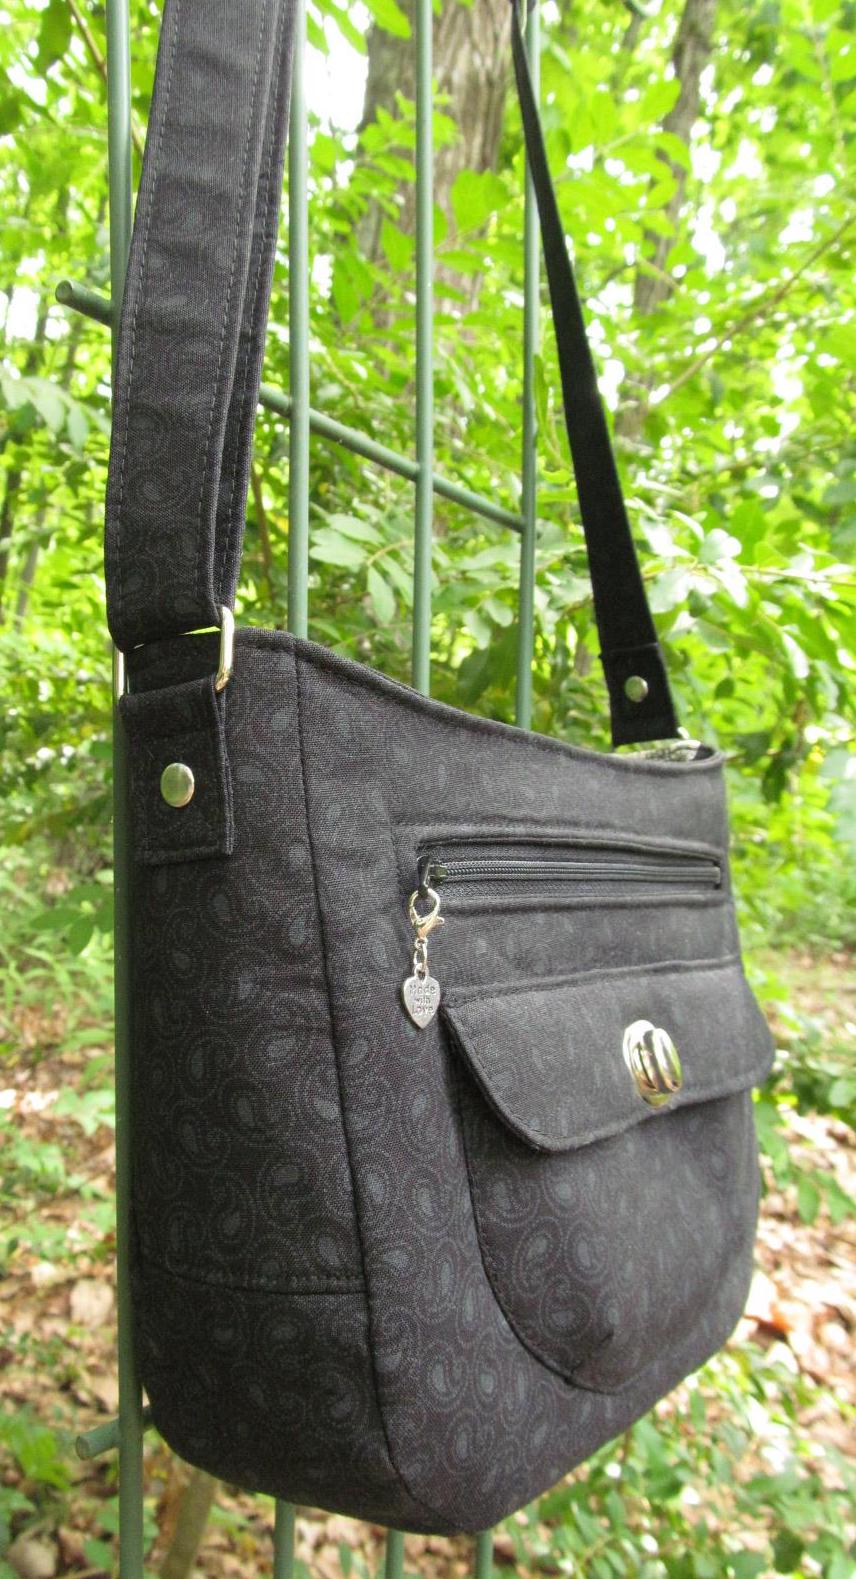
It has two exterior pockets, one zip pocket and one slip pocket that has a flap closure. The front pocket with the flap closure is a perfect place to put your cell phone keeping it easily accessible. The front pocket is perfect add a favorite fabric since the front pocket is a feature on the Aspen Crossbody. The pattern includes instructions for installing a magnetic snap, but a wide variety of closures would look great on the front pocket!

Above the main front pocket there is a zip pocket. I like a lot of pockets to keep everything organized and I love having this zip pocket on the front of the Aspen Crossbody not only because I can find items easily, but also because it is fun to have the zipper add a little pop of color to my bag!

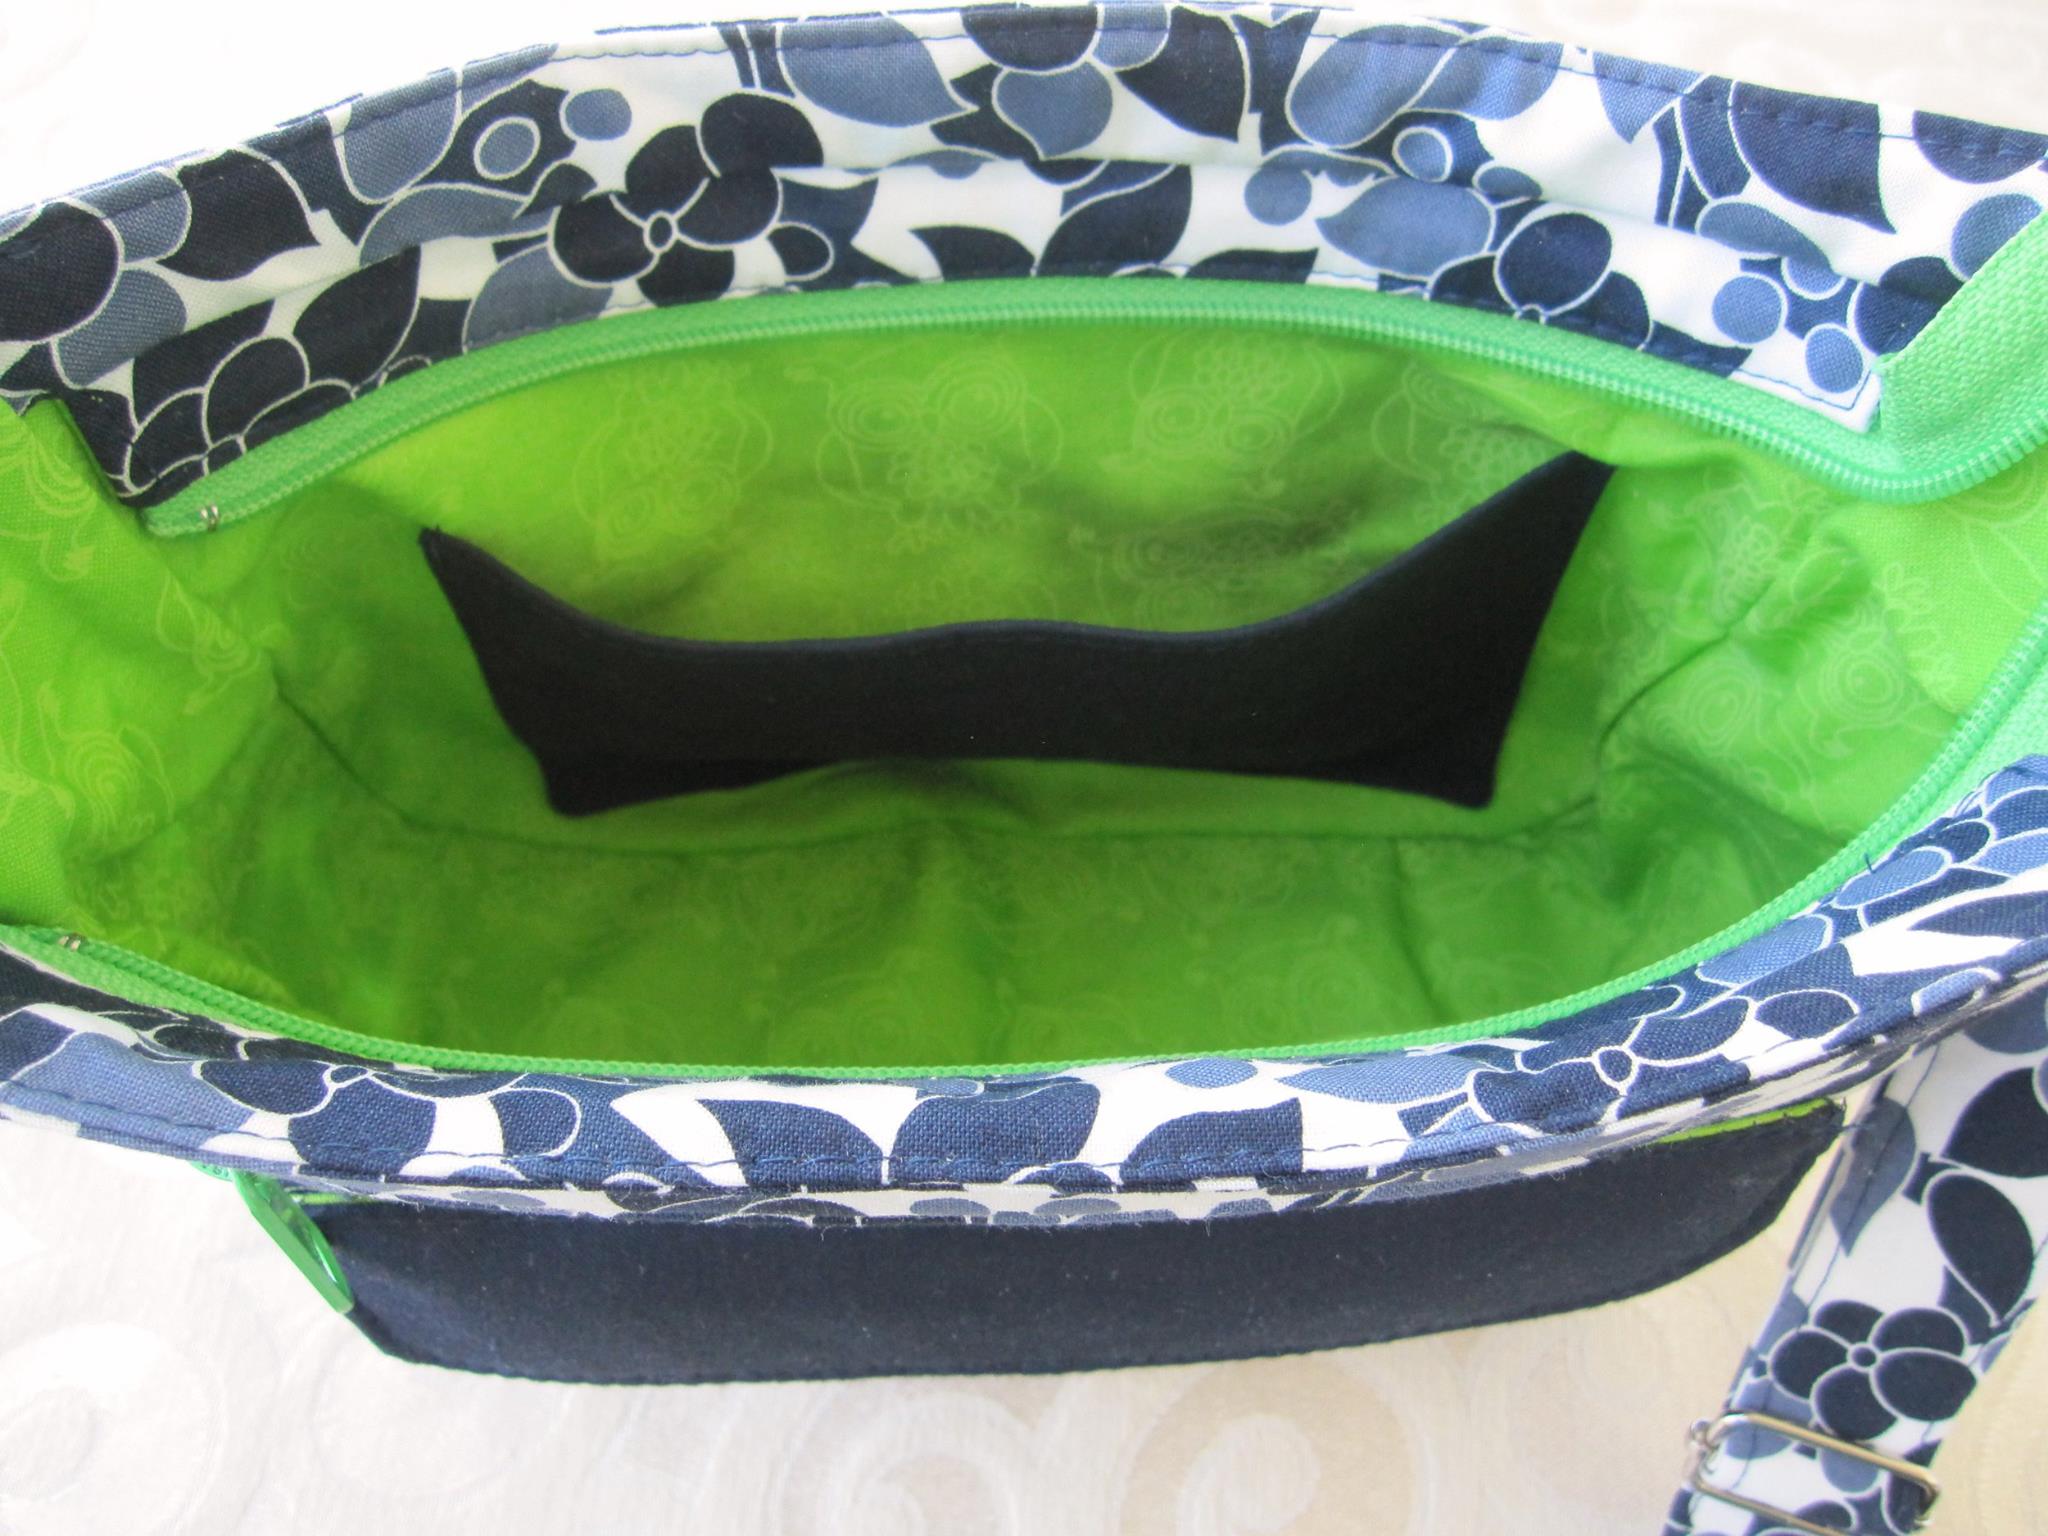
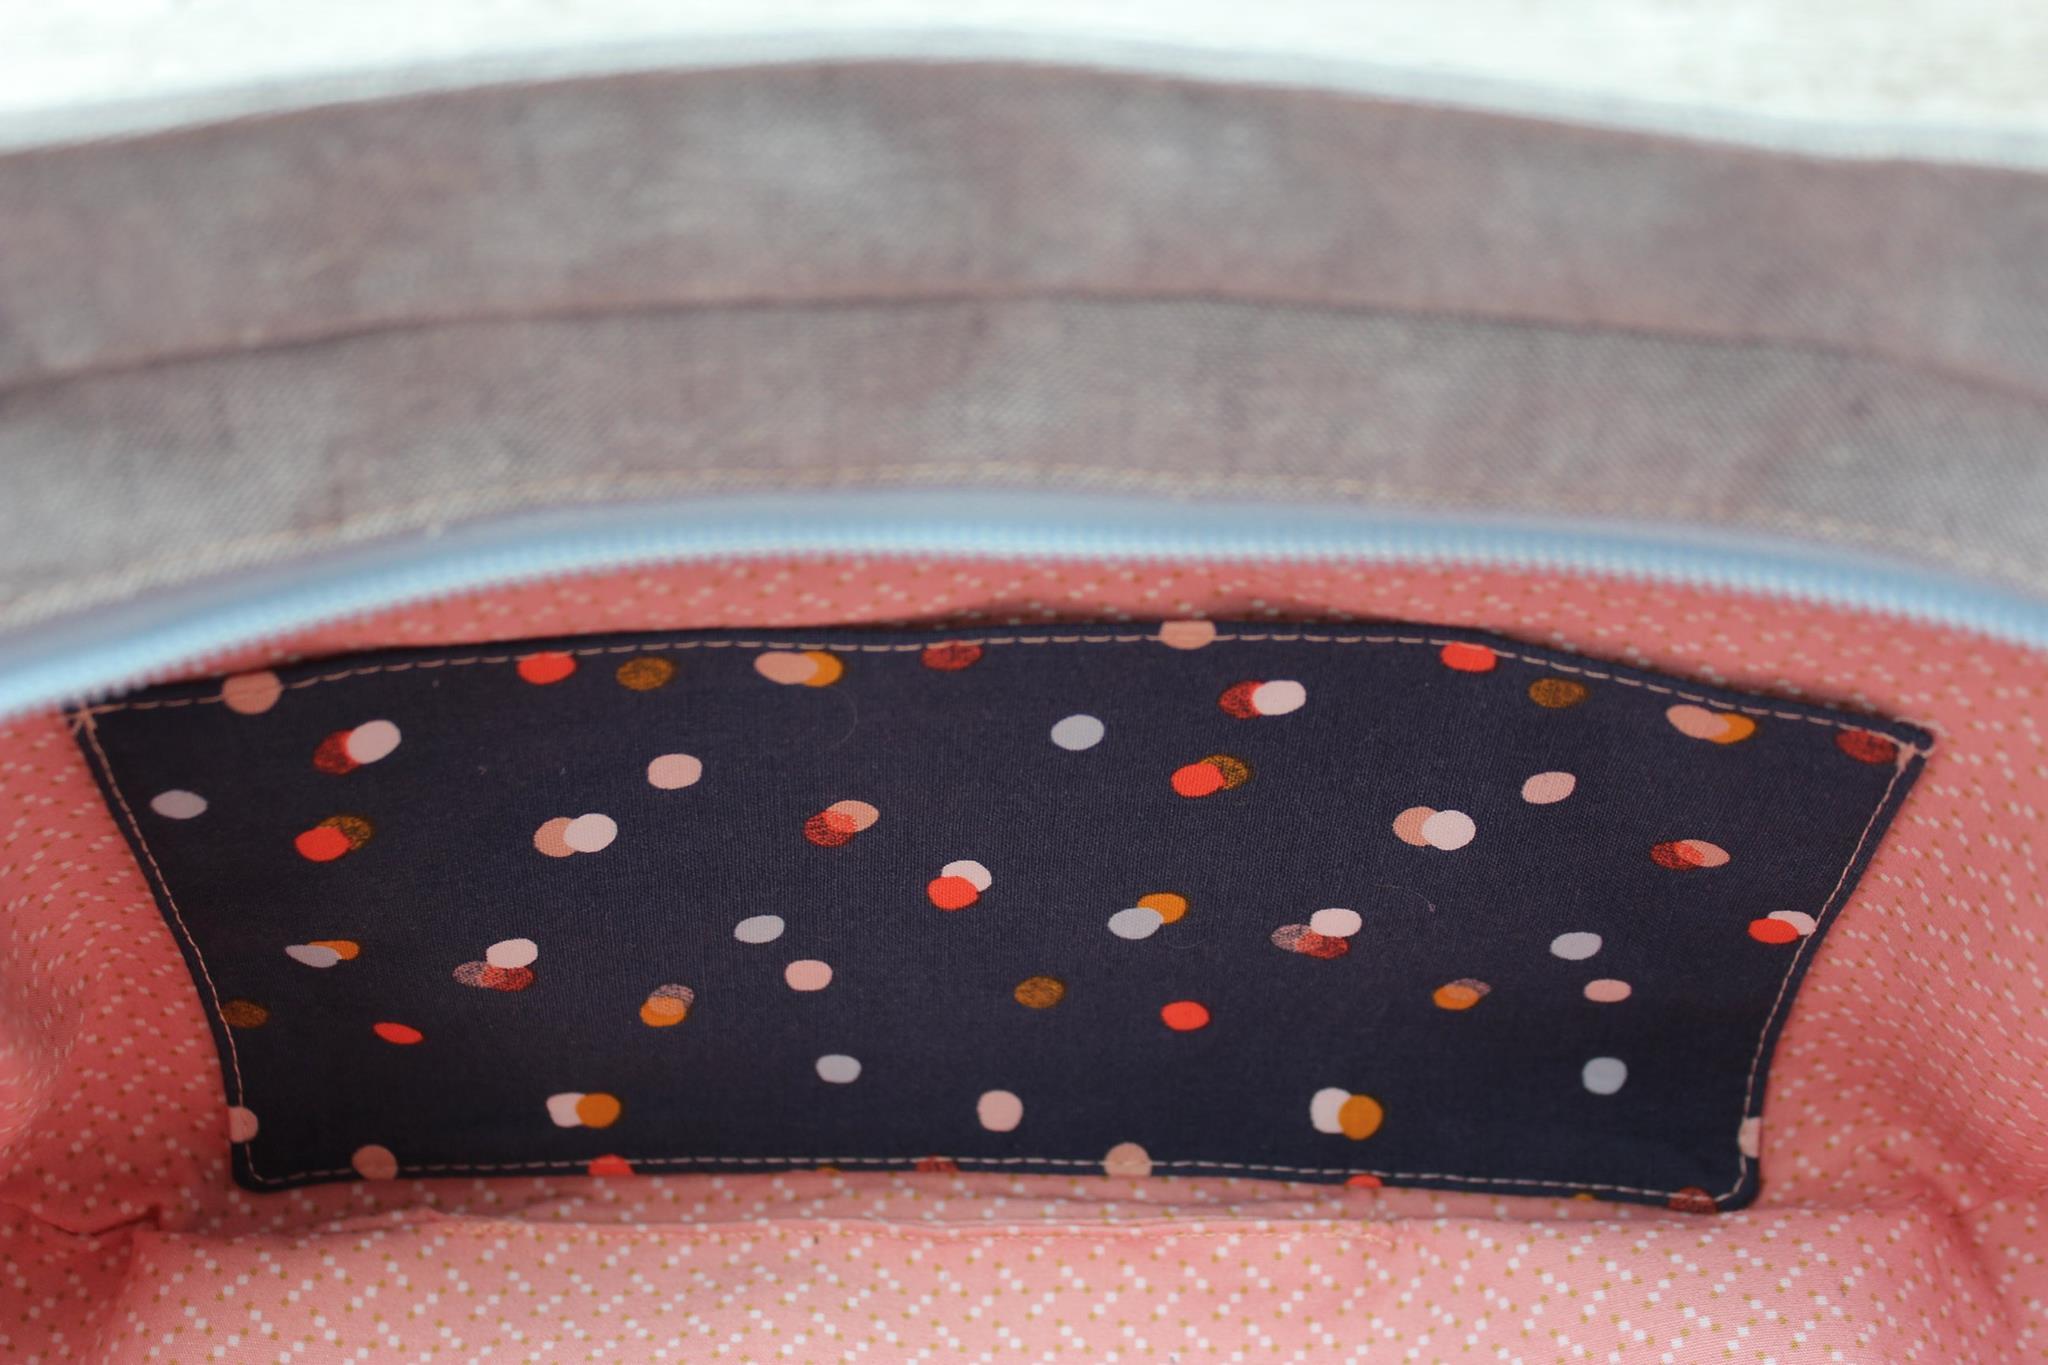
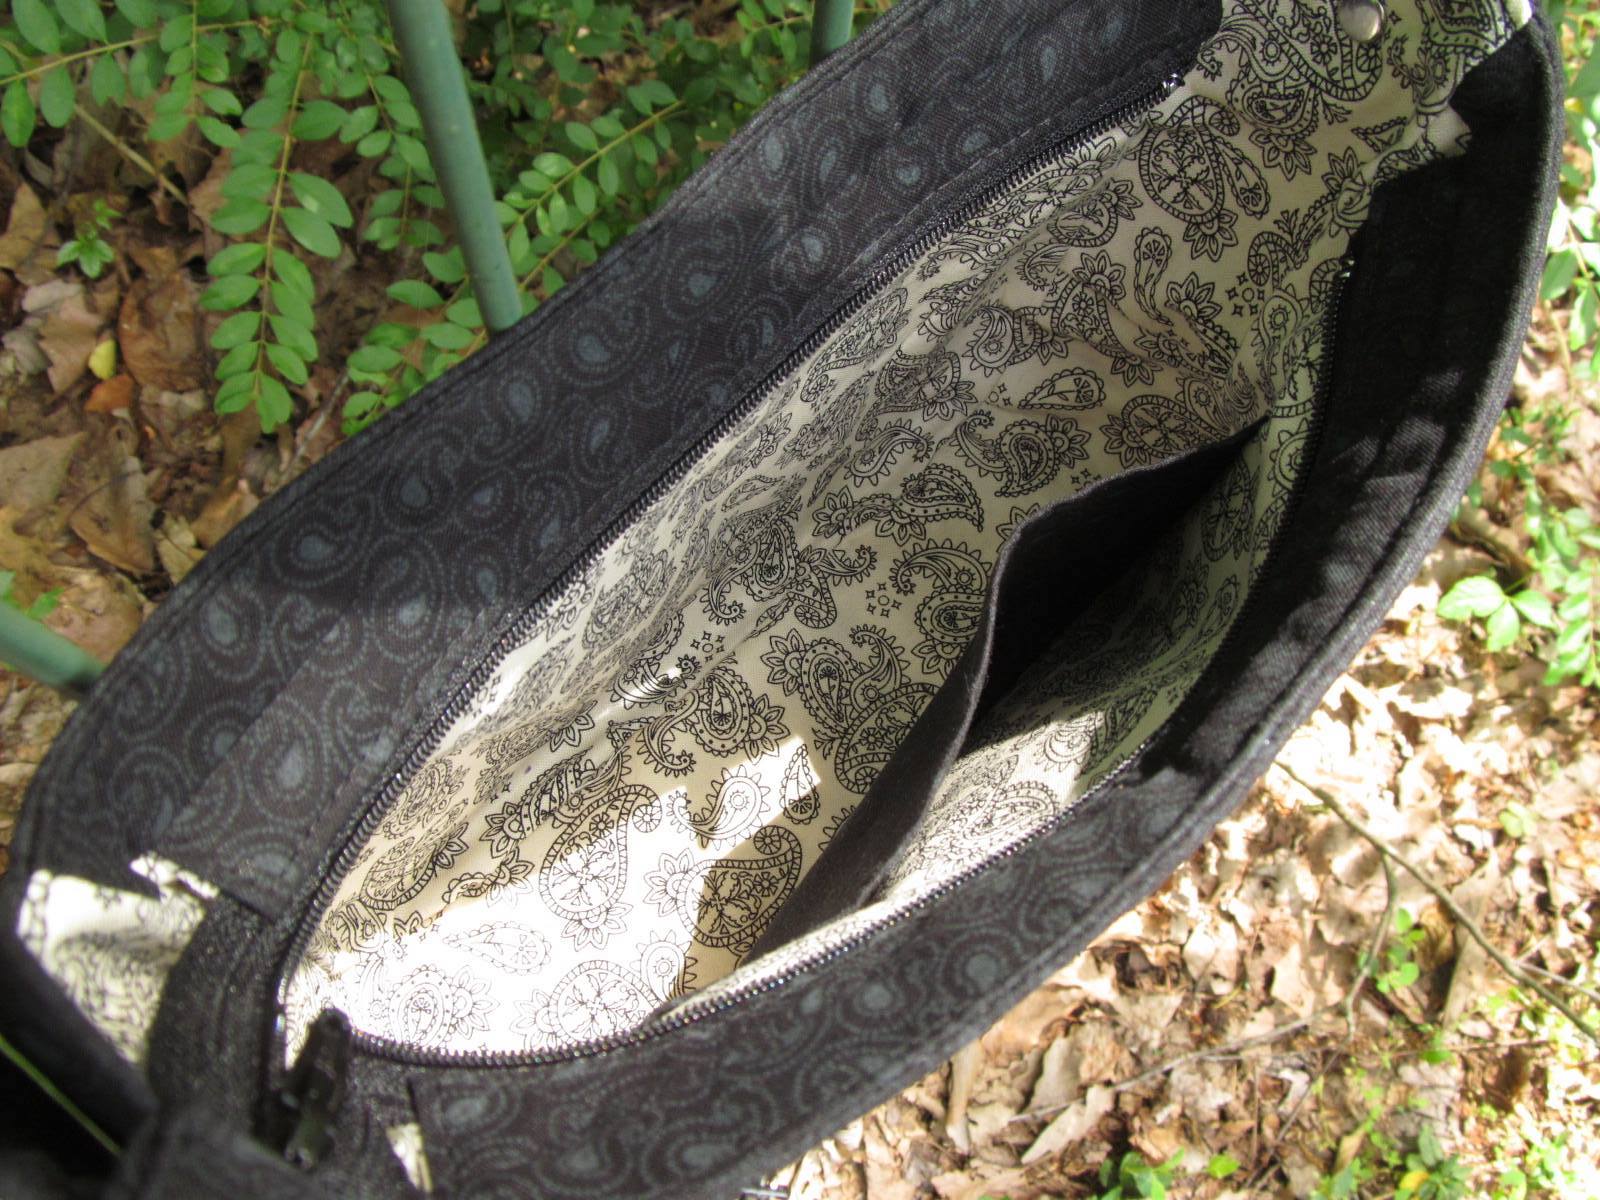
The third pocket is a slip pocket on the interior of the Aspen Crossbody.

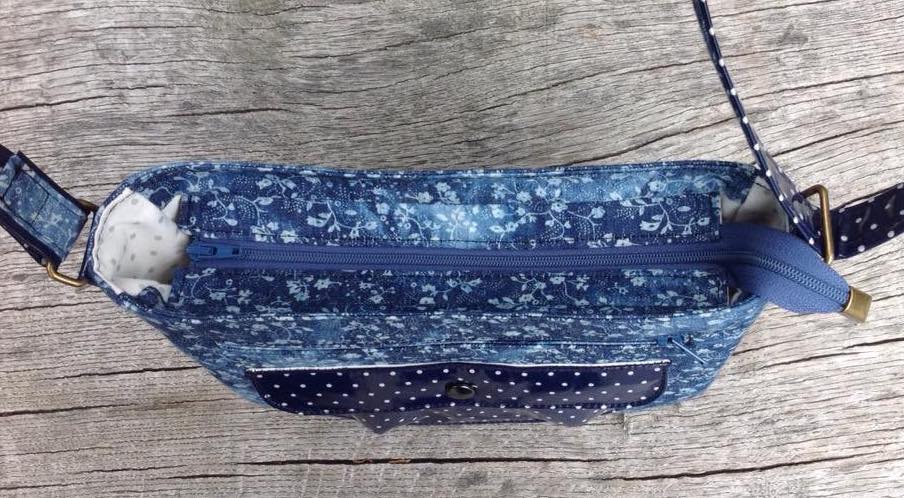
To keep everything on the interior of a bag secure, I like being able to close my bags with a zipper and the Aspen Crossbody has a recessed zipper to do just that. 

The small Aspen Crossbody (9" wide, 7" high, 2 1/2" deep) is perfect for someone who doesn't like carrying a lot of extras, but needs room for a wallet, phone and a few other items. It will carry enough to take on a day of running errands or a casual date with friends.

The Aspen Crossbody Bag on the left is the large size - it has a "Snappy" Edge Clasp from Emmaline Bags for a pocket closure. The Aspen Crossbody Bag on the right is the small size. The small Aspen Crossbody has a Tongue Lock from Emmaline Bags…

The Aspen Crossbody Bag on the left is the large size - it has a "Snappy" Edge Clasp from Emmaline Bags for a pocket closure. The Aspen Crossbody Bag on the right is the small size. The small Aspen Crossbody has a Tongue Lock from Emmaline Bags for a pocket closure.

The large Aspen Crossbody (11 1/2" wide, 9 1/2" high, 3 1/2" deep) is a great bag for a mom who needs to not only carry the essentials for herself, but some extras for kiddos too. It is a nice size bag without being too large to still work as a crossbody. 

Over the next couple of days, I will share my testers' beautiful Aspen Crossbody creations! You don't want to miss the pictures of the testers' bags - they will not only inspire you with their fabulous creations, but you will love their variations for the flap closure and the different types of fabric they used. I have the most amazing and creative testers! 

You can purchase the Aspen Crossbody Bag pdf pattern from the Uniquely Michelle Website Shop, the Uniquely Michelle Etsy Shop, or the Uniquely Michelle Craftsy Pattern Shop

Please share pictures of your beautiful Aspen Crossbody Bag creations on Instagram (#uniquelymichelle #aspencrossbody) and in the Uniquely Michelle Sewing Patterns Facebook Group (a fun place to share you Uniquely Michelle creations and see other's creations too). You can follow Uniquely Michelle on Instagram and on the Uniquely Michelle Facebook Page.

Remember to sign up for the newsletter below!


SIGN UP TO RECEIVE EMAIL NEWSLETTERS FROM UNIQUELY MICHELLE:

An Organized Sewing Space - Making it Easy to Just Sew!

Michelle Burke

As I organized my sewing room, I decided I wanted to make it as easy as possible to get the sewing part of a project quickly. I don't know about you, but I love to spend time picking out the fabric for an upcoming project. I have fabric picked out for projects that I probably won't get to for another month. When I am ready to start a new project, I just want to start cutting the fabric and get to the sewing part! I don't like getting slowed down trying to find the fabric I was going to use, then gathering hardware and zippers (although the bling is fun to play with), searching for a Uniquely Michelle tag and then there is the pattern to locate. Even worse is finding a stack of fabric in some corner of my sewing room and having to decipher what I had intended to make with the adorable bundle of fabric.

Although my fabric is easy to see now and my hardware and patterns are organized, I needed a way to keep my piles of upcoming projects contained and organized. I decided that I would use a couple boxes that I have to store my nice piles of future projects. I found that I can fit 3-4 projects in each of my two boxes. I now put the fabric, bag hardware, zippers and pattern for a project all together. When I am ready to sew, I can just grab my stack and get started.

The only problem - when the boxes are closed and on the shelf, I can't see what is in them. To solve this problem I decided I would keep an index card with a list of "projects in waiting" on the box. I know it is a simple system - nothing really novel here, but it is new system to me and it works really well. Now not everything fits in the boxes. I have a pile of fabric and zippers that will someday be a wool coat (hopefully I will make it before next fall). The wool coat pile is too large to fit in a box, but I keep track of the location of projects that don't fit in the box on the index card too. 

Another part of the getting ready to sew that I don't like is cutting out interfacing. Interfacing is needed to make a bag look beautiful, but I find it very boring to cut out. Cutting fabric - fun, cutting interfacing - tedious. I found that if I have a bag that I make frequently, it is worth spending a couple hours one day cutting out the interfacing pieces needed for several of those bags and storing them in a marked bag in my box of interfacing pieces. When I have the fabric all cut out for a bag and I know that I can just grab the interfacing for it and start fusing, I feel like I have won the bag-making lottery! 

When I start working on a new bag, I use a small box to contain all the bag hardware and bling, zippers, snaps, a Uniquely Michelle tag, anything small that could get lost in the fray.

It is nice to know when I am ready to start on my next sewing project, that everything I need is in one place, ready for me to grab and go - making it so much easier to JUST SEW!

I hope these organization hint have inspired you! I would love to know what your favorite organizing tips are for your sewing space - please leave a comment! Everyone can benefit from some organizational ideas! Now I am heading to my sewing room with my Cheshire Cat smile and a clear mind to start my next sewing project!

Please take a minute to fill out the form below so that you can receive the Uniquely Michelle newsletter!


Sign up to receive email newsletters from Uniquely Michelle: