contact Me

Use the form on the right to contact Me.


123 Street Avenue, City Town, 99999

(123) 555-6789

email@address.com


You can set your address, phone number, email and site description in the settings tab.
Link to read me page with more information.

Blog

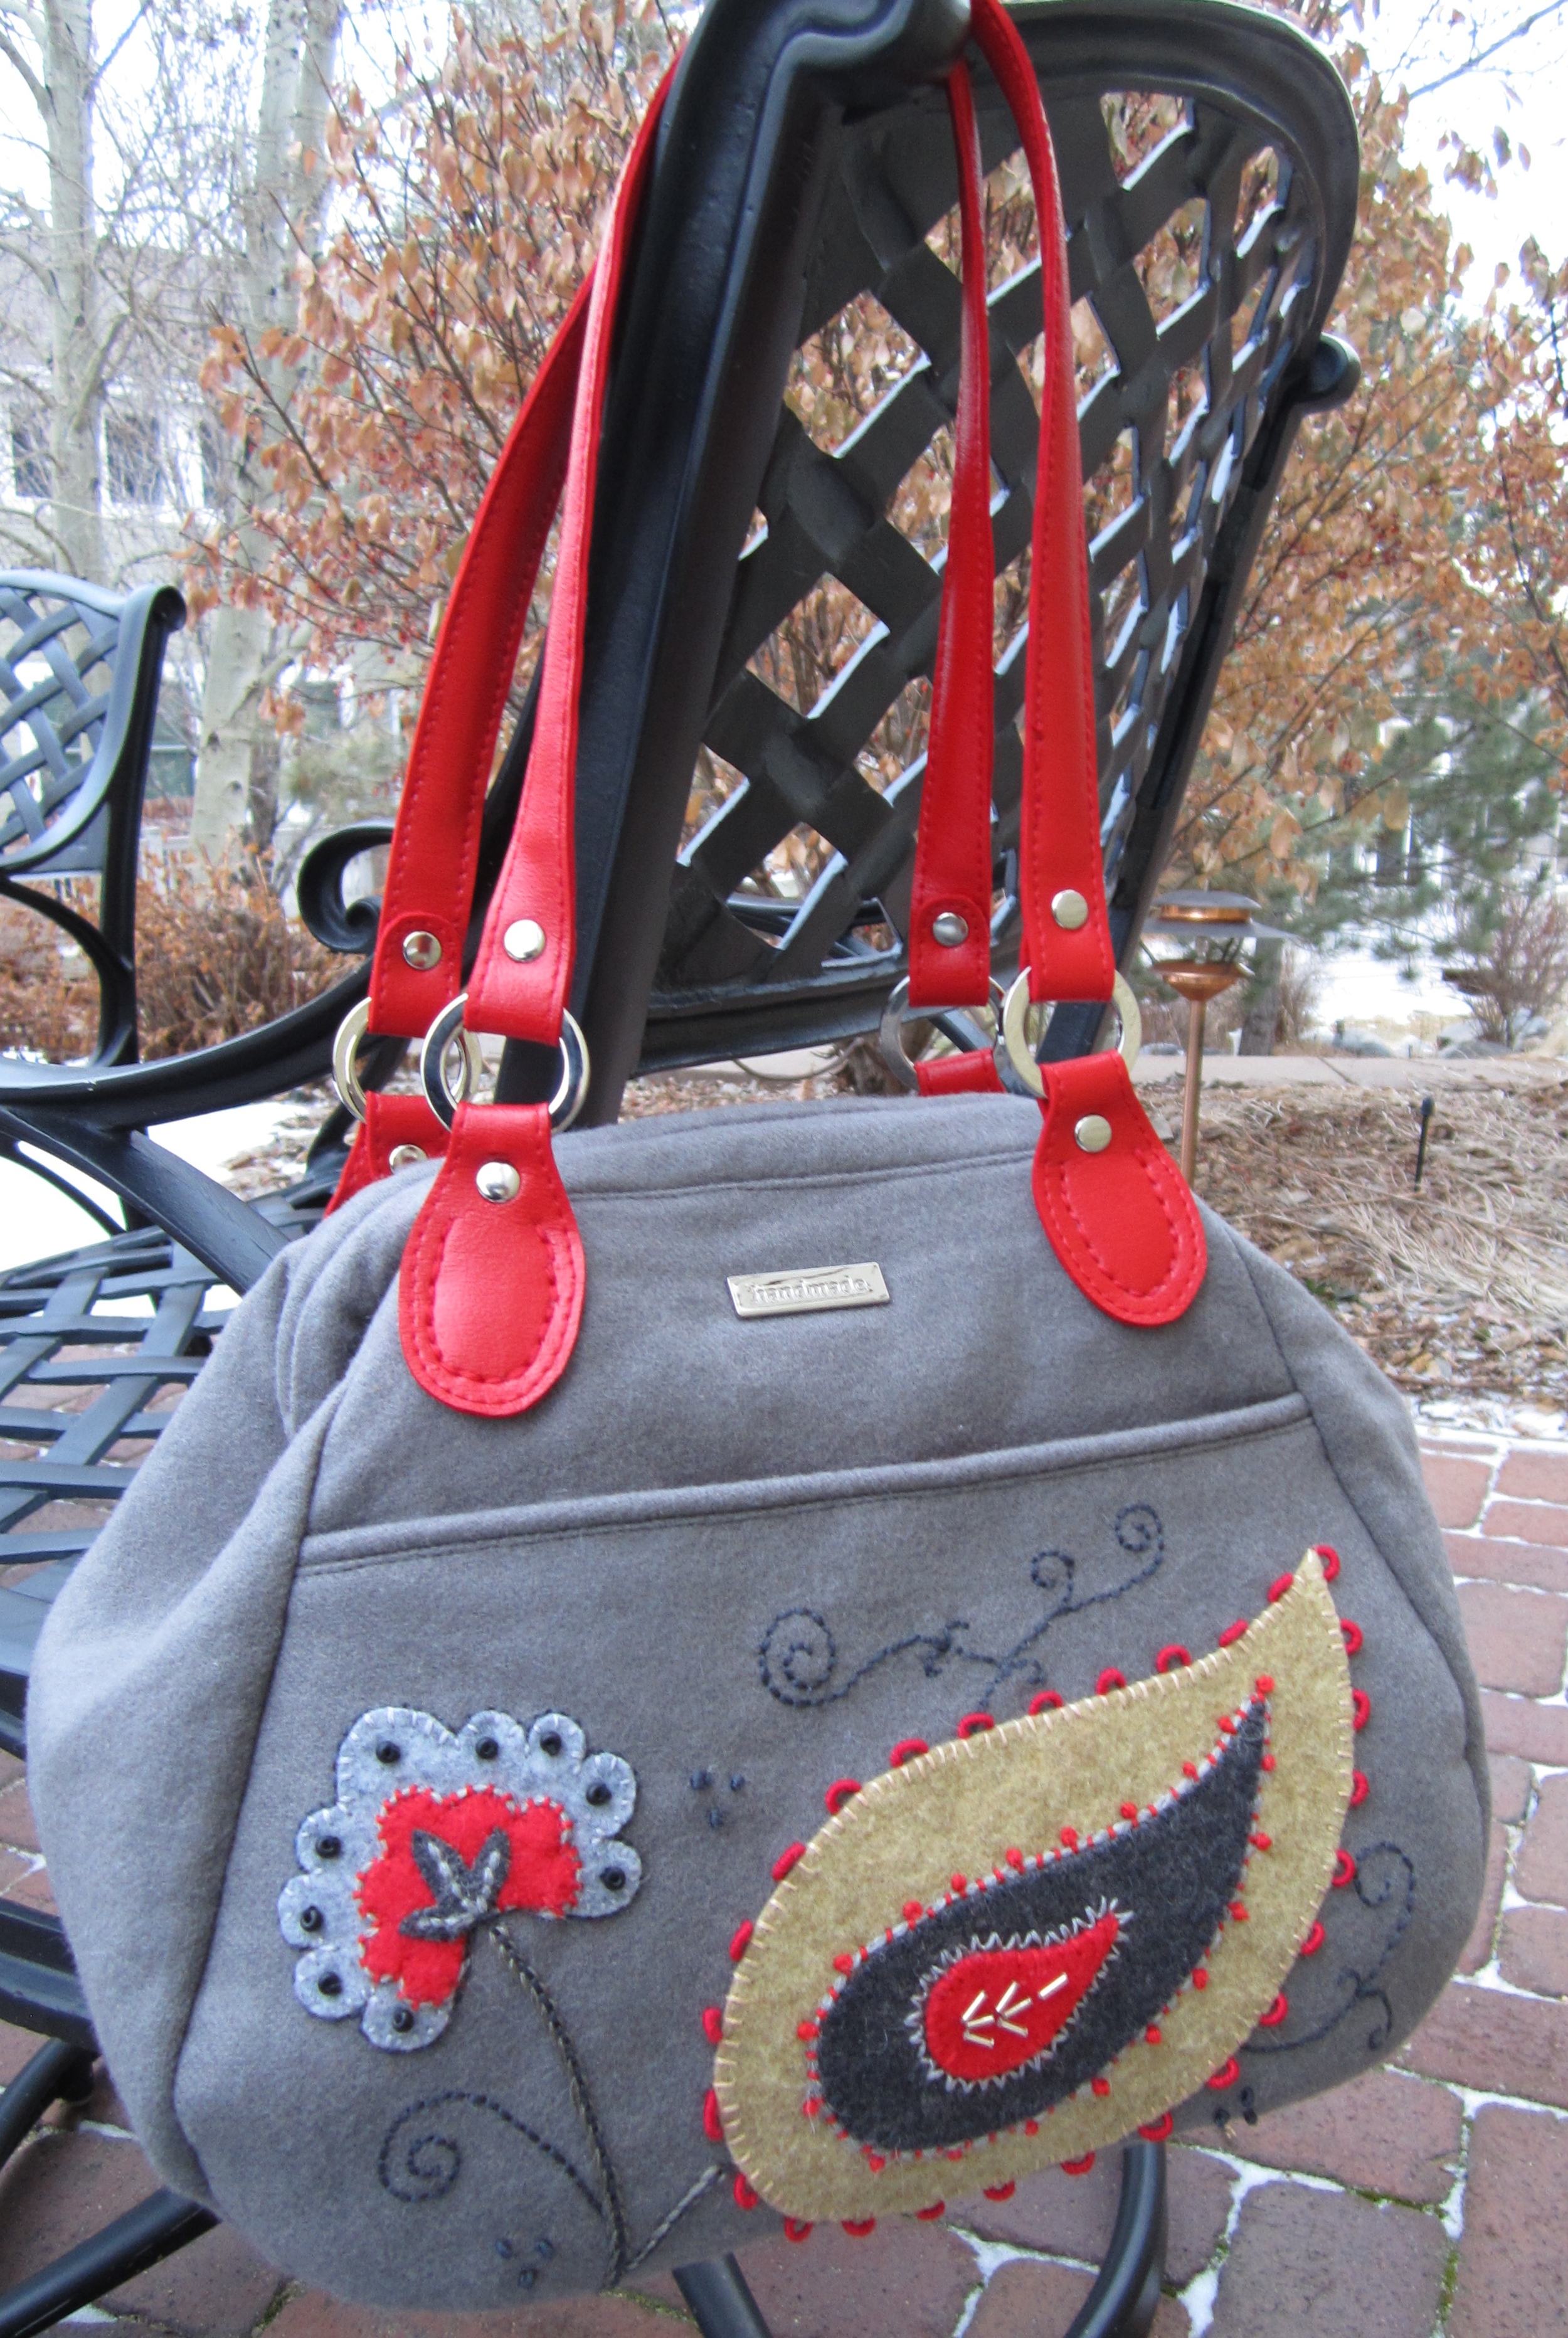
The Campfire Messenger Bag by Noodlehead

Michelle Burke

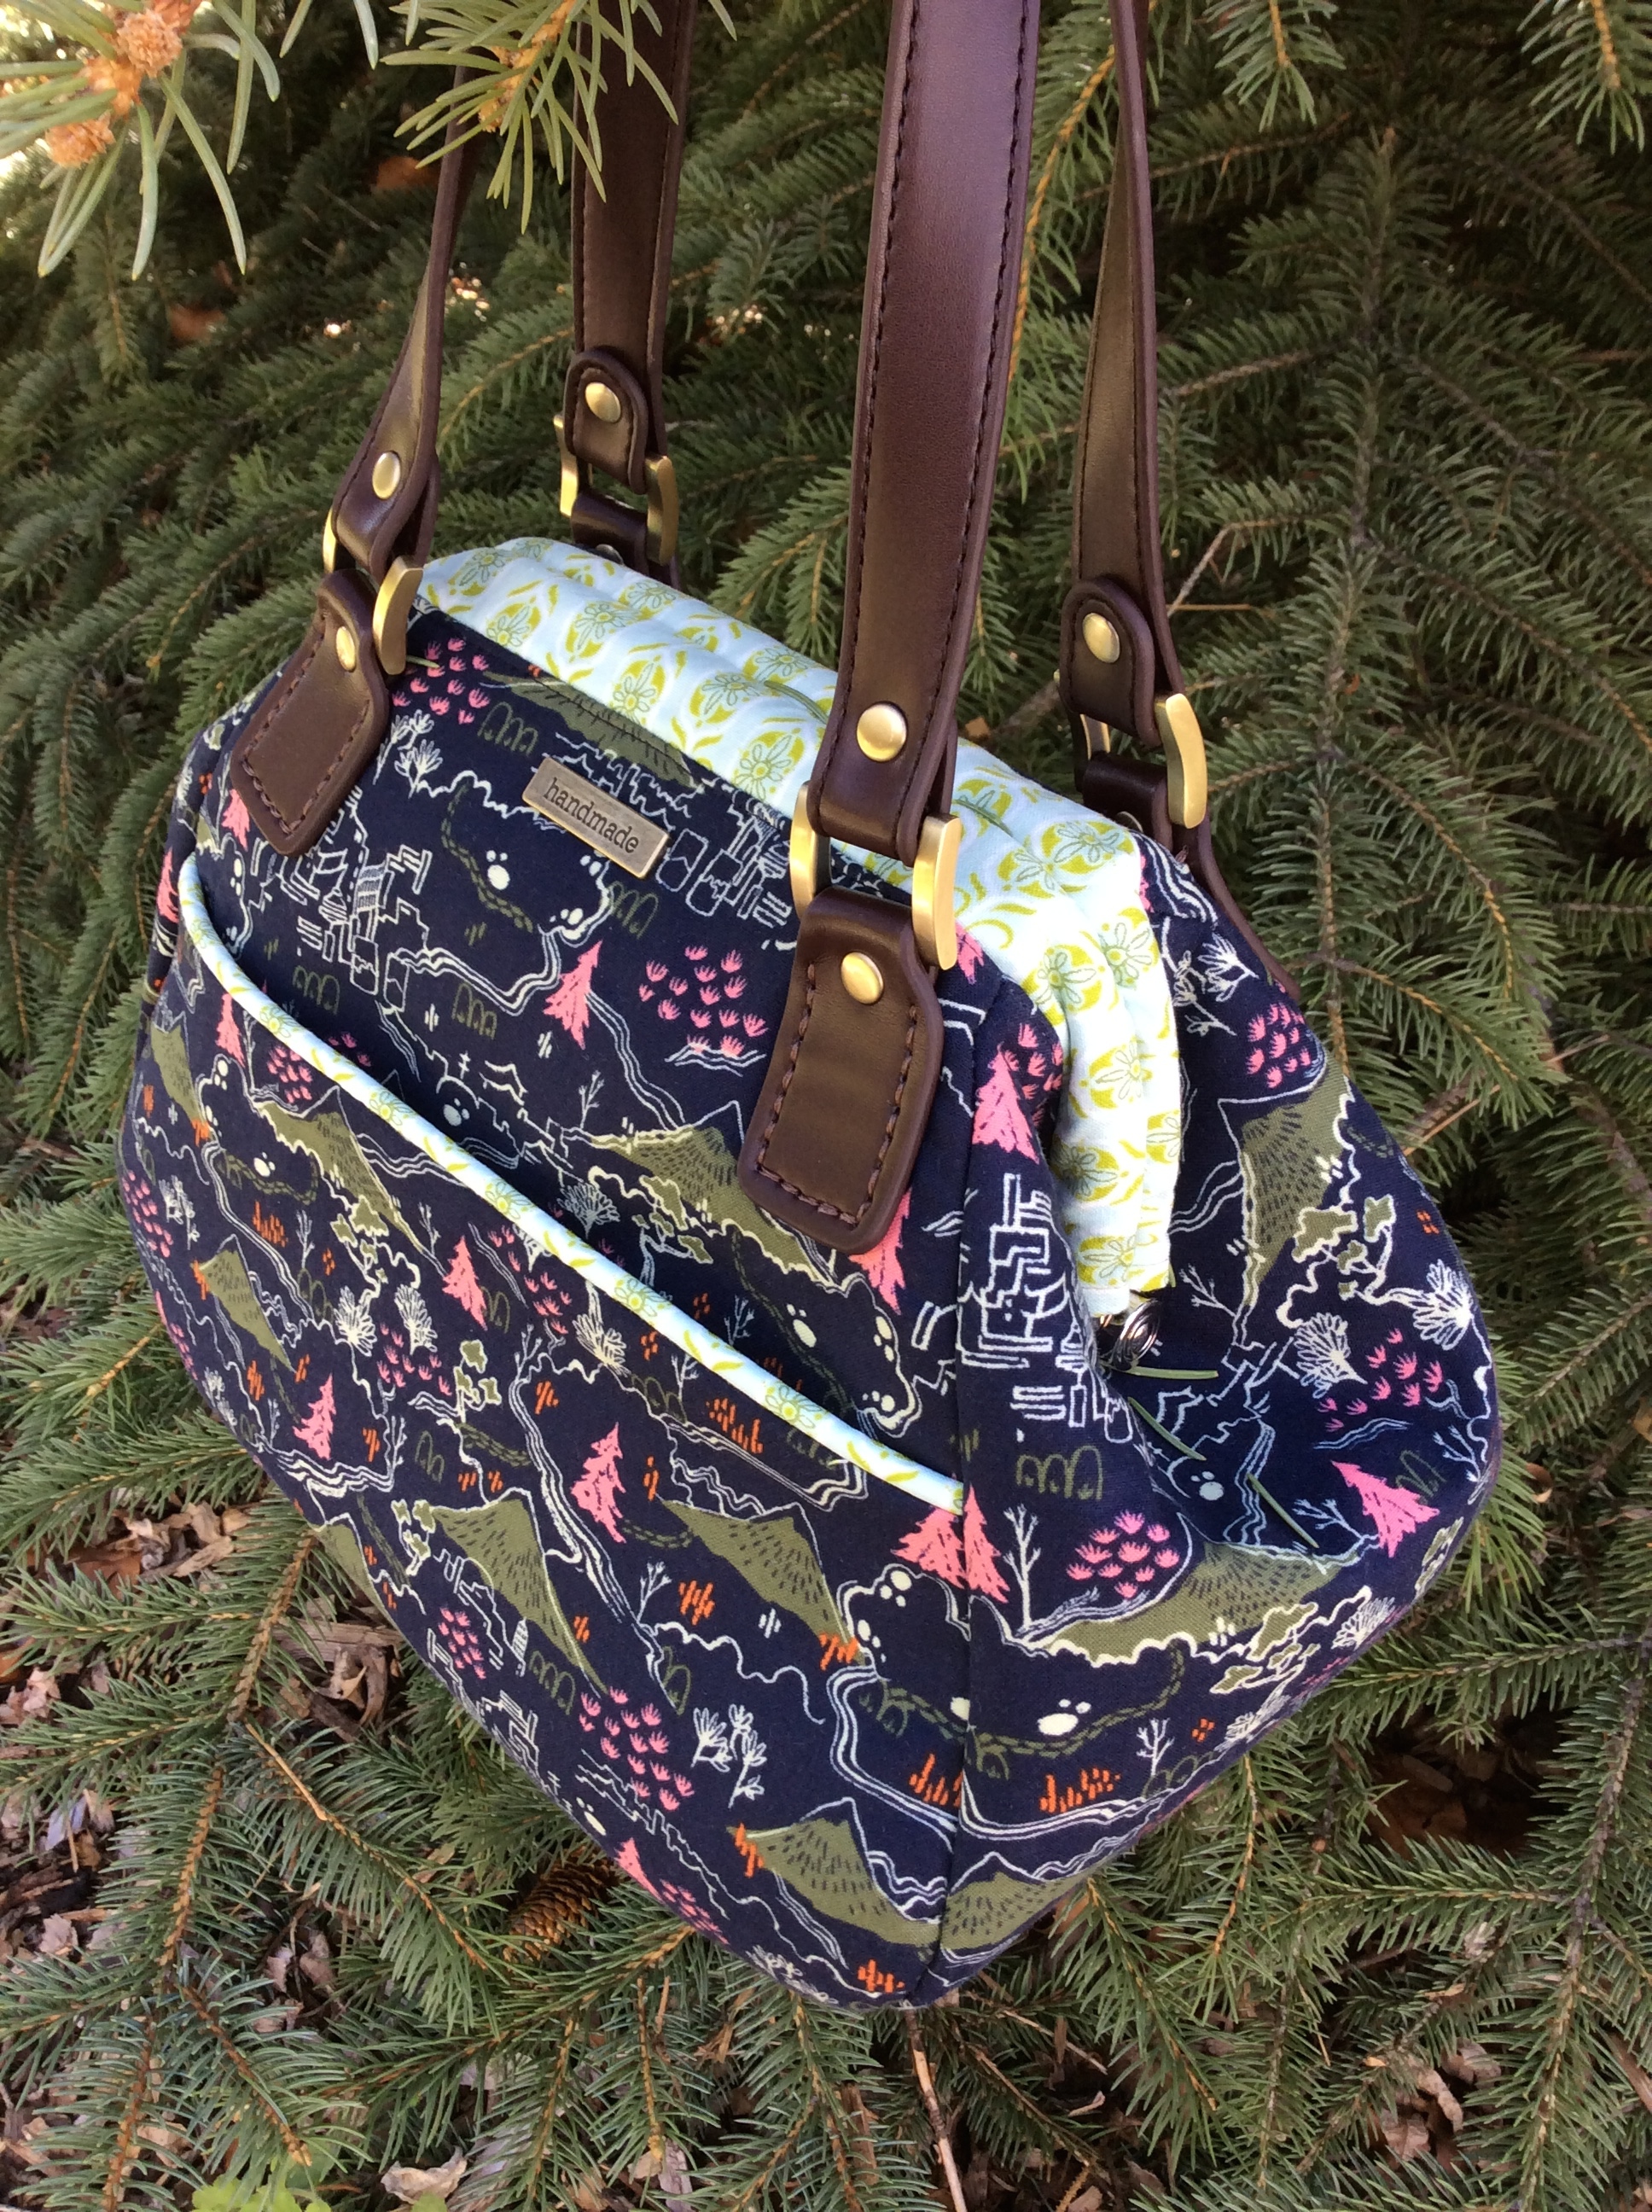
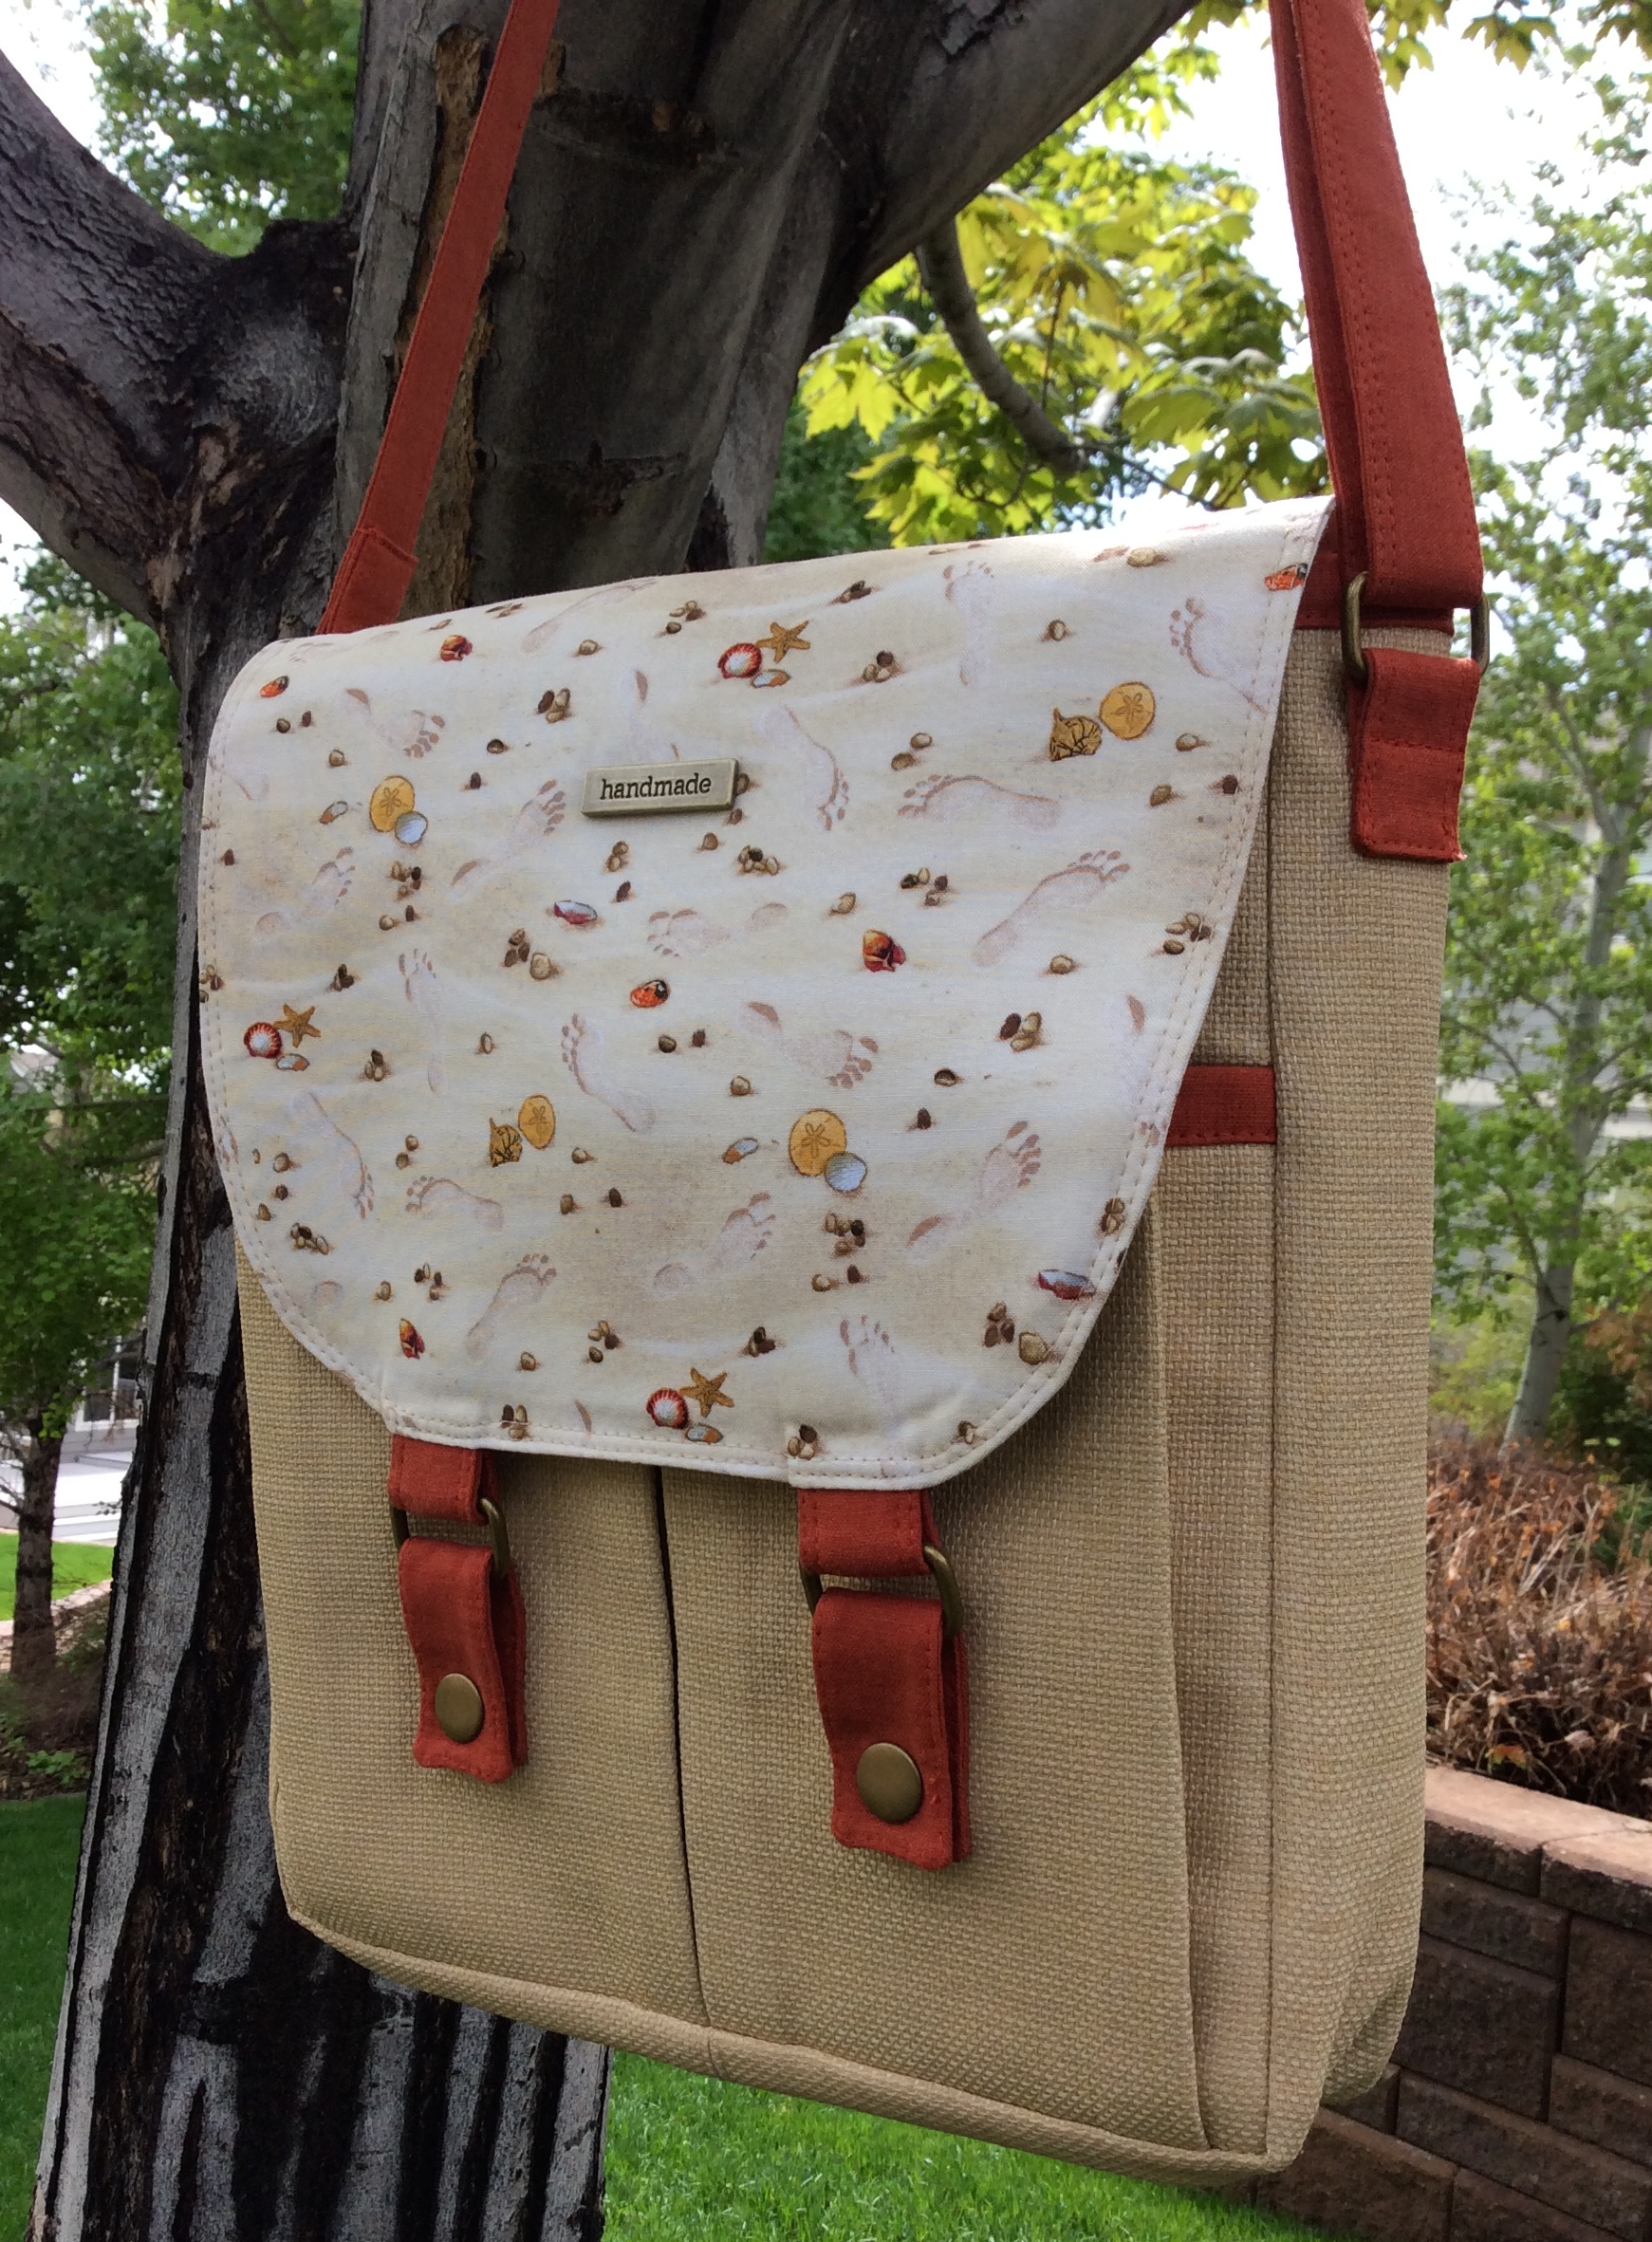
I was very excited to have a customer ask me to make a Campfire Messenger Bag by Noodlehead. The Campfire Messenger Bag was the March pattern for the Bag of the Month Club.  This bag is fun to make!  

The instructions for this pattern are very clear and easy to follow. The diagrams included in the pattern are great visuals to "see" what is being explained in the instructions.  The most time-consuming part of making the Campfire Messenger Bag is putting together the front, main panel. The front panel has three pockets - one zipper pocket and two pleated pockets, so there is quite a bit to sew, but once the front panel is assembled, the Campfire Messenger Bag goes together very quickly.  

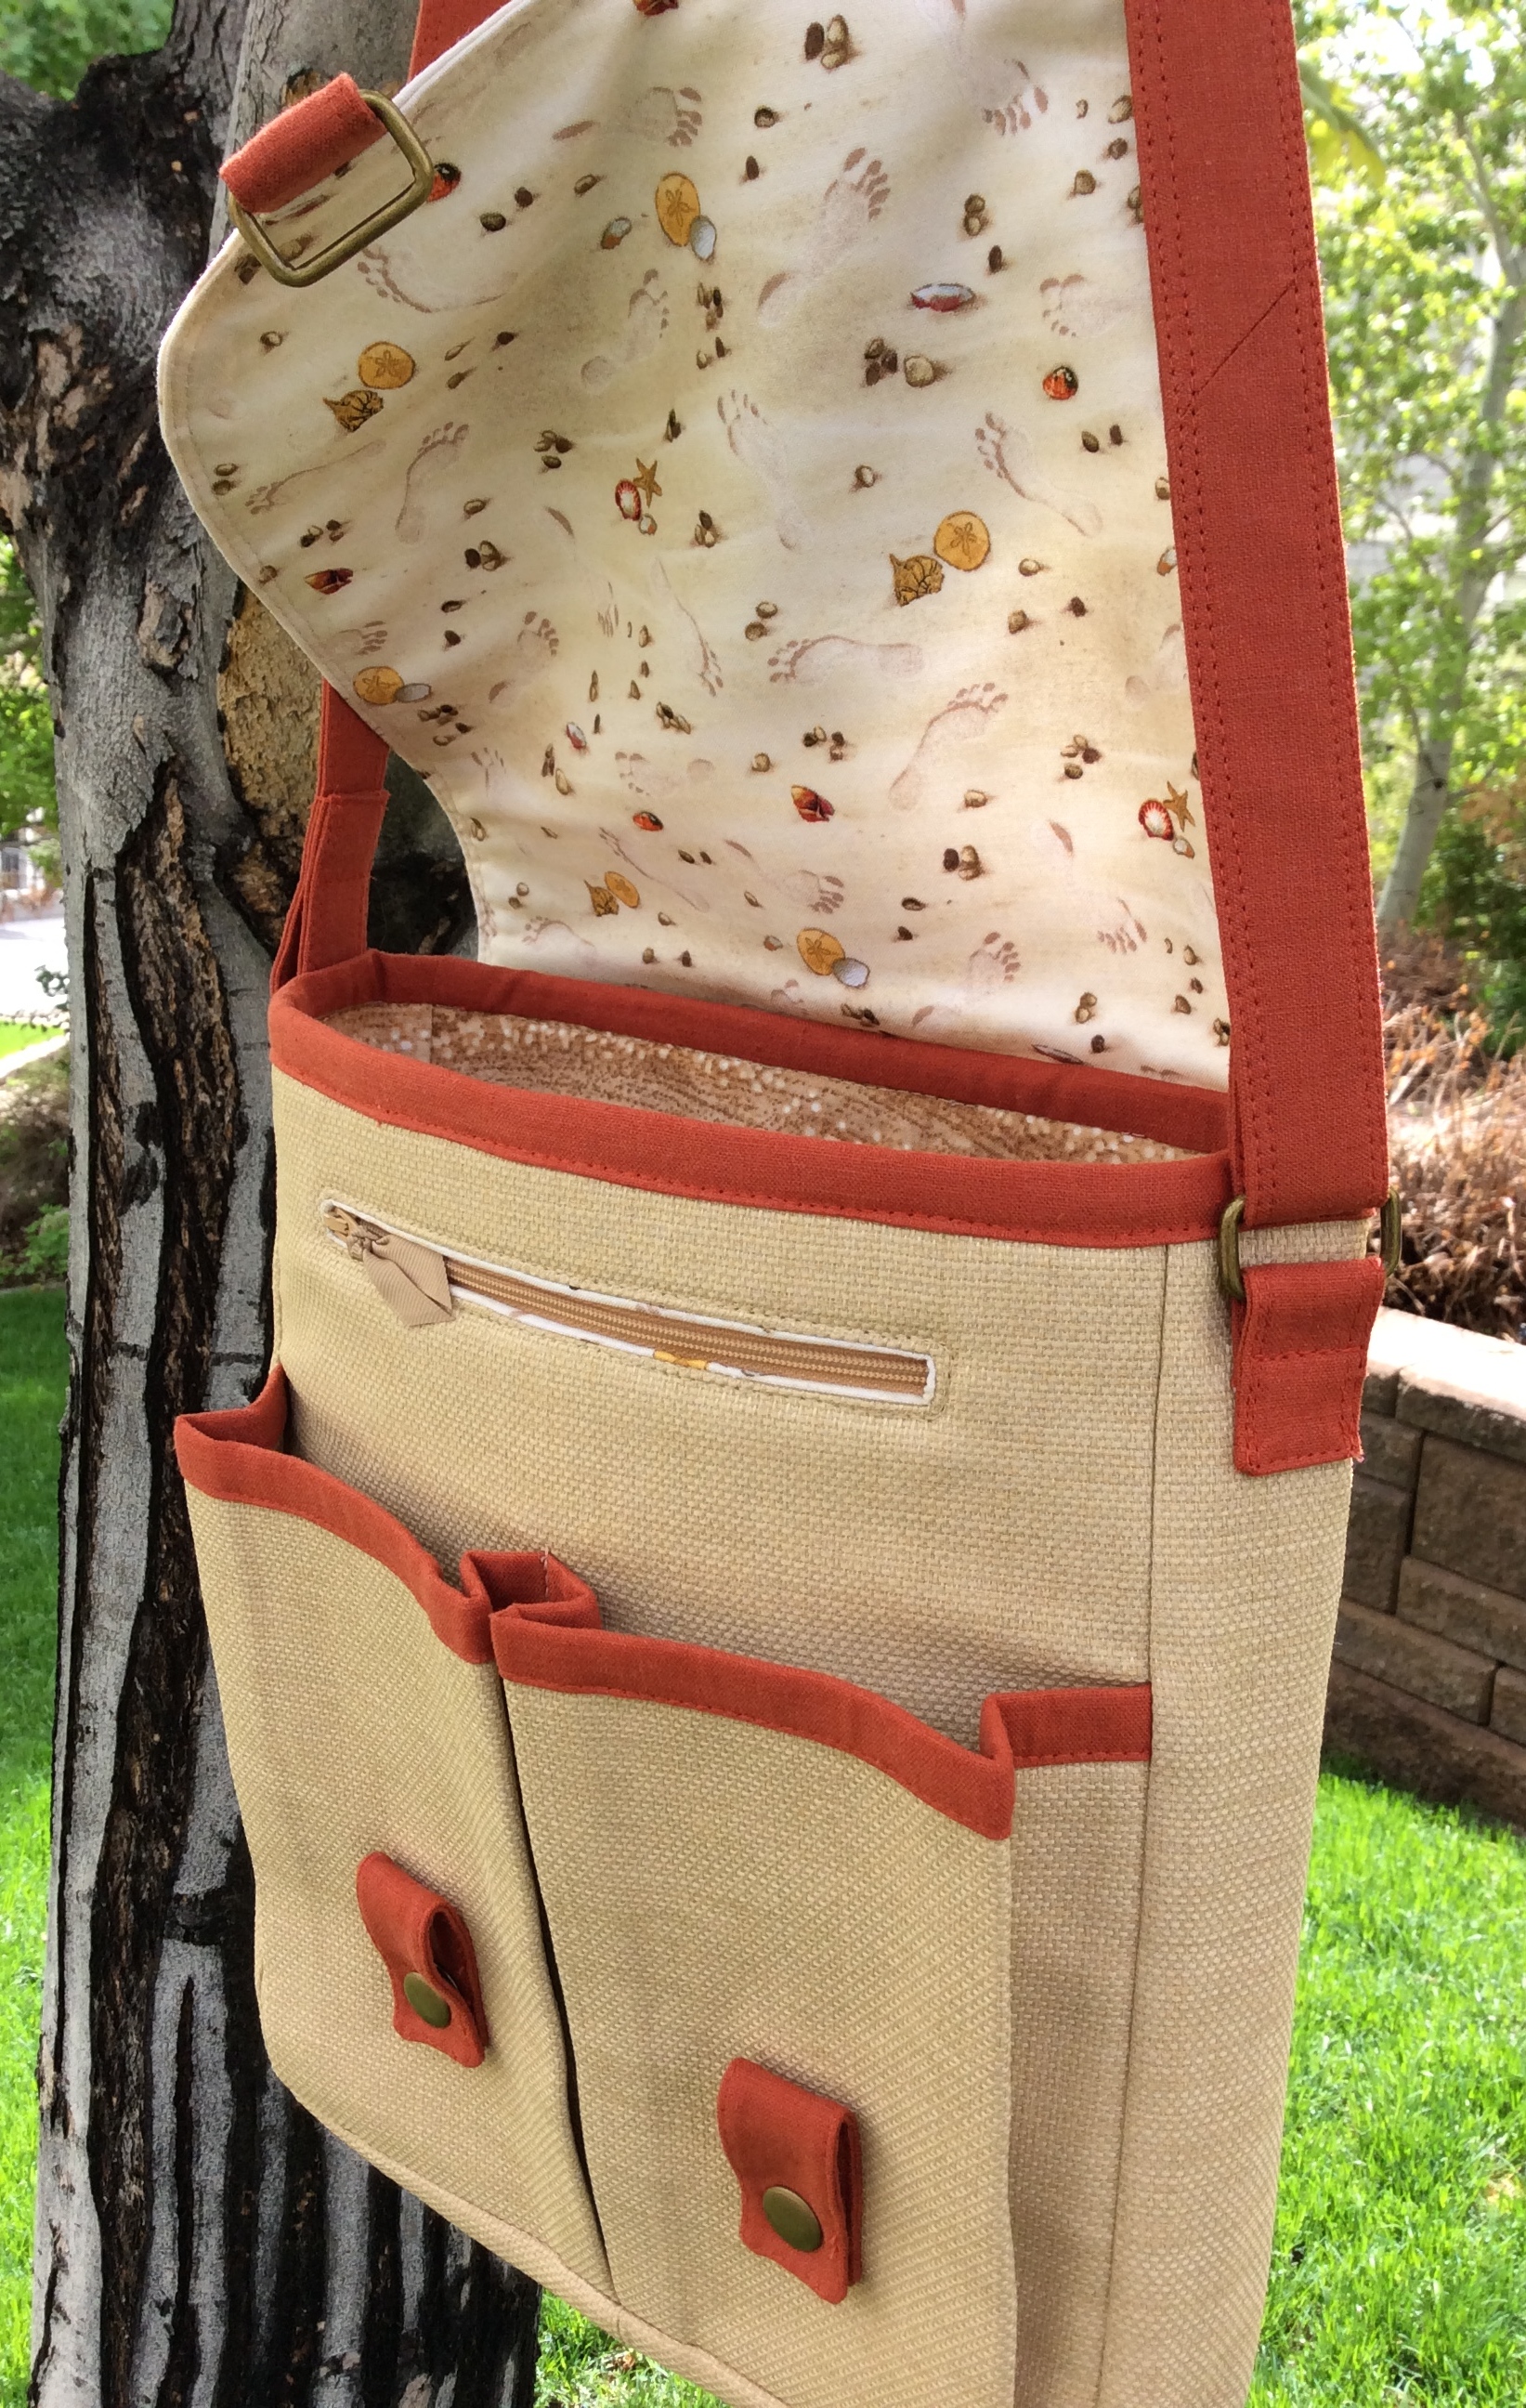
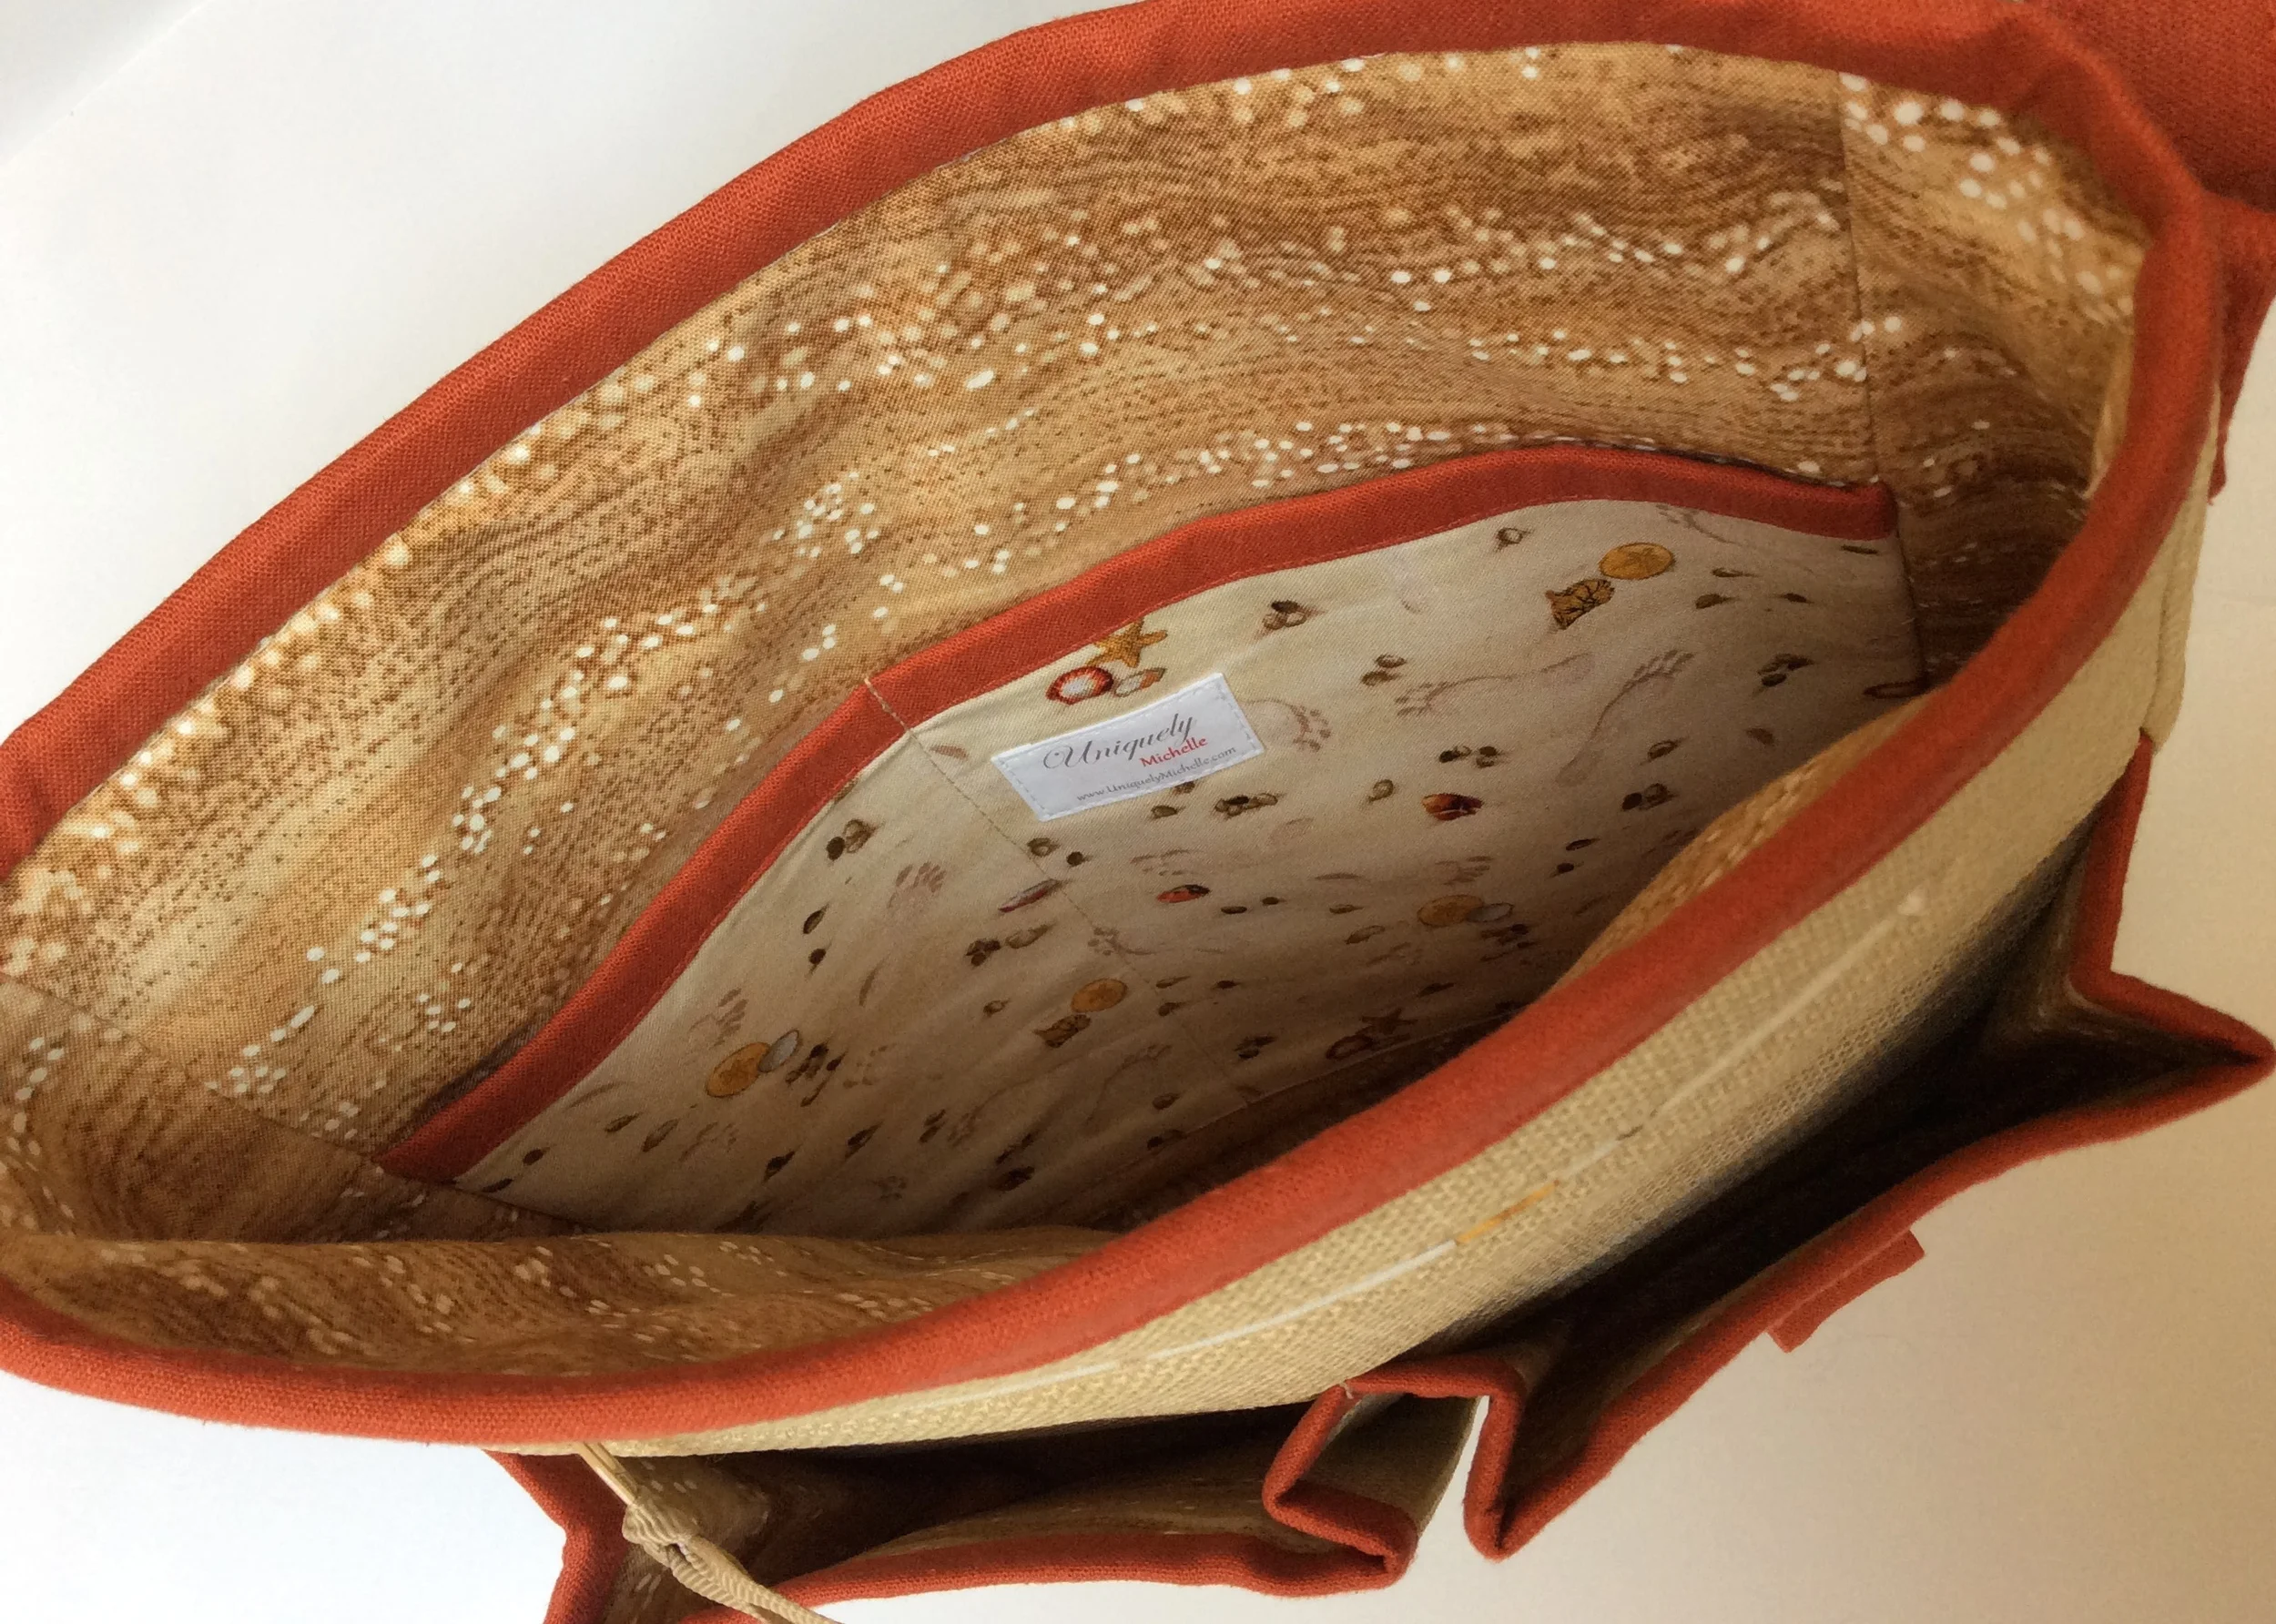
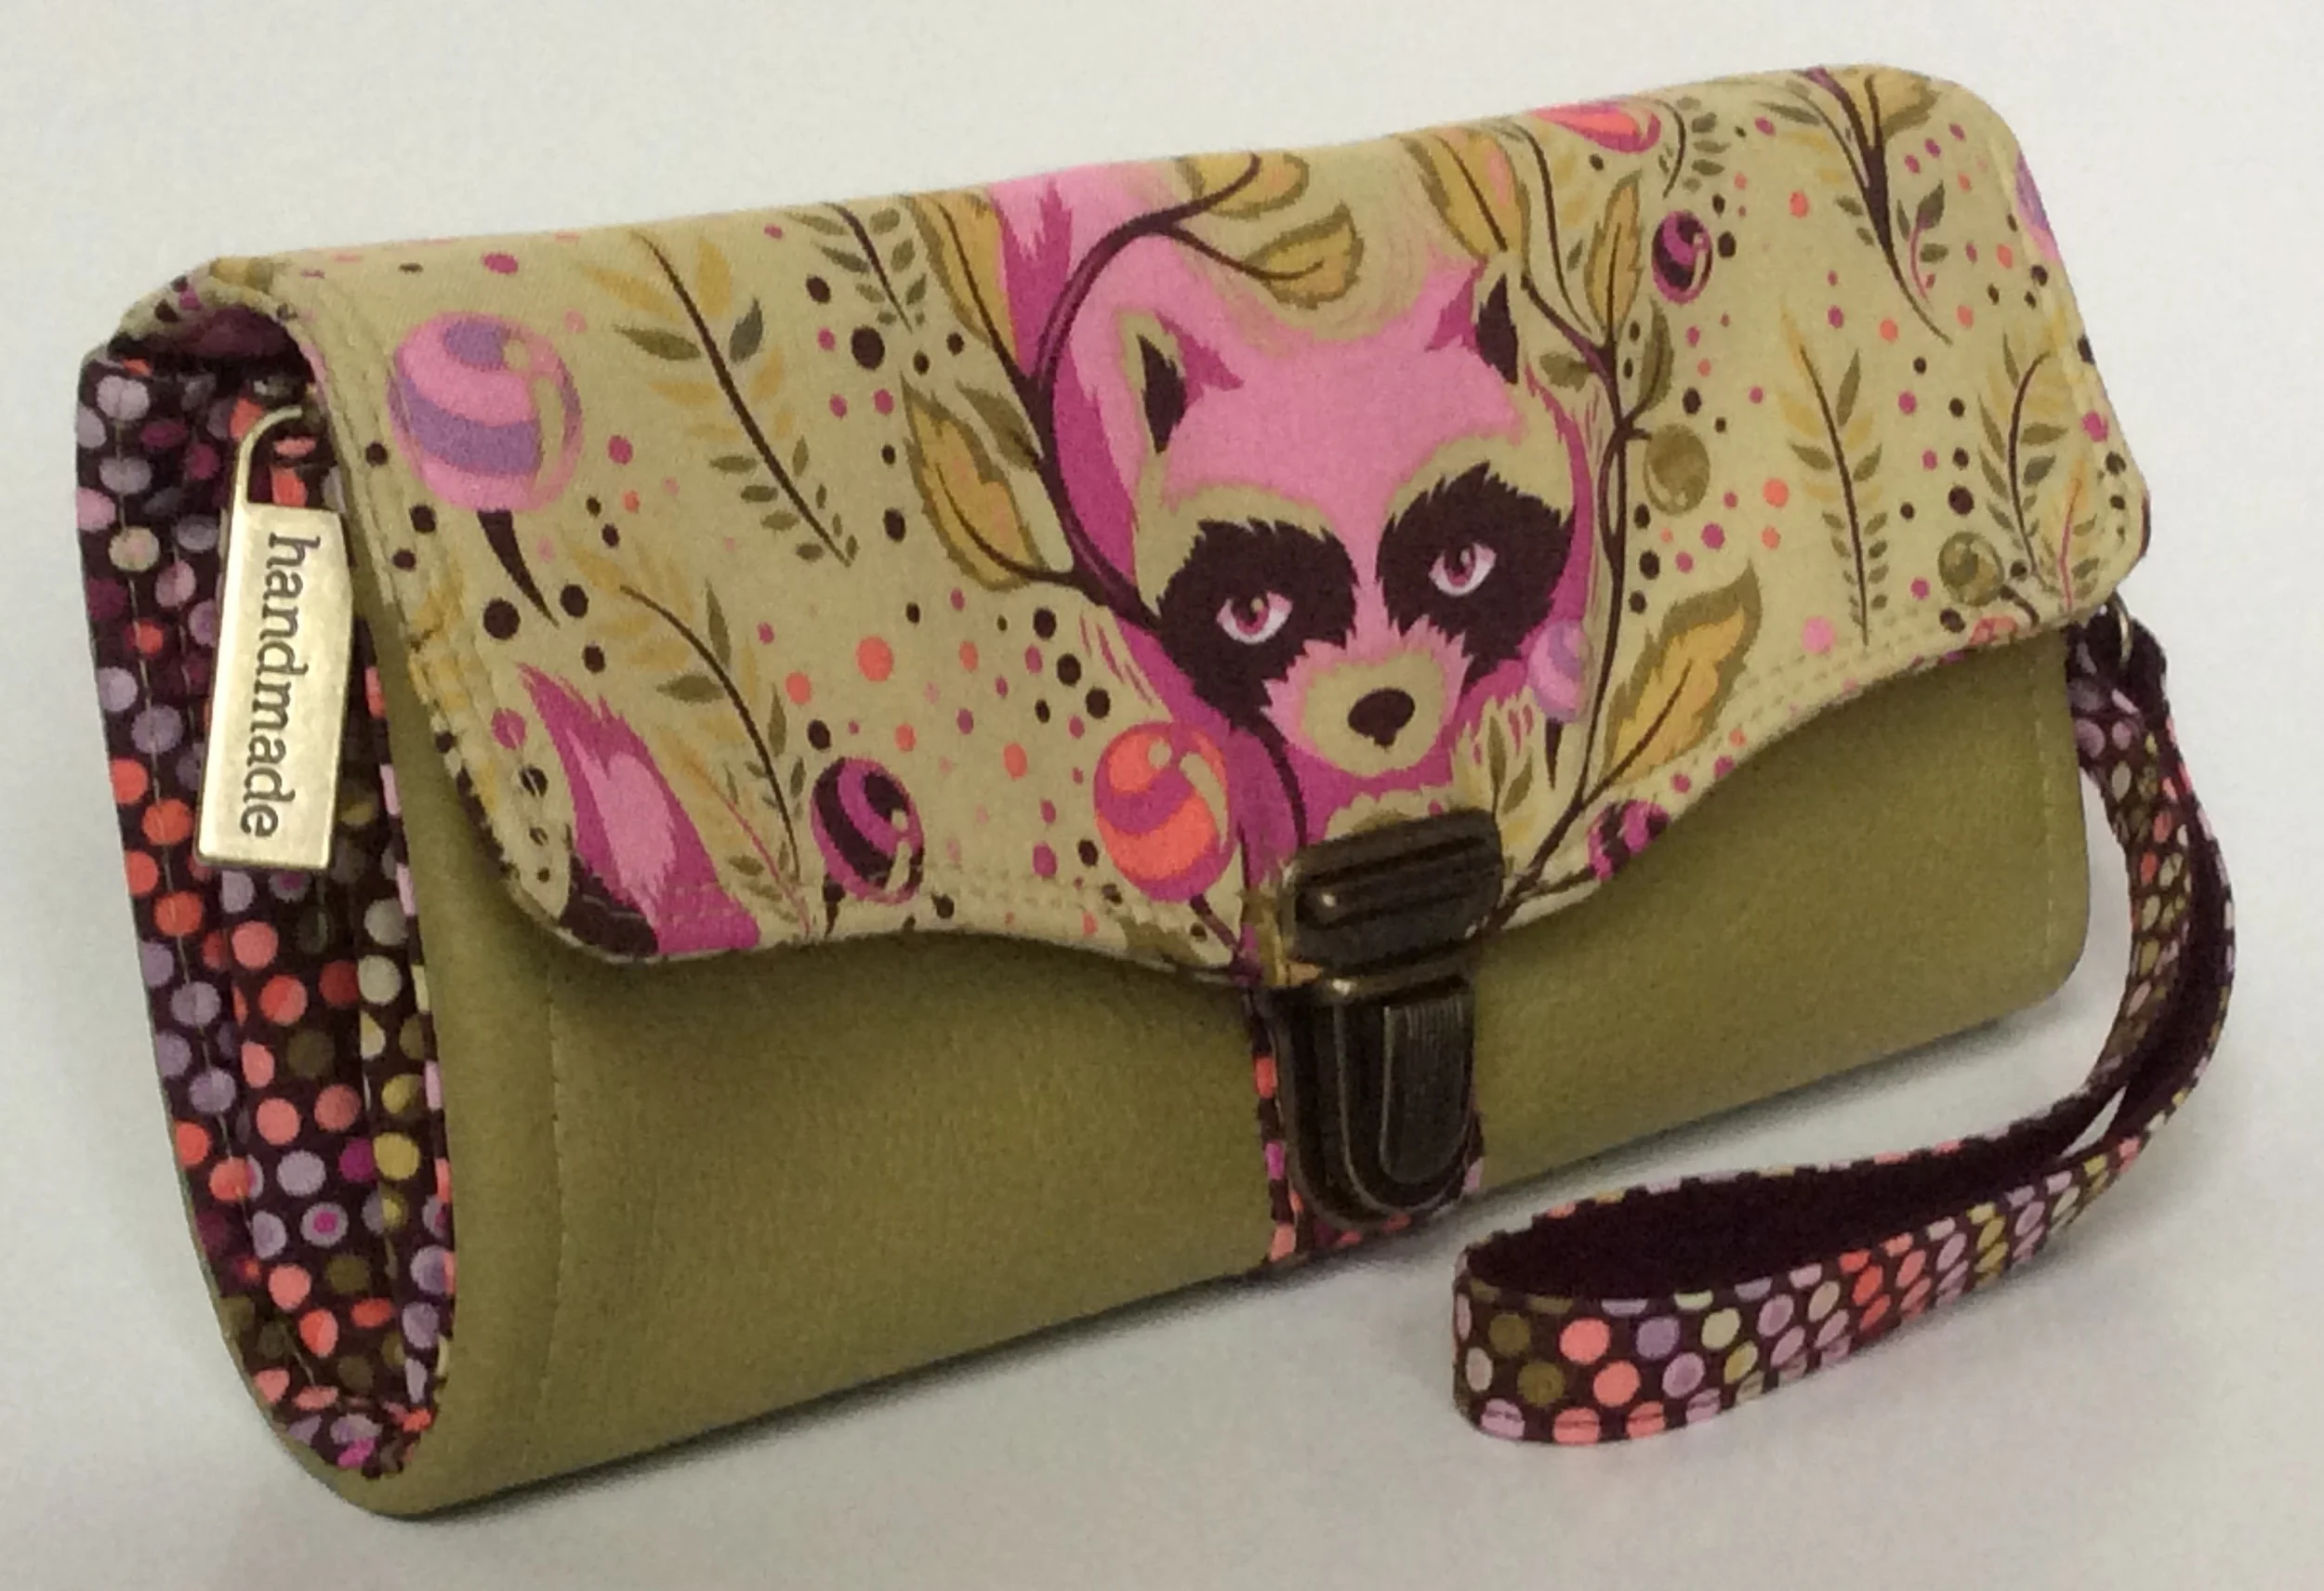
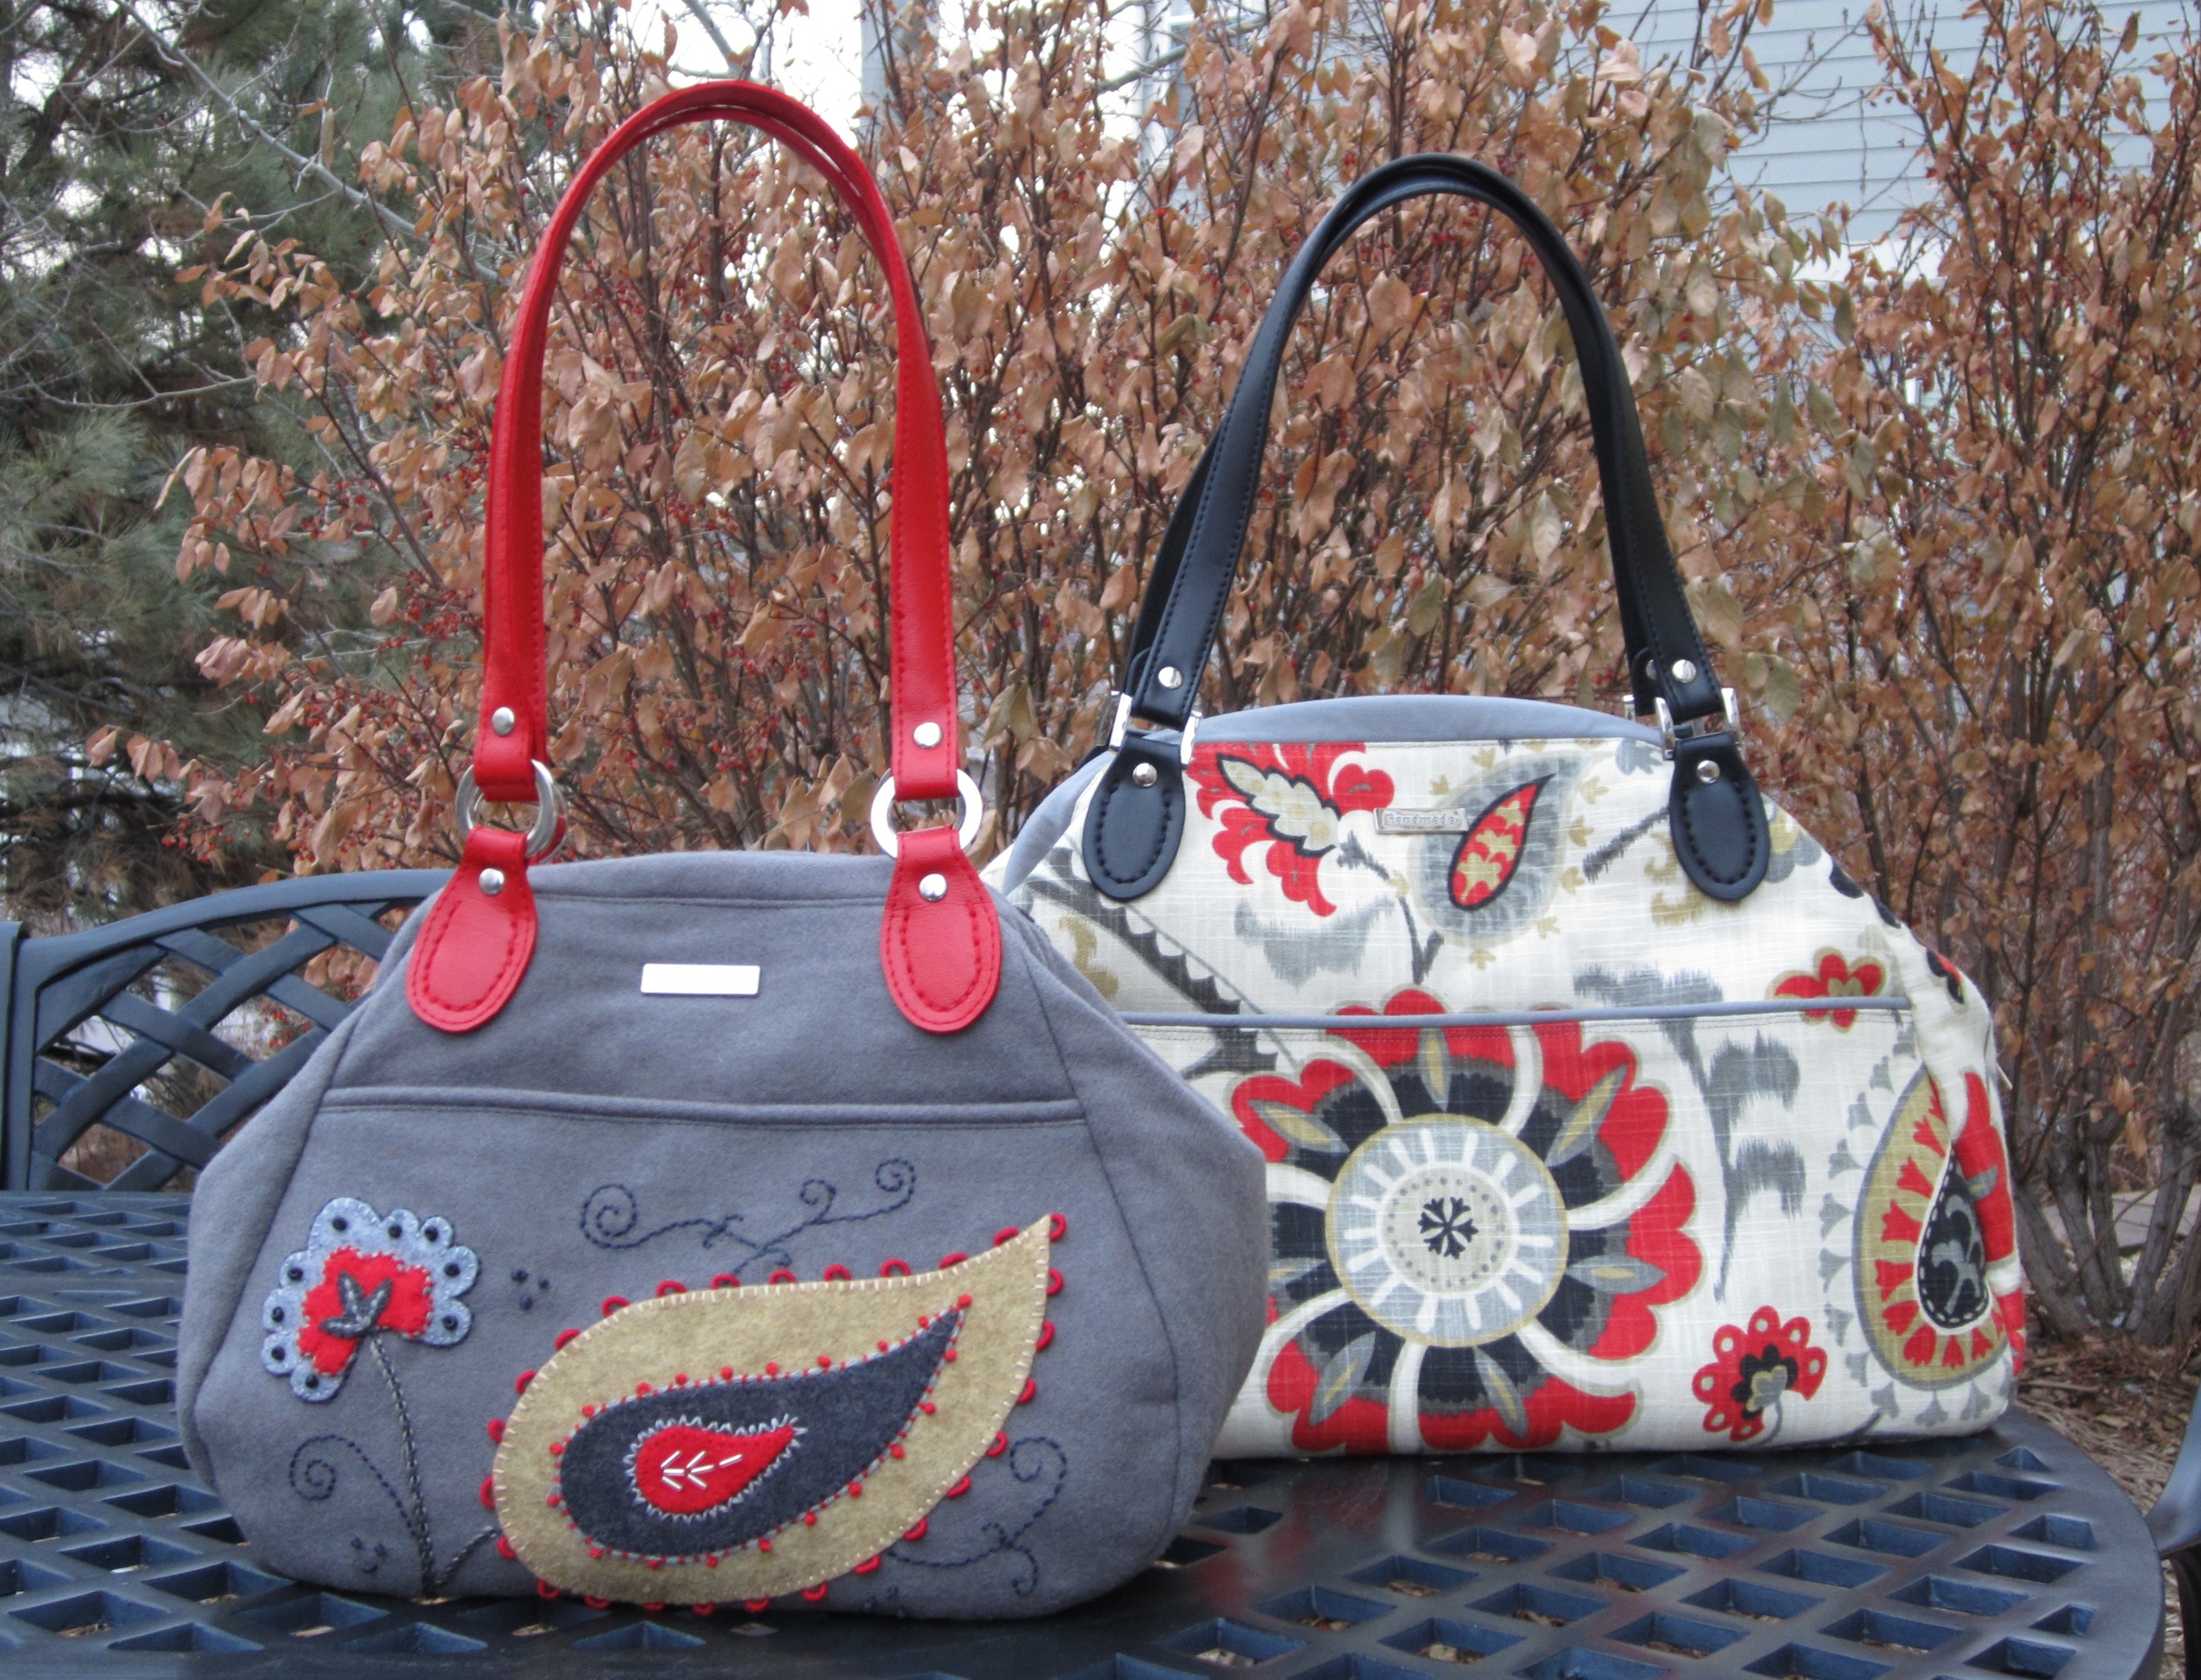
There are a few design elements that I love about the Campfire Messenger that give it its wonderful, relaxed character. I love that this pattern is designed to use four different fabrics: the exterior fabric, the lining fabric, the flap fabric, and the accent fabric. Although this bag could be made with as little as two or three different fabrics, the use of four fabrics as called for in the directions, really gives it a great finished look.  The flap is a perfect place to showcase a favorite fabric that you have been saving in your stash. The flap is approximately 10-inches by 11-inches, so it can showcase a fairly large print and the other fabrics frame and play off of the flap fabric. I used the flap fabric, a beach themed fabric, for the back pocket of the bag I made for my customer to give that fabric a little more exposure.

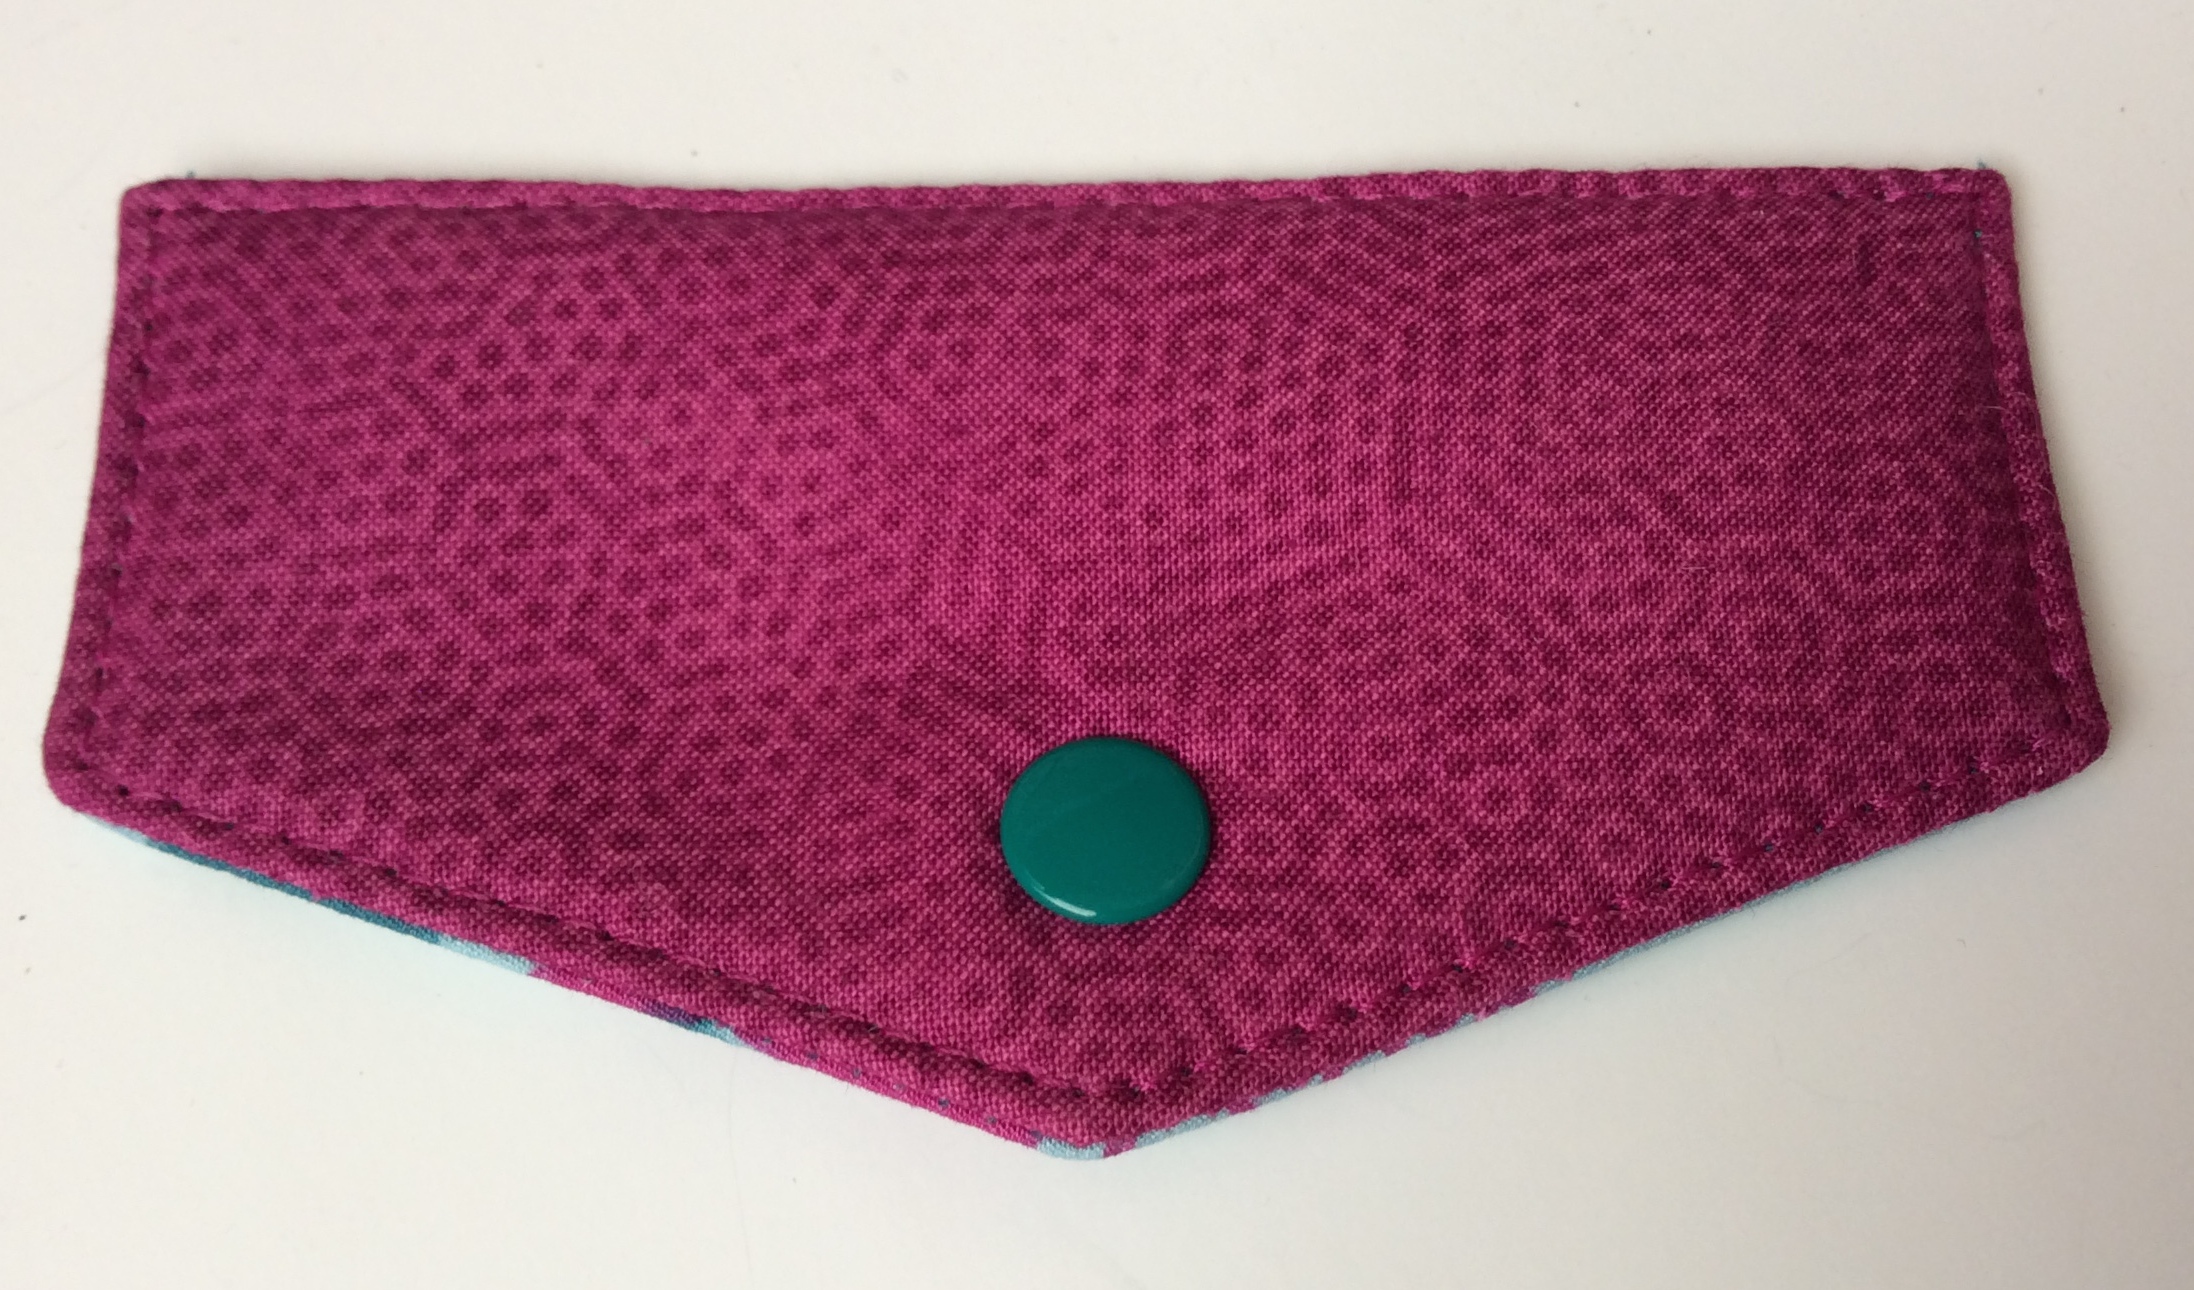
The closure for the flap on the Campfire Messenger is unique and gives this bag its relaxed, fun look.  The flap closure has snaps on tabs that go through rectangular rings.  There is an option to use Velcro instead of snaps for the flap closure, but I think it is worth using snaps, it just adds great character to the Campfire Messenger Bag.  I think this is a great size bag for going out to run errands or to use on a vacation, it isn't large, but it is big enough to fit everything you need.  It fits an iPad perfectly, I always love a bag that fits my iPad.  I am glad I got the opportunity to make the Campfire Messenger Bag for a customer, now I want to make one for myself!

The Bag of the Month Club is coming to a close in less than a week, but there is still time to join!  You may be wondering why you would join at this late date, but the answer is simple - you get six great patterns from six well-respected bag designers for $40!  The normal price for all six patterns will be over $55, so it is a great value.  Here is the link to join the Bag of the Month Club:  Bag of the Month Club on Facebook.  In a couple days I will write about another Bag of the Month Club pattern that I adore!


Sign up to receive email updates from Uniquely Michelle:

The Latest Trend in Handbags

Michelle Burke

The Washington Post published an article yesterday that, for me, explains why I feel so many people are buying handmade items more now than they have in years past.  The article titled, "Why Louis Vuitton, Gucci and Prada are in Trouble" by Sarah Halzack, discusses why people who can afford luxury brand handbags are moving away from buying these items because the logos tell people exactly how much they paid for them.  People, according to the article, also feel that "personal taste and individuality - not conformity - are the ultimate badges of cool."  

Although I don't think I know anyone who owns a $5,500 handbag by one of these luxury designers, I see a lot of women wearing what I consider high-priced handbags whenever I am out and about.  I admit it, now that I make and sell handbags, I can't help but to look at what handbags women are carrying everywhere I go.  I have wondered recently if anyone else does this, and if so, are they bothered by the fact that there are A LOT of women carrying the same handbag?  The color may be different, or there might be the slight change in style, but this hardly goes with what the article says is now the growing trend, "wealthy shoppers, experts say, who prefer to shell out for unique and hard-to-find pieces instead of highly recognizable handbags from big-name brands such as Louis Vuitton, Gucci and Prada."  I will have to say, the handbags that I most enjoy seeing women wear aren't the ones that look like the same bag every other woman standing in the line at Costco has, but instead the bag that lets me know a little bit about the personality and style of the wearer.  I personally am not impressed by the brand name and the price someone paid for a bag, but I love knowing that those who don't carry the big name bag, may care more about their individuality, the quality of the product they carry (news flash - expensive bags do not always mean high quality bags), or just the functionality of their bag.  The Washington Post article states, when talking about some lower-priced niche brands, that these brands are "still pricey enough to appeal to affluent consumers who want something that feels distinctive and has a halo of great craftsmanship."  Although the "niche brands" they mention are still out of my price range, I think the sentiment holds even with those who buy the "cheaper" luxury brands like Coach, Michael Kors, Kate Spade, and even Vera Bradley - those brands aren't distinctive if everyone is carrying them.

Of course, I am sure you may be thinking that I am biased in this in that I am hoping to drum up more business for myself, and to some degree, yes I am, but not for the reasons you may be thinking.  I am actually hoping that, as the fashion trends continue to move away from everyone carrying essentially the same high price bag, that women will look toward handcrafted items as an alternative.  Many handcrafted items have the great craftsmanship that women desire without the exorbitant price tag to go with it.  Handcrafted items are usually unique as well, very few people who make handbags or other handmade items want to use the exact same materials again and again to make the exact same item - that is boring!  Those of us who make bags, love the creative process and many are willing to work with customers to make your ideas of what you want for a bag a reality.  You want it larger with more pockets, a longer strap so it can be worn as a cross-body bag, with leather trim - sure, we want to please our customers and give them a unique bag that is theirs and theirs alone.  Try asking one of the high-priced, brand name handbag designers to make your bag the way you want it, it just isn't going to happen.  

So I ask, as the style moves away from carrying bags with the "right" label and toward unique, high-quality, individualized handbags, please consider looking at some of the shops on Etsy to see what you find.  Yes, I am telling you to look beyond my Etsy shop and check out other Etsy shops as well.  You may find exactly what you want in my shop, but if not, I would be surprised if you couldn't find a perfect bag, handmade just for you in one of the other shops that sells handbags on Etsy.  Then, when someone asks where you bought such a fabulous bag, you can proudly say "It was handcrafted just for me by a someone who put a lot of care and love into making it just right, and they could make you one that fits your style and personality too!"  One more selfish reason that I love this new trend - I am tired of looking at the same handbags over and over and over again!!! ;)

If you would like to read the Washington Post article that I used to write this post, here is the link:  "Why Louis Vuitton, Gucci and Prada are in Trouble" by Sarah Halzack, June 15, 2015


Sign up to receive email updates from Uniquely Michelle:

The Kristine ID Wallet - One Month Later - Tips and a Giveaway!

Michelle Burke

One month ago today, I released the Kristine ID Wallet pattern.  It has been fun to see how well it has been received!  I have one sewist who has added pictures of her Kristine ID Wallets to my Uniquely Michelle Facebook Timeline and then I post them to the page so everyone can see her lovely work - thanks Denny Stewart for sharing!  

One of Denny Stewart's Kristine ID Wallets!

One of Denny Stewart's Kristine ID Wallets!

By the way, Denny Stewart sells handmade item, including Kristine ID Wallets in her Etsy shop, SewWhatAB and you can also see her creations on her Facebook page, Sew What?  

If you have made the Kristine ID Wallet and you don't mind sharing pictures, please post them to my Uniquely Michelle Timeline and I will share them on the Uniquely Michelle page.  It is fun to see how different fabric choices and placement make the wallet look so different.  I have seen anything from classy, cute, edgy, and just fun, but I would always love to see more - everyone loves pretty pictures!

I decided to use this one month anniversary to blog about some tips that make sewing the Kristine ID Wallet even easier!  First, let me say that I have never received any profit of any kind from the makers of the products that I mention in this blog post.  I just want to share with you some products that I have used and like so that you can decide if you think it might be something you might like to use.  Also, you will want to keep reading to the end, I will make it worth your time I promise. :) 

The first tip is from one of my pattern testers, Sheri Nelson Fowler of Sassy Pants Satchels.  Sheri didn't use double sided tape when she was making the ID Window Pocket for her Kristine ID Wallet, instead she used fabric glue (Fabric-Tac).  She said it worked well, but it was a little messy.  I wanted to give it a try, so I bought Dritz Fabric Glue Stick "for temporary basting and positioning."

This is everything you will need to utilize the first two tips as you make your Kristine ID Wallet.

This is everything you will need to utilize the first two tips as you make your Kristine ID Wallet.

 I though the glue stick might be less messy.  I loved the way it worked!  Because the glue stick is "temporary," I could reposition the fabric if I didn't like the way I had it the first time.  It also made adding the clear vinyl easier since it was dry and not sticky for that step.  Thanks for the great tip Sheri!

I put the glue at the base of the triangle near the fold line.

I put the glue at the base of the triangle near the fold line.

The next tip comes from Paula McCormick Faes, another one of my pattern testers.  Paula's tip is also for making the ID Window Pocket.  Paula describes her method best:  "When folding back the triangles onto the tape, use an old credit card and fold the entire triangle at one time.  Then use the end of the credit card to push it down firmly onto the tape.  It is almost like pressing."  

I followed Paula's directions and placed the edge of the card right at the base of the triangle at the fold line.

I followed Paula's directions and placed the edge of the card right at the base of the triangle at the fold line.

Then I used the card to fold back the entire triangle at once.

Then I used the card to fold back the entire triangle at once.

Finally, I used the edge of the card to press the fabric down so the glue would hold.  So nice and easy Paula!

Finally, I used the edge of the card to press the fabric down so the glue would hold.  So nice and easy Paula!

Paula's method works like a dream.  It makes it quick and easy to get a straight, professional-looking fold on the ID Pocket Window.  I found that Paula's method also works well with the Fabric Glue Stick mentioned above.  Wonderful tip Paula, thanks!

Marilyn Brandt of Shades of Bold came up with the final tip.  Marilyn is another one of my pattern testers and she likes using long prong snaps instead of magnetic snaps to close the envelope flap on the Kristine ID Wallet.  It had been years since I used long prong snaps (I used them on baby clothes for my girls who are now teenagers).  She reminded me that they are easy to install with the Snap Source Snap Attaching Tool, and the long prong snaps from Snap Source come in so many great colors! 

Everything you need to attach a long prong snap!

Everything you need to attach a long prong snap!

The only change when making the Kristine ID Wallet with a long prong snap instead of a magnetic snap comes with the installation of the male part of the snap.  Instead of installing the male part of the snap to the lining part of the flap only, you make the flap to the point that you finish the top stitching.  Then you attach the male long prong snap following the directions included with the Snap Attaching Tool.  The other change in the directions is that you don't need to add the extra piece of Peltex interfacing for either parts of the snap.  I love the look of the long prong snaps on the Kristine ID Wallet!  Thanks Marilyn for this fabulous tip!

The Snap Attaching Tool holds everything in place nicely.

The Snap Attaching Tool holds everything in place nicely.

A couple hits with the hammer and . . .

A couple hits with the hammer and . . .

. . . the snap is in place!  I love the color of this snap because it brings out the lining color!

. . . the snap is in place!  I love the color of this snap because it brings out the lining color!

I hope that just reading these great tips for making the Kristine ID Wallet have made it worth your time to read through this blog post, but I do have one more item - actually it is two more items.  I have two giveaways on my Uniquely Michelle Facebook page going on now through, Saturday, June 13th!  All you have to do is comment on the post for the item you would like to win to be entered into the random drawing for that item.  If you are interested in both items, comment on both posts!  One post will be for the Kristine ID Wallet Giveaway in which the winner will receive a Kristine ID Wallet along with a matching wrist strap and lanyard.  The second post will be for the Kristine ID Wallet PDF Pattern Giveaway in which the winner will receive one Kristine ID Wallet PDF Pattern.  Use the link below to go to my Uniquely Michelle Facebook page to see more details and enter one or both giveaways - Good Luck!!!  Here is the link for the Uniquely Michelle Facebook page:  Uniquely Michelle on Facebook  

If you want to buy the Kristine ID Wallet PDF Pattern, you can find it in my Etsy shop or on Craftsy.  Here are the links:  Uniquely Michelle on Etsy and Kristine ID Wallet on Craftsy.


Sign up to receive email updates from Uniquely Michelle:

The Companion Carpet Bag by Patterns with Mrs. H

Michelle Burke

The small Companion Carpet Bag is on the left and the large Companion Carpet Bag is on the right.

The small Companion Carpet Bag is on the left and the large Companion Carpet Bag is on the right.

My only experience with a carpet bag up until this January was watching Mary Poppins unpack her carpet bag in the Disney movie.  It was amazing all the items she pulled out of her carpet bag: a coat rack, a large plant, a mirror, and a floor lamp!  When the January bag for the Bag of the Month Club was released and I saw that it was a carpet bag, I was excited to make one.  Since then, I have actually made four of The Companion Carpet Bag by Sewing Patterns with Mrs. H, two of the smaller size and two larger size.  I love this pattern so much that I had to blog about it!

BagoftheMonthLogo-550x375.jpg

First though, let me explain the Bag of the Month Club.  The Bag of the Month Club is a 6-month membership club.  Each month, January through June, as a member I get a new pattern from a different designer.  The designers are some of the best out there and I have enjoyed being part of the club since its inception, last year.  The Bag of the Month Club is also supported by a great Facebook group where people post pictures of their bags and ask questions that the designers or other members answer.  You can check out the Bag of the Month Club Facebook group and read more about it here!

A large Companion Carpet Bag made out of decorator fabric.

A large Companion Carpet Bag made out of decorator fabric.

Now, back to The Companion Carpet Bag by Samantha of Sewing Patterns with Mrs. H.  The Companion Carpet Bag comes in two sizes, large and small.  The small bag is what I would call a mid-size to large handbag, and the large bag is a large handbag size, but I wouldn't hesitate to use it as a carry-on to stow under the seat when flying.  I loved making this pattern in both sizes.  I felt that it was easy to sew in one day and went together very nicely.  The pattern is well written and easy to follow.  

A small Companion Carpet Bag.

A small Companion Carpet Bag.

My one concern when I made my first Companion Carpet Bag was inserting the bag frame.  I had never used a bag frame before, but it was easy to insert.  The most difficult part is working with the small screws, but by my second bag, I came up with a way of inserting the frame that involves only taking out and replacing four screws instead of all eight.  Here is my method:  I remove the screws holding in one arm of the frame from one hinge and then remove the screws holding in the opposite arm of the frame on the other hinge.  I then insert the frame into the sleeves and reinsert the screws.  The other helpful hint I have is I use a magnetized eyeglasses screwdriver - it really helped me hold the screws in place until the threads catch as I was replacing the screws.  Very easy!!!

A large size Companion Carpet Bag with my iPad in it - there's plenty of room!!!

A large size Companion Carpet Bag with my iPad in it - there's plenty of room!!!

I mentioned Mary Poppins unpacking her carpet bag and having so many large items in it.  Of course, the magic of the movie made that possible, but there is a reason they used a carpet bag - carpet bags can hold a lot of stuff!  Although you won't fit a coat rack and a floor lamp in the large size of The Companion Carpet Bag, it is truely amazing how much you can fit in either size bag.  The small Companion Carpet Bag is adorable with its rectangular bottom and cute plump look and the large bag is begging to be made in a decorator fabric to make it durable for travel.

If you want to sew a Companion Carpet Bag, I suggest joining the Bag of the Month Club.  There is still time to join and you will receive all the patterns January through May as well as the June pattern when it comes out on June 1st. (I can hardly wait for June 1st!)

If you are interested in purchasing a Companion Carpet Bag, I have a couple available for purchase in my Uniquely Michelle Etsy shop and I am always happy to sew a special order just to your liking. 


Sign up to receive email updates from Uniquely Michelle:

The Kristine ID Wallet Pattern Gets Some Publicity!

Michelle Burke

It is fun to release a new pattern and then have one of your testers write a blog post about it! Marilyn Brandt wrote about the Kristine ID Wallet on her blog, Shades of Bold on May 8th. Marilyn did such a great job sewing up not one, but two of these wallets during the testing phase for this pattern. I have already featured one of her wallets on my blog last Friday, but I want to show both of her wallets together in one blog post.

I love this brown and blue wallet! The small flowers on this fabric are perfect for the smaller size of this wallet. I also like the brown snap. Marilyn said that she likes to use regular snaps instead of magnetic snaps for a wallet like this and I think it looks great!

The front of the Kristine ID Wallet with its adorable envelope flap!

The front of the Kristine ID Wallet with its adorable envelope flap!

The back of the Kristine ID Wallet features a clear vinyl ID pocket.

The back of the Kristine ID Wallet features a clear vinyl ID pocket.

Two pockets for credit cards or other cash cards are securely hidden under the cute envelope flap.

Two pockets for credit cards or other cash cards are securely hidden under the cute envelope flap.

That blue and brown plaid fabric lining the zipper pocket coordinates well with the floral fabric on the exterior!

That blue and brown plaid fabric lining the zipper pocket coordinates well with the floral fabric on the exterior!

Although you may have seen pictures of Marilyn's bright green Kristine ID Wallet in a previous post, I added a couple more pictures of it here. Again, the green snap goes perfectly with the fabric on this wallet. Marilyn and I both like Snap Source for these snaps - they have nice long prongs and are easy to install with their special "attaching tool." The color selection that Snap Source has is really amazing as well!

I love how the underside of the envelope flap matches the lining of the zipper pocket in the next picture!

I love how the underside of the envelope flap matches the lining of the zipper pocket in the next picture!

Love those checks!

Love those checks!

You can purchase the Kristine ID Wallet pdf pattern from my Uniquely Michelle Etsy shop or from Craftsy! Have fun sewing!!!


Sign up to receive email updates from Uniquely Michelle:

The Kristine ID Wallet - Day 2

Michelle Burke

I am thrilled with the comments and excitement that everyone is expressing about the Kristine ID Wallet pattern that I just released yesterday! People have talked about wanting to sell the wallets they make from this pattern in their "cottage" shops and at craft fairs. I think they would be great sellers at craft fairs - just the perfect price point for a lot of quick sales! 

I wanted to share more pictures with you from my pattern testers. We all love looking at the pretty pictures. I like seeing how mixing and matching fabrics really changes the look of this wallet!


More Pictures from My Pattern Testers:

This is the bright, fun Kristine ID Wallet that Miriam Molina made! That hot pink really pops against that pretty floral. Miriam made her wallet from canvas. I love that star key ring!


Nancy Spaulding from Baby Rozen made this beautiful Kristine ID Wallet from Tula Pink fabric. Nancy gave me the idea to add a wrist strap and a lanyard option for this pattern. Thanks Nancy!


This bright beauty went on a school field trip! Amanda Rios made this Kristine ID Wallet and couldn't wait to take it with her on her daughter's field trip the following week - what a perfect way to use this wallet!


Kae McCarthy of Sew Anna Button made this Walking Dead Kristine ID Wallet.


I love the colors on this Kristine ID Wallet made by Melanie Wilson! The red lining in the zippered pocket is perfect!


Here is a link to my Etsy shop, where you can purchase the Kristine ID Wallet pattern: Uniquely Michelle Etsy shop

You can also purchase the Kristine ID Wallet pattern on Craftsy by following this link:  Kristine ID Wallet pattern on Craftsy

I hope you have fun sewing (and selling) this fun little wallet pattern!


Sign up to receive email updates from Uniquely Michelle:

The Kristine ID Wallet Pattern - It's Here!

Michelle Burke

Kristine ID Wallet

Kristine ID Wallet

I am so excited to share my latest pattern that I am releasing today in my Etsy shop and on Craftsy, the Kristine ID Wallet! I love the way this wallet turned out, with its cute envelope flap on the front and an ID pocket on the back. It is perfect to carry your essentials to work or school. The envelope flap hides two card pockets, keeping your credit card secure. There is also a zippered pocket at the top to keep bills and change. Put your keys on the keyring, and you are ready to go! 

Kristine ID Wallet

Kristine ID Wallet

Thanks to my pattern testers (see more pictures from them below!), I added instructions to make a wrist strap and a lanyard to add to the Kristine ID Wallet. Either the wrist strap or the lanyard are a perfect addition to this wallet to make it even easier to keep with you when you are at work, at school, or running errands. 

Kristine ID Wallet with Lanyard and Wrist Strap

Kristine ID Wallet with Lanyard and Wrist Strap

I made several of these to give as high school graduation gifts for my daughters' friends, they were received very well! I hope you will have as much fun making the Kristine ID Wallet as I have!

Here is a link to my Etsy shop, where you can purchase the Kristine ID Wallet pattern: Uniquely Michelle Etsy shop

You can also purchase the Kristine ID Wallet pattern on Craftsy by following this link:  Kristine ID Wallet pattern on Craftsy


Some Pictures from My Pattern Testers:

I love this bright green Kristine ID Wallet made by Marilyn Brandt of Shades of Bold! I think the regular snap she used, instead of a magnetic snap, looks great! 

Kristine ID Wallet green front pocket - Marilyn Brandt.jpg

Paula Faes made this pretty pink Kristine ID Wallet. I love how she used a contrasting fabric for the ID Pocket on the back!


The red zipper Monica Lopez of Stand Out Bags used on her Kristine ID Wallet really stands out nicely! The owl fabric is so cute!


Alison Shaw made a Kristine ID Wallet for her school-aged daughter. Her daughter loves to attach this cute, pink wallet to her school bag and uses the ID pocket to hold her schedule - no more digging in her bag for her schedule!


I love these classy Kristine ID Wallets made by Sheri Fowler of Sassypants Satchels! The button is a perfect addition to the gray wallet; yet another option for a different closure on the envelope flap!


Thanks to my pattern testers for all the hard work they put into testing my pattern, sending me edits, and taking beautiful pictures for me to share!


Sign up to receive email updates from Uniquely Michelle:

What I Have Learned About the Pattern Making Process - Getting a Pattern "Out There"

Michelle Burke

The last post on this series addresses getting a pattern "out there." After designing and writing a great pattern, and having it tested by several pattern testers, it is finally time to put it up for sale and hope all the hard work will pay off!

There are a few options for listing a pattern, Etsy and Craftsy are the two that I use. Both Etsy and Craftsy are great platforms for selling patterns. Although Etsy takes more of your profit, it also exposes you to a very large audience of buyers - this is very helpful when trying to sell something! Although Craftsy has fewer members than Etsy, Craftsy doesn't keep any of your profit.

It is great to have options like Etsy, Craftsy, your own website, etc. for selling patterns, but if you are just hoping people will stumble on your pattern at one of these sites, the wait could be long. Marketing is key to getting people to see, and therefore buy your pattern. Social media is a perfect platform for this. I have a business Facebook page, a Twitter account, an Instagram account and a Pintrest account. From both Etsy and Craftsy, it is easy to post to many of these social media sites. I usually like to write my own posts though so that I can add the pictures I want to add, but I always make sure there is a link that takes people to the pattern so they can easily buy it. Marketing is a lost cause if potential customers can't find, and buy, the product that is being advertised.

Another sneak peek of my next pattern!

Another sneak peek of my next pattern!

I think by posting sneak peeks before a pattern release can help get people excited for the new pattern. I also think posting several times for the first week or two after a pattern is released can keep that excitement going. Keeping posts fresh and new is great, and this is where I am hoping to get help from my pattern testers again. It is great to be able to post pictures of other people's product that they made from my pattern, not just my pictures. Some of my pattern testers have said they would write about my pattern in their blog; providing a link in a social media post to someone else's blog post about a new pattern is a great way to keep people's interest up and hopefully help them decide to buy the pattern! Marketing a new pattern on social media sites is a great way to direct traffic to a new pattern listing and that will help increase sales! 

I have a new pattern coming out in two days! It's time to take my own advice and ramp up my marketing - Facebook, Twitter, and Instagram, here I come!


Sign up to receive emails updates from Uniquely Michelle:

What I Have Learned About the Pattern Making Process - The Finding & Keeping of Pattern Testers

Michelle Burke

As someone who is new to the pattern making process, I decided to write a blog series about what I have learned as I have gone through this process.  In today's post, I will focus on finding pattern testers and how to work with them to make your job and their job easier.

I knew wanted to have a group of pattern testers test my pattern; I knew other designers had their own group of testers, but how would I find several people who would be willing to test my patterns for me? This was actually quite simple! There is a Facebook group, Sewing Pattern Testers, that is dedicated to pattern designers who want their patterns tested and people who are willing to test patterns. This is a closed group that you can ask to become a member of if you are either a pattern designer or a pattern tester. Once I was included in the group, I used Google Forms to create an application that I could publish on the Sewing Pattern Testers Facebook page. The application asked for several basic pieces of information including name, email address, sewing skill level. I also asked questions of the applicants, such as, could they finish sewing the project by a given due date, would they be willing to share pictures of their finished product, and how would they rate the quality of their pictures. I gave them the opportunity to share their website, Facebook page, Etsy shop, etc., and I asked them to tell me a little about themselves. At the top of the application, I included a picture of the final product so that the applicants would know what they would be testing. Google forms makes it easy to upload the application to a Facebook group and then as responses come in, it compiles the answers on a spreadsheet for you! After only a day or two, I had more people willing to test for me than I really needed! 

My group of pattern testers were very helpful in giving me ideas on how to best go about communicating with them; one suggested that I set up a Facebook group for my pattern testers to join. A Facebook group is a fun way to get to know your group of testers, and for the pattern testers to share pictures, ideas, and questions about the pattern. The pattern testers can also share their edits and feedback in the Facebook group. Creating a form in Google Forms and posting it to your Facebook pattern testers group is the easiest way to for testers to record their edits and feedback. This form includes questions that the designer wants answered as well as a place for comments. I will admit that I didn't create the feedback form for my pattern testers for my most recent pattern. My pattern testers emailed me their edits and feedback this time, but I will definitely create this form next time to make it easier for both my pattern testers and myself. Once again, I have to say that I feel fortunate to have a group of pattern testers who is willing to help this newbie learn what works well for everyone! :)

There is one more step to the pattern making process and that is getting your pattern "out there" for sale. I will discuss this in my next post!


Sign up to receive email updates from Uniquely Michelle:

What I Have Learned About the Pattern Design Process - Using Pattern Testers

Michelle Burke

In this series of posts, I am sharing what I have learned about the pattern design process from the perspective of a fairly new pattern designer. Today I will share my thoughts on using pattern testers.

Have you ever tried to sew something from a pattern that is poorly written or illustrated? I have! I have sewn long enough to be able to stumble through a poorly written pattern; but the fun of sewing gets lost in the frustration of trying to decipher what the pattern designer is wanting me to do next. I don't mind having to spend a few minutes rereading a step that I don't quite understand, but when a pattern is so poorly written that I spend more time trying to read the pattern and understand it than sewing, it makes me never want to sew that pattern again! Then I imagine the insurmountable frustration of someone who is new to sewing, trying to follow the same pattern; it would be enough for me to give up sewing all together if I were in their shoes. For these reasons, I feel that having my patterns tested by a group of pattern testers is crucial to publishing a high quality pattern that anyone with basic sewing skills can follow, in order to produce a finished product that they can be proud of. 

Of course, one obvious benefit of having a pattern tested is having several sets of eyes looking for spelling and grammatical errors, but there are other benefits that I didn't expect from the process of pattern testing. By having several people of varying sewing abilities test my pattern, I learn what I need to change to make it more clear and easy to follow.  It is easy to write a pattern to my sewing ability level, using language that I am accustomed to using when I sew, but that doesn't mean that everyone else will understand what I am trying to explain in the next step in my pattern. I don't want to frustrate people as they follow my pattern, but instead empower them to sew something even if it is a reach for their current sewing ability. Pattern testers will point out steps that they feel are not clearly written and they may even suggest a way to write those steps in a more understandable way.

A sneak peek at something I made using my soon-to-be-released, next pattern!

A sneak peek at something I made using my soon-to-be-released, next pattern!

The final benefit of having a group of pattern testers test my patterns, is the fresh ideas that come from a wonderful group of people who are excited to try out a new pattern. If I had not had my latest pattern tested, I would not only have a few spelling and grammatical errors, some unclear steps, and a picture that needed more explanation, but my pattern would not have alternate closure options and a couple add-on features that make it even better than I had imagined it could be! I am now even more excited to release my next pattern at the end of this week because of the input and contributions made by my wonderful group of pattern testers! In my next post, I will share what I learned about finding a group of pattern testers and organizing the pattern testing process.


Sign up to receive email updates from Uniquely Michelle: