Kristine ID Wallet Sew Along Day #3 - Card Pockets and Flap
Michelle Burke
Hi everyone! I’m so glad to have you back for day 3 of the Kristine ID Wallet Sew Along! If you are just joining us, no worries you can click on the links in the schedule below to see what we did on days 1 & 2. The Kristine ID Wallet is a fast sew, so it will be easy to catch up! If you don’t have the pattern yet, you can purchase it from the Uniquely Michelle Website Shop, the Uniquely Michelle Etsy Shop, or the Uniquely Michelle Bluprint Pattern Shop. Remember the discount code if you are purchasing from the website or Etsy – SEWKIDW. The price is already reduced on Craftsy
The Kristine ID Wallet Sew Along schedule:
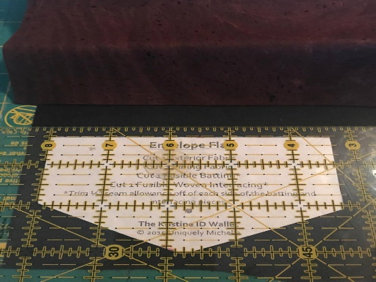
Day #3: Envelope Flap and Card Pockets/Front of KIDW
Day #4: Straps, Ring Loop and Zipper
Day #5: Finishing It Up
For day 3, we will be putting the card pockets, and the flap together – basically the front of the Kristine ID Wallet. This day is the most time-consuming day of the entire sew along, but don’t let that scare you off, it is still quite easy!
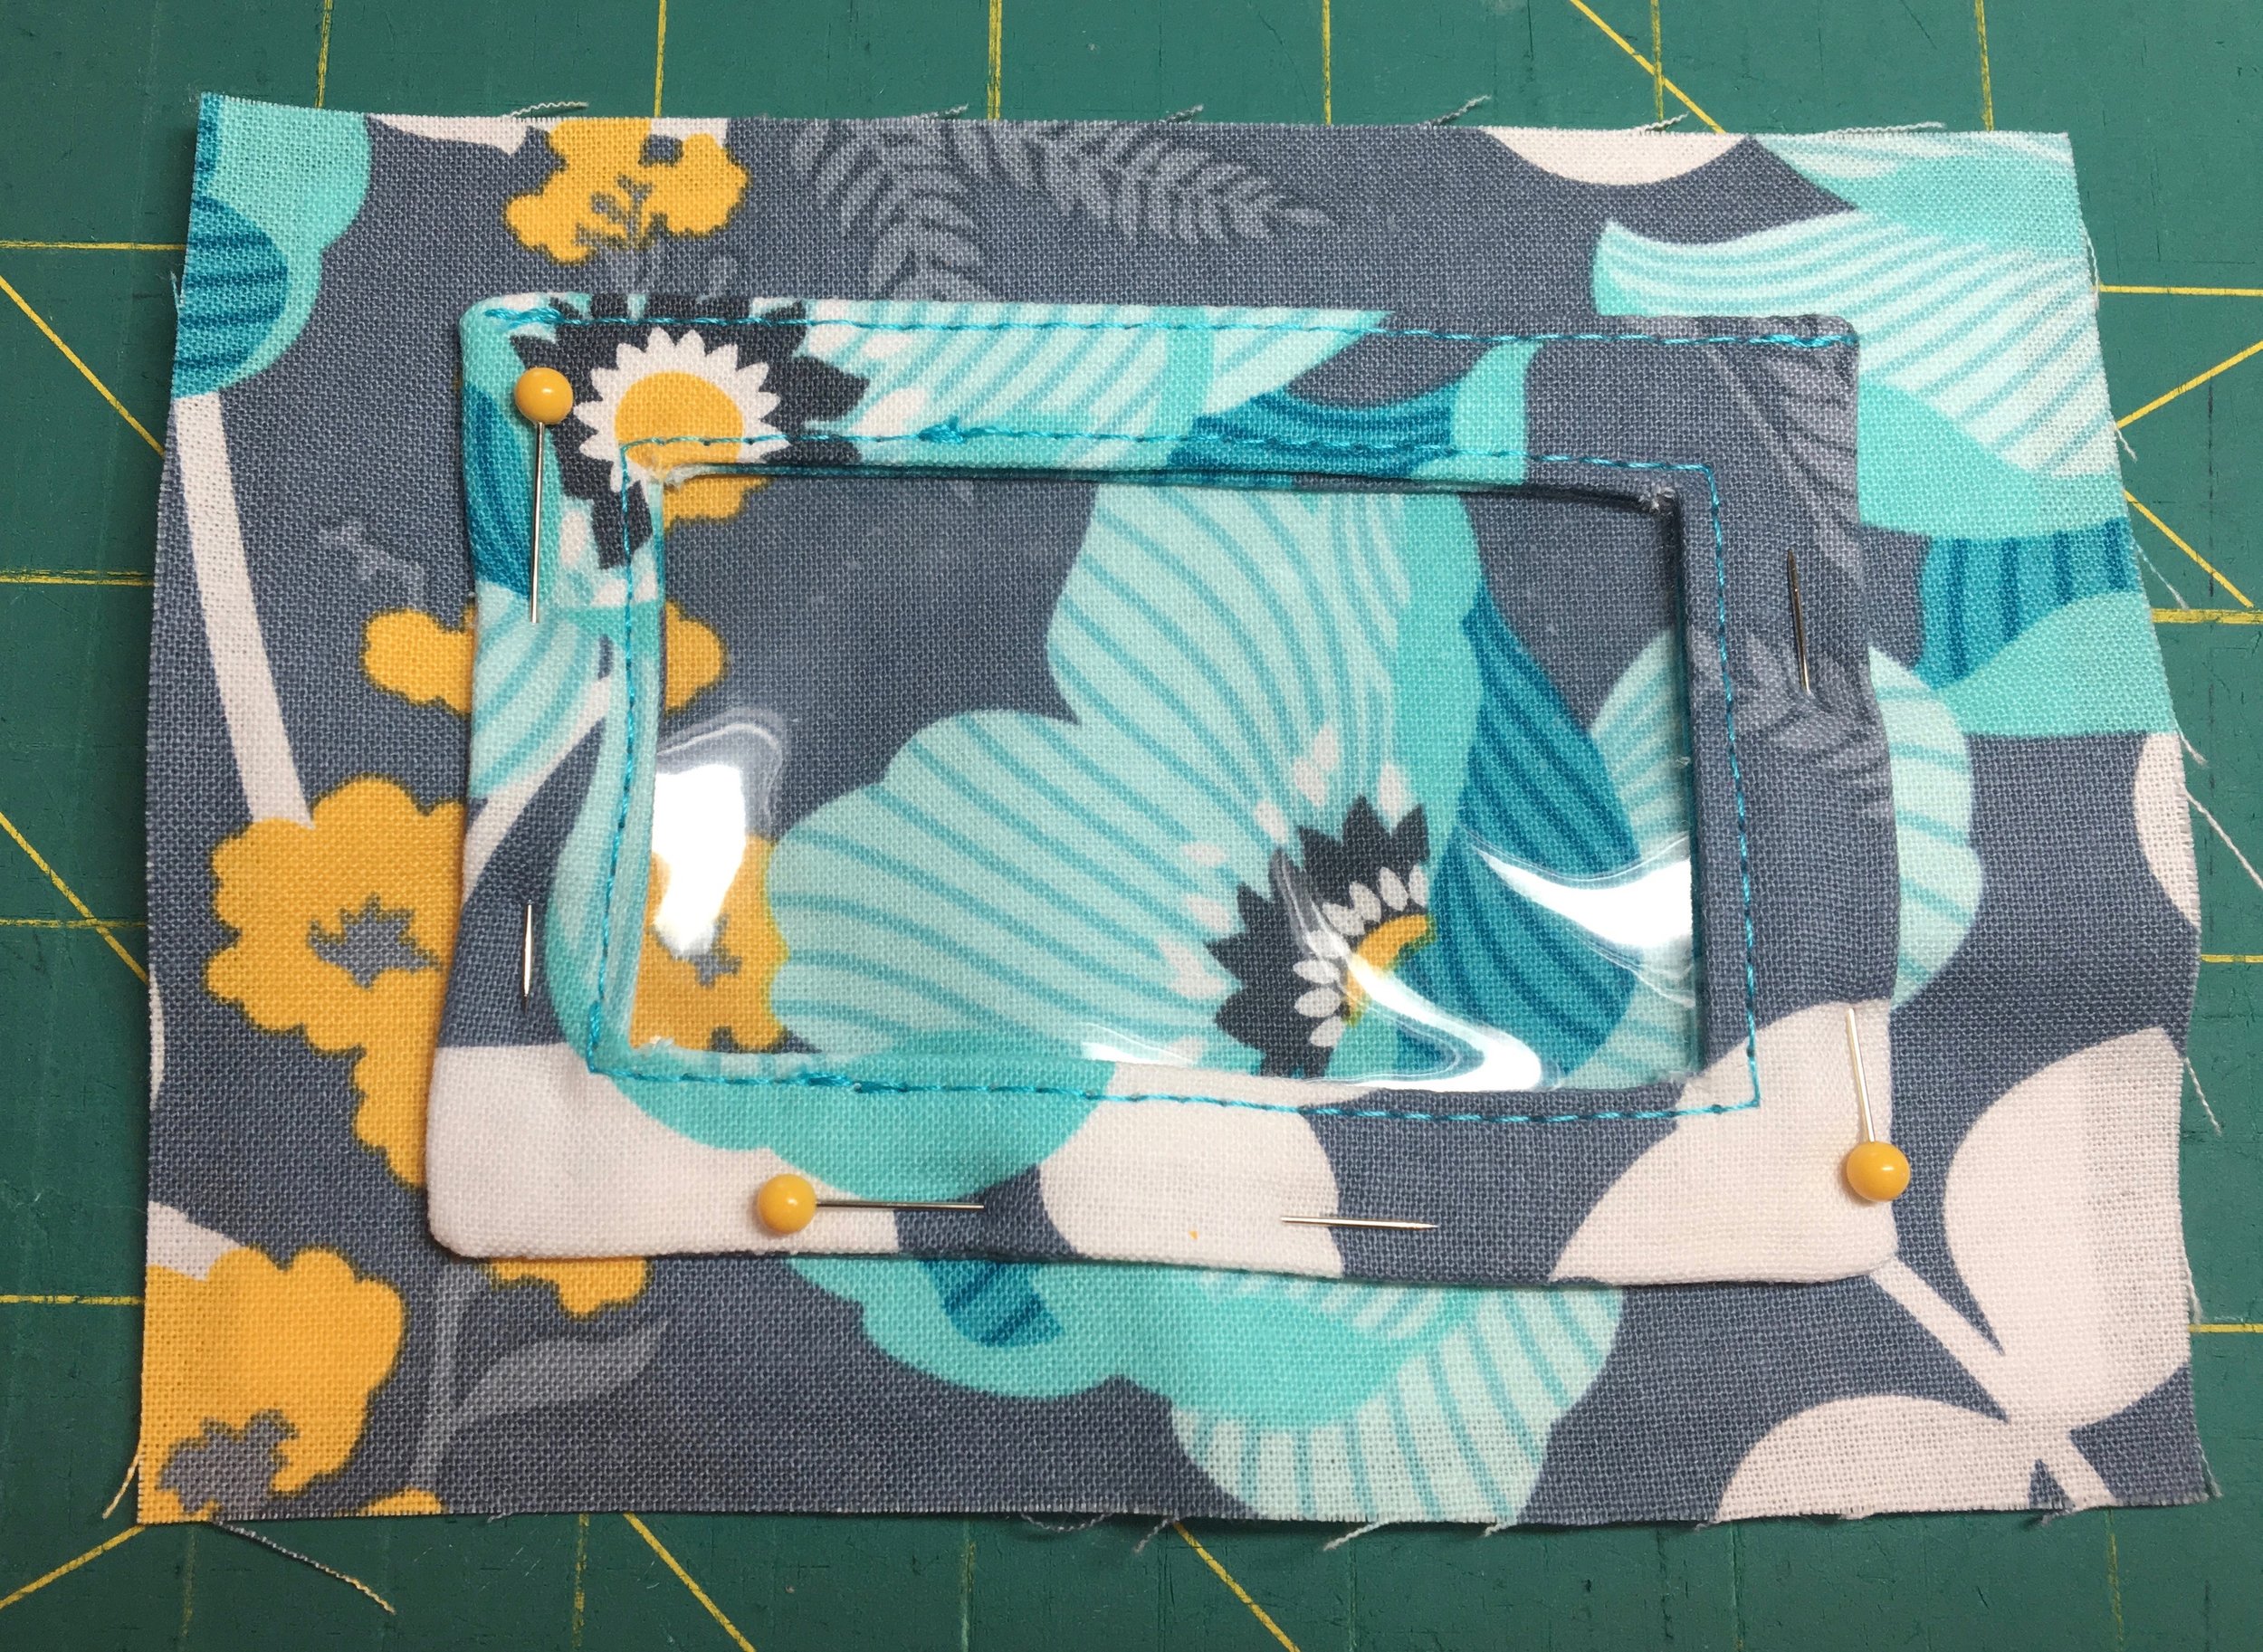
We will start with the card pockets. I think the instructions in the pattern are self-explanatory and the pattern includes some great photos showing you what to do, but there are a couple of things that I do slightly differently now and a couple of hints I will share with you.

One thing I do differently is I use clips instead of pins when I am making the folds for the card pockets. I still use pins to mark the fold lines from the opposite side, but clips are great to use as I finger press the folds in place.
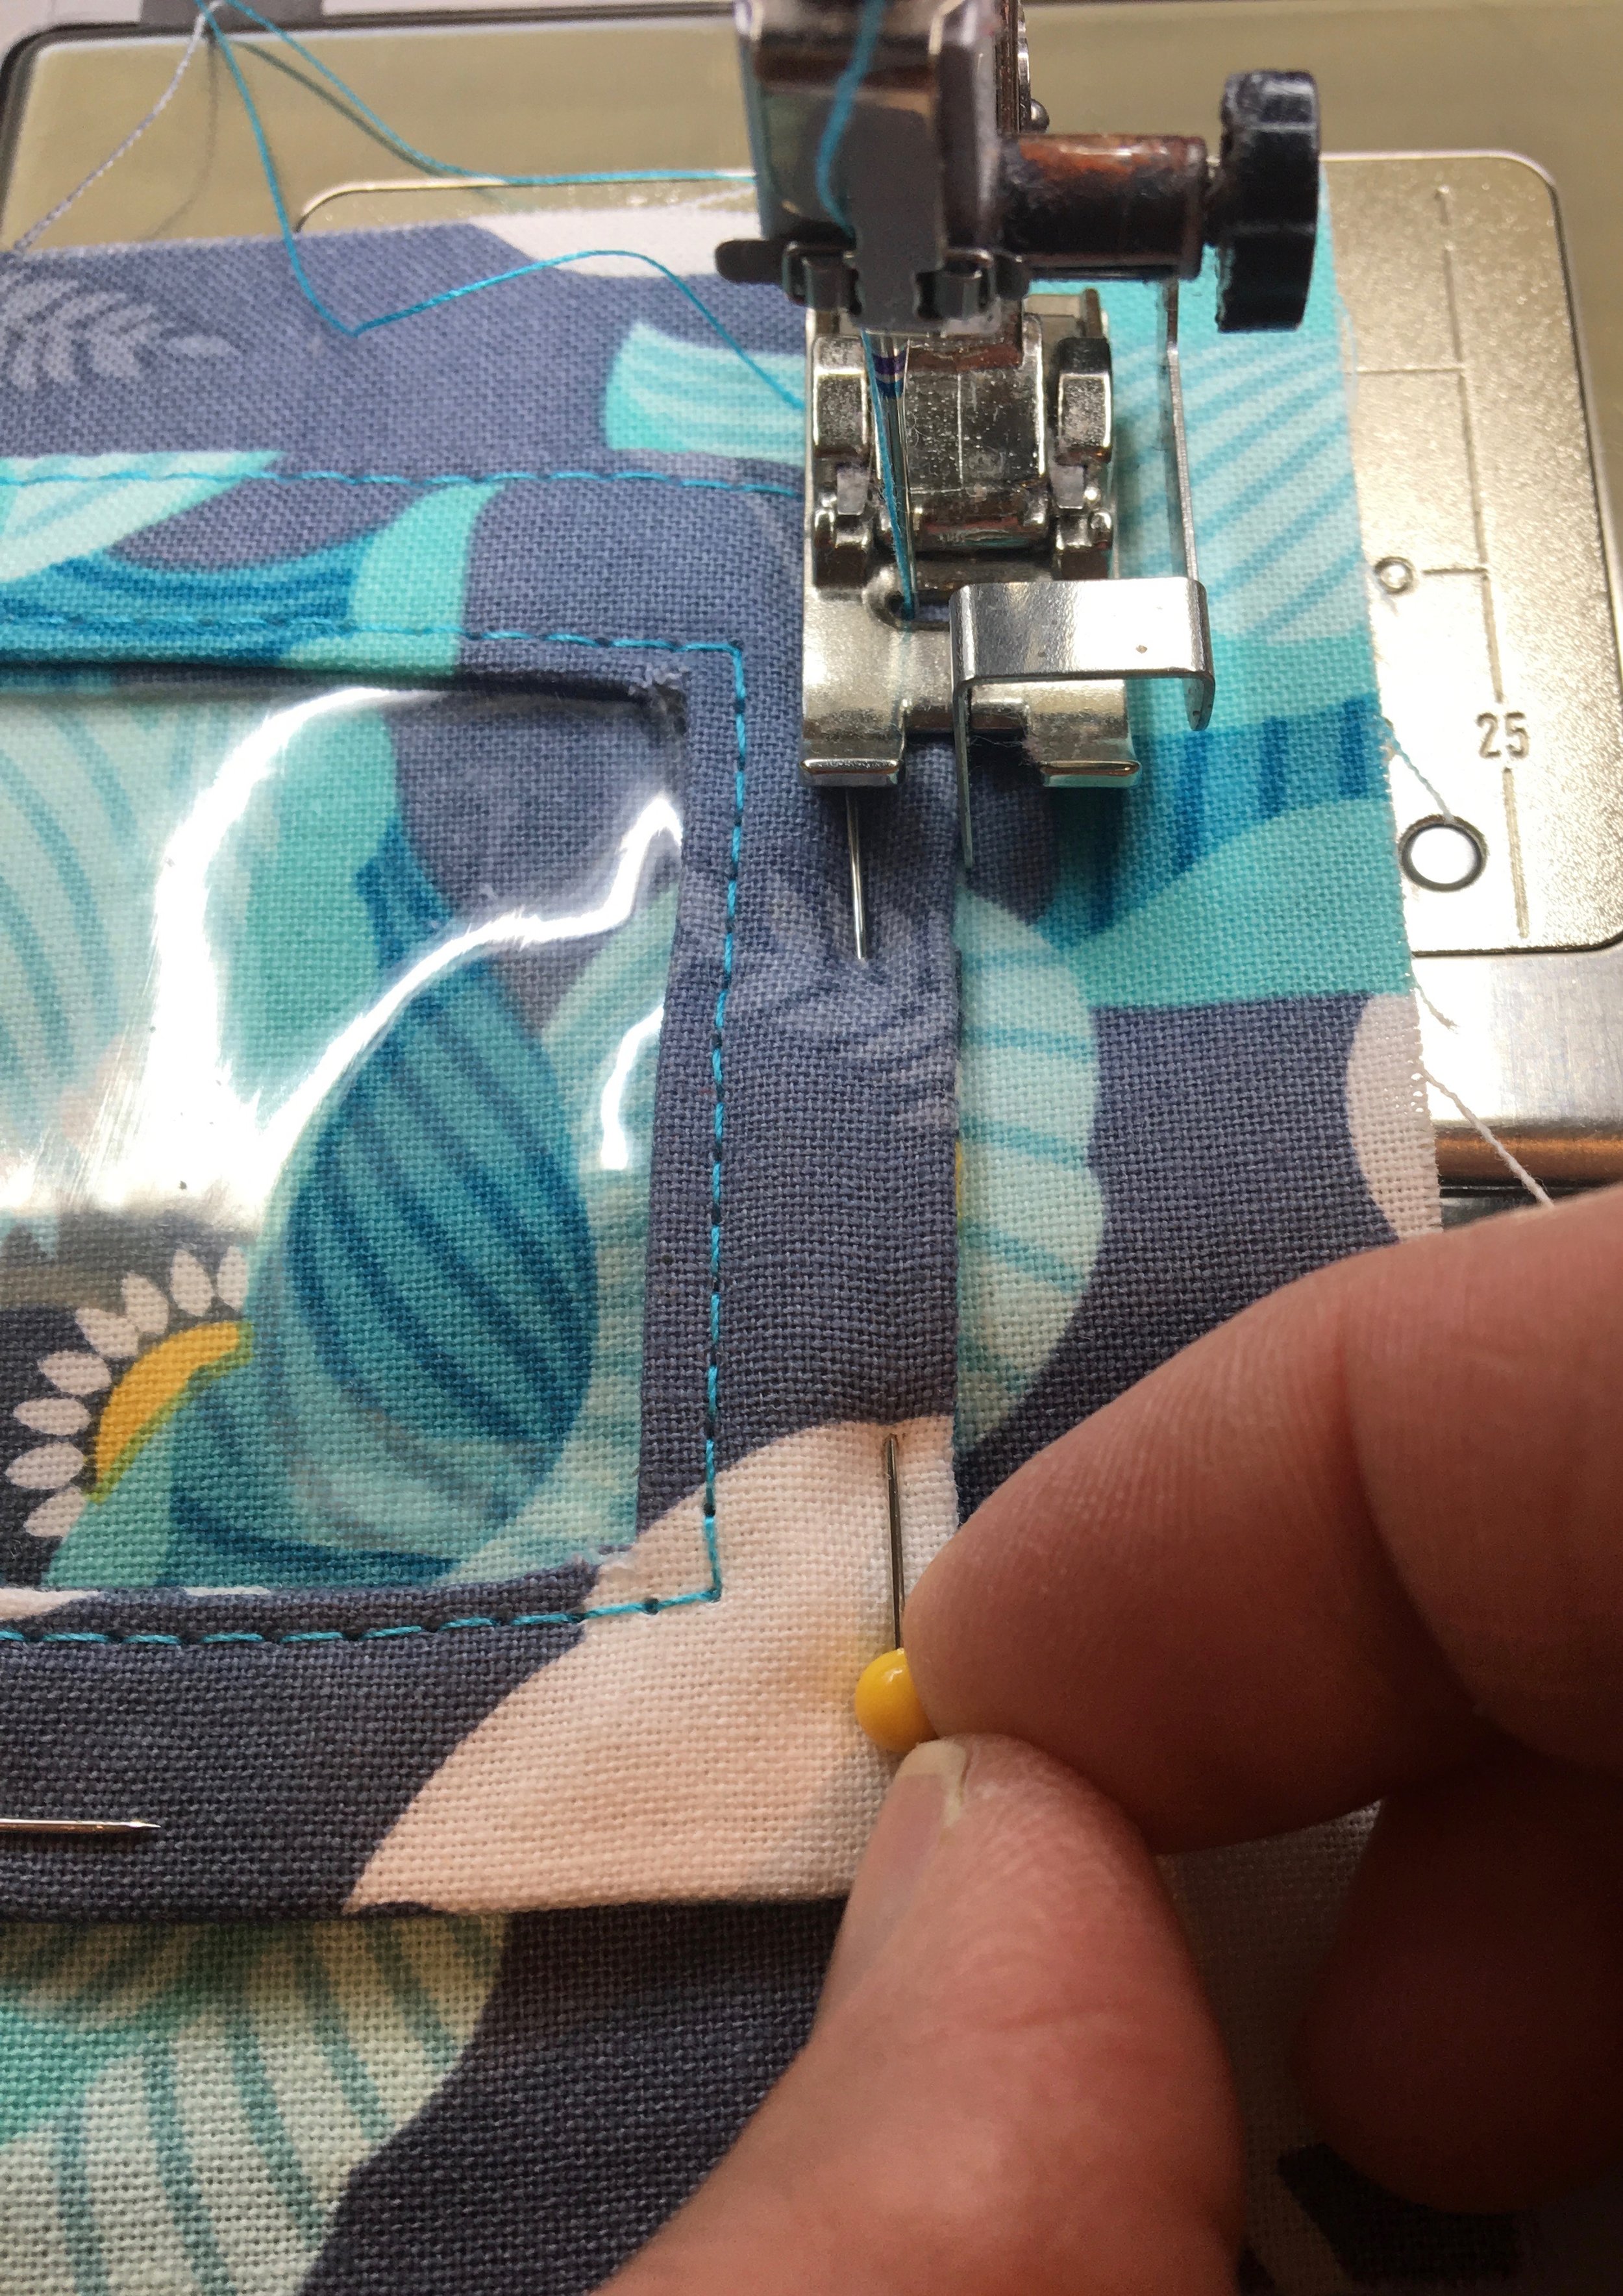
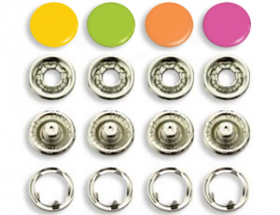
Another change I have made is a result of using a regular snap instead of a magnetic snap, although this change works well if you are using a magnetic snap too. When using a regular snap, I need to be able to get the snap installation tool into the correct spot to install the female side of the snap. This is difficult when the folds of the card pocket piece had been basted on the sides and the side pieces have been sewn in place. So, I still top-stitch the tops of the pockets, but I wait to stitch the sides to hold the folds in place until after I have installed the snap.
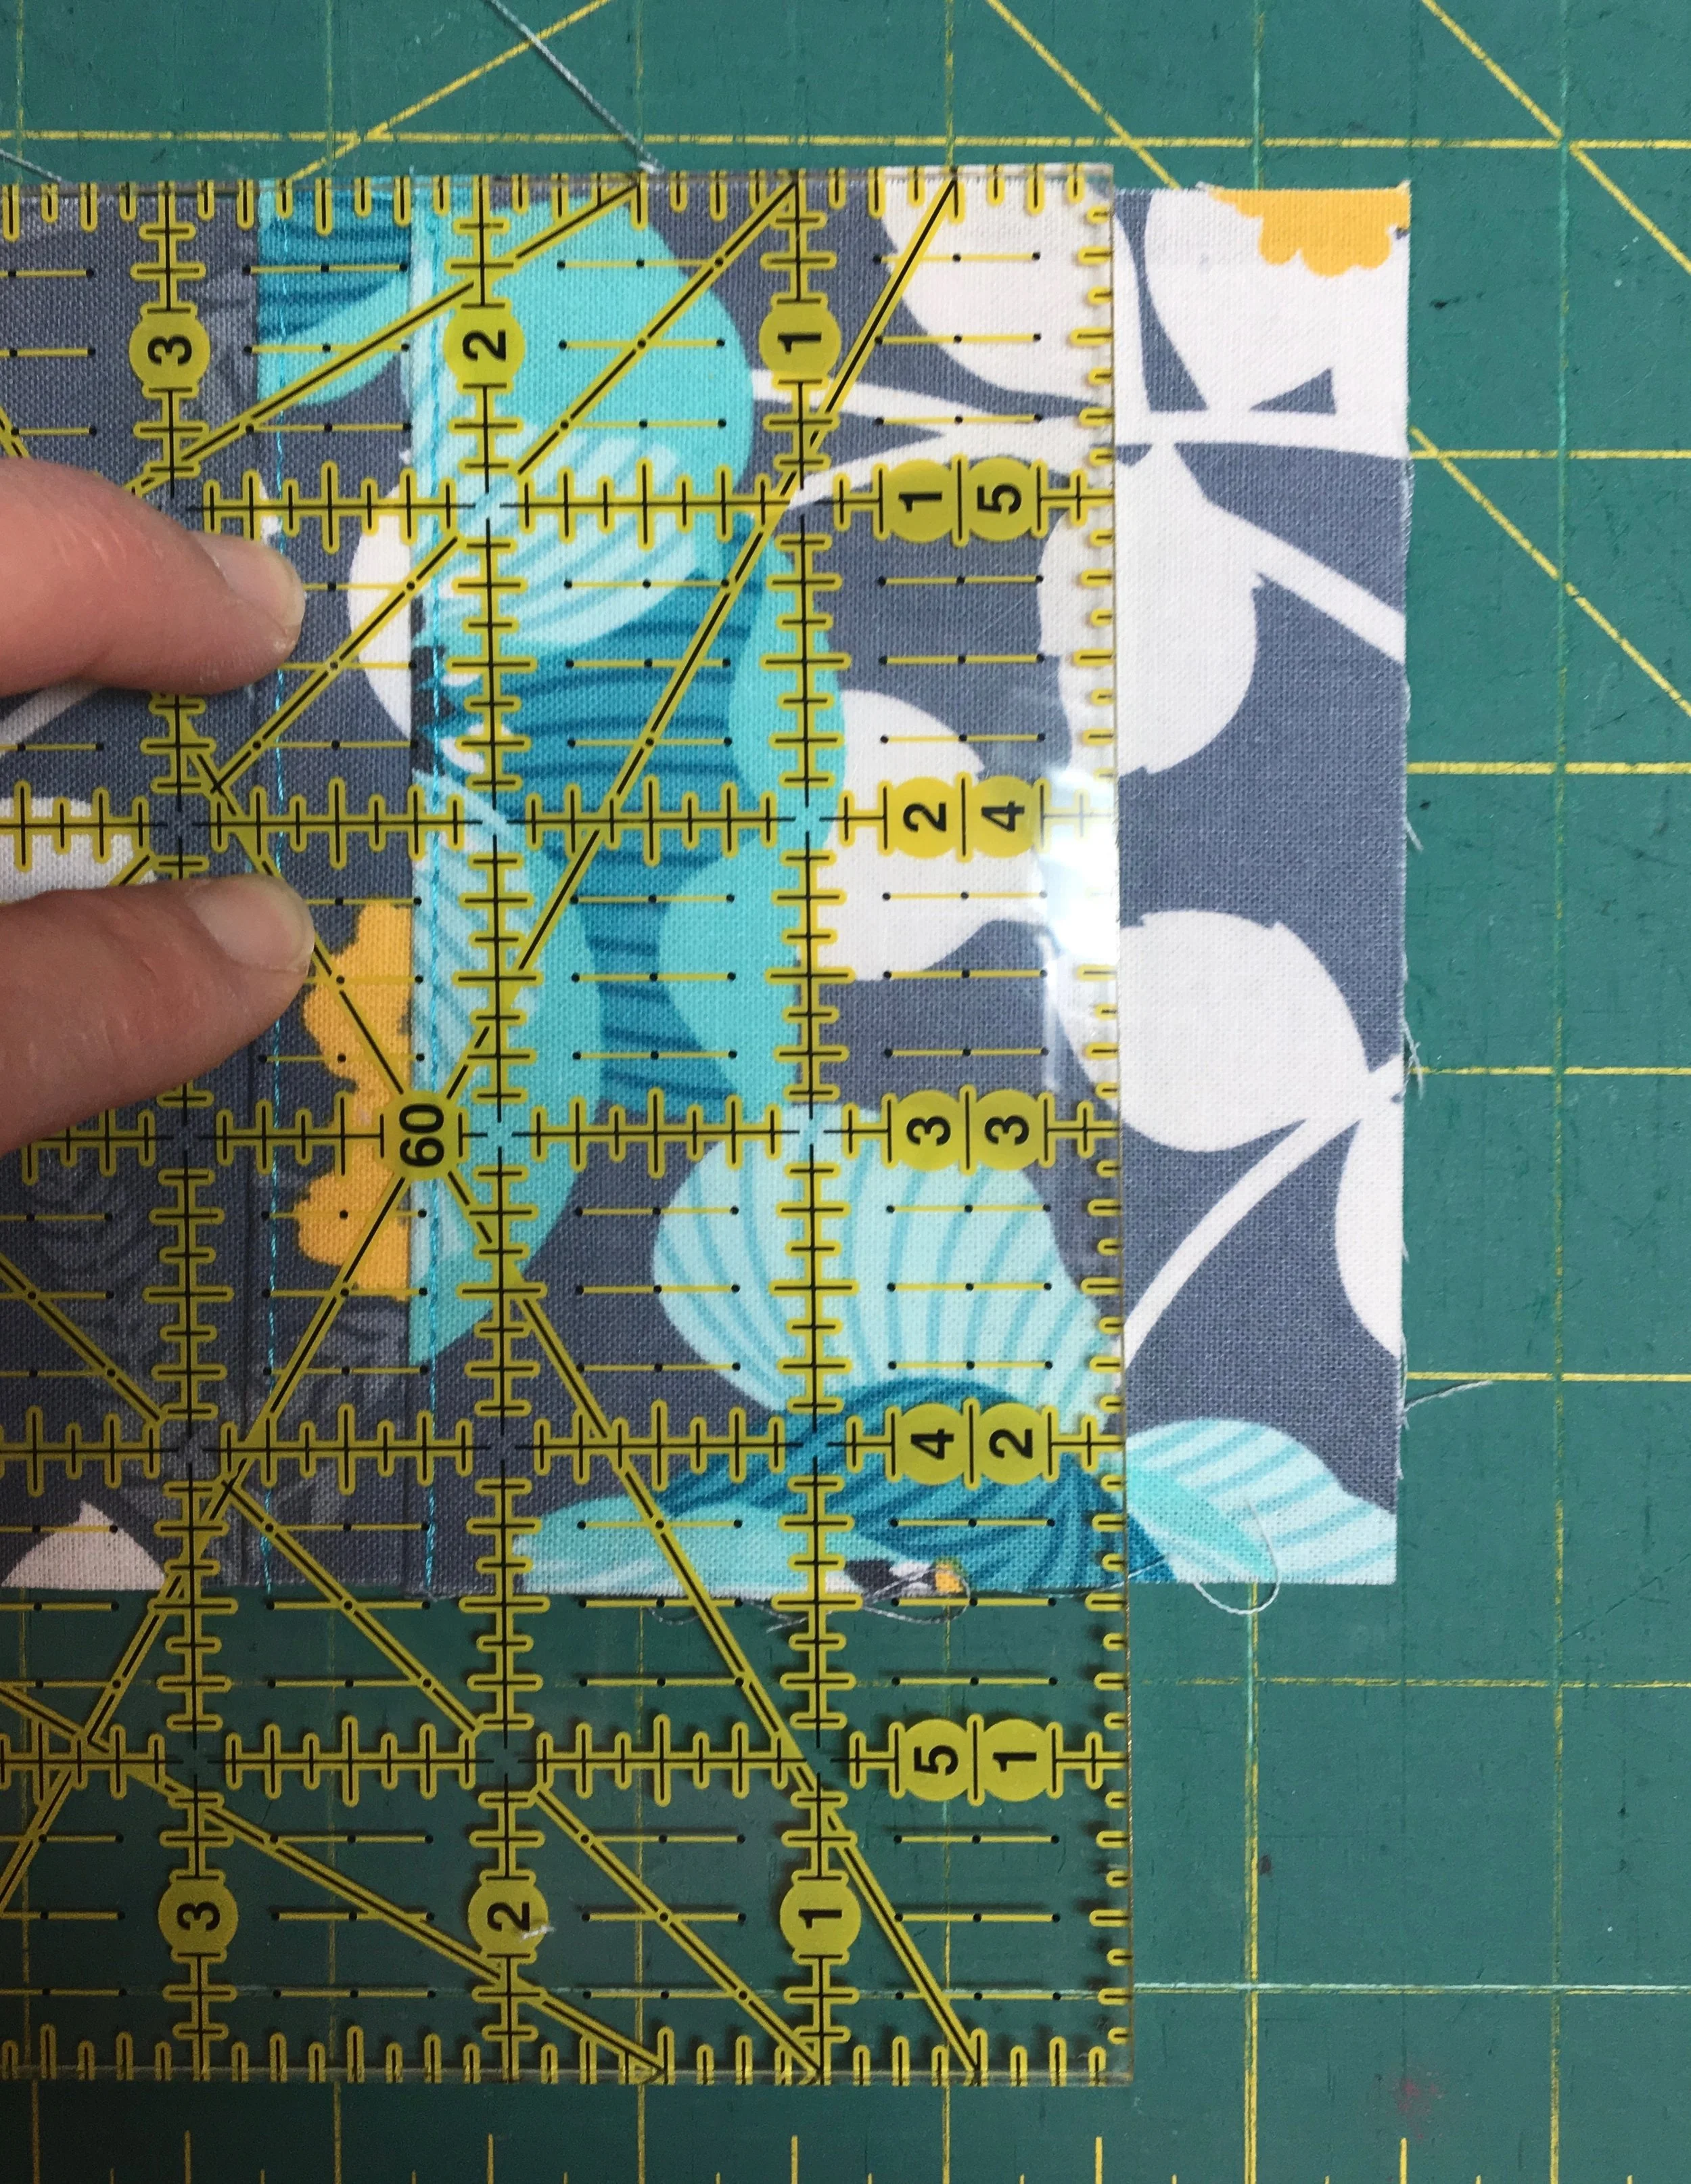
You will need to be very careful to keep the folds neatly in place and straight as you cut the height of the card pocket piece down to 4”. I also don’t add the sides of the card pocket pieces until after I have installed the female half of the snap.

Everything I have explained above makes it so I can unfold the card pockets to add the snap - making it easier to add a magnetic snap and it is required for adding a regular snap. If you are installing a regular snap, the measurements are the same for the installation of both the female and male halves of the snap. The measurements are to the center of the snap either way.
Once the female half of the snap is installed on the card pocket piece, I baste the folds in place, making sure they are nice and straight and then I add the side pieces.

You can see the impression from my iron in the fleece - lol!
Finally, I fuse the fusible fleece in place on the wrong side of the entire card pocket side and top-stitch as explained in the pattern.
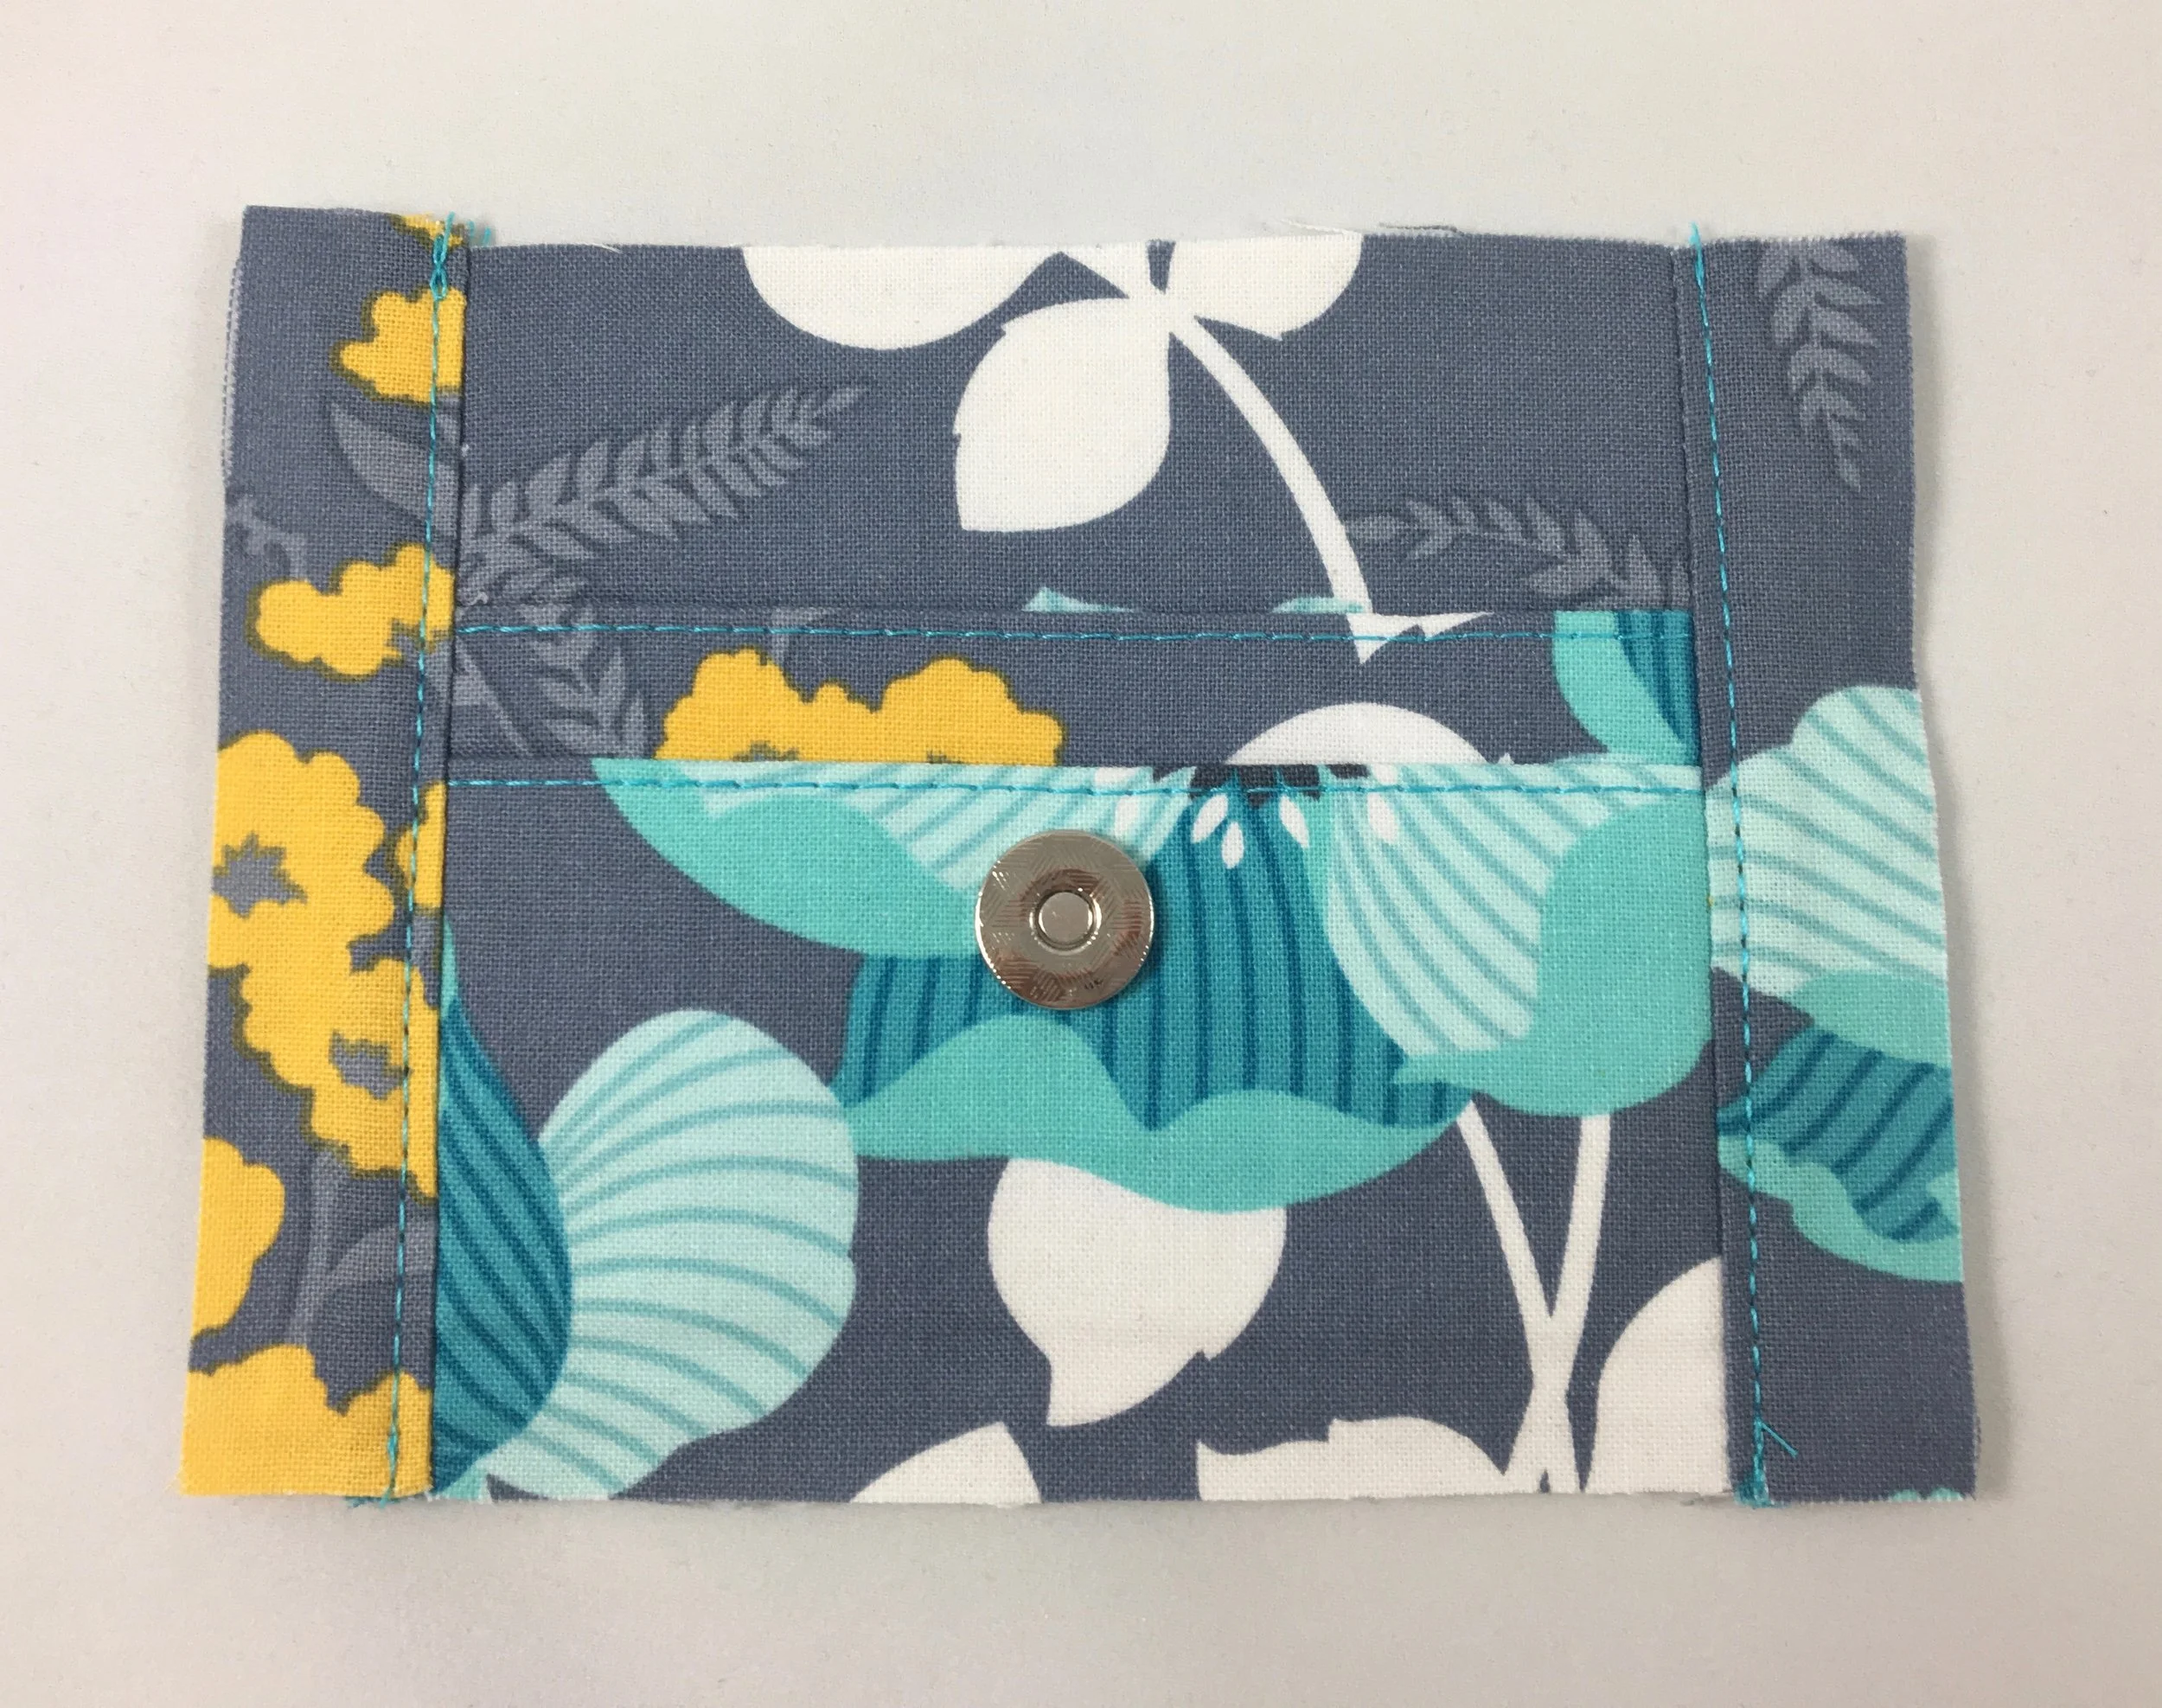
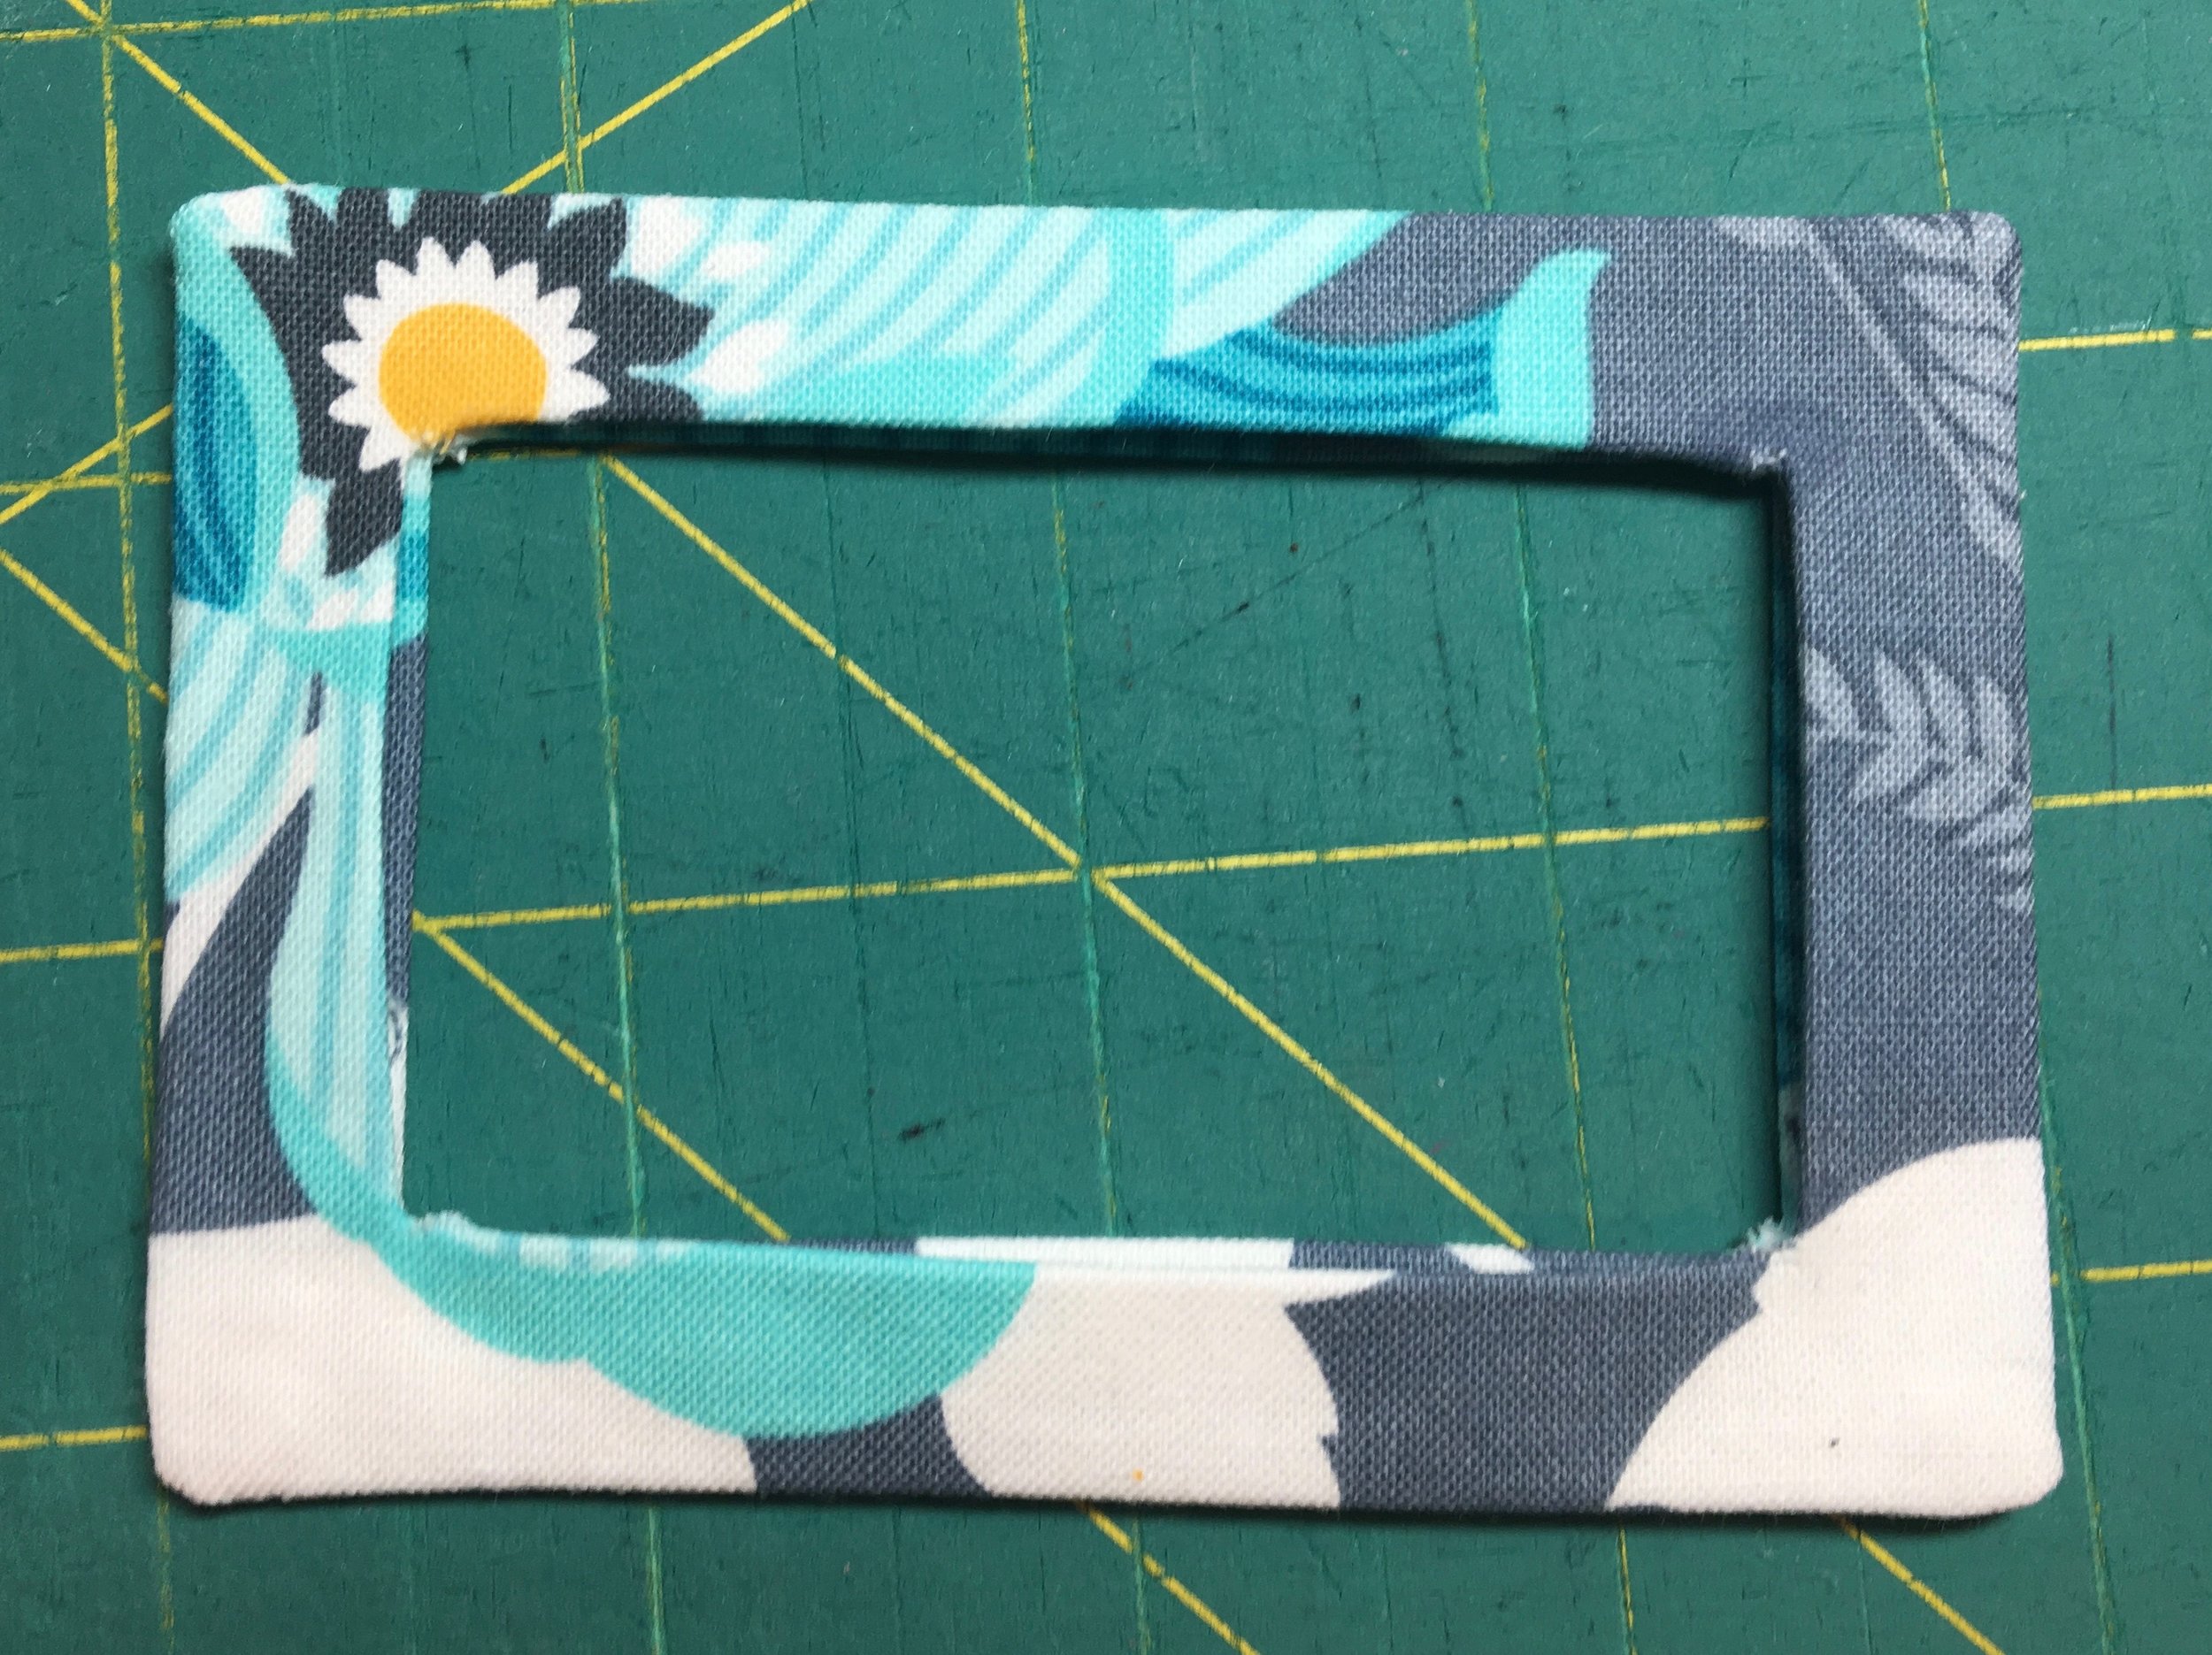
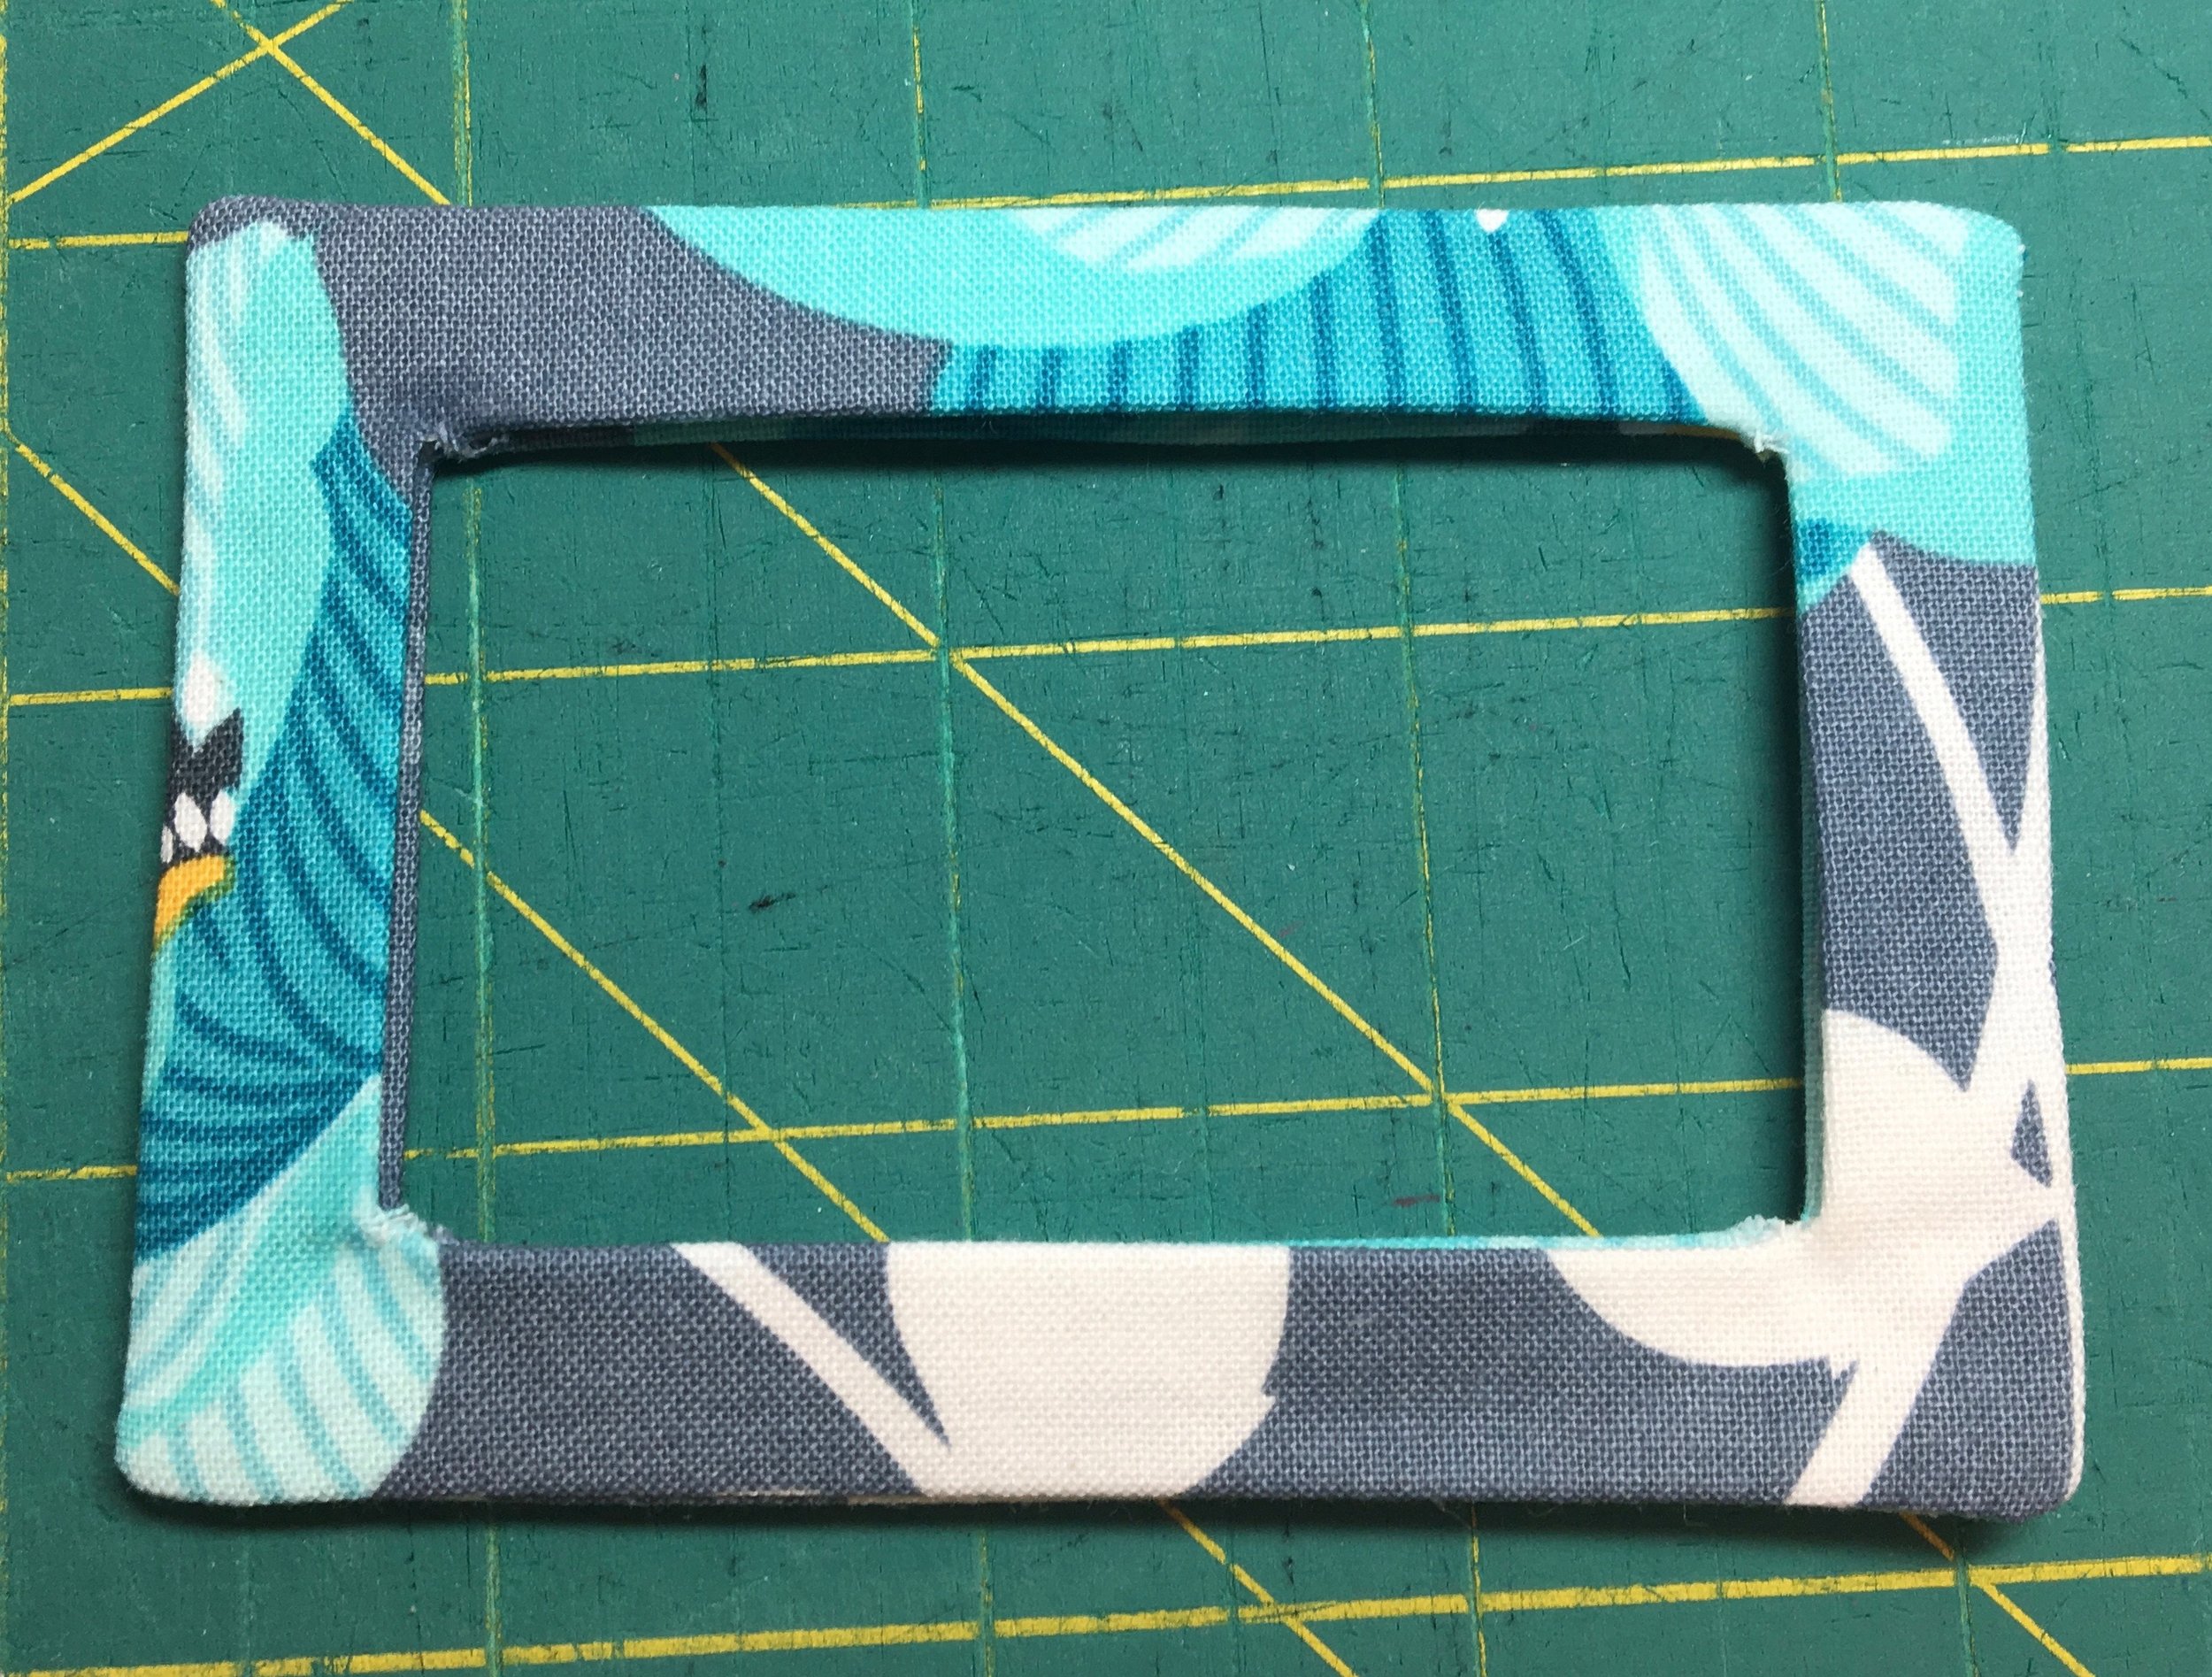
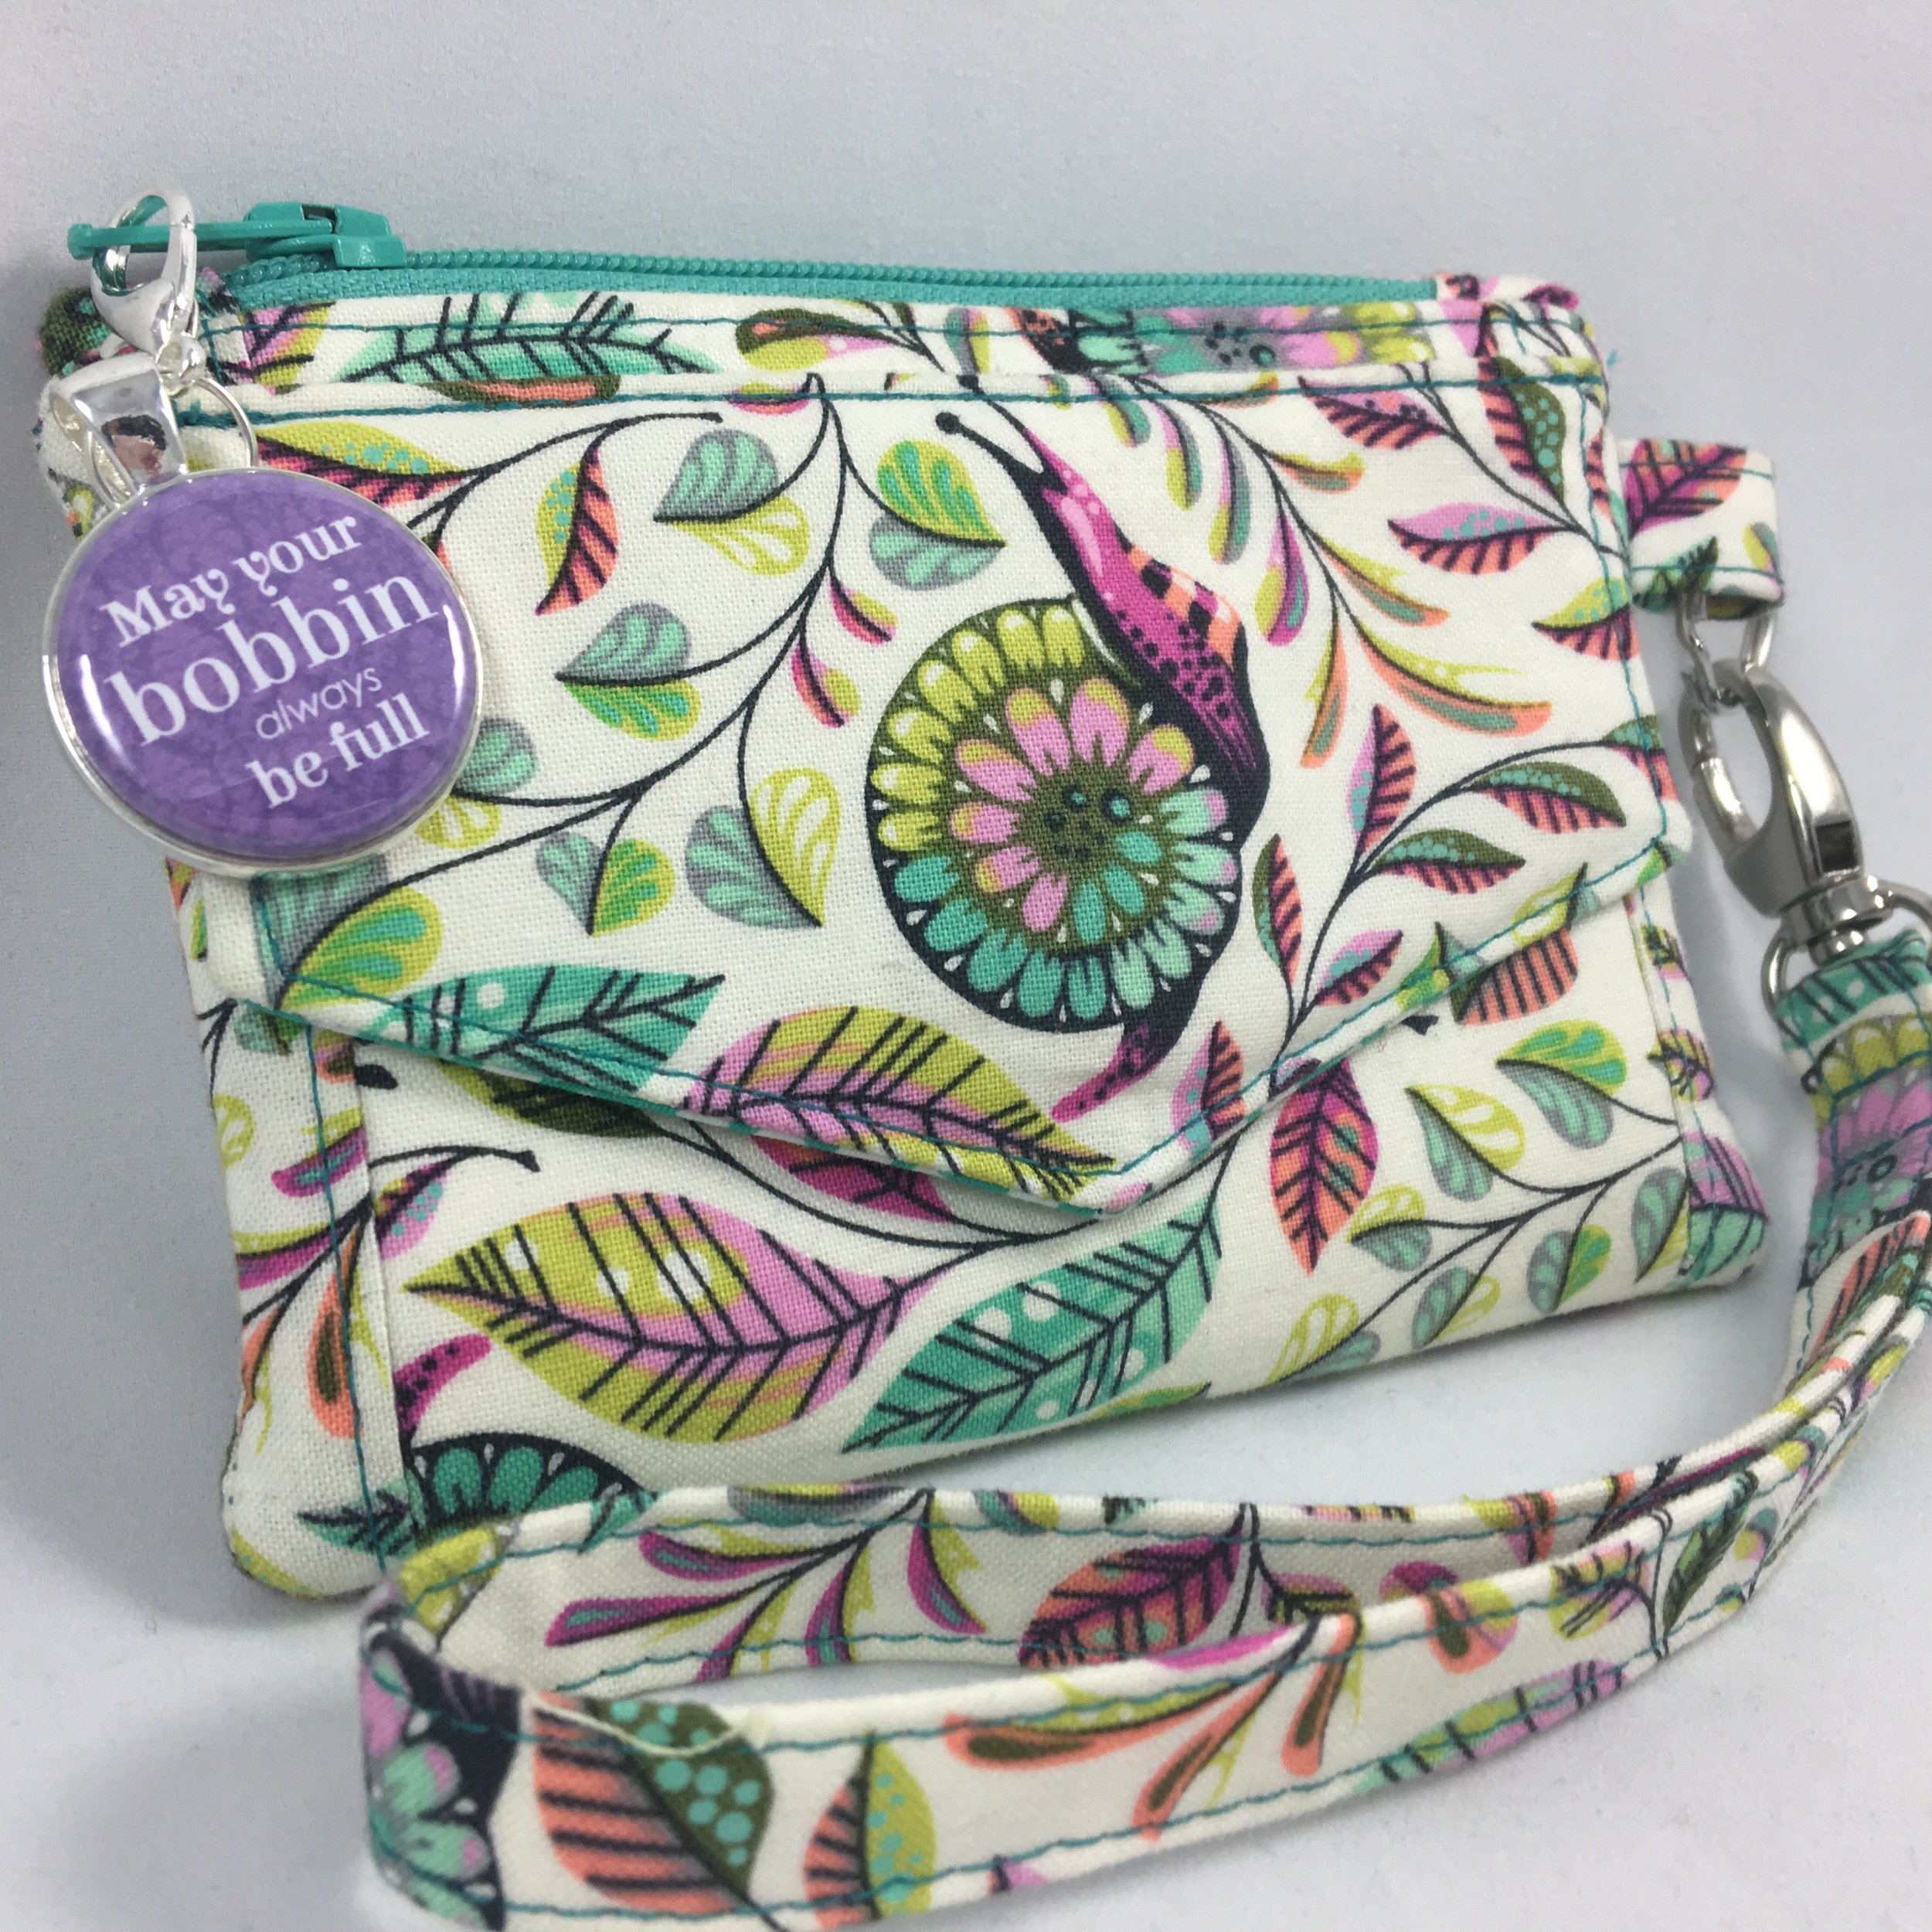
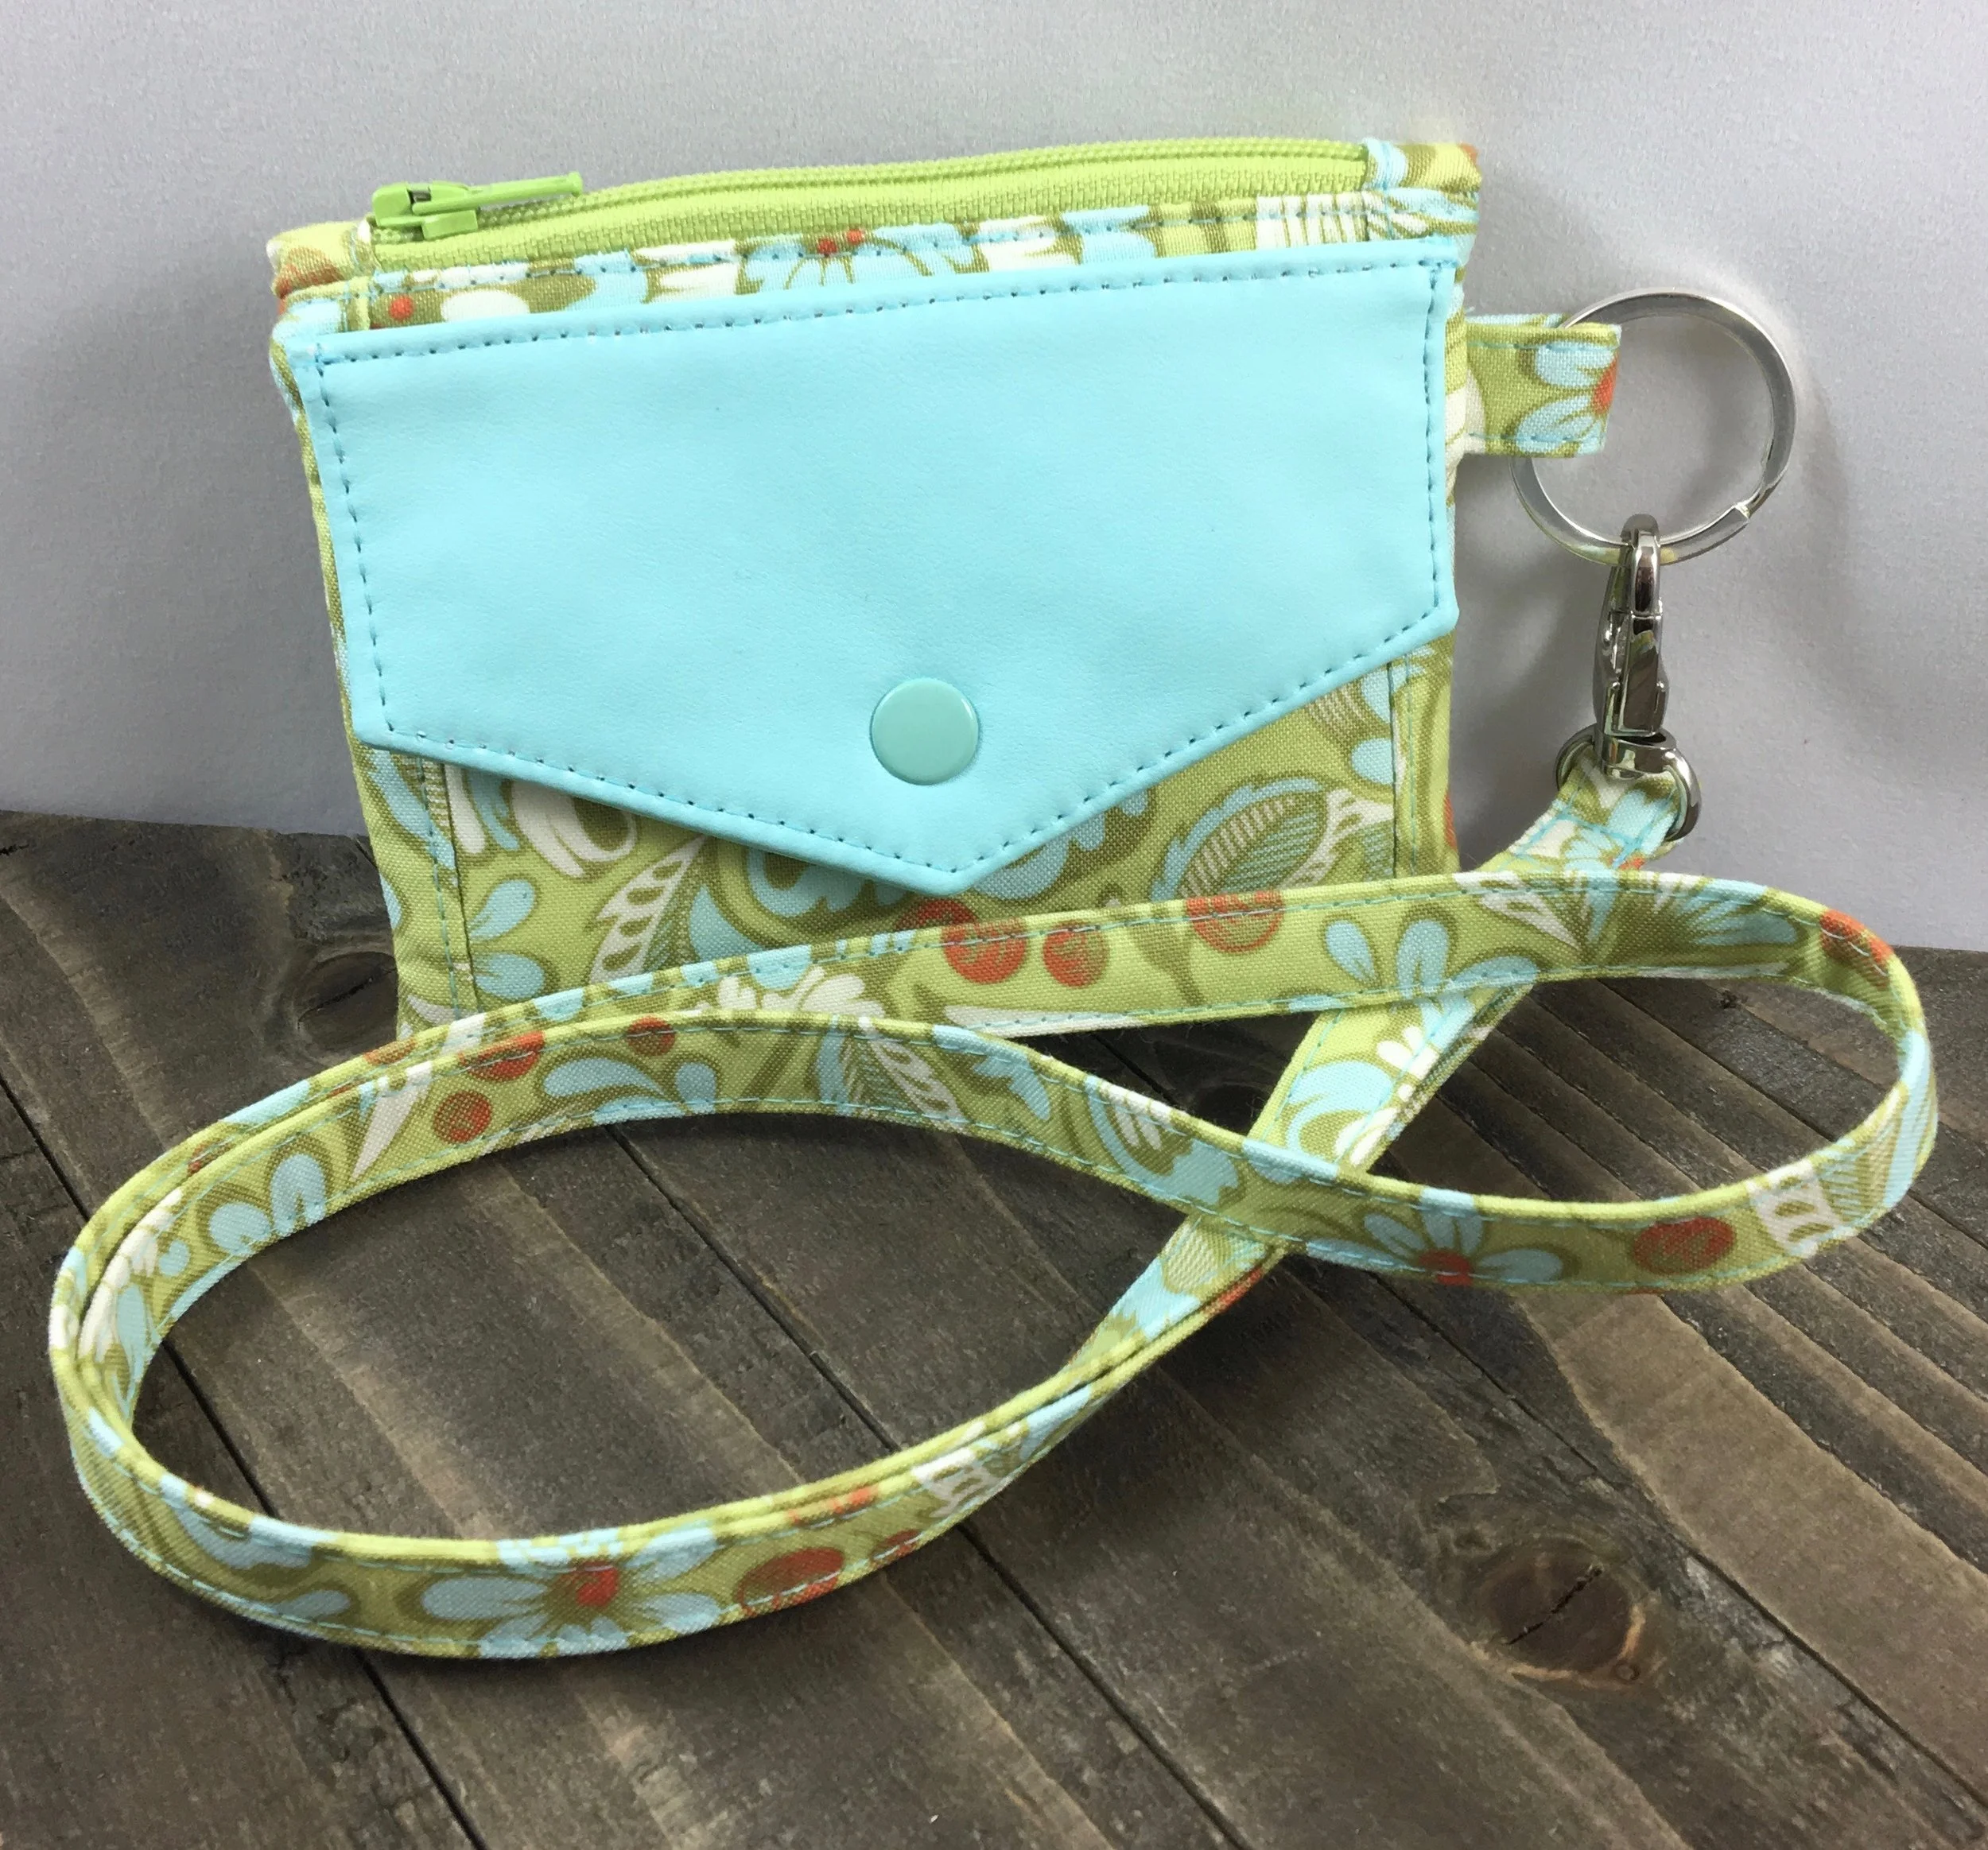
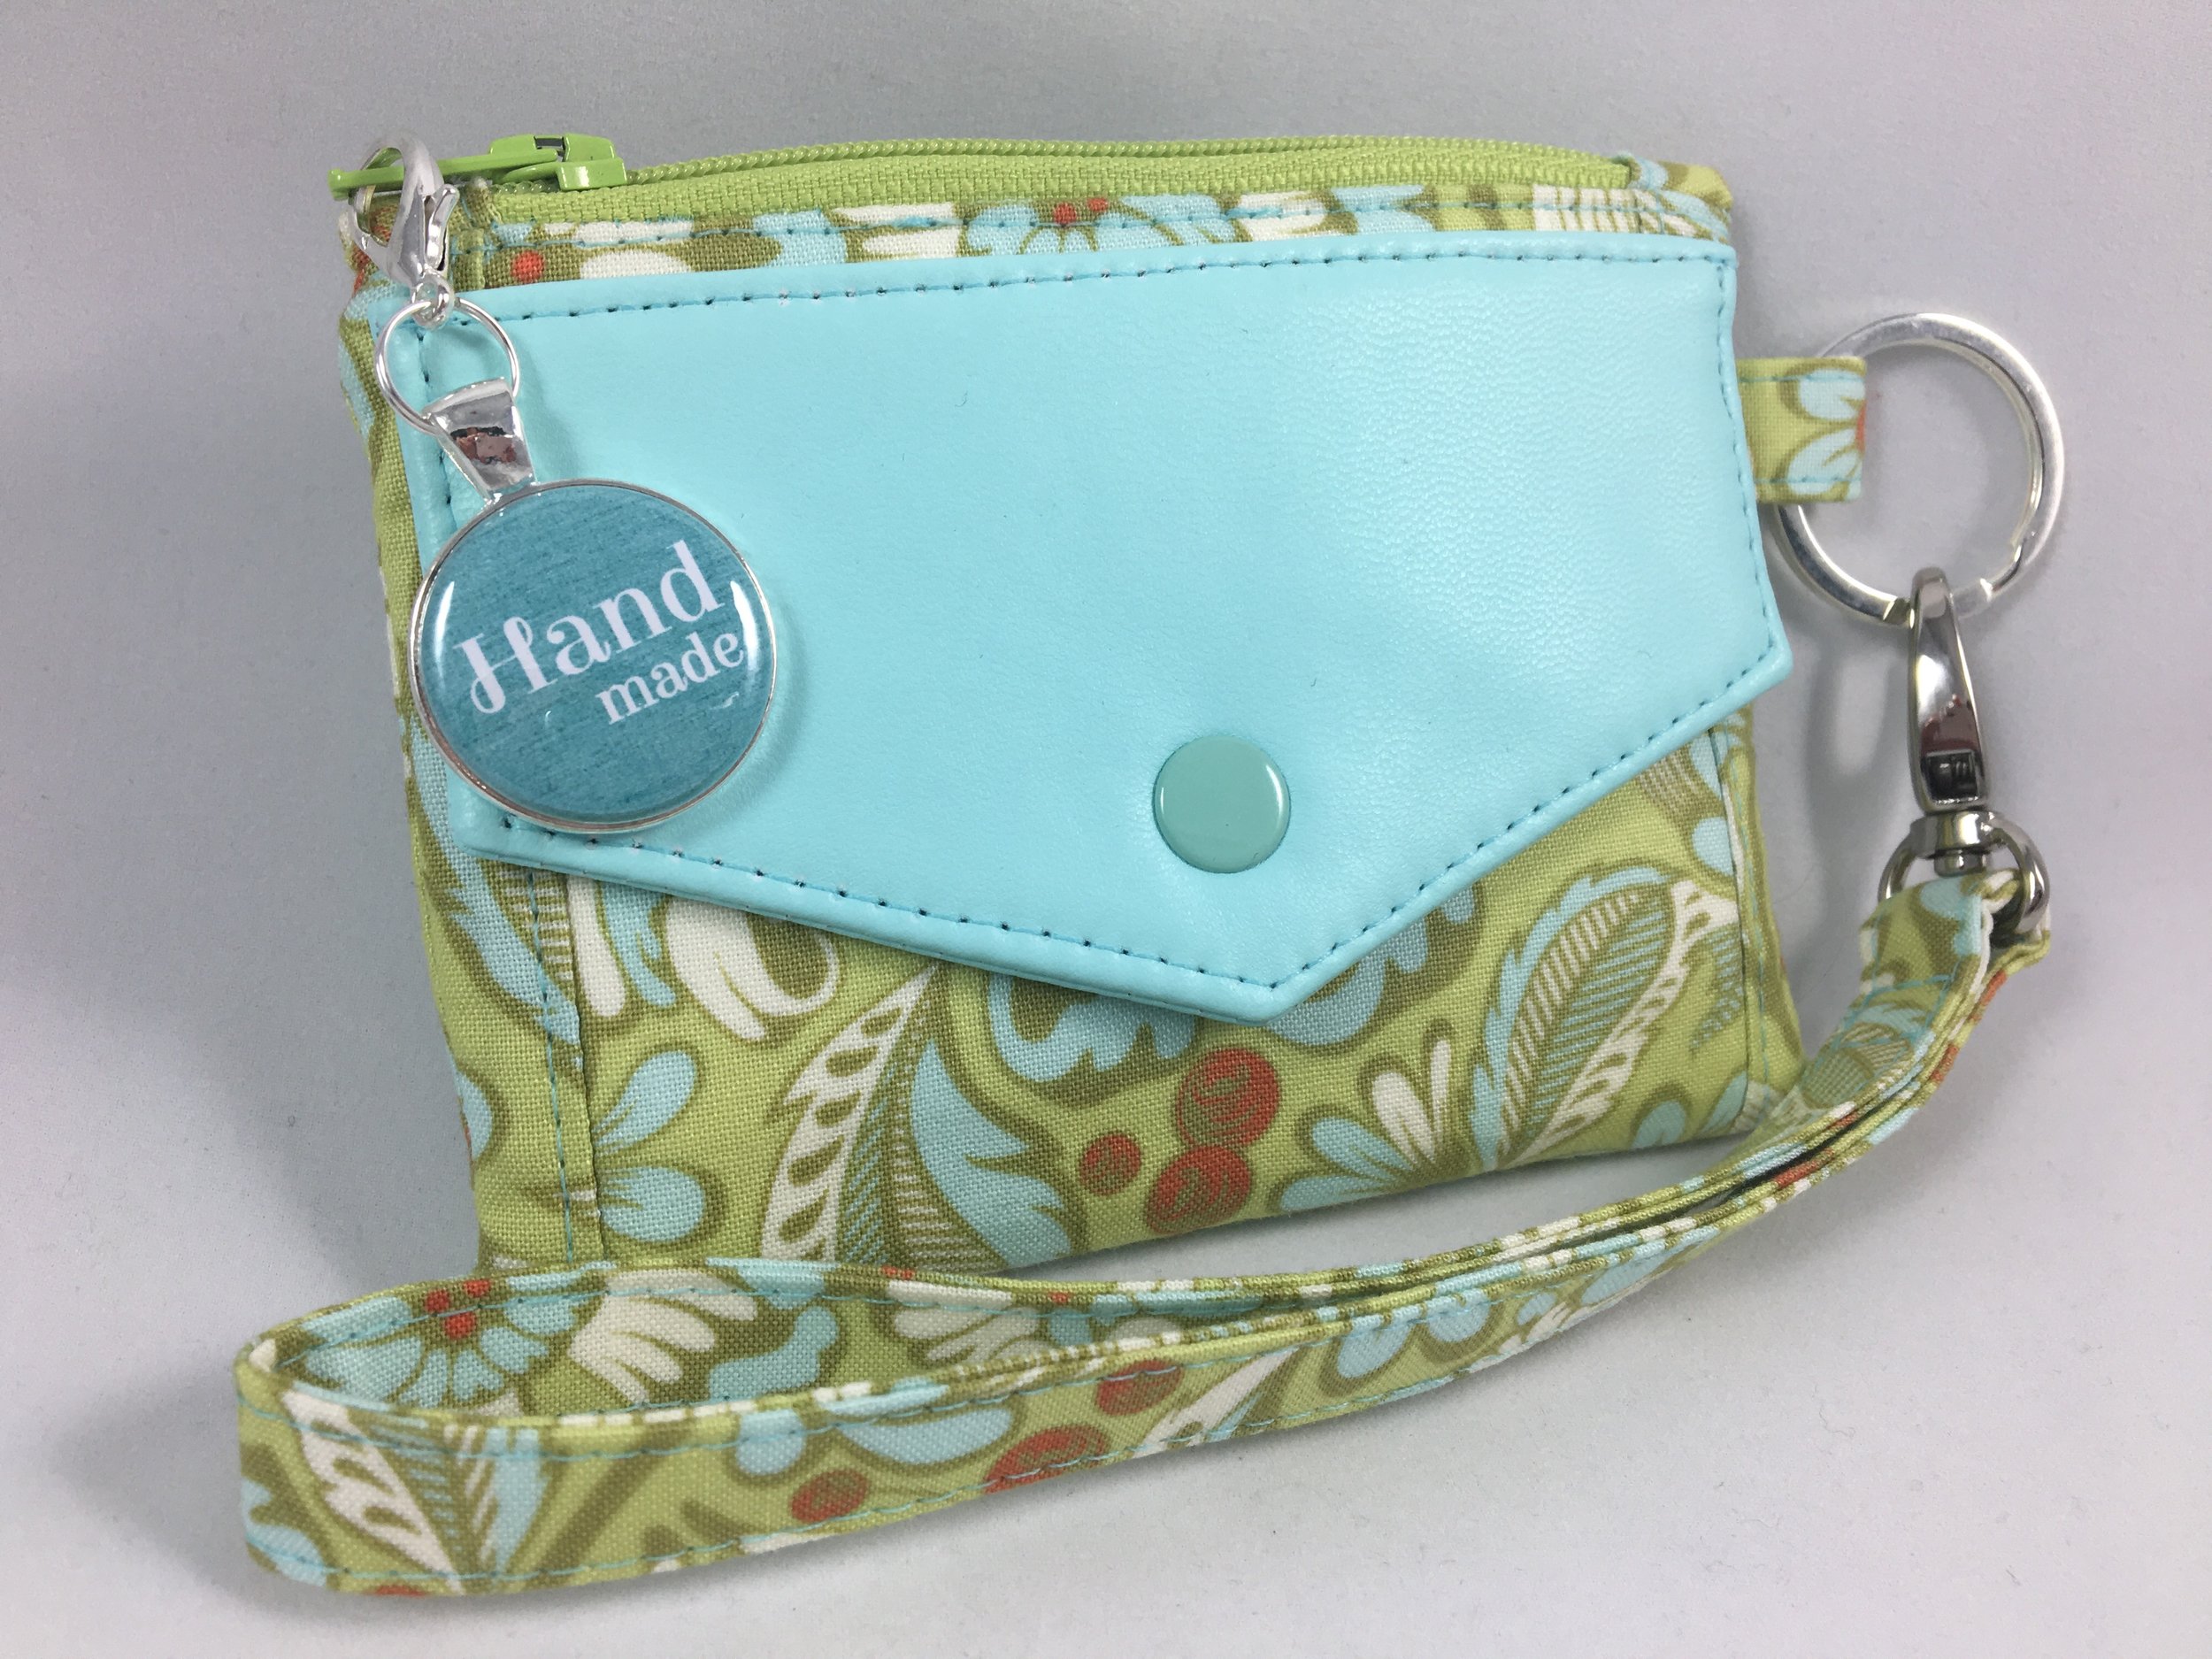
Here is what your card pockets should look like when you are finished. Now on to the flap!
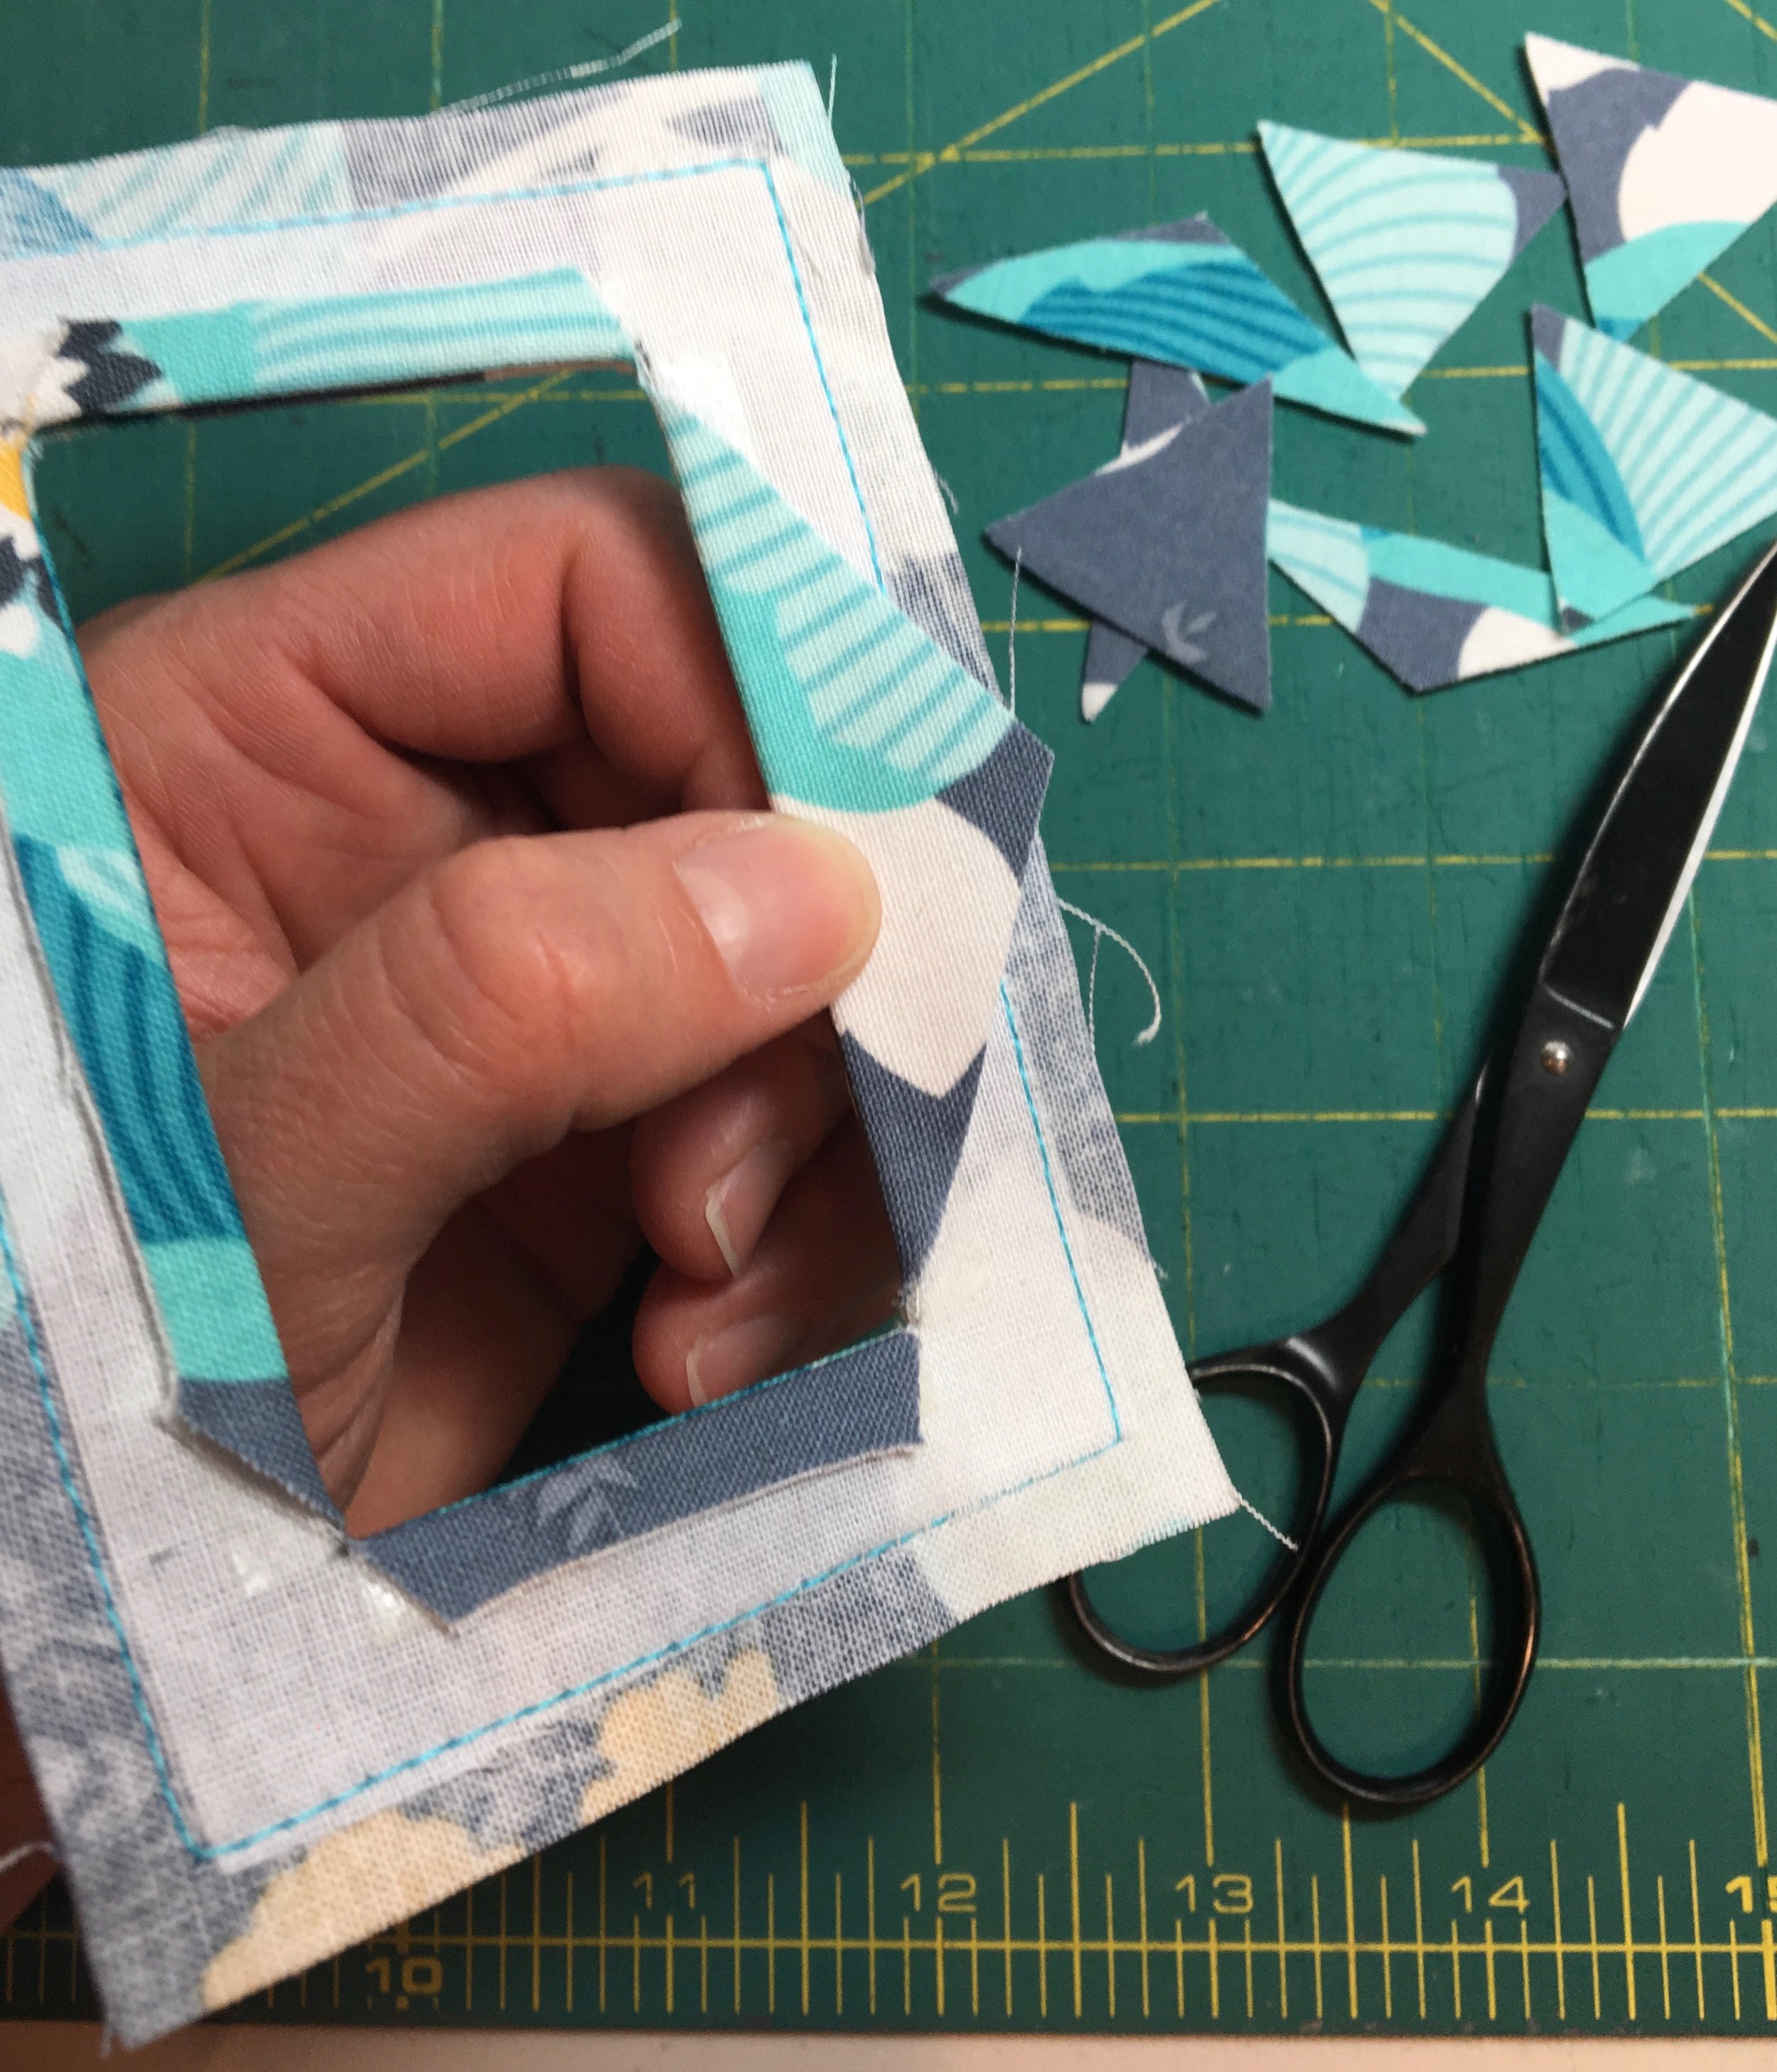
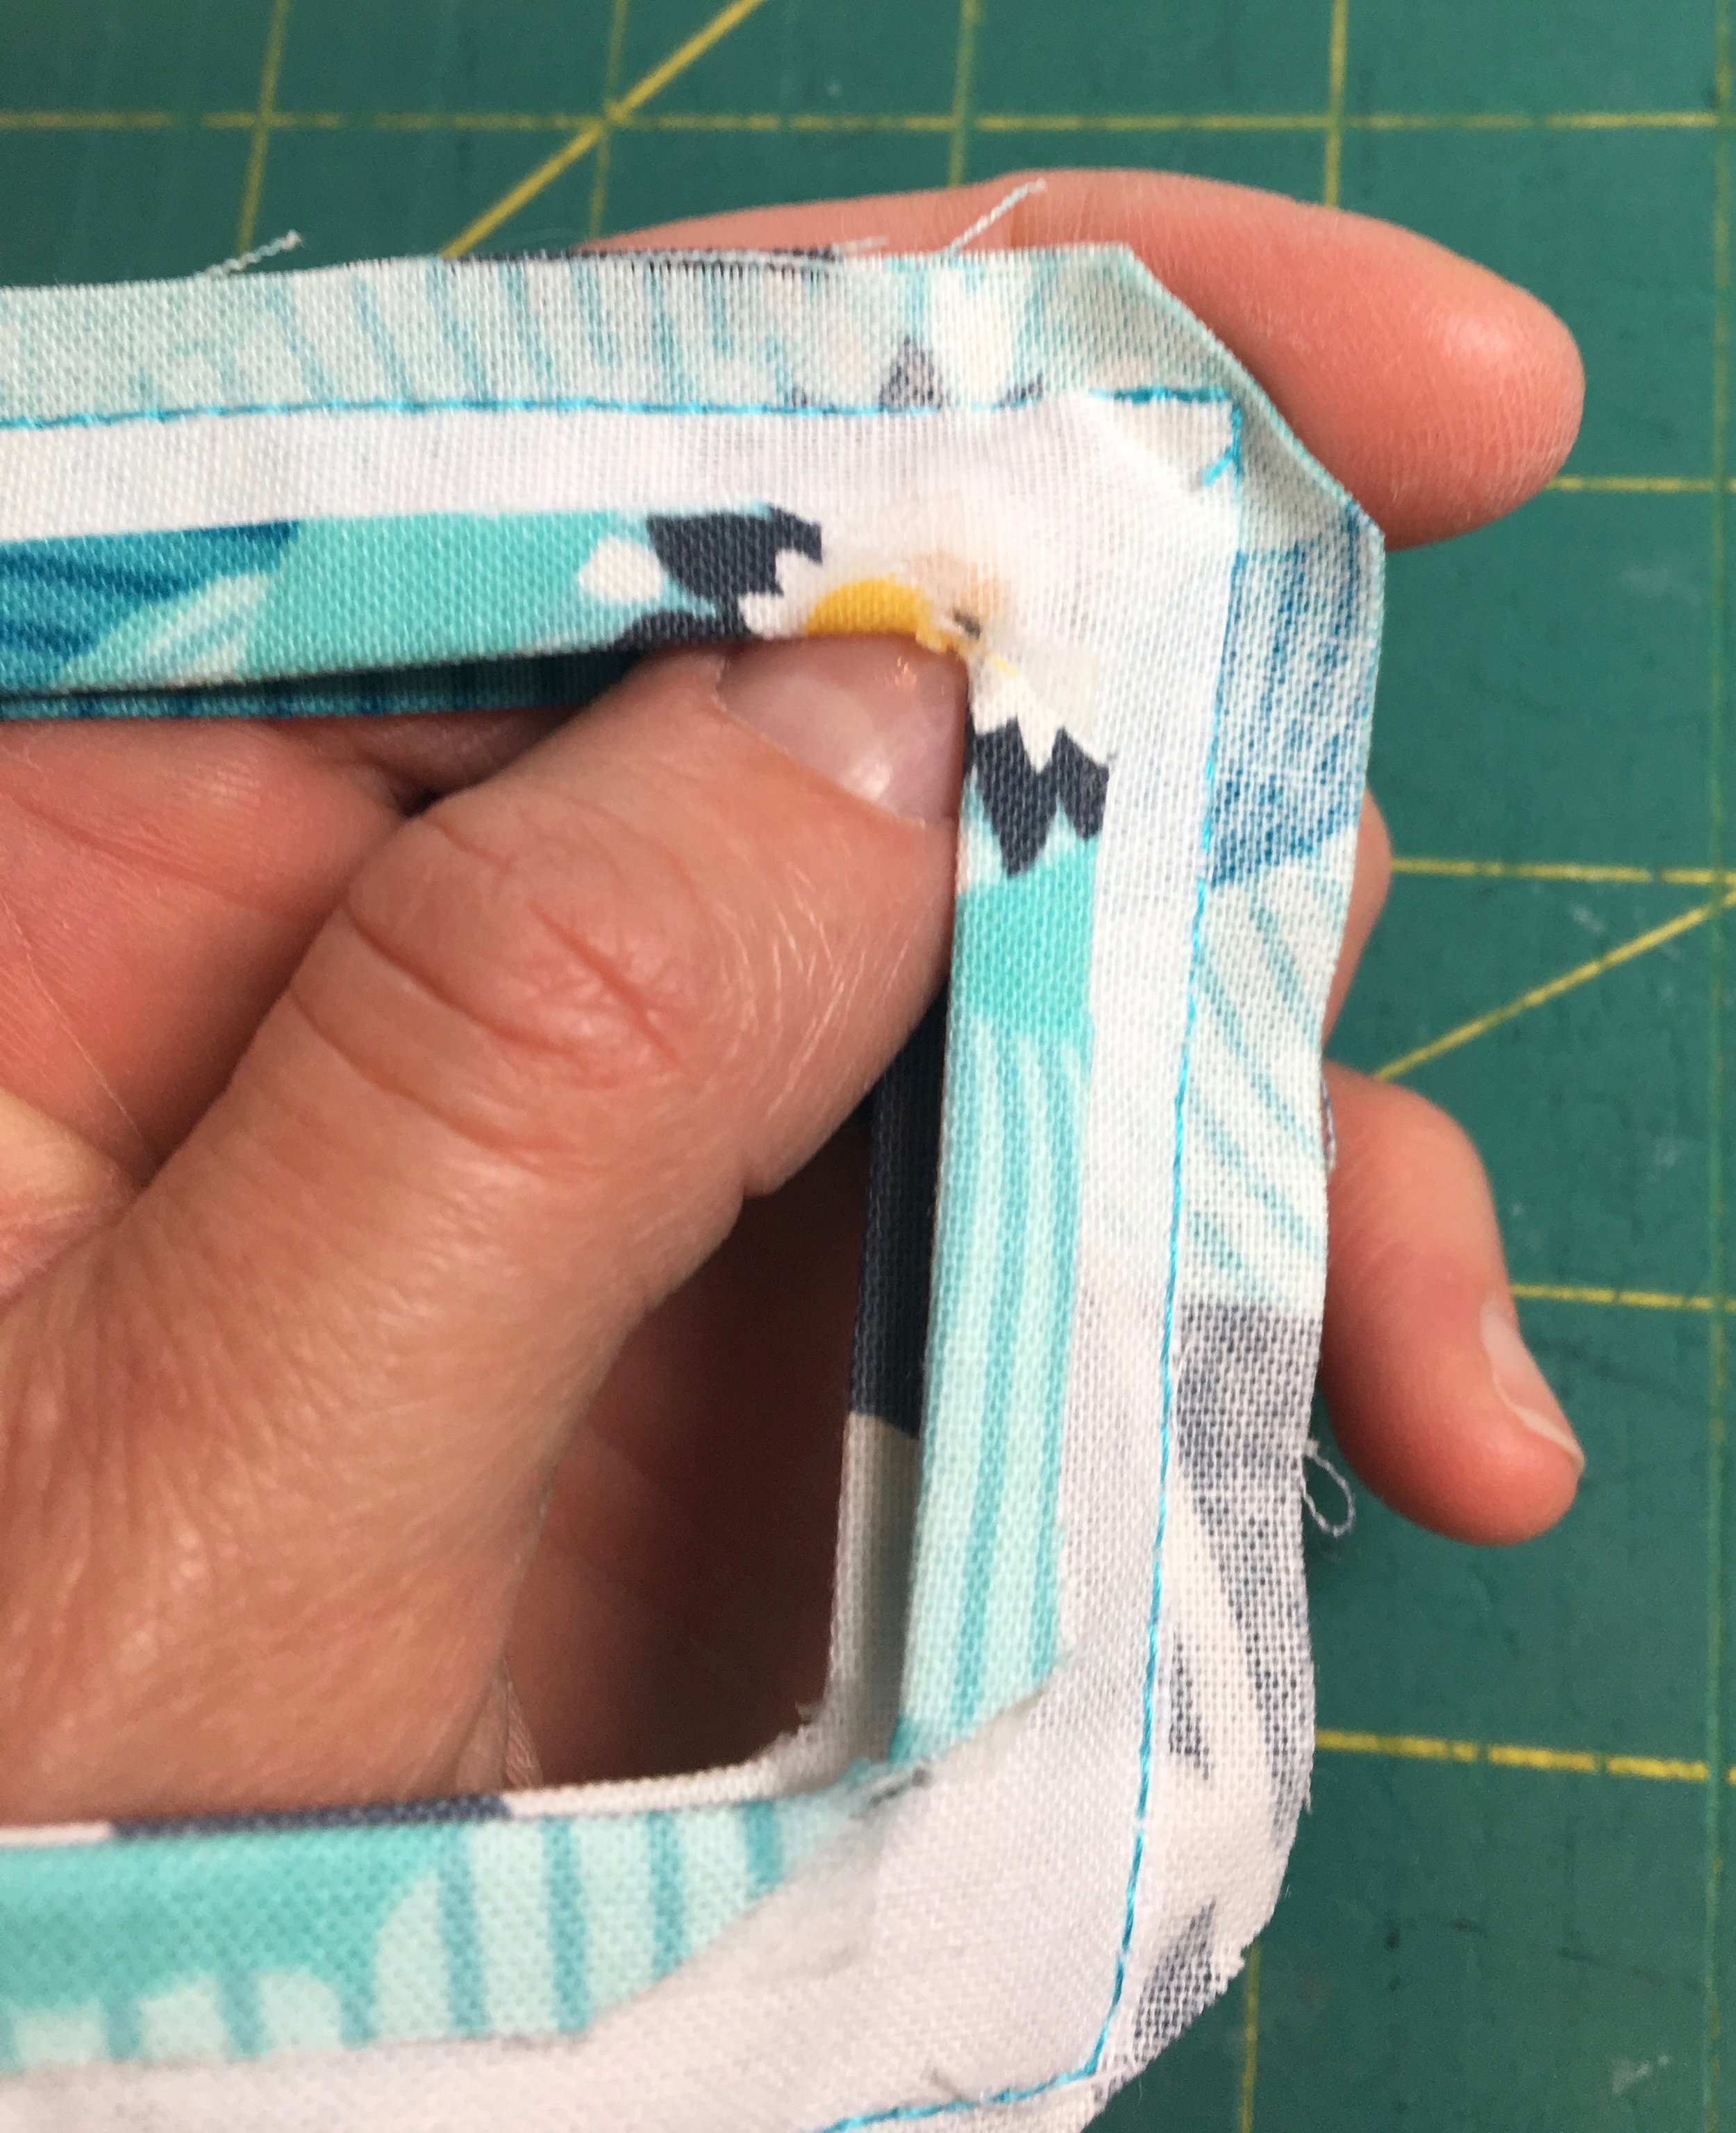
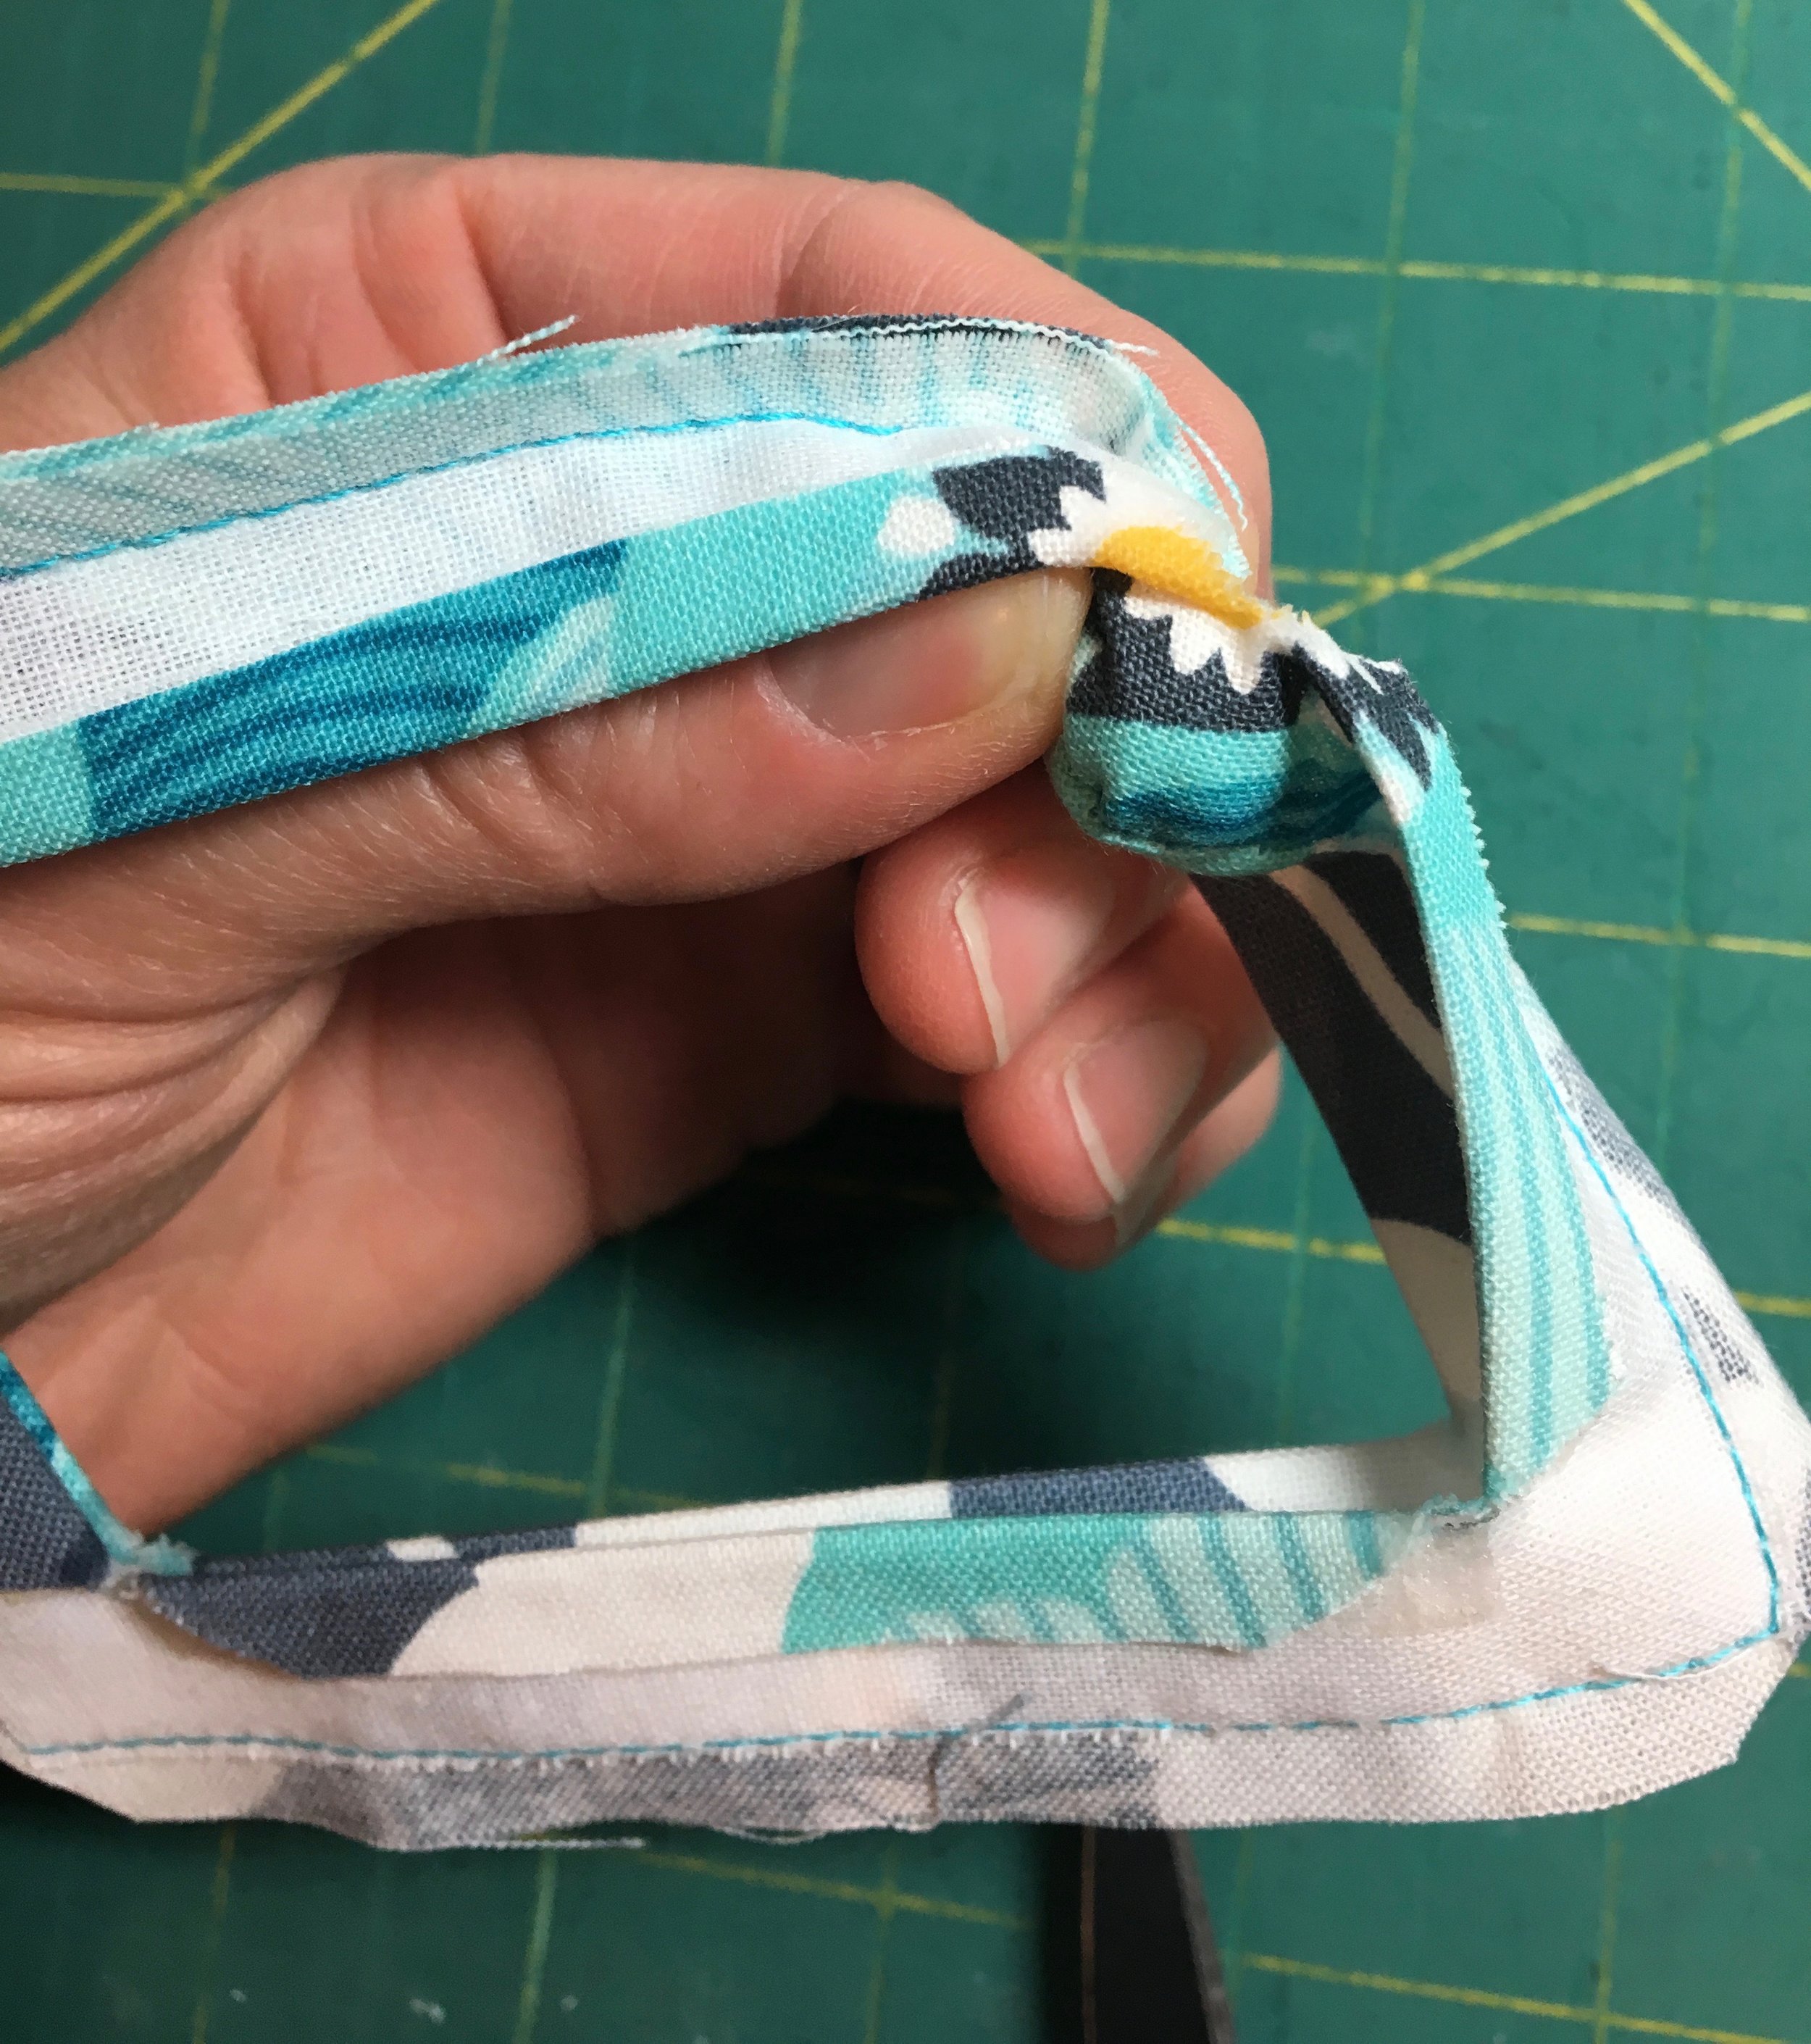
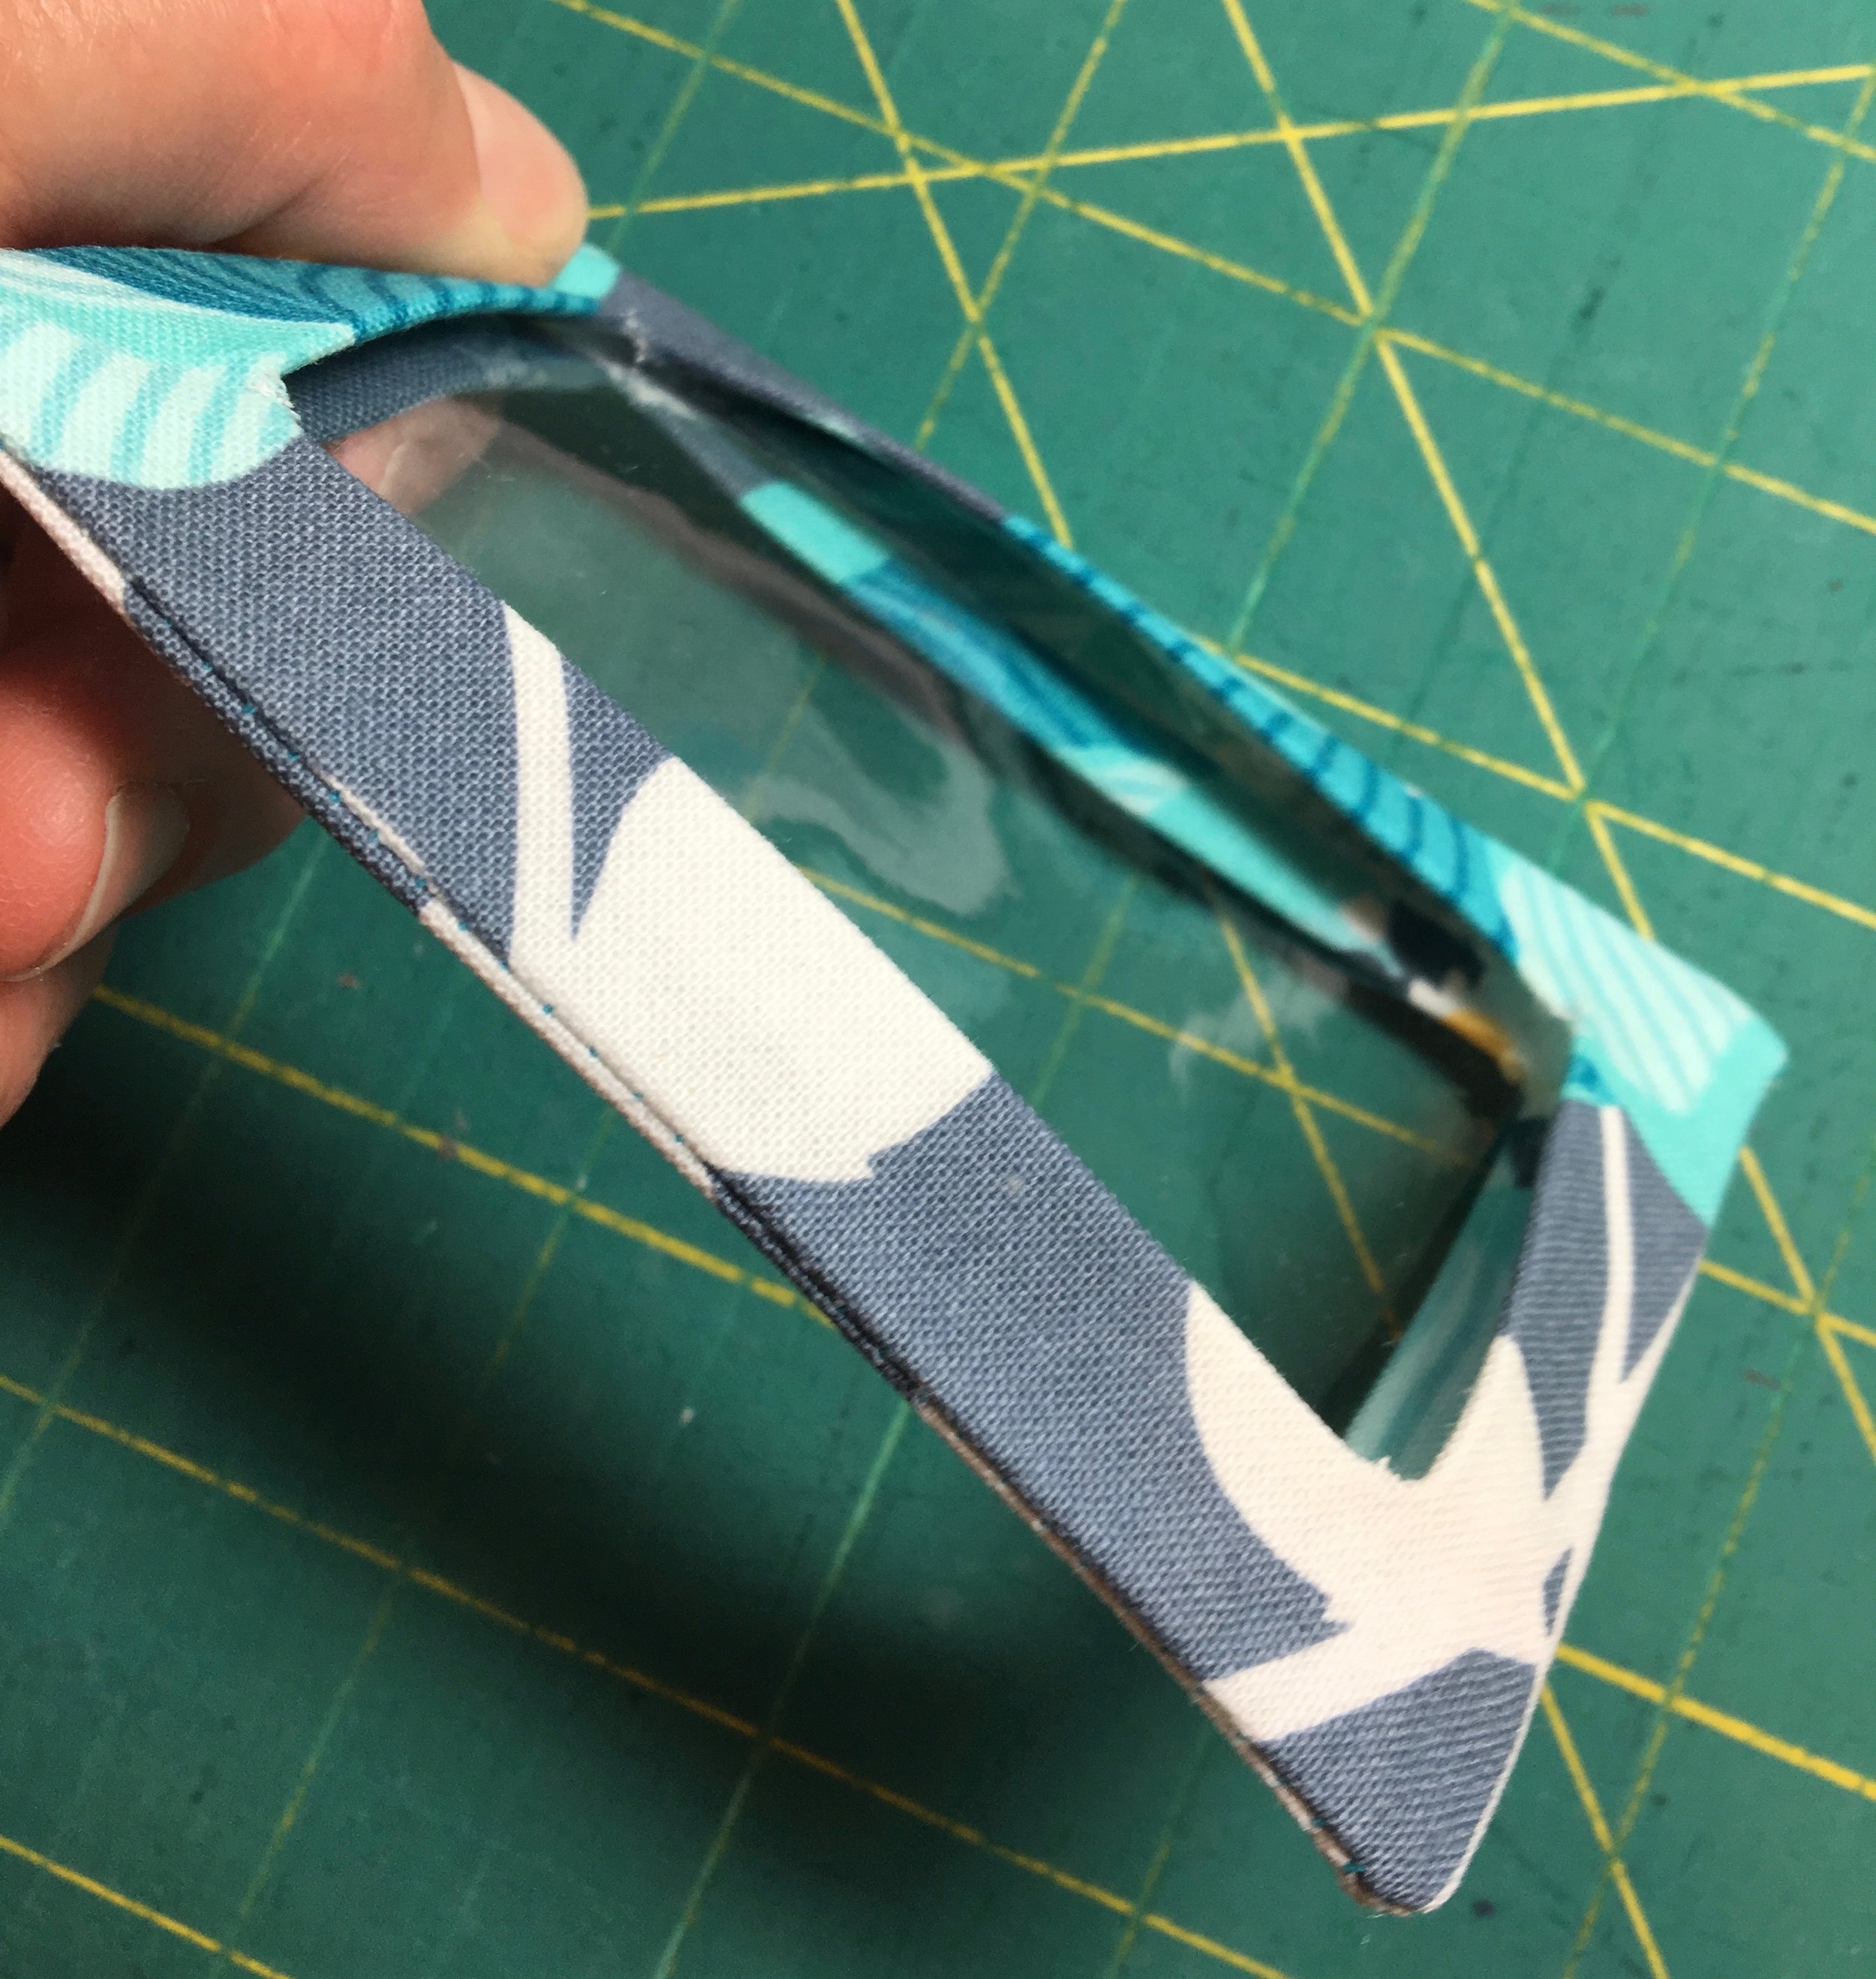
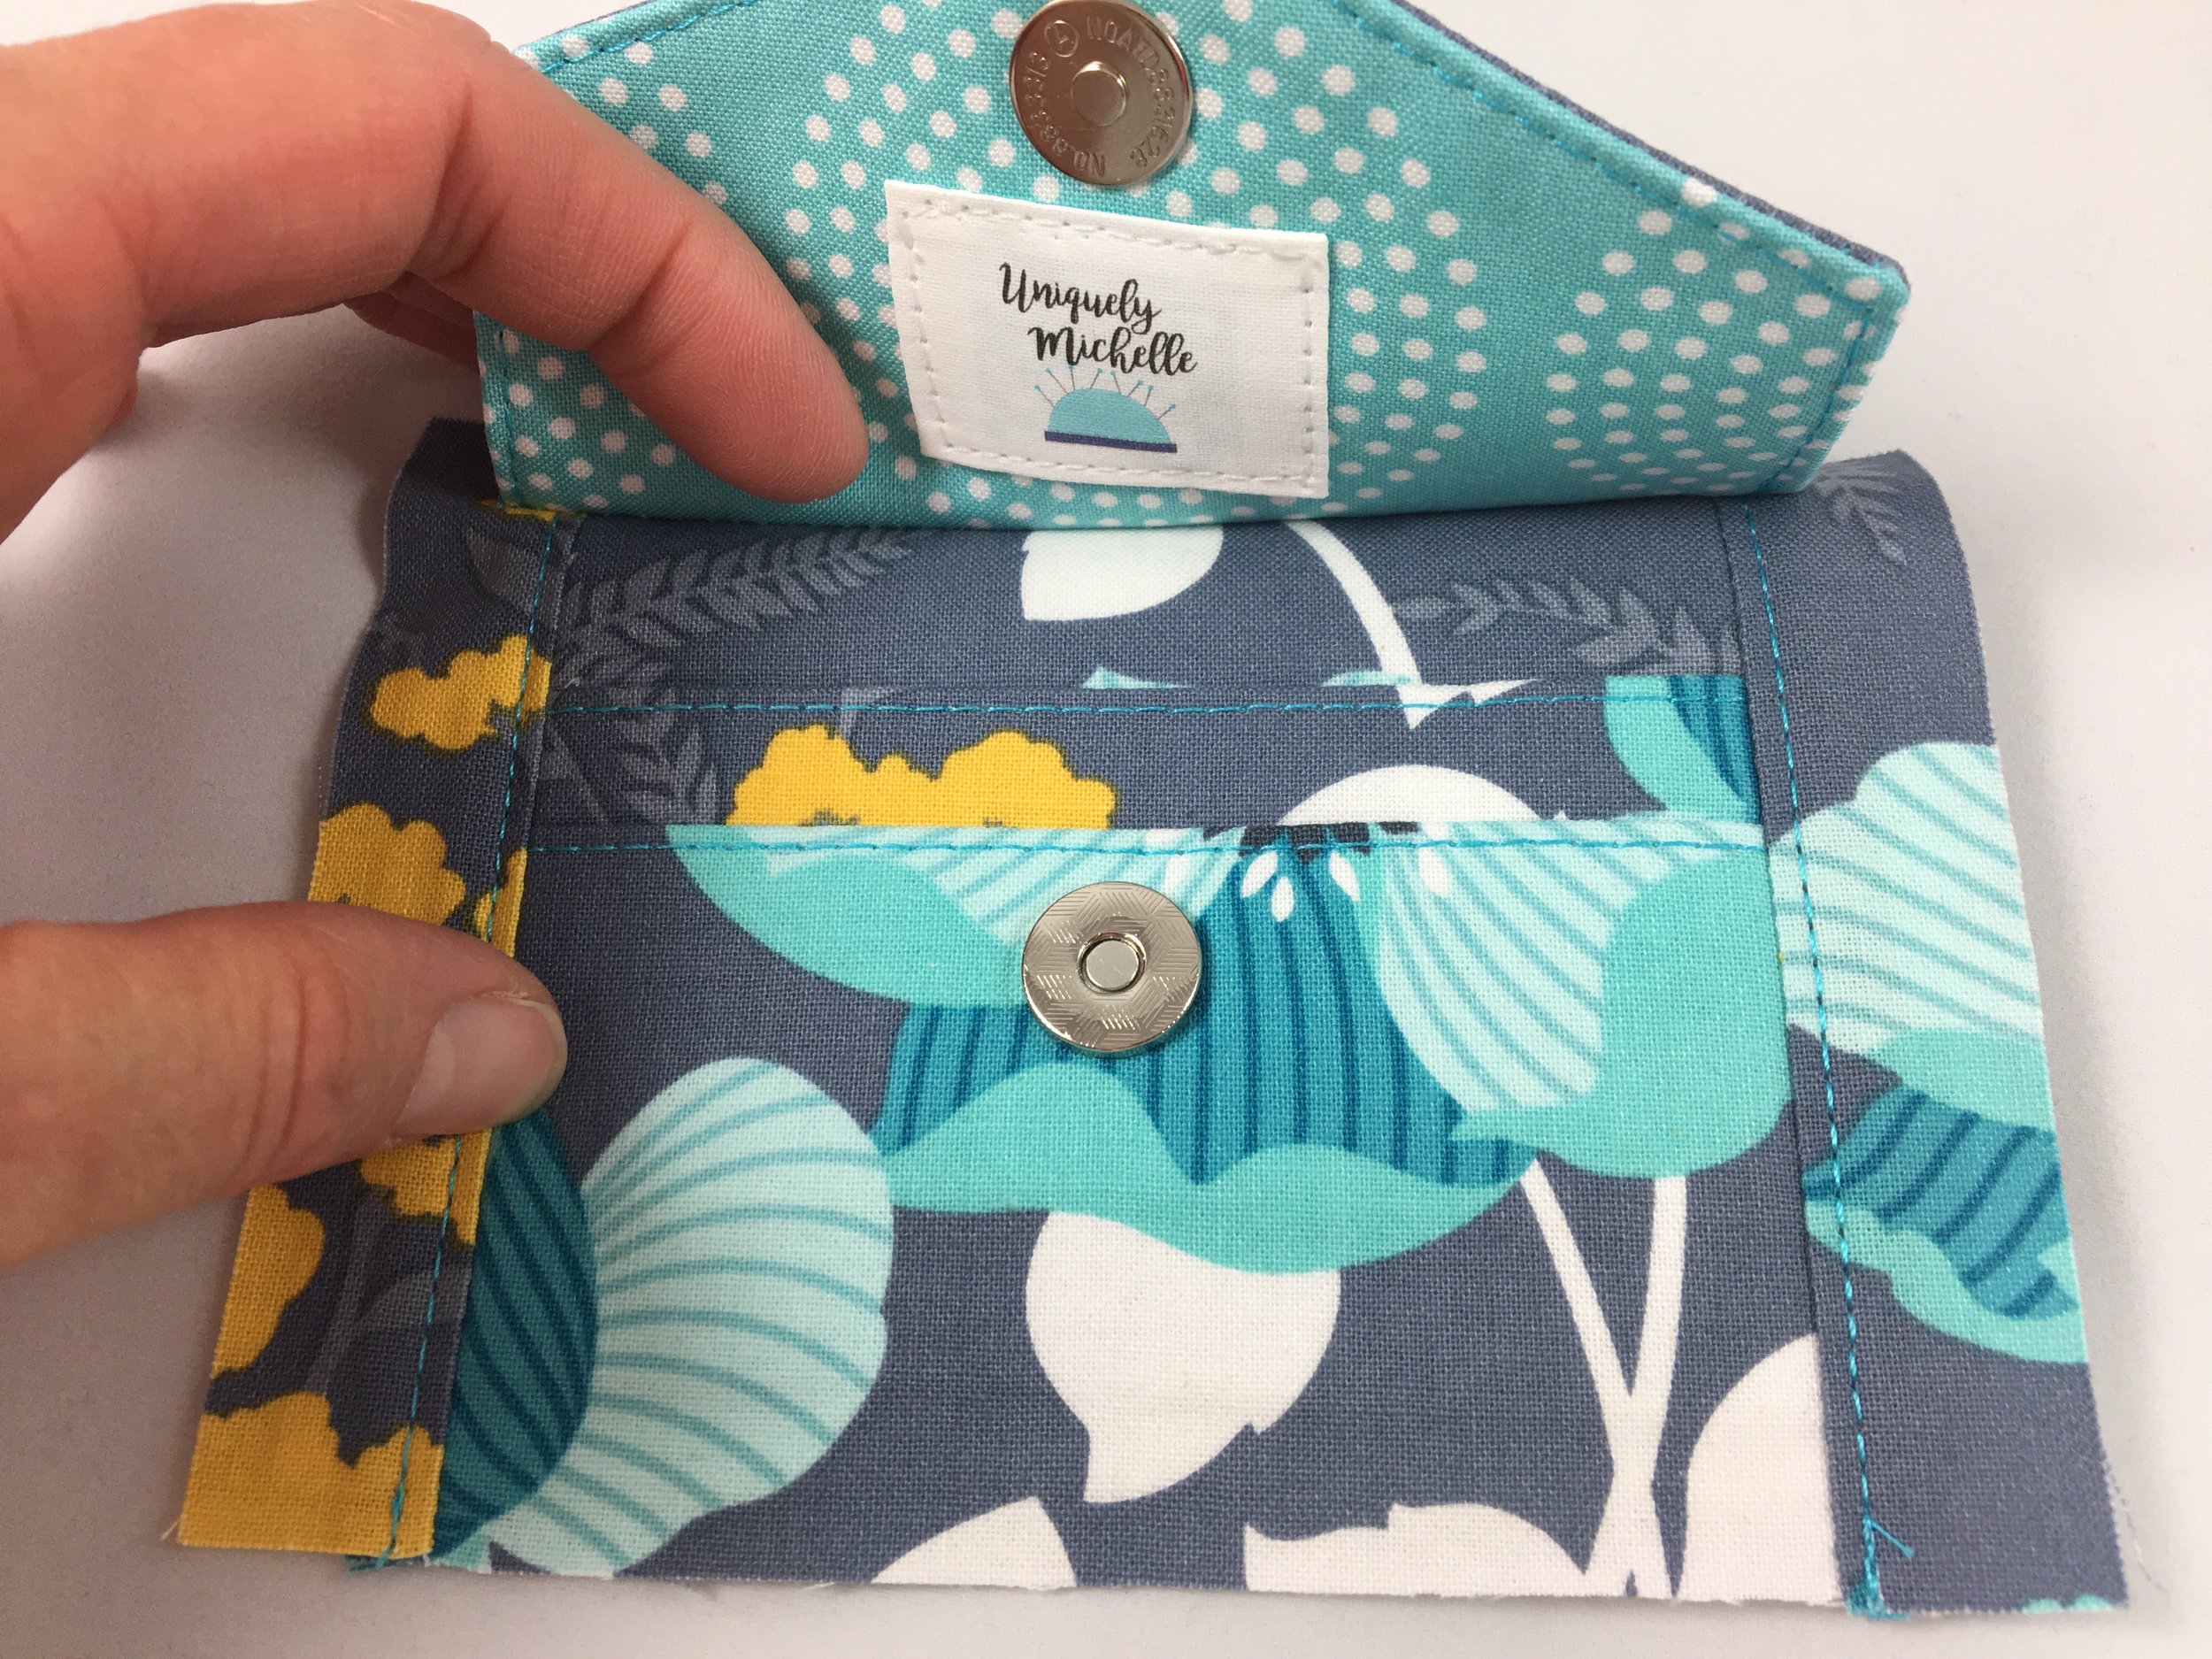
The first step in making the flap is easy to miss, but it is an important step so that you measure correctly for your snap. So, first fold the top, long edge of the flap ¼” toward the wrong side. Do this for both the exterior and interior flap pieces.

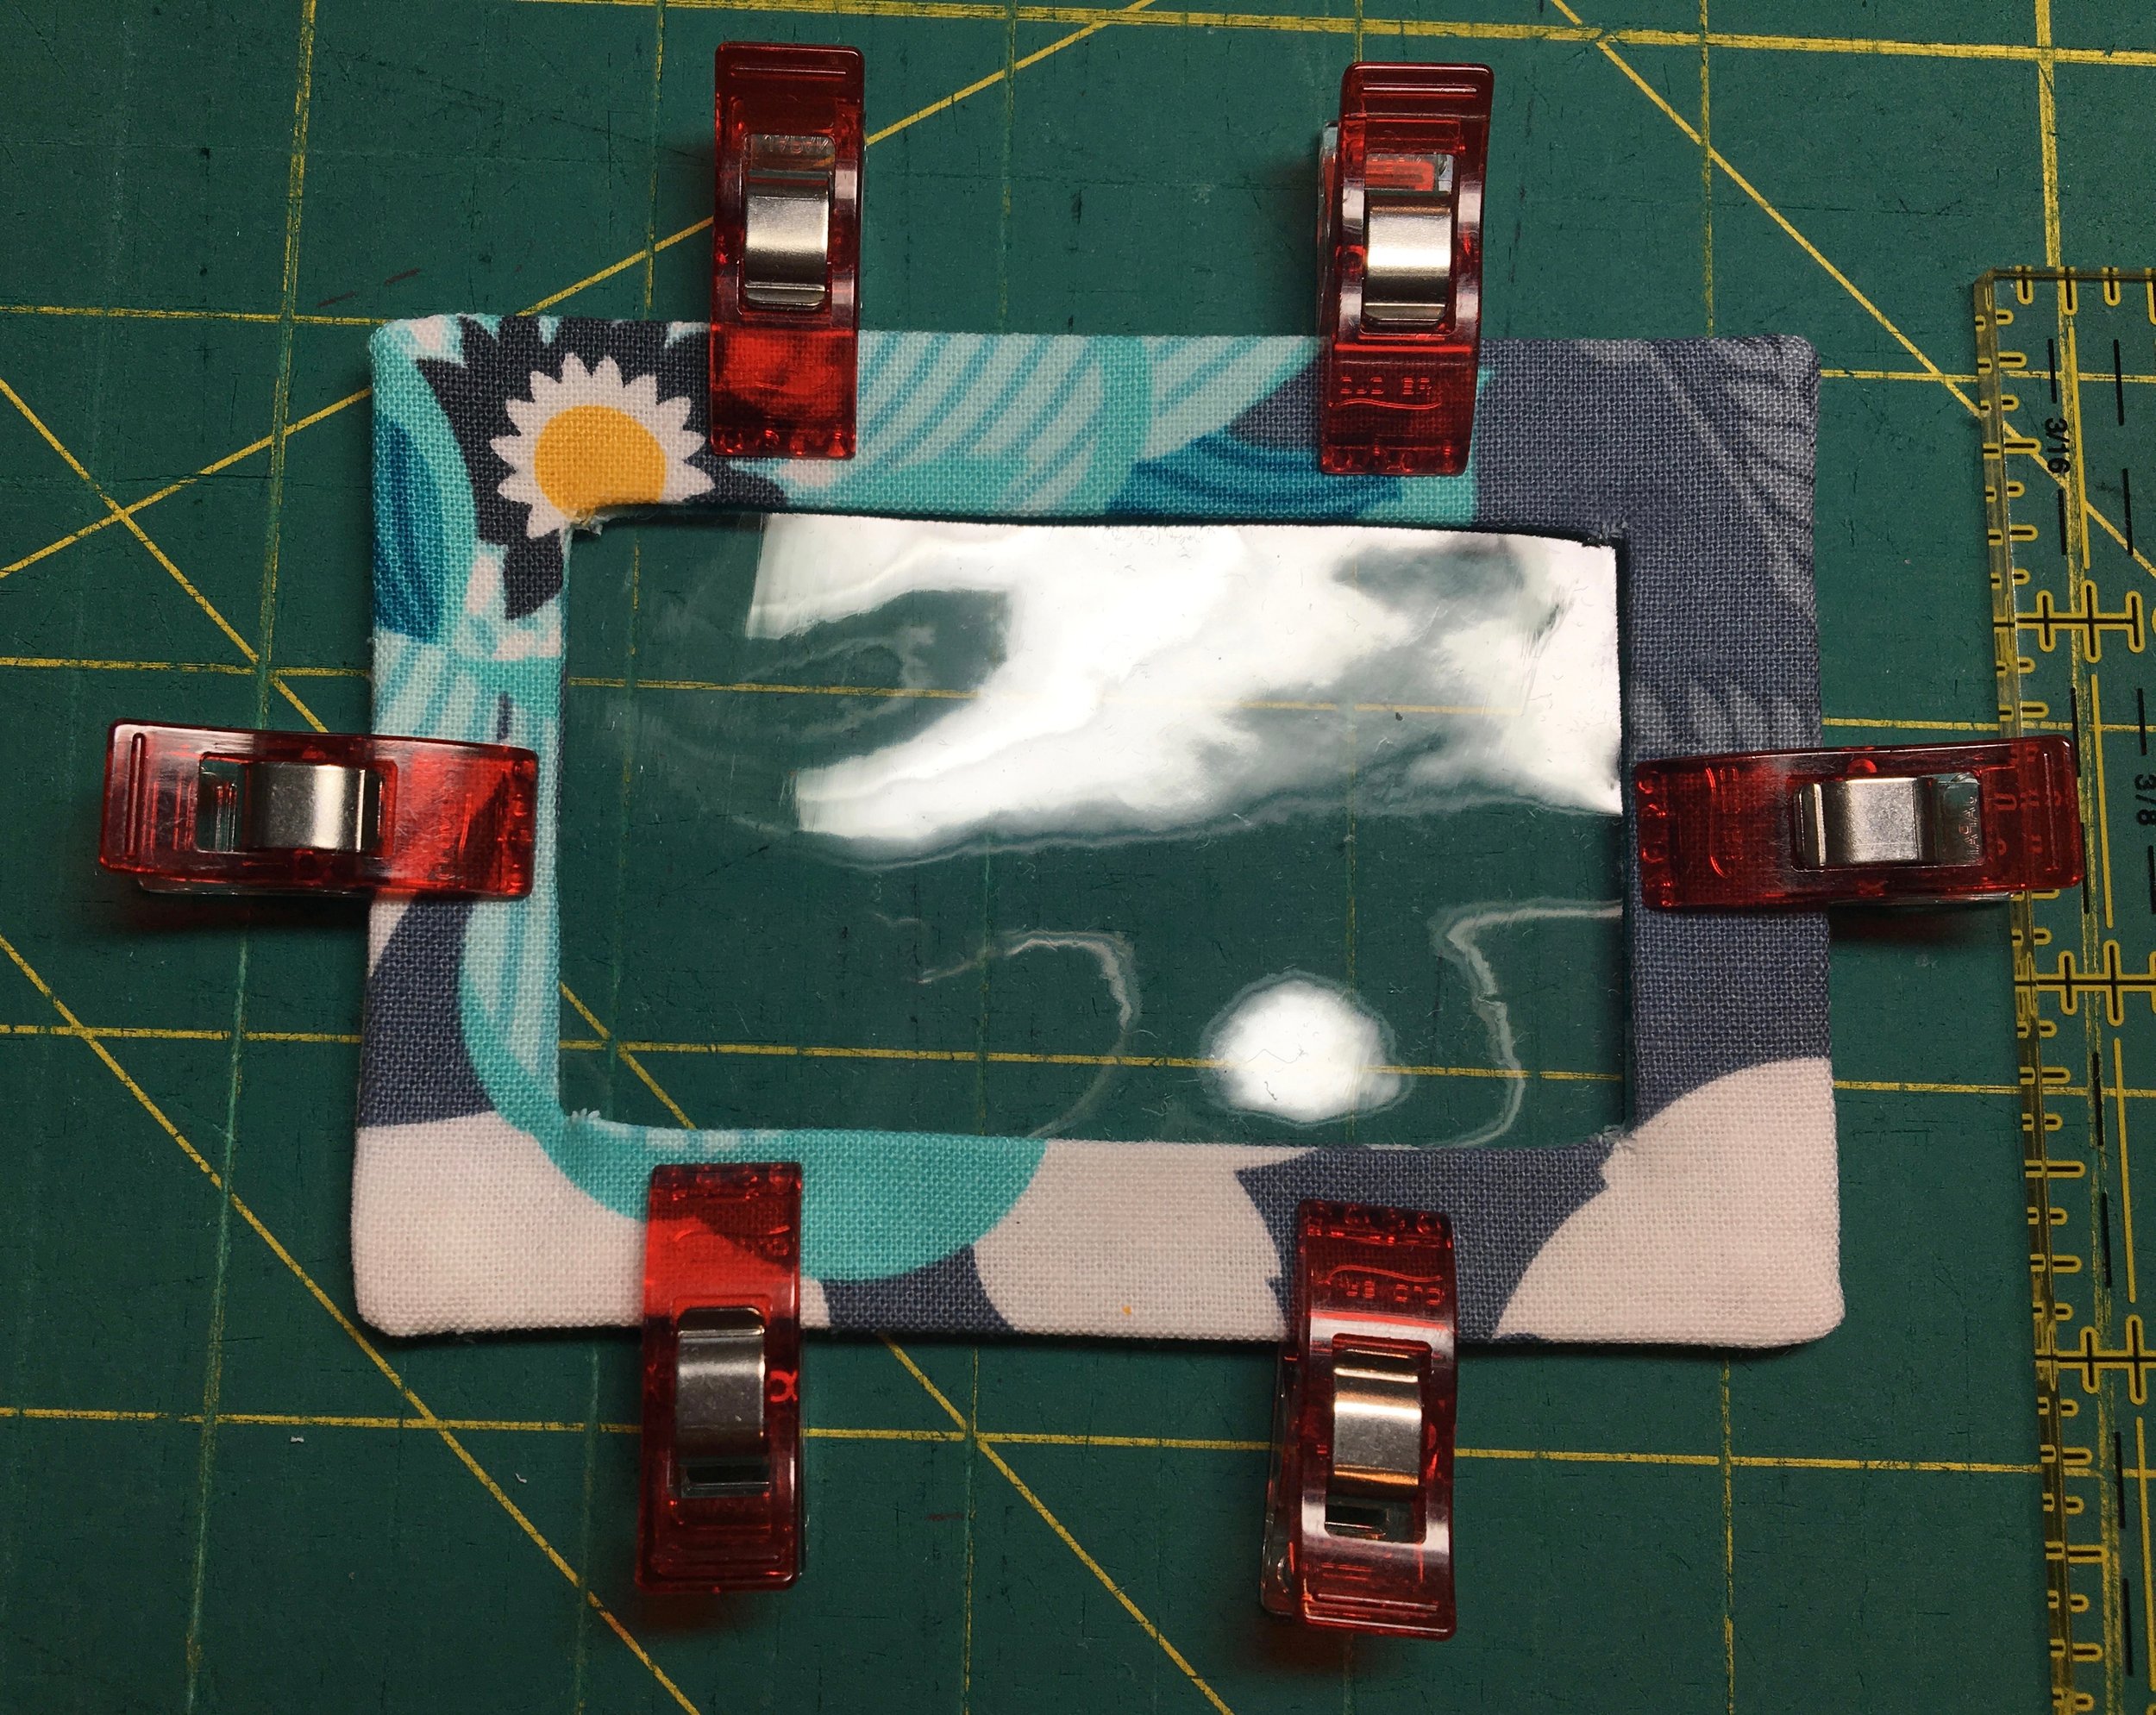
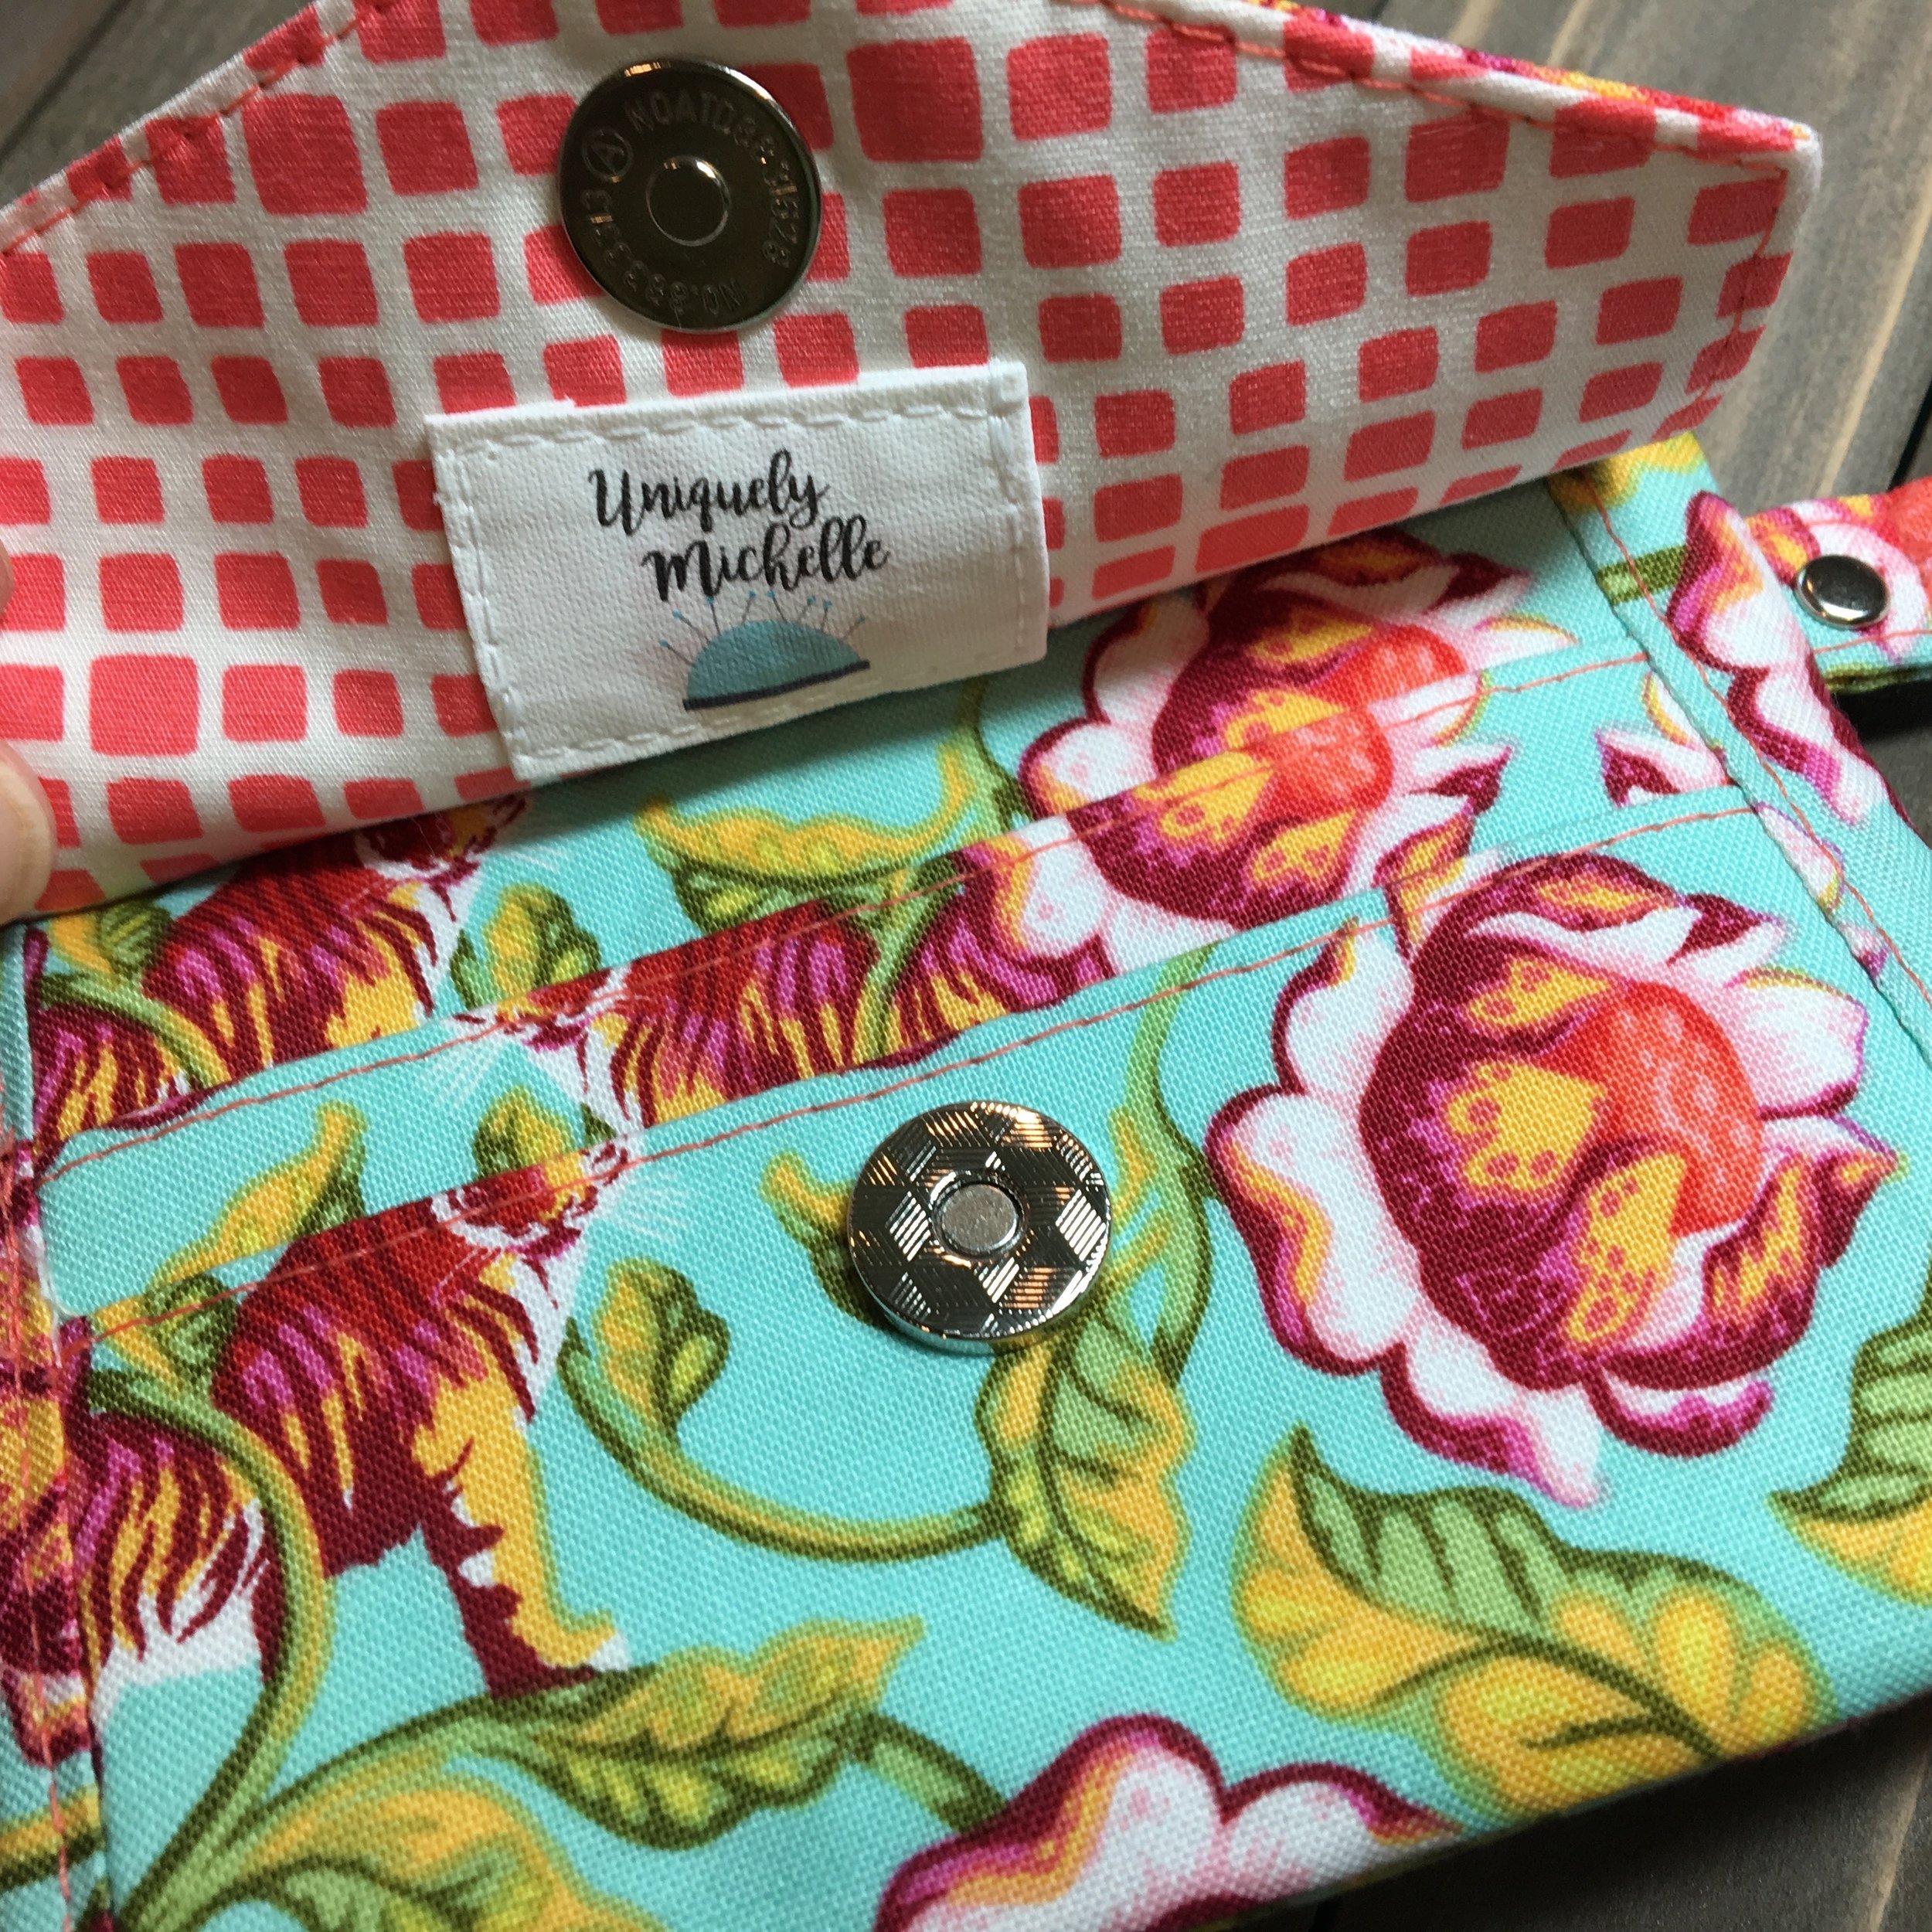
In the pattern, I marked for the snap on the right side of the fabric, but you can make the mark on the wrong side of the lining fabric if you are installing a magnetic snap.

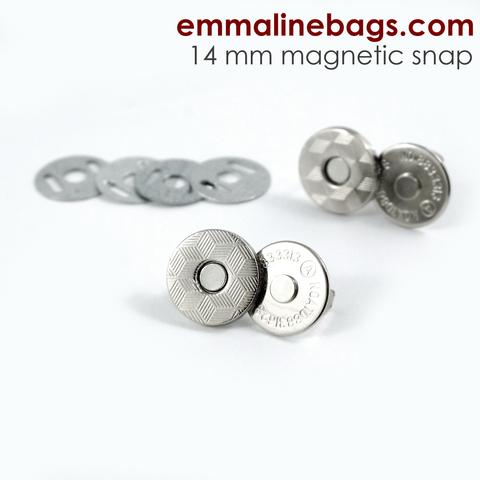
I installed a magnetic snap on this Kristine ID Wallet flap, but you can see what I mean about installing the male half of the snap through all layers if you have a pretty snap that you want to show off.
If you would rather use a regular snap instead of a magnetic snap, you may want to install your regular snap at a different point in the flap-making process. If you have a snap that has a pretty or colorful part, you may want that showing on the exterior of your flap. If this is the case, sew the exterior and interior flap pieces together as the pattern instructs, leaving the top, long edge open. Turn your flap and top-stitch and then add the male part of your snap so that it goes through all the layers of the flap and so that the pretty part of the snap is visible on the exterior of the flap. The measurement is the same for adding a regular snap as for adding a magnetic snap.
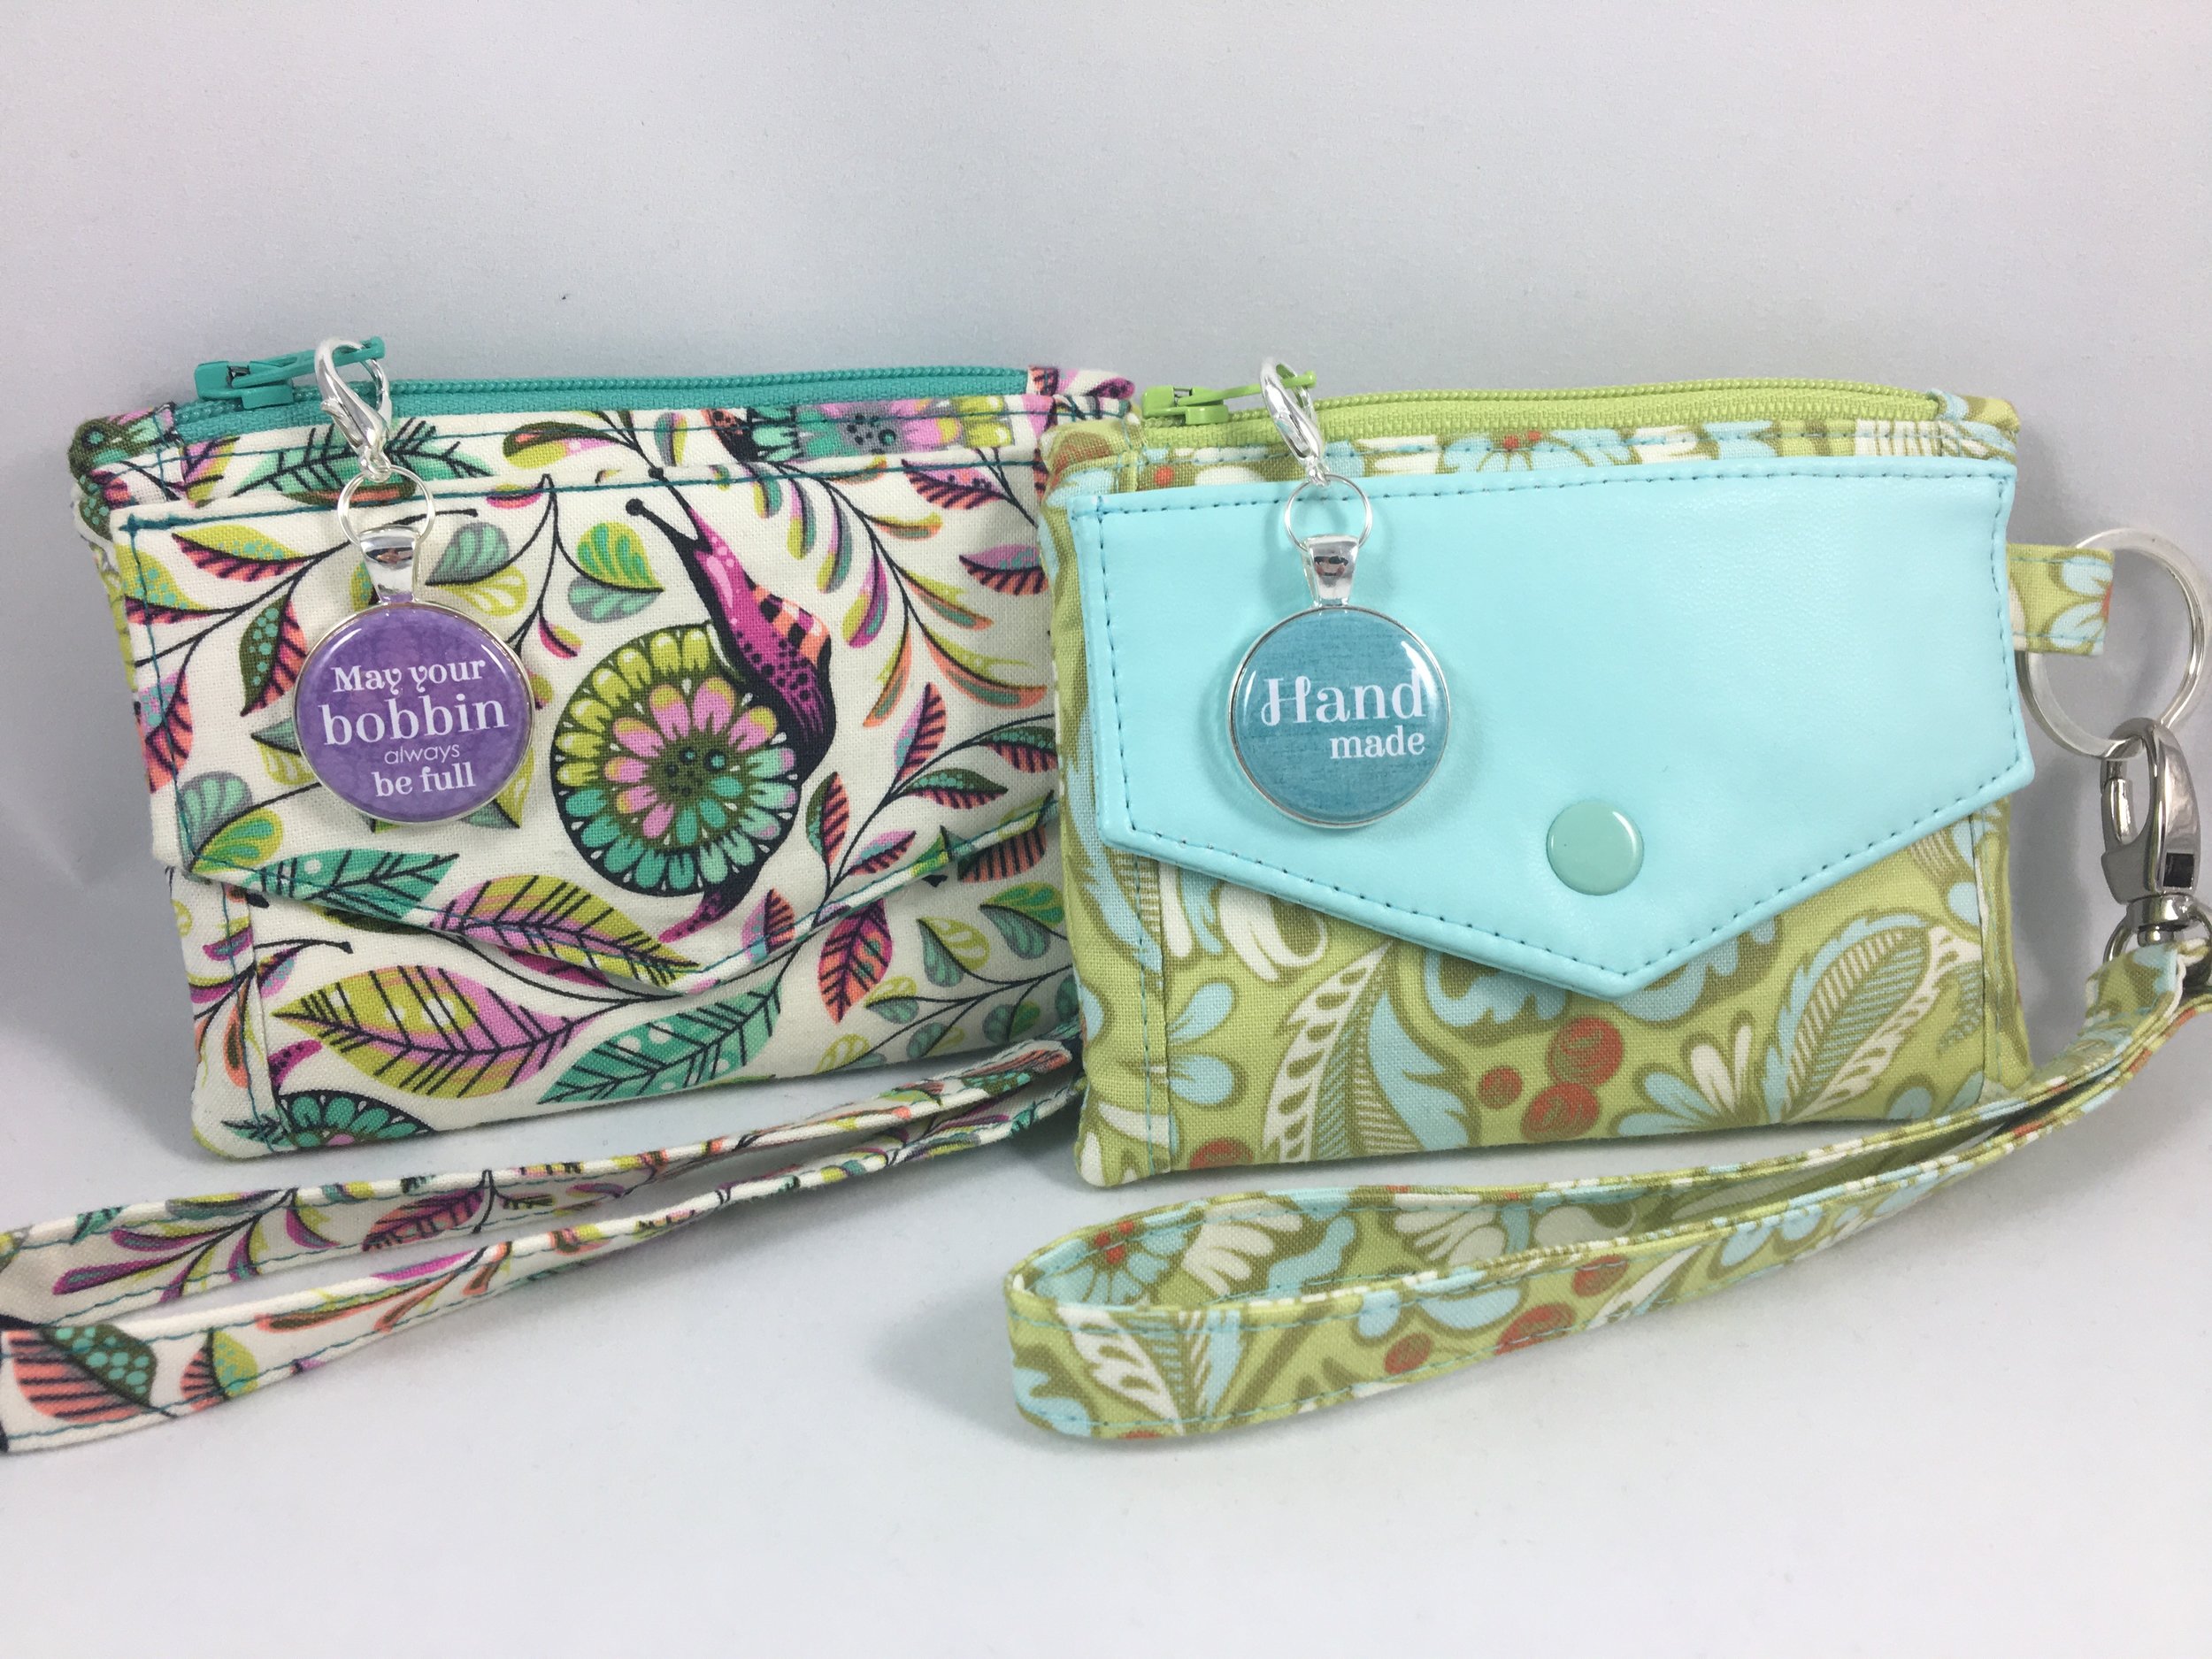
I like to add a tag to the inside of the flap, but I have seen others add a tag to the interior of the zipper pocket. I have also seen sewists add a folded tag to the exterior side of the Kristine ID Wallet. If you want to add a tag to the flap lining as I do, add it after adding the male part of the magnetic snap and before you sew the flap pieces together. If you are installing a regular snap, add your tag before you sew the flap pieces together, making sure to leave room for the snap.
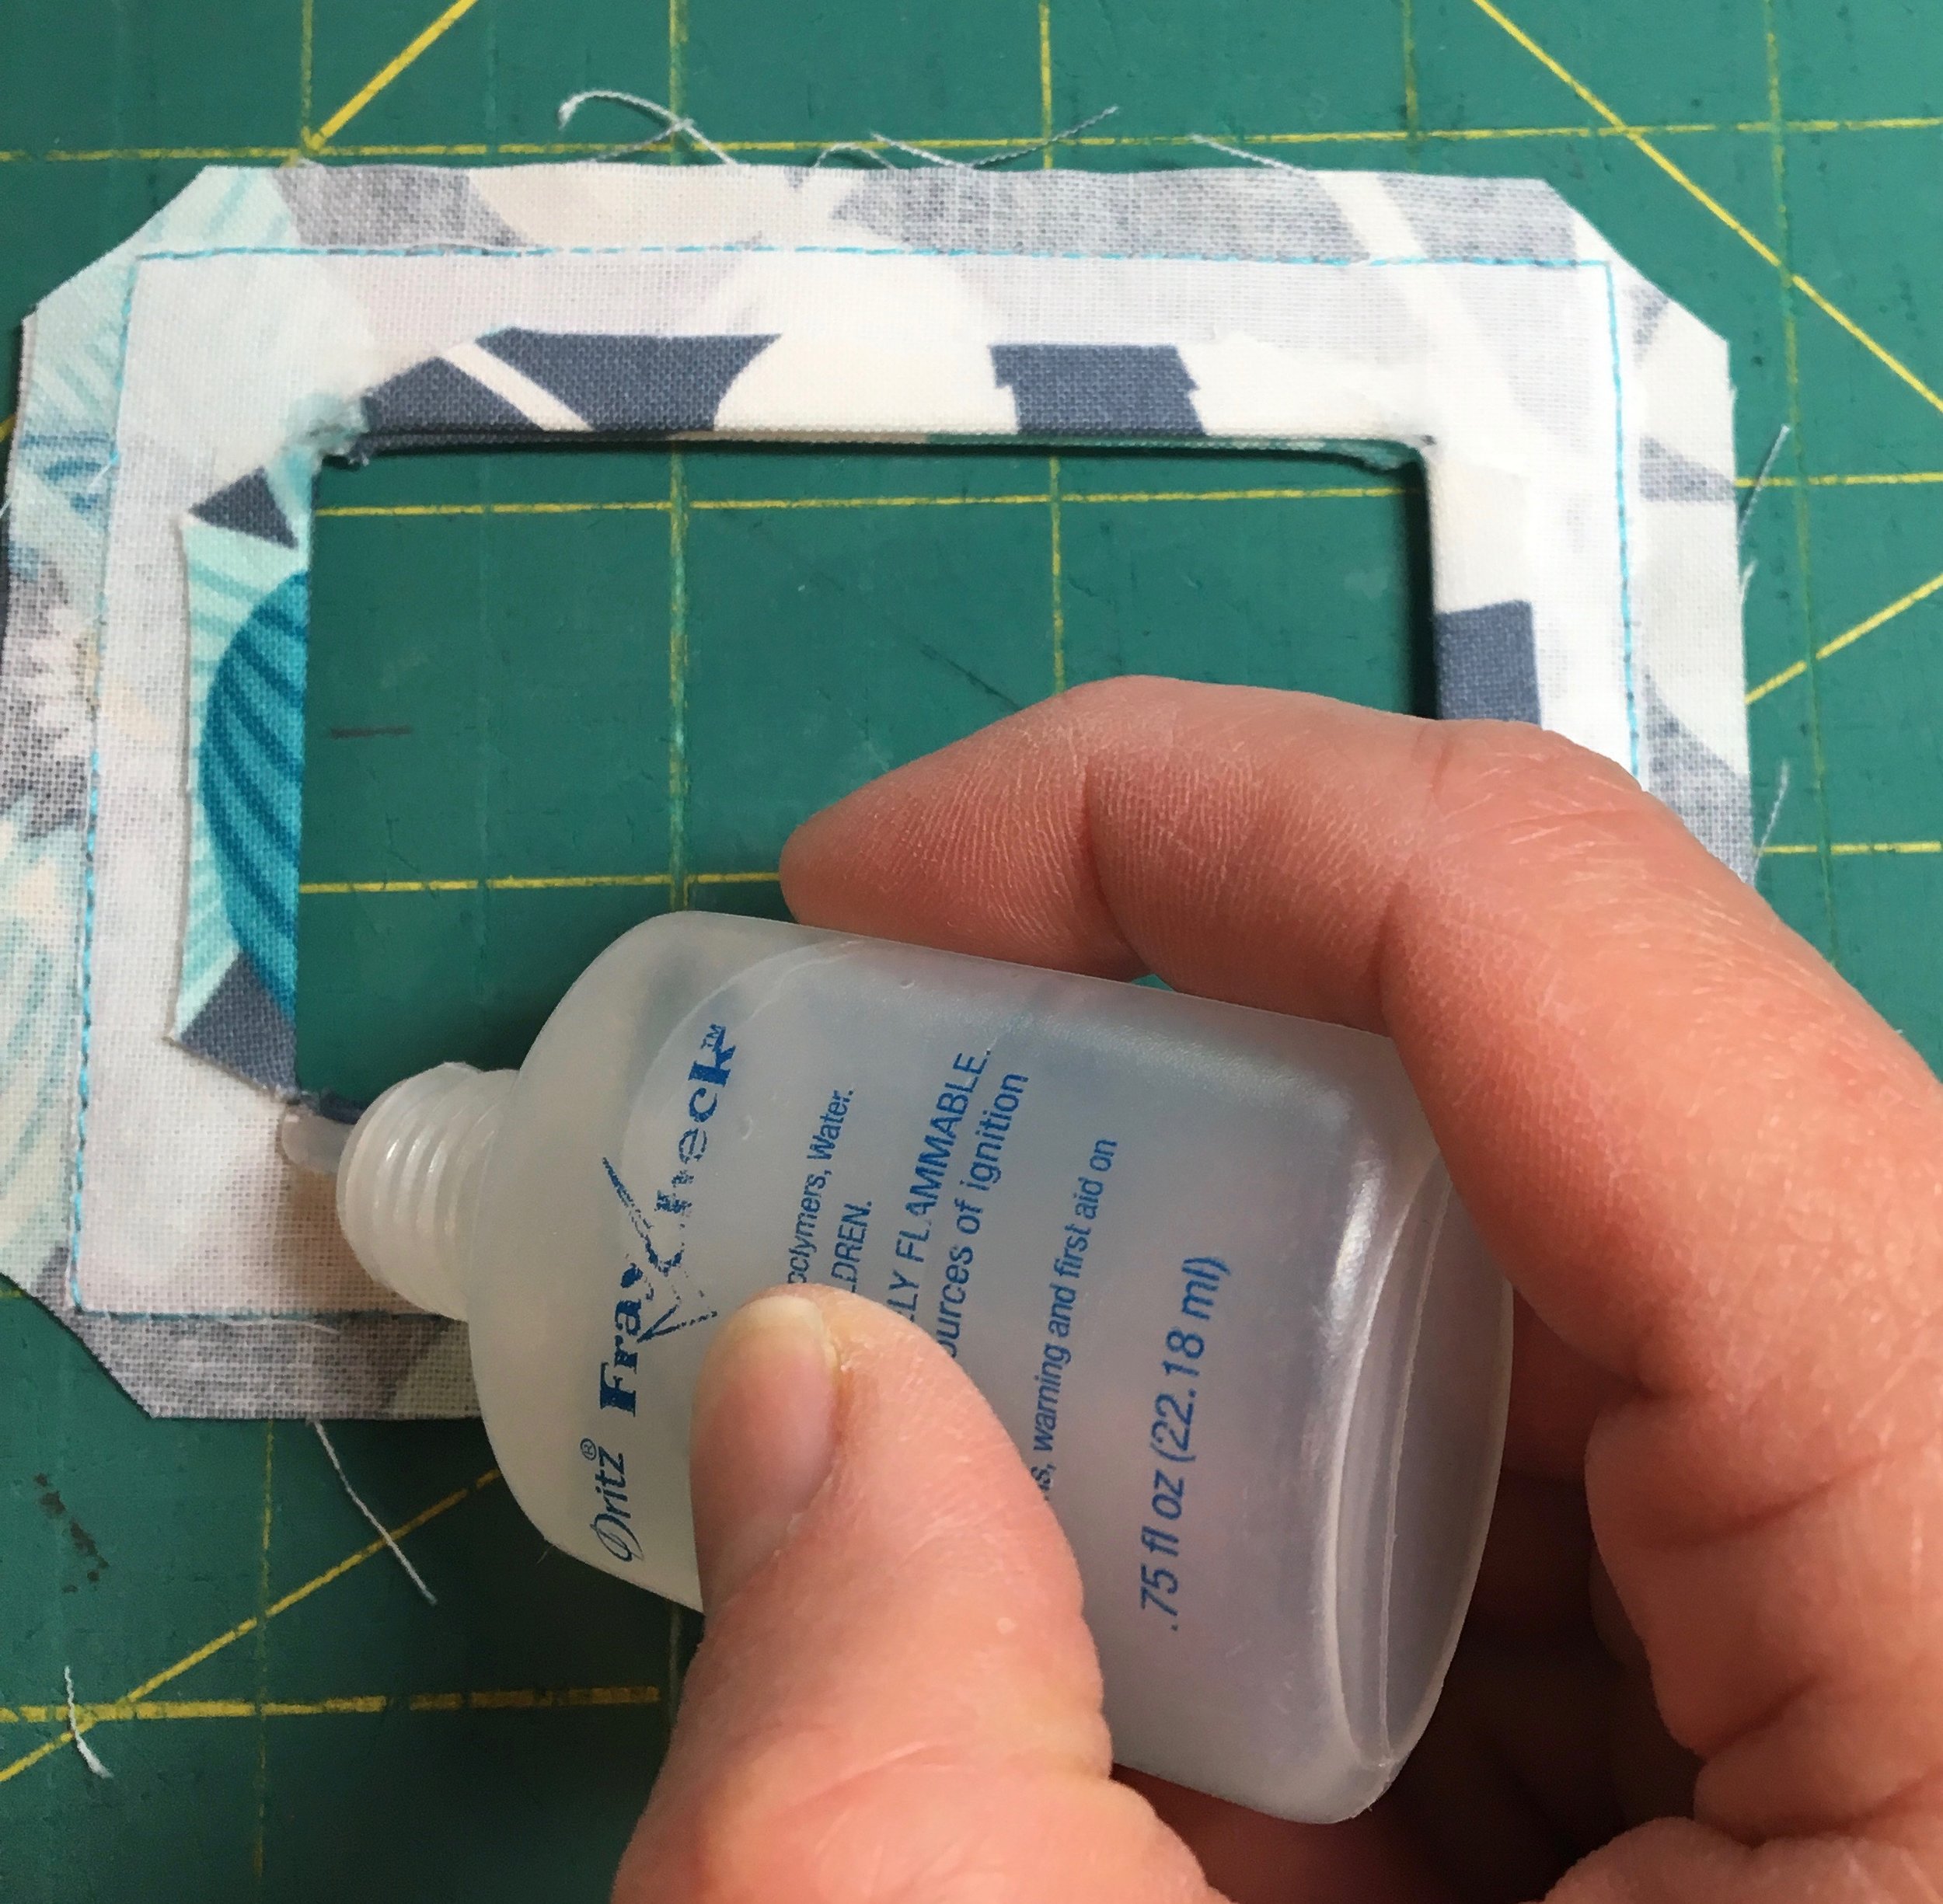
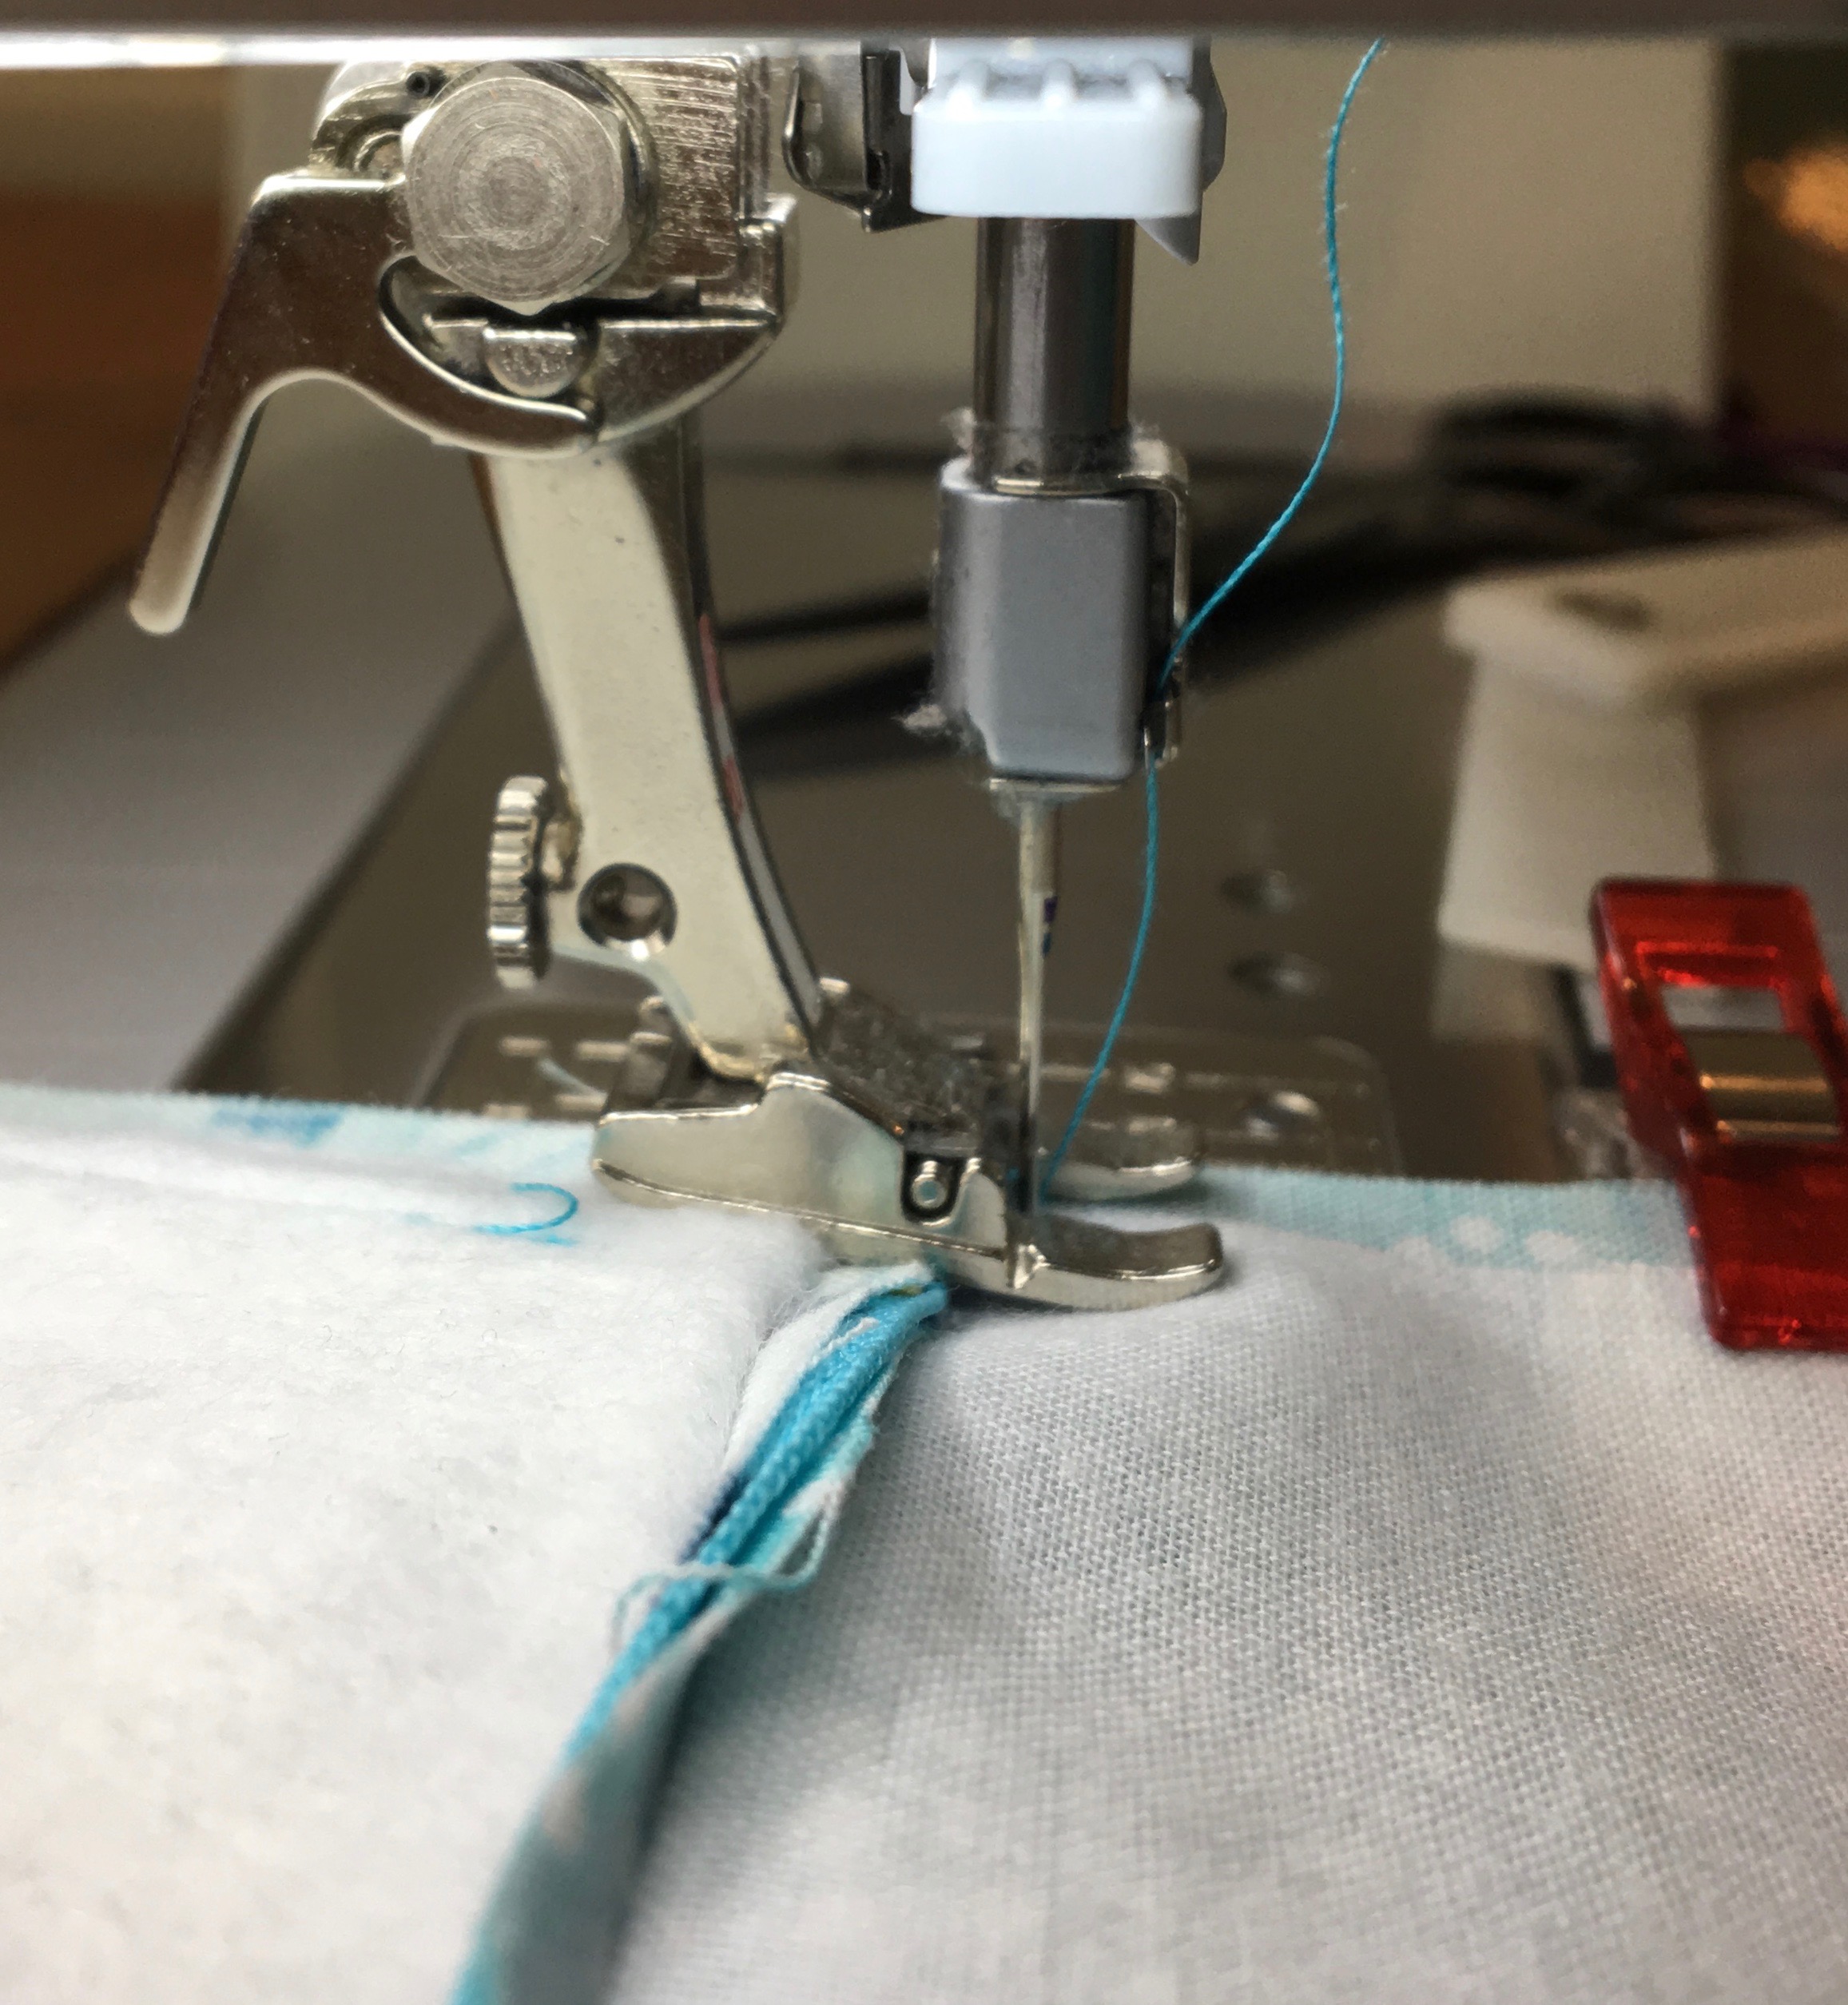
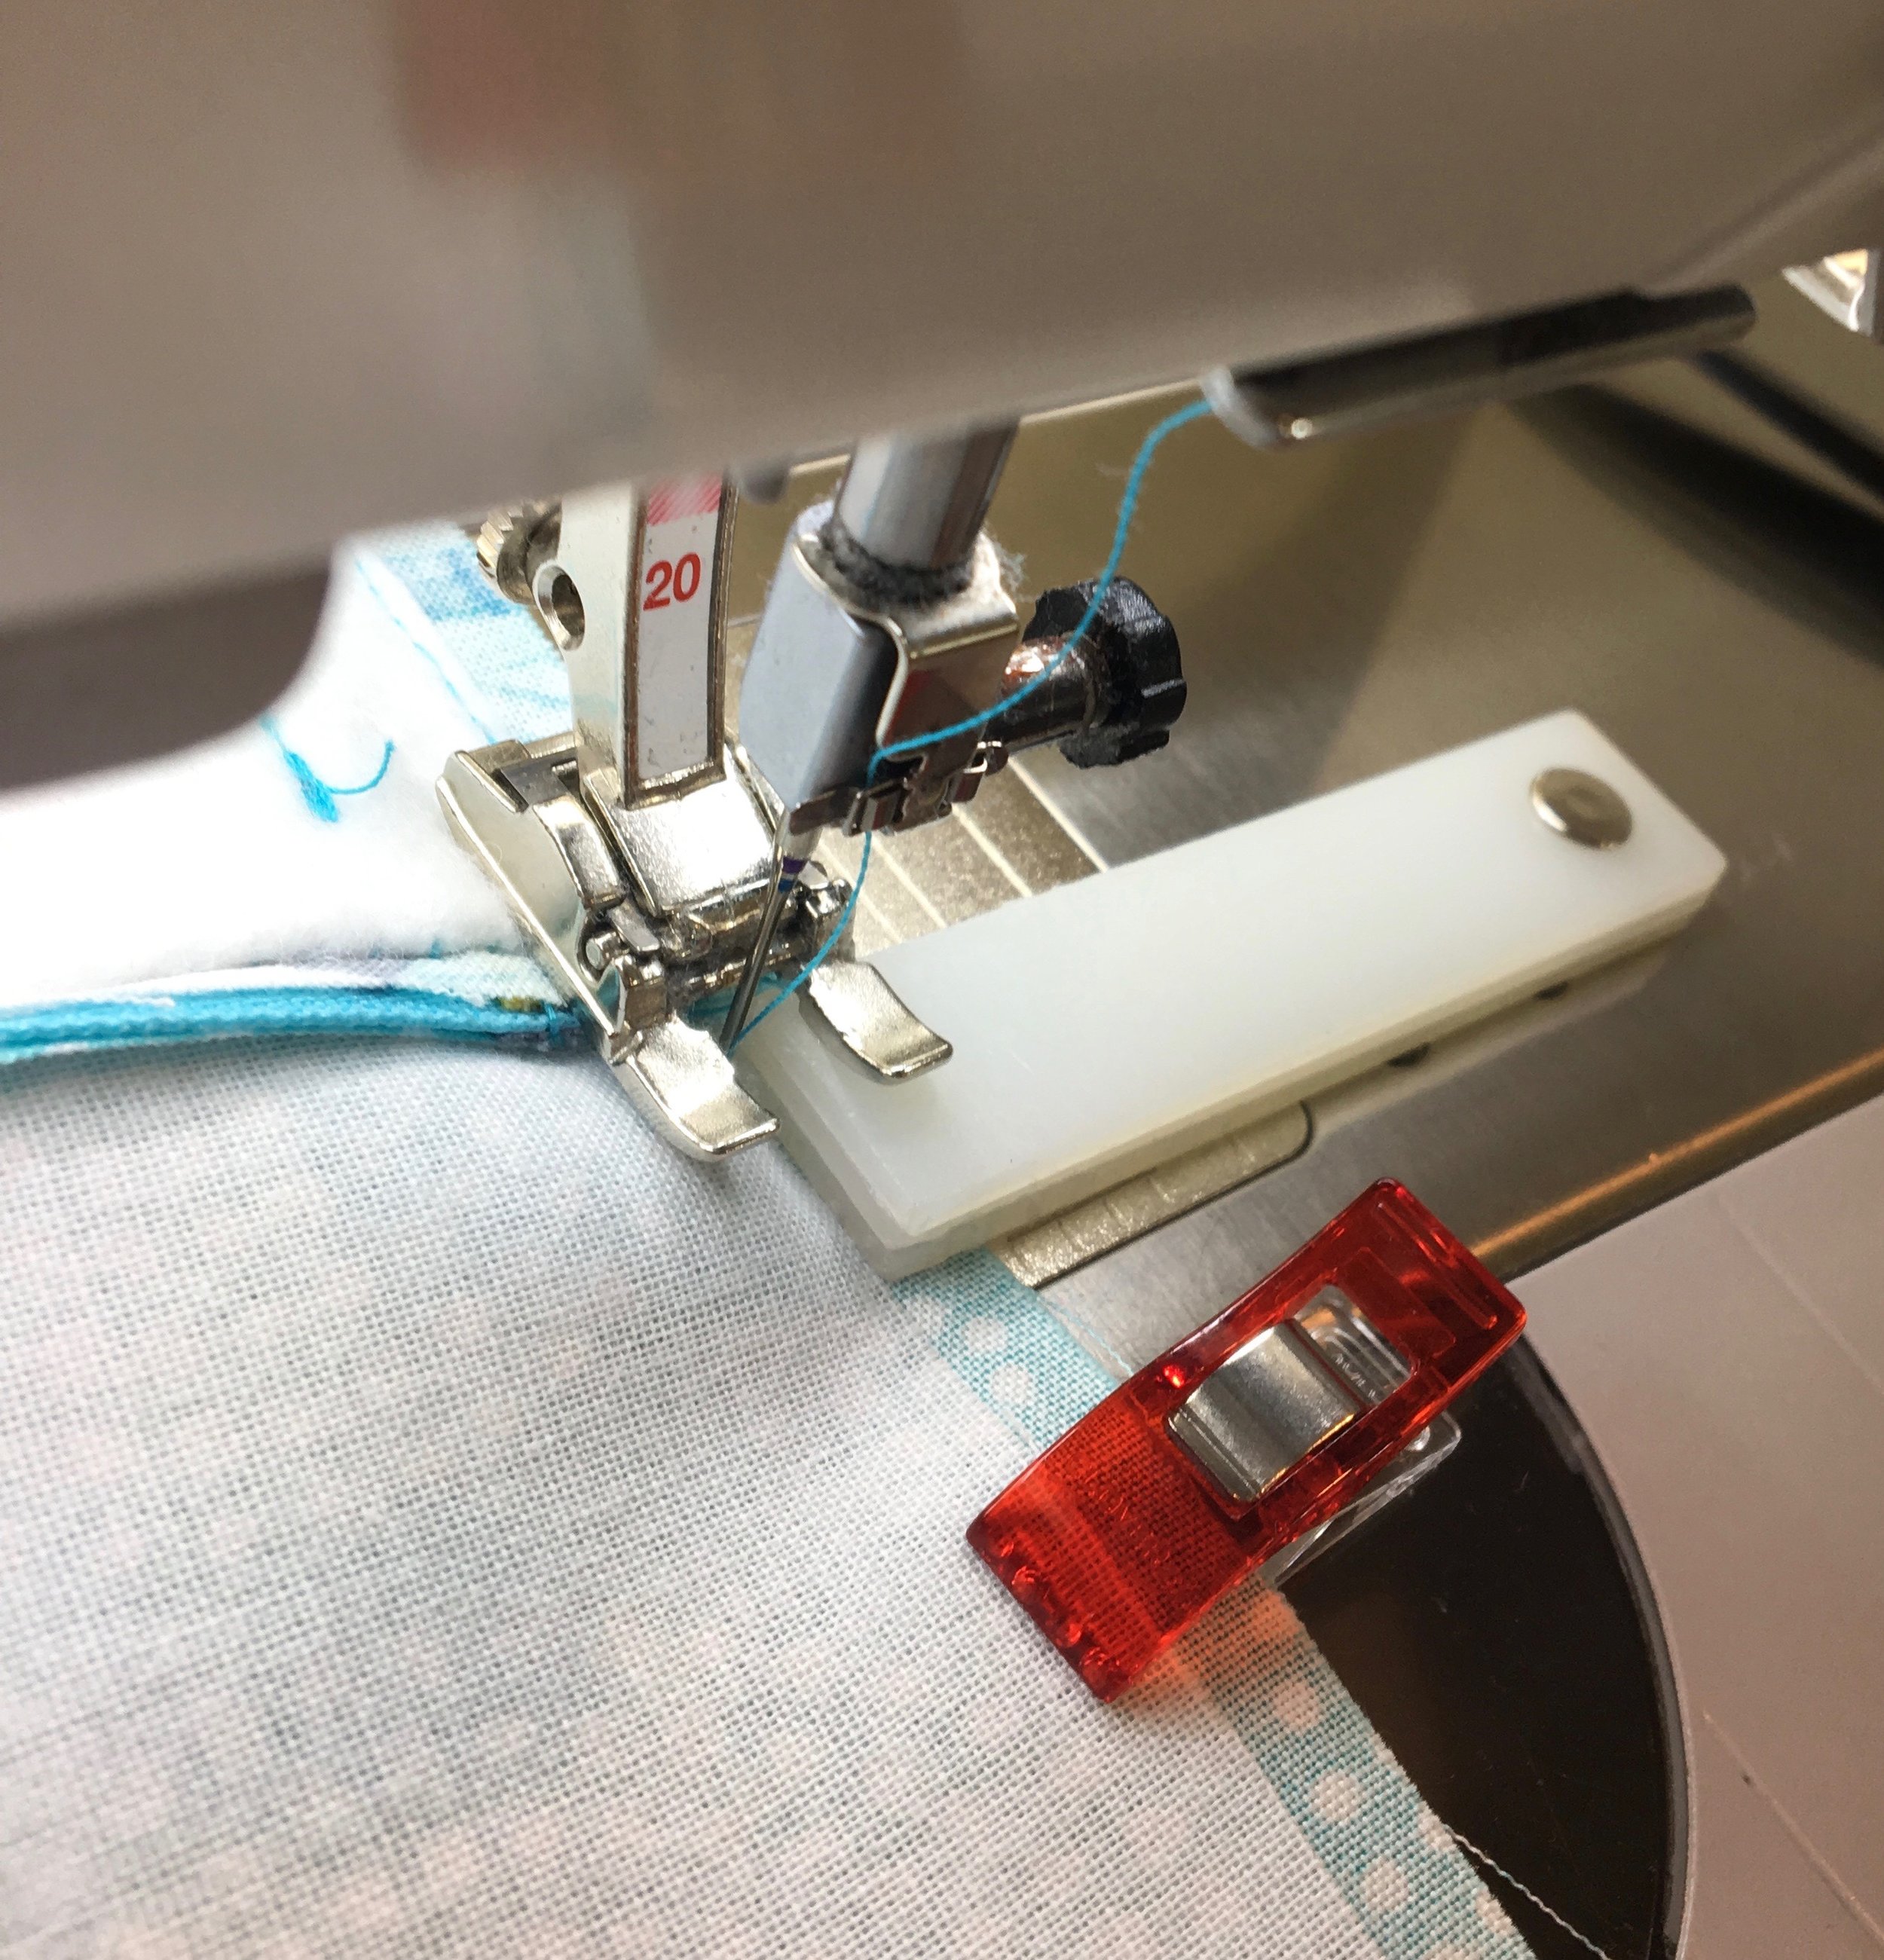
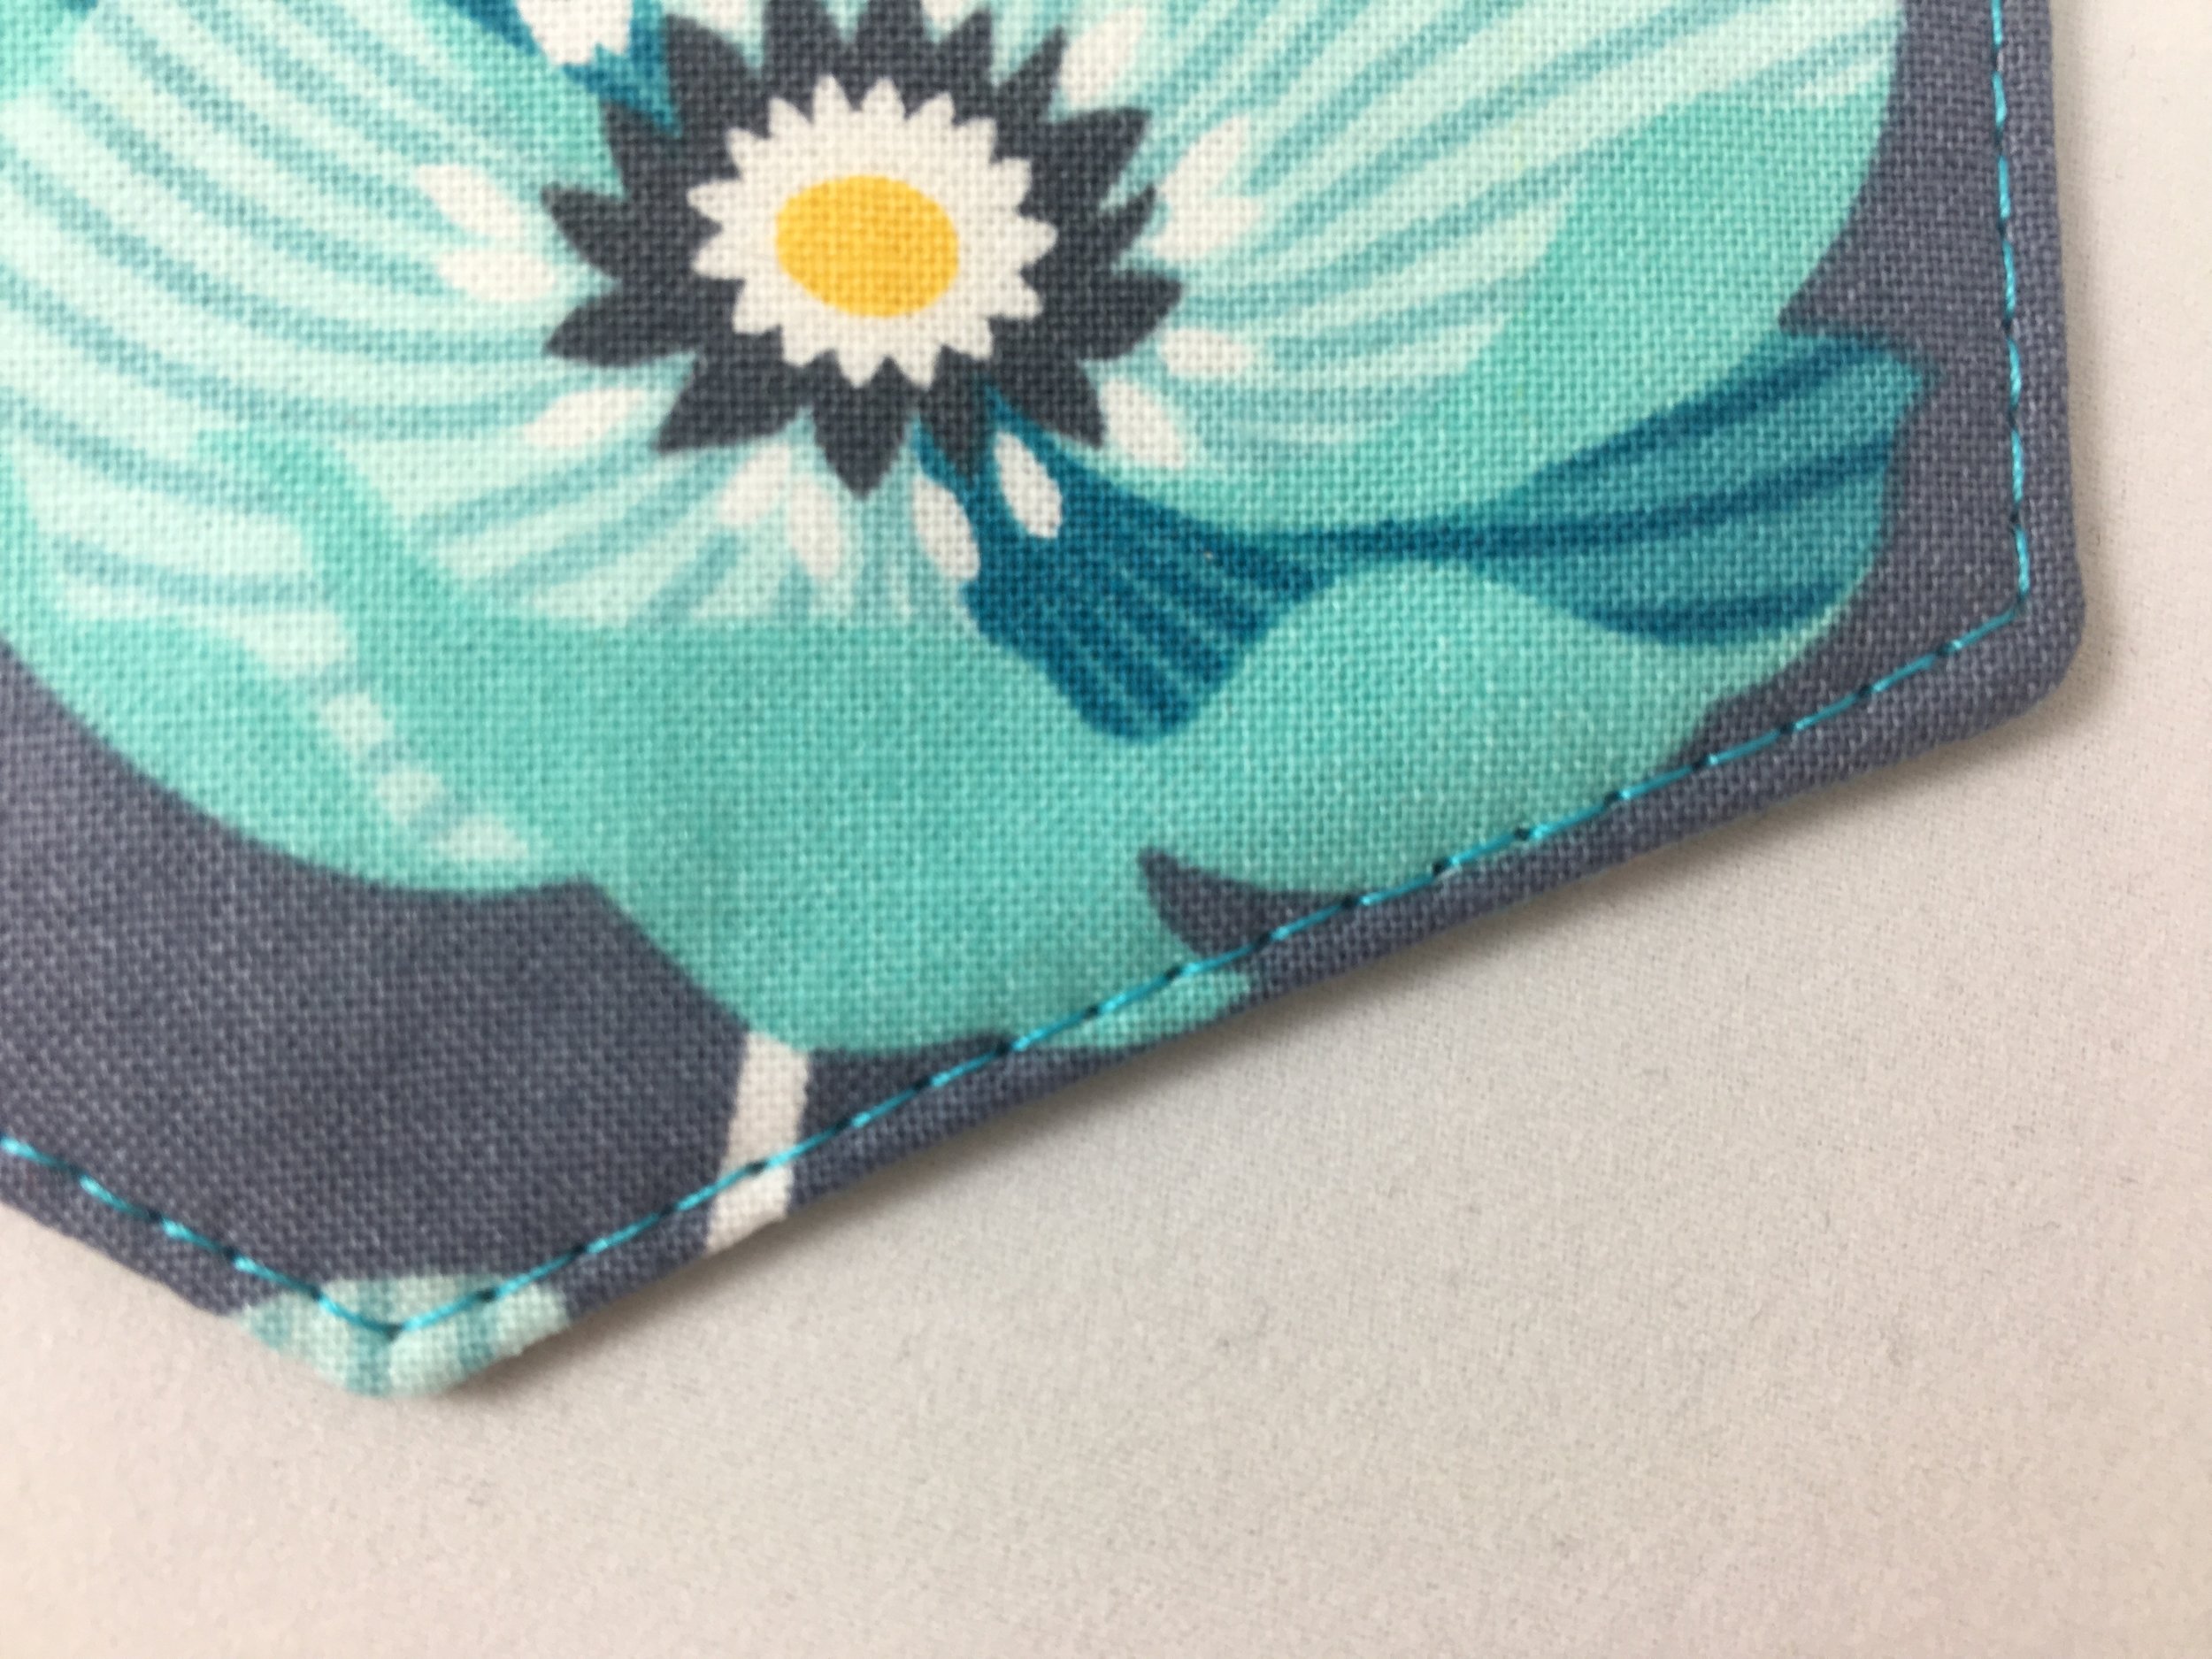
In the pattern instructions, once you have sewn the exterior and interior flap pieces together it says to top-stitch around all the edges of the flap. Then when you sew the flap to the wallet, you top-stitch again over the top-stitching at the top, long edge. You could skip the top-stitching on the top, long edge when you are top-stitching around the other edges of the flap and then just have a single line of top-stitching when you attach the flap to the wallet. Either way works well!
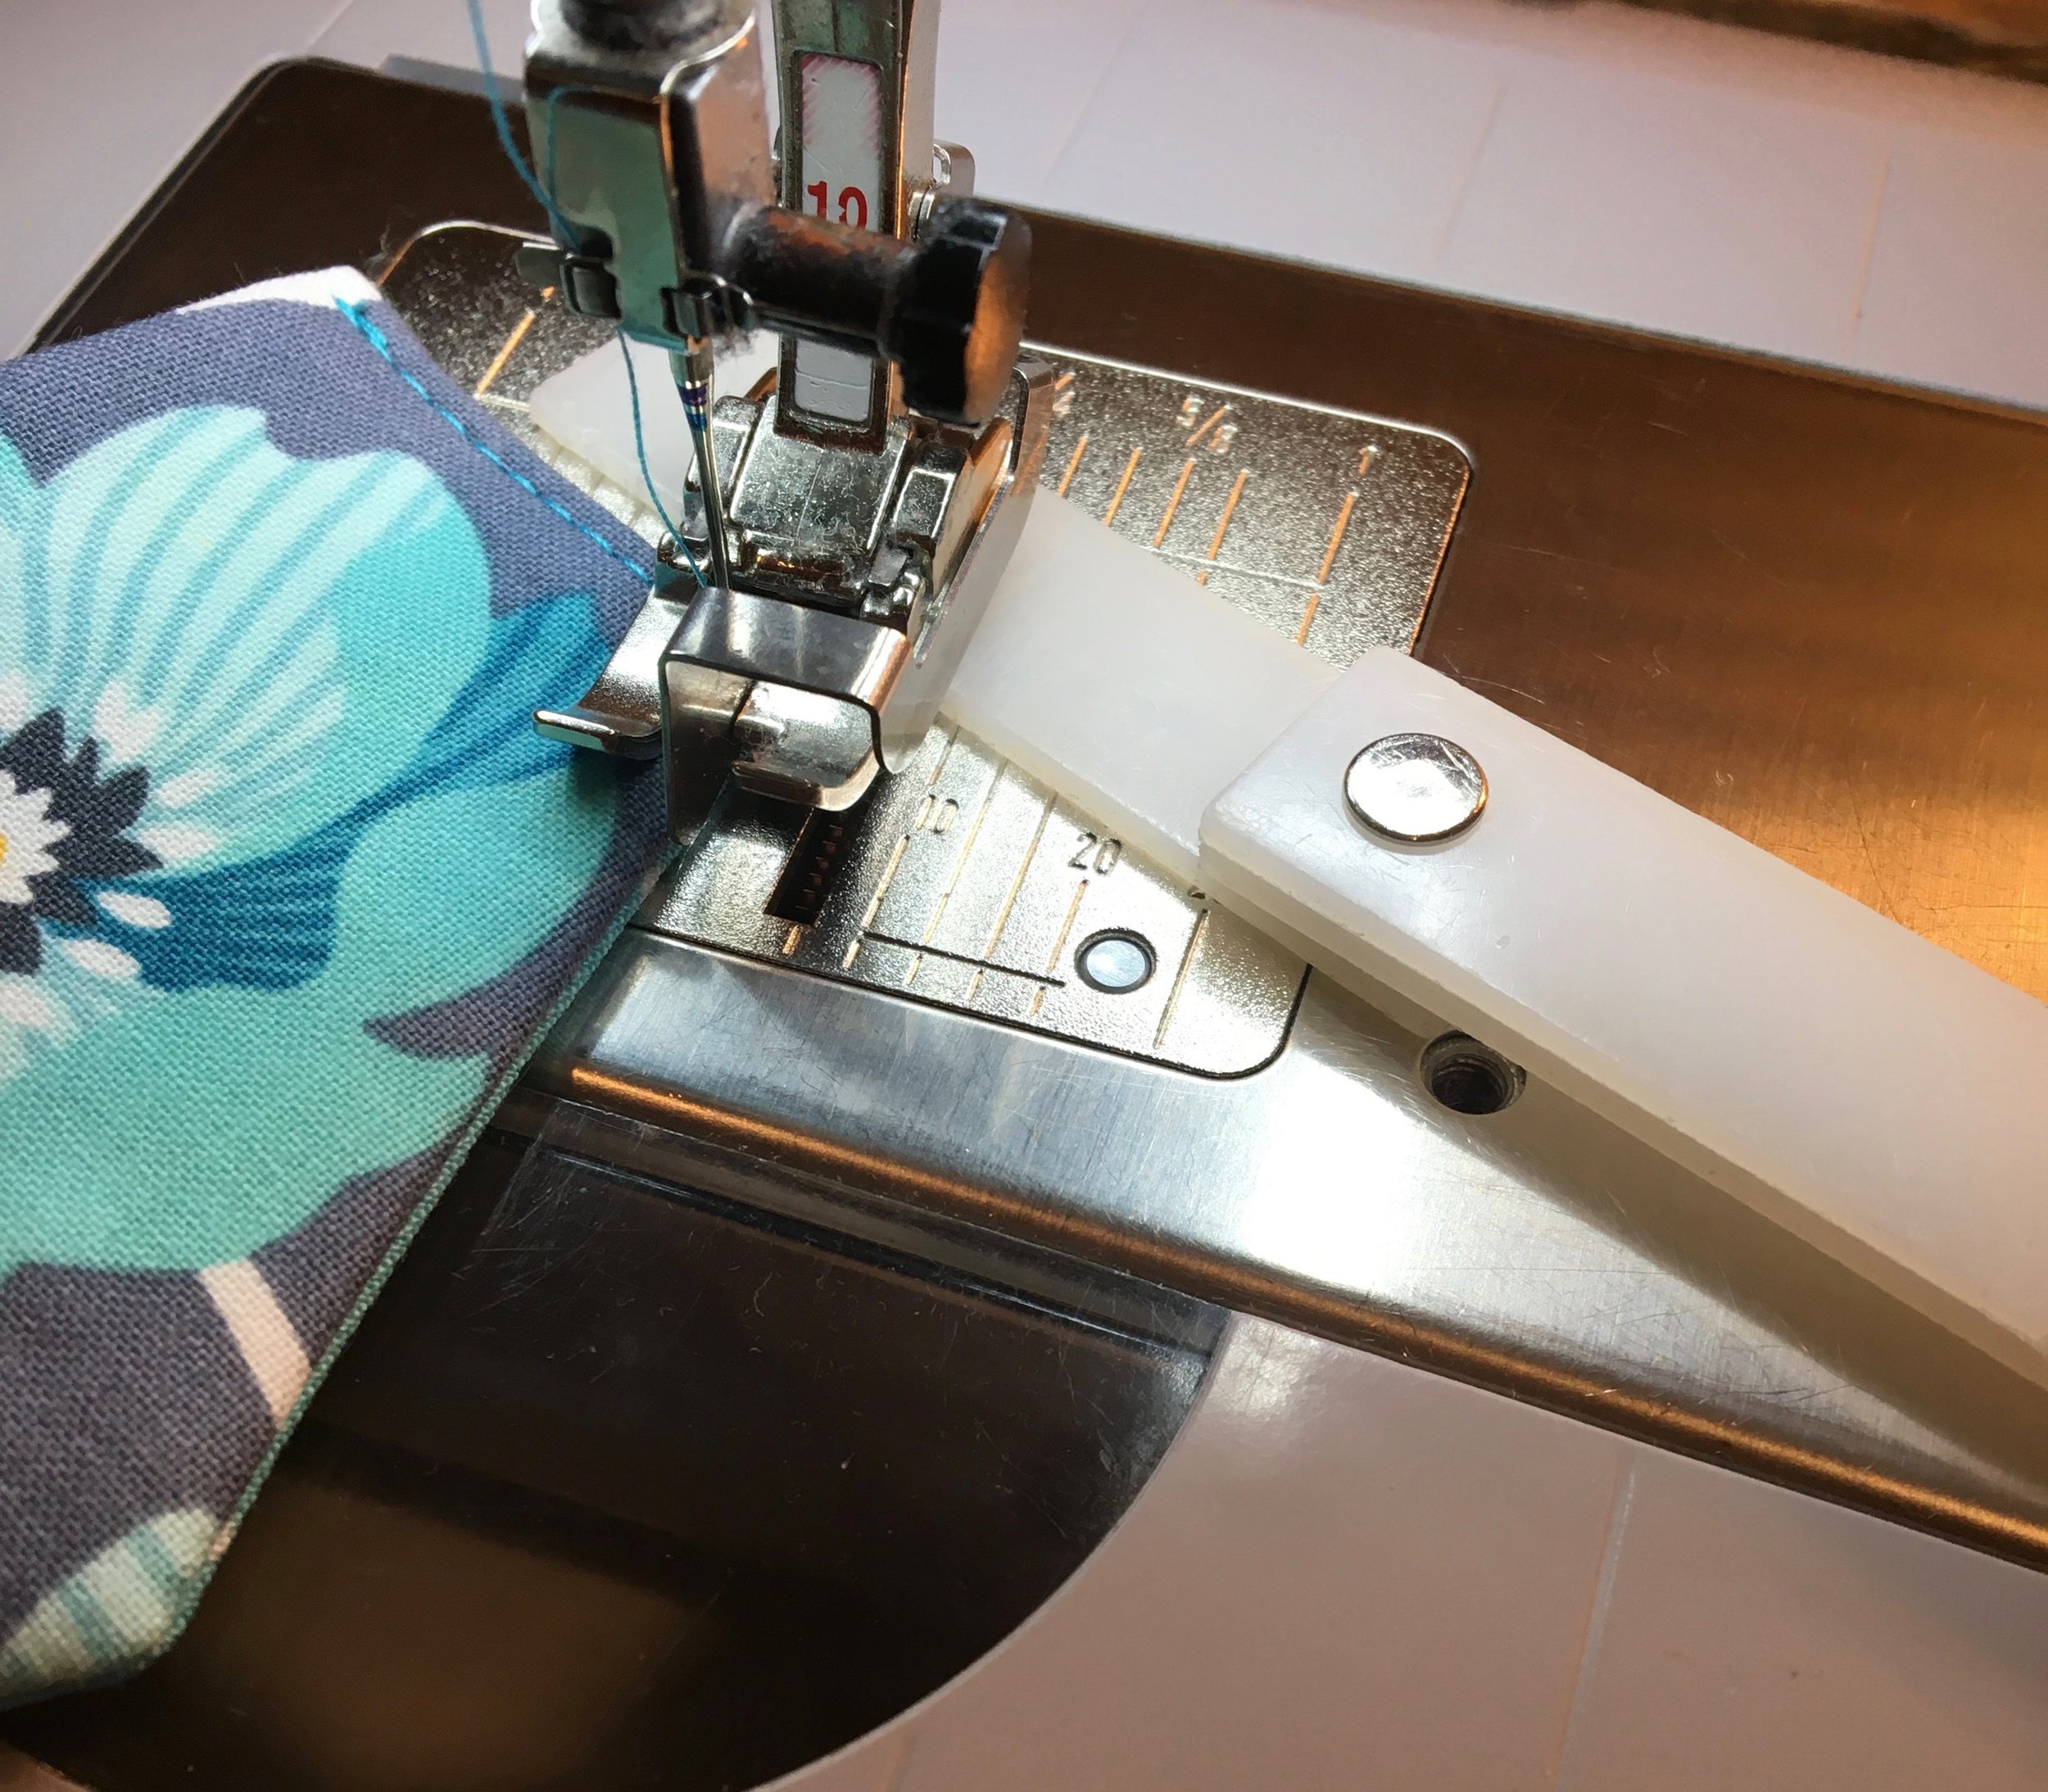

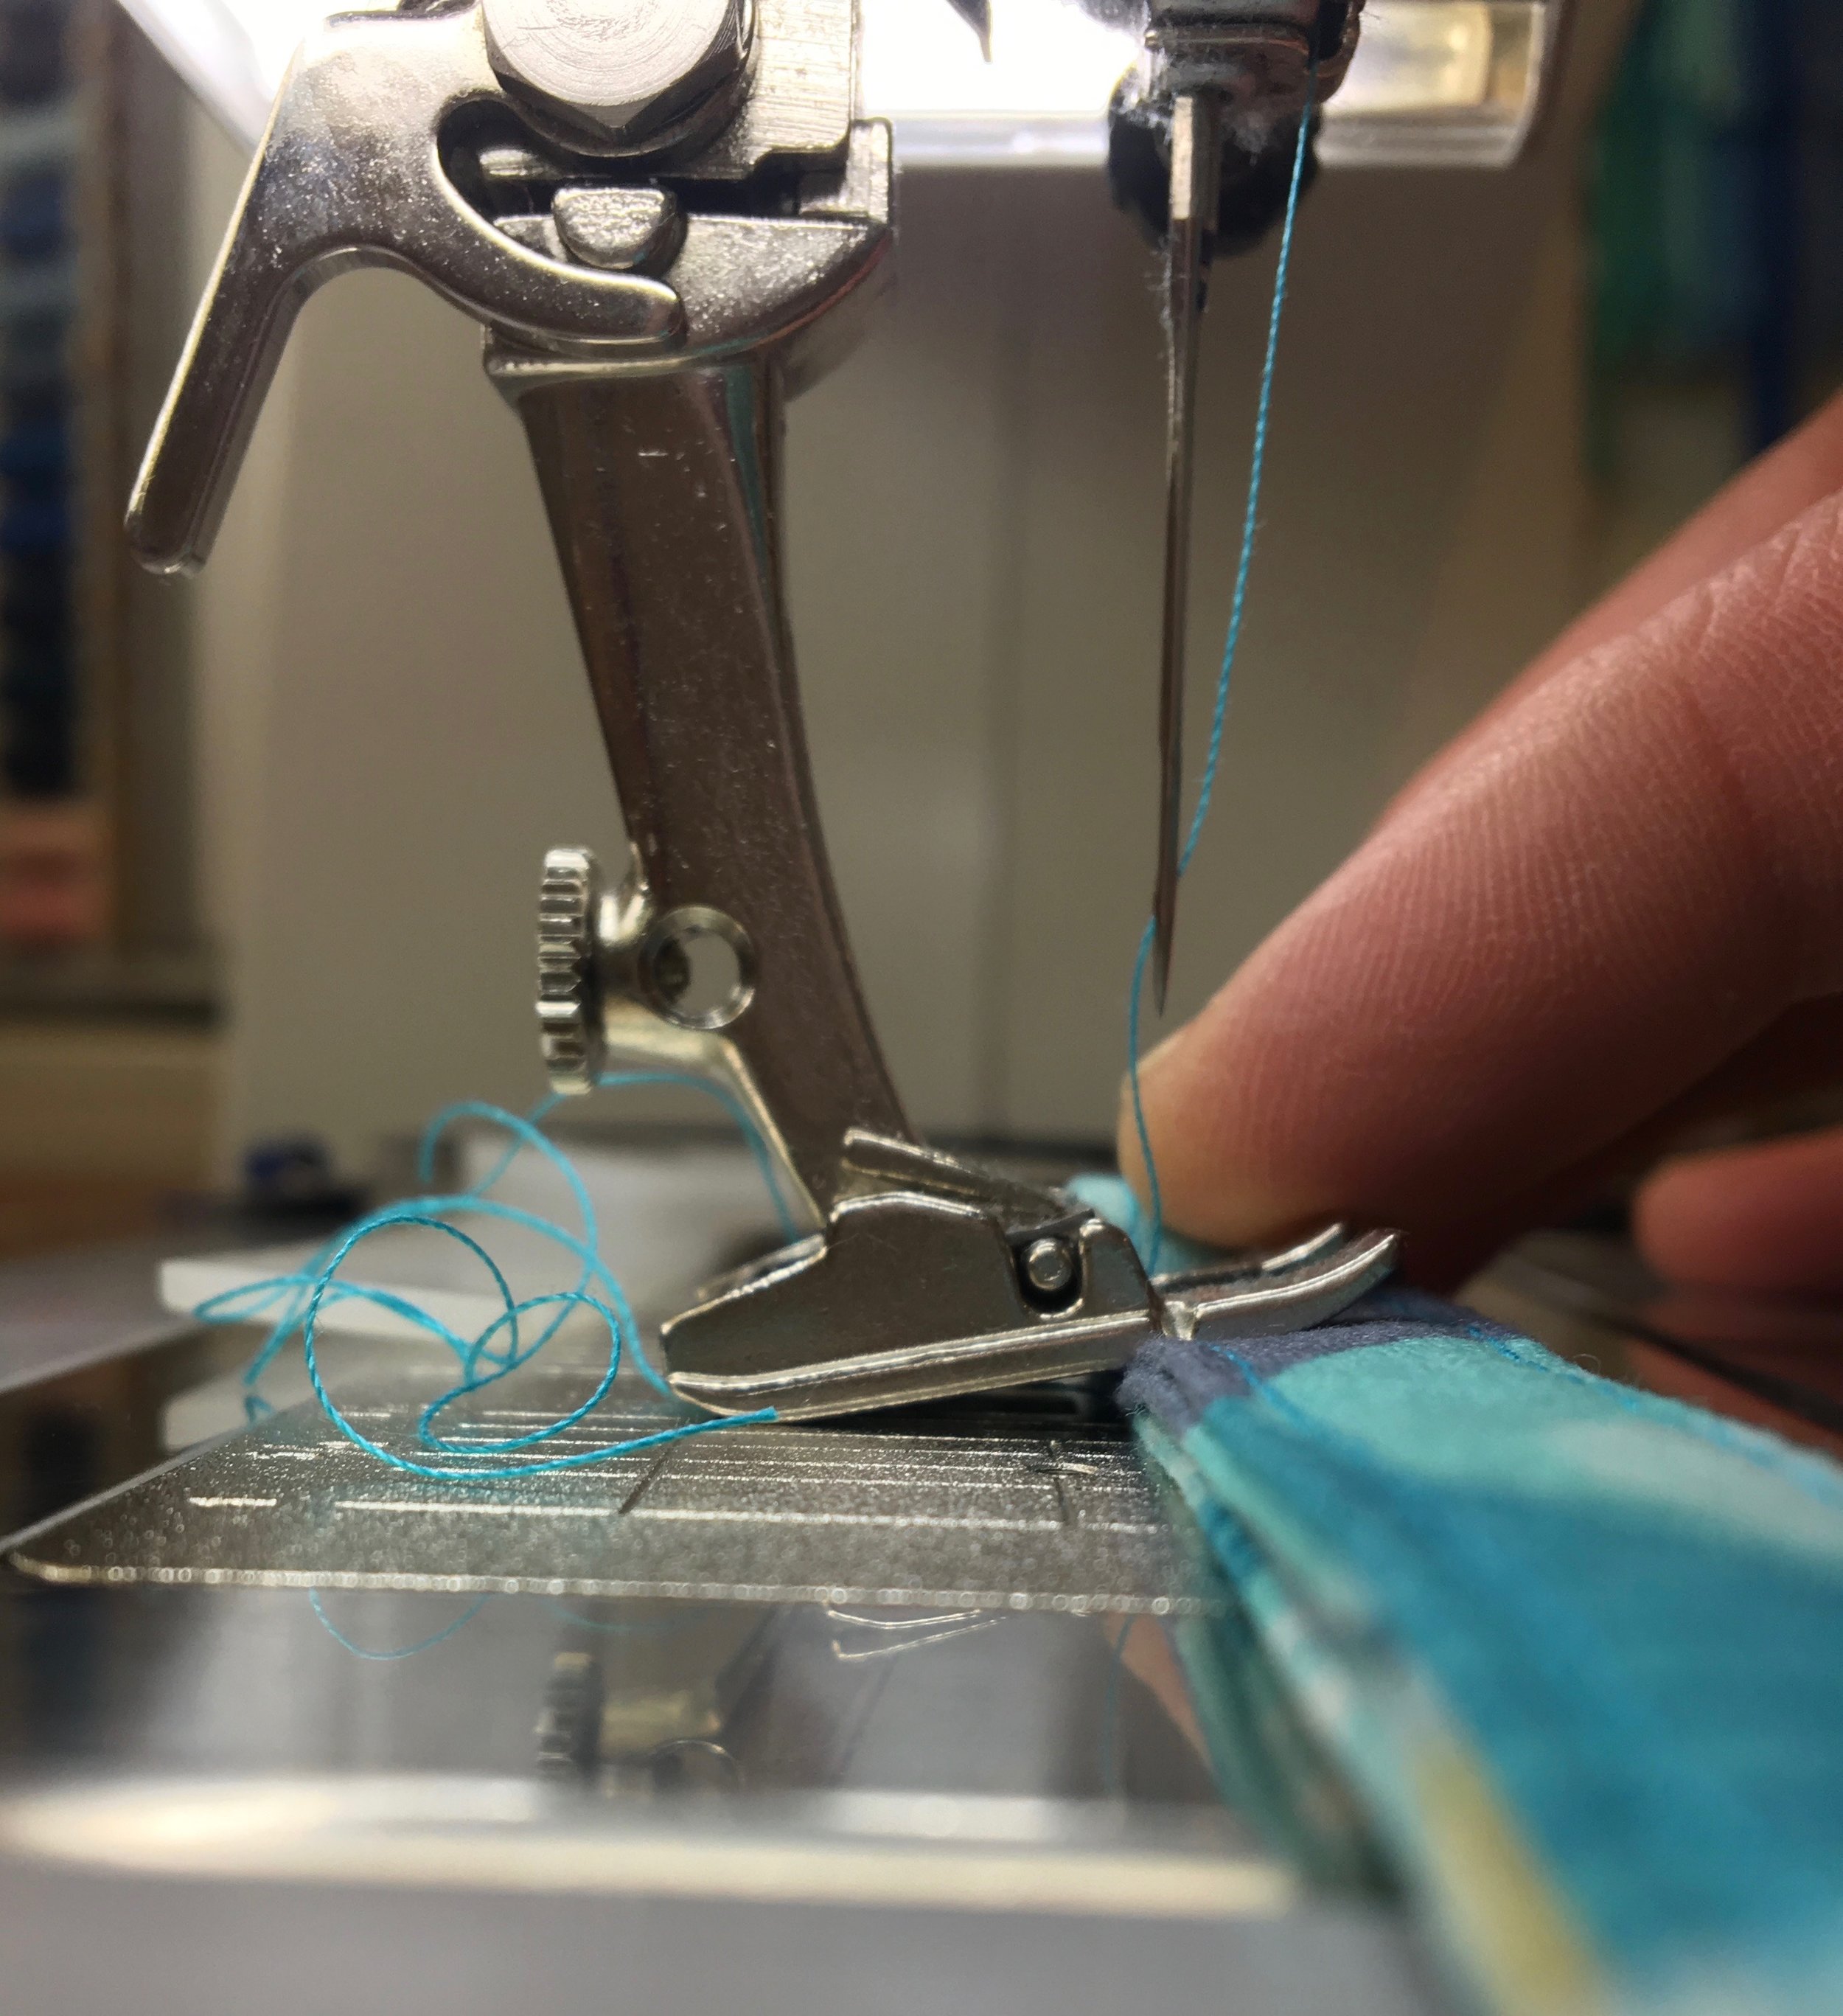
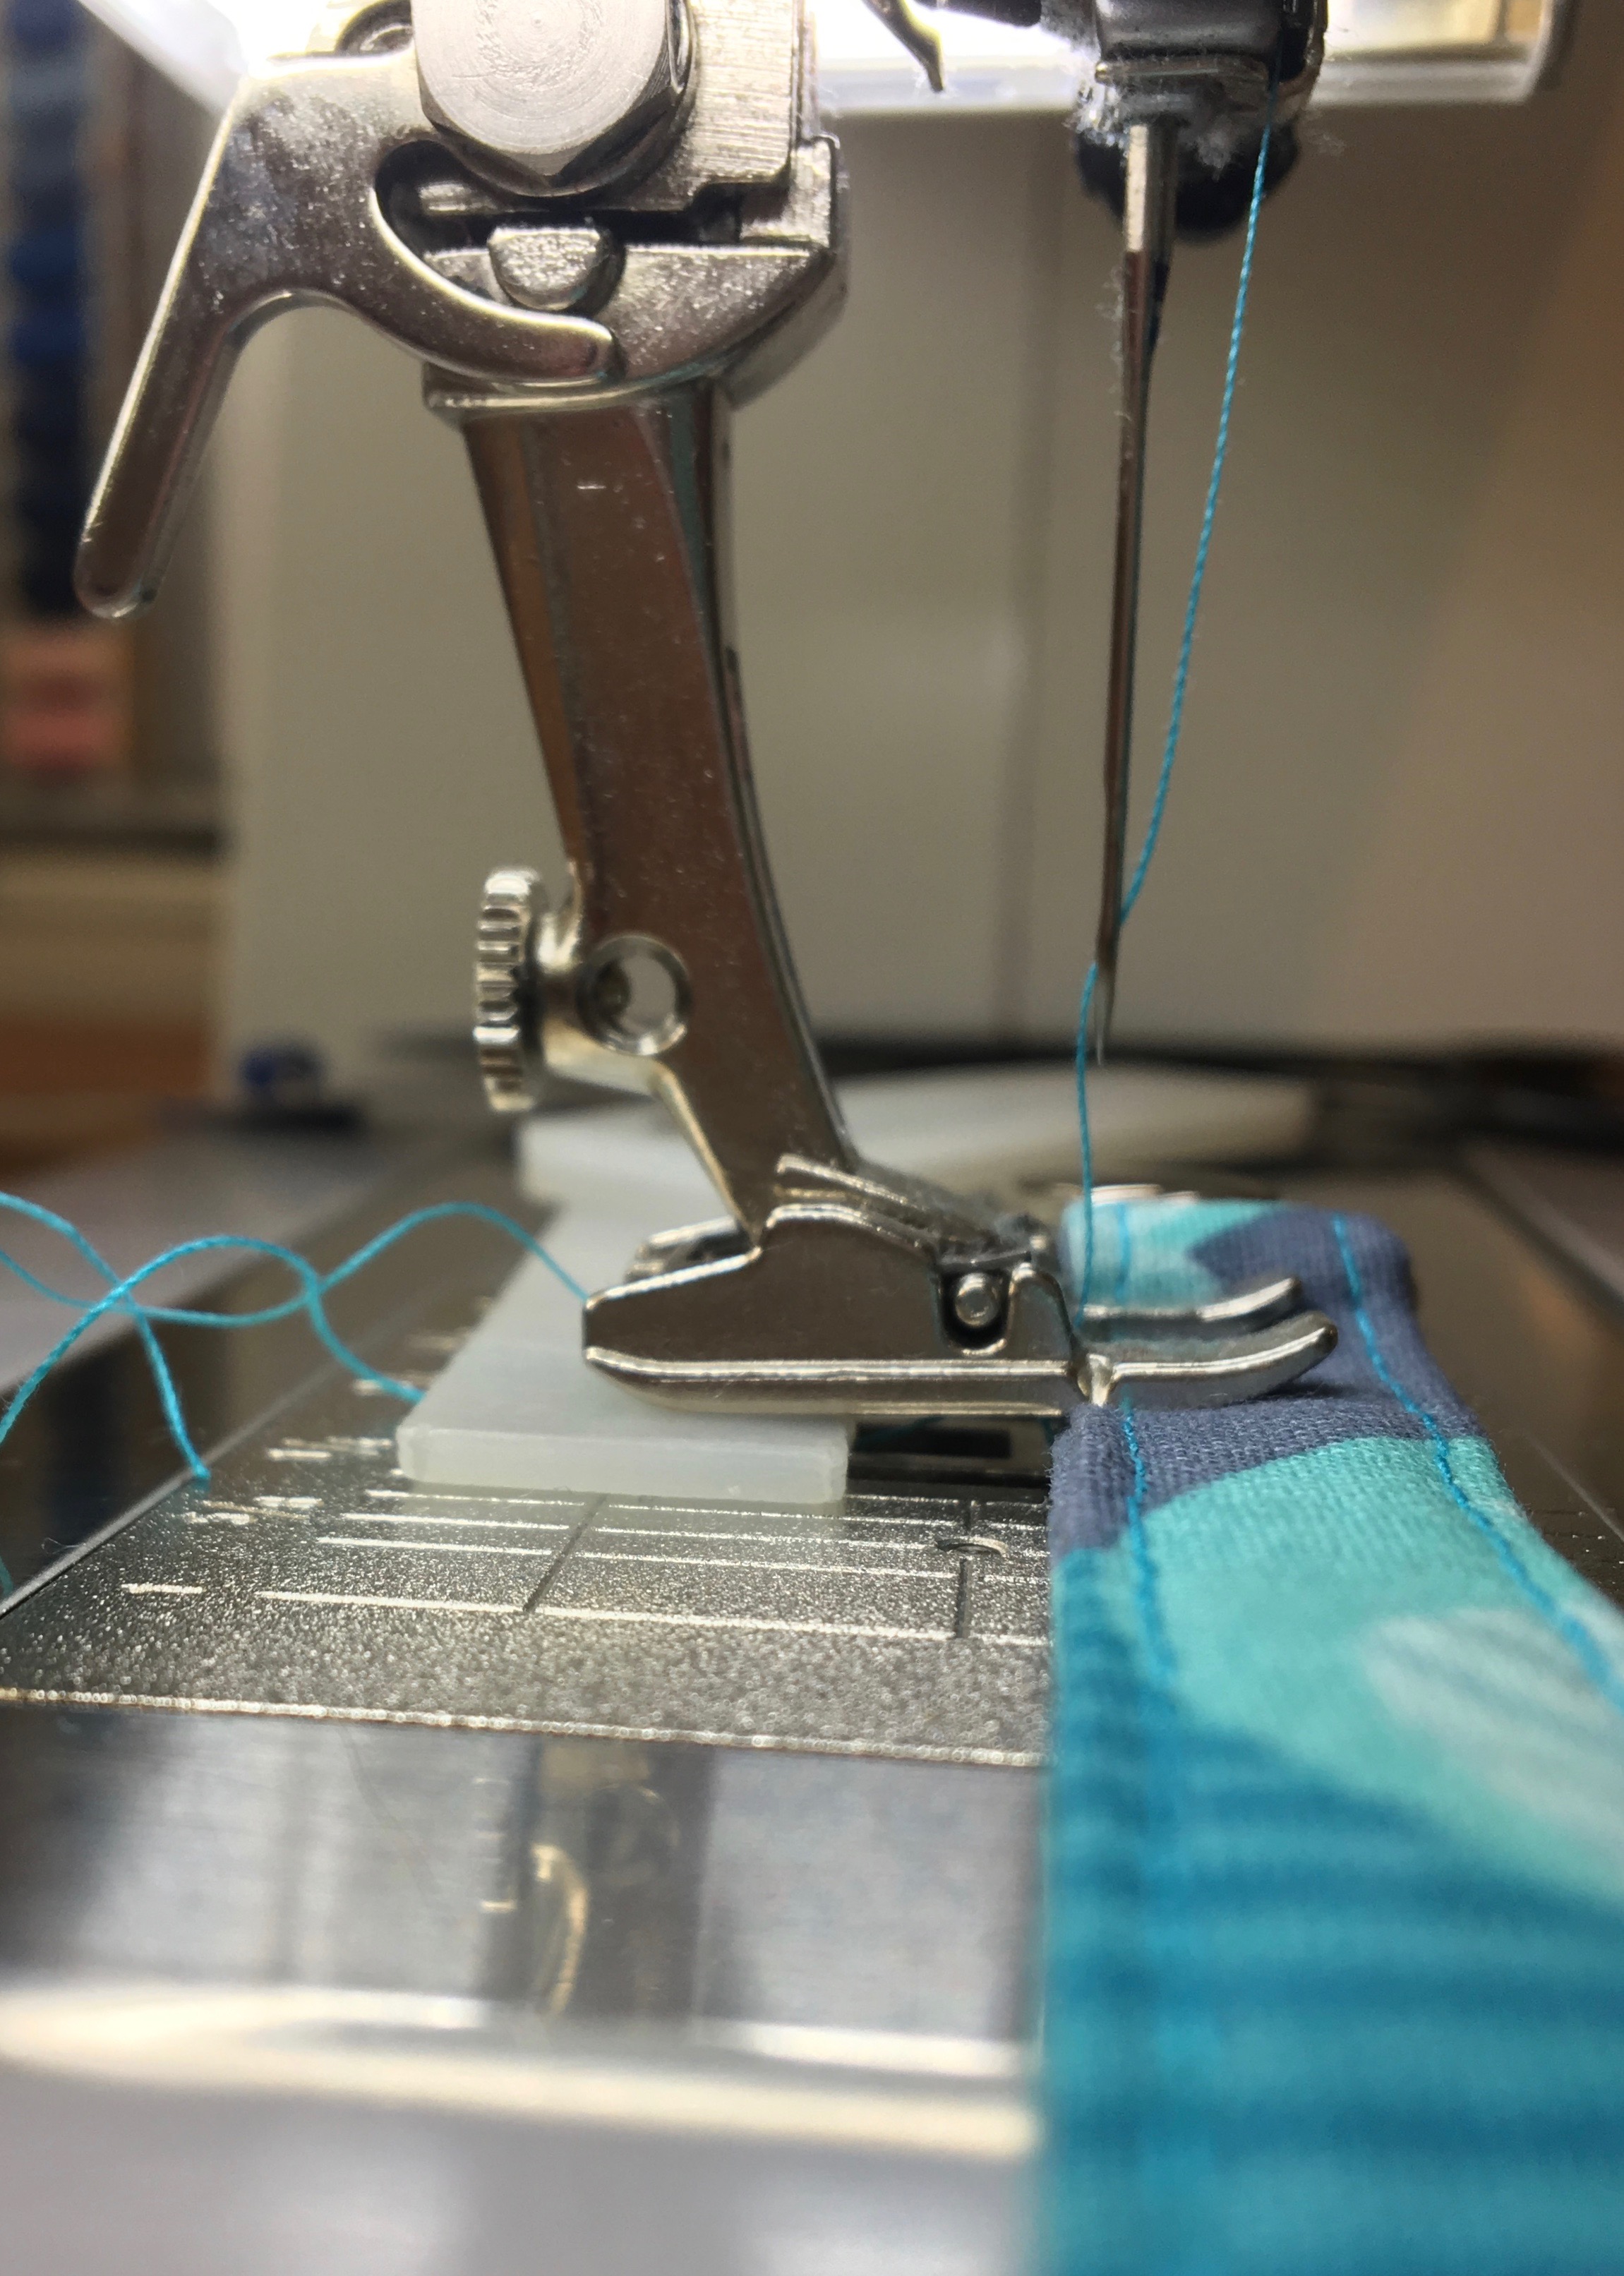
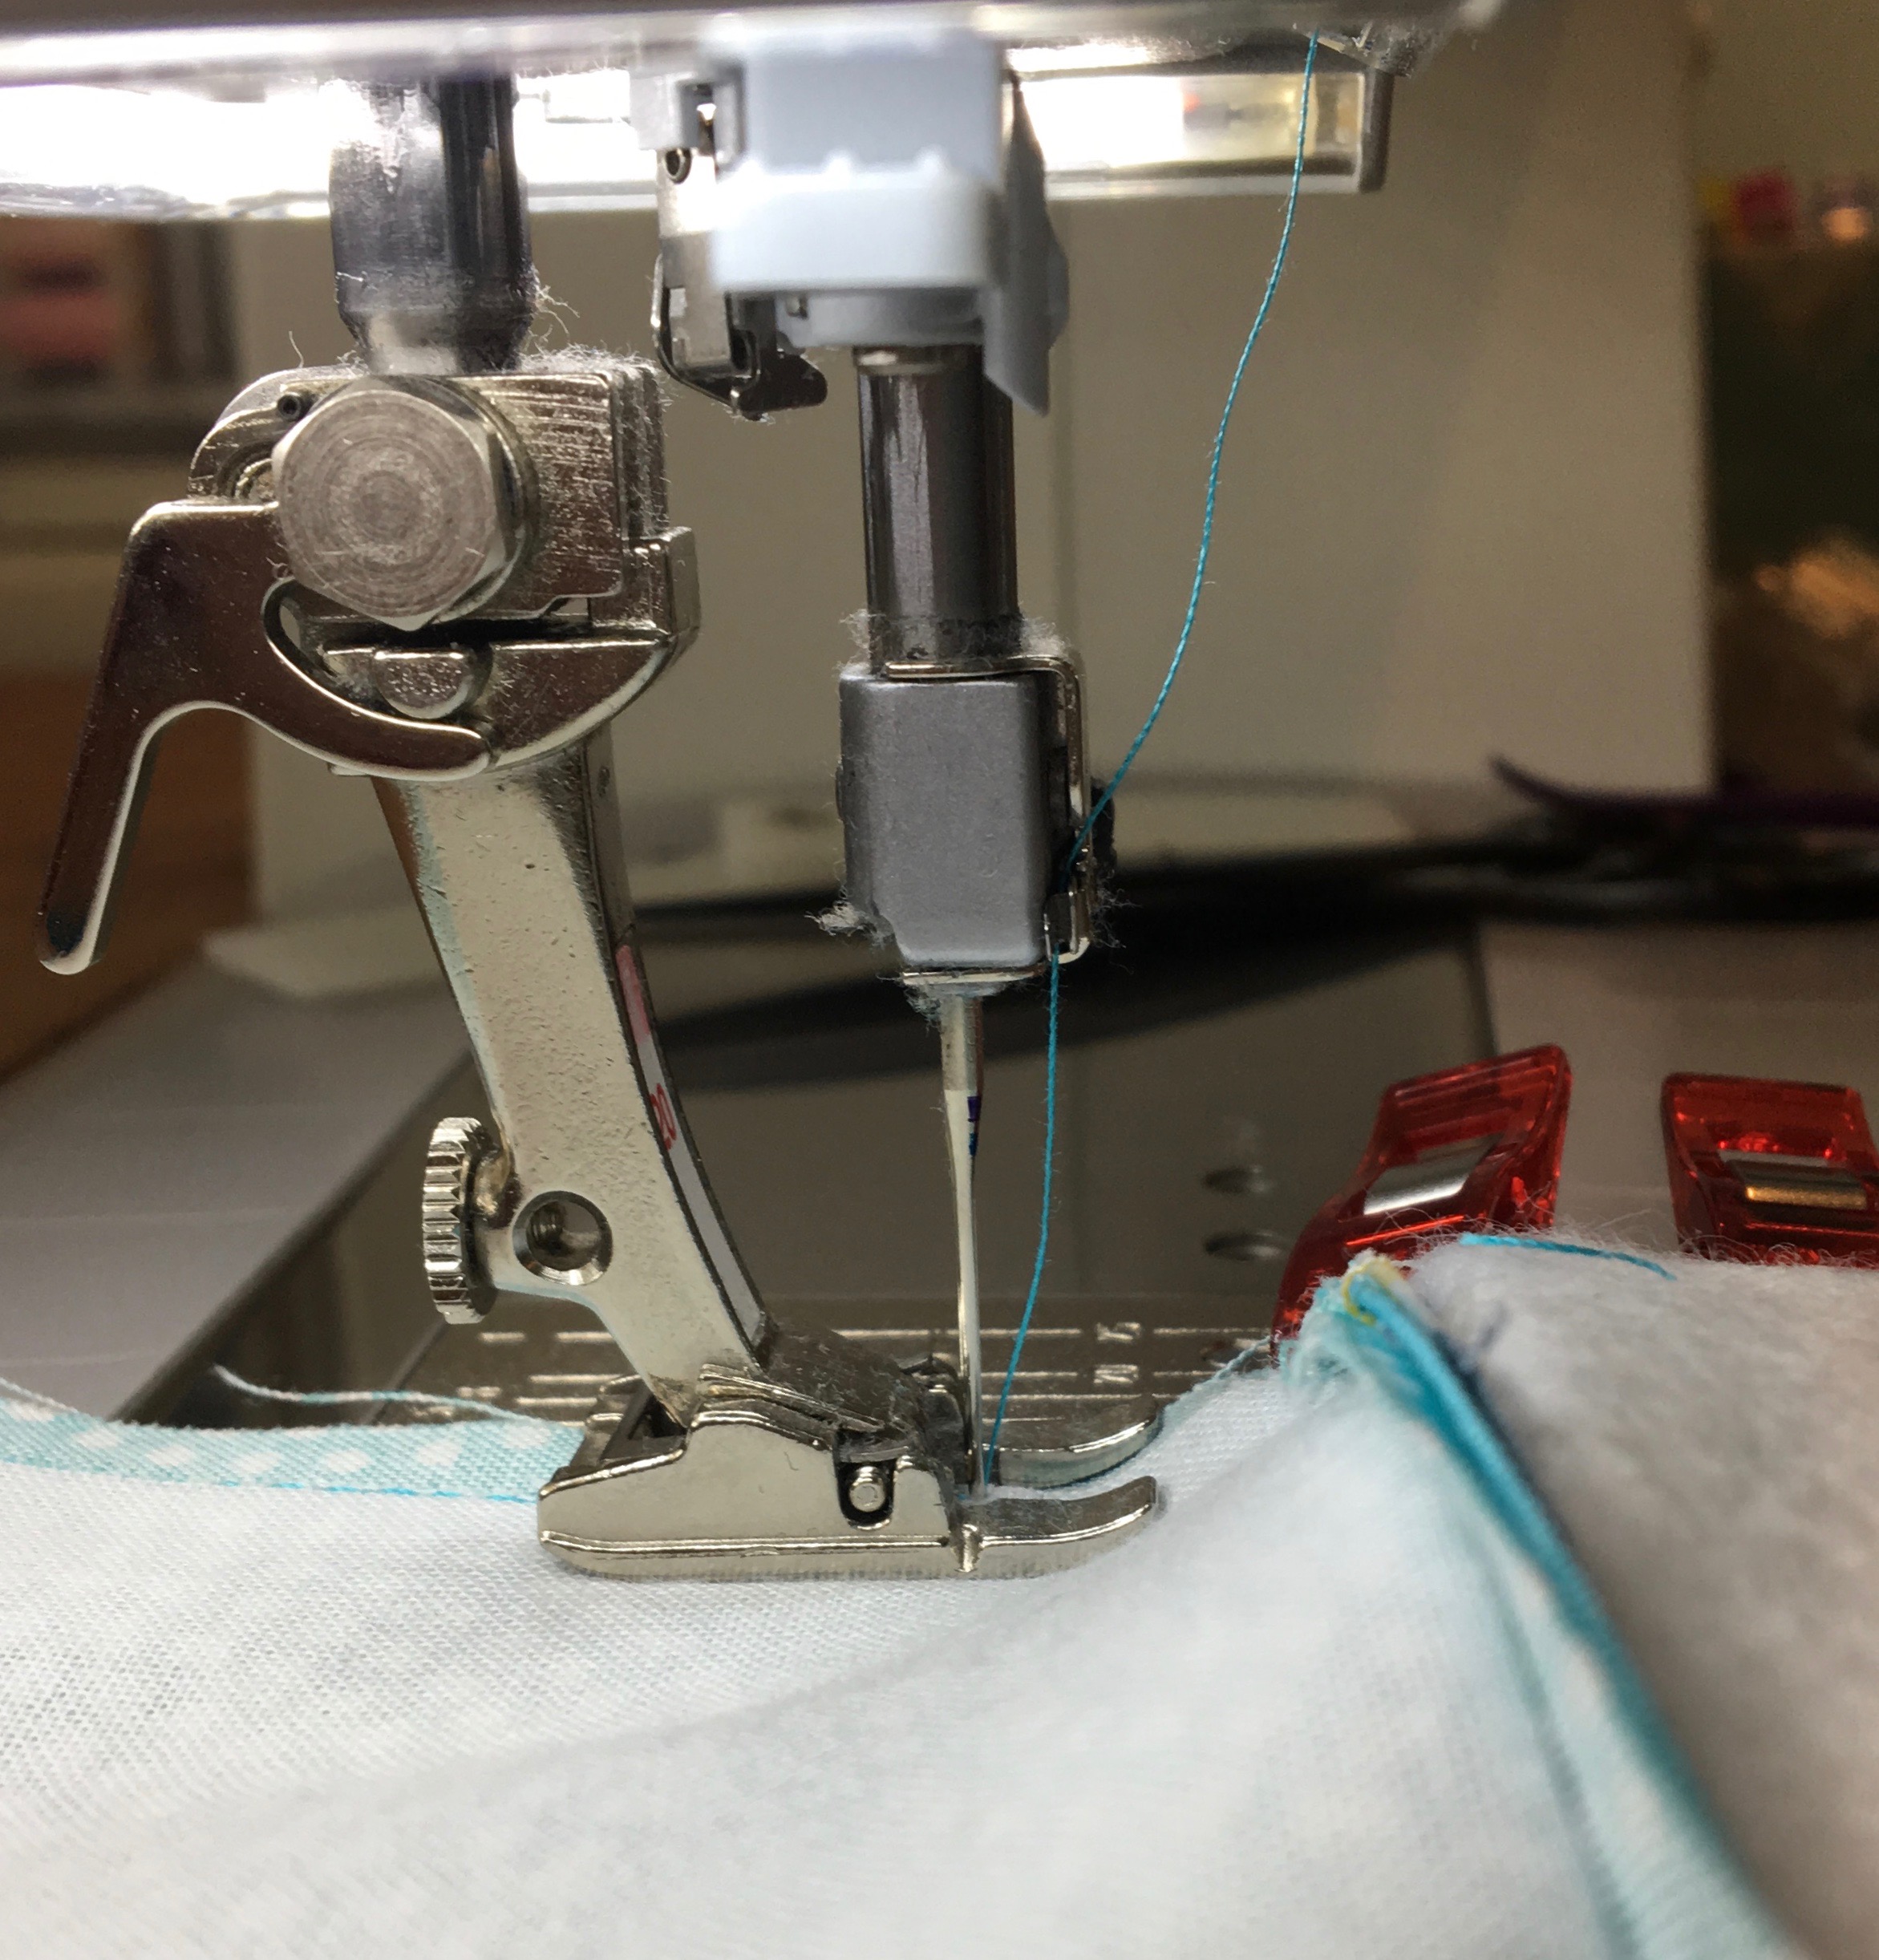
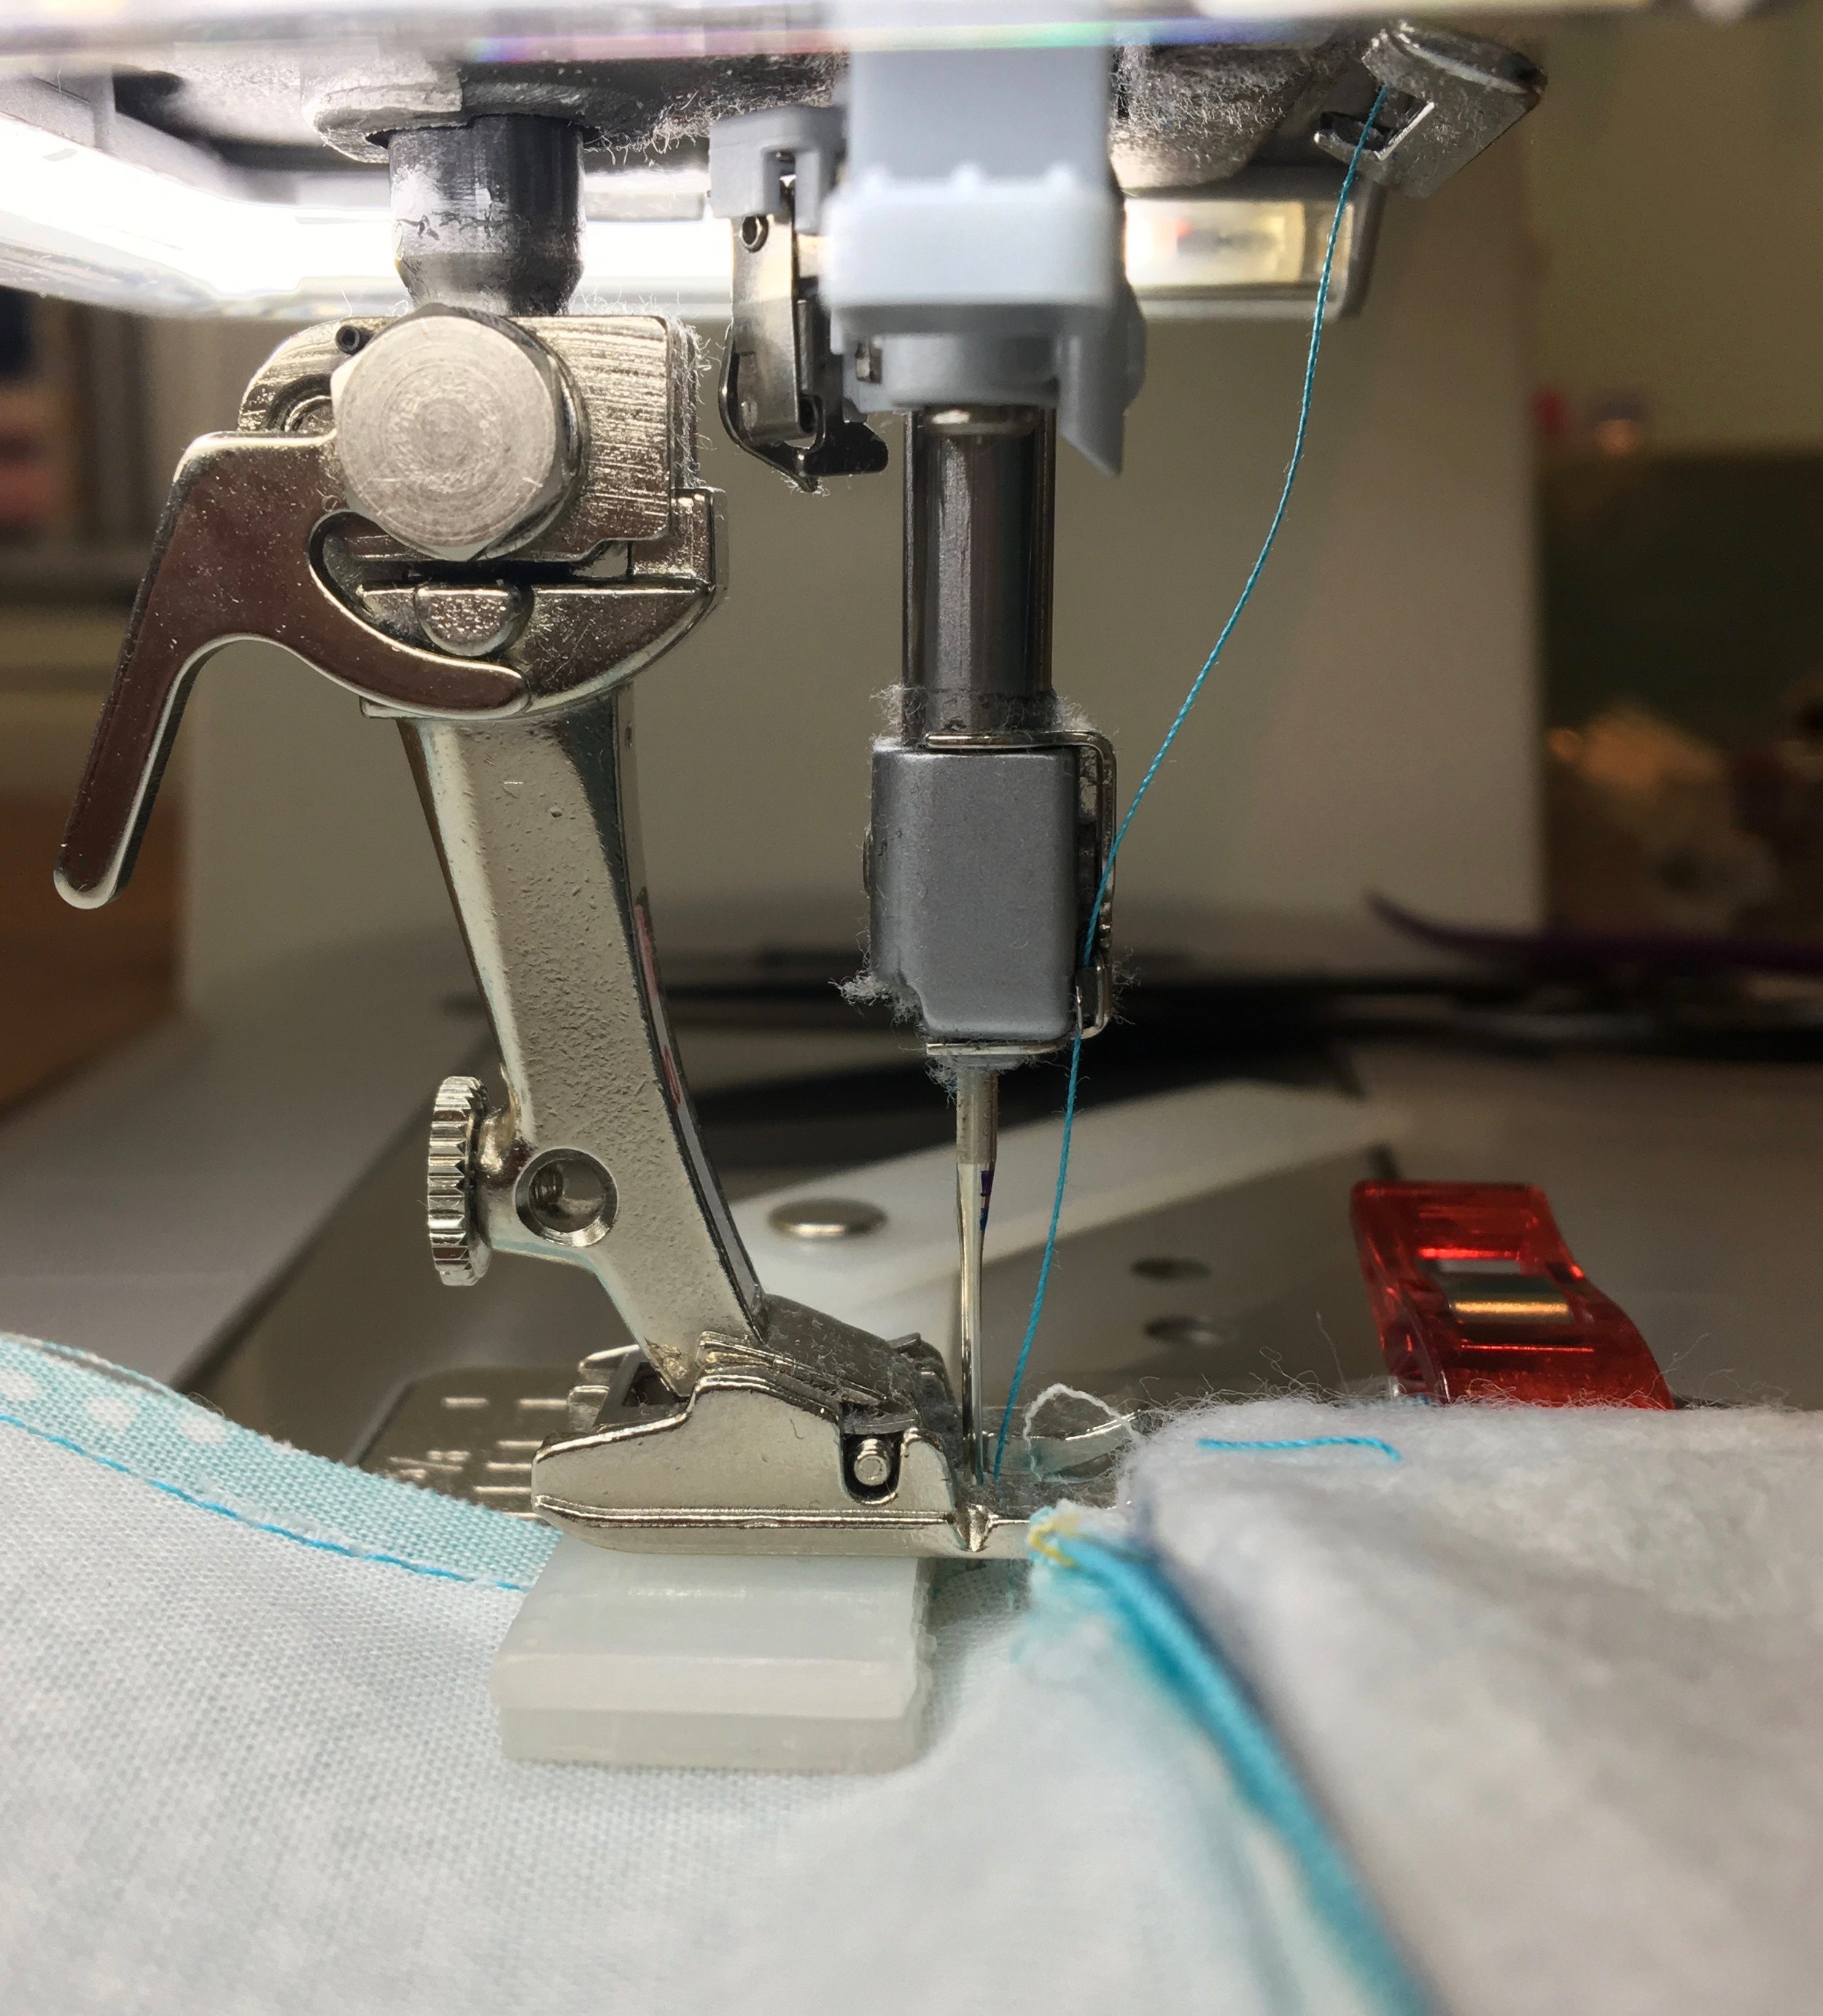
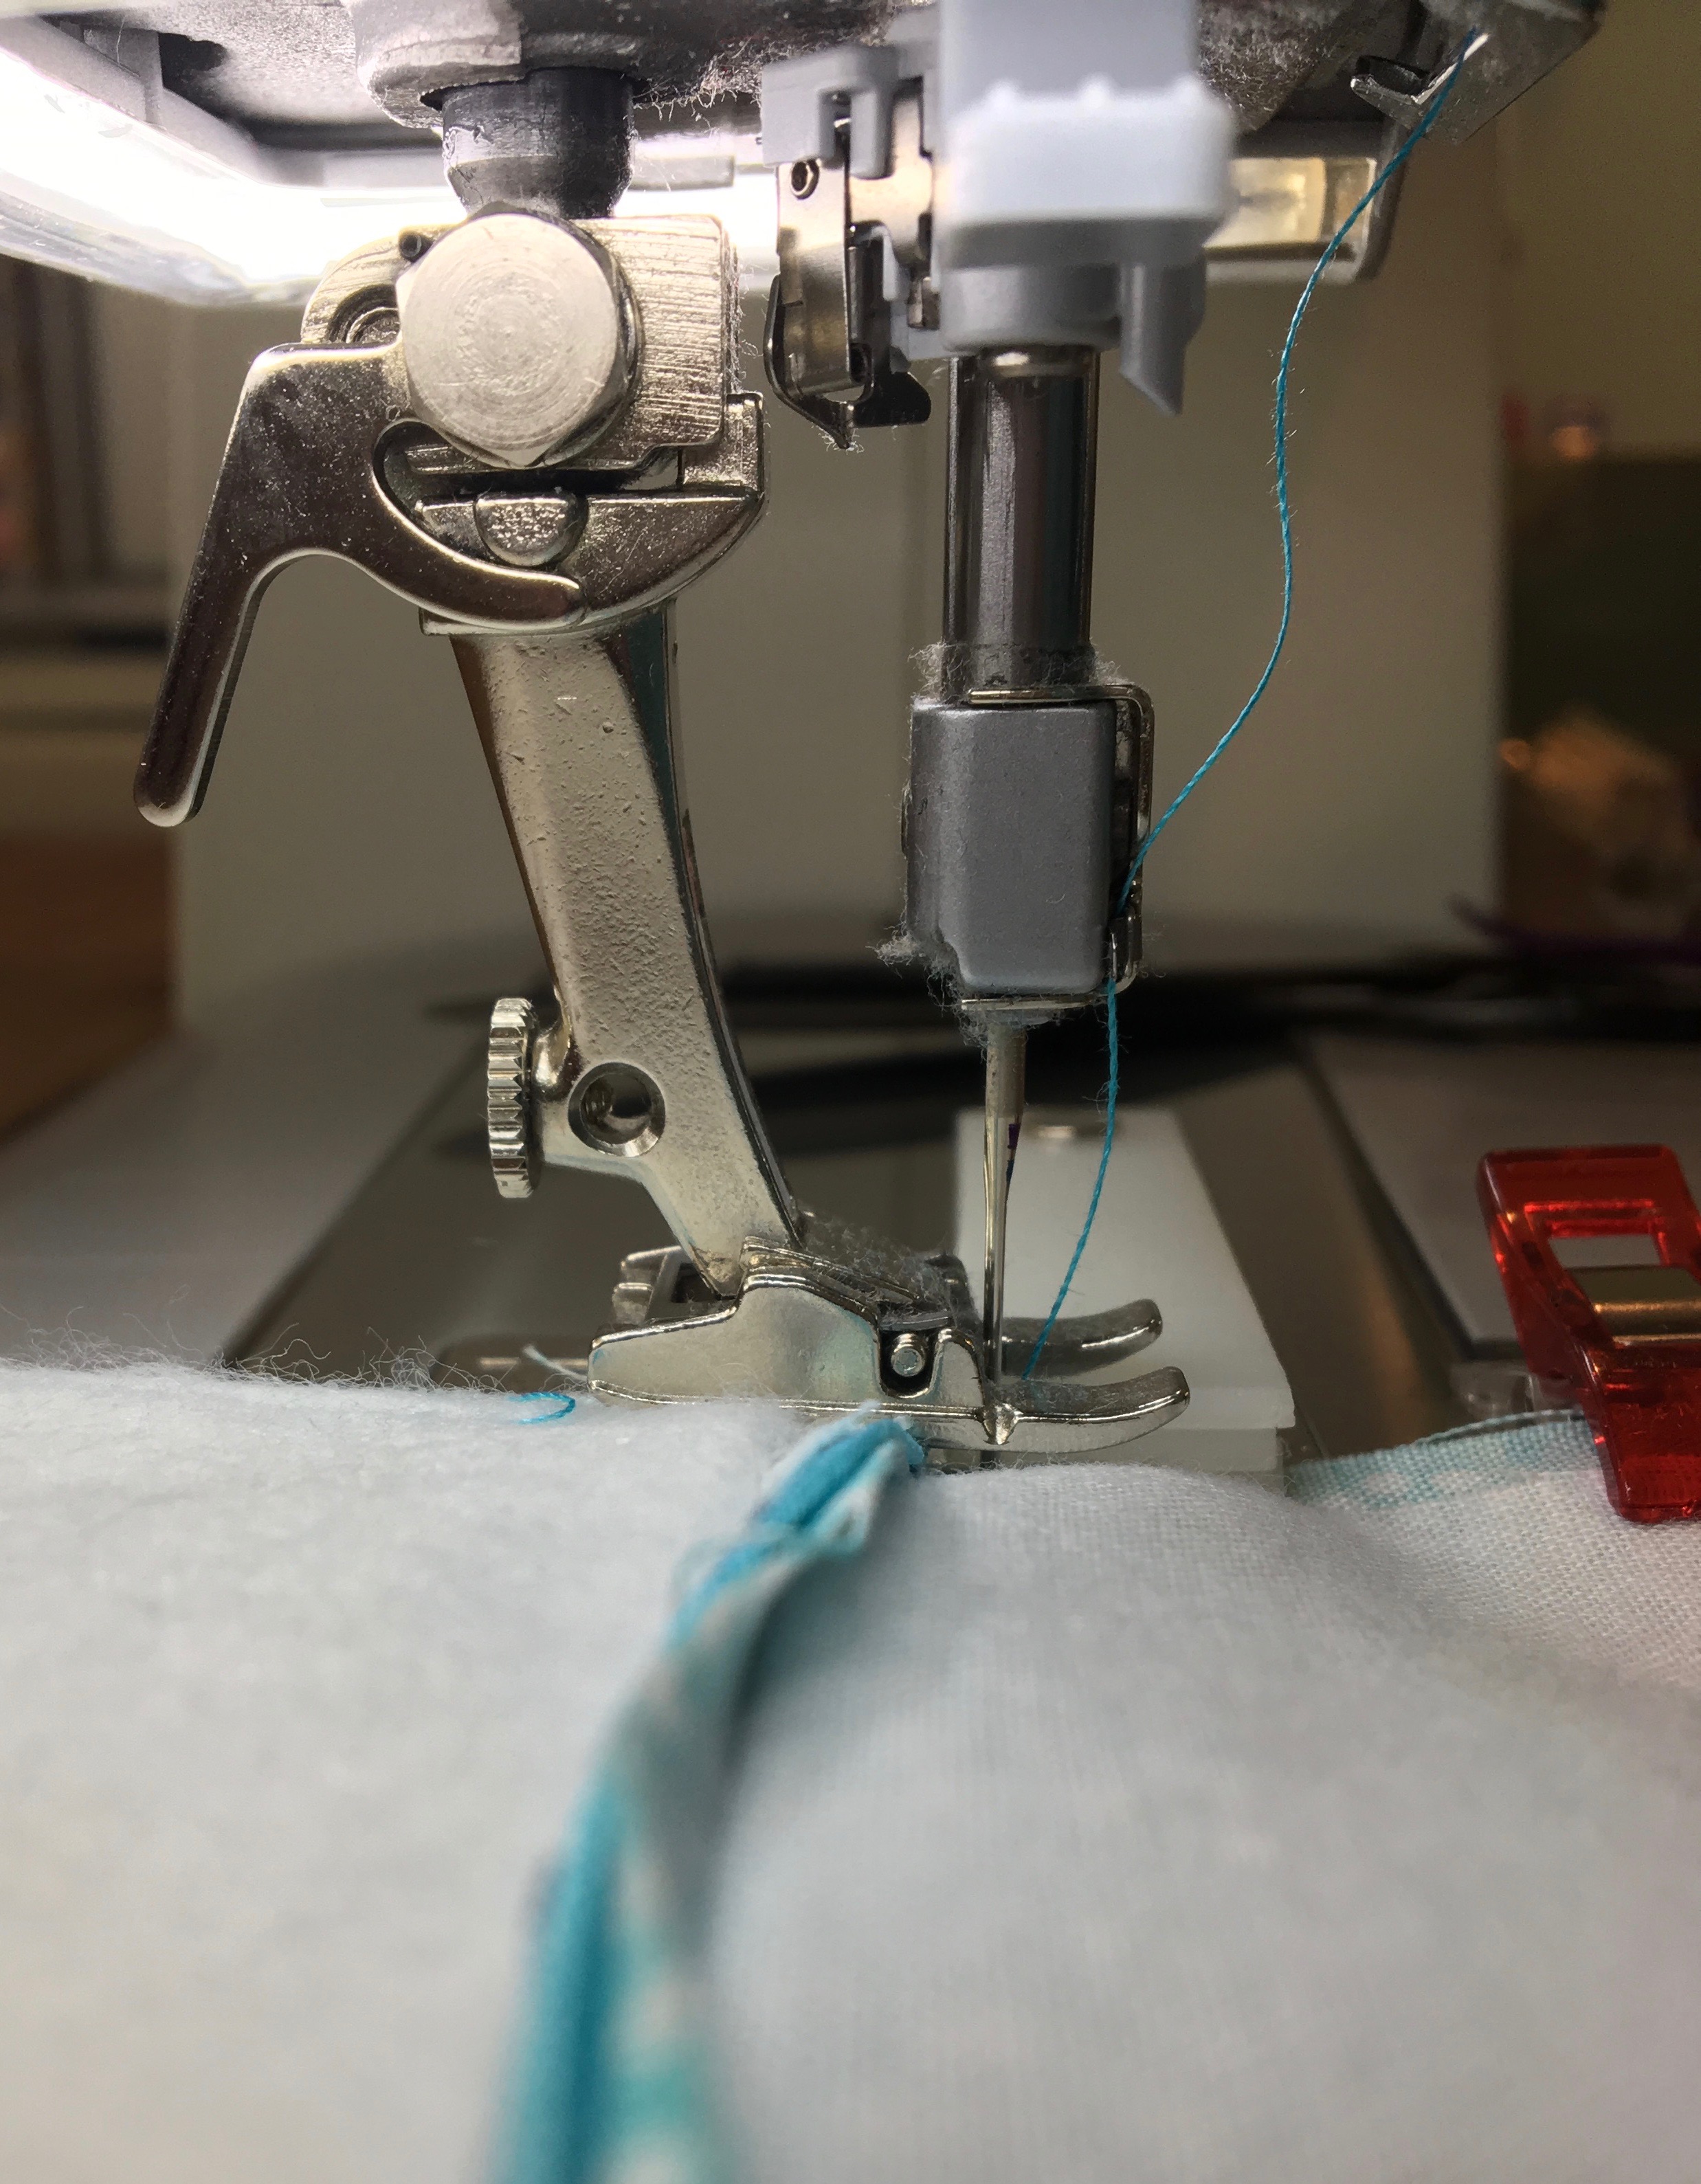
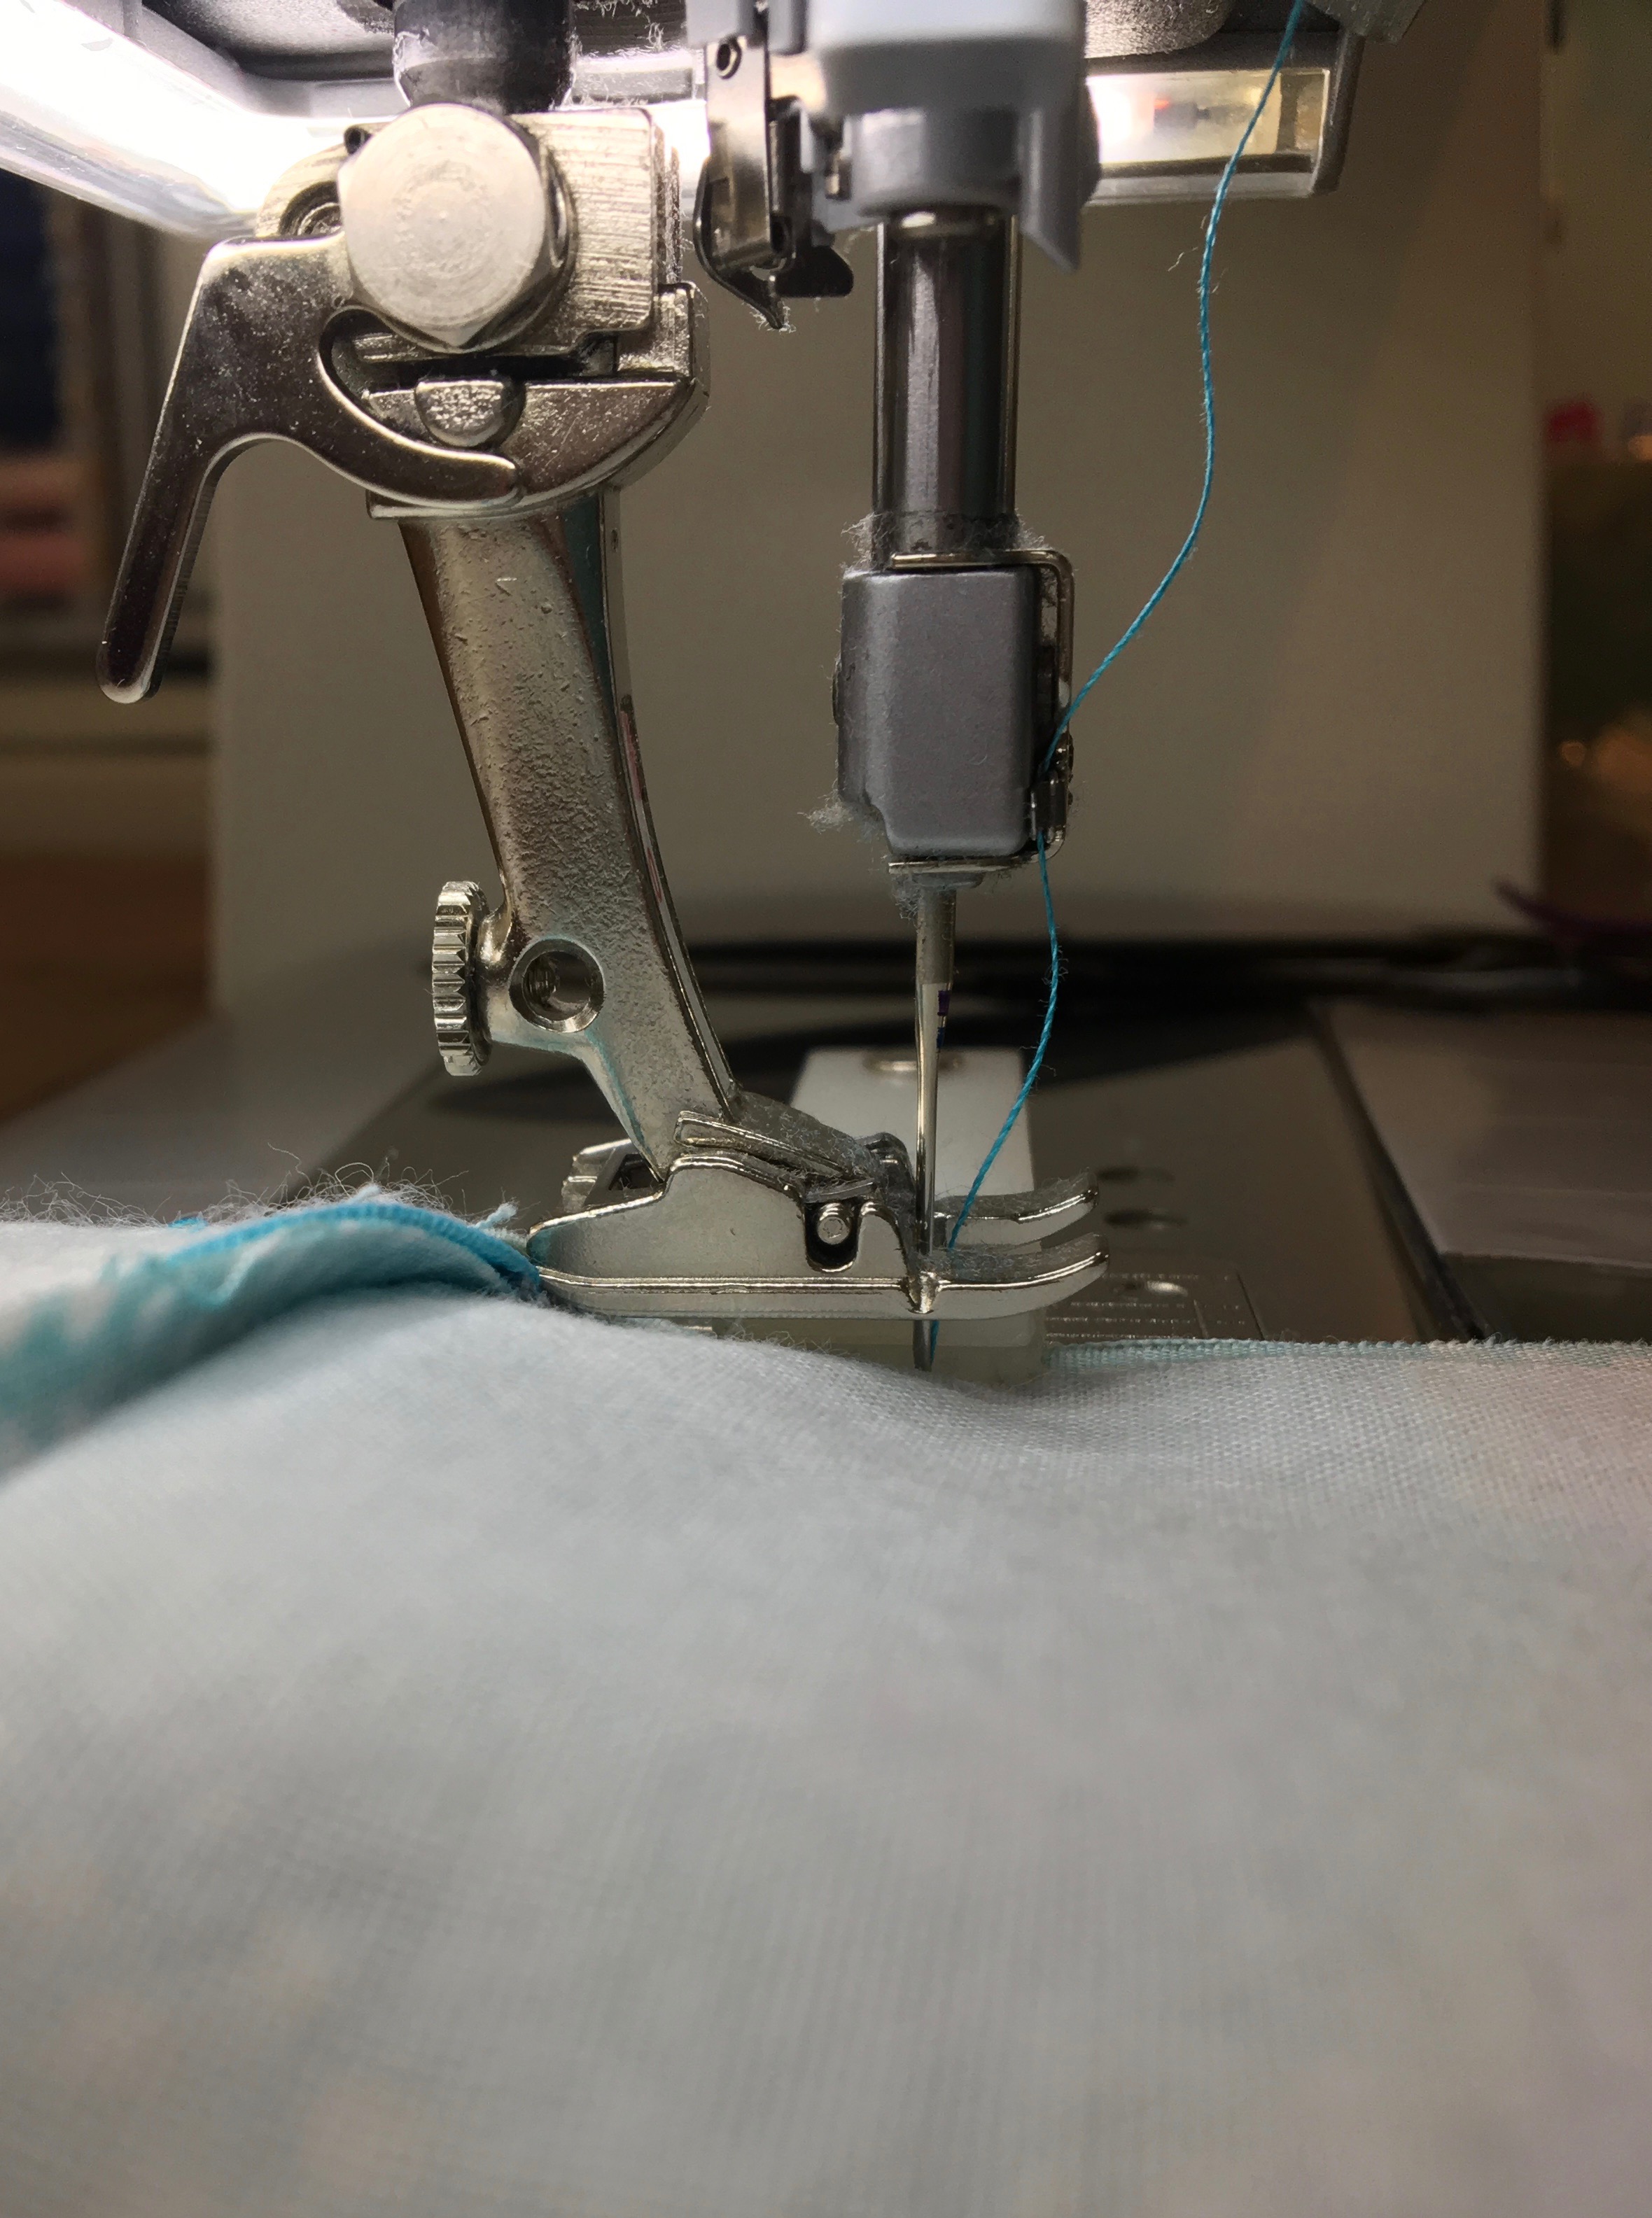
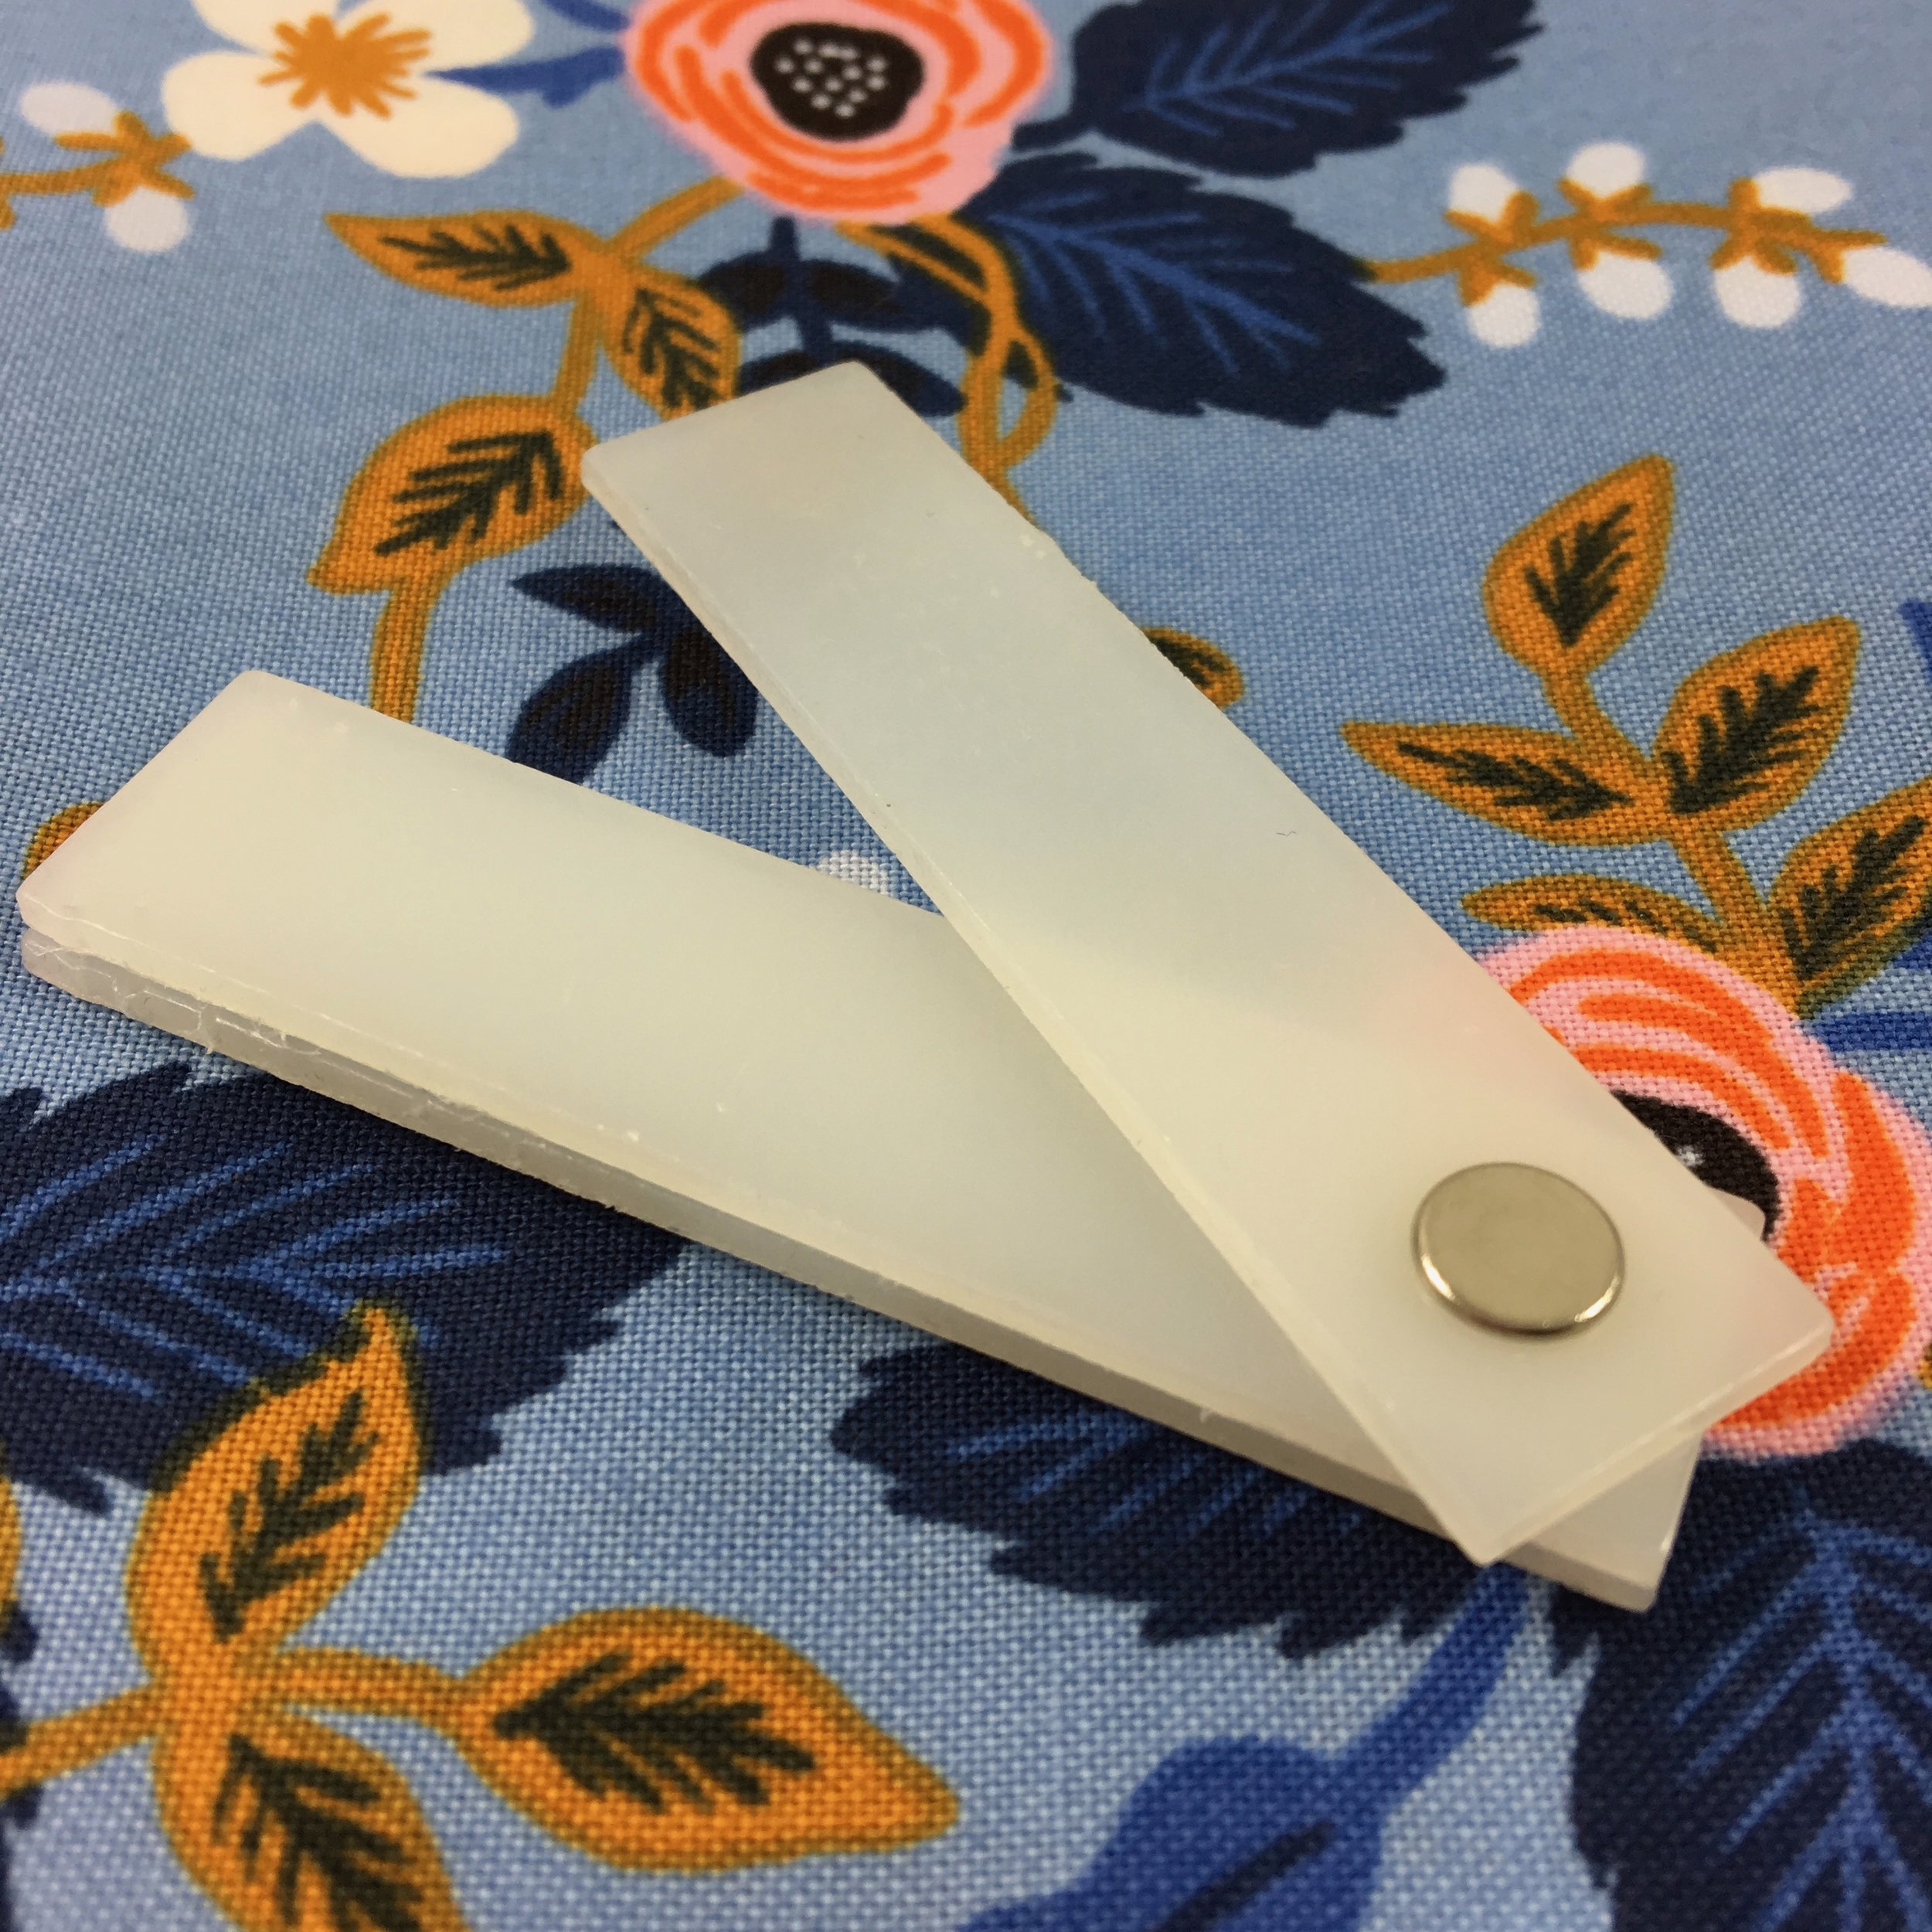
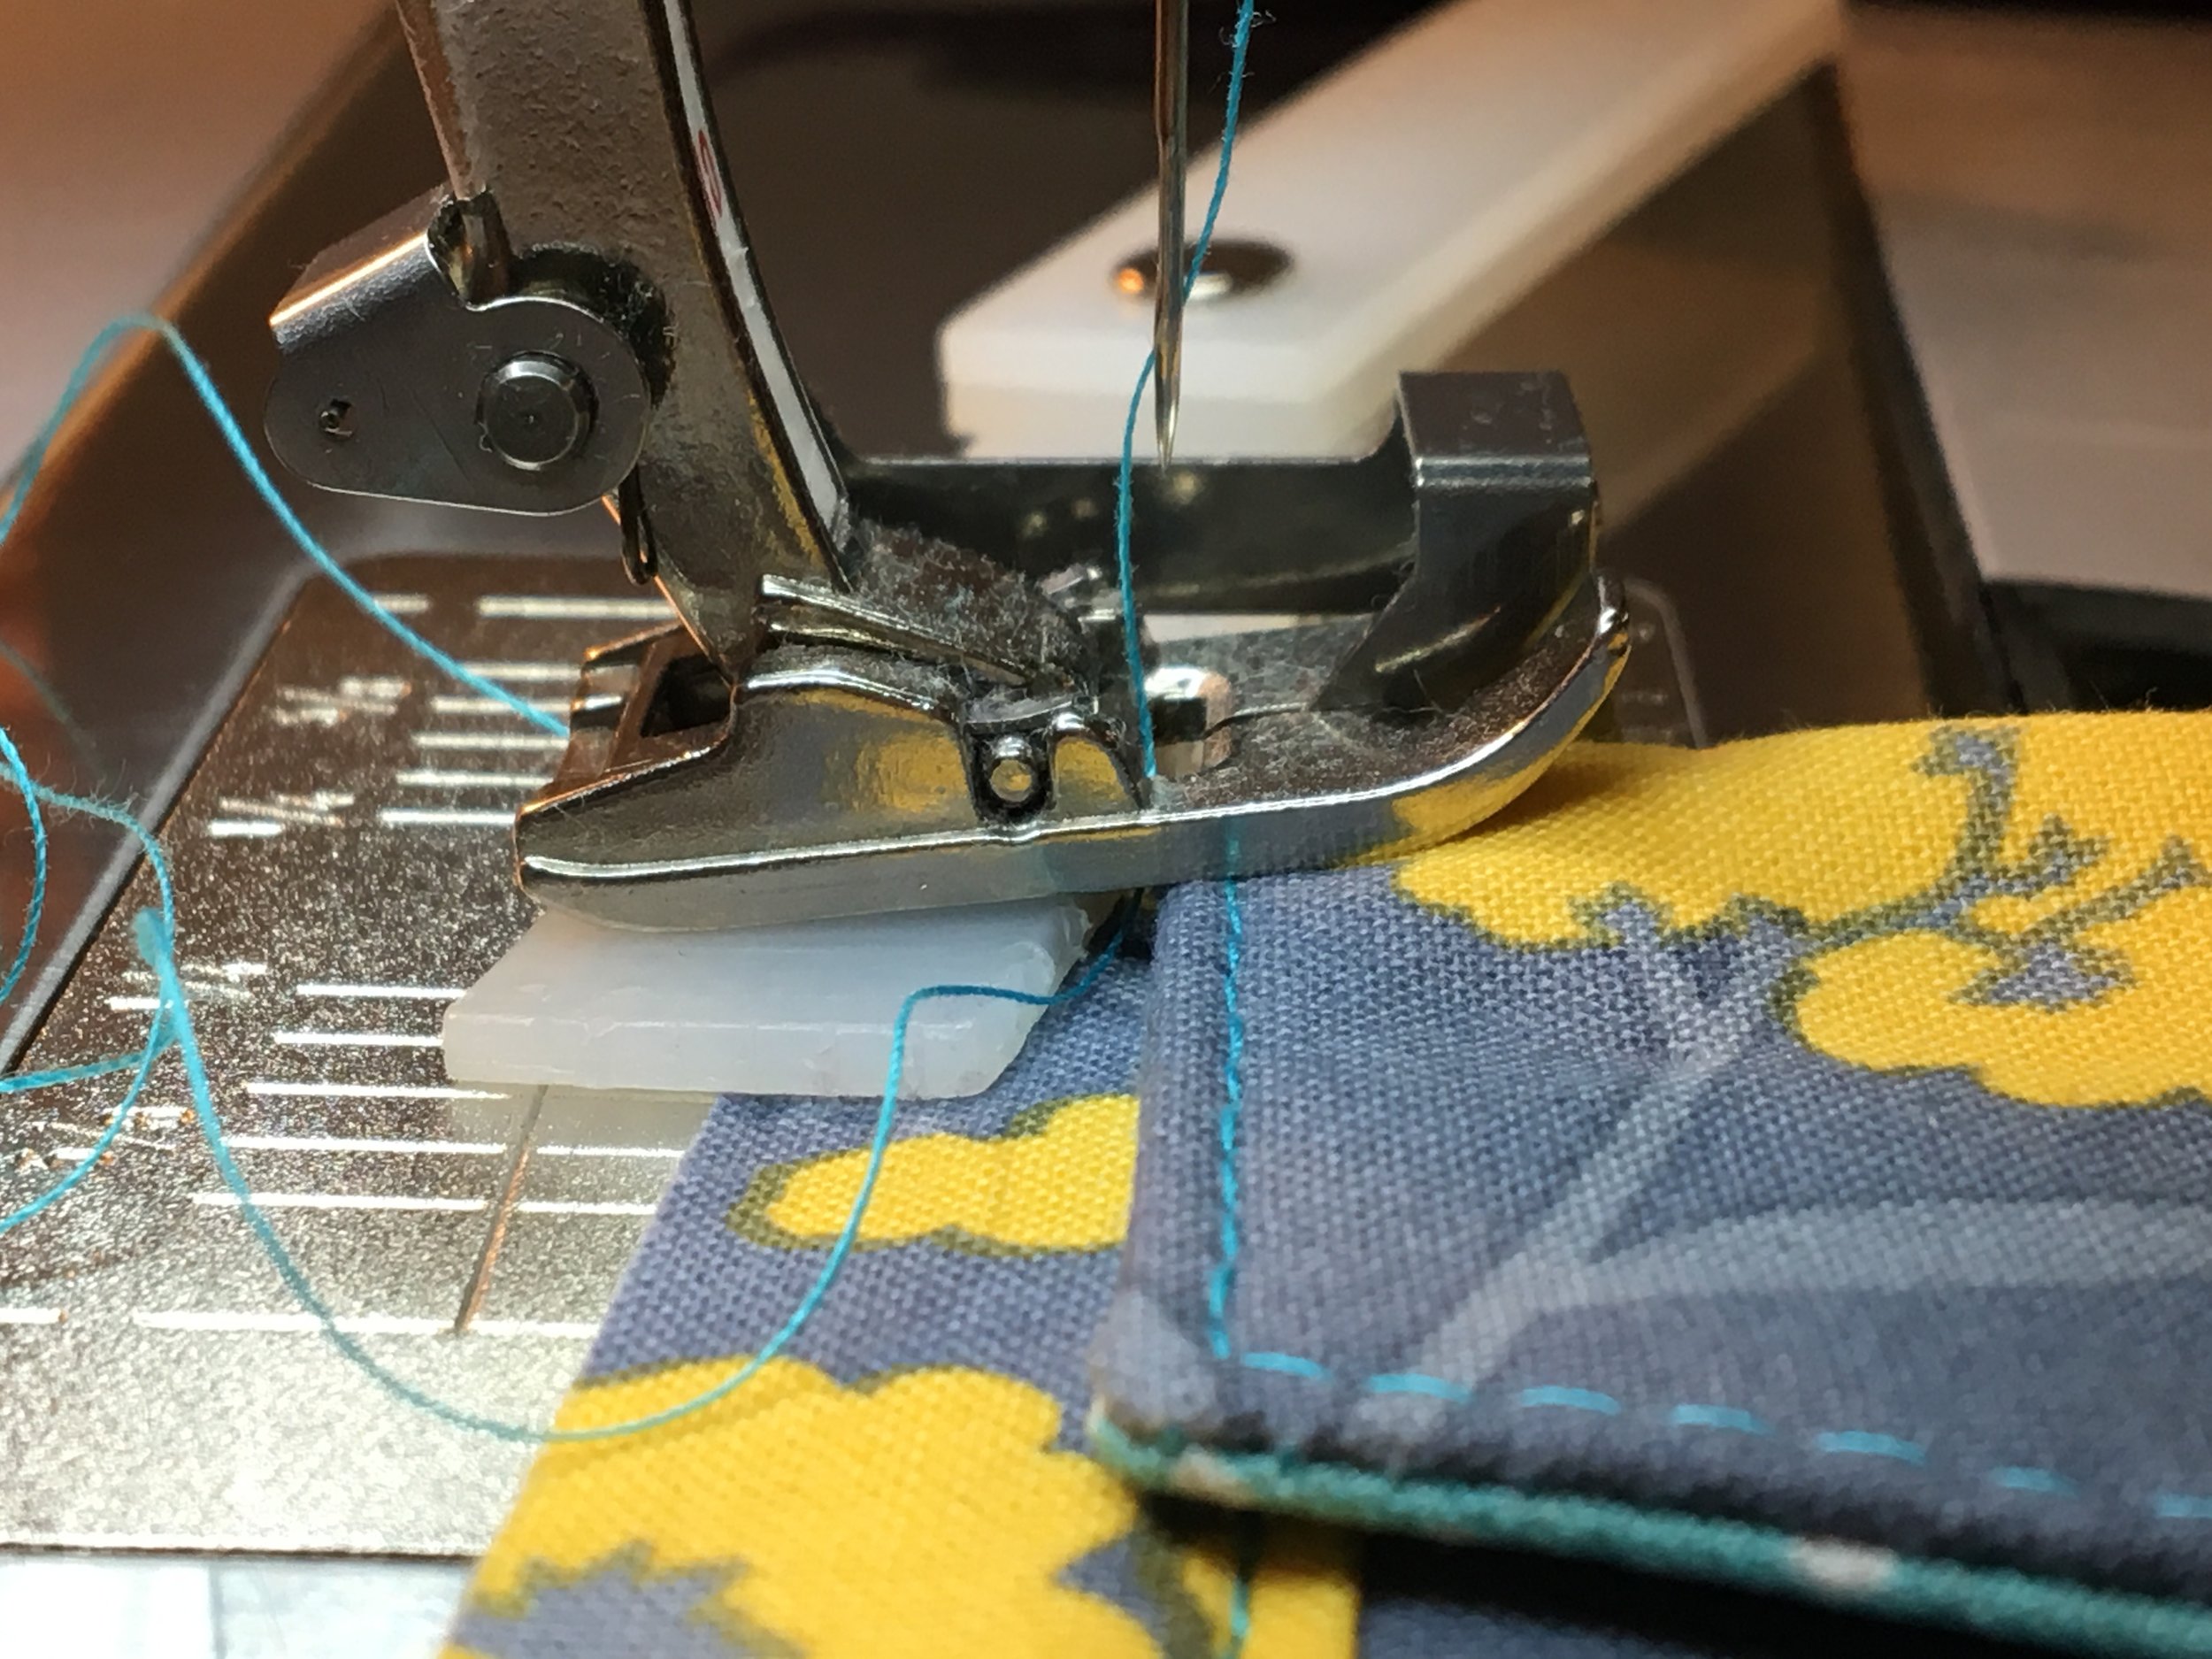
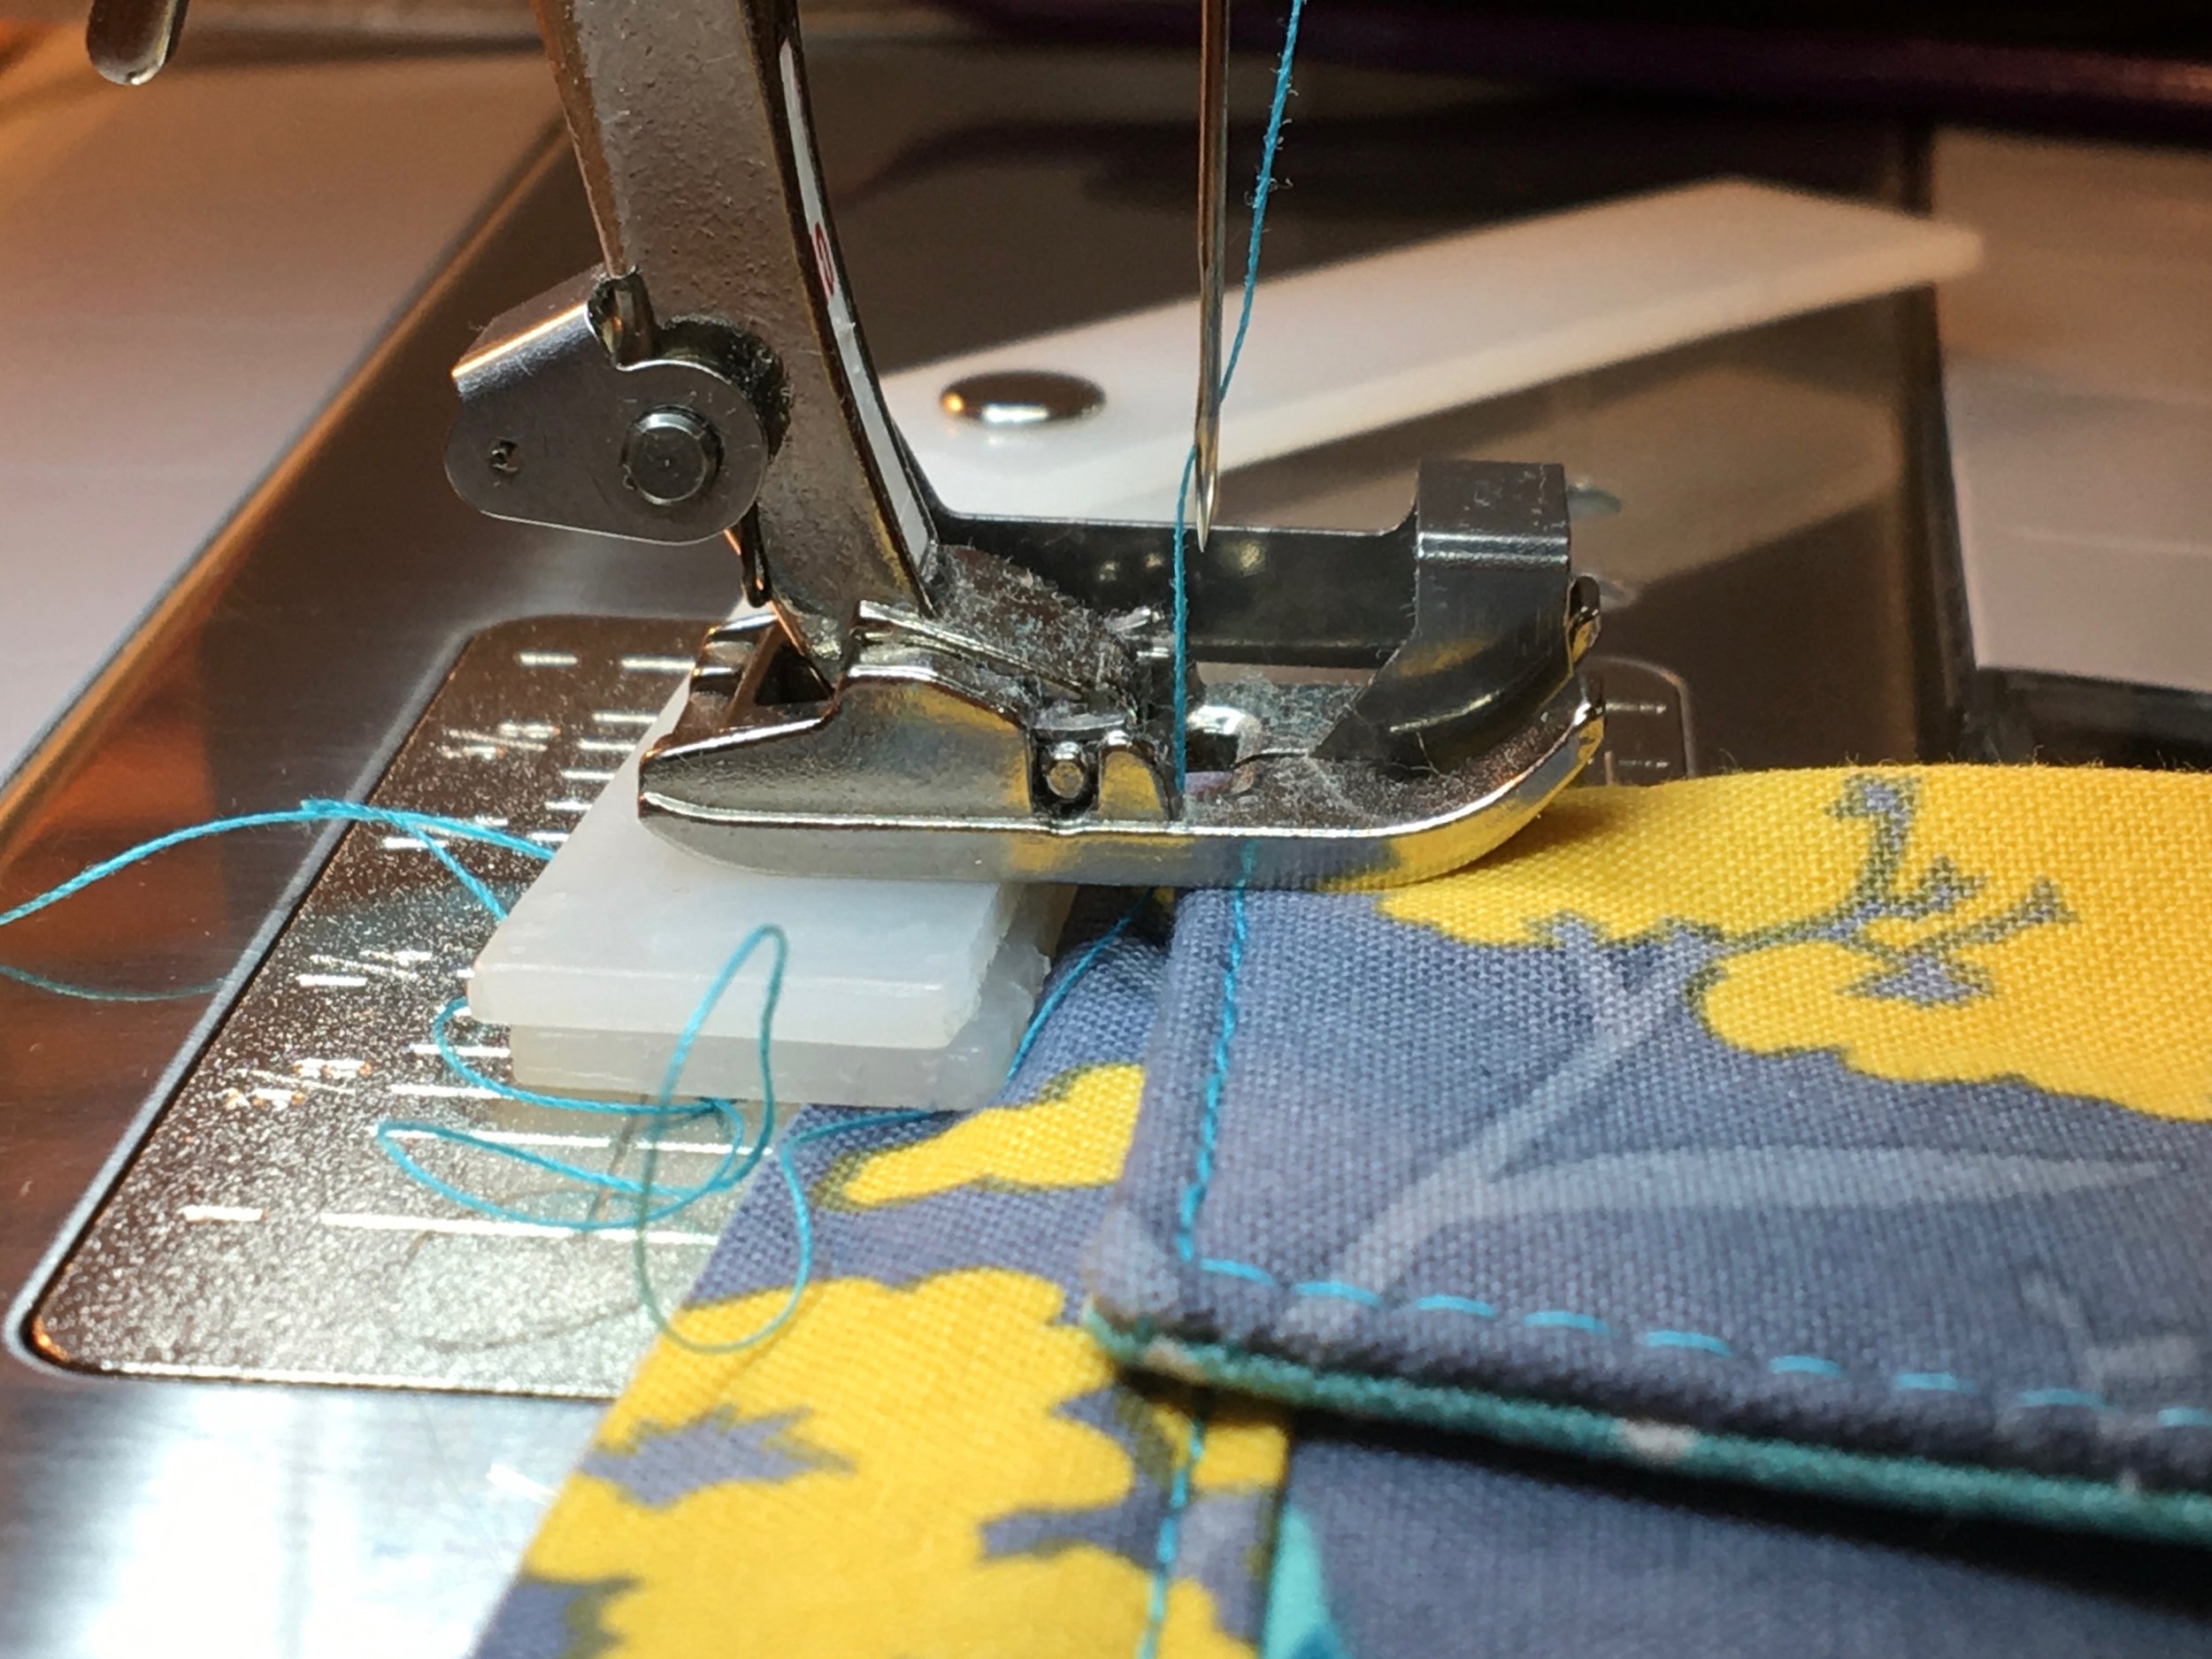
When I am top-stitching and installing the flap, I use my Bernina Height Compensation Tool as I start sewing after each corner. It keeps my presser foot from having to climb up onto the flap, making my stitches even. I wrote a blog post recently about the Bernina Height Compensation Tool, Sewing Can Have Its Ups and Downs, it is one of my favorite and most-used tools!
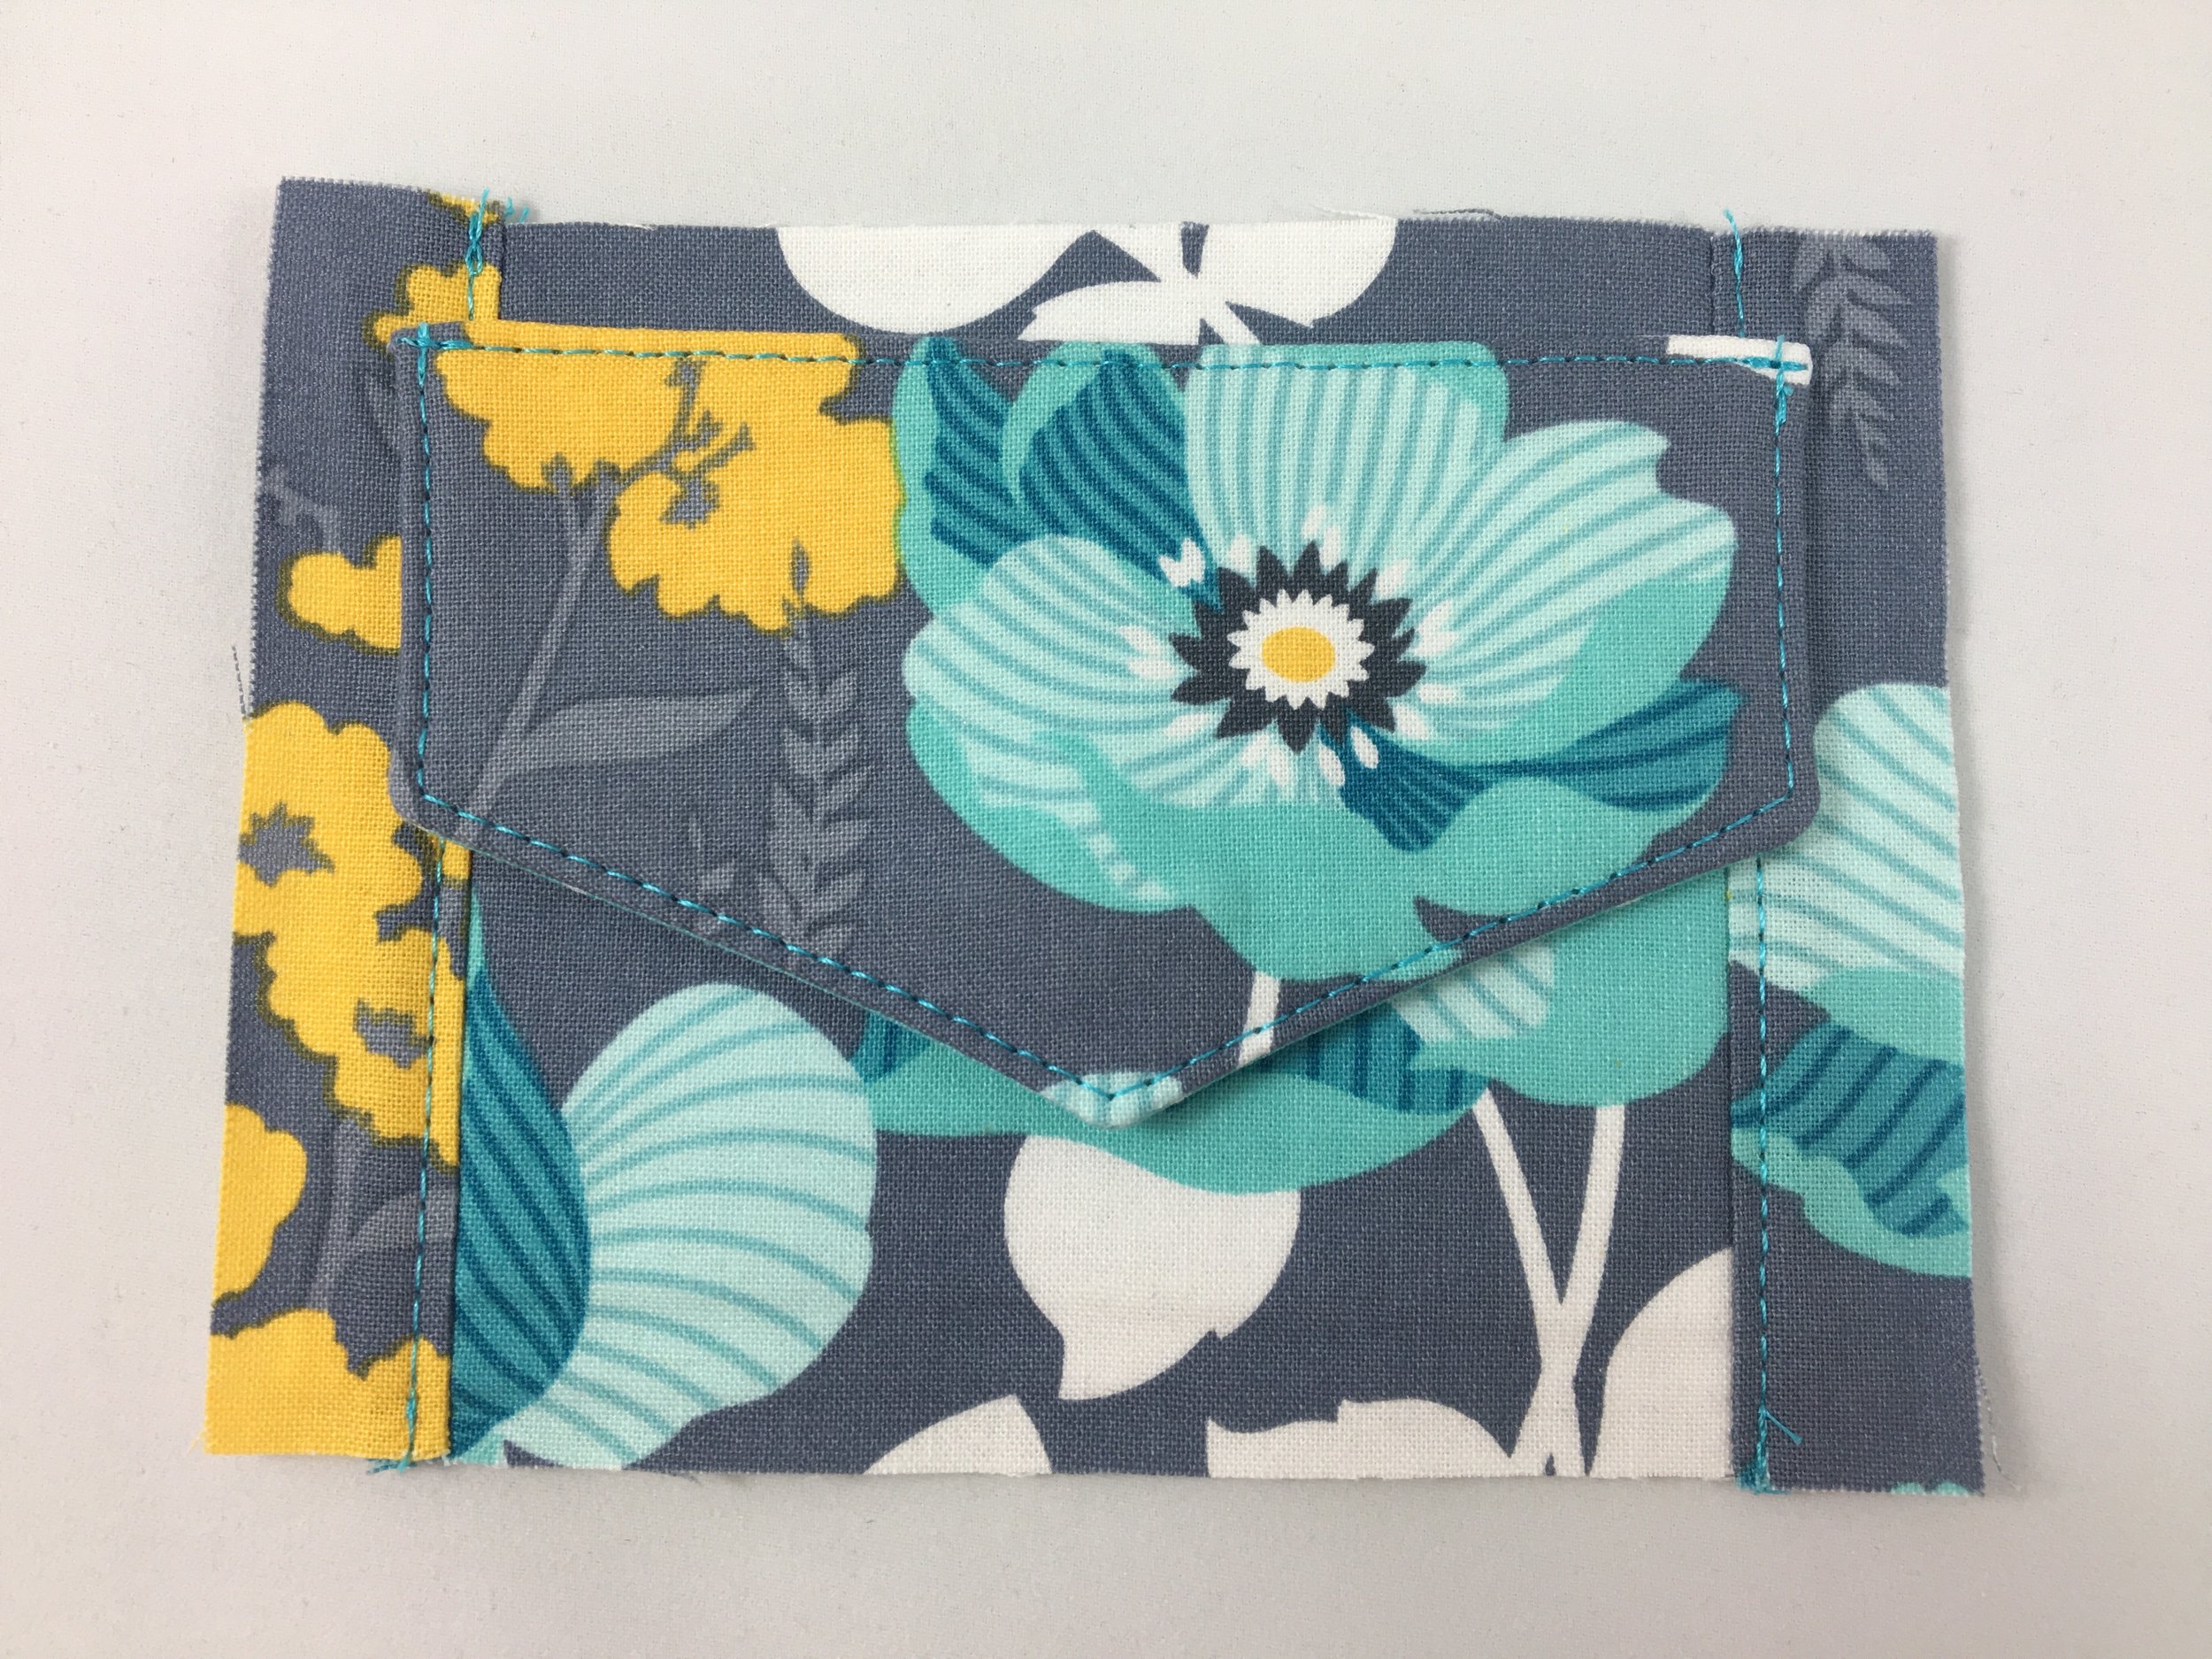
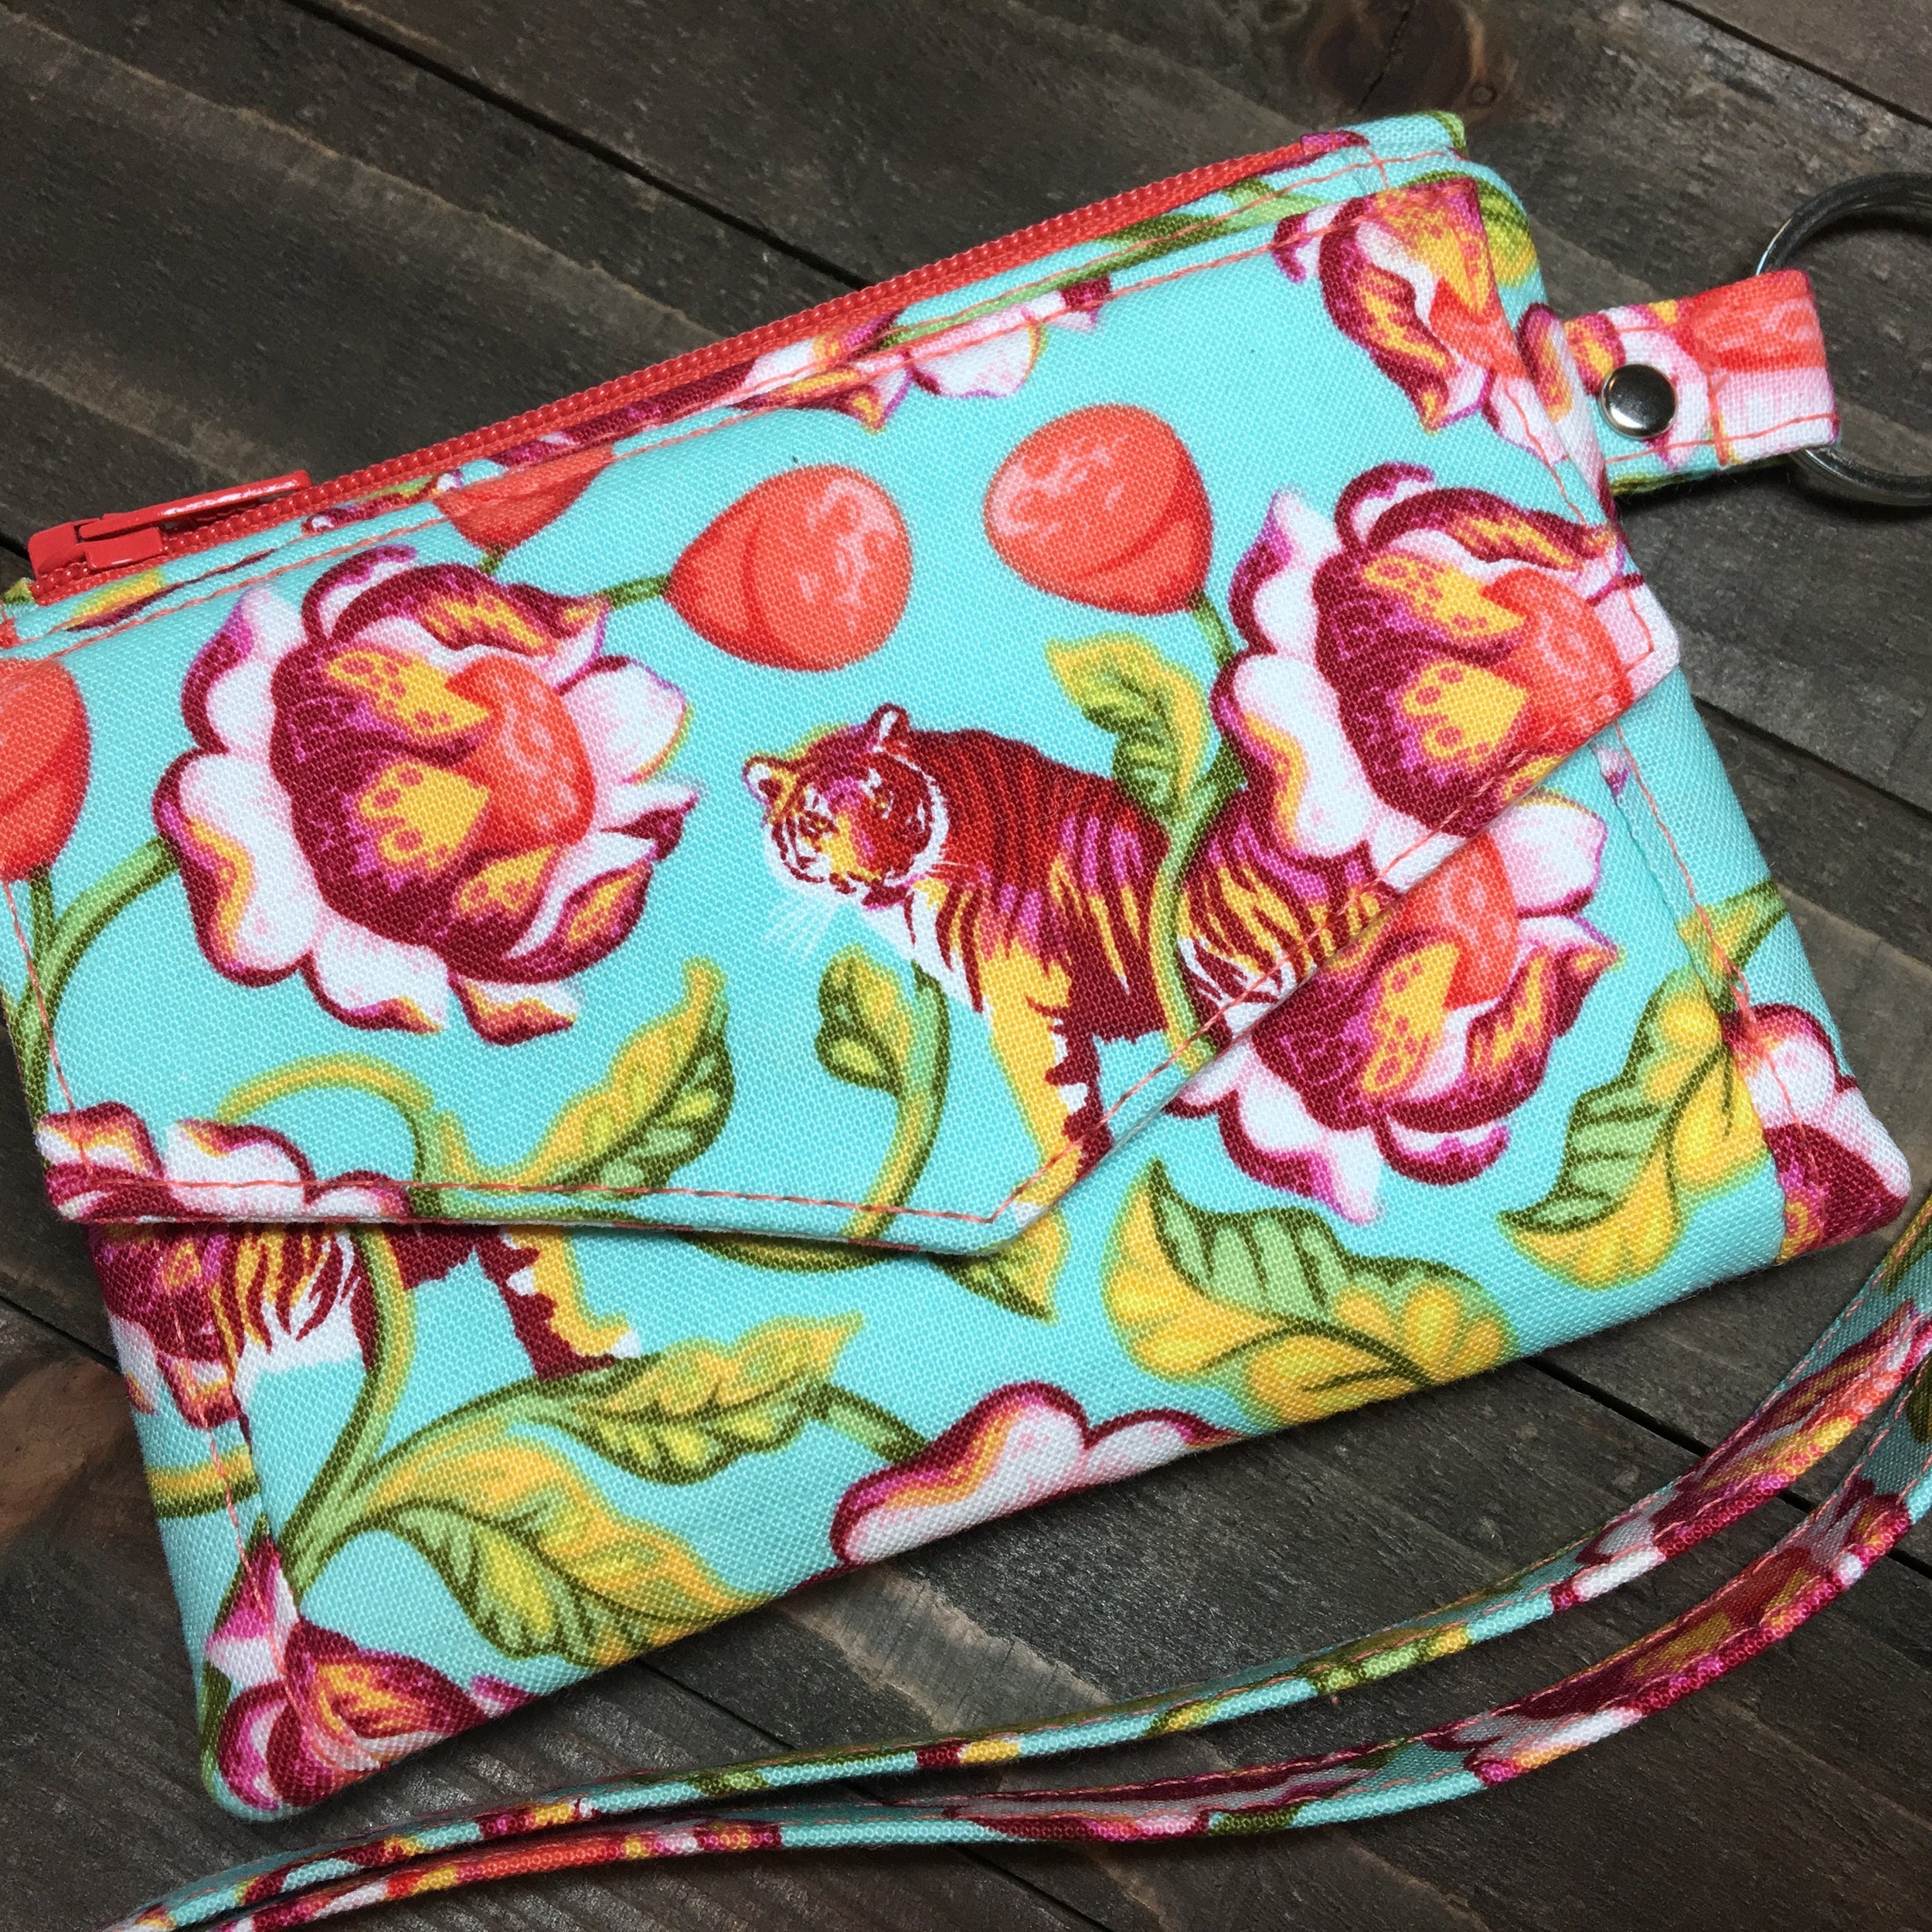
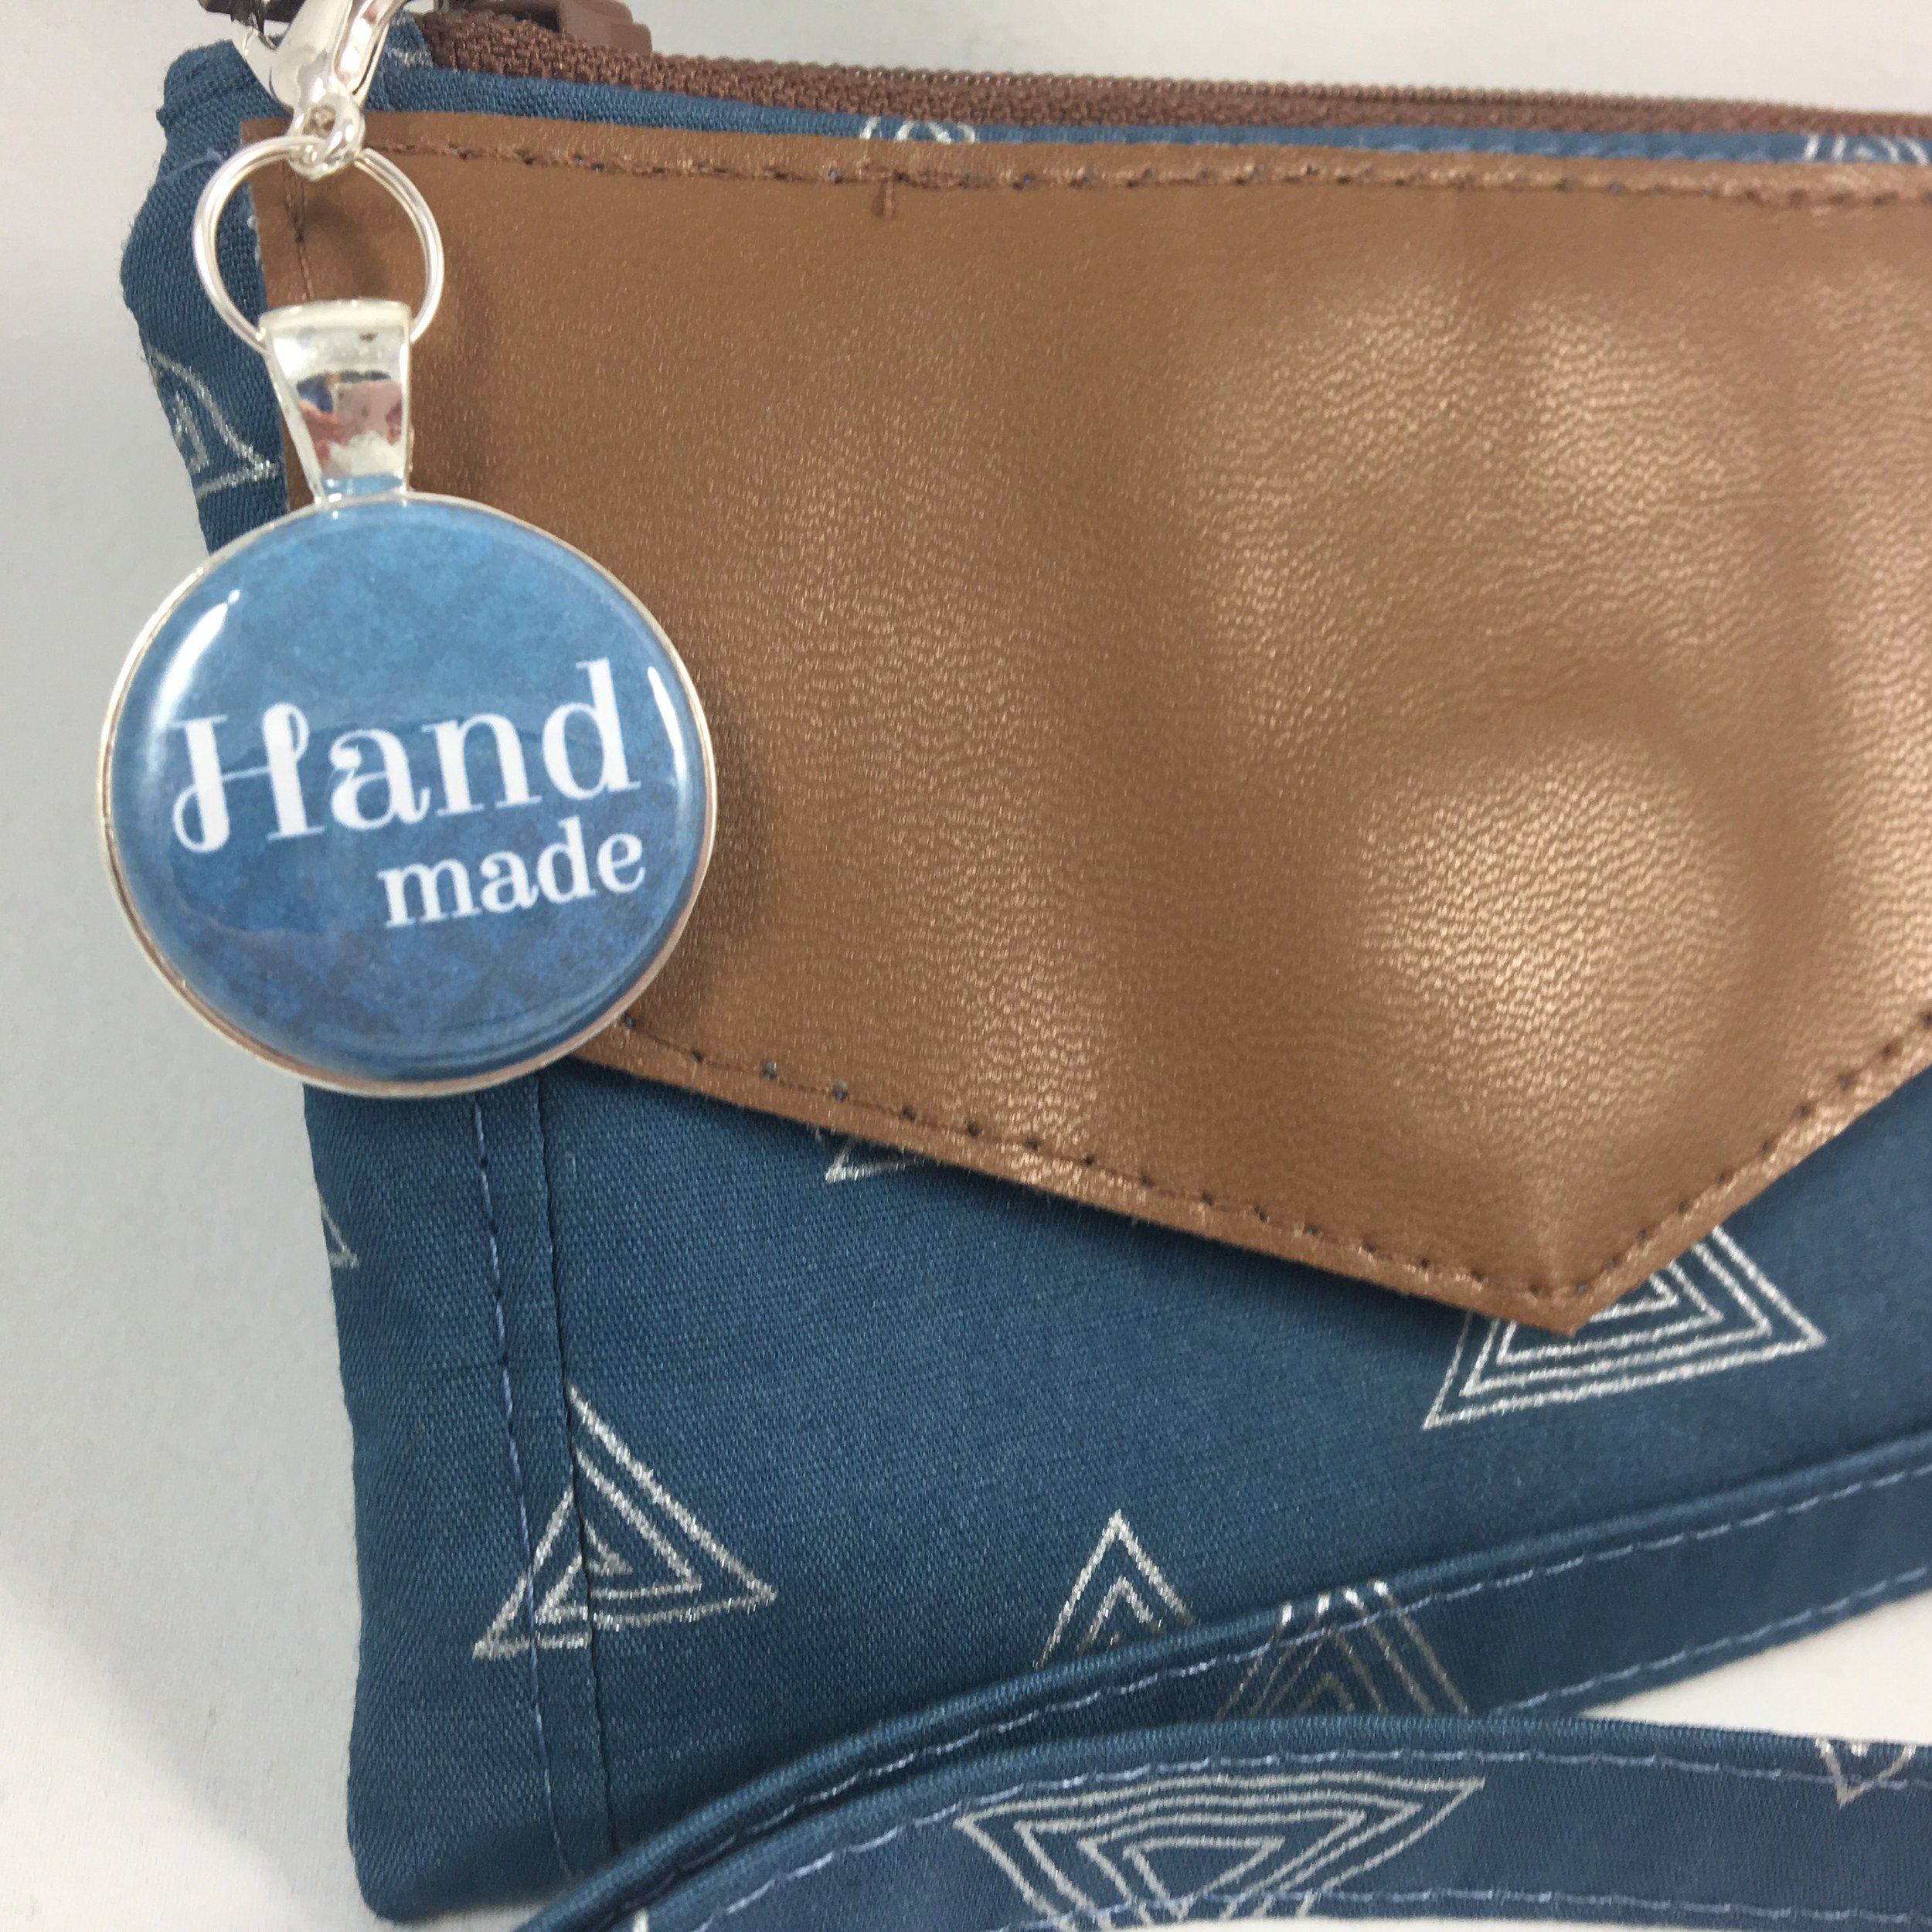
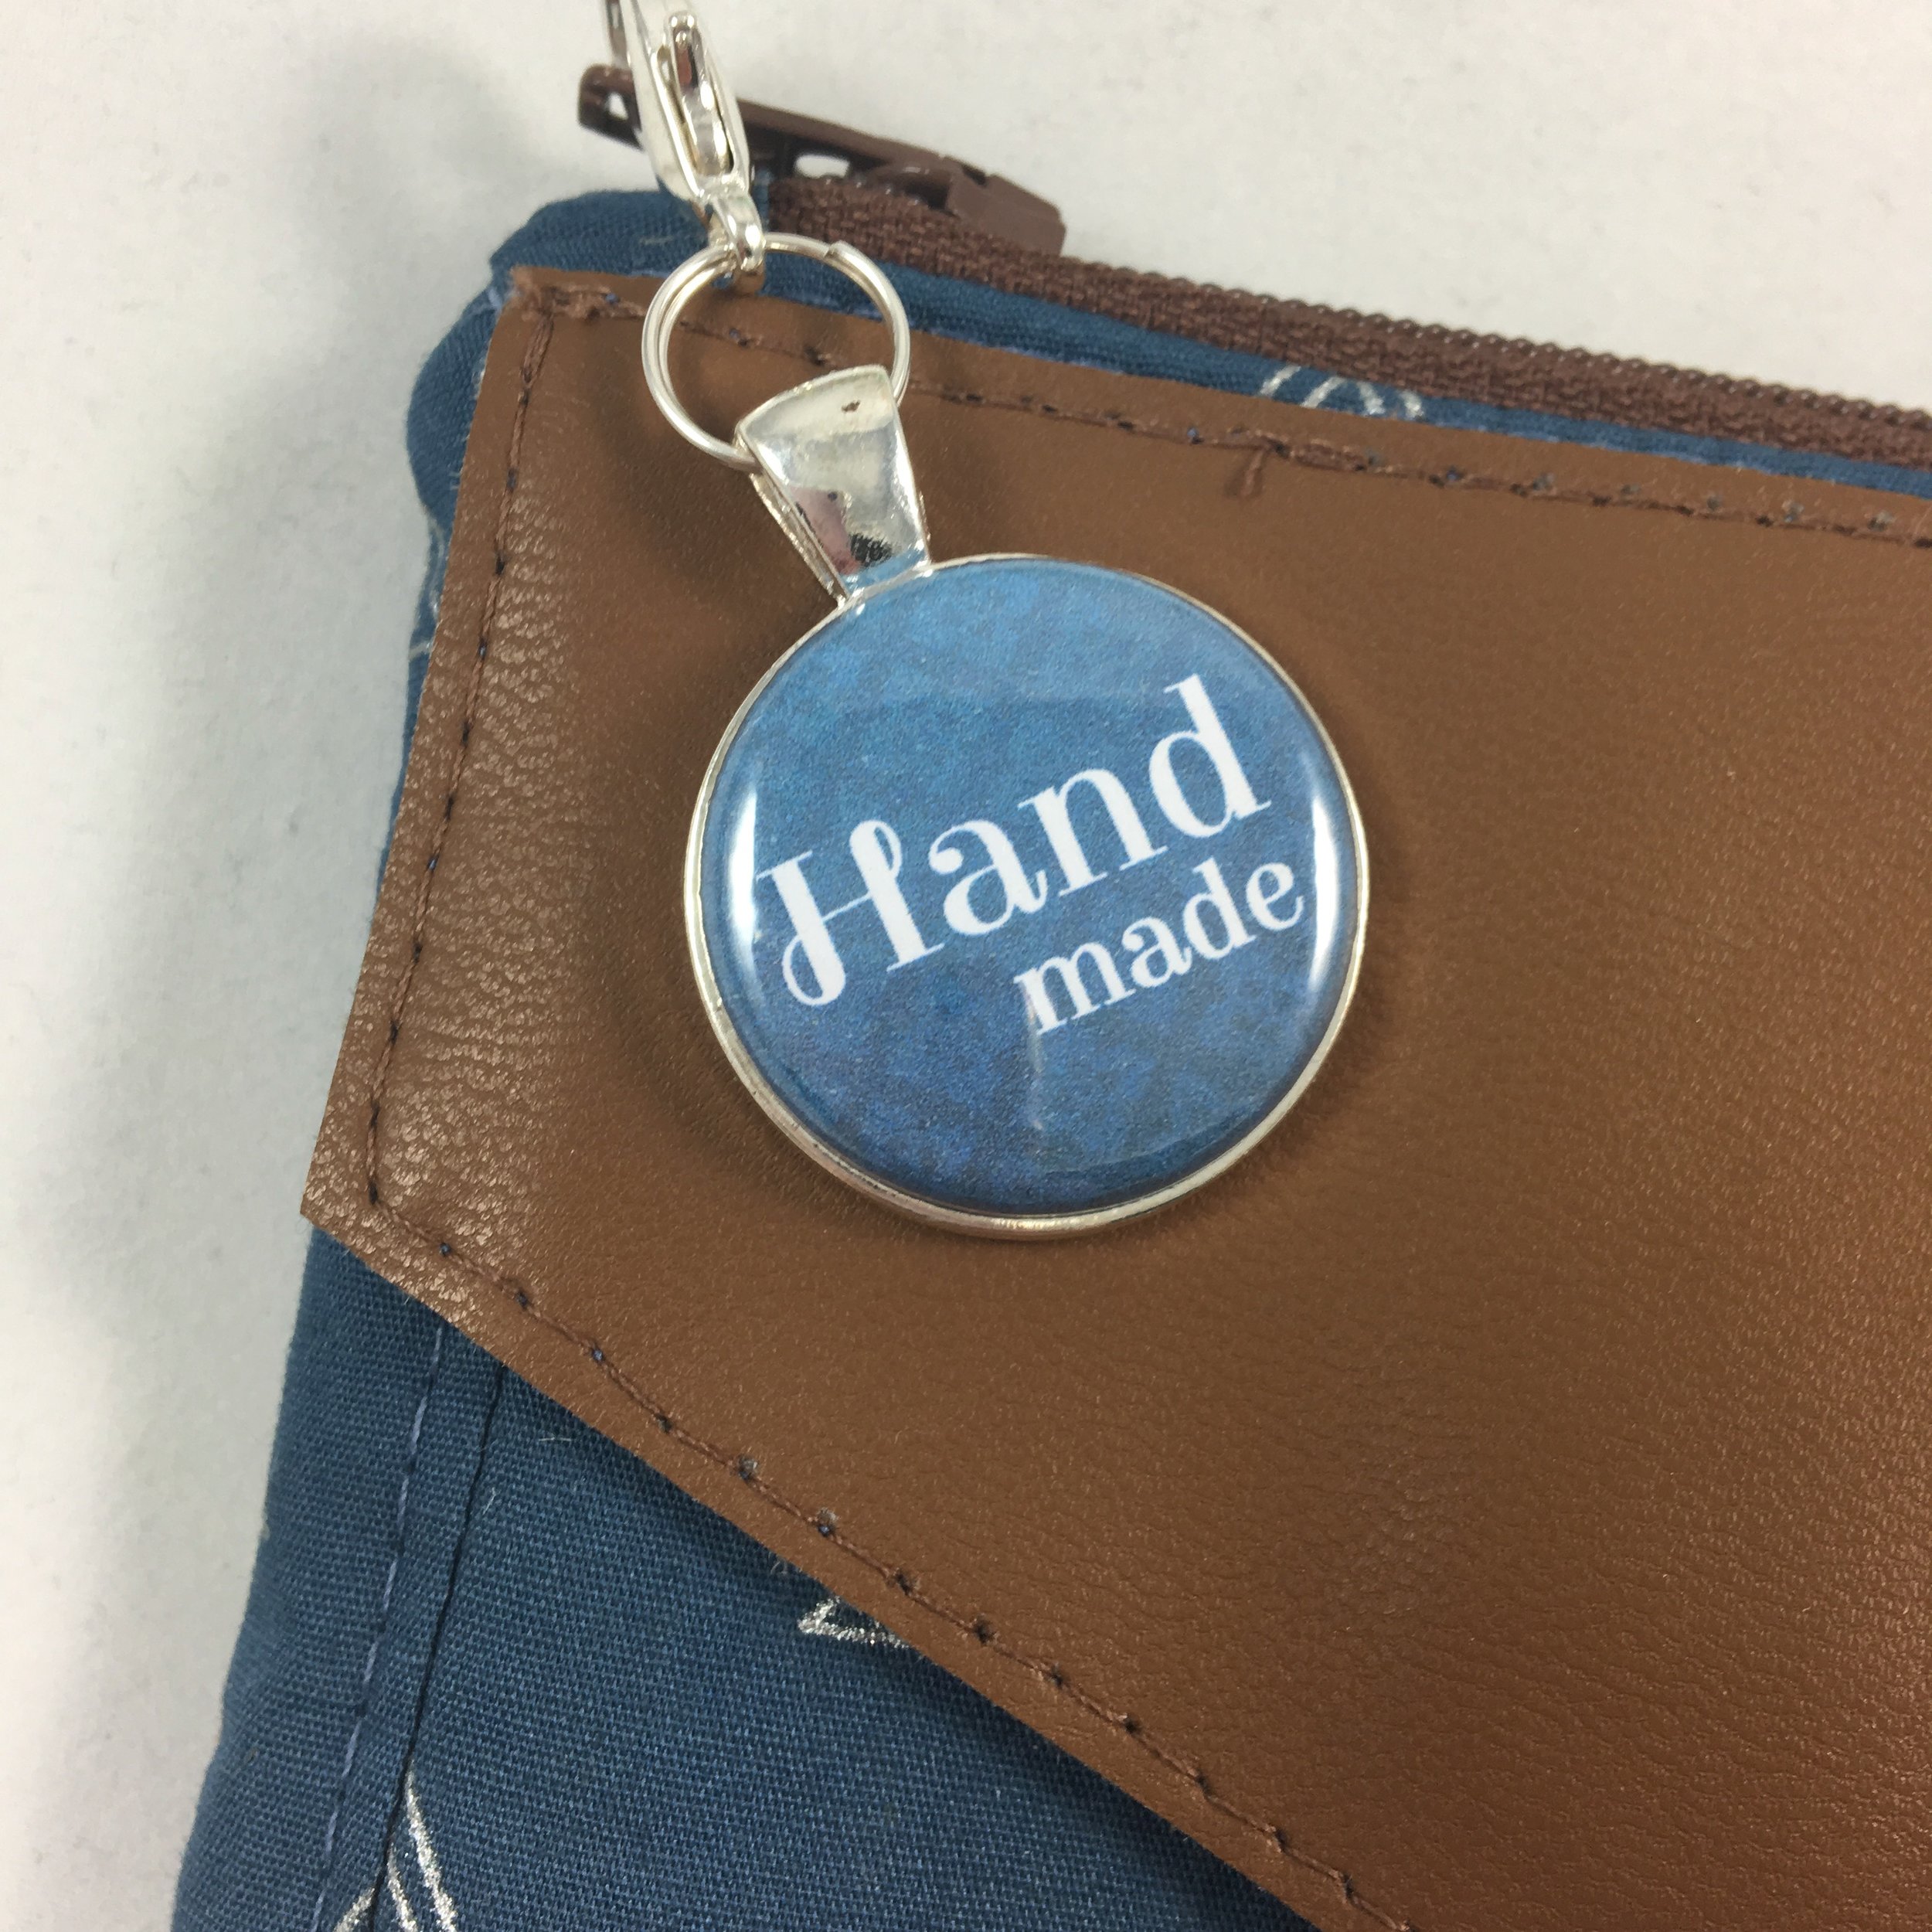
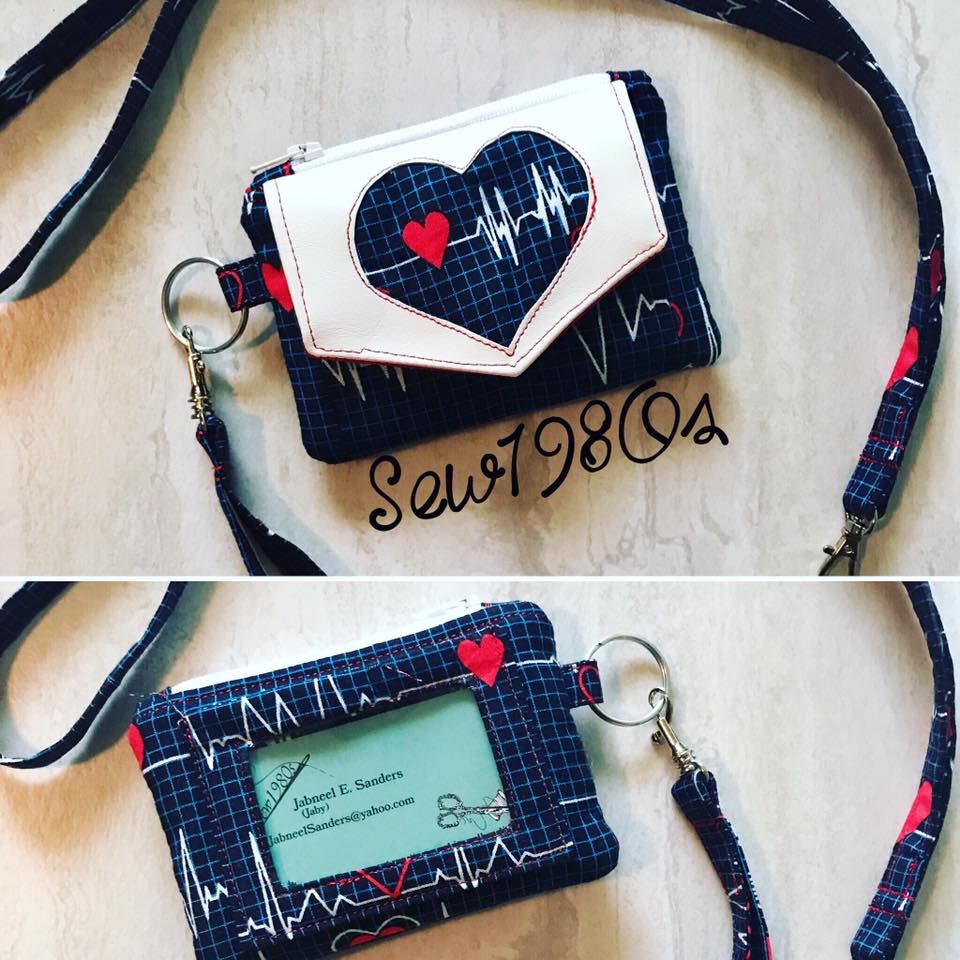
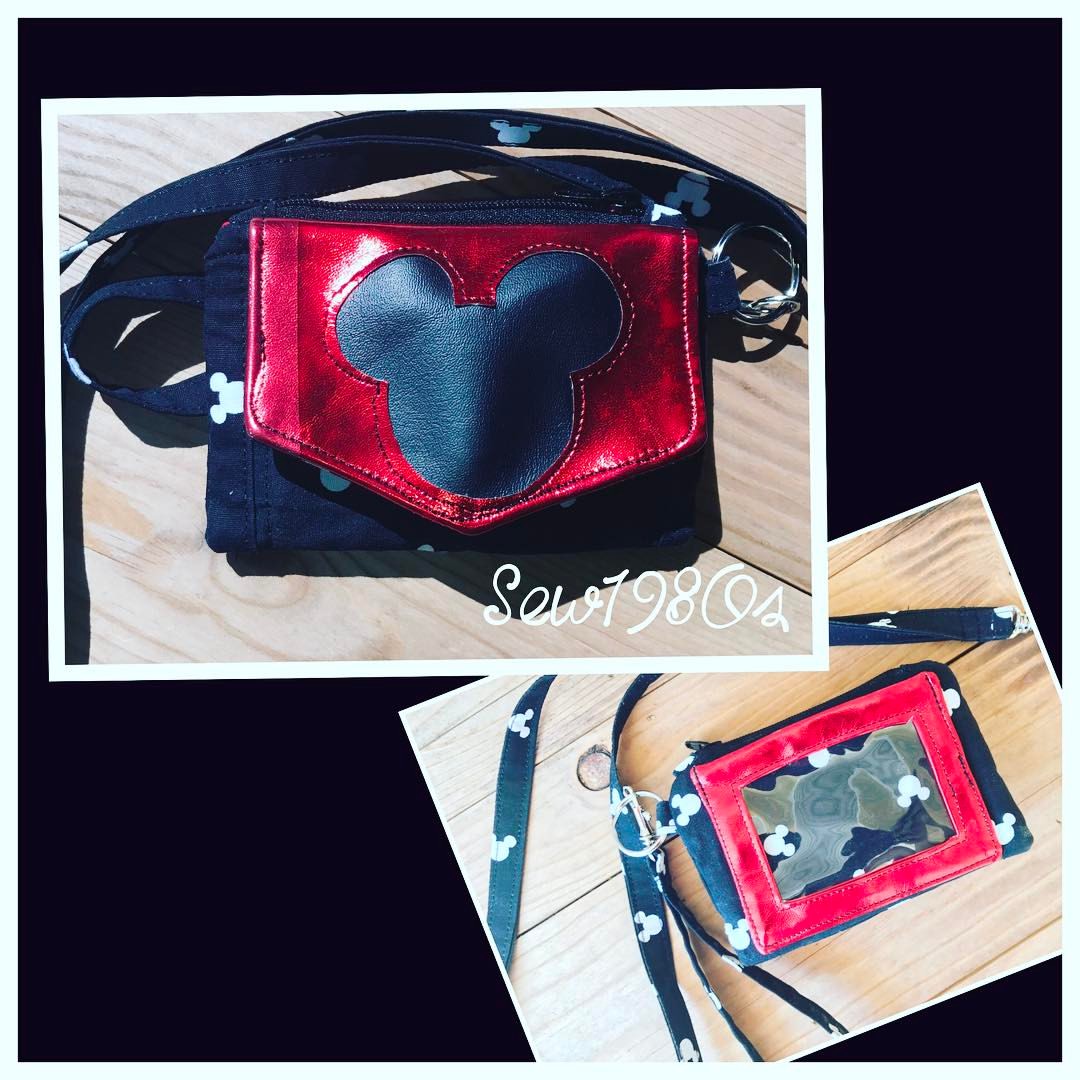
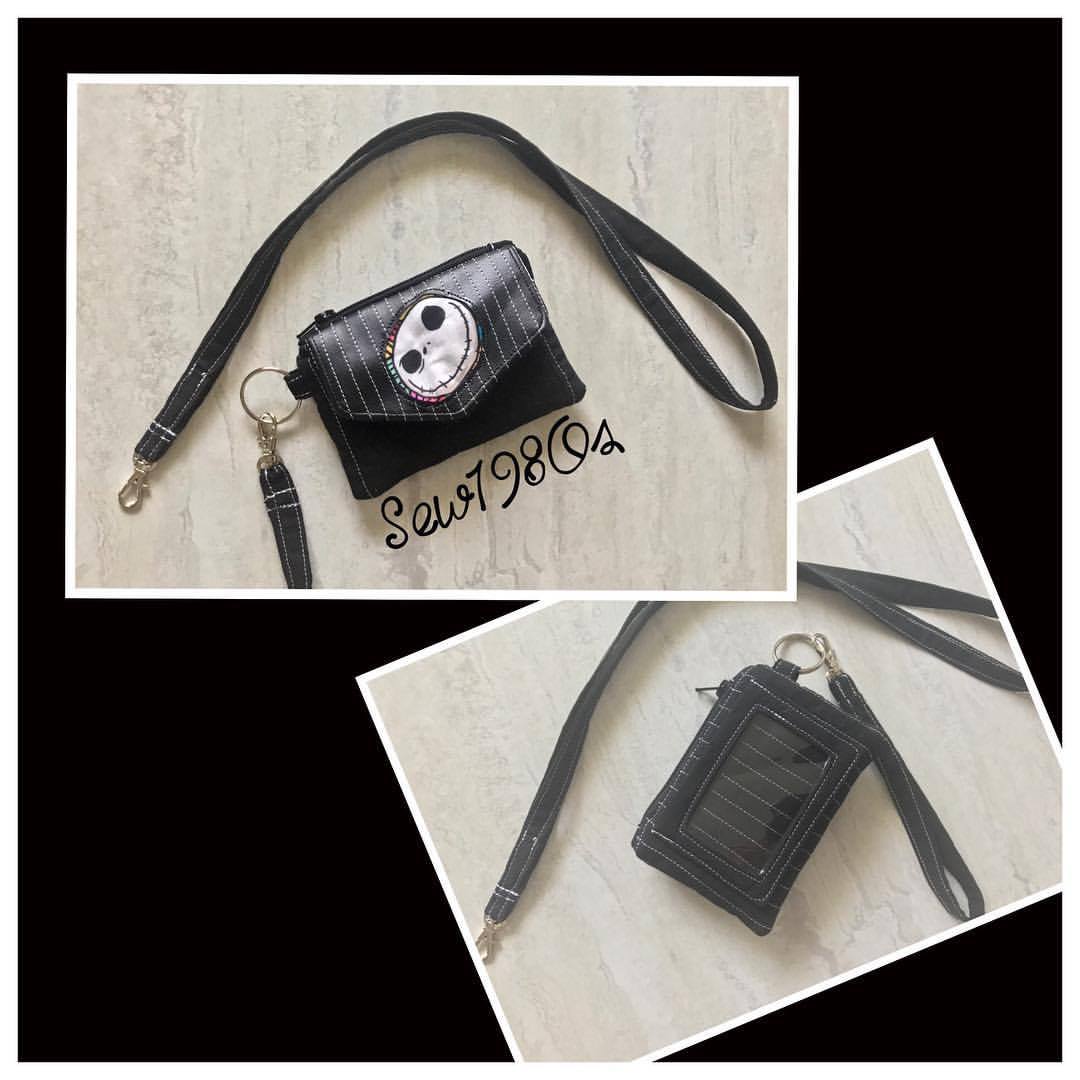
Now the front of your Kristine ID Wallet is finished! Tomorrow we will sew the straps and get the zipper ready to install. It is so fun seeing everyone’s progress on their Kristine ID Wallets, so please share pictures! Progress pictures posted in the Uniquely Michelle Sewing Patterns Facebook Group and on Instagram with #KIDWSewAlong increase your chances of winning one of the three prizes that will be given away with the random drawing that will take place on Monday, October 16th at 10:00pm MDT! Of course, you will have to post a finished picture of your Kristine ID Wallet by the draw day and time to be entered into the drawing.

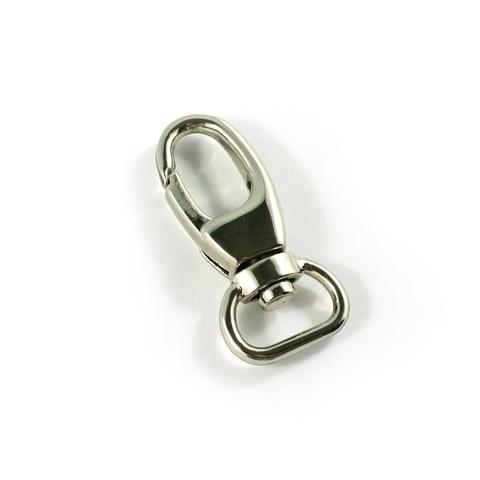
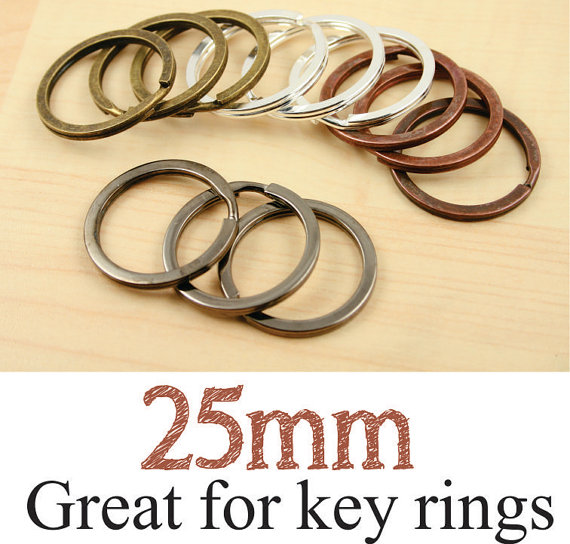
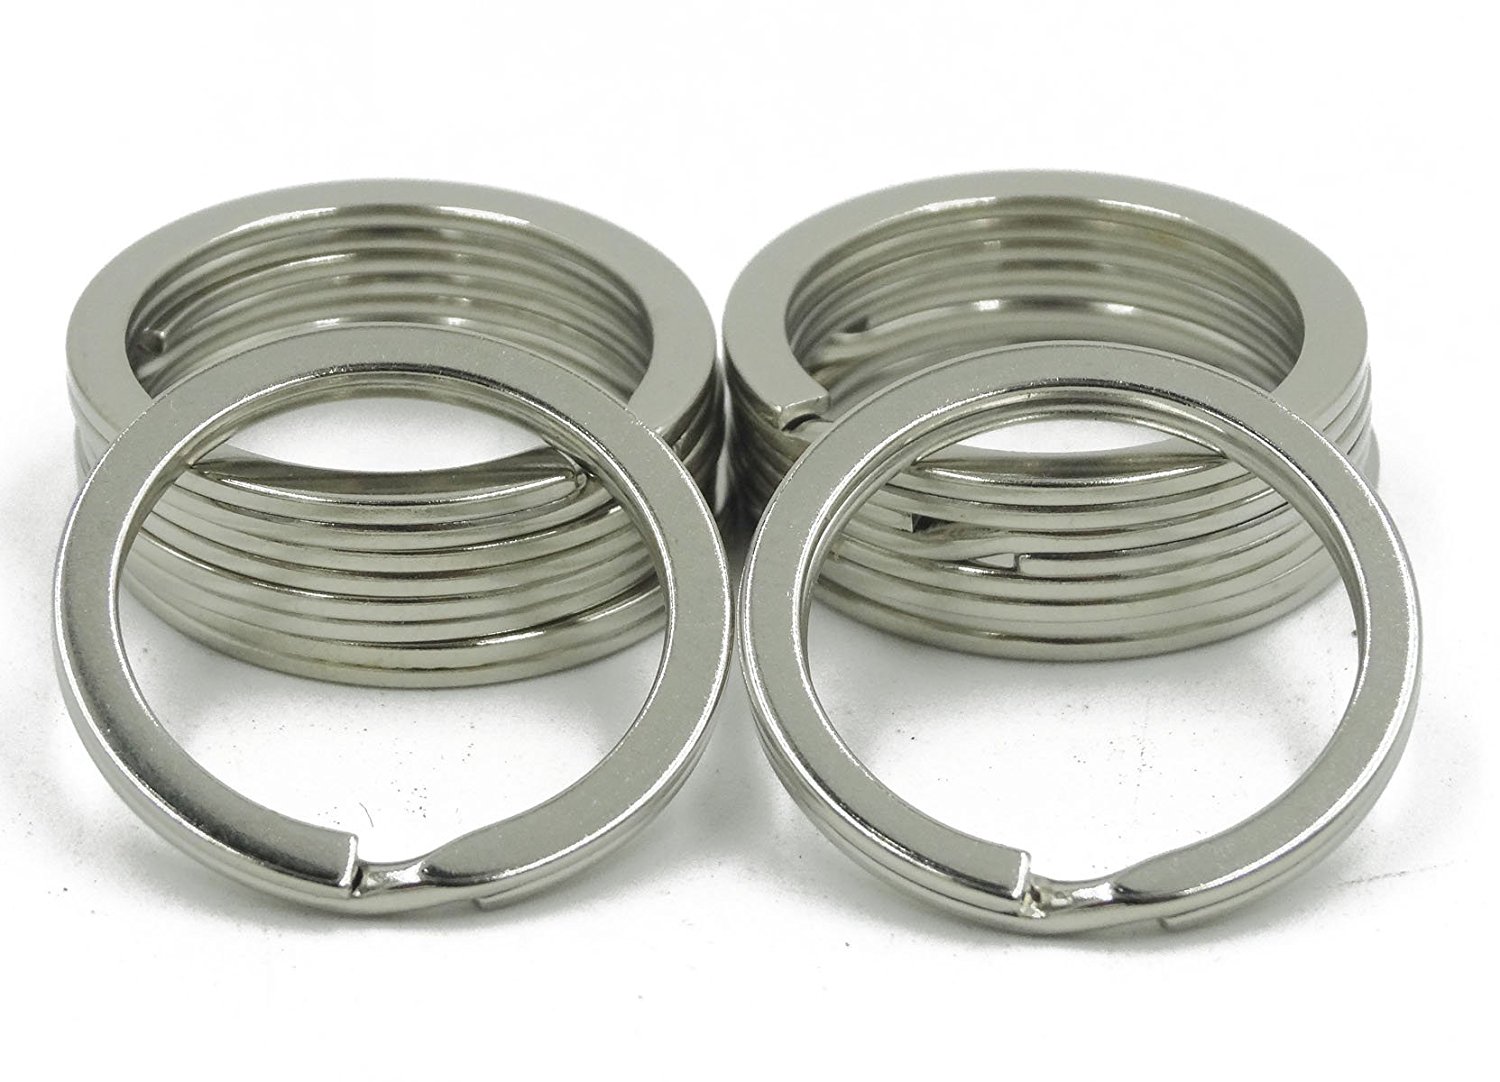
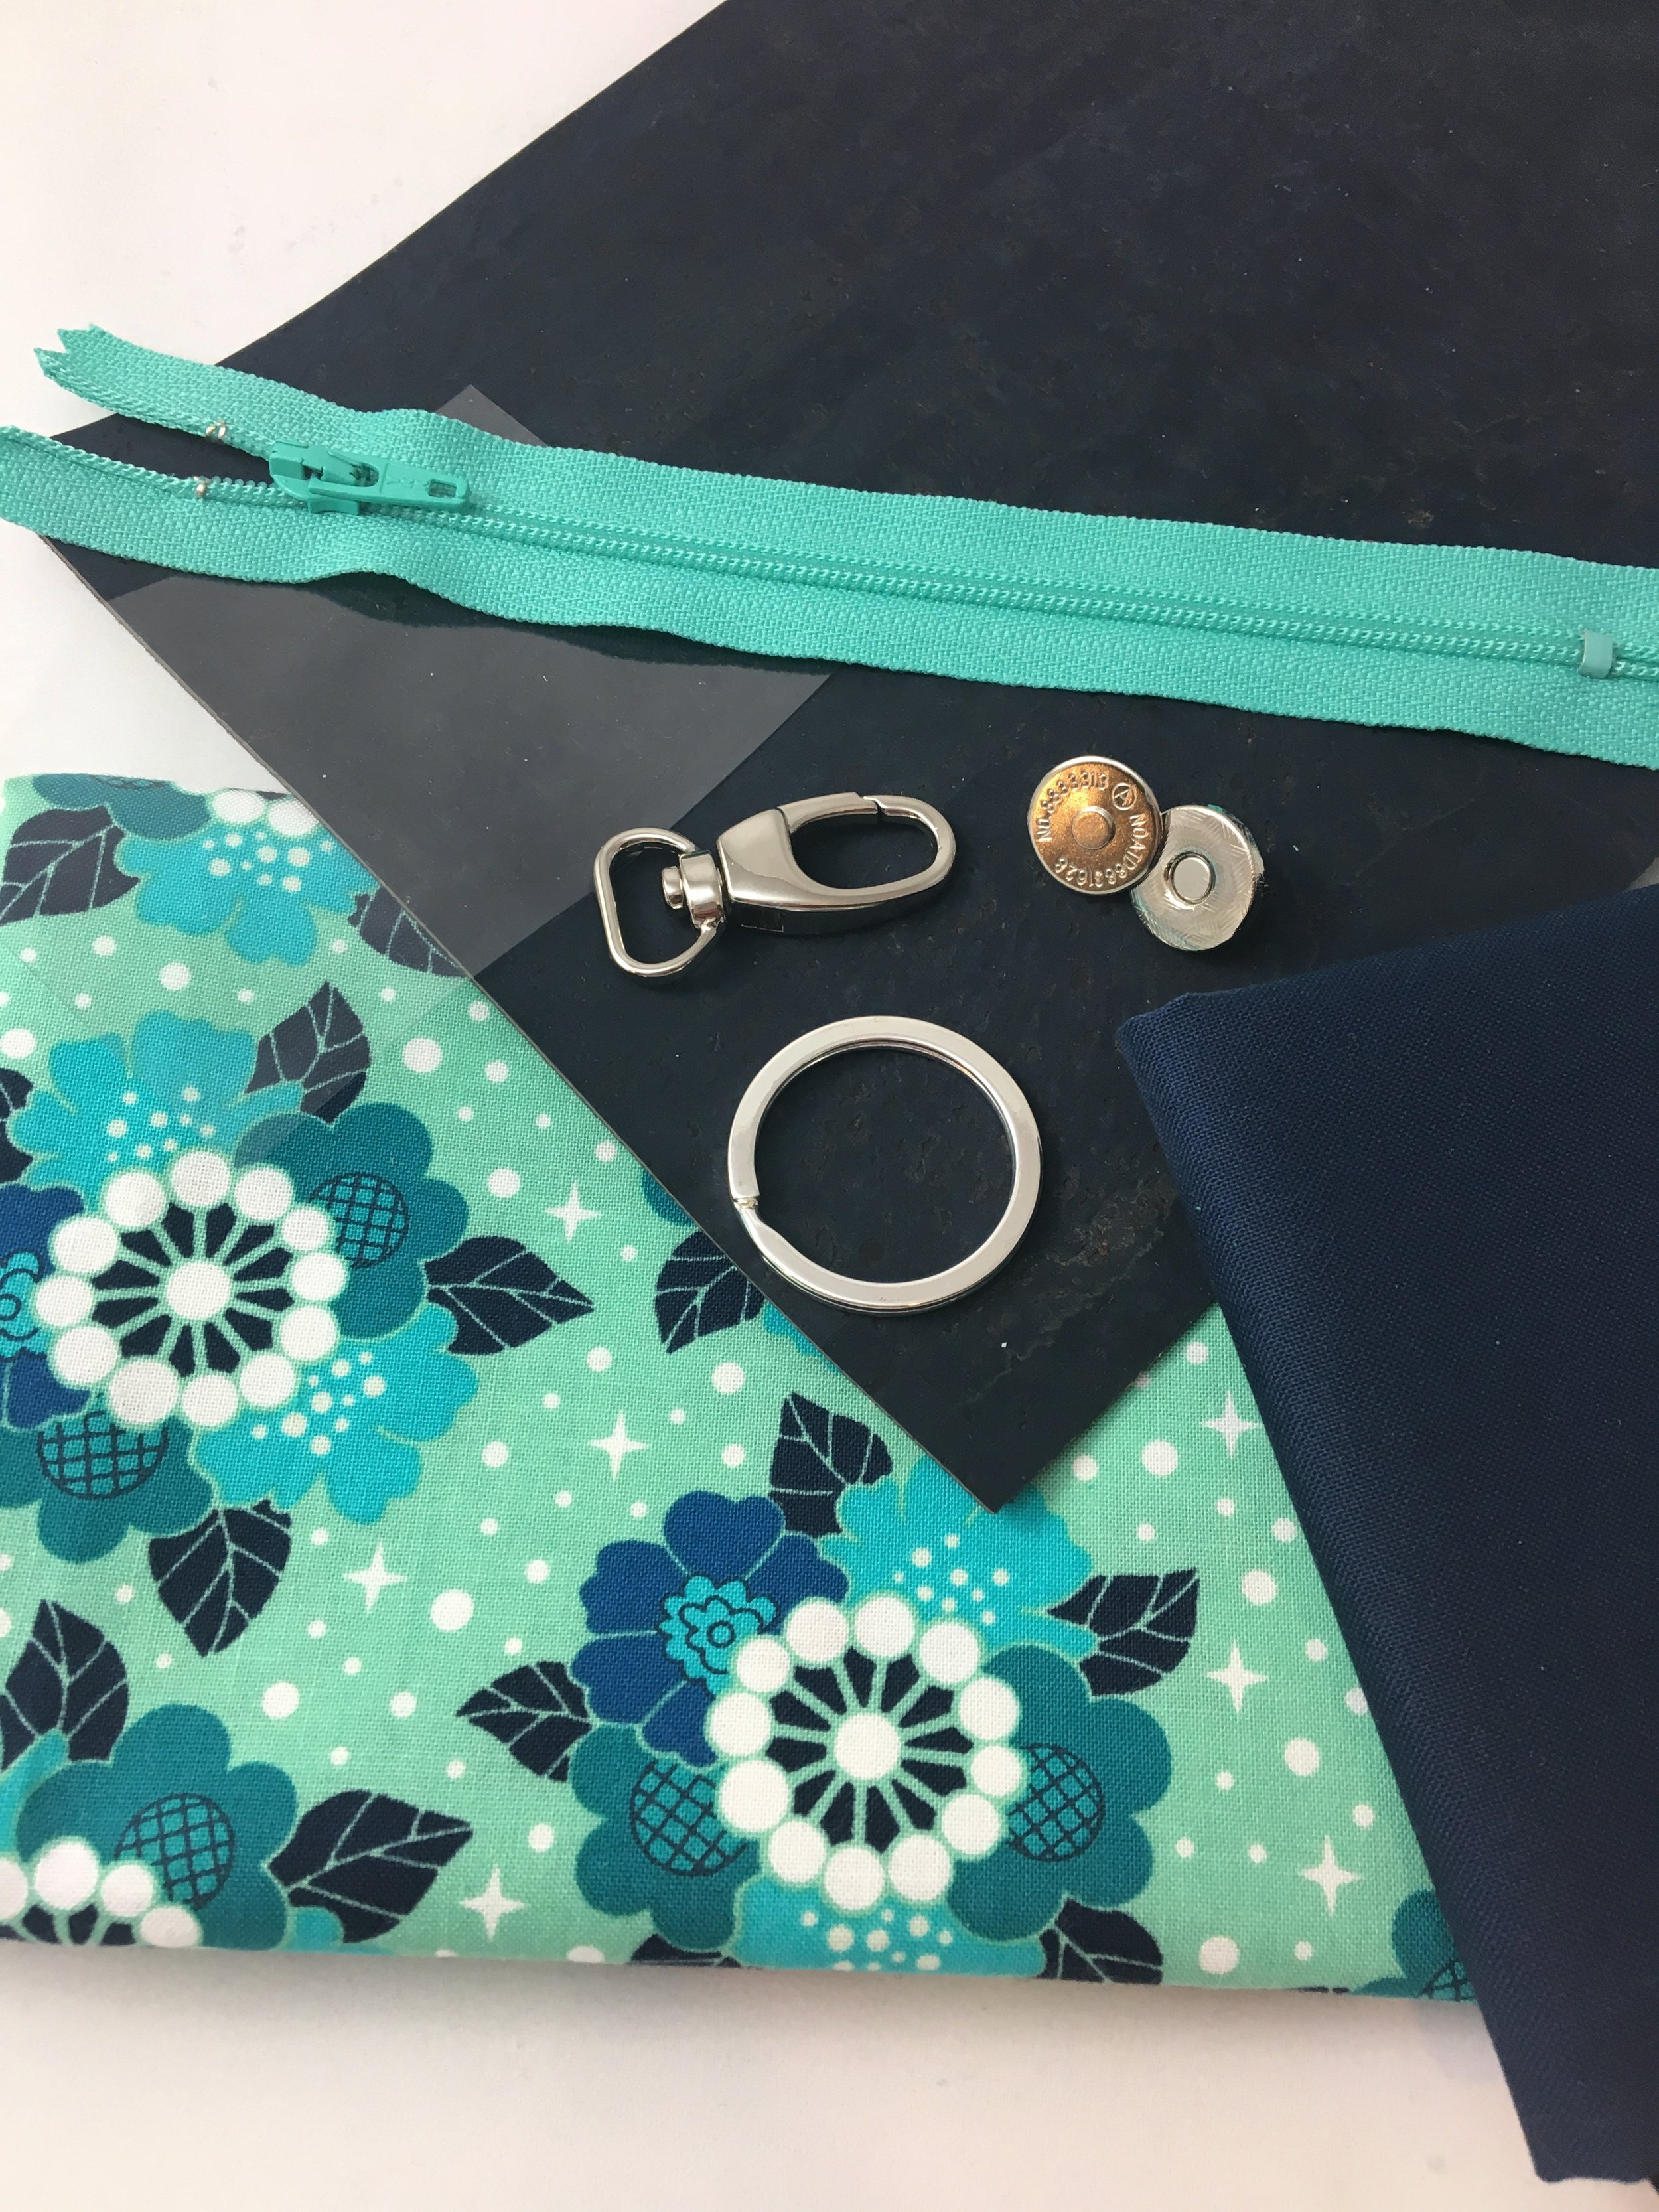
Look at how far we have come! For day 4 of the sew along, you will need one or two ½” swivel snap hooks (depending on whether you will be making both the wrist strap and the lanyard or just one of them), a D-ring if you are not using a split key ring, and a zipper that is at least 6” long. For more information on where I get my hardware and supplies, check out this blog post. See you back here tomorrow for a quick and easy day 4 of the Kristine ID Wallet Sew Along!